
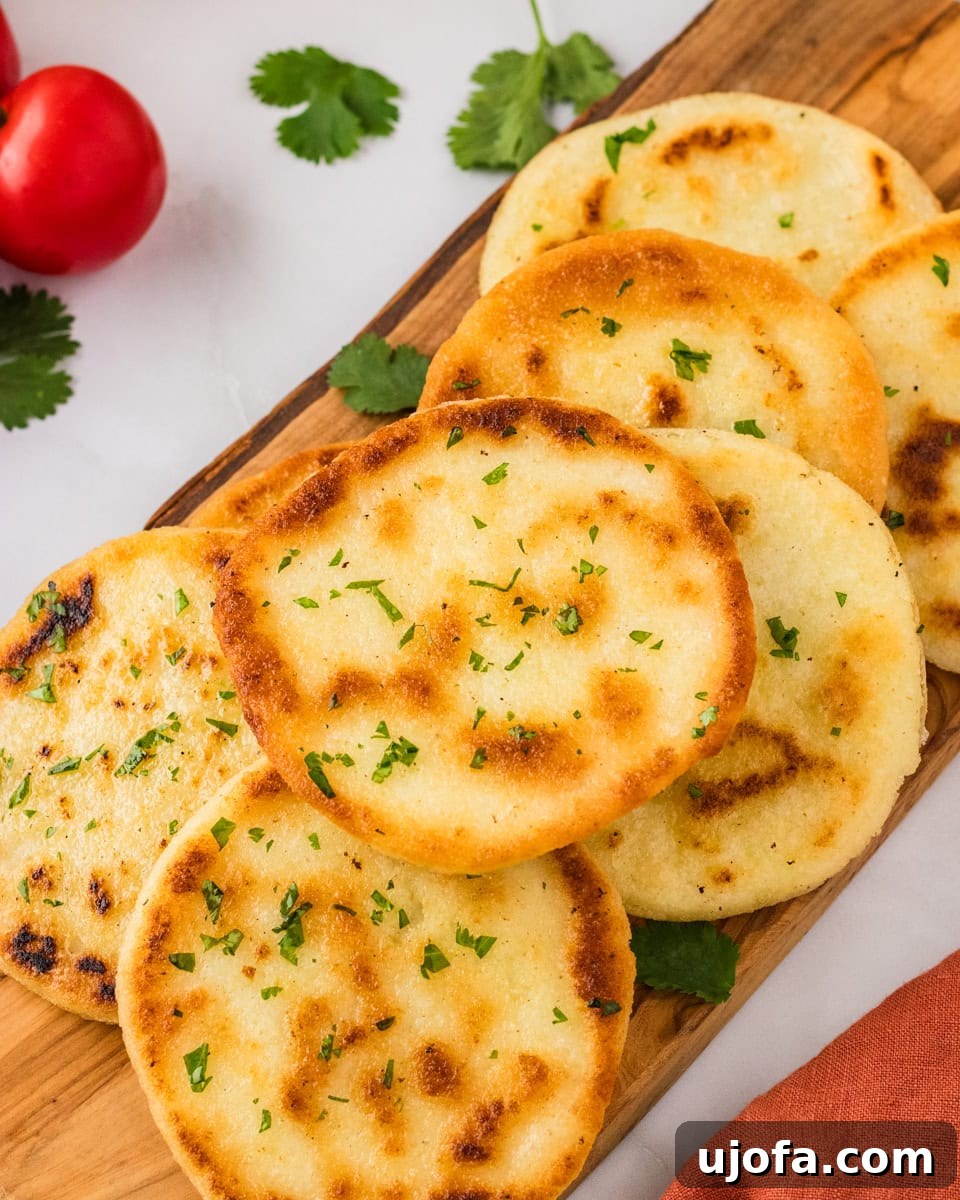
Experience the joy of homemade arepas – South American corn flatbreads that boast a perfectly crispy exterior and a wonderfully soft, fluffy interior. These naturally gluten-free delights have become an absolute staple in my kitchen, offering an incredibly versatile and satisfying meal or snack. Made with just a handful of simple ingredients and pan-fried to golden perfection, they are an effortless way to bring a taste of Latin American cuisine to your table. If you’re searching for an authentic, easy-to-follow recipe for arepas that are both delicious and wholesome, you’ve come to the right place.
Discovering Arepas: A Gluten-Free Delight for Every Meal
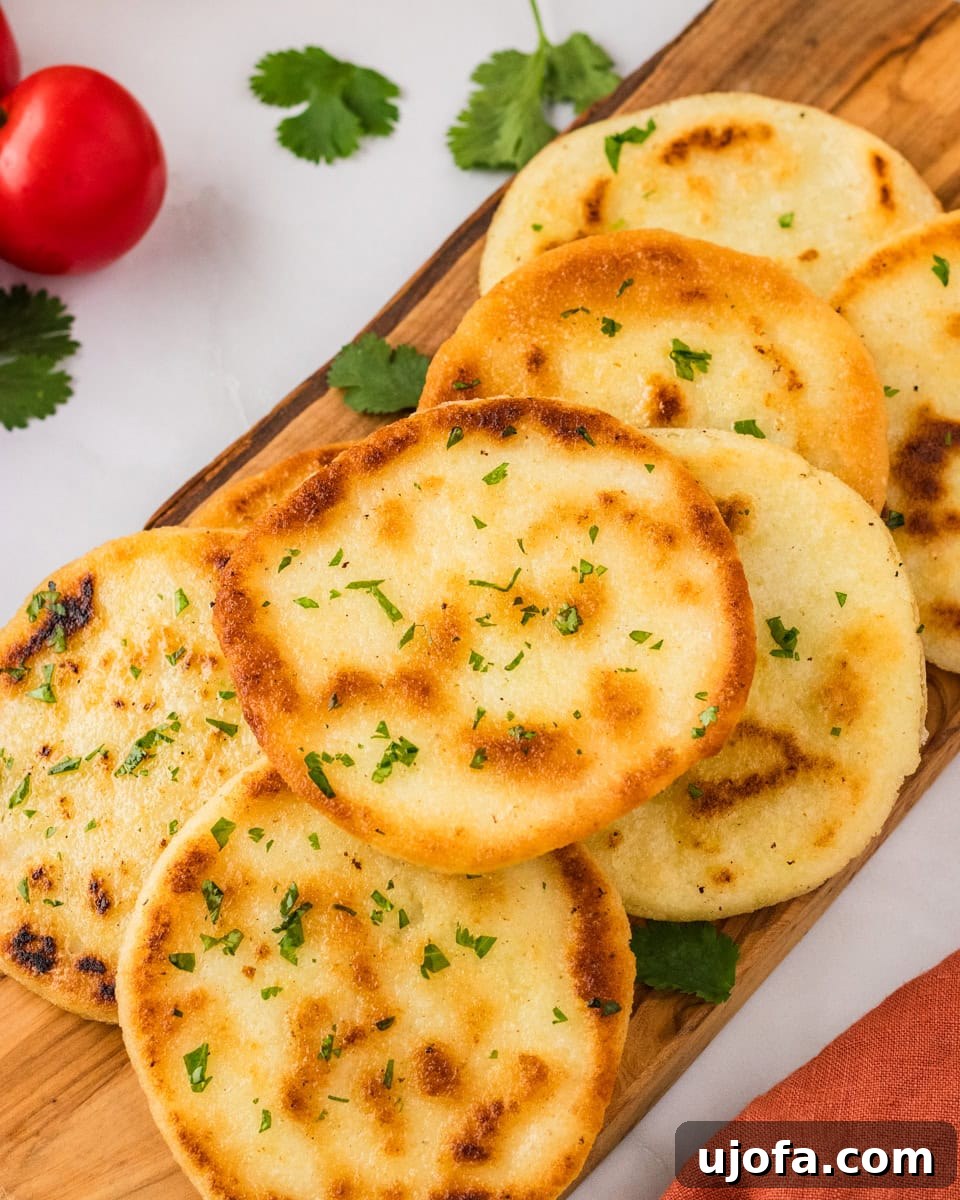
Arepas are a truly remarkable culinary gem, primarily originating from Colombia and Venezuela, where they are a daily bread. Similar in texture and versatility to savory cornbread, arepas are fundamentally crafted from pre-cooked white cornmeal, a naturally gluten-free grain. For those of us navigating a gluten-free lifestyle, discovering naturally gluten-free bread alternatives like arepas is always a triumph. This recipe not only delivers on taste and texture but also impresses with its minimal ingredient list and quick preparation time. You can have these delectable flatbreads ready to enjoy in less than 30 minutes, making them perfect for busy weeknights or a spontaneous breakfast.
The beauty of these soft, fluffy corn cakes lies in their adaptability. Their subtly savory flavor profile makes them an ideal canvas for an endless array of fillings. Whether you prefer them stuffed with shredded meats, rich cheeses, or fresh vegetables, arepas elevate any meal. I’ve personally found them to be an absolute game-changer for my breakfast routine, using them as the base for incredible breakfast sandwiches layered with eggs, bacon, or avocado. Beyond being naturally gluten-free, this particular recipe is also entirely dairy-free, catering to even more dietary needs without compromising on flavor or texture. Get ready to fall in love with these simple yet profoundly satisfying South American flatbreads!
The Ultimate Homemade Arepas Recipe: Crispy, Soft, and Simply Delicious
This recipe ensures you get that coveted perfect arepa: a beautifully golden and crisp crust yielding to a tender, steamy interior. It’s a fundamental recipe that you can master quickly and then customize endlessly. Prepare to impress your family and friends with these authentic homemade arepas!
Recipe Overview
Yields: 12 flatbreads
Prep time: 10 minutes
Cook time: 14 minutes
Total time: 24 minutes
Cuisine: Colombian, South American
Course: Breakfast, Lunch, Snack, Dinner
Dietary: Gluten-Free, Dairy-Free, Vegan-Friendly
Equipment You’ll Need
- 1 Large Mixing Bowl
- 1 Cast Iron Skillet, Non-Stick Pan, or Griddle
Ingredients for Perfect Arepas
- 2 ½ cups warm water: The temperature is key for proper hydration of the cornmeal.
- 1 teaspoon salt: Balances the flavors and enhances the cornmeal’s natural taste.
- 2 cups pre-cooked white cornmeal: Essential for the correct texture and traditional preparation. Brands like P.A.N. Harina P.A.N. are widely available and recommended.
- 1 tablespoon cooking oil: Such as vegetable oil, canola oil, or avocado oil, for pan-frying.
Step-by-Step Instructions
-
Combine Water & Salt: In your large mixing bowl, pour in the warm water. Add the salt and stir gently until it has completely dissolved. This ensures even seasoning throughout your arepas.
-
Gradually Add Cornmeal: Begin slowly incorporating the pre-cooked cornmeal into the salted water. Use your clean hands or a sturdy wooden spoon to mix as you add, ensuring there are no dry pockets or lumps. Continue mixing until all the cornmeal is thoroughly combined with the water, forming a cohesive dough.
-
Mix and Rest the Dough: After all the cornmeal is added, continue mixing for another minute or two, ensuring the dough is smooth and free of any dry cornmeal lumps. Once smooth, cover the bowl with plastic wrap or a clean kitchen towel and let the dough rest undisturbed for at least 5 minutes. This crucial step allows the cornmeal to fully absorb the moisture, hydrating and softening it, which is essential for a pliable dough and a tender arepa.
-
Prepare Your Cooking Surface: While the dough rests, place your griddle, cast iron skillet, or non-stick pan over medium heat. Fill a small bowl with water; this will be used to dampen your hands during the shaping process, preventing the dough from sticking. Only add your cooking oil to the pan just before you start shaping and cooking the arepas.
-
Shape the Arepas: Once the dough has rested, moisten your hands with the water from the small bowl. Take a fist-sized amount of dough, roughly 3 tablespoons. Gently roll it into a smooth ball, then carefully flatten it into a disc. Aim for an arepa that is about 3-4 inches in diameter and approximately ½ inch thick. Work to keep the edges as smooth as possible to prevent cracking during cooking. Repeat this process with the remaining dough.
-
Cook to Golden Perfection: Lightly coat your heated pan with the cooking oil. Place the shaped arepas onto the hot pan, leaving some space between each one. Fry them for about 5-7 minutes per side, or until they are beautifully golden brown and have puffed up slightly. The outside should feel firm and crisp.
-
Serve Immediately: Once cooked, remove the arepas from the pan and serve them hot. They are best enjoyed fresh off the skillet!
Important Recipe Notes & Expert Tips for Success
- Daily Freshness, Easy Storage: While arepas are traditionally made fresh daily due to their ease, don’t hesitate to make a larger batch! They store wonderfully, making them perfect for quick grab-and-go meals throughout the week.
- The Secret’s in the Cornmeal: Always use pre-cooked white cornmeal (often labeled “Harina P.A.N.” or “Masarepa”). This is crucial! Regular cornmeal or corn flour will not work. Pre-cooked cornmeal has been boiled and ground, giving it a fine texture that readily absorbs water and forms a smooth, pliable dough, essential for authentic arepas.
- Warm Water Matters: Ensure your water is warm, not cold or boiling. Warm water helps the cornmeal hydrate faster and more thoroughly, leading to a softer, more manageable dough and a better final texture.
- Dough Consistency is Key: The dough should be soft, pliable, and easy to work with, but not overly sticky or crumbly. If your dough feels too sticky, add a tablespoon more cornmeal at a time until it reaches the right consistency. If it’s too dry and cracks, add a splash more warm water. It should feel like firm play-dough.
- Don’t Skip the Rest: The 5-minute resting period is vital. It gives the cornmeal time to fully absorb the liquid, ensuring a hydrated dough that won’t fall apart or taste gritty. Patience here pays off!
- Keep Hands Damp: Having a small bowl of water nearby to dampen your hands regularly while shaping will prevent the dough from sticking to your palms and help you achieve perfectly smooth edges.
- Ideal Thickness: Aim for a thickness of about ½ inch (1.25 cm). This allows the arepa to cook evenly, developing a crispy crust while maintaining a soft and steamy interior. Too thin, and they might dry out; too thick, and they might not cook through.
- Storage & Reheating: Store any leftover cooked arepas in an airtight container at room temperature for up to 5 days. For longer storage, they can be frozen for up to 1 month. To reheat, simply defrost them (if frozen) and warm them in a toaster, a dry skillet over medium heat, or in an oven until heated through and crispy again.
Nutrition Information (Approximate Per Arepa)
Serving: 1 arepa
Calories: 116 kcal
Carbohydrates: 20 g
Protein: 3 g
Fat: 3 g
Saturated Fat: 0.4 g
Polyunsaturated Fat: 1 g
Monounsaturated Fat: 1 g
Sodium: 1 mg
Potassium: 117 mg
Fiber: 3 g
Sugar: 0.4 g
Calcium: 3 mg
Iron: 1 mg
Please note: Nutrition information is automatically calculated and should only be used as an approximation. Actual values may vary depending on ingredients and preparation methods.
A Visual Guide: Crafting Your Arepas Step-by-Step
Sometimes, seeing is believing! This visual breakdown will walk you through each stage of making arepas, ensuring you feel confident and prepared to create these amazing corn flatbreads in your own kitchen. Follow these steps carefully for the best results, and don’t hesitate to use the images as a guide.
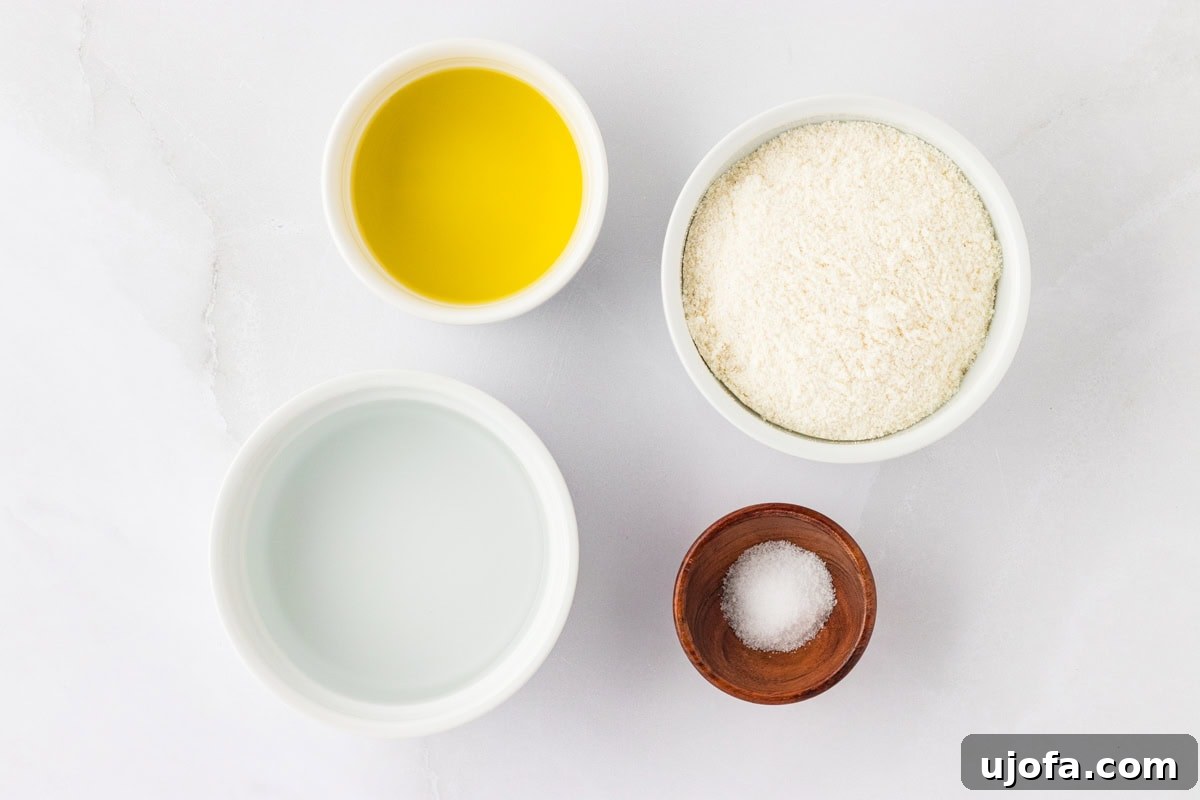
Before you begin, make sure you have all your ingredients measured and ready. This mise en place approach makes the cooking process smoother and more enjoyable. The key ingredient, pre-cooked white cornmeal, is distinct from corn flour or masa harina, so double-check your packaging to ensure you have the correct type for authentic arepas.
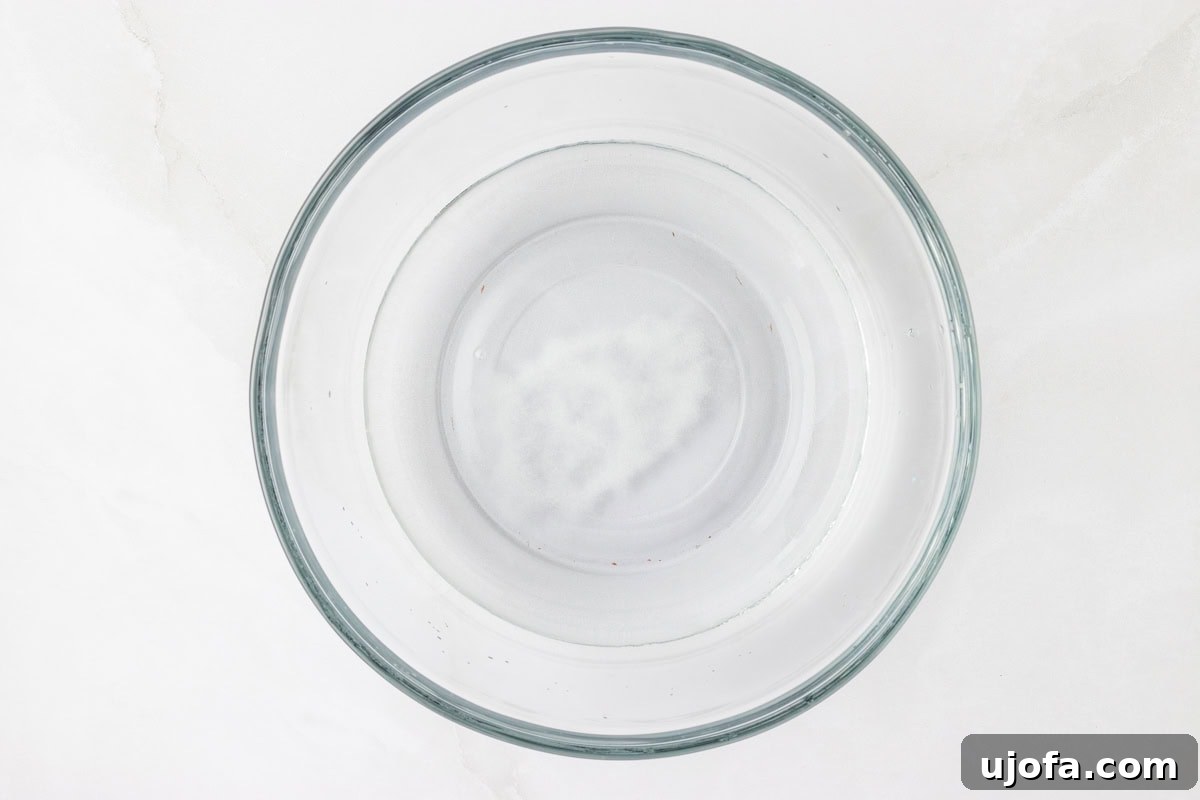
Start by pouring 2 ½ cups of warm water into a spacious mixing bowl. Add 1 teaspoon of salt and stir well. It’s important that the water is warm, as this greatly aids in dissolving the salt quickly and evenly, preparing the liquid base for the cornmeal. Ensure no salt granules remain at the bottom of the bowl before proceeding.
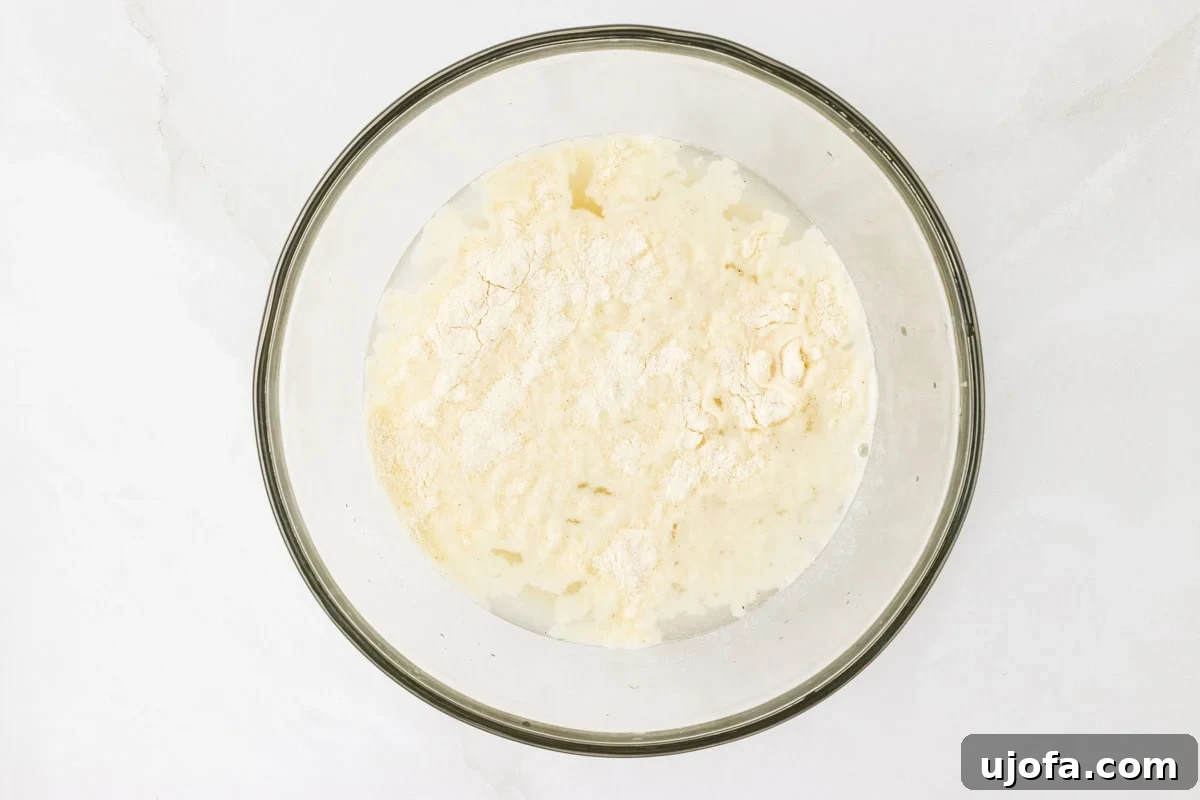
Now, gradually introduce 2 cups of the pre-cooked white cornmeal into the water. The best way to do this is to add it a little at a time while continuously mixing. You can use your clean hands, which allows you to feel the dough developing, or a sturdy wooden spoon. The goal is to prevent the formation of large dry lumps and ensure the cornmeal is thoroughly wetted.
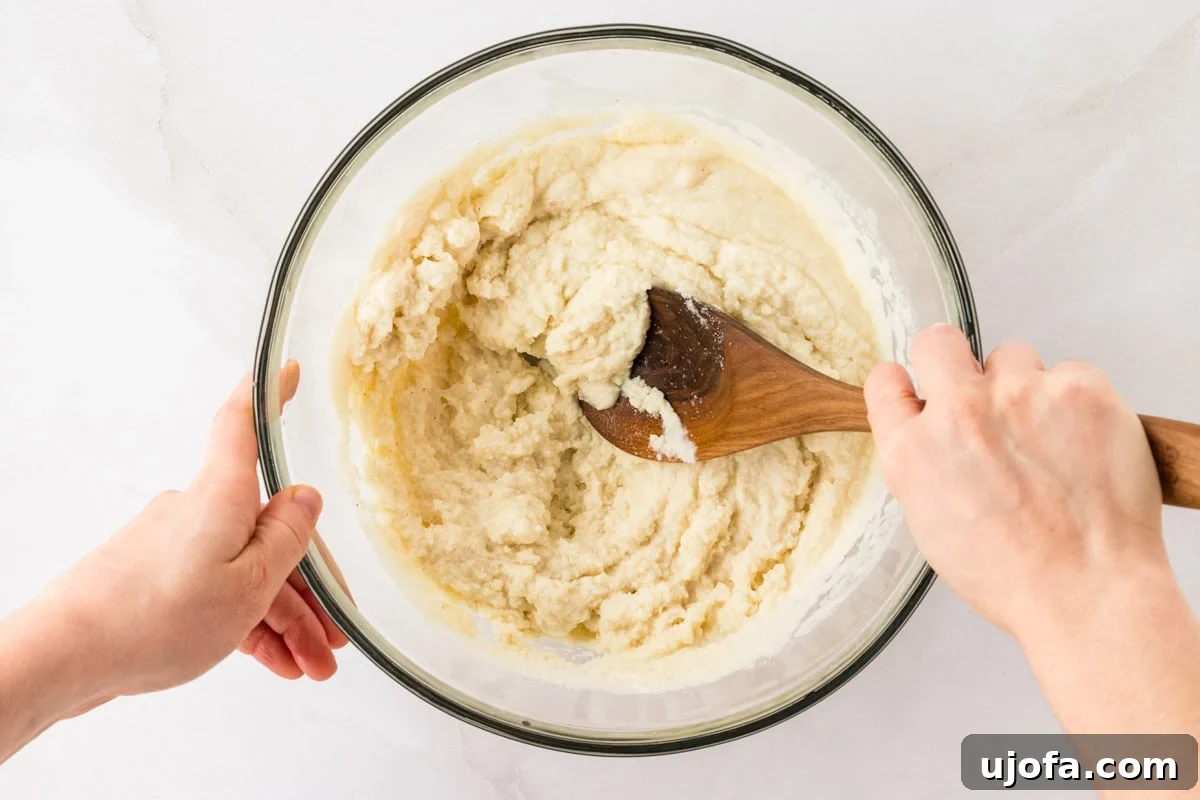
Continue mixing the dough until it comes together as a smooth, uniform mass. All dry cornmeal should be fully incorporated, and the dough should feel pliable and slightly firm, much like play-dough. If it feels too wet and sticky, add a tiny bit more cornmeal; if it’s too dry and crumbly, add a splash more warm water. Achieving the right consistency here is key to easy shaping and excellent arepa texture.
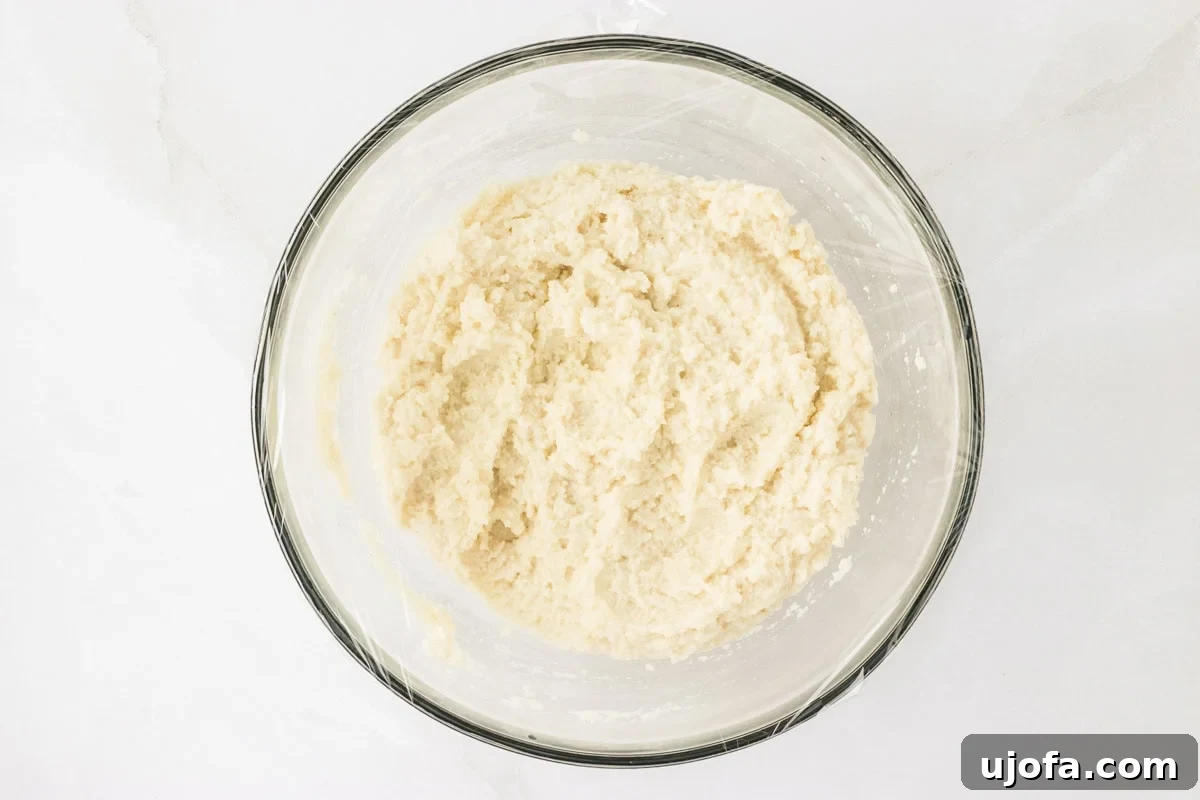
Once your dough is perfectly mixed, cover the bowl with plastic wrap or a clean kitchen towel and let it rest for a minimum of 5 minutes. This seemingly short break is critical. It allows the cornmeal particles to fully absorb the warm water, swell, and soften, resulting in a much more pliable and cohesive dough that is easier to shape and less prone to cracking during cooking. Don’t skip this step for the best texture!
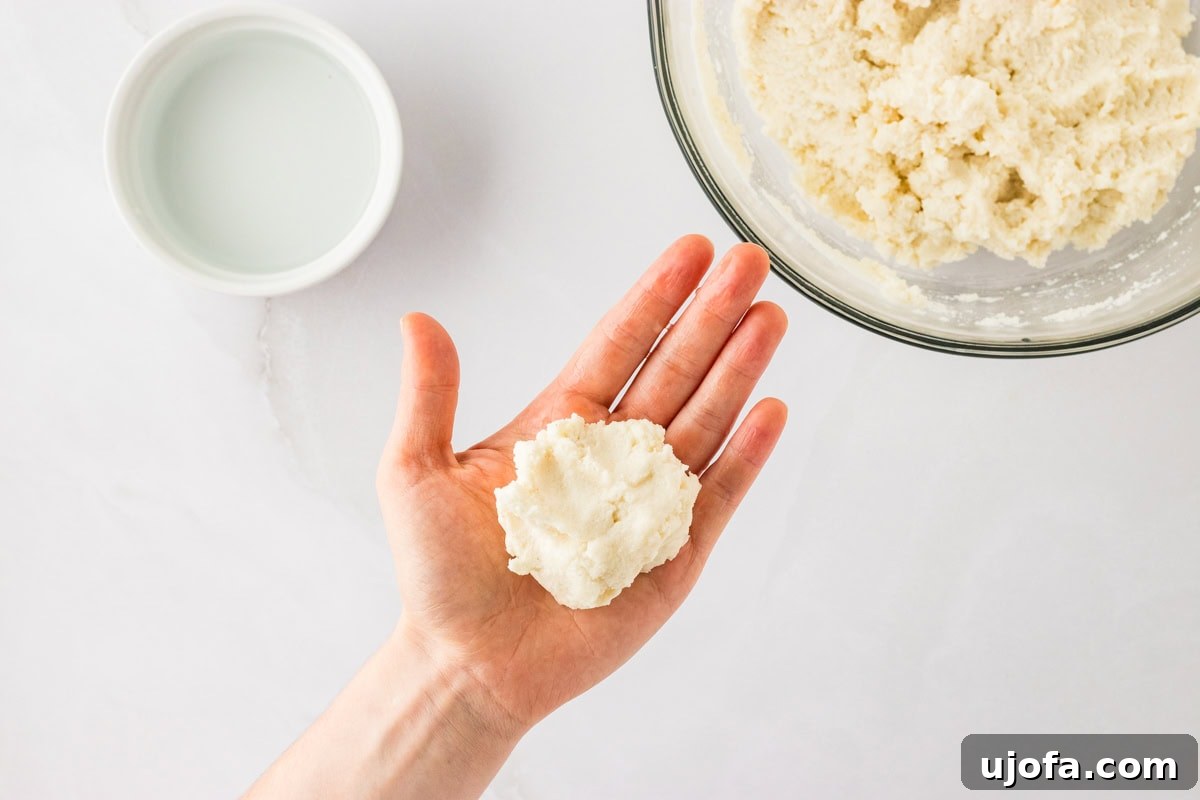
While the dough rests, heat your griddle, cast iron skillet, or non-stick pan over medium heat. Fill a small bowl with warm water – this will be your secret weapon for preventing sticky hands. Only add your cooking oil to the pan when you’re just about to place the arepas down. Once the dough has rested and the pan is hot, dip your hands into the water to dampen them. Now, scoop out a portion of dough, roughly the size of your fist or about 3 tablespoons.
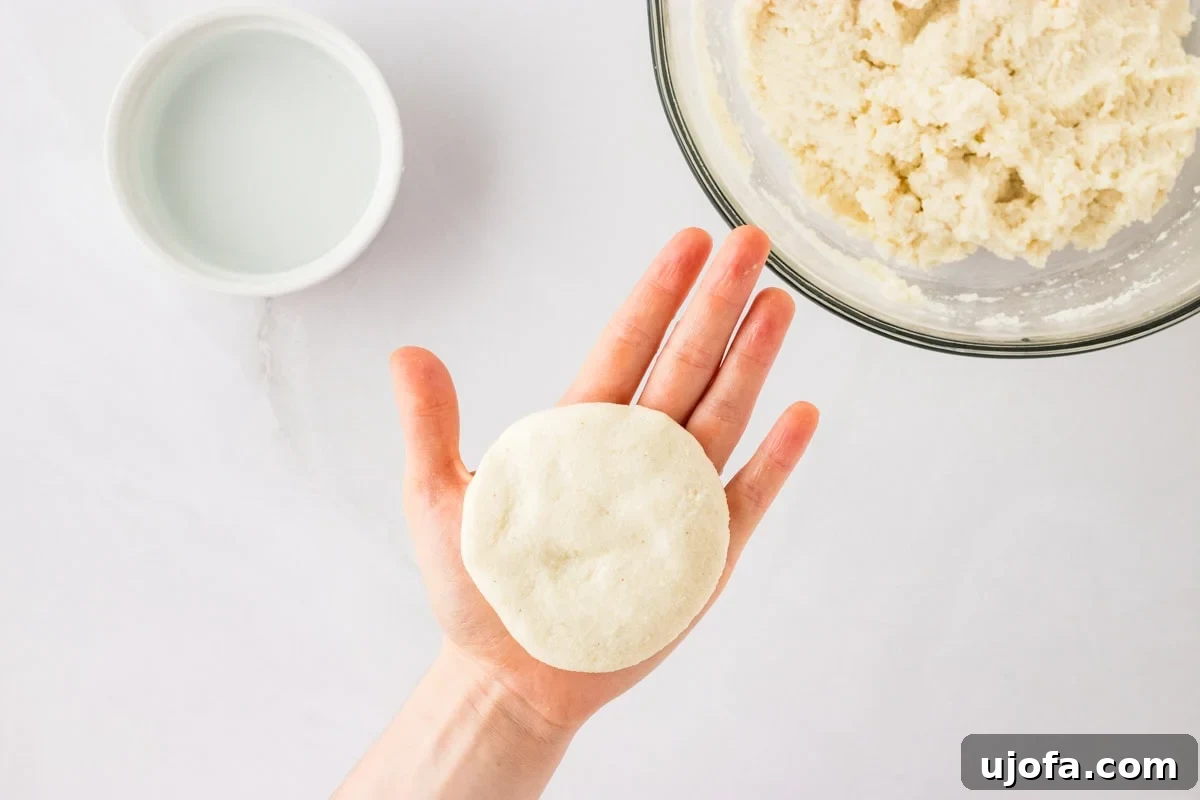
With damp hands, gently roll the dough into a smooth ball. Then, carefully flatten it into a disc approximately 3-4 inches (7-10 cm) in diameter and about ½ inch (1.25 cm) thick. The dampness on your hands will help keep the dough from sticking and allow you to smooth out the edges, creating a perfect, crack-free arepa. Work methodically, repeating this step for each arepa until all the dough is shaped.
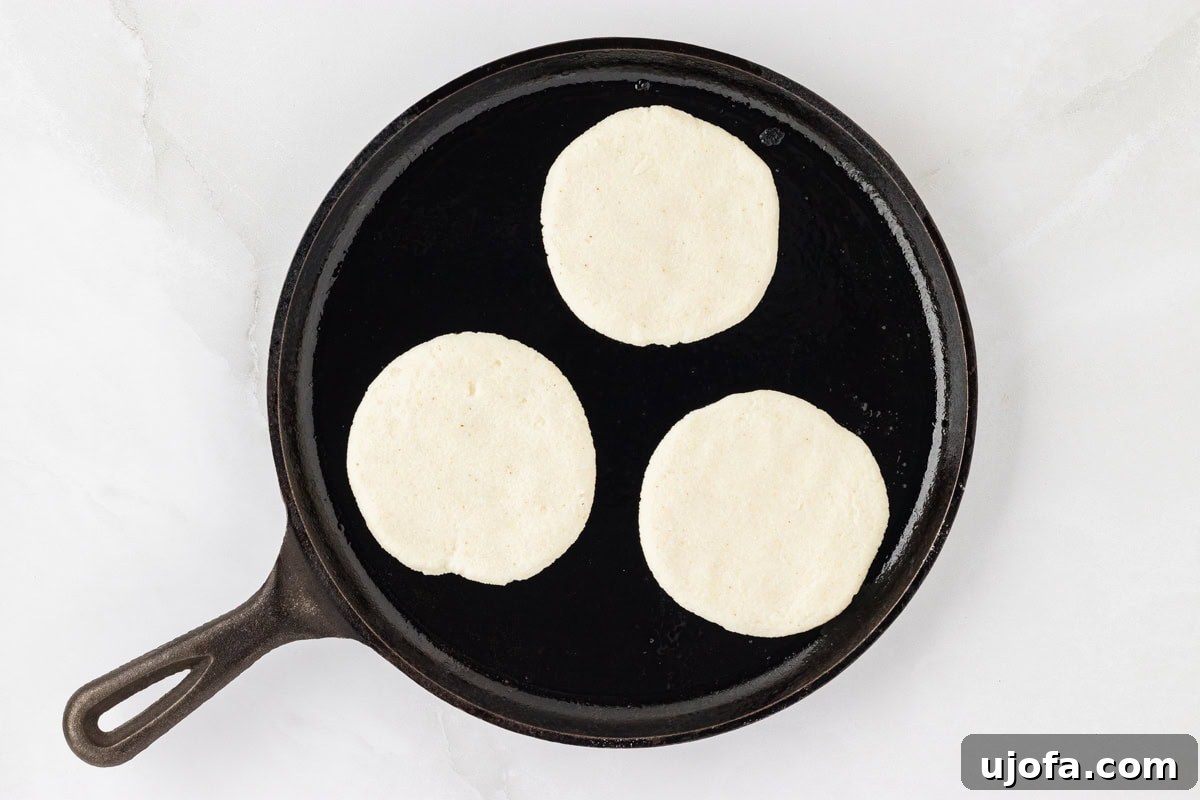
Once your pan is hot, lightly brush or pour a tablespoon of cooking oil onto the surface. Carefully place the shaped arepas onto the oiled skillet. Don’t overcrowd the pan; leave enough space between each arepa so they cook evenly and you can easily flip them. The oil helps create that beautiful, crispy exterior, so make sure each arepa has a thin coating.
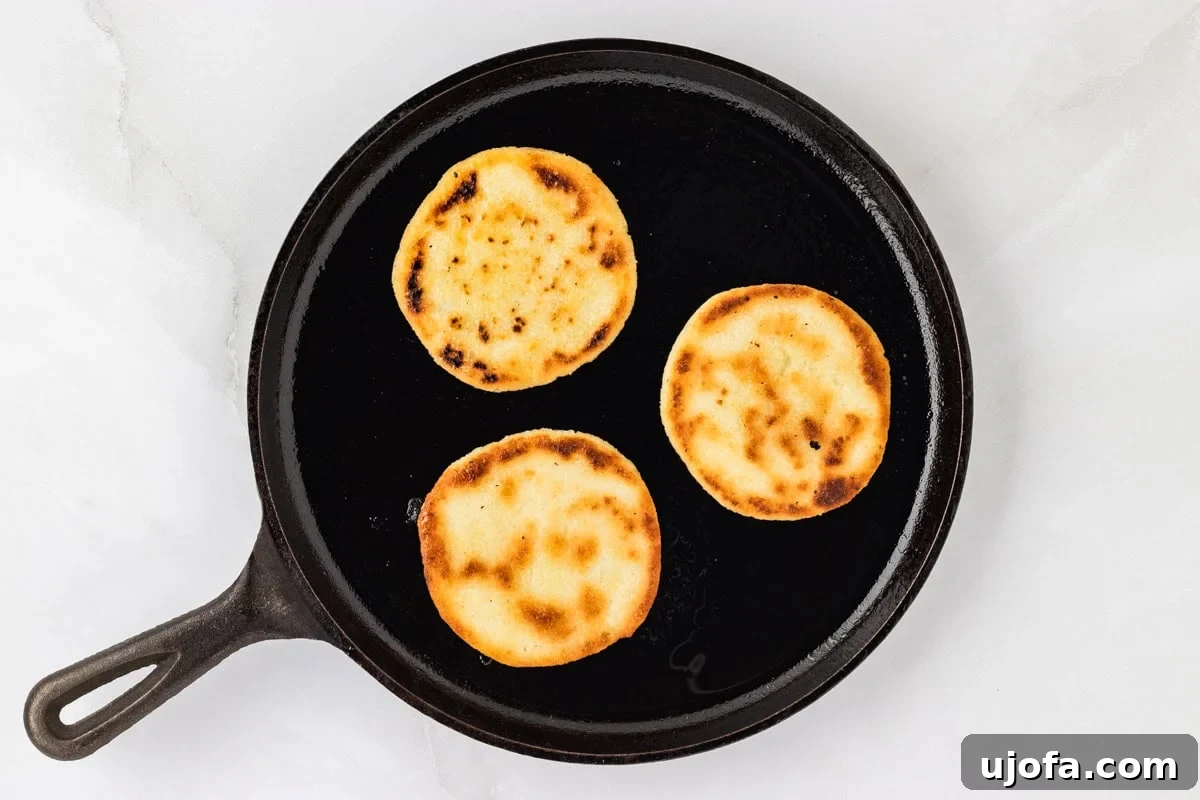
Fry the arepas for approximately 5-7 minutes on each side. You’ll know they are ready to flip when they have a deep golden-brown crust and have begun to puff up, indicating that steam is building inside. The surface should feel firm to the touch. Once both sides are beautifully browned and crisp, they are fully cooked through and ready for the next step!
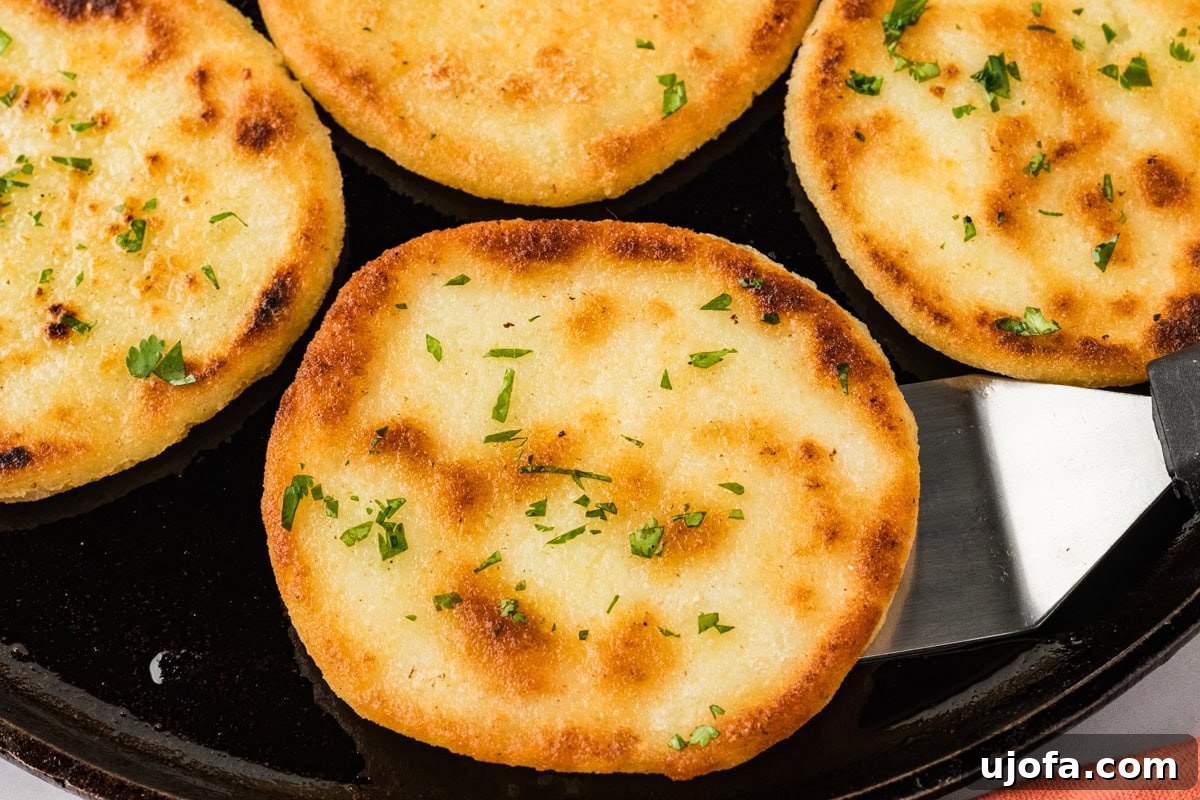
Once your arepas are golden brown and puffy on both sides, carefully remove them from the skillet using a spatula. They should be firm and have a satisfying crispness. Transfer them to a plate or a cooling rack, although they are truly at their best when served immediately after cooking.
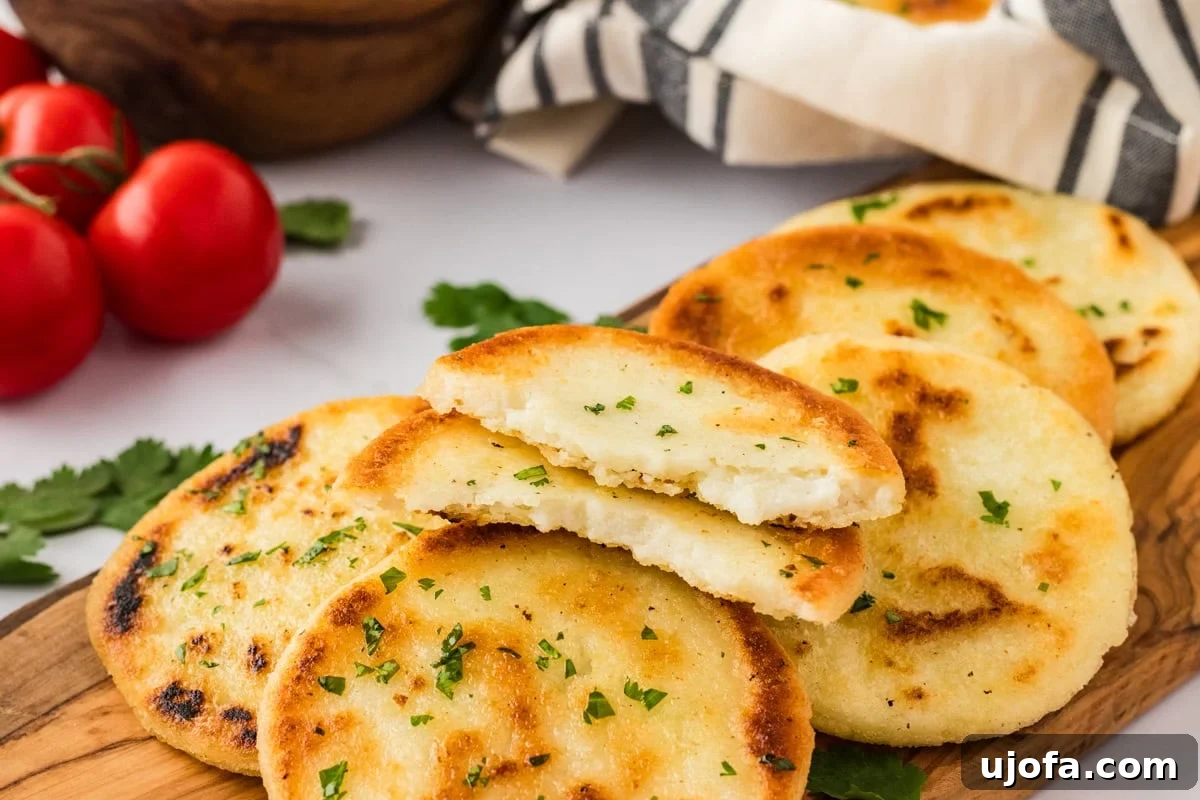
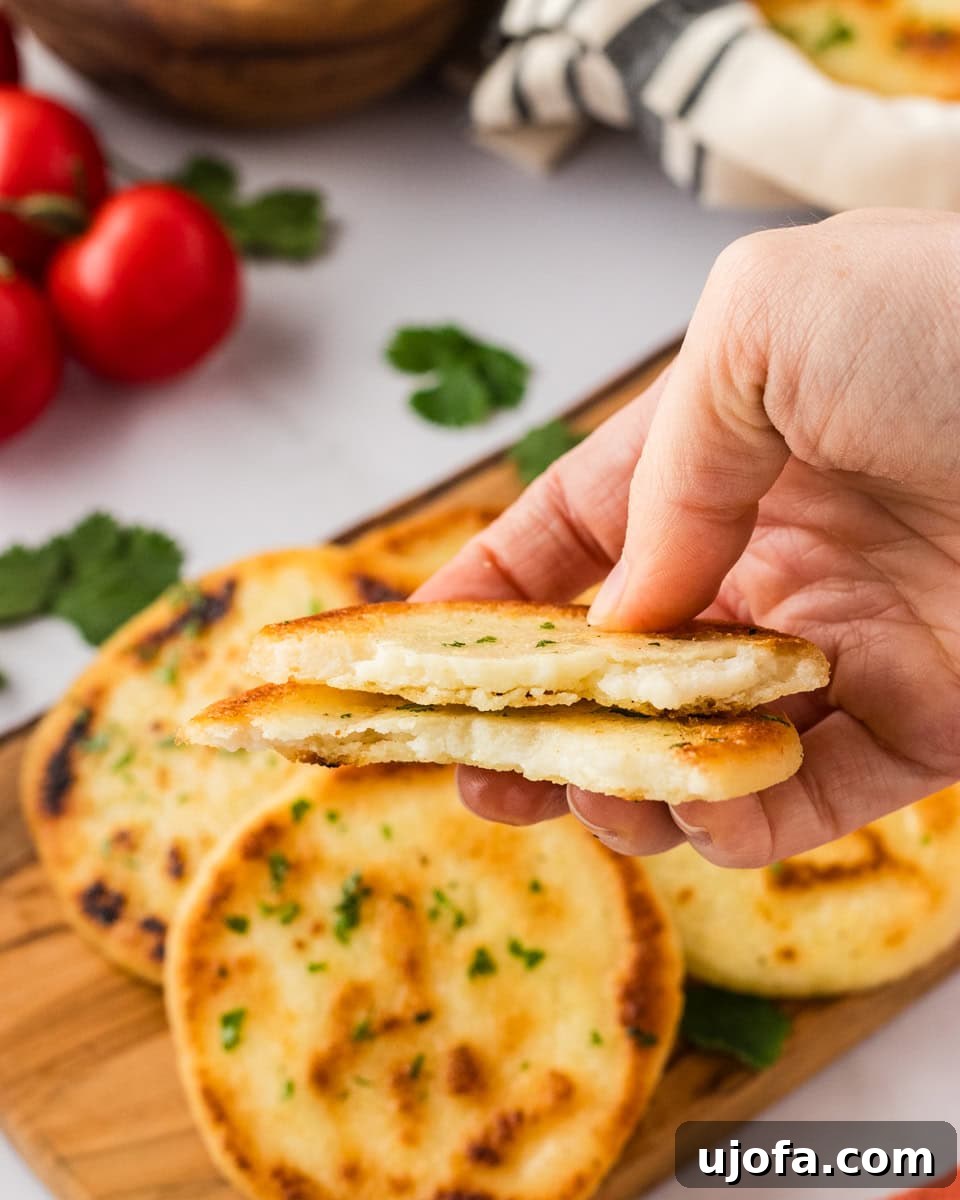
Serve your arepas hot! You can either slice them horizontally to create a pocket for fillings or enjoy them whole as a side bread. The warm, slightly sweet corn flavor and the delightful contrast of textures make them irresistible. Get creative with your fillings and savor every bite!
Creative Serving Suggestions for Your Arepas
The beauty of arepas lies in their incredible versatility. Their mild, savory flavor makes them the perfect companion for almost any topping or filling, transforming them into anything from a hearty breakfast to a satisfying dinner. Here are some expanded ideas to inspire your culinary creations:
- Classic Colombian & Venezuelan Style: Slice open your warm arepa and stuff it generously! Popular fillings include shredded beef (carne mechada), shredded chicken (pollo desmechado), scrambled eggs with tomato and onion (perico), black beans, avocado, or a variety of cheeses like mozzarella, white cheddar, or a traditional queso fresco.
- Breakfast Bliss: Elevate your morning meal by using arepas as the base for breakfast sandwiches. Fill them with fluffy scrambled eggs, crispy bacon, savory sausage, sliced avocado, or even a dollop of your favorite salsa. They’re a fantastic gluten-free alternative to traditional breakfast bread.
- Lunch & Dinner Mains: Serve arepas alongside heartier dishes. They are excellent with homemade chili, stews, grilled meats, or roasted vegetables. For a lighter lunch, fill them with tuna salad, chicken salad, or a simple mix of fresh greens and hummus.
- Appetizer or Snack: Mini arepas can be a delightful appetizer! Top them with a smear of cream cheese and a sprinkle of fresh herbs, or create small open-faced bites with guacamole and pico de gallo.
- Sweet Treat (with a twist): While typically savory, a drizzle of honey, a sprinkle of cinnamon sugar, or a side of fruit compote can turn a plain arepa into a unique sweet-savory experience.
Don’t be afraid to experiment with your favorite flavors and ingredients – arepas are designed to be customized!
Storing and Reheating Your Homemade Arepas
One of the many advantages of arepas is how well they store, making meal prep a breeze. Here’s how to keep your homemade arepas fresh and delicious:
- Countertop Storage: Cooked arepas can be stored in an airtight container at room temperature for up to 5 days. Ensure they are completely cooled before placing them in the container to prevent condensation and sogginess.
- Freezing for Longer Freshness: If you’ve made a large batch or don’t plan to eat them within 5 days, arepas freeze beautifully. Place fully cooled arepas in a freezer-safe bag or airtight container, separated by parchment paper if stacking, to prevent them from sticking together. They can be frozen for up to 1 month, maintaining peak freshness and texture.
- Reheating Instructions:
- From the Counter: For arepas stored at room temperature, reheat them in a toaster, a dry skillet over medium heat (flipping occasionally), or in an oven at 350°F (175°C) for 5-7 minutes until warmed through and the exterior is crispy again.
- From Frozen: There’s no need to defrost frozen arepas completely. You can reheat them directly in a toaster, a hot, dry skillet, or in an oven. Add a few extra minutes to the reheating time compared to room-temperature arepas, aiming for a crispy exterior and a hot, soft interior.
Proper storage and reheating ensure that every arepa tastes as fresh and delightful as when it was first made!
Frequently Asked Questions About Arepas
New to making arepas? Here are answers to some common questions that will help you master this delicious South American flatbread.
-
What is the best type of cornmeal to use for arepas?
You absolutely must use pre-cooked white cornmeal, also known as Masarepa or Harina P.A.N. (P.A.N. being a popular brand). This is NOT the same as corn flour, regular cornmeal, or masa harina (used for tortillas). Pre-cooked cornmeal has been specially processed to hydrate quickly and form the correct pliable dough for arepas.
-
My dough is too sticky/too dry. What should I do?
Dough consistency is crucial. If it’s too sticky, gradually add a tablespoon of pre-cooked cornmeal at a time, mixing until it’s pliable and doesn’t stick excessively to your hands. If it’s too dry and crumbly, and cracks easily when you try to shape it, add a tablespoon of warm water at a time until it’s smooth and easy to work with. Remember the damp hands trick while shaping!
-
How do I know when my arepas are fully cooked?
Arepas are cooked when they are golden brown and slightly crispy on both sides, and have puffed up in the center. They should feel firm to the touch when gently pressed. If you’re unsure, you can tap them; a hollow sound indicates they are well-cooked. If you cut one open, the inside should be soft and cooked through, not raw or pasty.
-
Can I bake arepas instead of frying them?
While traditional arepas are pan-fried for that signature crispy exterior, you can finish them in the oven after a quick sear. Pan-fry them for a few minutes on each side to get a crust, then transfer them to a preheated oven at 375°F (190°C) for about 10-15 minutes to cook through. This method can yield a less oily arepa, but the texture will be slightly different.
-
Are these arepas vegan?
Yes, this specific recipe is naturally vegan and dairy-free! It uses only water, salt, cornmeal, and cooking oil. Just ensure your chosen cooking oil is plant-based, and any fillings you add are also vegan to keep the entire dish plant-based.
Explore More Delicious Gluten-Free Flatbread Recipes
If you’ve enjoyed making these versatile gluten-free arepas, you’ll be thrilled to discover other fantastic flatbread options that cater to a gluten-free diet. Expand your culinary horizons with these delightful recipes, perfect for any meal or occasion:
- Grit Cakes: A Southern classic, these savory corn grits are formed into cakes and fried until crispy, offering a unique texture similar to arepas but with a distinct flavor profile.
- Gluten-Free Flatbread: A versatile recipe for a classic flatbread that can be used for pizzas, wraps, or served alongside dips and stews.
- Cloud Bread: Light, airy, and virtually carb-free, cloud bread is a fantastic low-carb, gluten-free alternative for sandwiches or a light accompaniment.
- Gluten-Free Naan: Soft, chewy, and perfect for scooping up curries or dips, this recipe brings the flavors of Indian cuisine to your gluten-free table.
- Gluten-Free Pita Bread: Create your own fluffy pita pockets, ideal for filling with falafel, gyros, or fresh salads, all while being completely gluten-free.
These recipes prove that going gluten-free doesn’t mean sacrificing the joy and variety of delicious breads. Enjoy exploring new tastes and textures!