
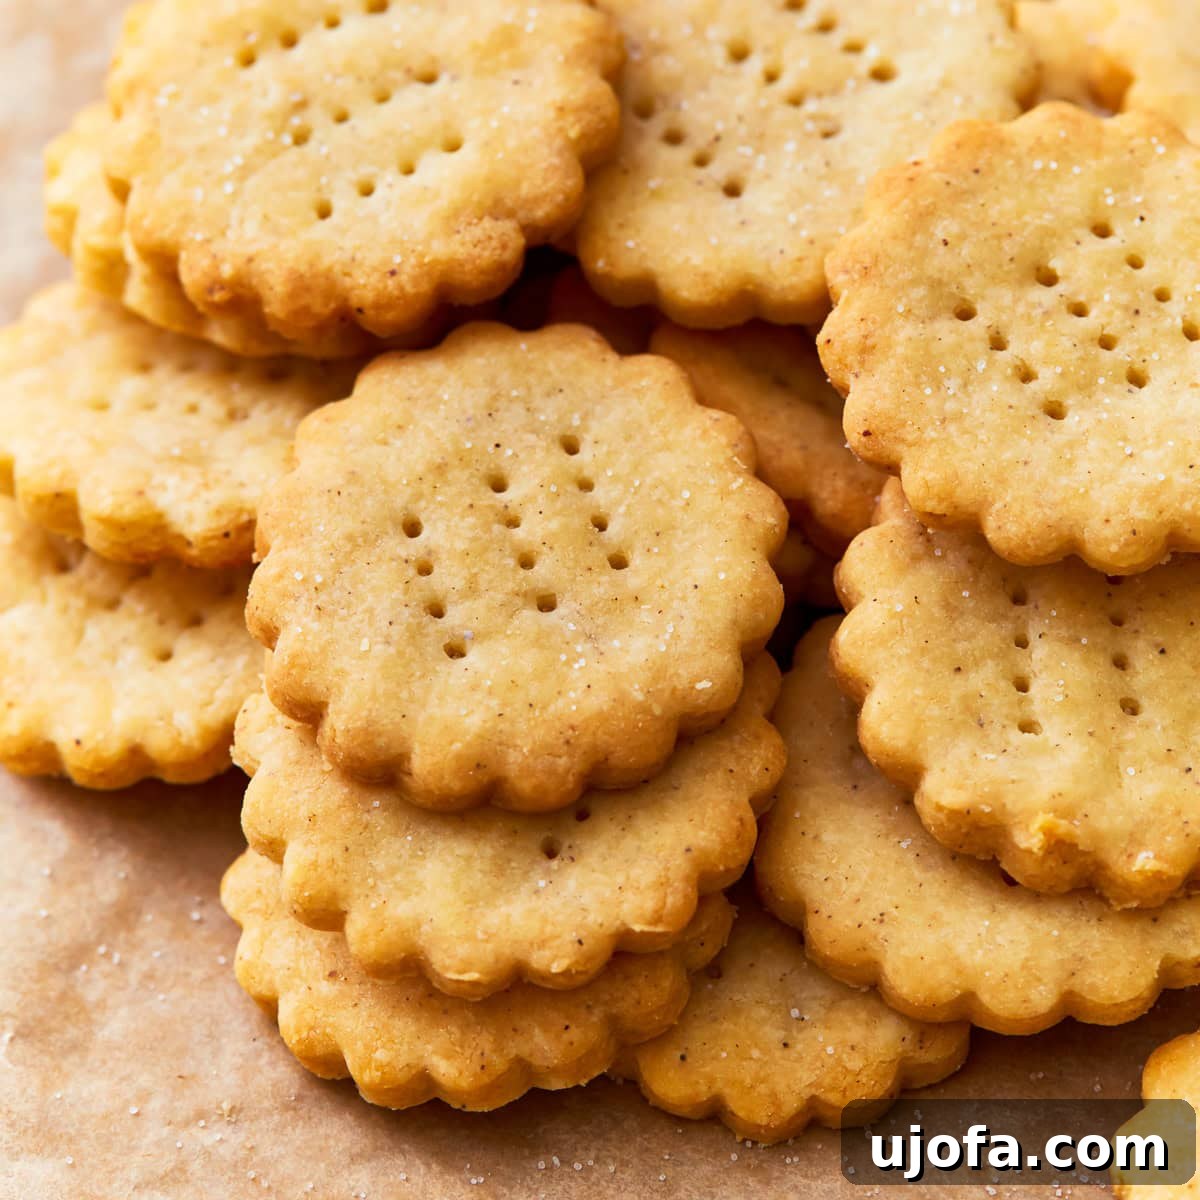
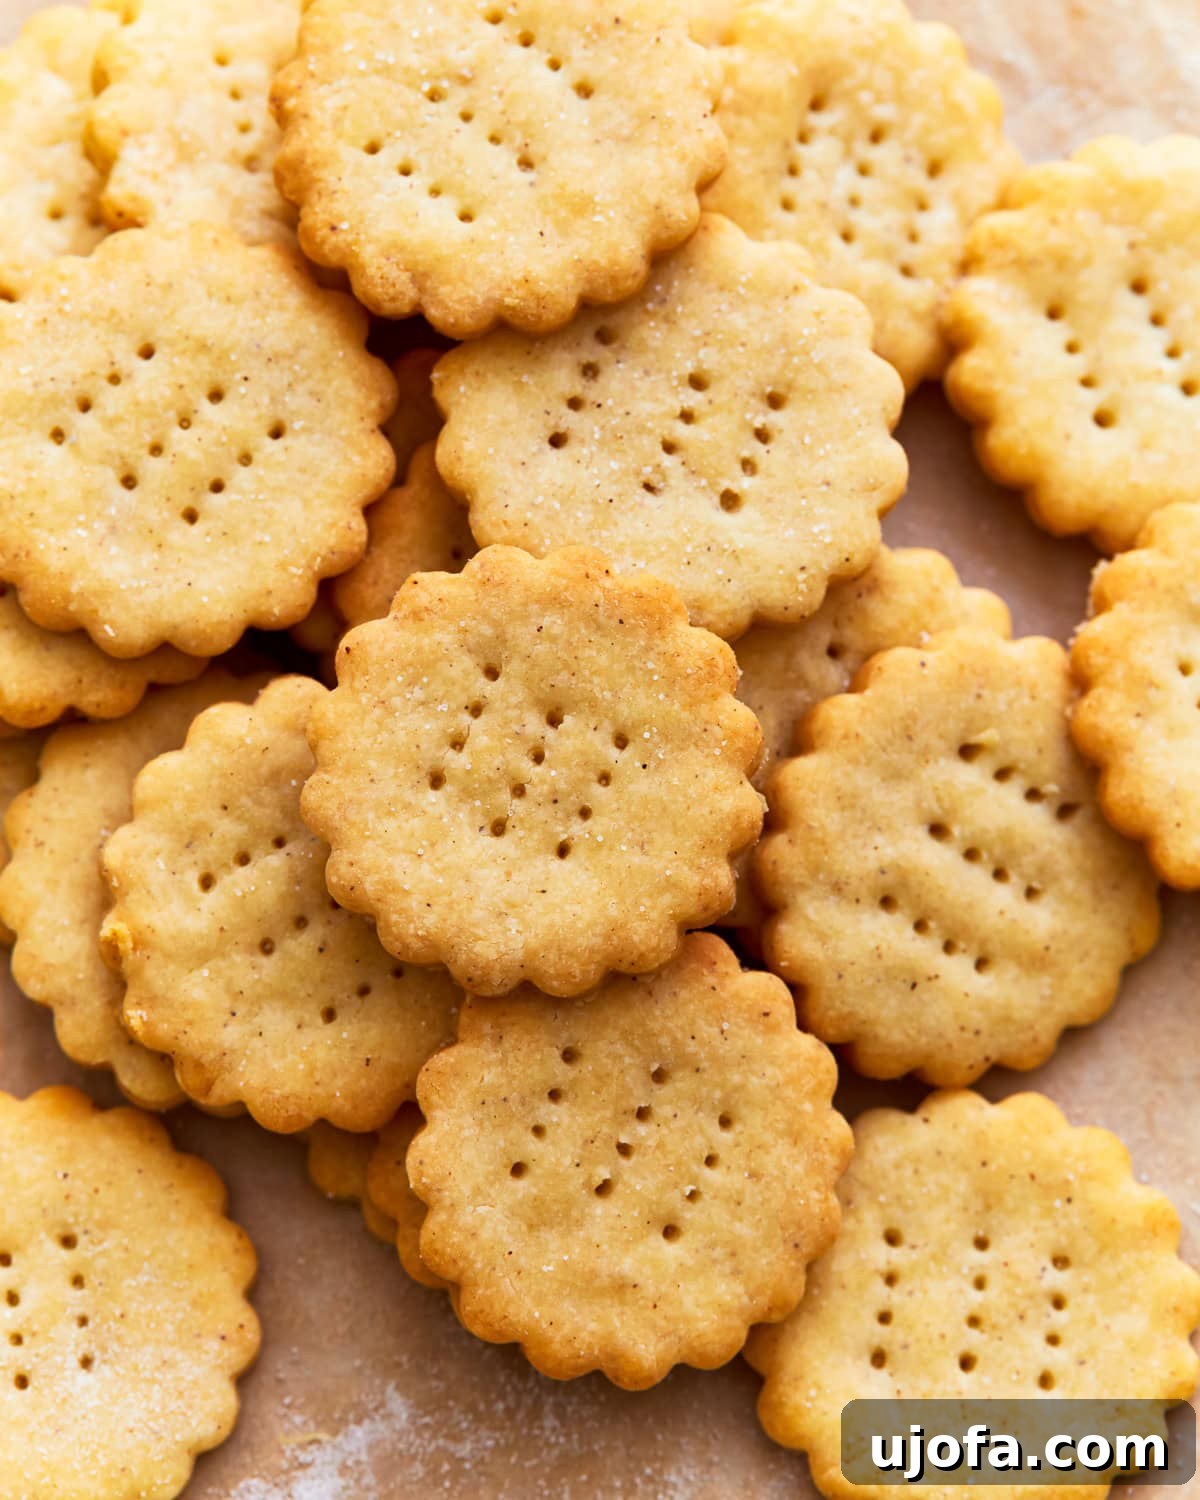
Indulge in the nostalgic delight of homemade gluten-free Ritz crackers! These irresistible crackers boast the perfect balance of buttery richness, satisfying saltiness, and an exquisitely flaky texture that truly mirrors the beloved originals. For anyone navigating a gluten-free lifestyle, this copycat recipe transforms a classic snack into an accessible and utterly delicious treat. Crafted with a straightforward blend of gluten-free flour and other common pantry ingredients, you can effortlessly bring the authentic taste and crunch of Ritz crackers right into your home kitchen. My recipe offers clear, easy-to-follow steps, promising results that are not only achievable but also incredibly flavorful.
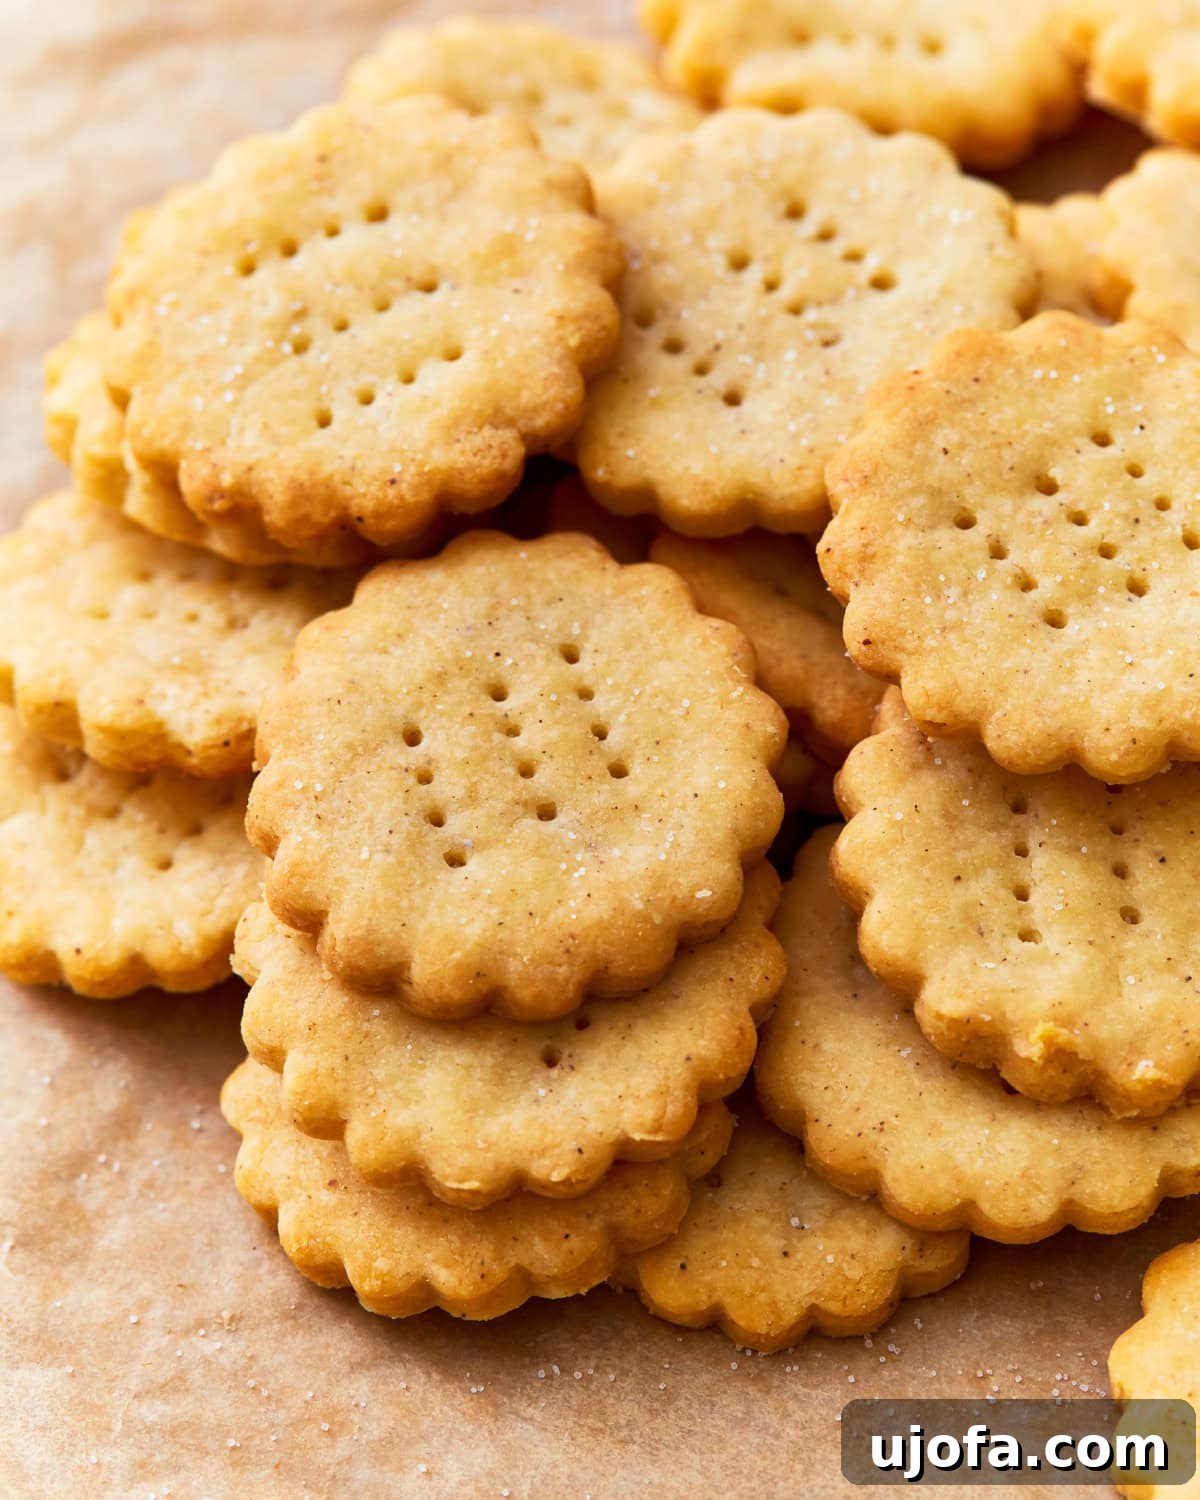
The Ultimate Gluten-Free Ritz Crackers Recipe
There are moments when only a crispy, buttery cracker will satisfy a craving – especially during the festive holiday season or when simply unwinding with a comforting snack. However, the quest for a genuinely delicious and affordably priced gluten-free cracker at the grocery store can often be more challenging than anticipated. Much like our popular gluten-free Cheez-Its recipe and delightful gluten-free Rice Krispies Treats, this recipe is designed to help you recreate a cherished snack in a way that is simple, economical, and bursting with flavor. We meticulously select core ingredients such as a high-quality gluten-free flour blend, xanthan gum for structure, rich butter for that signature flavor, a touch of salt, and a hint of sugar. This careful combination allows us to meticulously replicate the distinct taste and iconic texture of original Ritz crackers, ensuring every bite is a delightful experience.
Why Choose Homemade Gluten-Free Crackers?
Beyond the simple joy of baking, opting for homemade gluten-free crackers offers several significant advantages. Firstly, you gain complete control over the ingredients, ensuring that only the freshest and highest-quality components are used. This is particularly beneficial for those with specific dietary needs or sensitivities. Secondly, homemade versions often surpass store-bought alternatives in flavor and freshness. There’s an undeniable difference in taste and texture when crackers are made from scratch and enjoyed warm from the oven. Lastly, crafting your own gluten-free crackers can be a more budget-friendly option in the long run, as specialized gluten-free products often come with a premium price tag at the supermarket. This recipe empowers you to enjoy your favorite snack without compromise.
Key Ingredients for Perfect Gluten-Free Ritz Crackers
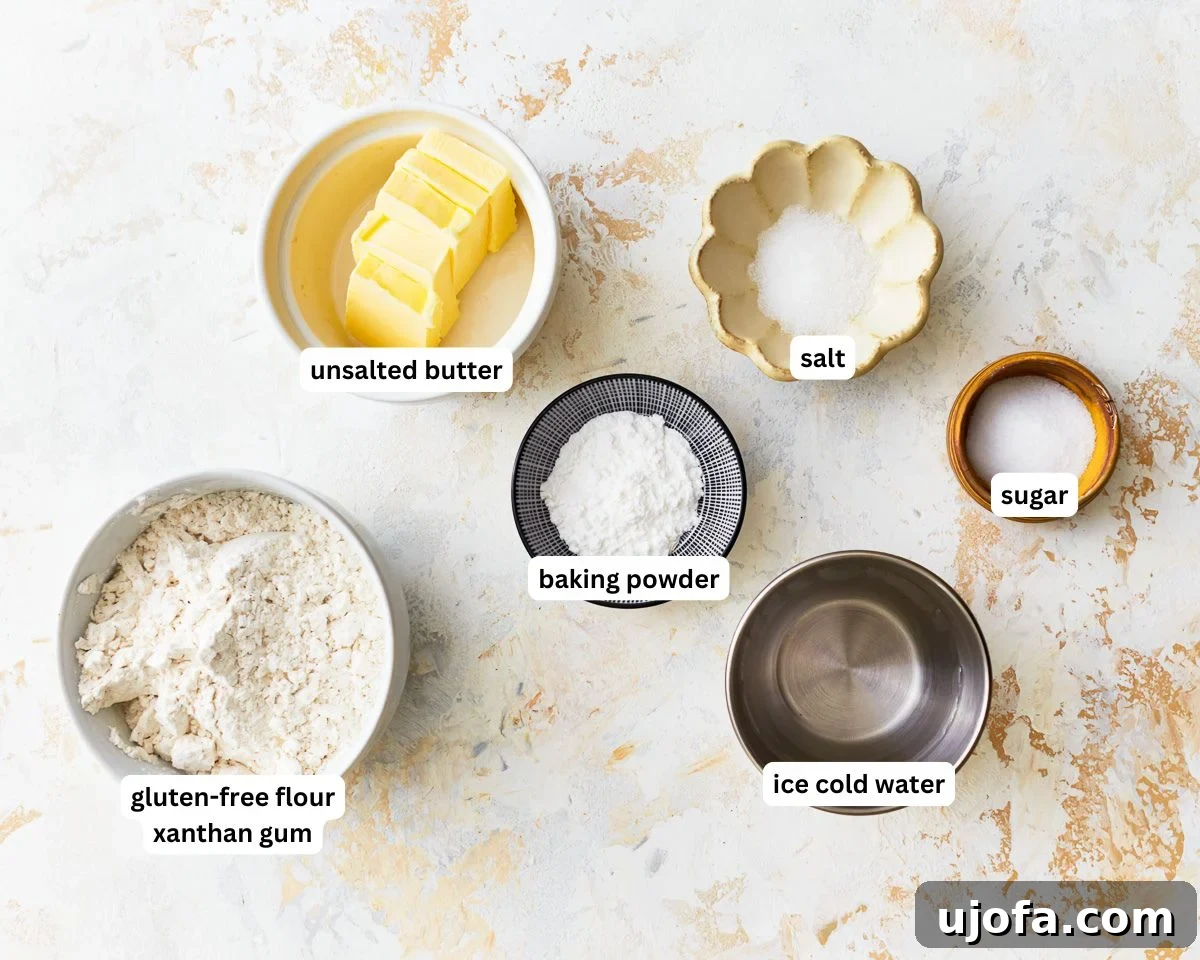
- Gluten-Free All-Purpose Flour: The foundation of our crackers. I recommend using your favorite trusted brand of all-purpose gluten-free flour blend. Look for blends that specifically state “cup-for-cup” or “1-to-1” for best results, as they are formulated to mimic wheat flour in baking. If your chosen blend does not already contain xanthan gum (many do), I have included the precise measurement for adding it separately to ensure the dough has the right elasticity and structure.
- Xanthan Gum: This essential ingredient acts as a binder in gluten-free baking, effectively replacing the gluten found in traditional wheat flour. It’s crucial for providing elasticity to the dough, preventing crumbling, and creating that pliable texture necessary for rolling and cutting. If your gluten-free flour blend already lists xanthan gum as an ingredient, you can safely omit the additional amount specified in this recipe.
- Unsalted Butter: The secret to that unmistakable rich, buttery flavor and the desired flaky texture that Ritz crackers are known for. I prefer unsalted butter as it allows for precise control over the overall salt content of the crackers. However, if salted butter is what you have on hand, it can be used; just be sure to reduce the amount of additional salt in the recipe to avoid over-seasoning. Ensure your butter is very cold and cut into small cubes to facilitate the “cutting in” process, which is vital for flakiness.
- Salt: Absolutely indispensable for achieving that classic savory Ritz cracker taste. The salt enhances all the other flavors and provides the signature seasoning.
- Sugar: A small amount of sugar is included not to make the crackers sweet, but to perfectly balance the saltiness and add a subtle depth of flavor, much like the original recipe. It also contributes to the beautiful golden-brown color during baking.
- Cold Water: This ingredient is vital for bringing the dough together into a cohesive and workable mass, perfect for rolling and shaping. It’s crucial that the water is ice cold; this prevents the butter from melting prematurely and helps maintain the distinct pockets of butter within the dough, which are key to achieving a truly flaky texture.
- Baking Powder: A leavening agent that provides a slight lift to the crackers as they bake, contributing to their delicate crispness and light texture.
Expert Tips for Crafting the Best Gluten-Free Ritz Crackers
- Achieving Optimal Crispness: To ensure your crackers turn out perfectly crisp, exercise caution to avoid overbaking. Overbaking can lead to dry and brittle crackers that lack the desired melt-in-your-mouth quality. Bake them only until they achieve a lightly golden-brown hue and feel firm to the touch. For maximum crispness, I highly recommend allowing them to cool completely on the baking sheet before transferring them. This extra cooling time helps them firm up and prevents them from becoming soft.
- The Importance of Cold Butter: The secret to truly flaky crackers lies in using very cold butter. When cold butter is cut into the flour mixture, it creates small, distinct pockets of butter. As these pockets melt during baking, they release steam, which separates the layers of dough, resulting in that wonderfully flaky texture. Using room temperature butter would result in a less desirable, tougher cracker.
- Don’t Skip the Chilling Time: Chilling the dough for at least 45 minutes (and up to an hour) before rolling it out is a non-negotiable step. This refrigeration period allows the butter to firm up again, making the dough much easier to handle and less sticky. It also gives the gluten-free flour time to fully hydrate, which improves the dough’s texture and prevents excessive spreading during baking.
- Creative Cutting Options: Feel free to personalize your crackers! While a 2-inch scalloped round shape closely mimics the original, you can use any type of cookie cutter, a fluted pastry wheel, or even a sharp knife to cut your dough into unique shapes like squares, rectangles, or even fun animal shapes. Uniformity in size is beneficial for even baking, so aim for similar dimensions for each cracker.
- Prepare Ahead for Convenience: To streamline your baking process, you can prepare the dough in advance. Simply wrap the mixed dough tightly in plastic wrap and store it in the refrigerator for up to 2 days. When you’re ready to bake, just take it out, let it soften slightly if too hard, and proceed with rolling and baking.
- Proper Spacing on the Baking Sheet: It’s crucial to arrange your gluten-free Ritz crackers with adequate space between them on the baking sheet (at least 1 inch apart). This allows for proper air circulation, ensuring that each cracker bakes evenly and crisps up beautifully. Depending on the size of your baking sheet, you will likely need to bake them in multiple batches to avoid overcrowding.
Are Traditional Ritz Crackers Gluten-Free?
No, unfortunately, conventional Ritz crackers are not gluten-free. They are primarily made with wheat flour, which contains gluten, making them unsuitable for individuals with celiac disease or gluten sensitivity. Currently, the Ritz brand itself does not offer any gluten-free cracker varieties on the market. While there are some similar gluten-free options available from other manufacturers, such as Lance Gluten-Free Original crackers, I’ve found that nothing quite compares to the flavor and freshness of homemade. Making gluten-free Ritz crackers at home provides a wonderful opportunity to control all the ingredients, ensuring they meet your dietary needs, and it often proves to be a more cost-effective solution in the long run. Plus, the satisfaction of baking your own is truly unmatched!
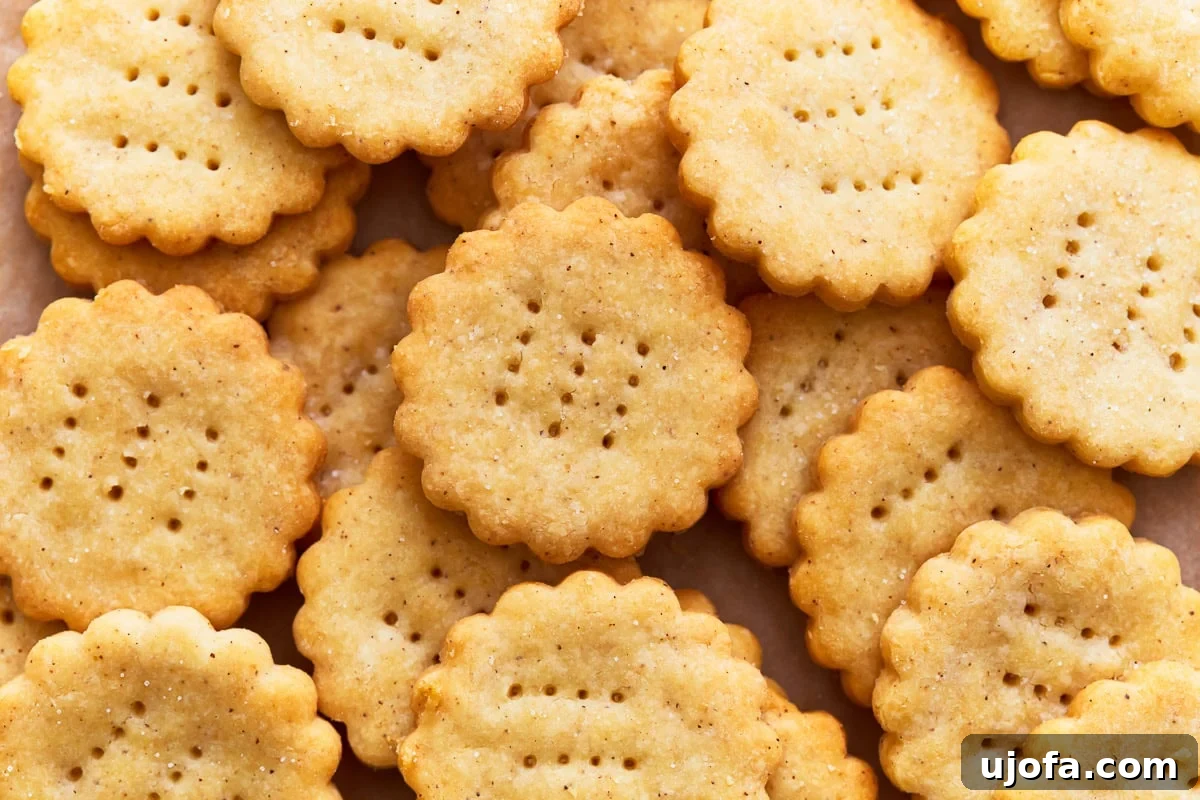
Creative Flavor Enhancements: Personalize Your Crackers!
Absolutely! One of the best aspects of homemade crackers is the freedom to customize their flavor profile. You can easily experiment with a variety of herbs, spices, or seasonings to infuse your crackers with unique and exciting tastes. Consider incorporating grated Parmesan cheese into the dough for a savory, cheesy twist. A pinch of garlic powder or onion powder can add a subtle aromatic depth. For a more sophisticated flavor, try finely chopped fresh rosemary and a sprinkle of flaky sea salt after baking. Other fantastic additions include a hint of smoked paprika for a smoky undertone, a dash of everything bagel seasoning for an all-in-one flavor burst, or even a tiny amount of nutritional yeast for an extra cheesy, umami kick without dairy. Add your chosen enhancements to the dry ingredients before mixing in the butter for even distribution.
Delightful Serving Suggestions for Your Homemade Crackers
While the timeless pairing of cheese and crackers remains an unbeatable classic, these homemade gluten-free Ritz crackers are incredibly versatile and can be enjoyed in countless ways beyond simply snacking on them as-is. Here are some inspiring ideas to elevate your cracker experience:
- Paired with Spreads: Serve them alongside your favorite creamy spreads, such as a vibrant homemade hummus, a rich spinach dip, or freshly smashed avocado seasoned with lime and chili flakes. They also make a fantastic base for creamy cheese spreads or pâtés.
- Crumb Topping & Breading: Crush them up to use as a flavorful substitute for gluten-free breadcrumbs in various recipes. They work wonderfully as a crispy topping for casseroles, a binder for meatloaf or meatballs, or as a crunchy coating for dishes like gluten-free stuffed mushrooms.
- Mini Sandwiches & Appetizers: Create delightful mini ‘sandwiches’ by filling two crackers with your choice of gluten-free ingredients. Think thinly sliced deli meat and cheese, a dollop of peanut butter with a touch of jelly, or even a fresh cucumber slice with cream cheese and dill for a light bite.
- Soup & Salad Accompaniment: Transform them into delicious croutons by lightly toasting them and sprinkling them over a fresh green salad or floating them in a warm bowl of gluten-free tomato soup. Their buttery flavor adds a wonderful complement to many soups.
- Dip Delights: These crackers are perfect for dipping! Pair them with warm and cheesy concoctions like hot spinach dip, a zesty salsa, creamy guacamole, or a hearty baked buffalo chicken dip.
- Cheese Board Essential: Arrange them beautifully on a charcuterie or cheese board alongside an assortment of gluten-free cheeses, fresh fruits, nuts, and jams for an elegant presentation.
Storing Your Homemade Gluten-Free Crackers
To maintain their optimal freshness and crispness, allow your cooled crackers to come to room temperature completely before storing them. Once cooled, transfer them to an airtight container. They will remain wonderfully crisp and delicious for up to 5 days when stored at room temperature. It’s important to note that, like most homemade crackers, they may gradually lose some of their initial crispness over time due to moisture exposure. For the best flavor and texture, it’s recommended to enjoy them within a few days of baking.
For longer-term storage, these baked crackers can also be frozen. Place them in a single layer in an airtight, freezer-safe container or a heavy-duty freezer bag. They can be stored in the freezer for up to 3 months without compromising quality. When you’re ready to enjoy them again, simply thaw them at room temperature for a few hours before serving. You can also briefly warm them in a low oven to help restore some of their crispness.
Discover More Delicious Gluten-Free Snacks!
If you loved making these gluten-free Ritz crackers, you’ll be thrilled to explore our other fantastic gluten-free snack recipes designed for delicious and worry-free indulgence. Expand your repertoire with these crowd-pleasing options:
- Homemade Gluten-Free Graham Crackers
- Soft and Chewy Gluten-Free Pretzels
- Crispy Gluten-Free Mozzarella Sticks
- Authentic Pandebono (Colombian Cheese Bread)
- Wholesome Gluten-Free Granola Bars
Gluten-Free Ritz Crackers
Ingredients
- 1 cup gluten-free all-purpose flour
- ½ teaspoon xanthan gum, omit if your blend already contains it
- 1 ½ teaspoons baking powder
- 1 teaspoon sugar
- 1 teaspoon salt
- 5 tablespoons cold, unsalted butter, cut into cubes
- ⅓ cup ice cold water
Instructions
-
Preheat your oven to 400°F (204°C). Line a baking sheet with parchment paper or a silicone mat.
-
In a large bowl, whisk together the gluten-free flour, xanthan gum (if using), baking powder, sugar, and salt.
-
Add the cold, cubed butter to the dry ingredients and use a pastry cutter or two forks to cut the butter into the flour mixture until it resembles coarse crumbs.
-
Pour in the ice cold water and use a fork to gently mix the dough until it comes together into a shaggy ball. Turn the dough onto a lightly floured surface and knead gently for about 1 minute until smooth. Wrap in plastic wrap and chill for 45-60 minutes in the fridge.
-
Roll out the dough into a rectangle, approximately 1/4 inch thick.
-
Using a sharp knife or cookie cutter, cut the dough into rounds, squares or rectangles, about 2 inches in size.
-
Transfer the cut crackers to the prepared baking sheet, spacing them about 1 inch apart. Prick the top of each cracker with a fork to create a decorative pattern.
-
Bake the crackers for 12-15 minutes, or until they are lightly golden brown and crisp.
-
Remove the crackers from the oven, brush with (optional) melted butter and sprinkle with salt if desired, and let them cool completely on the baking sheet.
-
Serve and enjoy.
Notes
- Ensure both the butter and water are ice cold before combining them with the other ingredients. This is key for developing a flaky texture.
- Avoid overcrowding the baking sheet. For optimal crispness and even baking, you will likely need to bake these crackers in several batches.
- The cracker dough can be prepared up to 2 days in advance. Store it securely wrapped in plastic wrap in the refrigerator until you are ready to roll and bake.
- To Store: Once completely cooled, keep the crackers in an airtight container at room temperature for up to 5 days. For best crispness, enjoy within the first few days.
- To Freeze: For longer storage, transfer baked and cooled crackers to a freezer-safe bag or container. They can be frozen for up to 3 months. Thaw at room temperature before serving.
- Mama says, “Always check all of your labels for hidden gluten!”
Nutrition
Calories: 39 kcal
Carbohydrates: 4 g
Protein: 1 g
Fat: 3 g
Saturated Fat: 1 g
Polyunsaturated Fat: 0.1 g
Monounsaturated Fat: 1 g
Trans Fat: 0.1 g
Cholesterol: 6 mg
Sodium: 126 mg
Potassium: 1 mg
Fiber: 1 g
Sugar: 0.3 g
Vitamin A: 73 IU
Calcium: 19 mg
Iron: 0.2 mg
Nutrition information is automatically calculated and should be used as an approximation. Individual results may vary.
Additional Info
How to Make Gluten-Free Ritz Crackers: A Visual Step-by-Step Guide
Follow these detailed steps to create your own batch of perfectly flaky and buttery gluten-free Ritz crackers. Each step is designed for clarity, ensuring a successful baking experience.
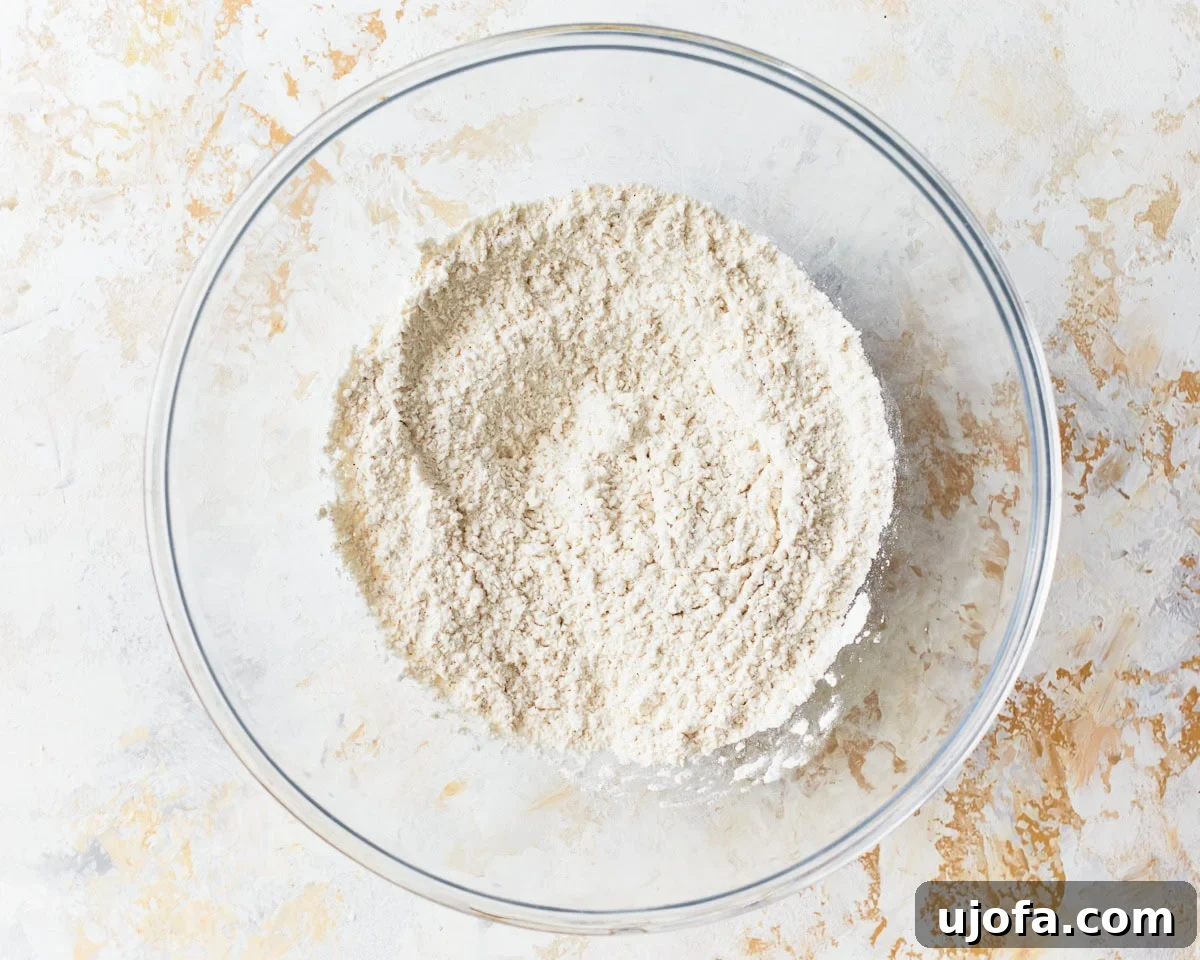
Step 1: Prepare Your Workspace. Begin by preheating your oven to 400°F (204°C). This ensures the oven is at the correct temperature when your crackers are ready. Line a standard baking sheet with parchment paper or a silicone mat to prevent sticking and aid in easy cleanup. In a large mixing bowl, thoroughly whisk together 1 cup of all-purpose gluten-free flour, the measured xanthan gum (if your blend doesn’t contain it), 1 ½ teaspoons of baking powder, 1 teaspoon of sugar, and 1 teaspoon of salt. Ensure all dry ingredients are well combined.
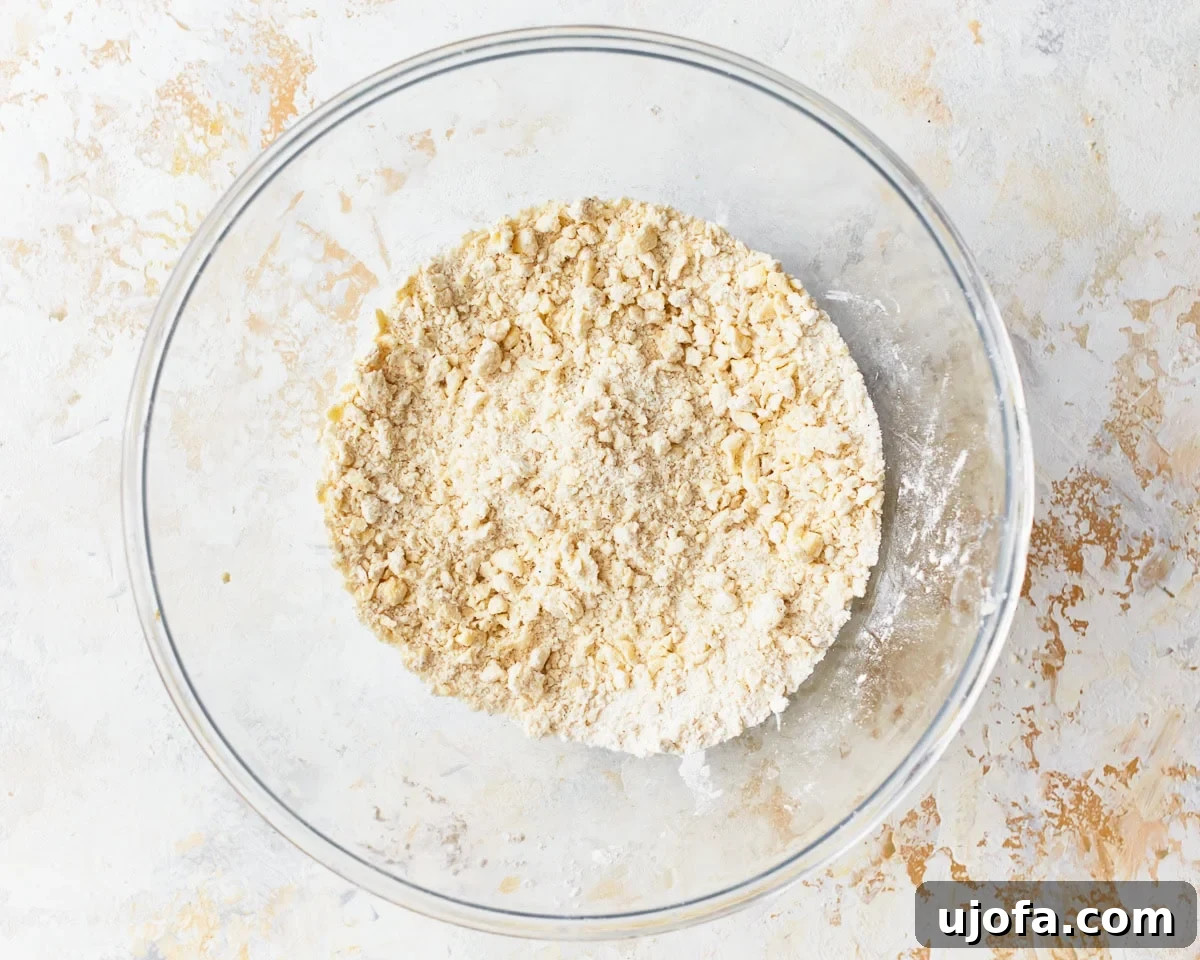
Step 2: Incorporate the Cold Butter. Add 5 tablespoons of cold, unsalted butter, cut into small cubes, to the bowl with the dry ingredients. Using a pastry cutter, two forks, or even your fingertips (working quickly to keep the butter cold), cut the butter into the flour mixture. Continue this process until the mixture resembles coarse crumbs, with some pea-sized pieces of butter still visible. This is crucial for creating that flaky texture.
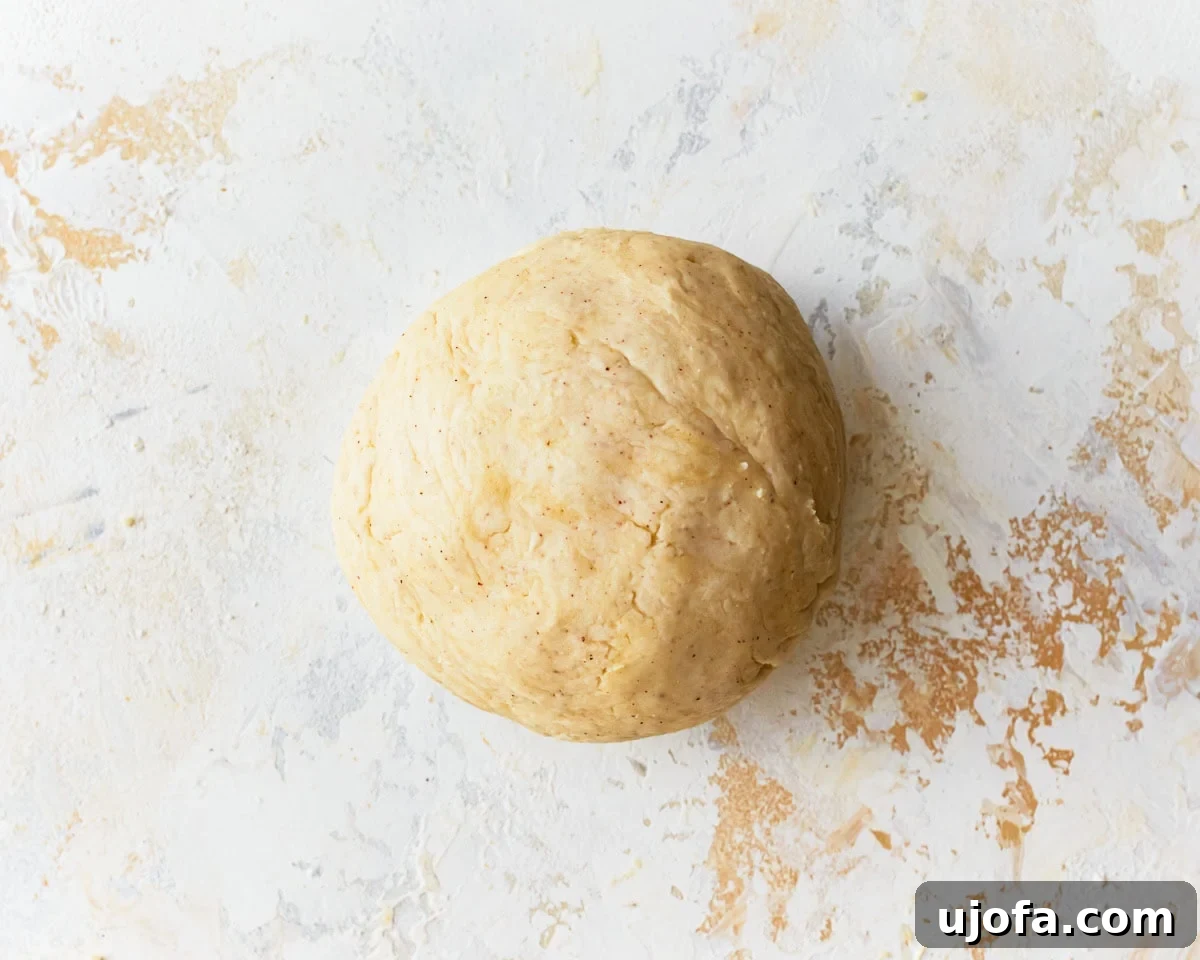
Step 3: Form the Dough. Gently pour in ⅓ cup of ice cold water. Use a fork to mix the ingredients lightly until the dough just begins to come together into a shaggy, somewhat crumbly ball. Avoid overmixing. Turn the dough out onto a lightly floured surface (using a bit of your gluten-free flour) and knead it gently for approximately 1 minute. This light kneading will help the dough become smooth and uniform without developing gluten.
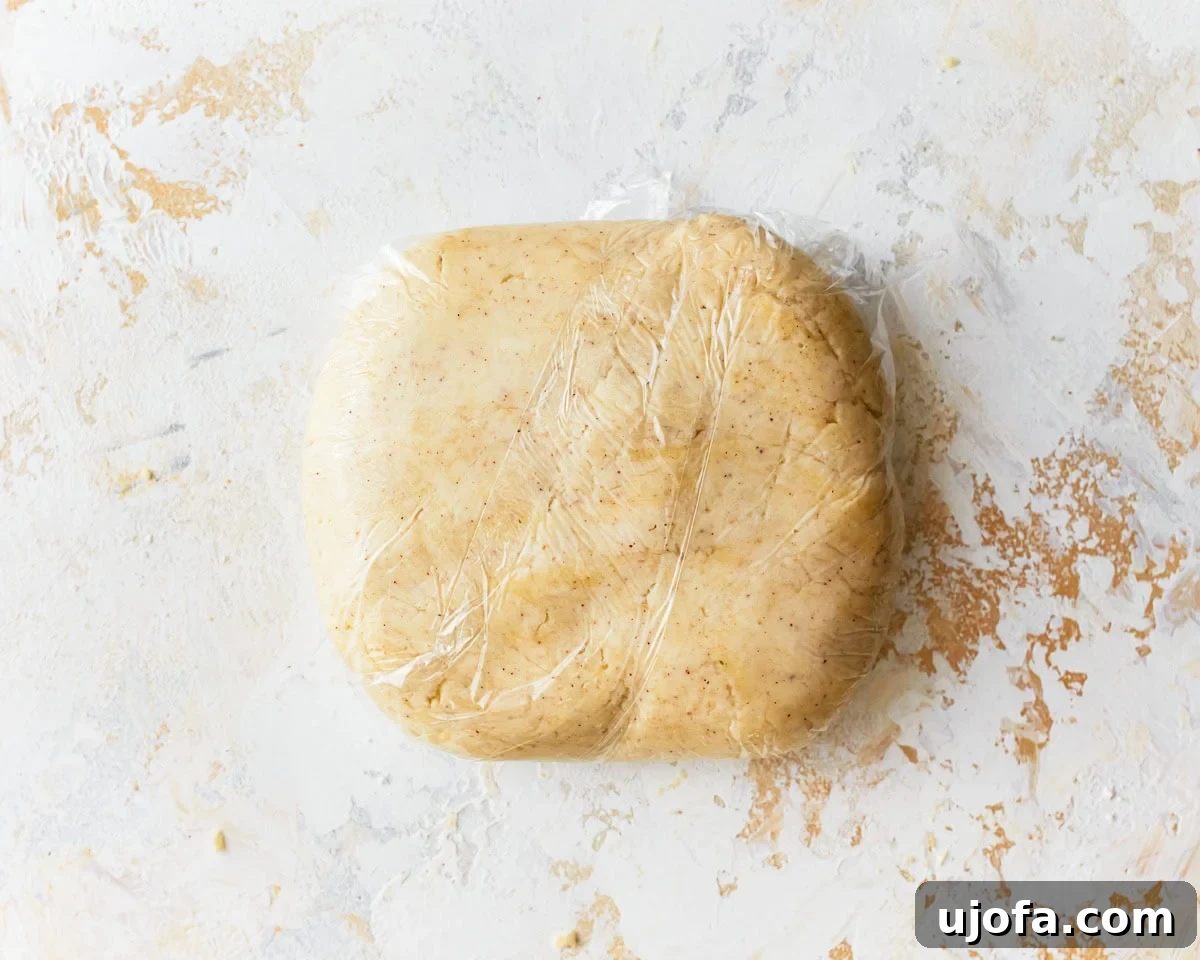
Step 4: Chill the Dough. Once the dough is smooth, wrap it tightly in plastic wrap. Place the wrapped dough in the refrigerator and chill for a minimum of 45 minutes, or up to 60 minutes. This chilling period is essential; it allows the butter to re-solidify and the flour to fully hydrate, making the dough much easier to roll out and preventing stickiness.
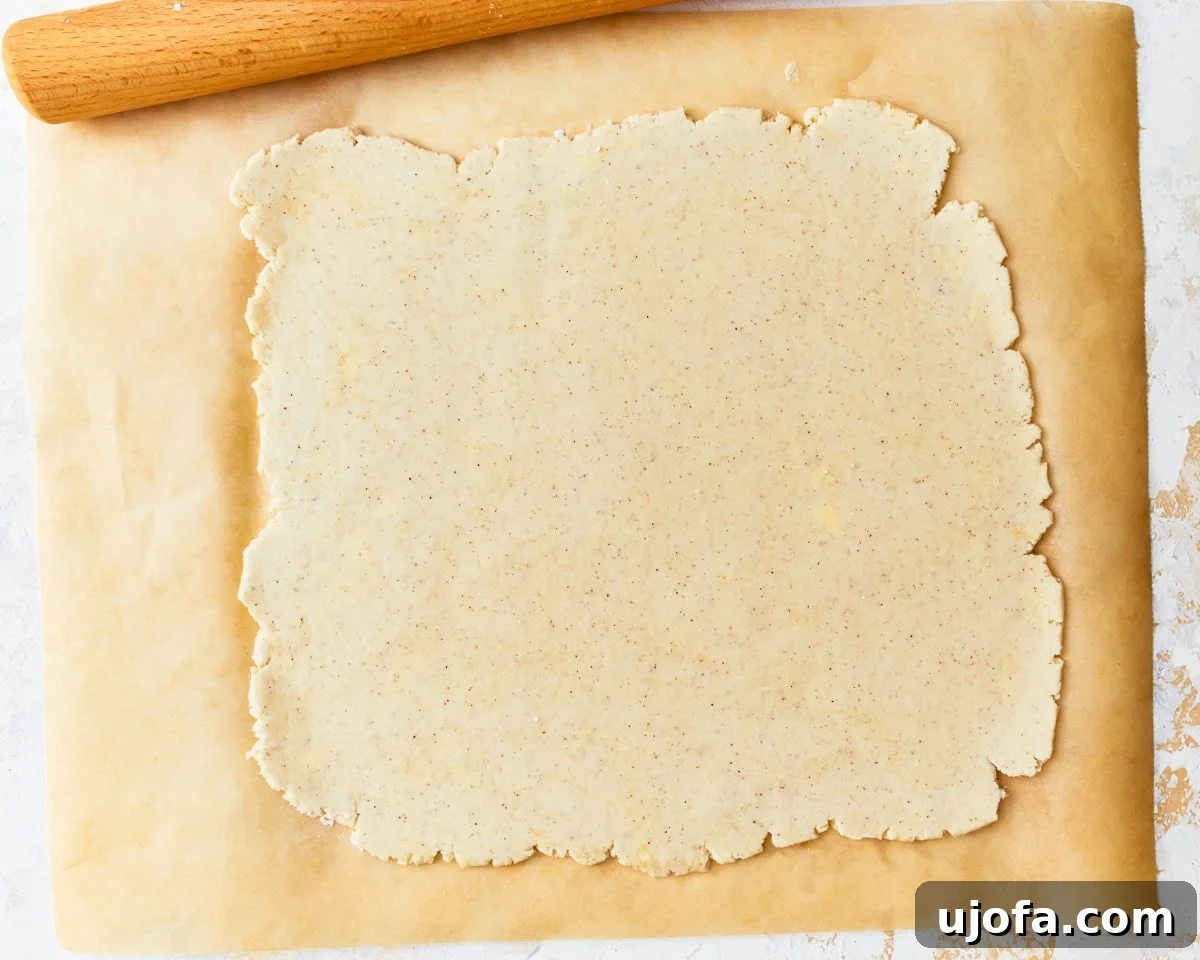
Step 5: Roll Out the Dough. Remove the chilled dough from the refrigerator. On a lightly floured surface (or between two sheets of parchment paper for easier handling), roll out the dough into a uniform rectangle. Aim for a thickness of approximately ¼ inch. Try to keep the thickness consistent across the entire rectangle for even baking.
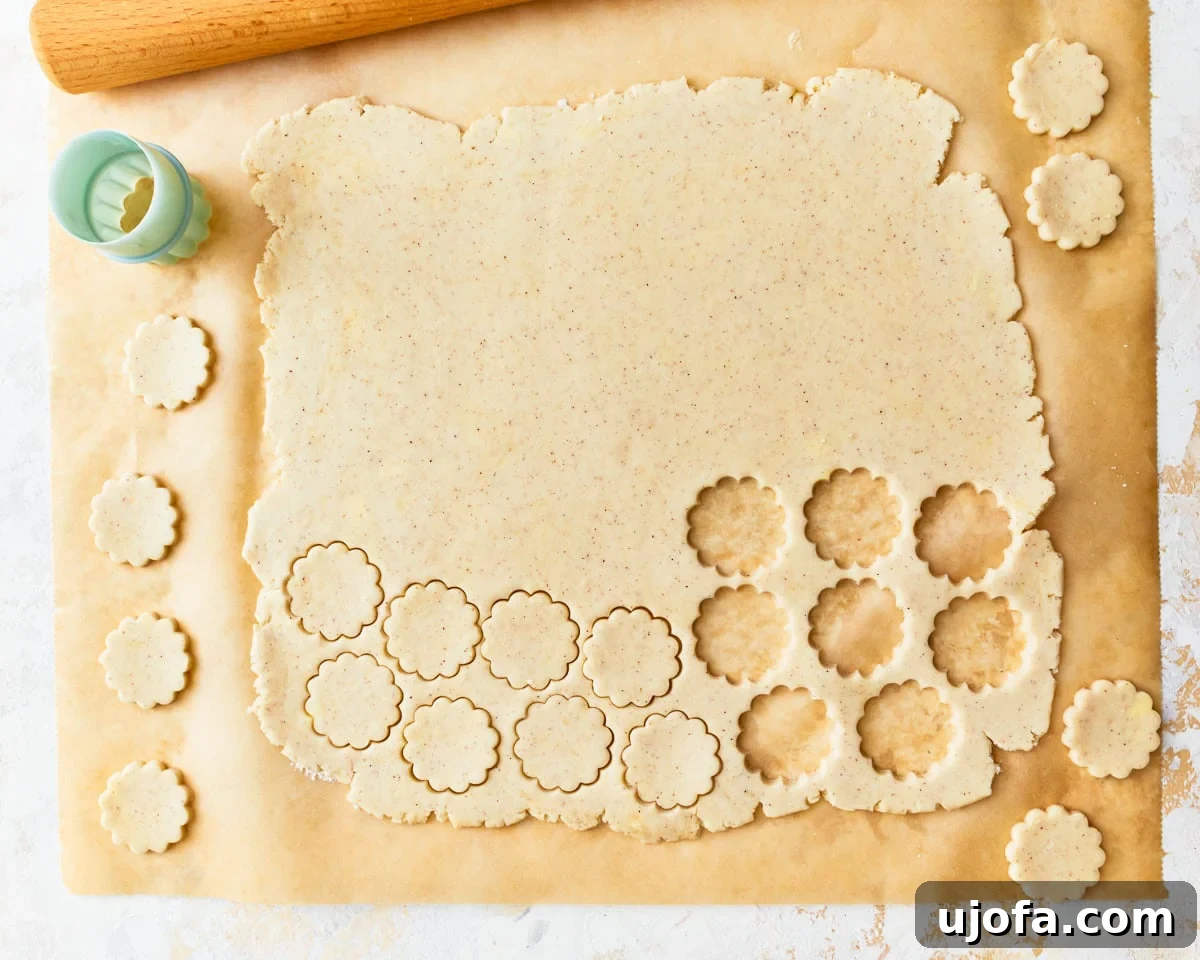
Step 6: Cut the Crackers. Using a sharp knife, a pizza cutter, or your preferred cookie cutter (a 2-inch scalloped round is traditional), cut the dough into individual cracker shapes. These can be rounds, squares, or rectangles, roughly 2 inches in size. Gather any dough scraps, gently re-roll them, and cut out more crackers until all dough is used. Try to make the cracker sizes as consistent as possible for even baking.
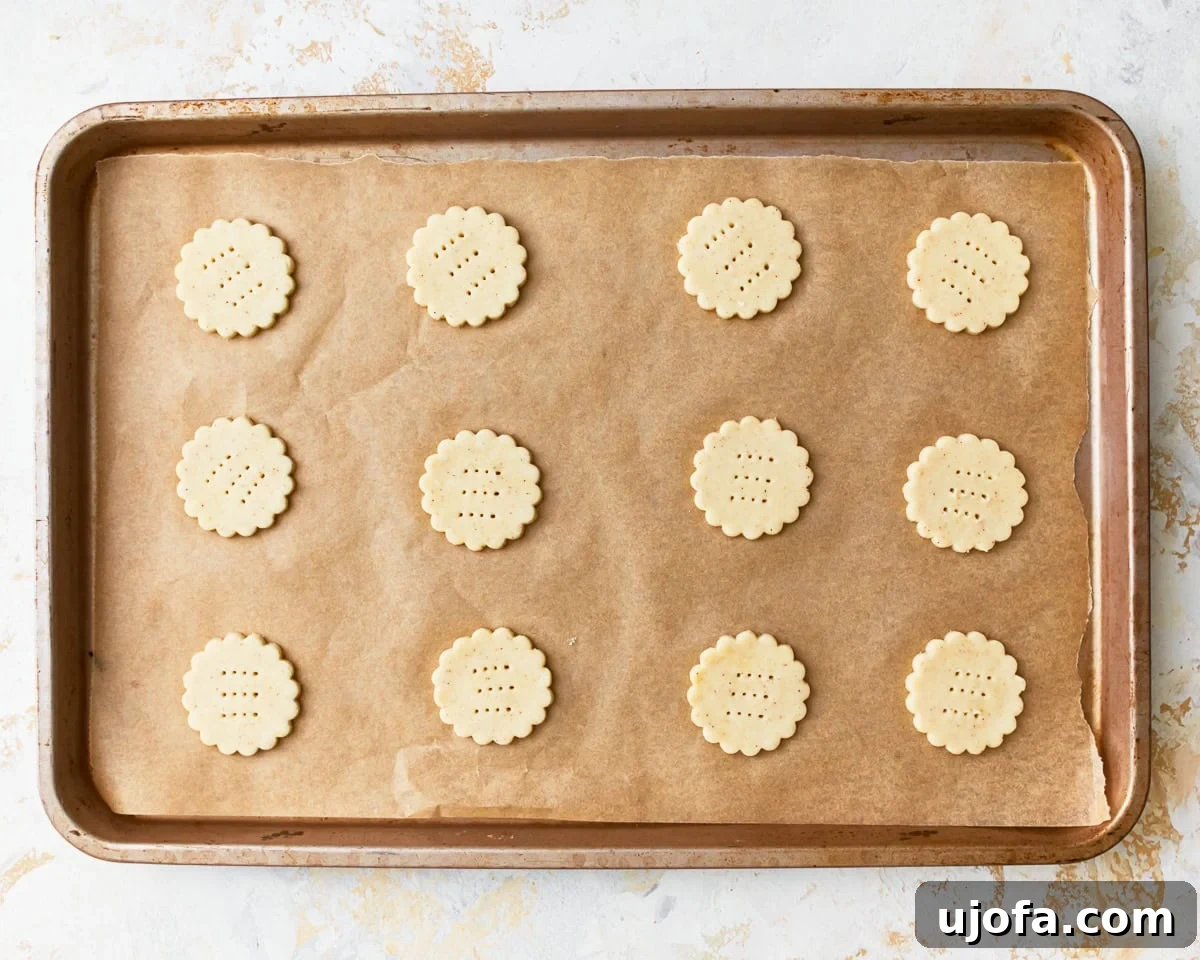
Step 7: Prepare for Baking. Carefully transfer the cut cracker shapes to the prepared baking sheet. Ensure they are spaced about 1 inch apart to allow for proper airflow and even baking; you may need to use a second baking sheet or bake in batches. To create the iconic Ritz cracker pattern and help prevent puffing, gently prick the top of each cracker several times with the tines of a fork.
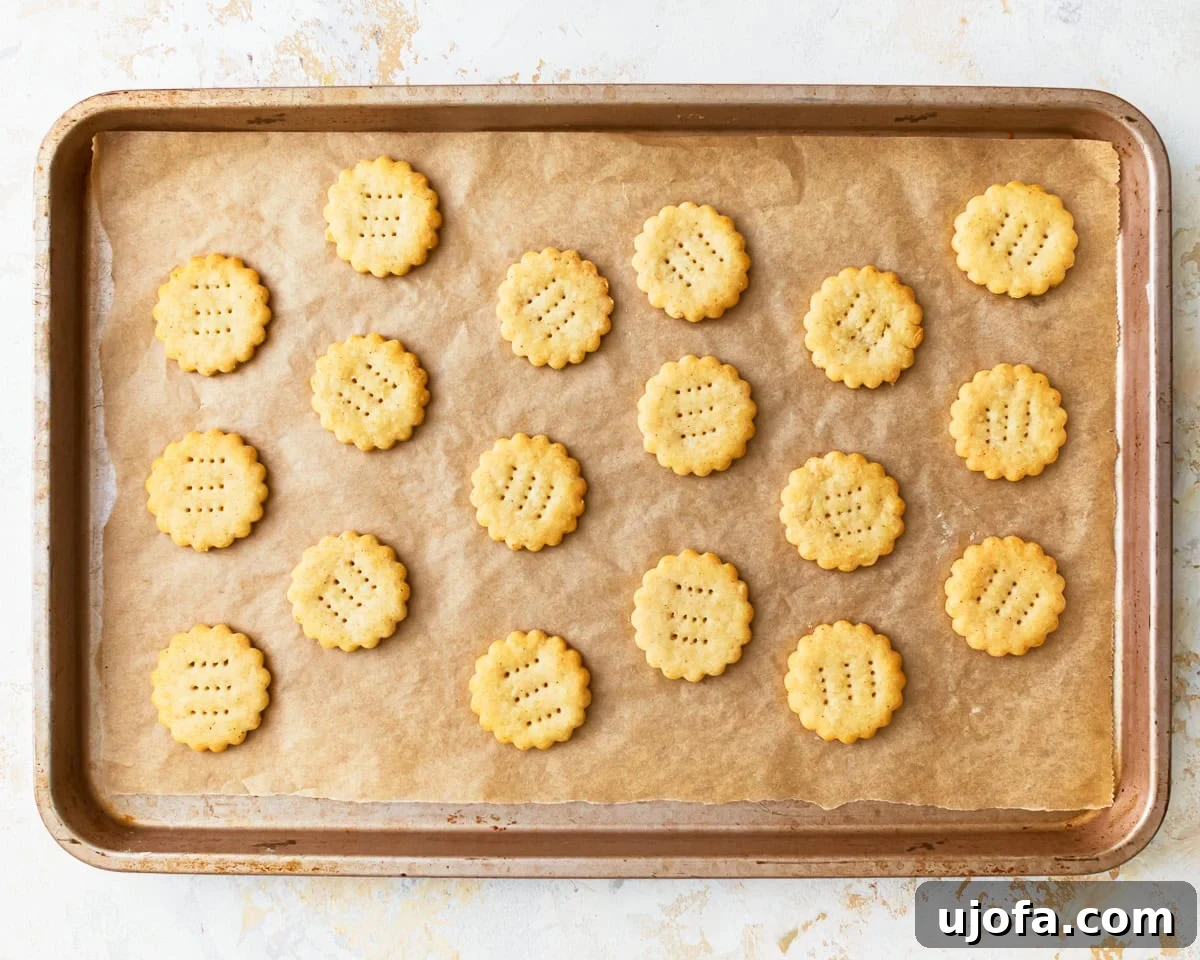
Step 8: Bake and Finish. Place the baking sheet in the preheated oven and bake for 12-15 minutes. Keep a close eye on them, as baking times can vary. The crackers are ready when they are lightly golden brown around the edges and feel crisp. Remove the crackers from the oven. For an extra boost of buttery flavor and shine (optional), you can immediately brush them with 2 tablespoons of melted unsalted butter and sprinkle with a little extra salt while they’re still warm. Let them cool completely on the baking sheet to achieve maximum crispness. Once cooled, serve and enjoy your homemade gluten-free Ritz crackers!