

Indulge in the ultimate gluten-free treat with these exquisitely tender and buttery blueberry scones, crowned with a vibrant, sweet-tart lemon glaze. This recipe transforms simple pantry staples into incredibly fluffy, homemade scones that boast crisp, golden edges and a delightful burst of juicy blueberries in every bite. Whether you’re a seasoned gluten-free baker or just starting your journey, this easy-to-follow guide will help you create a bakery-worthy breakfast or brunch sensation that will impress everyone.

“These were very good! We used fresh blueberries. We’ll definitely be making these again. Thank you for this and all the GF recipes!”
Rachael
Gluten-Free Blueberry Scones: A Recipe You’ll Cherish
My culinary journey with scones began somewhat recently, inspired by my love for other classic baked goods like gluten-free biscuits and gluten-free muffins. The allure of this British classic, with its rustic charm and comforting texture, quickly captivated me. After some experimentation, I’ve perfected a method that consistently delivers moist, crumbly, and utterly delicious gluten-free scones, complete with that irresistible buttery goodness.
What makes these blueberry scones truly special isn’t just their incredible taste, but their accessibility. The ingredients are straightforward, likely already found in the pantry of any dedicated gluten-free baker. The magic, however, lies in the technique. While baking scones might seem intimidating, I promise you, with a bit of precision and these detailed steps, you’ll achieve perfect results every time. This recipe offers a delightful challenge for passionate bakers, culminating in tender, flavor-packed blueberry scones that are an absolute joy to eat.
Why You’ll Love This Gluten-Free Scone Recipe
- Perfectly Crumbly & Flaky: Achieve that coveted light, airy interior and golden, slightly crisp exterior.
- Bursting with Flavor: Sweet blueberries meet tangy lemon glaze for a harmonious taste experience.
- Easy to Make: Designed for home bakers, this recipe simplifies the scone-making process.
- Simple Ingredients: Uses common gluten-free staples, making it convenient.
- Dairy-Free Option: Easily adaptable for those with dairy sensitivities.
- Crowd-Pleaser: Ideal for breakfast, brunch, or an afternoon tea treat.
4.88 from 147 votes
Gluten-Free Blueberry Scones
Audrey Roberts
8 scones
8 mins
20 mins
28 mins
Share by Email
Print Recipe

Crumbly and soft gluten-free blueberry scones with a sweet and tangy lemon glaze. These scones are made with a few simple ingredients and a classic baking method that yields the fluffiest homemade scones. Buttery layer, crisp edges, and bursting blueberries in every bite.
Step-by-step photos can be seen below the recipe card.
Ingredients
For the Scones:
- ½ cup unsalted butter, diced and really cold (for dairy-free, use Smart Balance butter or your preferred dairy-free stick butter alternative)
- 3 cups gluten-free all-purpose flour (I recommend Pillsbury gluten-free or a similar blend with a good balance of starches and flours for best results)
- ¾ tsp xanthan gum (omit if your chosen gluten-free flour blend already contains it)
- ⅓ cup granulated sugar
- 2 tbsp gluten-free baking powder (ensure it’s fresh for maximum lift)
- ½ tsp salt
- 1 tbsp dried lemon peel (or fresh lemon zest from 1-2 lemons for a brighter flavor)
- ¾ cup buttermilk (to make your own, add 1 tbsp white vinegar or lemon juice to regular milk and let it sit for 5-10 minutes; for dairy-free, use ¾ tbsp white vinegar with almond, cashew, or coconut milk)
- 2 large eggs, whisked
- 1 cup fresh or frozen blueberries (do not thaw if using frozen)
- 2 tbsp milk (for brushing, dairy-free use almond, cashew, or coconut milk)
For the Lemon Glaze:
- 1 cup confectioners’ sugar (also known as powdered sugar)
- 1 tbsp lemon juice (freshly squeezed for best flavor)
- ½ tsp pure vanilla extract
- 1 tbsp water (add more in small increments if needed to reach desired consistency)
Metric
Instructions
- Prepare Oven & Butter: Preheat your oven to 425°F (218°C). Line a large baking sheet with parchment paper. Cut the ½ cup of unsalted butter into small, ½-inch cubes and place them in the freezer for at least 10 minutes to ensure they are thoroughly chilled.
- Make Buttermilk (if needed): If you don’t have store-bought buttermilk, create your own. Add 1 tablespoon of white vinegar or lemon juice to ¾ cup of regular milk. Stir gently and let it sit for 5-10 minutes in the refrigerator to keep it cold and allow it to curdle slightly. For a dairy-free version, add ¾ tablespoon of white vinegar to ¾ cup of almond, cashew, or coconut milk.
- Combine Dry Ingredients: In a large mixing bowl, combine the 3 cups of gluten-free all-purpose flour, ¾ teaspoon xanthan gum (if your flour blend doesn’t already contain it), ⅓ cup granulated sugar, 2 tablespoons gluten-free baking powder, ½ teaspoon salt, and 1 tablespoon dried lemon peel (or fresh lemon zest). Whisk these dry ingredients together thoroughly to ensure even distribution.
- Cut in Butter: Remove the chilled, diced butter from the freezer. Add it to the dry ingredients. Using a pastry cutter, two forks, or your fingertips, work the cold butter into the flour mixture until it resembles coarse crumbs, with some pieces of butter no larger than small peas. The key is to keep the butter as cold as possible to create flaky layers in the scones.
- Add Wet Ingredients & Form Dough: In a separate small bowl, whisk the 2 large eggs into the prepared cold buttermilk. Pour this wet mixture into the flour and butter mixture. Stir gently with a spoon or spatula until a soft, shaggy dough begins to form. Be careful not to overmix the dough, as overworking it can lead to tough scones. The dough will be sticky, which is normal for gluten-free scone dough.
- Fold in Blueberries: Carefully and gently fold in the 1 cup of fresh or frozen blueberries. Avoid crushing them. If using frozen blueberries, do not thaw them beforehand.
- Shape the Dough: Lightly dust a large piece of parchment paper with about 1 tablespoon of gluten-free flour. Transfer the sticky dough onto the floured parchment paper. Dust the top of the dough with another tablespoon of flour. Gently fold the dough over on itself twice: first, fold one half over the other, then fold it in half again. This technique helps create layers.
- Form & Cut Scones: With floured hands, gently press the dough into a round disk, approximately 7 inches in diameter and about 2 inches thick. It’s crucial not to make it too thin or too wide, as this will result in flat, less impressive scones. Briefly run a sharp knife under warm water (this helps prevent sticking) and cut the dough round in half. Then, cut each half into four equal triangular slices, resulting in 8 scones in total.
- Bake the Scones: Carefully transfer the 8 dough triangles to your parchment-lined baking sheet, leaving some space between them. Using a pastry brush, lightly brush the tops of each scone with the 2 tablespoons of milk (dairy or dairy-free). This milk wash helps them achieve a beautiful golden-brown crust. Bake for 15-20 minutes, or until the tops are golden brown and a skewer inserted into the center comes out clean.
- Prepare the Lemon Glaze: While the scones are baking, combine 1 cup confectioners’ sugar, 1 tablespoon fresh lemon juice, ½ teaspoon pure vanilla extract, and 1 tablespoon water in a small bowl. Whisk until the mixture is smooth and has a pourable, yet thick, consistency. Add a tiny bit more water if it’s too thick, or more confectioners’ sugar if it’s too thin.
- Glaze & Serve: Once the scones are baked, remove them from the oven and let them cool slightly on the baking sheet. While they are still warm, generously drizzle the lemon glaze over each scone. Serve immediately and enjoy the delightful combination of warm, tender scone and tangy-sweet glaze!
Nutrition Information (Approximate per scone)
Calories: 389 kcal
Carbohydrates: 61 g
Protein: 7 g
Fat: 15 g
Saturated Fat: 8 g
Polyunsaturated Fat: 1 g
Monounsaturated Fat: 4 g
Trans Fat: 0.5 g
Cholesterol: 74 mg
Sodium: 604 mg
Potassium: 74 mg
Fiber: 5 g
Sugar: 28 g
Vitamin A: 468 IU
Vitamin C: 3 mg
Calcium: 249 mg
Iron: 2 mg
Nutrition information is automatically calculated and should only be used as an approximation. Actual values may vary based on ingredients and preparation methods.
Additional Info
Baking, Breakfast
British
Tried this recipe?
Mention @mamaknowsglutenfree or tag #mamaknowsglutenfree!
How to Make Gluten-Free Blueberry Scones Step by Step
Visual learners, rejoice! Here’s a detailed breakdown with photos to guide you through each stage of making these delectable gluten-free blueberry scones. Follow along for perfect results.
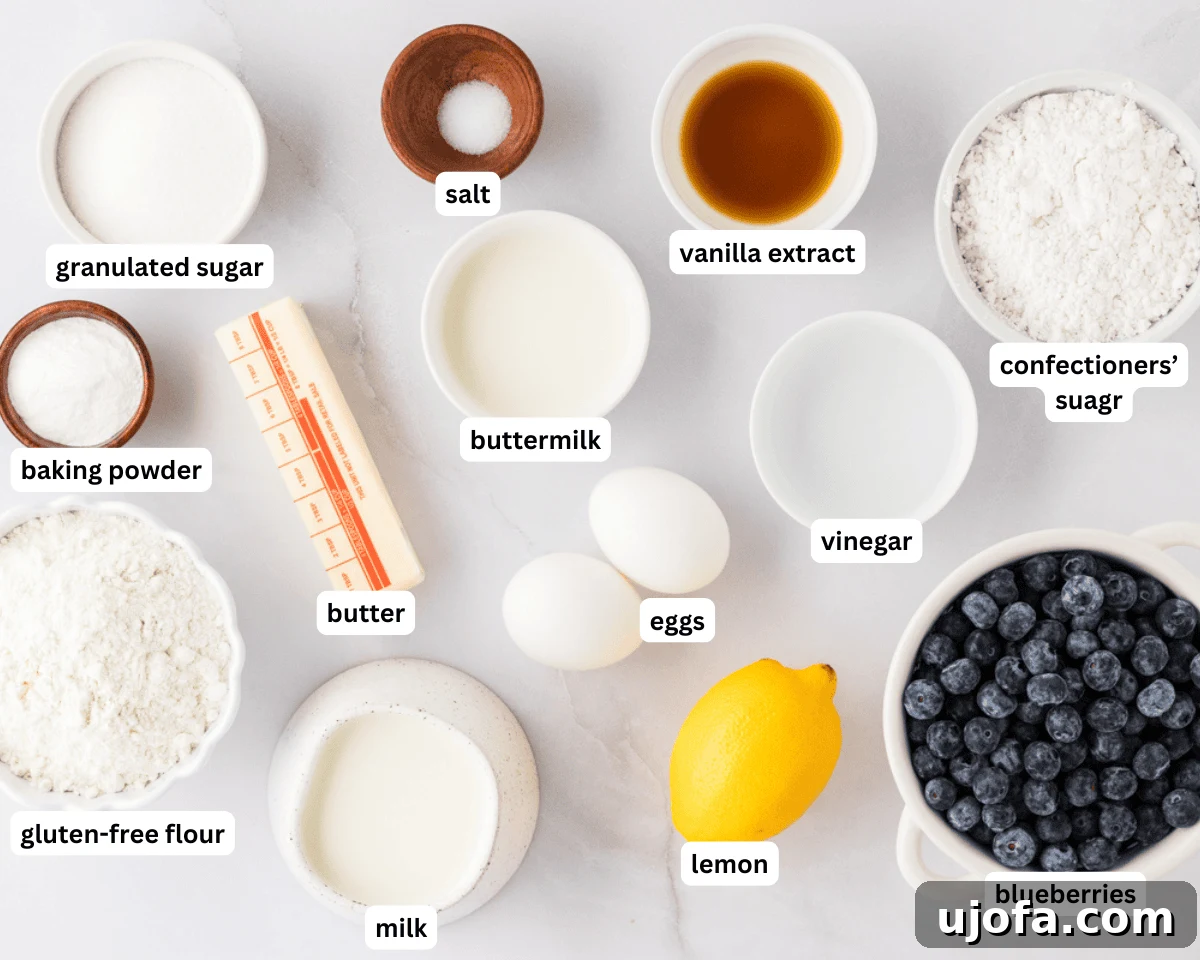
Gather all your ingredients and measure them accurately. Having everything ready before you start mixing will make the process much smoother.
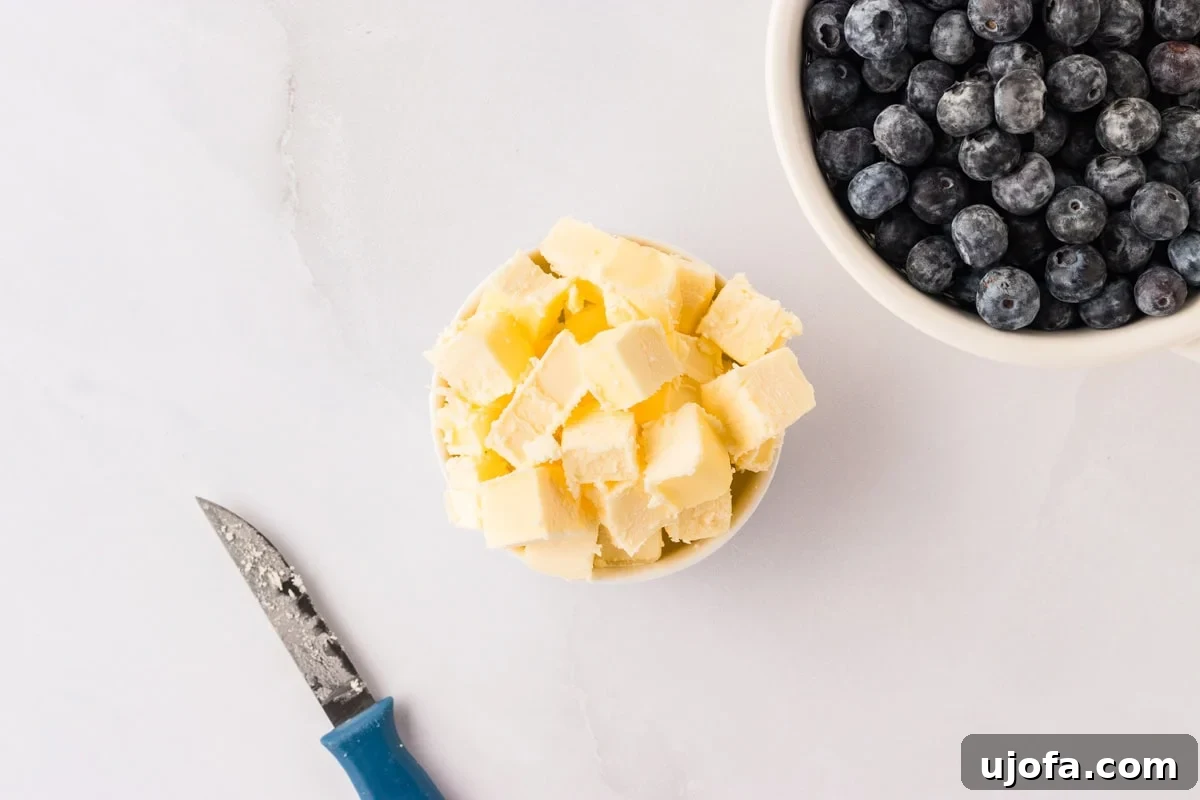
Make Buttermilk and Prep Butter: Begin by preheating your oven to 425°F (218°C) and lining a baking sheet with parchment paper. This ensures everything is ready when your dough is. Next, take ½ cup of unsalted butter and cut it into small, uniform cubes. Place these cubes in the freezer for about 10 minutes to get them really cold. While the butter chills, prepare your buttermilk. If you don’t have store-bought, simply mix 1 tablespoon of white vinegar (or lemon juice) into ¾ cup of milk. For a dairy-free alternative, use ¾ tablespoon of white vinegar with your preferred dairy-free milk (like almond, cashew, or coconut milk). Let this mixture sit in the refrigerator for 5-10 minutes to thicken slightly and stay cold.
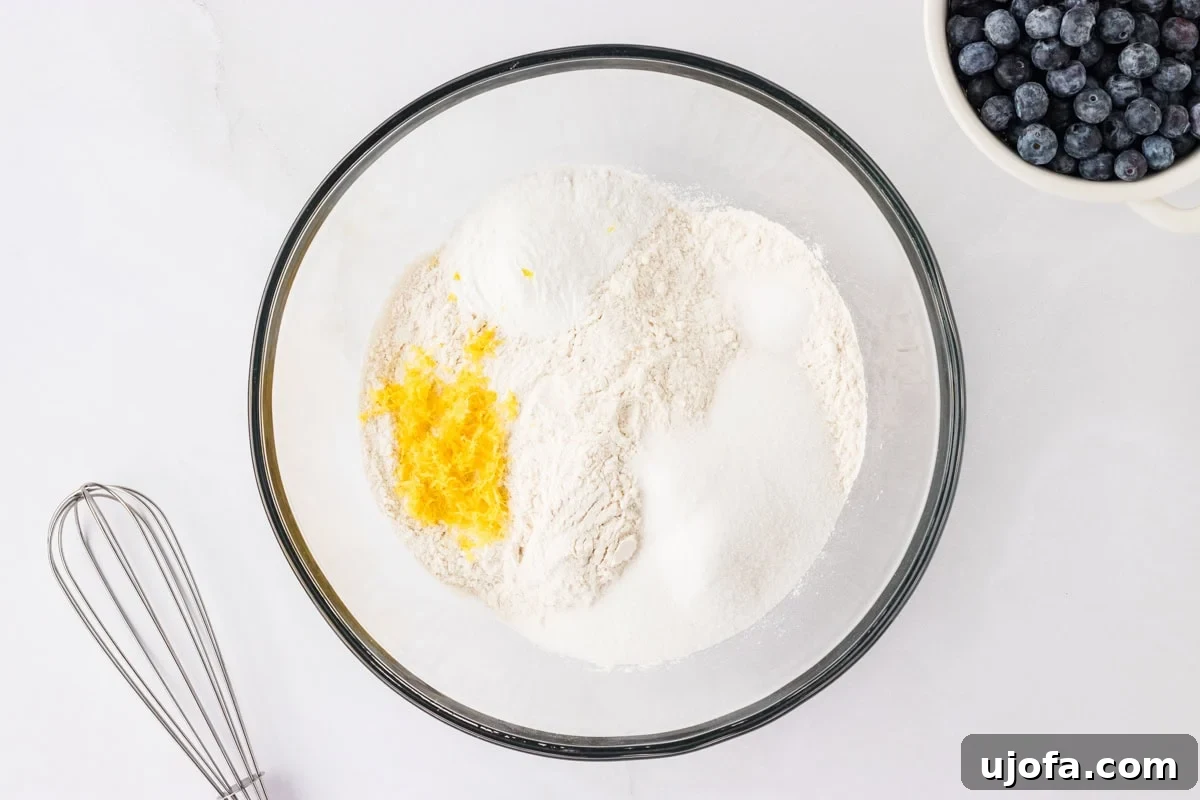
Combine Dry Ingredients: In a spacious mixing bowl, add 3 cups of your chosen gluten-free all-purpose flour. If your flour blend doesn’t already include it, add ¾ teaspoon of xanthan gum. Then, incorporate ⅓ cup of granulated sugar, 2 tablespoons of gluten-free baking powder (make sure it’s fresh for optimal rise), ½ teaspoon of salt, and 1 tablespoon of dried lemon peel (or fresh zest for a brighter flavor). Whisk these ingredients together until they are thoroughly combined and no lumps remain. This step is crucial for even flavor and texture.
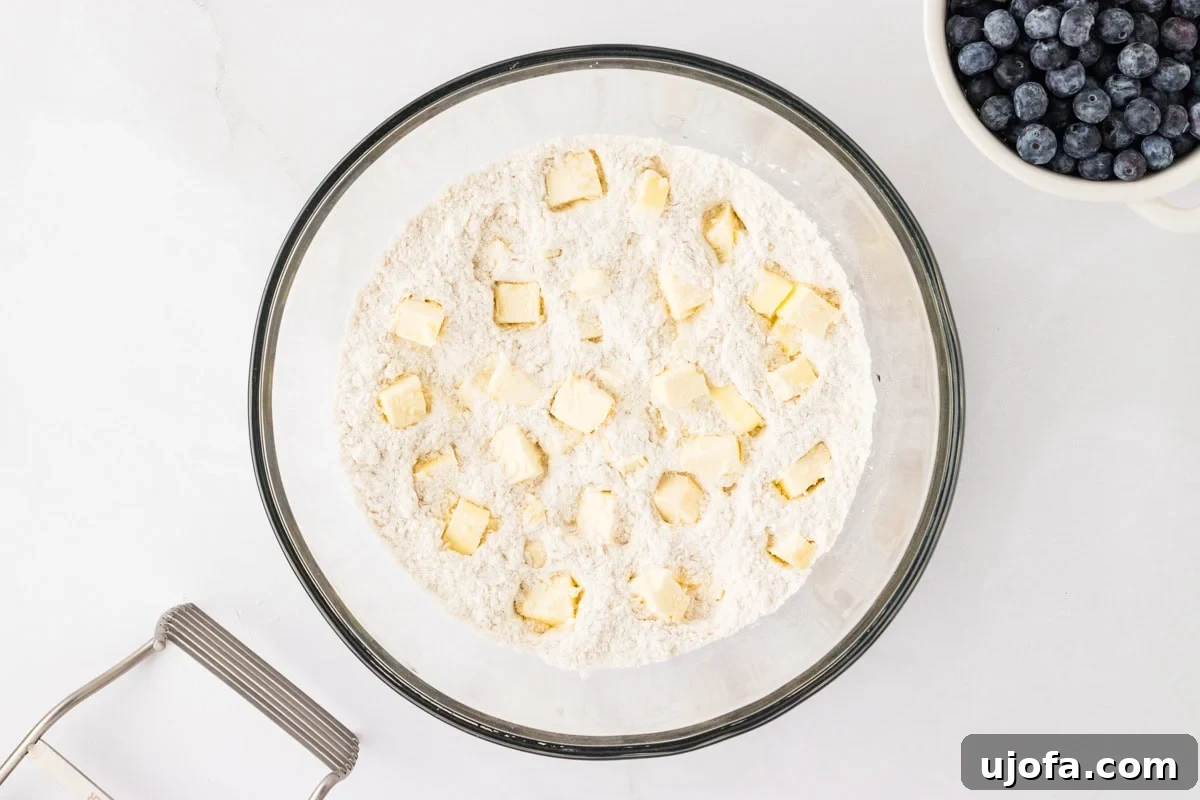
Now, it’s time to add the star of the show for flakiness: the super cold, cubed butter. Distribute the butter evenly over the dry ingredients. Using a pastry cutter, two forks, or even your fingertips, begin to cut the butter into the flour mixture. The goal here is to break down the butter into small, pea-sized pieces, ensuring it’s well-incorporated but still distinct. This process creates pockets of butter that will steam and create flaky layers as the scones bake.
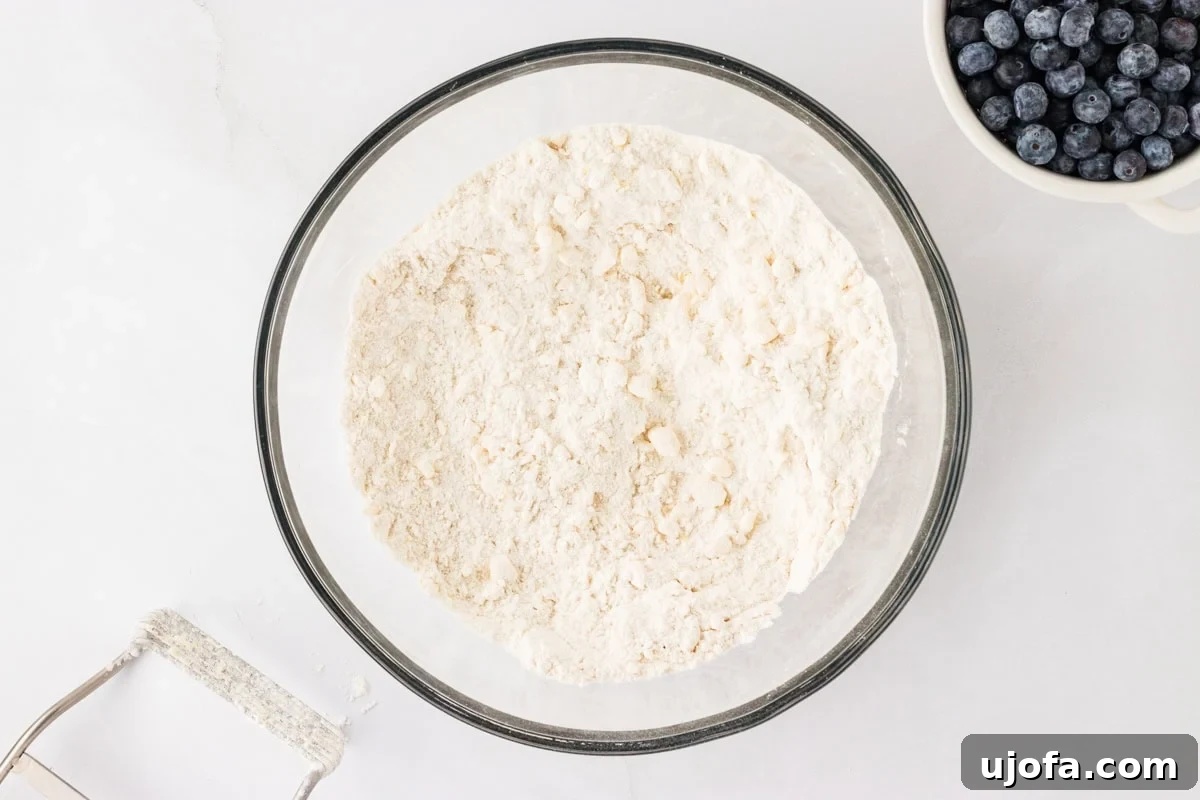
Continue cutting the butter into the flour until the mixture resembles a coarse meal with visible small chunks of butter, similar to the size of small peas. This texture is vital for achieving light and tender scones. Be careful not to overwork the butter, as it will melt and result in dense scones.
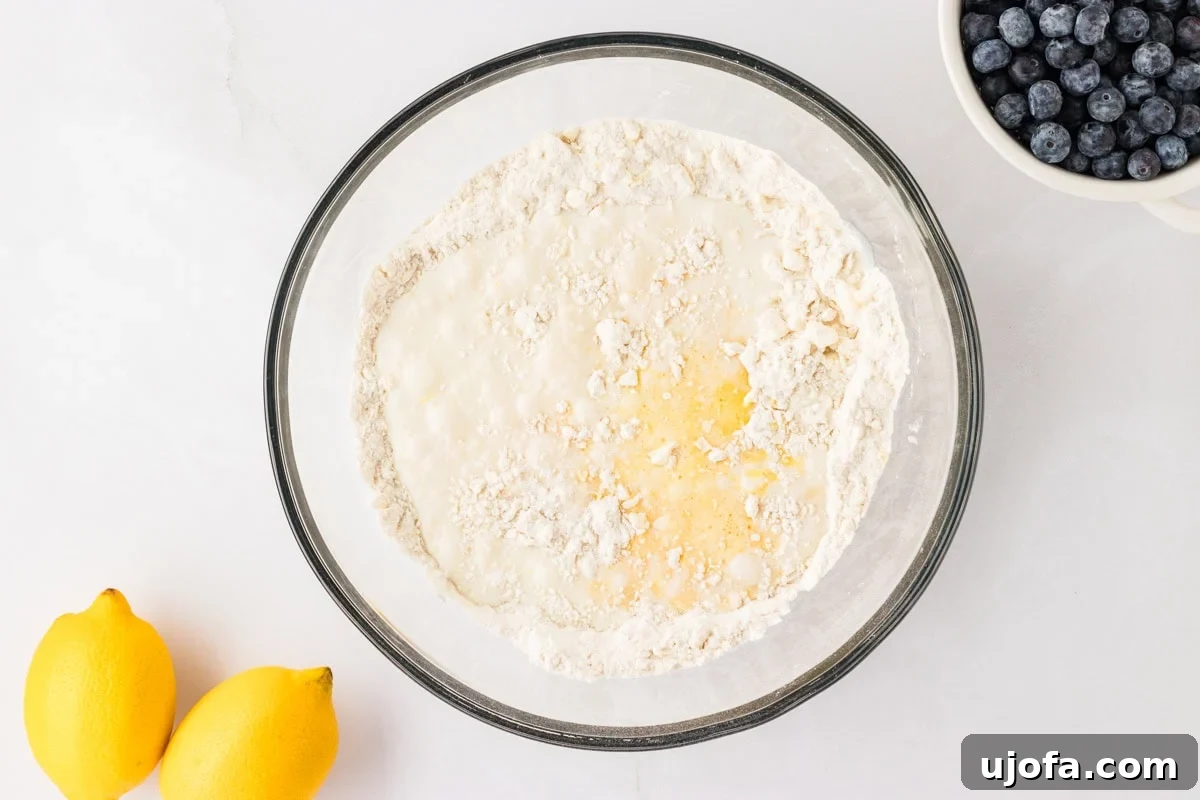
In a separate bowl, whisk together the 2 large eggs with the cold buttermilk you prepared earlier. Pour this liquid mixture into the bowl containing your flour and butter. Gently stir the ingredients together with a spatula or wooden spoon until they just come together to form a soft, shaggy dough. The key here is not to overmix! Overworking gluten-free dough can lead to a tough, crumbly texture, which is the opposite of what we want for tender scones. A slightly sticky dough is perfectly normal.
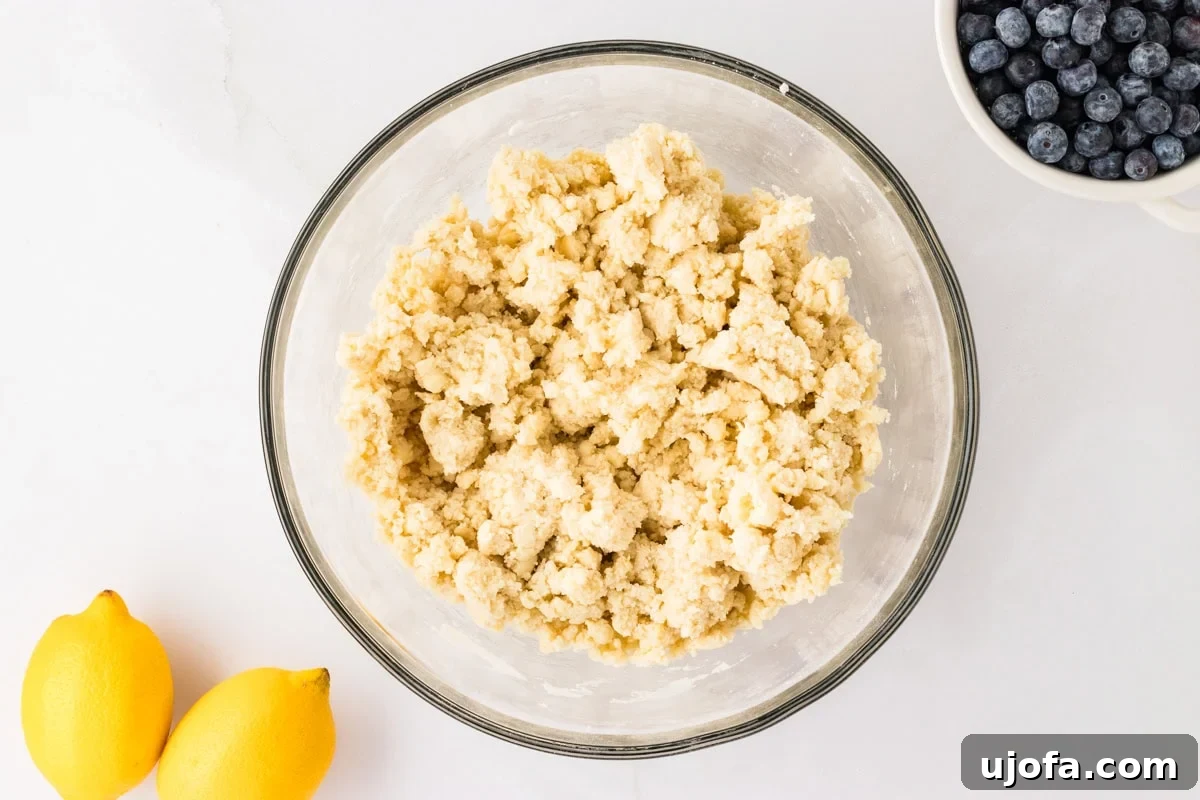
You can see the dough coming together, looking somewhat crumbly and soft. It won’t be as smooth or elastic as traditional wheat dough, but don’t worry, this is the correct consistency for light, fluffy gluten-free scones. Now, you’re ready for the final additions.
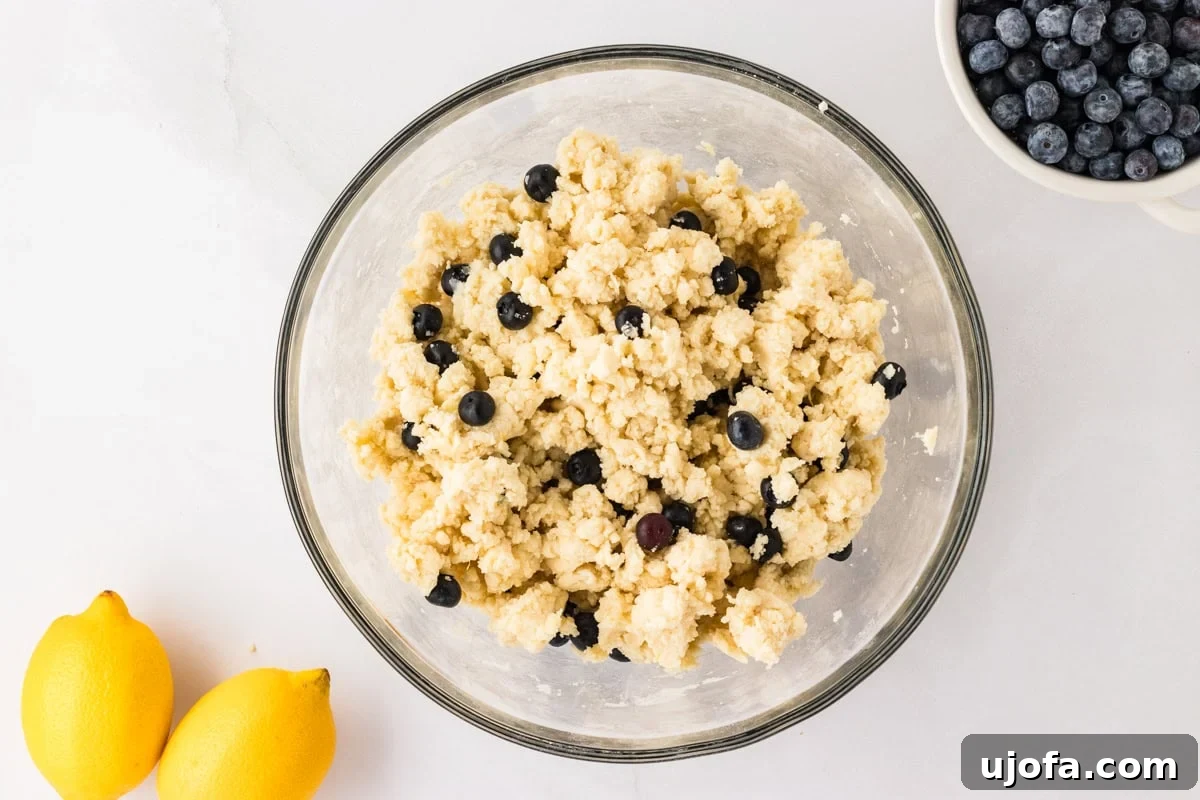
Fold in Blueberries: With the dough just barely combined, gently fold in 1 cup of fresh or frozen blueberries. If using frozen, do not thaw them; simply add them straight from the freezer. Overmixing at this stage can break the blueberries, staining your dough, so a light touch is best. The goal is to distribute them throughout the dough without overworking it.
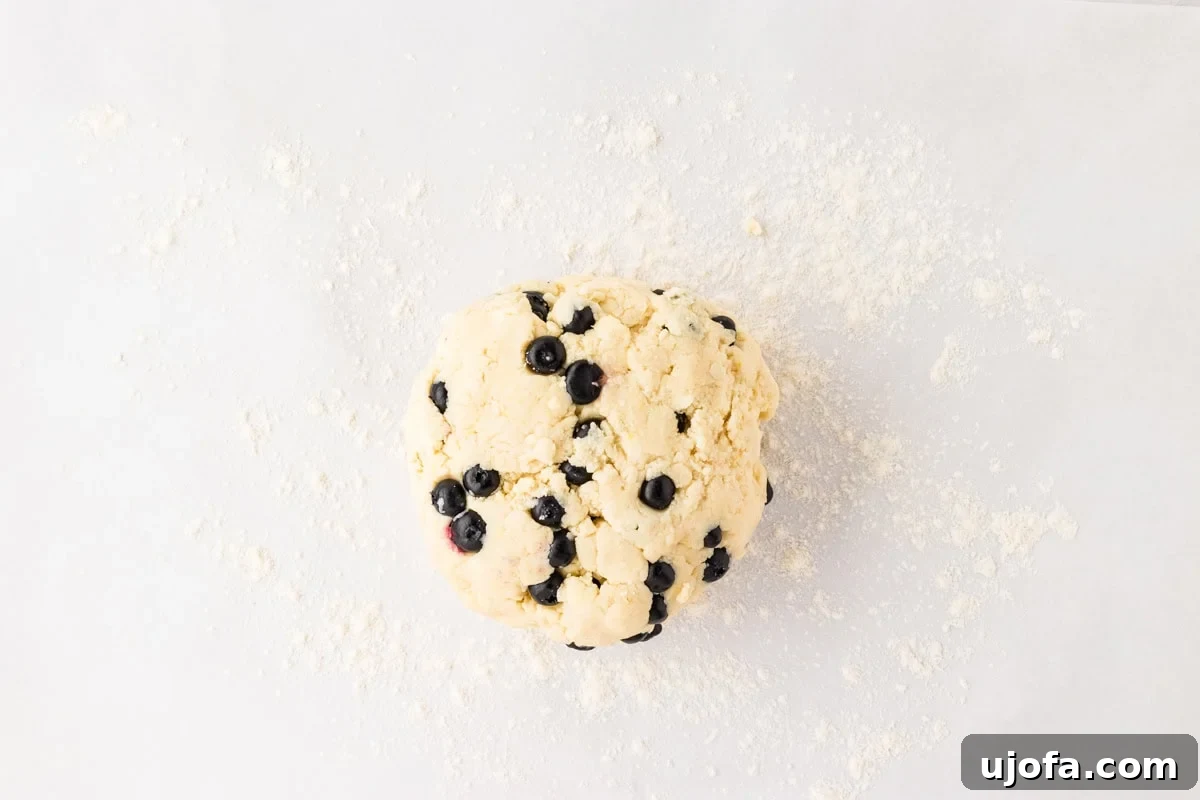
Shape the Dough: Sprinkle one tablespoon of gluten-free flour onto a large sheet of parchment paper. This floured surface will prevent the sticky dough from adhering. Carefully transfer the scone dough onto the floured parchment. Dust the top of the dough with another tablespoon of flour. To create layers and a tender texture, gently fold the dough over itself twice. First, fold one half of the dough over the other, then repeat this folding motion. This minimal handling helps develop the scone’s structure without making it tough. You’ll now have a roughly shaped dough ball.
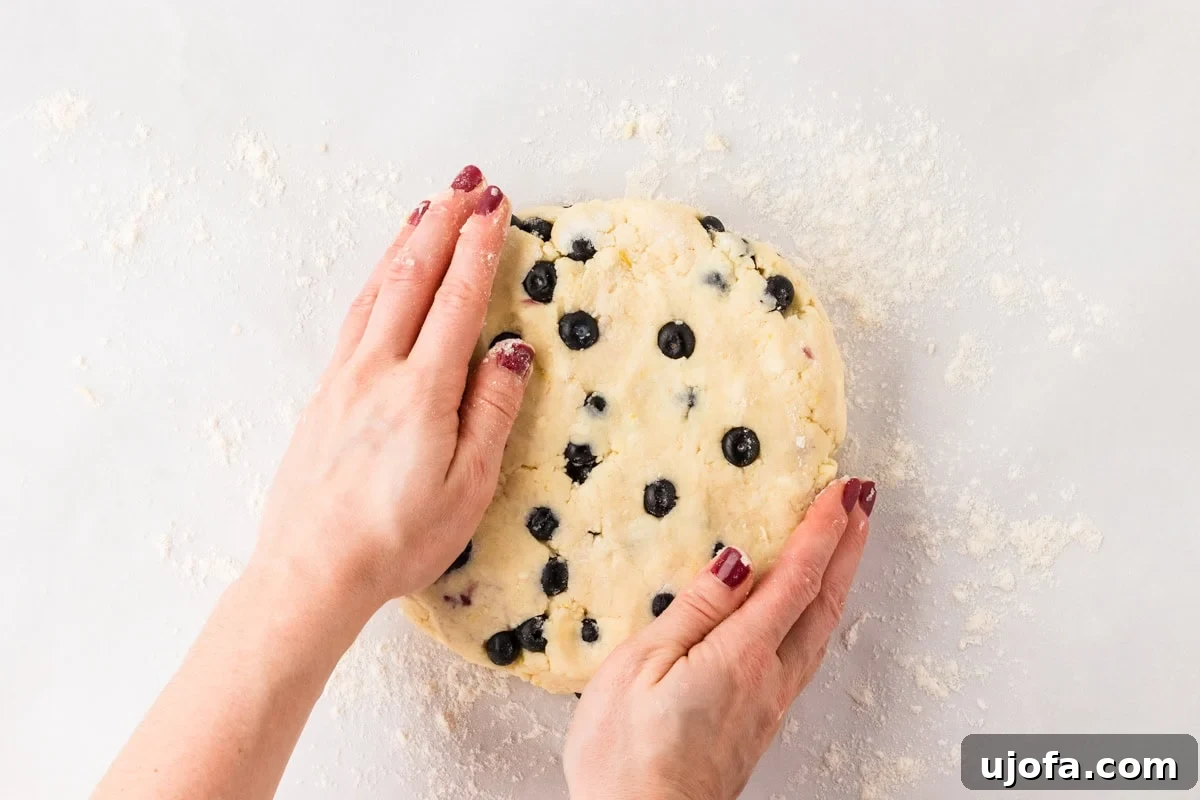
Using your hands, gently pat and shape the dough into a round disk that is approximately 7 inches in diameter and about 2 inches thick. It’s crucial to maintain this thickness; if you make it too large or too flat, your scones will spread out and become thin rather than rising tall and fluffy. The height is what gives scones their characteristic shape and tender interior.
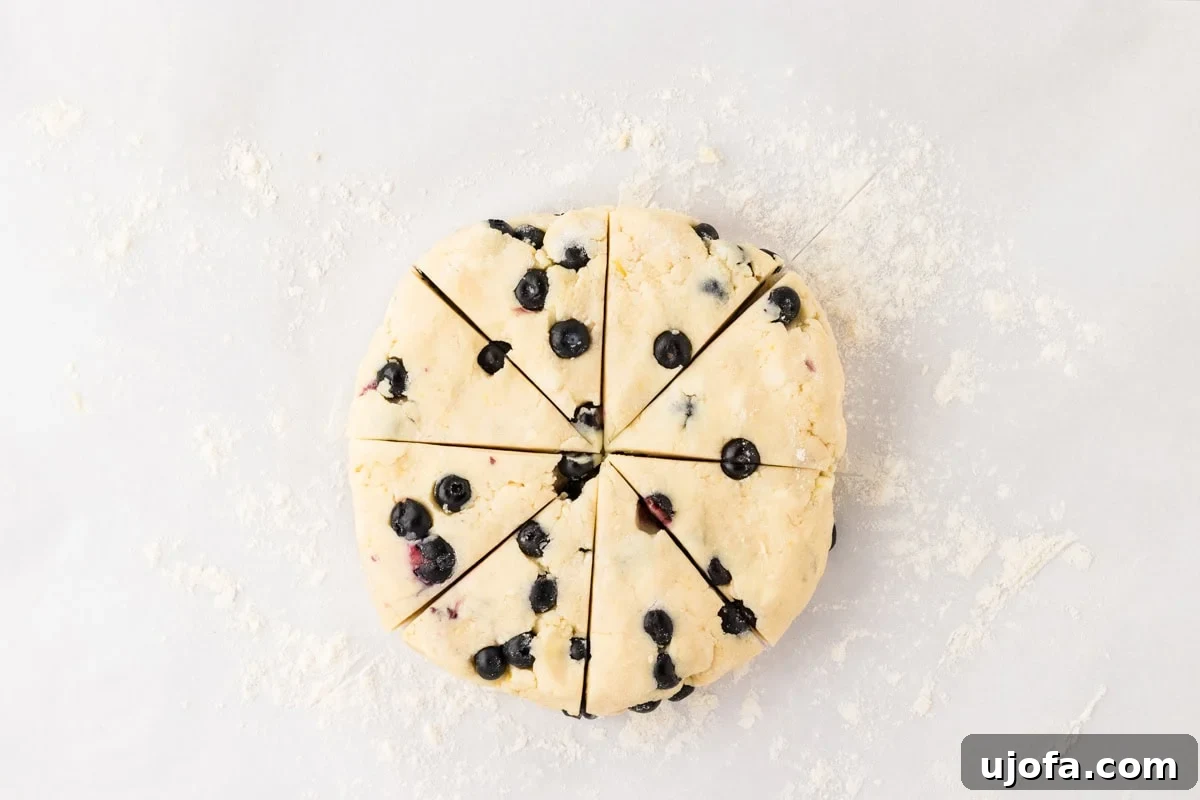
Cut Dough into Slices: To ensure clean cuts and prevent the dough from sticking, run a sharp knife under warm water before cutting. Carefully cut the dough round in half, creating two semicircles. Then, slice each semicircle into four equal triangular pieces. This method yields a total of 8 beautifully shaped triangular scones, ready for baking. Arrange these dough triangles carefully on your parchment-lined baking sheet, leaving some space between each for expansion.
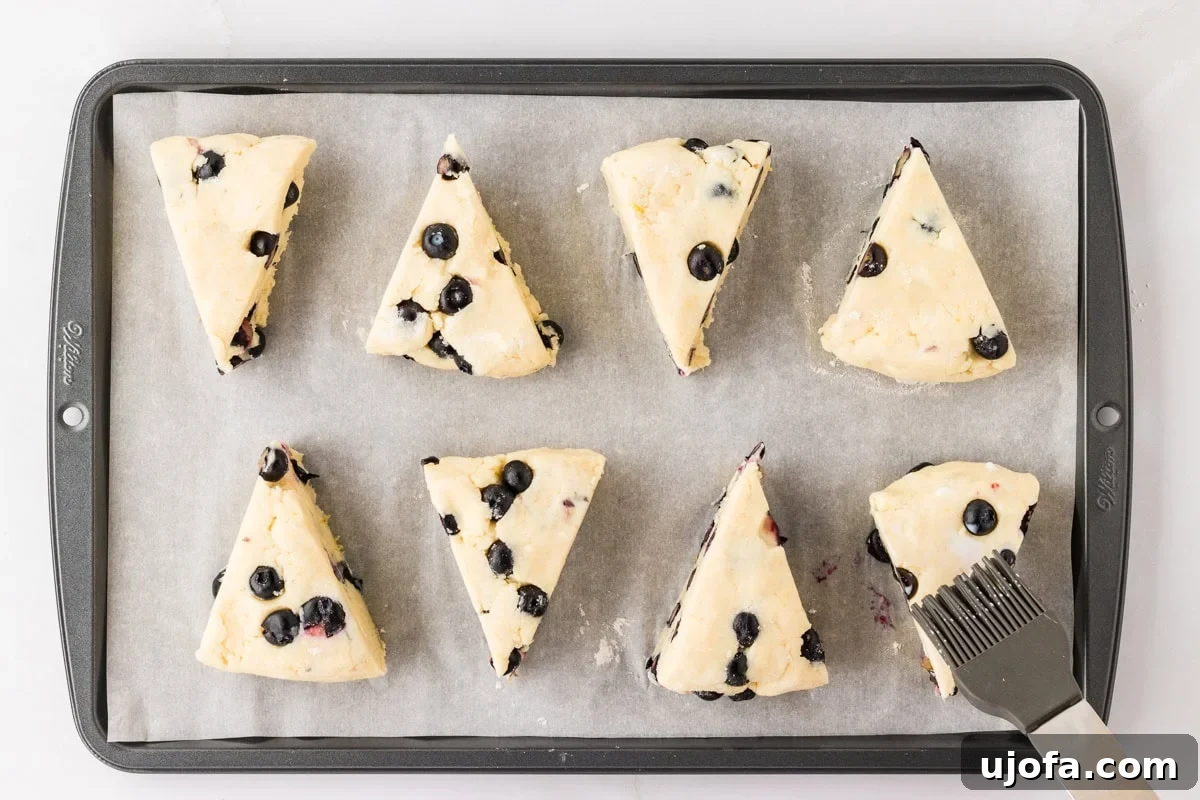
Once the dough triangles are arranged on the baking sheet, use 2 tablespoons of milk (dairy or dairy-free alternative) to lightly brush the tops of each scone. This milk wash isn’t just for shine; it helps the scones develop a beautiful golden-brown crust during baking, adding to their visual appeal and a subtle caramelization of the surface.
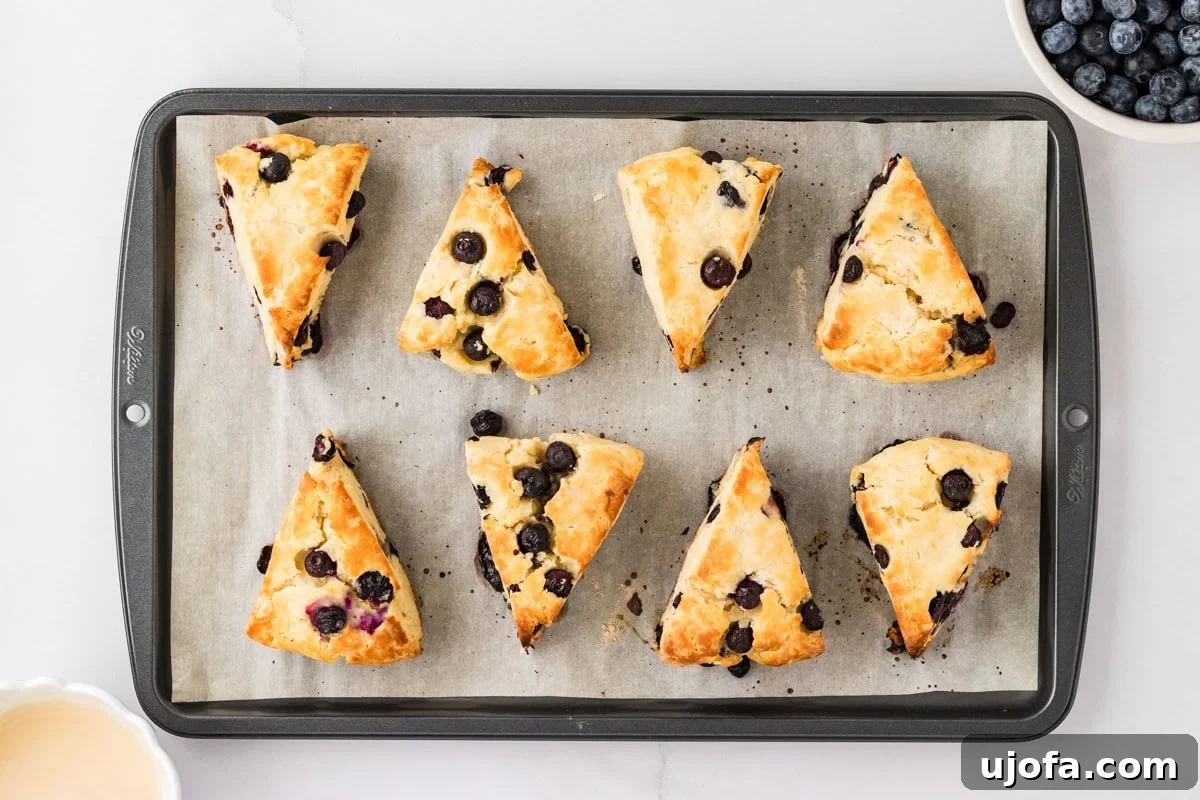
Place the baking sheet with the prepared scones into your preheated 425°F (218°C) oven. Bake for 15-20 minutes, or until the tops of the scones are beautifully golden brown and they sound hollow when tapped on the bottom. Baking time can vary slightly depending on your oven, so keep an eye on them towards the end. The irresistible aroma filling your kitchen will be your cue!
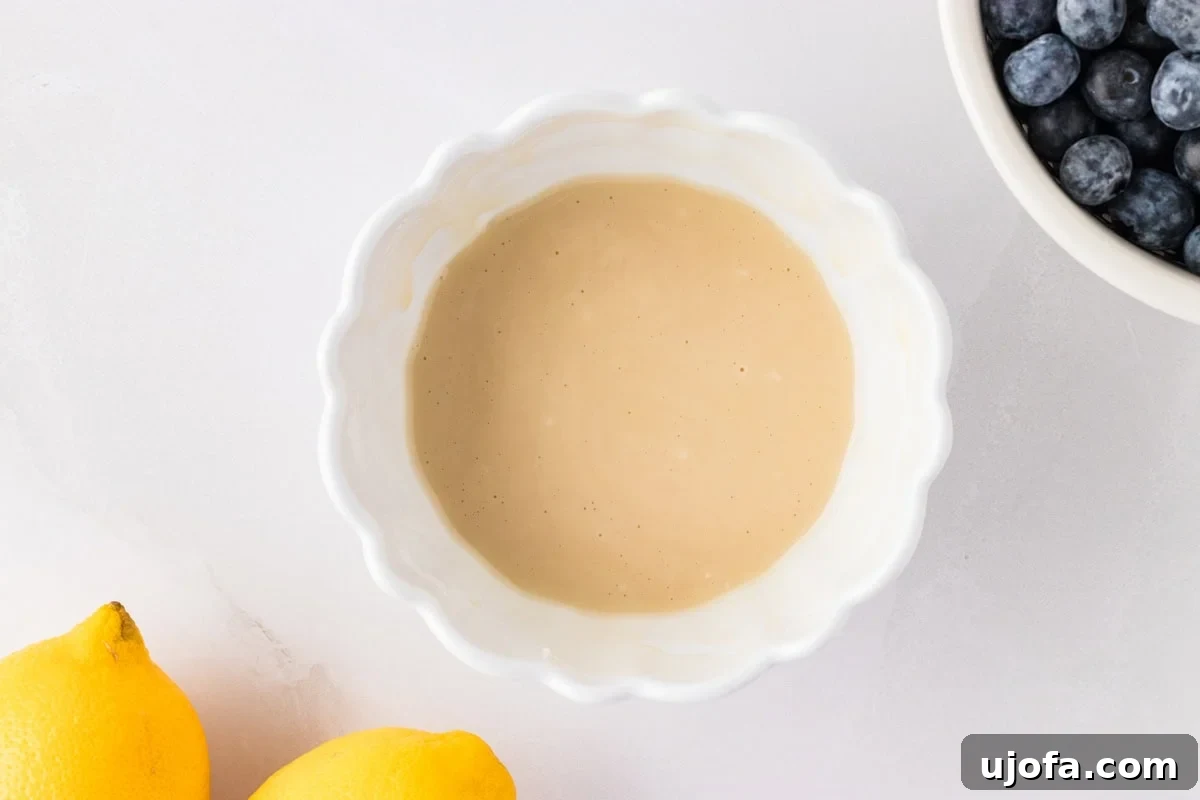
Make the Glaze: While your freshly baked scones are cooling slightly, prepare the luscious lemon glaze. In a small bowl, whisk together 1 cup of confectioners’ sugar, 1 tablespoon of fresh lemon juice, ½ teaspoon of pure vanilla extract, and 1 tablespoon of water. Stir vigorously until the mixture is completely smooth and free of lumps. The consistency should be thick enough to cling to the scones but still pourable. If it’s too thick, add water a quarter teaspoon at a time; if too thin, add a pinch more confectioners’ sugar until desired consistency is reached.

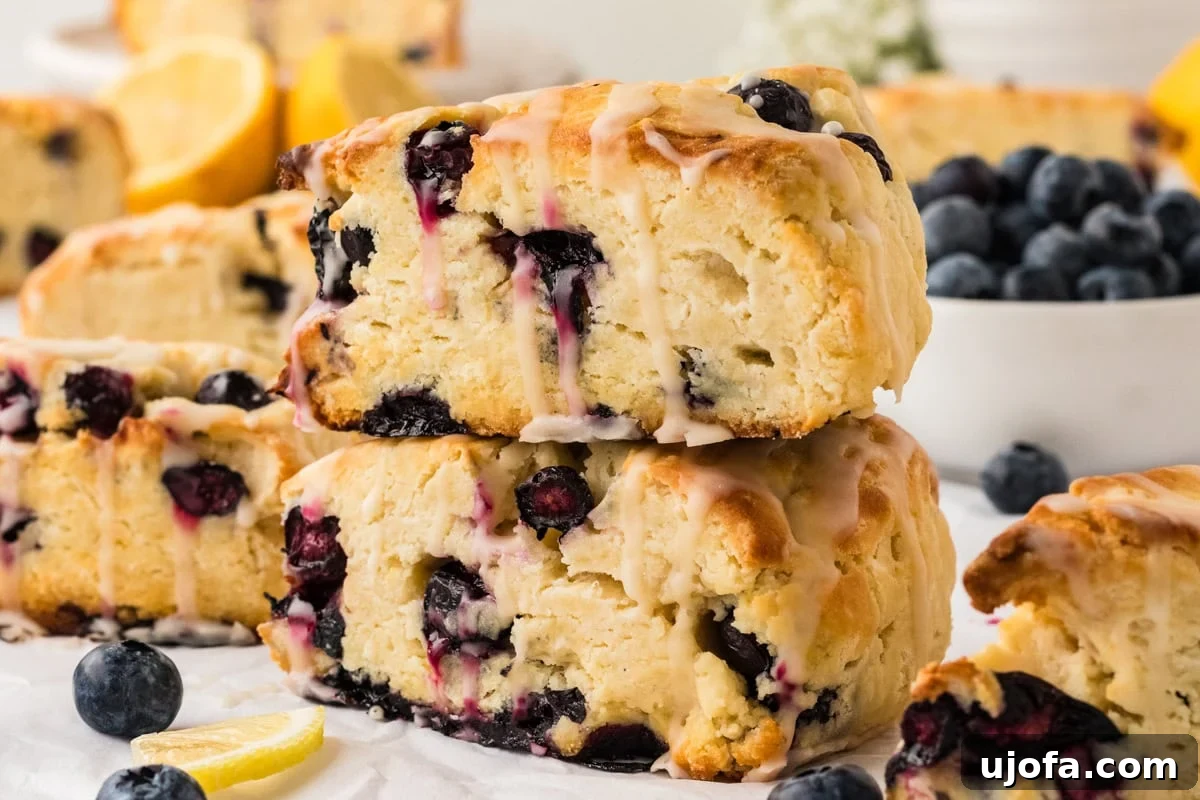
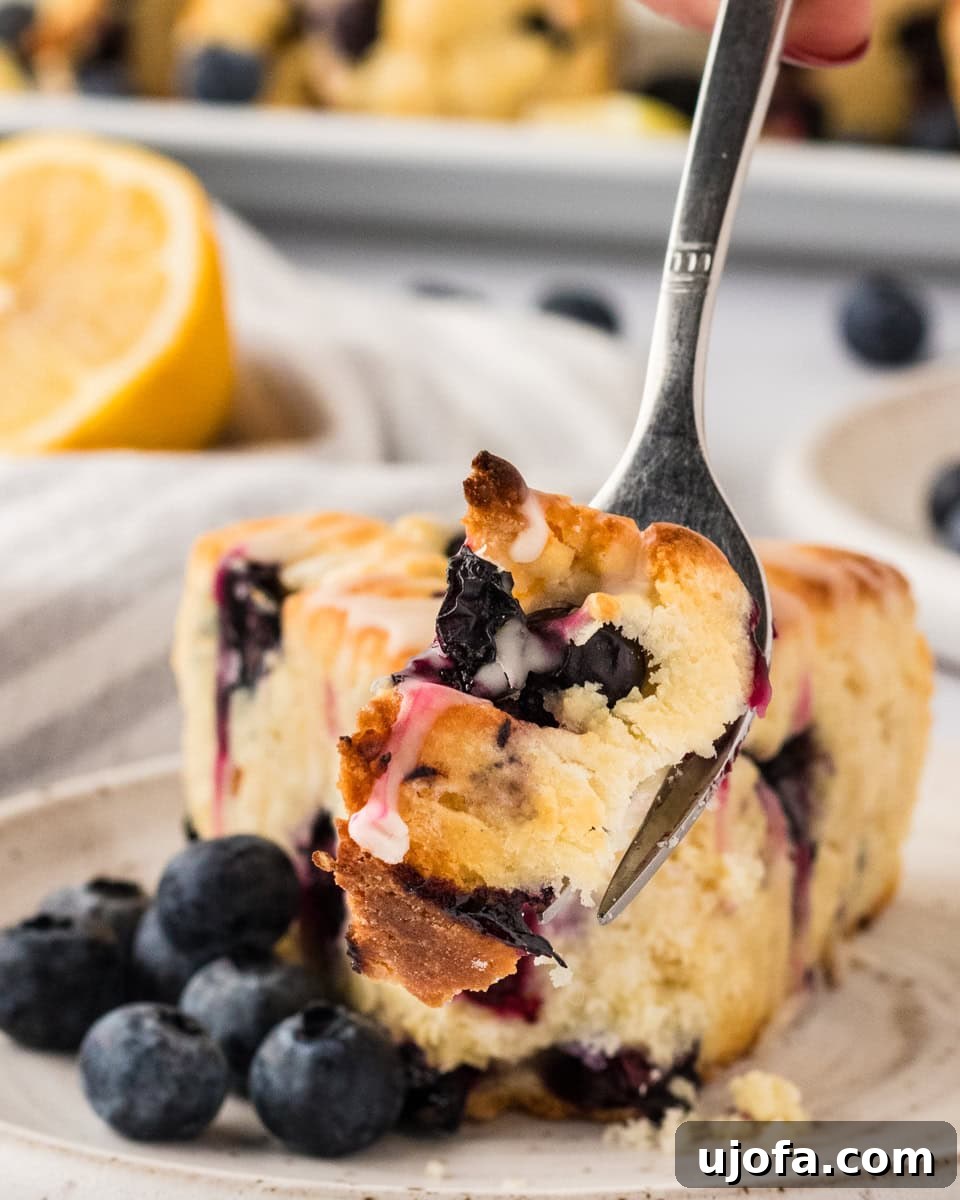
Once the scones have cooled for a few minutes (they should still be warm), generously drizzle the freshly made lemon glaze over them. The warmth of the scones will help the glaze set slightly, creating a beautiful, glossy finish. The tangy glaze perfectly complements the sweet blueberries, creating a truly irresistible treat. Serve these delightful gluten-free blueberry scones immediately and savor every tender, flavorful bite!
Expert Gluten-Free Baking Tips for Scones
Achieving perfect gluten-free scones is simple when you know a few key tricks. Here are my top tips to ensure your blueberry scones are always light, flaky, and delicious:
- Accurate Flour Measurement is Key: Unlike wheat flour, gluten-free flour blends can be dense. The most accurate method for measuring gluten-free flour is the “spoon & level” technique. Gently spoon the flour into your measuring cup until it’s overflowing, then use a straight edge (like the back of a knife) to level off the top. Never scoop the flour directly out of the bag with your measuring cup, as this can compact it and lead to using too much flour, resulting in dry, dense scones.
- Keep Ingredients COLD: This is arguably the most crucial tip for flaky scones. Ensure your butter, eggs, and buttermilk are all thoroughly chilled. Cold butter creates steam in the oven, which pushes apart the layers of dough, resulting in that desirable flaky texture. If your kitchen is warm, consider chilling your gluten-free flour blend in the refrigerator for about 30 minutes before mixing.
- Do Not Overmix the Dough: Gluten-free dough doesn’t develop gluten like traditional dough, but it can still become tough and crumbly if overmixed. Mix until the ingredients are just combined and a soft, shaggy dough forms. Overworking the dough develops starches excessively, leading to a hard or dense scone. Gentle handling is always best.
- Handle Gently: Gluten-free dough can be more delicate and sticky than conventional dough. Use a light hand when mixing, shaping, and cutting. Flour your hands and parchment paper adequately to prevent sticking, but avoid adding excessive flour to the dough itself, as this can alter the balance of the recipe.
- Proper Oven Temperature: A hot oven is essential for scones. The high temperature creates a quick burst of steam, which helps the scones rise rapidly and achieve a light interior and crisp exterior. Always ensure your oven is fully preheated before placing the scones inside.
Delightful Serving Suggestions
These gluten-free blueberry scones are incredibly versatile and perfect for a variety of occasions. Enjoy them simply as they are, or elevate your experience with these serving suggestions:
- Classic Tea Time: Pair them with a warm cup of your favorite tea – English Breakfast, Earl Grey, or a soothing herbal blend.
- Coffee Companion: A natural match for your morning coffee, these scones offer a sweet and satisfying start to the day.
- Traditional British Style: For an authentic touch, serve them with clotted cream and a dollop of your favorite jam (strawberry or raspberry jam are excellent choices!).
- Enhanced Glaze: Experiment with different glazes! A plain vanilla glaze, an orange glaze, or even a cream cheese frosting could be delicious.
- Brunch Extravaganza: Create a delicious brunch spread by serving these scones alongside savory dishes like a crustless spinach quiche, crispy bacon, and fresh fruit.
- Dessert Twist: Serve warm scones with a scoop of vanilla bean ice cream for a simple yet elegant dessert.
Storage & Freezing Instructions
To keep your gluten-free blueberry scones fresh and delicious, follow these simple storage tips:
- Room Temperature: Once cooled, store leftover scones in an airtight container at room temperature for up to 2-3 days.
- Reheating: For the best texture, reheat individual scones in the microwave for 15-30 seconds, or in a preheated oven at 300°F (150°C) for 5-7 minutes, until warmed through.
- Freezing Baked Scones: If you have baked scones you want to save for later, allow them to cool completely. Wrap each scone individually in plastic wrap, then place them in a freezer-safe bag or container. They can be frozen for up to 2 months. Thaw at room temperature or reheat from frozen in the oven until warm.
- Freezing Unbaked Scones: You can also freeze the scones before baking! After cutting the dough into triangles, arrange them on a parchment-lined baking sheet and flash-freeze for about 30 minutes, or until solid. Once frozen, transfer the unbaked scones to a freezer bag, ensuring they don’t stick together. Store in the freezer for up to 1 month. When ready to bake, place the frozen scones directly on a parchment-lined baking sheet (no need to thaw) and bake at 425°F (218°C) for 18-25 minutes, or until golden brown. Keep a close eye on them, as baking times may vary.
Frequently Asked Questions About Gluten-Free Scones
Can I use frozen blueberries for this recipe?
Absolutely! Both fresh and frozen blueberries work wonderfully in this recipe. If you’re using frozen blueberries, there’s no need to thaw them beforehand. Simply fold them into the dough directly from the freezer. Adding them frozen helps them maintain their shape and prevents them from bleeding too much color into the dough.
What if my gluten-free scones turn out flat?
Several factors can contribute to flat scones. The most common reasons include: 1) Overworking the dough, which can deflate the air pockets needed for rise. 2) The butter wasn’t cold enough, leading to less steam and lift. 3) The dough was rolled or patted too thin; remember to keep it about 2 inches thick. 4) Your baking powder might not be fresh; ensure it’s active for maximum leavening.
Can I make these scones dairy-free?
Yes, this recipe is easily adaptable to be dairy-free! For the butter, use a high-quality dairy-free stick butter alternative (like Smart Balance sticks) that’s designed for baking. For the buttermilk, simply combine ¾ tablespoon of white vinegar with ¾ cup of your preferred plain dairy-free milk (almond, cashew, or coconut milk work well) and let it sit for a few minutes to curdle. The milk for brushing can also be a dairy-free alternative. Follow these substitutions, and you’ll have delicious dairy-free gluten-free scones!
Do I need xanthan gum for gluten-free baking?
Xanthan gum is a common additive in gluten-free baking that helps provide structure and elasticity, mimicking the role of gluten. Many commercial gluten-free all-purpose flour blends already include xanthan gum. If your chosen flour blend explicitly states it contains xanthan gum (or guar gum), you can omit the ¾ teaspoon listed in the recipe. If your blend does not contain it, it’s highly recommended to add it for the best texture and structure.
How can I make sure my scones are flaky?
The secret to flaky scones lies in the cold butter and minimal handling. Ensure your butter is diced and very cold (even frozen for 10 minutes helps!) when you cut it into the flour. The small pieces of cold butter will create steam as they bake, forming those desirable flaky layers. Avoid overmixing the dough, as this can melt the butter and prevent flakiness.
More Irresistible Gluten-Free Baking Recipes
If you loved these blueberry scones, you’re in for a treat! Explore more of my favorite gluten-free baking creations perfect for any time of day:
- Gluten-Free Monkey Bread: A fun, pull-apart sweet bread perfect for sharing.
- Gluten-Free Blueberry Muffins: Another classic bursting with fresh blueberry flavor.
- Gluten-Free Apple Cake: A moist and flavorful cake, perfect for autumn or any time.
- Gluten-Free Cinnamon Rolls: Sweet, sticky, and utterly comforting.
- Classic Gluten-Free Muffins: Your go-to recipe for perfectly fluffy muffins every time.