
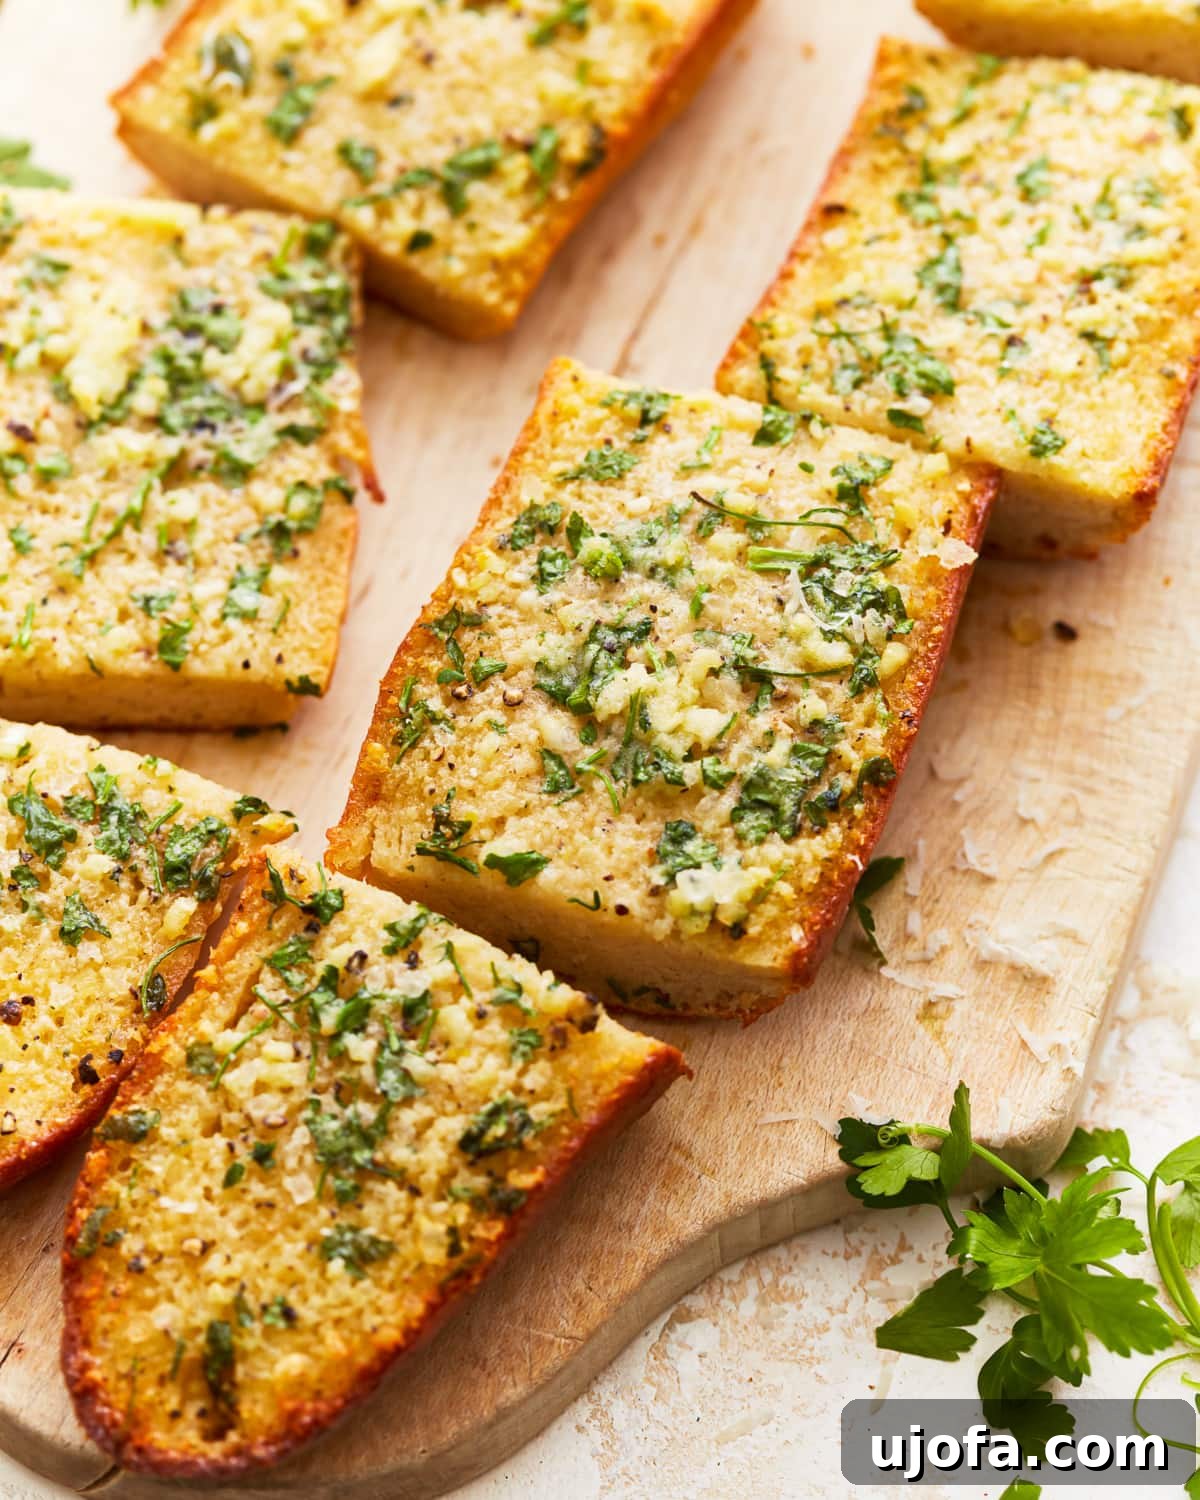
The Ultimate Gluten-Free Garlic Bread Recipe: Your Cheesy, Garlicky Delight!
There’s something truly magical about a warm, crusty piece of garlic bread, isn’t there? It’s the quintessential comfort food, perfect for mopping up rich pasta sauces, accompanying a hearty soup, or simply enjoying as a standalone snack. For those navigating a gluten-free lifestyle, finding a truly satisfying garlic bread can often feel like a quest. But the search ends here! This incredible gluten-free garlic bread recipe delivers all the cheesy, garlicky, buttery goodness you crave, ensuring every pasta night (or any night!) is complete. Get ready to impress your friends and family with this easy-to-make, utterly delicious gluten-free side dish.
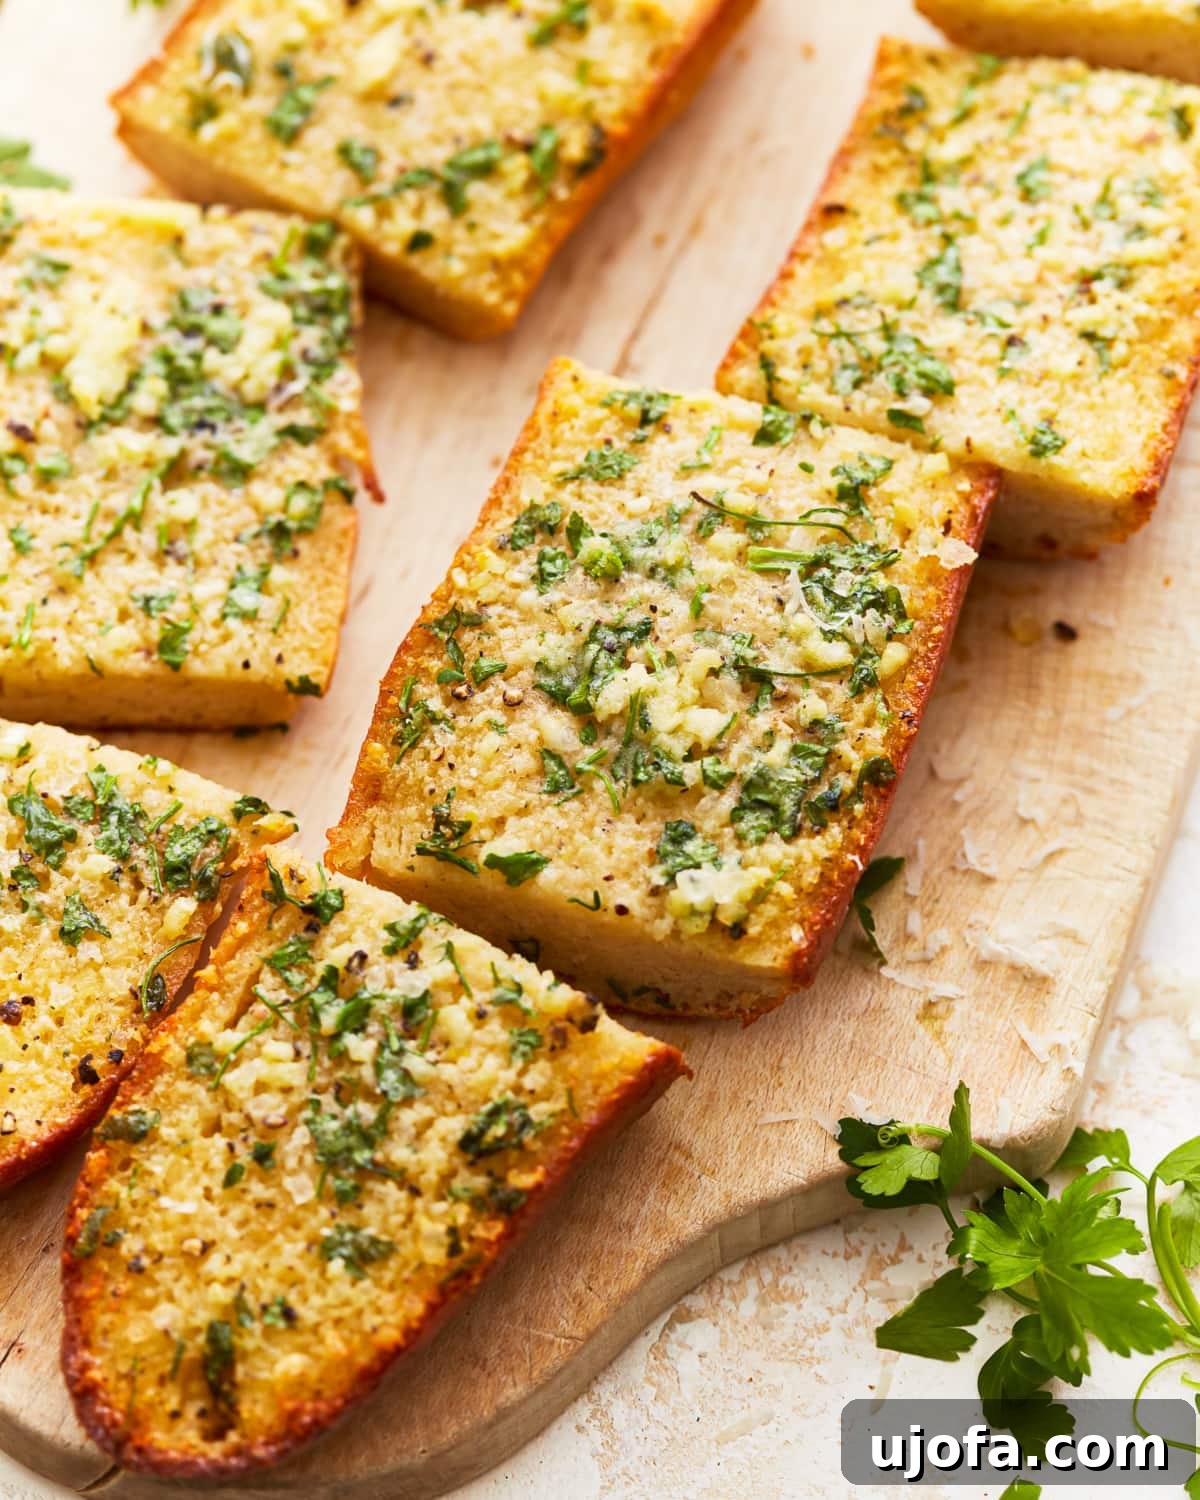
Why You’ll Love This Easy Gluten-Free Garlic Bread Recipe
Garlic bread is a beloved classic for a reason. It’s an explosion of flavor and texture, from the pungent garlic and rich butter to the savory cheese and crispy bread. Our gluten-free version captures all of that traditional appeal, proving that going gluten-free doesn’t mean sacrificing flavor or enjoyment. This recipe is incredibly simple, making it ideal for busy weeknights when you need a quick yet impressive side. Whether you use your favorite store-bought gluten-free baguette or a homemade loaf, the result is consistently amazing. We guarantee this homemade gluten-free garlic bread will become a staple in your kitchen!
Essential Tips for Perfect Gluten-Free Garlic Bread
Crafting the best gluten-free garlic bread is all about a few key techniques. Follow these expert tips to ensure your garlic bread turns out perfectly crispy, flavorful, and incredibly satisfying every time.
- Achieve the Perfect Crunchy Texture: For that irresistible crisp exterior, consider broiling your garlic bread during the final 1-2 minutes of baking. Keep a very close eye on it, as broilers can toast quickly, and you don’t want it to burn. A quick flash under the broiler is often all it takes to achieve that golden-brown perfection.
- Use Room Temperature Butter: This is a non-negotiable step for a smooth, evenly spread garlic butter mixture. Softened butter easily blends with minced garlic, fresh herbs, and grated Parmesan cheese, creating a uniform spread that adheres beautifully to the bread. Cold butter, on the other hand, will be clumpy and difficult to distribute, leading to an unevenly flavored result.
- Finely Mince Your Garlic: The smaller the garlic pieces, the better their potent flavor will infuse into the butter and spread across every bite of bread. Large chunks of garlic can be overpowering. For the smoothest, most integrated garlic flavor, a microplane grater works wonders, turning cloves into a paste-like consistency. Alternatively, a garlic press is an excellent tool for quick and fine mincing.
- Choose the Right Gluten-Free Bread: The foundation of great garlic bread is, of course, the bread itself. While this recipe is incredibly versatile, the quality of your gluten-free bread matters. A good gluten-free baguette or rustic Italian-style loaf is ideal, as it offers a sturdy structure to hold the butter and cheese while still achieving a delightful crispiness. Feel free to experiment with different gluten-free bread options. If you enjoy baking, try using homemade varieties like my gluten-free sourdough bread or easy gluten-free bread recipes. Remember to adjust the amount of garlic butter based on the size and thickness of your chosen bread slices.
- Don’t Overcrowd the Baking Sheet: For even baking and maximum crispiness, ensure there’s enough space between your garlic bread halves on the baking sheet. Overcrowding can lead to steaming, which prevents the bread from achieving that desirable golden crust.
- Fresh Herbs Make a Difference: While dried parsley can be used in a pinch, fresh parsley adds a vibrant color and a brighter, more aromatic flavor to your garlic bread. Don’t underestimate the power of fresh herbs!
No ratings yet
Gluten-Free Garlic Bread
Sabine Venier
8 slices
15 mins
15 mins
30 mins
Email Recipe
Print Recipe
When it’s pasta night, mopping up the extra sauce with this lip-smacking cheesy gluten-free garlic bread is the best way to end the meal! Step-by-step photos can be seen below the recipe card.
Ingredients
- ¼ cup unsalted butter, softened
- ¼ cup grated Parmesan cheese
- 2 cloves minced garlic
- 1 tbsp chopped fresh parsley
- ¼ tsp kosher salt
- ⅛ tsp ground black pepper
- 1 12-inch gluten-free baguette
Instructions
- Preheat your oven to 400°F (200°C). Line a baking sheet with parchment paper and set aside.
- In a small bowl, combine the softened butter, Parmesan, minced garlic, chopped parsley, salt, and pepper. Mix until well combined.
- Slice the gluten-free baguette in half lengthwise. Then, spread the garlic butter evenly over the cut sides of the baguette.
- Place the baguette halves, buttered side up, on the prepared baking sheet. Bake in the preheated oven for 10-15 minutes, or until the edges are golden brown and the butter is bubbling.
- Remove from the oven and let it cool for a few minutes. Slice into individual servings and serve warm.
Notes
- For a crunchier texture, broil the garlic bread for the last 1-2 minutes of baking. Watch closely to prevent burning.
- The garlic butter can be prepared in advance and stored in the refrigerator for up to 1 week or frozen for up to 3 months. Allow it to soften at room temperature before spreading on the bread.
Nutrition
Calories: 146 kcal
Carbohydrates: 16 g
Protein: 4 g
Fat: 7 g
Saturated Fat: 4 g
Polyunsaturated Fat: 1 g
Monounsaturated Fat: 2 g
Trans Fat: 0.2 g
Cholesterol: 18 mg
Sodium: 322 mg
Potassium: 52 mg
Fiber: 1 g
Sugar: 1 g
Vitamin A: 247 IU
Vitamin C: 1 mg
Calcium: 64 mg
Iron: 1 mg
Nutrition information is automatically calculated, so should only be used as an approximation.
Additional Info
Appetizer, Side Dish
Italian
Tried this recipe?
Mention @mamaknowsglutenfree or tag #mamaknowsglutenfree!
How to Make Gluten-Free Garlic Bread: A Step-by-Step Visual Guide
Sometimes, seeing is believing! Here’s a visual breakdown to guide you through each simple step of making this incredibly delicious gluten-free garlic bread, ensuring perfect results every time.


Delicious Serving Suggestions for Your Gluten-Free Garlic Bread
This versatile gluten-free garlic bread is far more than just a simple side; it’s a perfect companion to a wide array of meals. Its rich, savory flavor and delightful texture make it an excellent pairing for almost any Italian-inspired dish, hearty comfort food, or light and fresh meal. Here are some of our favorite ways to enjoy it:
- Classic Pasta Pairings: Naturally, gluten-free garlic bread is best friends with pasta! Use it to soak up every last drop of sauce from your favorite pasta dishes. It’s particularly fantastic with rich tomato-based sauces, creamy Alfredo, or a vibrant pesto. Try it alongside gluten-free gnocchi in tomato sauce, my favorite gluten-free lasagna, or a hearty bowl of spaghetti and meatballs.
- Soups and Stews: There’s nothing quite like dipping a piece of warm, garlicky bread into a comforting bowl of soup or stew. It adds an extra layer of flavor and texture that elevates simple meals. Perfect for minestrone, lentil soup, or a creamy tomato bisque.
- Fresh Salads: While it might seem counterintuitive, garlic bread can be a wonderful accompaniment to a crisp, fresh salad. The contrast between the light, vibrant salad and the rich, warm bread is surprisingly delicious, adding substance to a lighter meal.
- Appetizer on Its Own: Who says garlic bread needs a main course? Served hot and fresh, it makes a fantastic appetizer or party snack. You can even offer a small dipping bowl of marinara sauce for an extra treat.
- Hearty Mains: Beyond pasta, this garlic bread pairs beautifully with other substantial main courses. It’s a superb match for gluten-free chicken Parmesan, steak, or even roasted vegetables.
Storage and Reheating Instructions for Gluten-Free Garlic Bread
Having leftover gluten-free garlic bread is a rare occurrence, but if you do, here’s how to store and reheat it to maintain its deliciousness.
- Refrigeration: For short-term storage, place any leftover garlic bread in an airtight container or wrap it tightly in aluminum foil. Stored this way, it will keep well in the refrigerator for about 2 days.
- Freezing: Gluten-free garlic bread freezes exceptionally well, making it perfect for meal prepping. To freeze, wrap the bread tightly in plastic wrap, then an additional layer of aluminum foil, or place it in a freezer-safe bag. It can be frozen for up to 3 months. For the best results, we recommend freezing the bread before it has been baked. If you’ve already baked it, ensure it cools completely before freezing.
- Reheating Baked Garlic Bread: There’s no need to thaw frozen garlic bread before reheating. Preheat your oven to 350°F (175°C). Unwrap the garlic bread and place it directly on a baking sheet. Reheat for about 10-15 minutes, or until it’s heated through and crispy. If you prefer a softer texture and wish to prevent it from getting too crispy, cover it loosely with aluminum foil during reheating.
- Baking From Frozen (Unbaked): If you froze unbaked garlic bread, you can bake it directly from frozen. Preheat your oven to 400°F (200°C). Place the unbaked, frozen garlic bread on a parchment-lined baking sheet and bake for approximately 15-20 minutes, or until golden brown and bubbly. Keep an eye on it, as baking times can vary.
Variations to Elevate Your Gluten-Free Garlic Bread
While the classic recipe is undeniably delicious, don’t be afraid to get creative and customize your gluten-free garlic bread with these exciting variations:
- Extra Cheesy Garlic Bread: If you’re a cheese lover, add an extra layer of shredded mozzarella, provolone, or a blend of Italian cheeses over the garlic butter before baking. This will result in an even gooier, cheesier crust.
- Herbaceous Delight: Beyond parsley, incorporate other fresh or dried herbs into your garlic butter. Basil, oregano, thyme, or a pinch of Italian seasoning can add wonderful depth and aroma.
- Spicy Kick: For those who enjoy a little heat, sprinkle a pinch of red pepper flakes into your garlic butter mixture. Start with a small amount and add more to taste.
- Sun-Dried Tomato & Feta: Mix finely chopped sun-dried tomatoes (oil-packed, drained) and crumbled feta cheese into the garlic butter for a Mediterranean twist.
- Roasted Garlic Infusion: For a milder, sweeter garlic flavor, use roasted garlic instead of raw minced garlic. Simply roast a head of garlic, squeeze out the softened cloves, and mash them into your butter.
- Dairy-Free Option: To make this recipe dairy-free, substitute unsalted butter with your favorite dairy-free butter alternative and Parmesan cheese with a suitable dairy-free Parmesan substitute. Ensure your gluten-free bread is also dairy-free if needed.
Frequently Asked Questions About Gluten-Free Garlic Bread
Here are some common questions to help you master your gluten-free garlic bread making!
- Can I use any type of gluten-free bread? While a baguette is traditional and works best for its shape and crust, you can certainly adapt this recipe to other gluten-free bread types. Sliced sandwich bread, ciabatta, or even a denser gluten-free artisan loaf will work. Just adjust the baking time as needed – thinner slices will cook faster.
- How can I make my garlic bread extra crispy? The key to extra crispiness is a hot oven and possibly a quick broil at the end. Ensure your oven is fully preheated to 400°F (200°C). You can also lightly brush the cut sides of the bread with olive oil before spreading the butter mixture, which helps crisp it up. As mentioned in our tips, broiling for the last minute or two is a game-changer for a golden, crunchy finish.
- Can I prepare the garlic butter in advance? Absolutely! Preparing the garlic butter ahead of time is a great time-saver. You can mix it up and store it in an airtight container in the refrigerator for up to a week. You can even freeze it for up to three months. Just remember to let it come to room temperature and soften before you spread it on your bread, otherwise, it will be too hard to apply evenly.
- Is gluten-free garlic bread healthy? Like most delicious comfort foods, gluten-free garlic bread is best enjoyed in moderation as part of a balanced diet. The nutrition information provided is an approximation, and values can vary based on the specific gluten-free bread and ingredients you use. However, it’s a wonderful treat that brings joy to your mealtime!
More Gluten-Free Bread Recipes to Try!
If you’ve enjoyed making this easy gluten-free garlic bread, you’ll love exploring other delicious gluten-free bread options. Expand your baking repertoire with these fantastic recipes:
- Gluten-Free Bread Machine Bread
- Gluten-Free Naan Bread
- Gluten-Free Dinner Rolls
- Gluten-Free Focaccia