

Crispy Gluten-Free Buckwheat Waffles: Your New Favorite Breakfast Staple
Imagine a waffle that’s perfectly crisp on the outside, wonderfully tender and fluffy on the inside, and naturally gluten-free. That’s exactly what you get with these incredible buckwheat waffles! Crafted from simple, wholesome pantry ingredients like buckwheat flour, eggs, milk, and butter, this easy-to-follow recipe comes together in just 30 minutes. Whether you’re planning a leisurely weekend brunch, prepping delicious breakfasts for the week ahead, or simply seeking a hearty and healthy gluten-free waffle option with a delightful nutty flavor, these waffles are an absolute game-changer. They offer a satisfying texture and a unique taste that will quickly become a beloved addition to your morning routine.

Having spent considerable time perfecting gluten-free baking, I can confidently say I’ve become quite adept with buckwheat flour. It’s truly a remarkable ingredient! Mastering buckwheat waffles is surprisingly straightforward once you grasp how this unique gluten-free flour behaves in batter. It stands out as one of the most reliable gluten-free flours to work with, offering consistent results and a distinctive character. My appreciation for buckwheat began while developing my buckwheat bread recipe, where its robust performance truly shone. The method for these waffles is refreshingly simple, relying on everyday pantry staples such as farm-fresh eggs, wholesome milk, rich butter, and a touch of pure vanilla extract. You begin by whisking the wet ingredients until thoroughly combined, then gently folding in the dry components. A brief resting period for the batter is crucial before cooking, allowing the buckwheat flour to hydrate properly. Through extensive testing, I’ve discovered just how beautifully buckwheat transforms into waffles, imparting a wonderful, slightly nutty flavor, a delightfully heartier texture, and that coveted combination of crisp edges with a tender, yielding center. They are not just waffles; they are a truly satisfying and wholesome culinary experience.
Unlocking Buckwheat Waffle Perfection: Essential Tips I Learned
Through countless batches and extensive experimentation, I’ve refined the process of making the perfect buckwheat waffles. Here are the key insights and techniques that will help you achieve outstanding results every single time, ensuring your waffles are not just good, but truly exceptional:
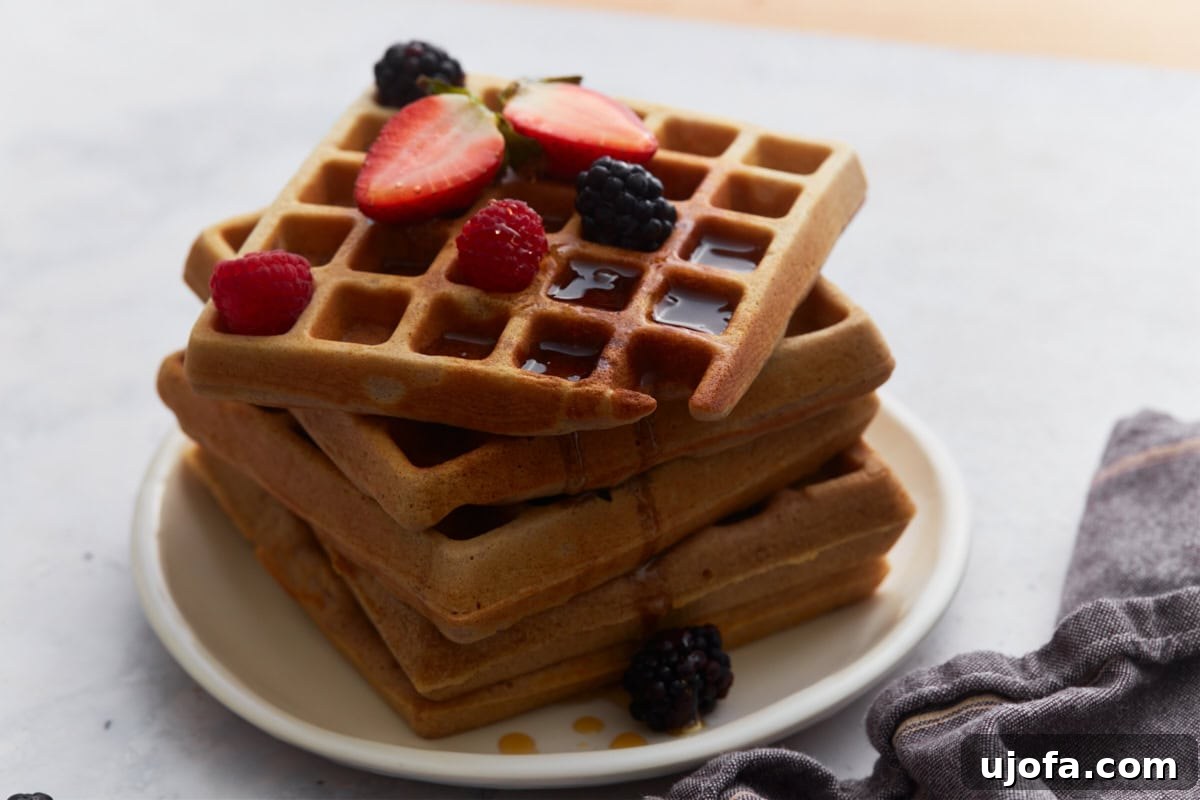
- Embrace the Heartier Texture: Unlike lighter, more delicate wheat-based waffles, buckwheat naturally yields a deeper, nuttier flavor and a more substantial structure. Expect your buckwheat waffles to be darker in hue and possess a slightly denser, yet incredibly satisfying, texture. This inherent heartiness is a defining characteristic and precisely what makes them so filling and enjoyable. It’s a feature to celebrate, not to shy away from, as it contributes significantly to their wholesome appeal.
- The Critical Batter Rest: This step is non-negotiable for optimal waffle texture. Allow your prepared batter to rest for at least 5 minutes, and up to 10-15 minutes, before pouring it into your waffle iron. During this resting period, the buckwheat flour diligently absorbs the liquid, hydrating thoroughly. This process not only improves the overall texture of the cooked waffle but also significantly aids in achieving those coveted crispy edges and a consistently cooked interior. Don’t skip it!
- Optimal Batter Usage: For the freshest and best texture, it’s ideal to cook the batter immediately after its brief resting period. While you can chill the batter for a short time, buckwheat flour has a tendency to thicken considerably and dry out if refrigerated for too long. If you do chill it, be sure to give it a gentle stir before using. Should it appear too thick to pour easily, add milk one tablespoon at a time until it reaches a thick yet pourable consistency again.
- Mastering the Doneness Cue: If your waffles consistently turn out soft or undercooked, it’s likely an issue with your waffle iron’s temperature or insufficient cooking time. The most reliable indicator that your waffles are perfectly done is when the steam emanating from the waffle maker slows down significantly, almost to a stop. Resist the urge to peek too early! Waiting for this key signal ensures a golden-brown exterior and a thoroughly cooked, tender interior.
- Fine-Tuning Batter Thickness: The ideal buckwheat waffle batter should be thick enough to cling to your whisk but still pour smoothly. It shouldn’t be watery, nor should it be so dense that it struggles to spread. If your batter feels overly heavy or stiff, gradually incorporate milk, adding one tablespoon at a time, and stirring gently until it achieves that perfect, slightly loosened, pourable consistency. This flexibility allows for minor adjustments based on flour absorption and ambient conditions.
- Grease Between Every Batch: This tip is particularly important for buckwheat waffles. Due to buckwheat’s natural composition, the batter tends to stick to waffle irons more readily than traditional wheat-based batters. To guarantee effortless release, consistently crisp edges, and prevent any tearing of your beautiful waffles, I highly recommend lightly greasing your waffle iron before *each and every* batch. A quick spray of cooking oil or a light brush of melted butter does wonders.
Buckwheat Waffles
Share by Email
Print Recipe

These buckwheat waffles are wonderfully crispy on the outside, delightfully tender on the inside, and completely gluten-free. Made with staple pantry ingredients like robust buckwheat flour, fresh eggs, creamy milk, and rich butter, this incredibly easy waffle recipe can be prepared and enjoyed in a mere 30 minutes, making it perfect for any busy morning or relaxing weekend.
Equipment
- 1 waffle iron
Ingredients
- 1½ cups buckwheat flour
- 2 tbsp granulated sugar
- 2 tsp baking powder
- ½ tsp baking soda
- ¼ tsp salt
- 2 large eggs
- 1¼ cups milk (dairy or non-dairy alternative)
- ¼ cup unsalted butter, melted (or melted coconut oil for dairy-free)
- 1 tsp pure vanilla extract
- Cooking spray or butter for waffle iron
Instructions
- Preheat your waffle iron according to the manufacturer’s instructions. Ensure it is fully heated before proceeding.
- In a large mixing bowl, beat together the eggs, milk, melted butter, and vanilla extract until thoroughly combined and smooth.
- Add the buckwheat flour, sugar, baking powder, baking soda, and salt to the wet ingredients. Stir gently until just combined. A few small lumps are perfectly fine; avoid overmixing, which can lead to tough waffles. Let the batter rest for 5-10 minutes to allow the buckwheat flour to hydrate and thicken slightly.
- Lightly grease the preheated waffle iron with cooking spray or a brush of melted butter before cooking each batch. Pour an appropriate amount of batter onto the center of the waffle iron, ensuring it covers the grid without overflowing (the exact amount will vary by waffle maker size).
- Close the lid and cook for 4-5 minutes, or until the steam significantly slows down and the waffles are golden brown and crisp to the touch.
- Carefully remove the cooked waffle and repeat the process with the remaining batter, greasing the iron between each batch.
- Serve warm with your favorite toppings such as maple syrup, fresh fruit, a pat of butter, or whipped cream. Enjoy your homemade buckwheat waffles!
Notes
- For a deeper flavor: To enhance buckwheat’s natural nutty profile, lightly toast the buckwheat flour in a dry skillet over medium heat for 3-5 minutes, stirring frequently, until it becomes fragrant. Allow it to cool completely before incorporating into the batter. This simple step adds an incredible depth of flavor.
- Vegan option: To make these waffles vegan, substitute dairy-free milk (such as almond or oat milk), use melted coconut oil or a neutral oil (like canola or vegetable oil) in place of butter, and replace each egg with a flax egg (1 tablespoon ground flaxseed mixed with 3 tablespoons water, let sit for 5 minutes to thicken). While the waffles might be slightly less golden and a touch softer, they will still cook beautifully and taste delicious.
- Make Ahead Tip: While the batter is best used fresh, you can make it up to 2 hours in advance. Store it covered in the refrigerator. Just be aware it will thicken further. Stir gently and add a splash of milk if needed to achieve a pourable consistency before cooking.
- Crispness Restoration: If your waffles become soft after cooling, simply pop them back into a toaster or a preheated oven (350°F/175°C) for a few minutes to restore their crisp exterior.
Nutrition
Serving: 1 serving (2 waffles)
Calories: 476 kcal
Carbohydrates: 56 g
Protein: 15 g
Fat: 23 g
Saturated Fat: 13 g
Polyunsaturated Fat: 2 g
Monounsaturated Fat: 6 g
Trans Fat: 1 g
Cholesterol: 162 mg
Sodium: 748 mg
Potassium: 546 mg
Fiber: 6 g
Sugar: 15 g
Vitamin A: 796 IU
Calcium: 328 mg
Iron: 3 mg
Nutrition information is automatically calculated and should only be used as an approximation. Individual results may vary based on ingredients and preparation methods.
Additional Info
How to Make Buckwheat Waffles: A Detailed Step-by-Step Guide
Creating these delightful buckwheat waffles is a straightforward process, even for beginner bakers. Follow these detailed steps to ensure perfectly crisp, tender, and flavorful waffles every time. Each step is accompanied by an image to guide you through the process visually.
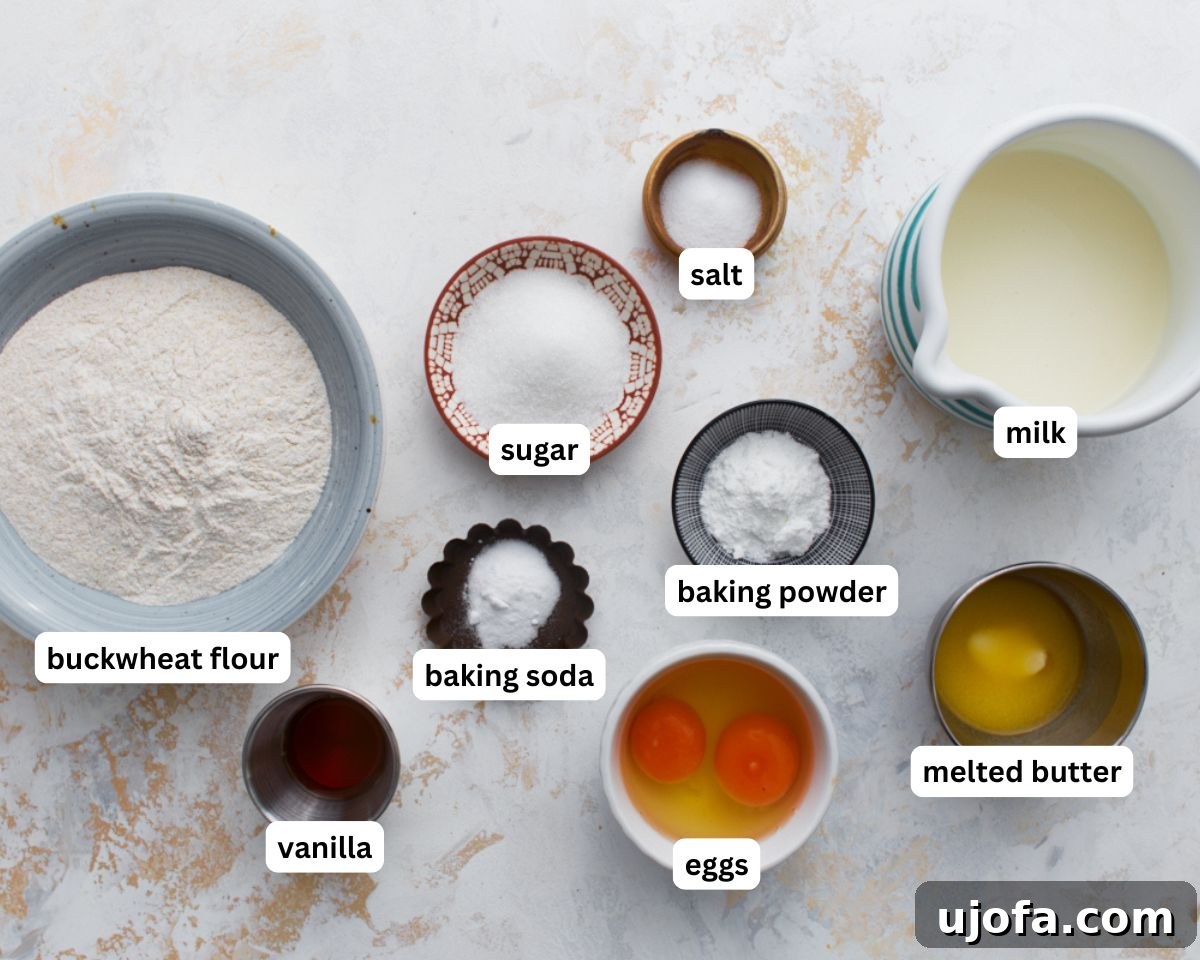
Step 1: Gather Your Ingredients and Preheat. Before you begin mixing, ensure all your ingredients are measured out and ready. This “mise en place” approach makes the cooking process much smoother. Most importantly, plug in your waffle iron and allow it to fully preheat according to the manufacturer’s instructions. A well-heated iron is absolutely essential for achieving those wonderfully crisp edges and preventing sticking. Rushing this step can lead to soft, undercooked waffles.

Step 2: Whisk the Wet Ingredients. In a spacious large mixing bowl, combine 2 large eggs, 1¼ cups (300 ml) of milk (dairy or a dairy-free alternative works well), ¼ cup (56g) of melted unsalted butter (or melted coconut oil for a dairy-free version), and 1 teaspoon of pure vanilla extract. Whisk these ingredients together vigorously until the mixture is completely smooth and uniformly combined. There should be no visible streaks of egg or unincorporated butter. This creates a cohesive liquid base for your batter.
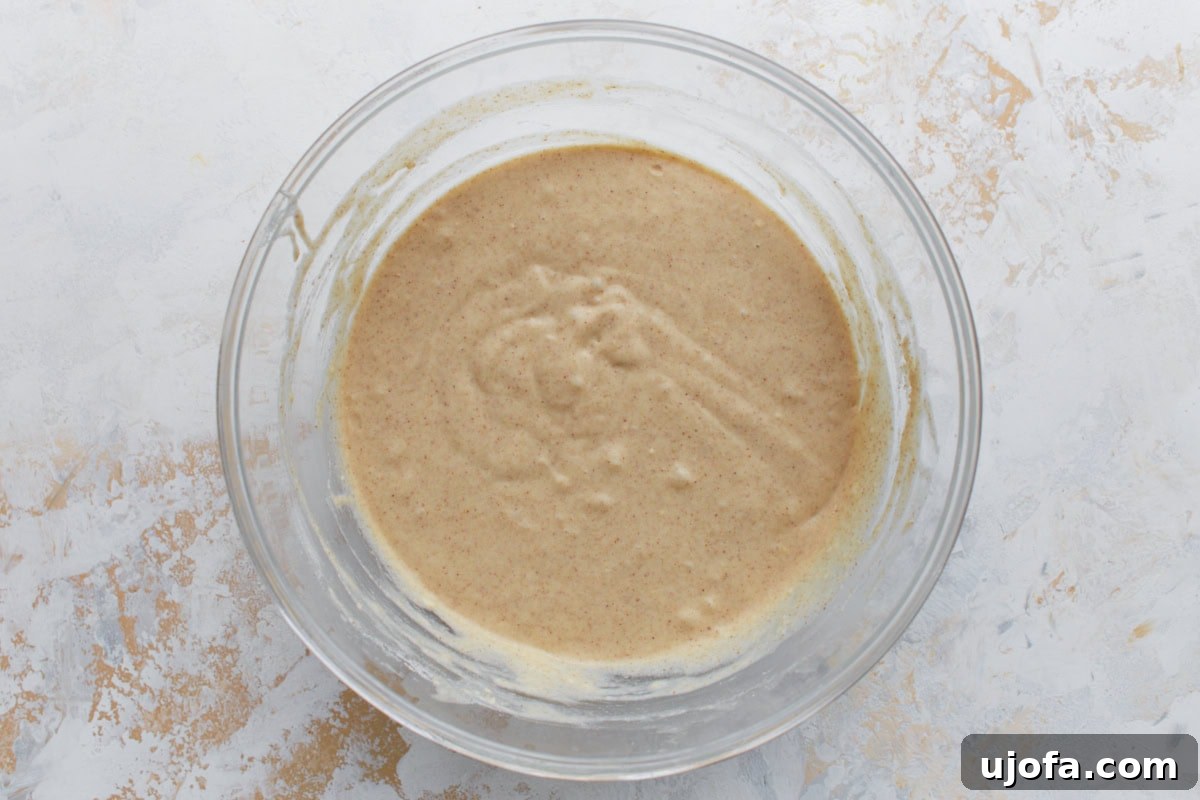
Step 3: Combine Dry Ingredients and Rest the Batter. To the bowl of wet ingredients, add 1½ cups (170g) of buckwheat flour, 2 tablespoons (25g) of granulated sugar, 2 teaspoons of baking powder, ½ teaspoon of baking soda, and ¼ teaspoon of salt. Gently stir these dry ingredients into the wet mixture using a whisk or a rubber spatula until they are *just* combined. It’s crucial not to overmix the batter; a few small lumps are perfectly acceptable and even desirable. Overmixing can develop gluten in wheat flour, but in gluten-free flours like buckwheat, it can simply lead to a denser, tougher waffle. Once mixed, let the batter rest for 5 to 10 minutes. You’ll notice the buckwheat flour absorbing the liquid and the batter thickening slightly, becoming more cohesive and pourable with a good body. This resting period is key for optimal texture.
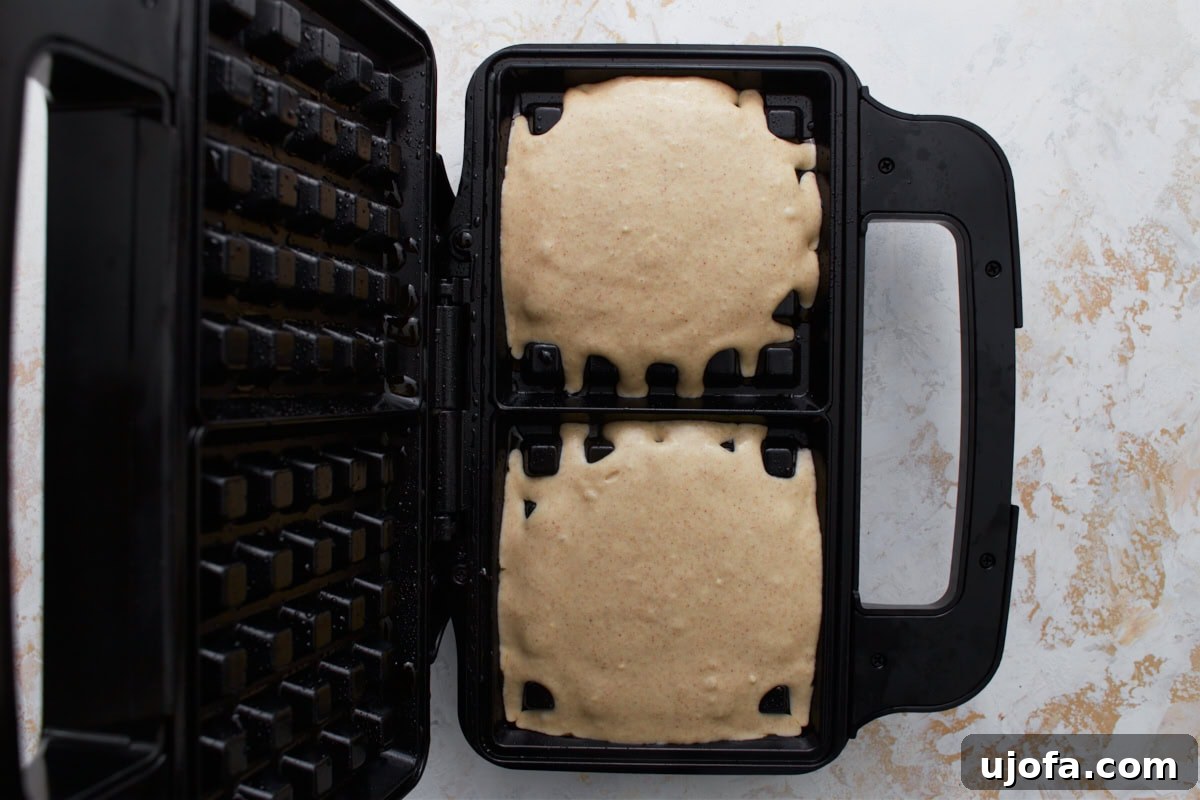
Step 4: Add Batter to the Waffle Maker. Before each batch, lightly grease your preheated waffle iron with cooking spray or a light brush of melted butter. This extra step is especially important for buckwheat waffles to prevent sticking and ensure a beautiful, even crisp. Pour the appropriate amount of batter onto the center of the hot iron. The exact quantity will depend on the size and style of your specific waffle maker; aim to cover most of the grid without overfilling, which could cause overflow and messy cleanup.
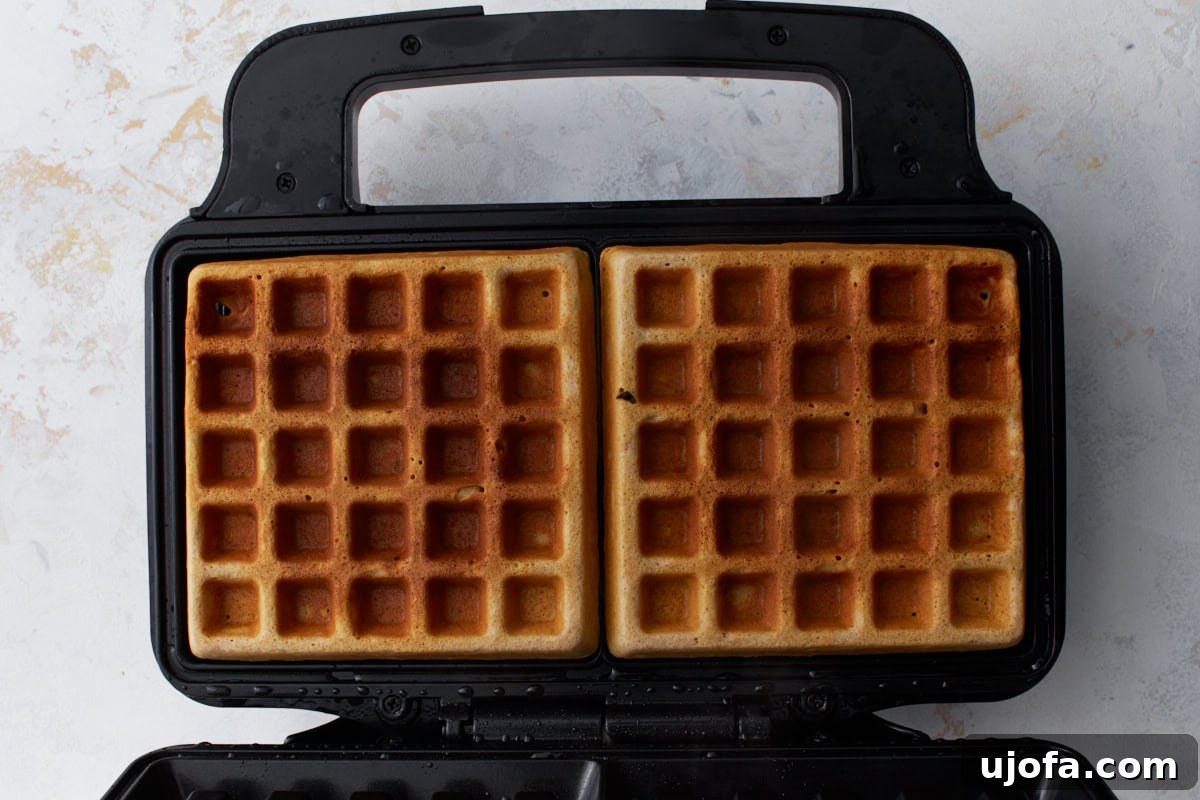
Step 5: Cook the Waffles to Perfection. Close the lid of your waffle iron and allow the waffles to cook for approximately 4-5 minutes. The most reliable indicator that your waffles are ready is when the steam emanating from the waffle maker significantly slows down, often almost stopping completely. Resist the urge to open the waffle iron too early, as this can disrupt the cooking process and prevent proper browning. Once cooked, the waffles should have a deep golden-brown exterior and feel satisfyingly crisp when gently lifted. The longer you cook, the crispier they’ll be, but be careful not to burn them.

Step 6: Top and Serve Immediately. Carefully remove the perfectly cooked waffle from the iron using a fork or tongs. Repeat the cooking process with the remaining batter, remembering to lightly grease the iron between each batch. For the ultimate enjoyment, serve your buckwheat waffles warm, immediately after cooking. Drizzle them generously with rich maple syrup, adorn them with a medley of fresh fruit, add a dollop of creamy butter, or a cloud of whipped cream. The combination of warm, crispy waffles and your favorite toppings creates an unforgettable breakfast experience. Enjoy every wholesome bite!
Creative Serving Suggestions for Buckwheat Waffles
Buckwheat waffles are wonderfully versatile, making them a fantastic canvas for a wide array of toppings and pairings. I particularly love preparing them for a cozy weekend brunch or a relaxed Sunday breakfast at home, where their comforting aroma fills the kitchen. They also elevate any holiday morning into something truly special, often featuring as a star element on a lavish brunch board alongside an assortment of fresh fruits and flavorful spreads. Their distinct nutty, wholesome flavor profile complements both sweet and savory additions, opening up a world of culinary possibilities. Don’t be afraid to get creative and experiment!
Top Your Waffles: Sweet & Savory Pairings
Here are some of my favorite ways to serve these delightful buckwheat waffles, ensuring there’s an option for every palate:
- The Classic Comfort: There’s nothing quite like warm maple syrup generously drizzled over a hot waffle, accompanied by a melting pat of butter. This timeless combination not only adds sweetness and richness but also beautifully highlights the natural nutty undertones of the buckwheat.
- Bright Berry Bliss with Raspberry Coulis: For a vibrant and refreshing contrast, pair your waffles with a homemade raspberry coulis. The bright, tart berry sauce cuts through the heartiness of the buckwheat, creating a perfectly balanced flavor profile that’s both invigorating and satisfying.
- Creamy & Fruity Freshness: Lighten the texture and add a burst of juicy sweetness with a generous topping of fresh berries and a dollop of creamy dairy-free yogurt (or regular yogurt if preferred). The cool, smooth yogurt complements the earthy notes of the waffles beautifully, making for a refreshing start to your day.
- An Unexpected Savory Twist: For those who love to explore savory breakfast options, try pairing these waffles with smoked salmon and a dollop of herbed cream cheese. This rich, sophisticated combination is surprisingly complementary to the depth of the buckwheat, making it an ideal choice for a gourmet brunch.
- Nutty Crunch & Spice: Enhance the inherent toasted flavor of buckwheat by sprinkling your waffles with chopped pecans or walnuts and a dusting of cinnamon sugar. The added crunch and warm spice notes create a delightful textural and flavor experience. For an extra layer of texture, a spoonful of keto granola is also incredibly delicious.
- The Ultimate Breakfast Board: Transform your waffles into a centerpiece by serving them alongside a spread of classic breakfast favorites. Think fluffy scrambled eggs, crispy strips of bacon or plant-based sausage, and a colorful fresh fruit salad. This balanced meal ensures the buckwheat waffles shine while offering a variety of flavors and textures for everyone to enjoy.
Storage & Reheating Instructions for Buckwheat Waffles
These buckwheat waffles are fantastic when fresh, but they also store beautifully, making them an excellent option for meal prepping healthy breakfasts throughout the week. Here’s how to store and reheat them to maintain their delicious taste and texture:
Storing the Batter: While it’s always best to cook the batter shortly after its resting period, you can prepare the batter up to 2 hours in advance. Keep in mind that buckwheat flour tends to absorb liquid and thicken more rapidly than traditional flours. Store the prepared batter in an airtight container in the refrigerator. Before using, give it a gentle stir. If it has thickened too much to pour easily, simply add a splash of milk (one tablespoon at a time) and stir until it reaches a pourable consistency again.
Storing Cooked Waffles in the Refrigerator: To store cooked waffles, first ensure they have cooled completely to room temperature. Storing warm waffles can lead to condensation, making them soggy. Once cooled, place them in an airtight container in the refrigerator, where they will stay fresh for up to 4 days. For optimal freshness, you can place a piece of paper towel in the container to absorb any excess moisture.
Reheating from the Refrigerator: For the best possible texture, resembling freshly made waffles, reheat them in a toaster until warmed through and crisp on the outside. Alternatively, you can place them on a baking sheet in a preheated oven at 350°F (175°C) for about 5-8 minutes, or until they are hot and delightfully crisp once more.
Freezing Cooked Waffles: Waffles are perfect for freezing, offering a quick and convenient breakfast option. After cooking, let the waffles cool completely. To prevent them from sticking together in the freezer, arrange them in a single layer on a baking sheet and flash freeze for about 15-30 minutes until they are firm. Once firm, transfer the frozen waffles to a freezer-safe bag or container, placing a piece of parchment paper between layers to prevent sticking. They can be frozen for up to 3 months.
Reheating from Frozen: The beauty of frozen waffles is that there’s no need to thaw them! Simply pop them directly into a toaster on a medium-to-high setting, or place them on a baking sheet in a preheated oven at 375°F (190°C) for 10-15 minutes, until they are golden, hot, and crispy. This method provides an incredibly easy and wholesome breakfast solution on busy mornings.
More Easy and Delicious Gluten-Free Breakfast Recipes
If you’ve fallen in love with these wholesome buckwheat waffles, you’re likely on the hunt for more simple and satisfying gluten-free breakfast ideas. Here are a few other fantastic recipes that are just as easy to make and equally delicious, perfect for diversifying your breakfast menu:
- Hearty Banana Oatmeal Pancakes: These banana oatmeal pancakes are wonderfully soft, subtly sweet, and crafted with a minimal list of wholesome, natural ingredients. They present a superb alternative when you desire an effortless gluten-free breakfast that truly feels hearty and deeply satisfying, much like our beloved buckwheat waffles. They’re quick, nutritious, and a family favorite!
- Simple Gluten-Free Blueberry Muffins: Discover the delight of these gluten-free blueberry muffins – moist, incredibly tender, and bursting with the juicy sweetness of fresh berries in every single bite. They are an ideal grab-and-go breakfast solution for busy mornings or a delightful addition to any brunch spread, perfectly complementing a towering stack of these buckwheat waffles.
- Elegant Almond Flour Scones: Indulge in these exquisite almond flour scones, renowned for their buttery richness, delicate crumbly texture, and naturally gluten-free composition. Their luxurious texture and subtle, understated sweetness make them an impeccable companion to your morning coffee or tea, and a sophisticated enhancement to any elaborate brunch presentation.
Tried this recipe?
Mention @mamaknowsglutenfree or tag #mamaknowsglutenfree!