
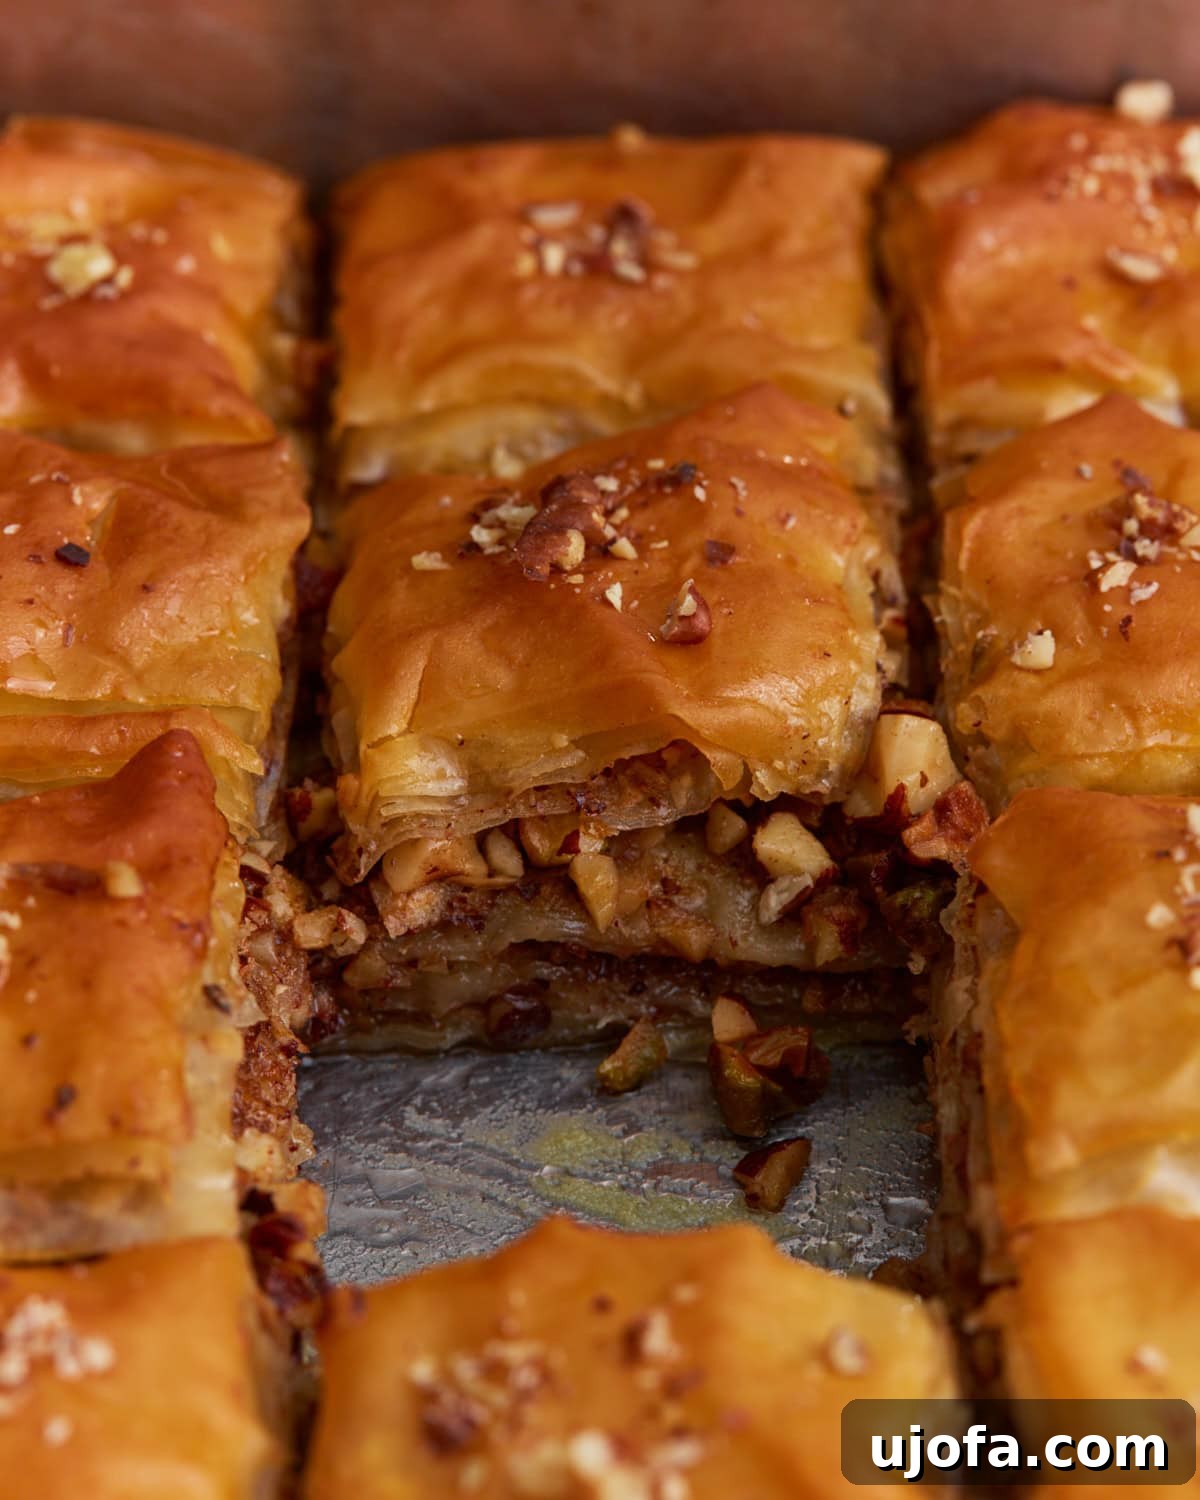
Indulge in the irresistible allure of gluten-free baklava, a meticulously crafted layered pastry that captures the essence of classic Mediterranean delight without compromise. Each delicate piece features feather-light, crisp gluten-free phyllo dough, generously filled with a fragrant blend of spiced, finely chopped nuts, all bathed in a luscious, sweet honey syrup. This beloved dessert transforms into a golden, buttery masterpiece during baking, with layers that shatter delightfully with every bite, revealing a rich, nutty core deeply infused with aromatic syrup. As a naturally egg-free treat, it’s an ideal choice for any occasion – from festive holiday gatherings and elegant dinner parties to simply satisfying a craving for a decadent homemade gluten-free indulgence.
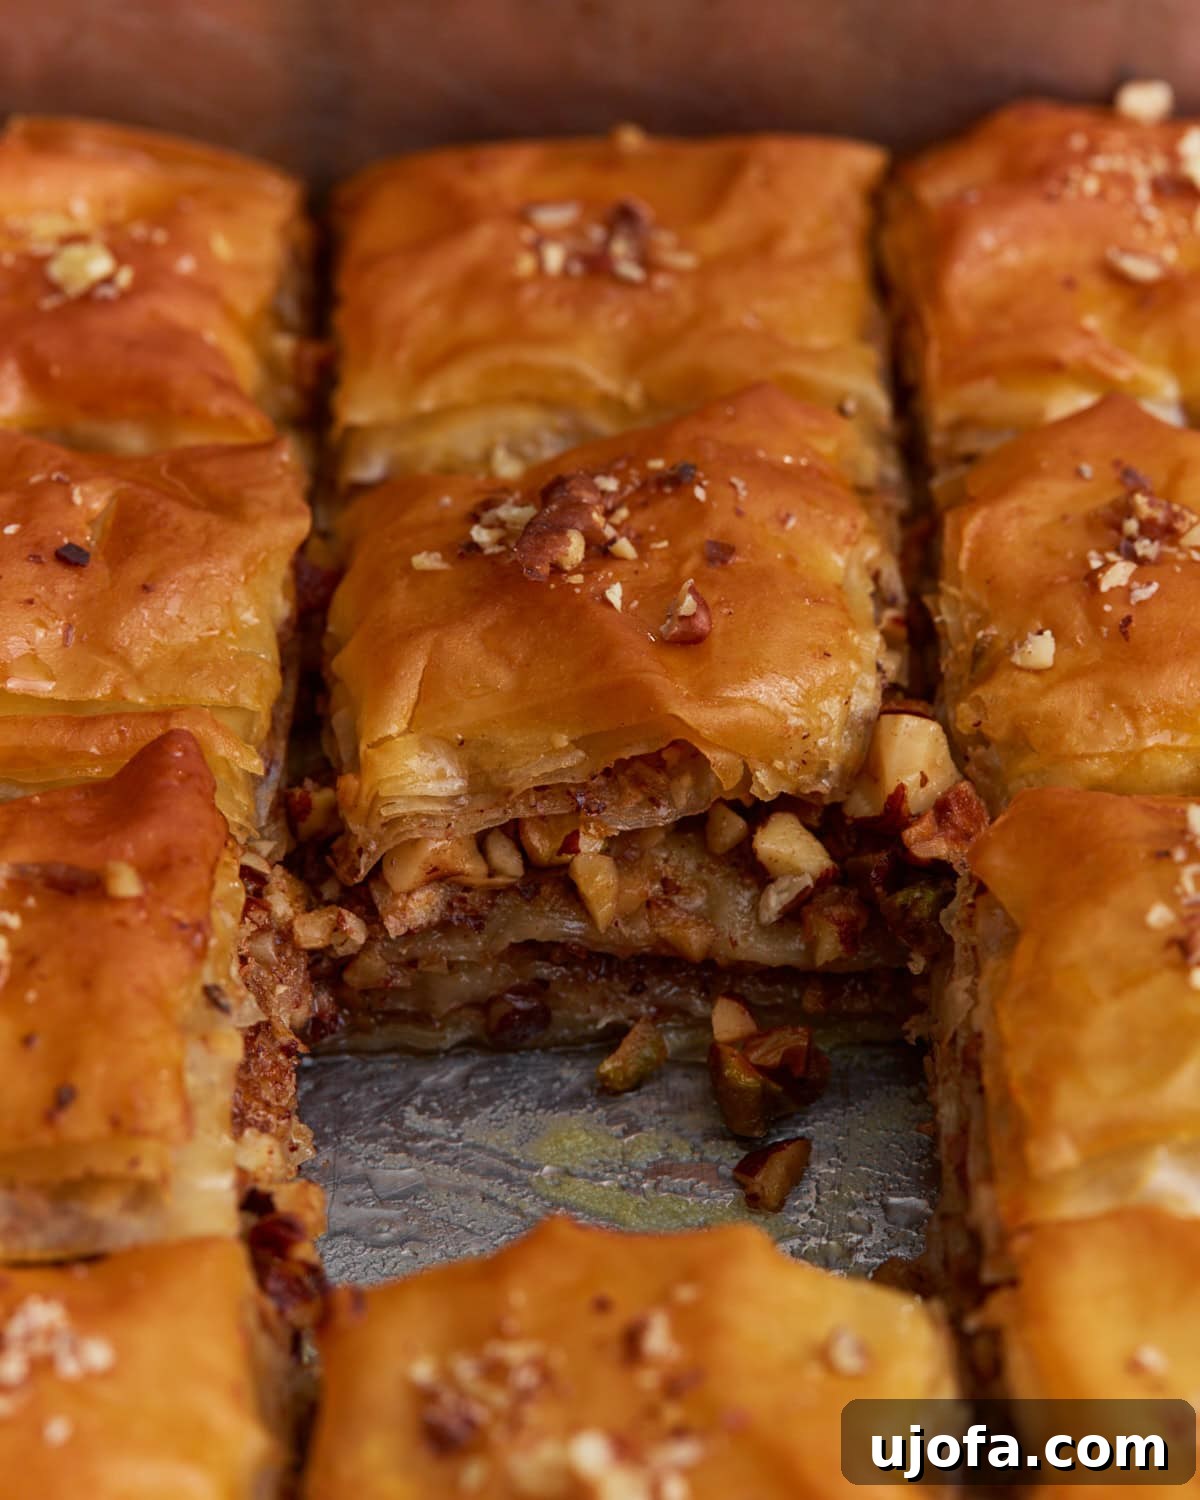
Baklava has always held a special, almost magical place in the world of desserts. The artistry of its creation, with those impossibly delicate sheets of phyllo, the richly spiced nuts, and the sweet honey syrup that permeates every single layer, is truly captivating. It’s a testament to how simple ingredients, when combined with careful technique, can create something extraordinary. For this particular homemade gluten-free baklava recipe, I opted to use my own gluten-free phyllo dough, which I highly recommend for the freshest results, though high-quality store-bought gluten-free phyllo can also be used if preferred. The process involves layering these thin sheets with a finely chopped nut mixture – typically walnuts, pistachios, or a combination – infused with warm cinnamon, and an abundance of melted butter. As the baklava bakes, these layers transform into a beautiful golden hue and develop an irresistibly crisp texture. The moment it emerges, hot and fragrant from the oven, it’s immediately drenched with a cool, aromatic honey syrup, typically flavored with subtle notes of cloves and bright lemon peel, allowing it to slowly absorb and create that signature moist, sweet interior.
Baklava boasts a rich and ancient history, with deep roots spanning across the Mediterranean and Middle Eastern regions. While countless variations exist from one culture to another, the fundamental concept remains consistently enchanting: a delightful, sweet bite, often enjoyed with a strong cup of coffee or soothing tea in the afternoon, or served as a cherished dessert for special occasions like Easter or as a satisfying after-dinner treat.
Essential Tips for Perfect Gluten-Free Baklava
Crafting the perfect gluten-free baklava requires a few key insights to ensure a delicious outcome. Here’s what I discovered during my recipe testing:
- Syrup Temperature is Key: Pour cool syrup over hot baklava. This crucial temperature contrast is vital for optimal syrup absorption. When the hot pastry meets the cool syrup, it creates a gentle thermal shock that allows the syrup to slowly seep into each delicate layer, preventing the phyllo from becoming soggy. This ensures a beautifully crisp exterior and a moist, flavorful interior.
- Handling Gluten-Free Phyllo: Prevent phyllo from cracking. Gluten-free phyllo dough is inherently more delicate and prone to tearing than its traditional counterpart. To minimize cracking, work swiftly and efficiently. Always keep any unused sheets meticulously covered with a damp, clean kitchen towel to prevent them from drying out and becoming brittle. Don’t fret over small tears or imperfections; the many layers and generous brushing of butter will conceal them, holding the baklava together beautifully.
- Nut Texture Matters: Chop the nuts finely, but not into powder. The ideal consistency for your nut filling is finely chopped pieces, not a powdery flour. This ensures the nuts spread evenly between the phyllo layers, providing a consistent texture and flavor in every bite. More importantly, it contributes to the baklava’s characteristic light, crisp texture without feeling dense or heavy.
- Pre-Baking Cuts: Cut the baklava before baking. Attempting to slice through freshly baked, crisp phyllo layers will almost certainly result in shattering and crumbling. Slicing the baklava into your desired shapes (diamonds or squares) before it goes into the oven allows for clean, precise cuts. The butter helps to define these cuts as it bakes, making serving much easier and more aesthetically pleasing.
- Choose Your Nuts Wisely: Use all pistachios for a more traditional flavor. For an authentic Middle Eastern baklava experience, many recipes traditionally rely solely on pistachios. Their vibrant green color and naturally rich, slightly sweet flavor are unmistakable. Alternatively, for a balanced and nuanced flavor profile, consider using a mix of walnuts and pistachios. Walnuts contribute a deeper, earthier richness, while pistachios add a touch of sweetness and that beautiful pop of color, resulting in a wonderfully well-rounded filling. You can also experiment with almonds or hazelnuts for different flavor notes.
Rating: 5 out of 5 stars (based on 1 vote)
Homemade Gluten-Free Baklava
Gluten-free baklava is a flaky layered pastry made with gluten-free phyllo dough, chopped nuts, warm spices, and sweet honey syrup. This classic Mediterranean dessert is naturally egg-free and perfect for holidays, dinner parties, or anytime you want a homemade gluten-free treat.
Equipment
-
1 9″ x 13″ baking dish
Ingredients
For the Syrup
- 1 cup granulated sugar
- 1 cup water
- ½ cup honey
- 3 whole cloves
- 1 strip lemon peel
For the Baklava
- 1 package gluten-free phyllo dough
- 3 cups mixed nuts*, finely chopped (walnuts, pistachios, almonds, hazelnuts)
- ¼ cup granulated sugar
- 2 tsp ground cinnamon
- 1 cup unsalted butter**, melted
Instructions
-
Combine sugar, water, honey, cloves, and lemon peel in a saucepan. Bring to a boil, reduce the heat, and simmer for 10 minutes. Remove spices and lemon peel. Let cool until the baklava is done.
-
Preheat oven to 350°F (180°C). Brush a 9×13-inch baking dish with melted butter.
-
In a bowl, combine chopped nuts, sugar, cinnamon, and cardamom (if using). Stir well to ensure spices are evenly distributed throughout the nut mixture.
-
Carefully layer 8 sheets of phyllo dough in the prepared baking dish. For each sheet, brush it generously with melted butter before placing the next one on top. This creates those distinct, flaky layers.
-
Sprinkle approximately one-third of the nut mixture evenly over the buttered phyllo layers. Ensure the nuts cover the entire surface without clumping.
-
Layer 6 more sheets of phyllo dough over the nuts, brushing each sheet with melted butter as before. Add another one-third of the nut mixture evenly across these new phyllo layers.
-
Repeat this process once more: layer 6 additional phyllo sheets, brushing each with butter, and then spread the remaining one-third of the nut mixture on top.
-
Finally, top the baklava with the remaining phyllo sheets (about 8 sheets), brushing each thoroughly with melted butter. Ensure the very top layer is generously brushed with butter to achieve a beautiful golden-brown crust.
-
Using a very sharp knife, carefully cut the baklava into your desired shapes – traditional diamonds or neat squares – making sure to cut all the way through to the bottom of the baking dish.
-
Bake for 45–50 minutes, or until the top is a deep golden brown, appears visibly crisp, and slightly puffed. Keep an eye on it to prevent over-browning.
-
Immediately upon removing the baklava from the oven, pour the previously cooled honey syrup evenly over the hot pastry. Listen for the satisfying sizzling sound as the syrup begins to absorb into the warm layers.
-
Allow the baklava to sit uncovered at room temperature for a minimum of 4 hours, or ideally overnight. This extended resting period is crucial for the syrup to fully absorb, allowing the flavors to deepen and the layers to set perfectly before serving.
Notes
*Elevate the flavor of your nut mixture by adding a pinch of ground cardamom or a teaspoon of fresh orange zest. Both ingredients introduce a subtle, yet wonderfully aromatic flavor that harmonizes beautifully with the sweet honey syrup.
**For those who prefer, substitute unsalted butter with ghee (clarified butter). Ghee imparts a slightly deeper, nuttier flavor and performs just as effectively in creating those desired crisp, golden layers.
Nutrition
Serving: 1 piece
Calories: 286kcal
Carbohydrates: 30g
Protein: 4g
Fat: 18g
Saturated Fat: 7g
Polyunsaturated Fat: 2g
Monounsaturated Fat: 8g
Trans Fat: 0.3g
Cholesterol: 23mg
Sodium: 109mg
Potassium: 116mg
Fiber: 3g
Sugar: 17g
Vitamin A: 269IU
Vitamin C: 0.2mg
Calcium: 25mg
Iron: 1mg
Nutrition information is automatically calculated, so should only be used as an approximation.
Additional Info
Step-by-Step Guide to Crafting Gluten-Free Baklava
Embark on the journey of creating this exquisite gluten-free baklava with these detailed steps, ensuring a rewarding and delicious baking experience.
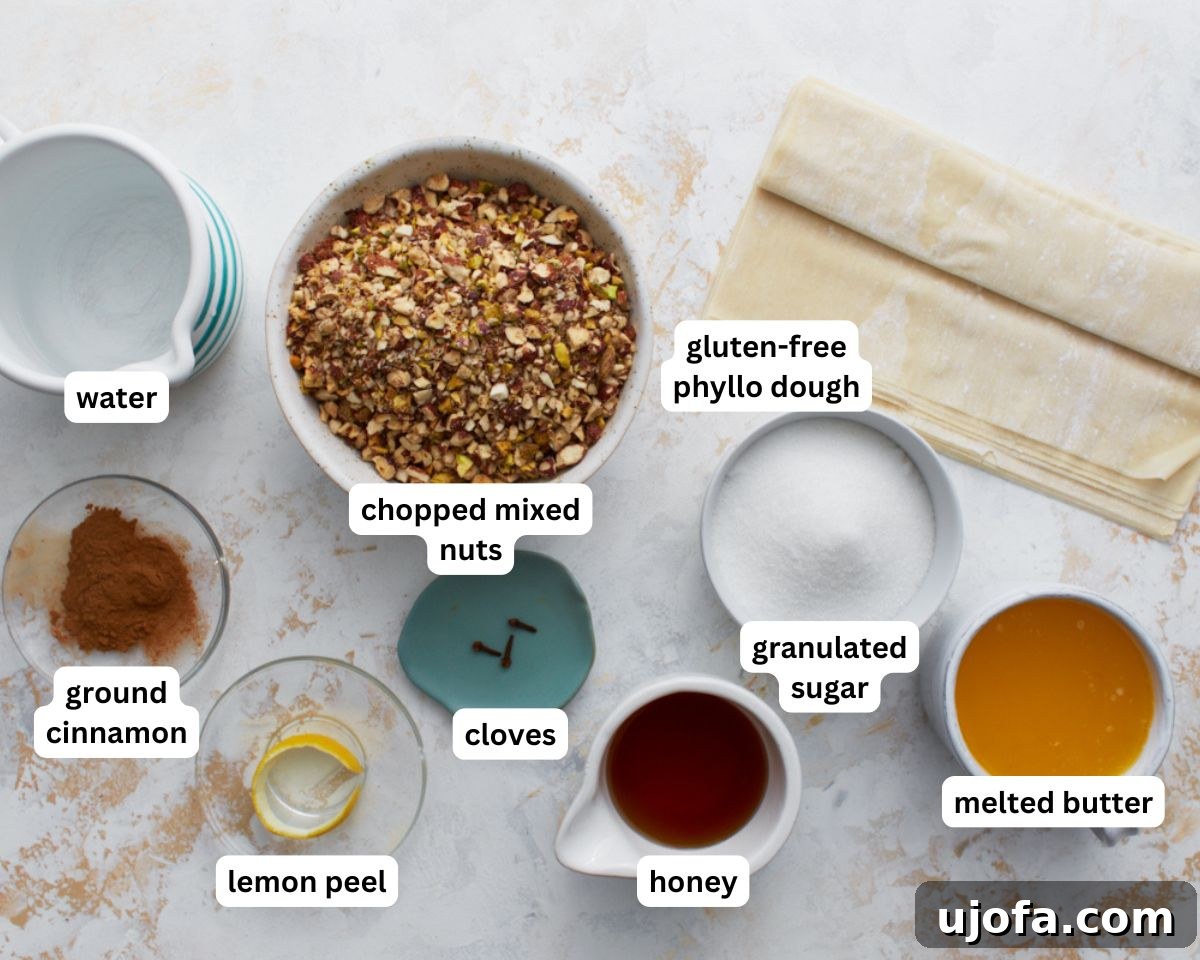
Step 1: Gather Your Ingredients and Prepare Your Pan. Begin by gathering all your necessary ingredients and tools to streamline the process. Preheat your oven to a steady 350°F (180°C). Take your 9×13-inch baking dish and lightly brush its interior with a portion of the 1 cup (226g) of melted unsalted butter. This initial buttering is crucial for preventing sticking and contributes to the delightful crispness of the baklava’s bottom layers.
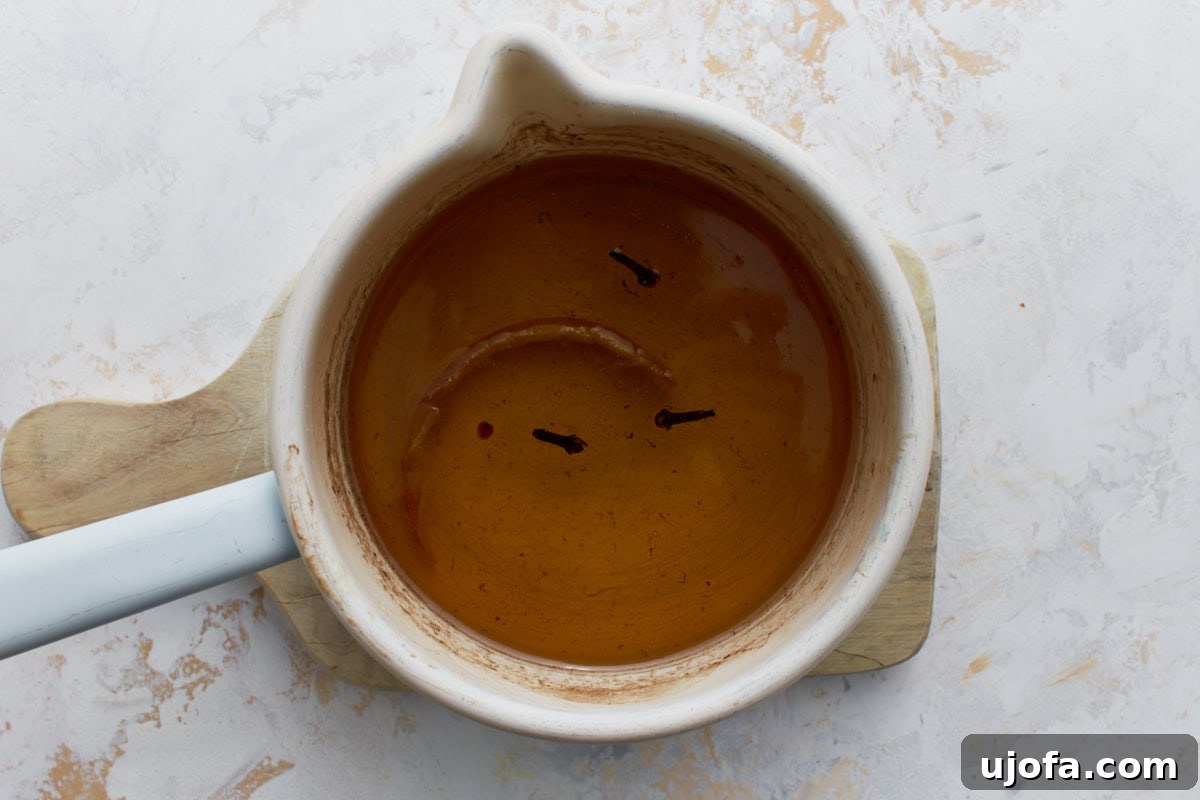
Step 2: Prepare the Aromatic Honey Syrup. In a small saucepan, combine 1 cup (200g) of granulated sugar, 1 cup (240ml) of water, ½ cup (120ml) of honey, 3 whole cloves, and 1 strip of fresh lemon peel. Place the saucepan over medium heat, stirring continuously until the sugar has completely dissolved. Once dissolved, bring the mixture to a gentle boil, then reduce the heat to a low simmer and let it cook for approximately 10 minutes. The syrup should thicken slightly and release a wonderful aroma. Carefully remove the whole cloves and lemon peel, then set the syrup aside to cool down completely to room temperature. This cooling is essential for the syrup to properly absorb into the hot baklava later.
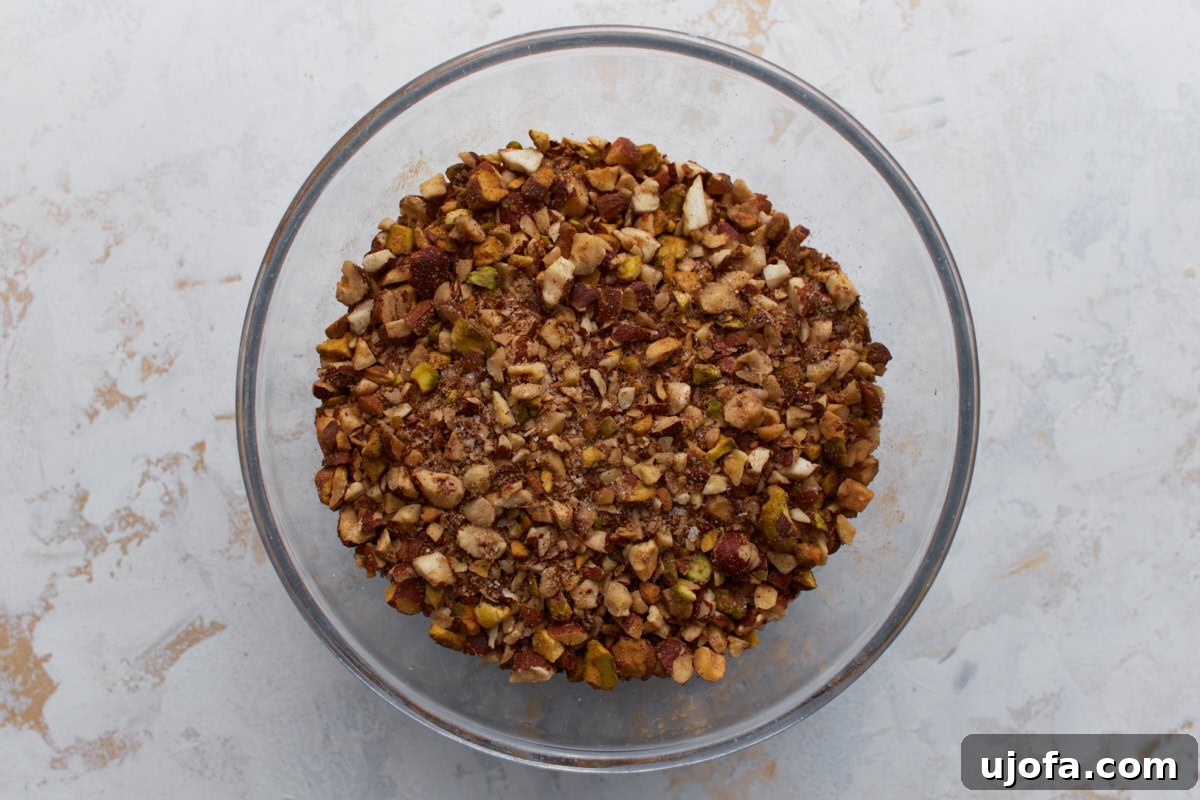
Step 3: Create the Flavorful Nut Filling. In a medium-sized mixing bowl, combine 3 cups (360g) of your finely chopped mixed nuts with ¼ cup (50g) of granulated sugar and 2 teaspoons of ground cinnamon. If you’re incorporating cardamom or orange zest (as suggested in the notes), add it now. Stir all the ingredients thoroughly until they are uniformly mixed. Remember, the nuts should be finely chopped to ensure even distribution and a pleasant texture, but avoid pulverizing them into a powder; you want a light, slightly chunky filling that adds substance without being heavy.
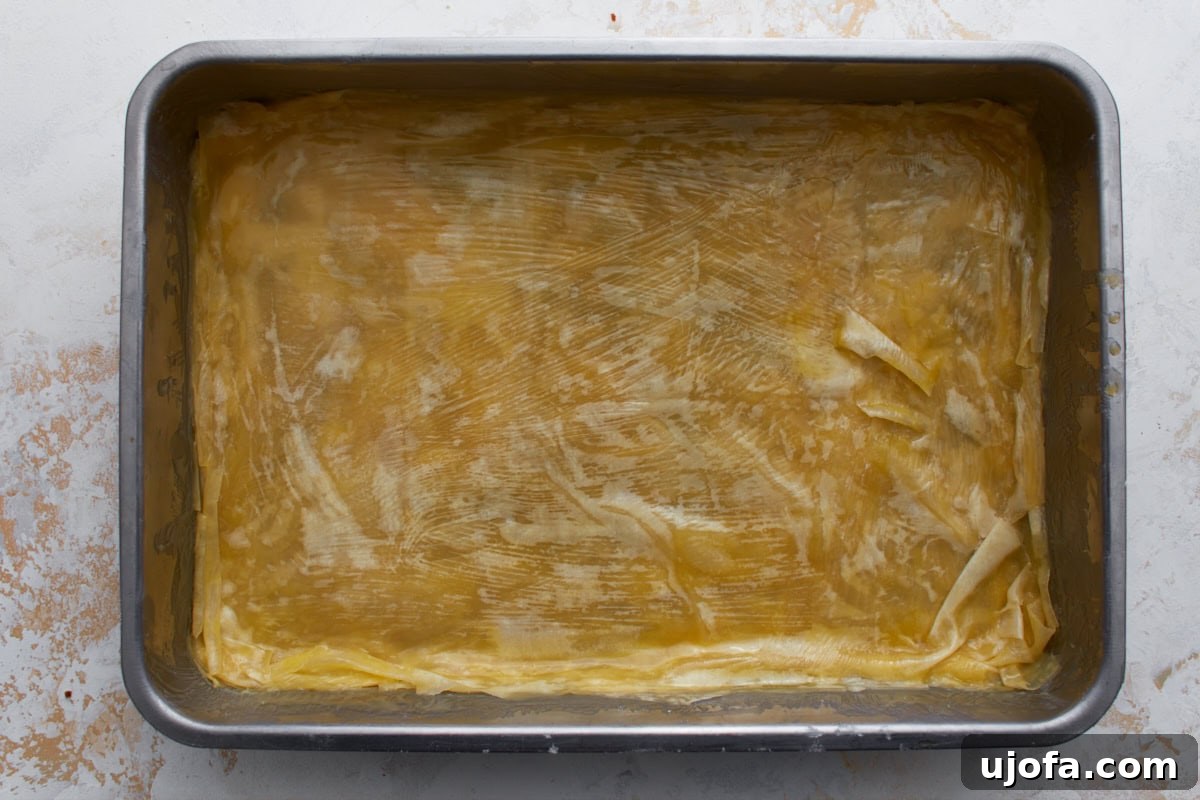
Step 4: Begin Layering the Phyllo. Carefully unroll your 16-oz. package (454g) of gluten-free phyllo dough. It’s crucial to keep any unused sheets covered with a damp, clean kitchen towel to prevent them from drying out, which can make them brittle and prone to cracking. Place the first 8 sheets of phyllo dough into your prepared baking dish. As you lay each sheet, brush it lightly but thoroughly with melted butter before adding the next. Don’t worry if the sheets wrinkle or tear slightly; this is common with gluten-free phyllo and will not affect the final outcome.
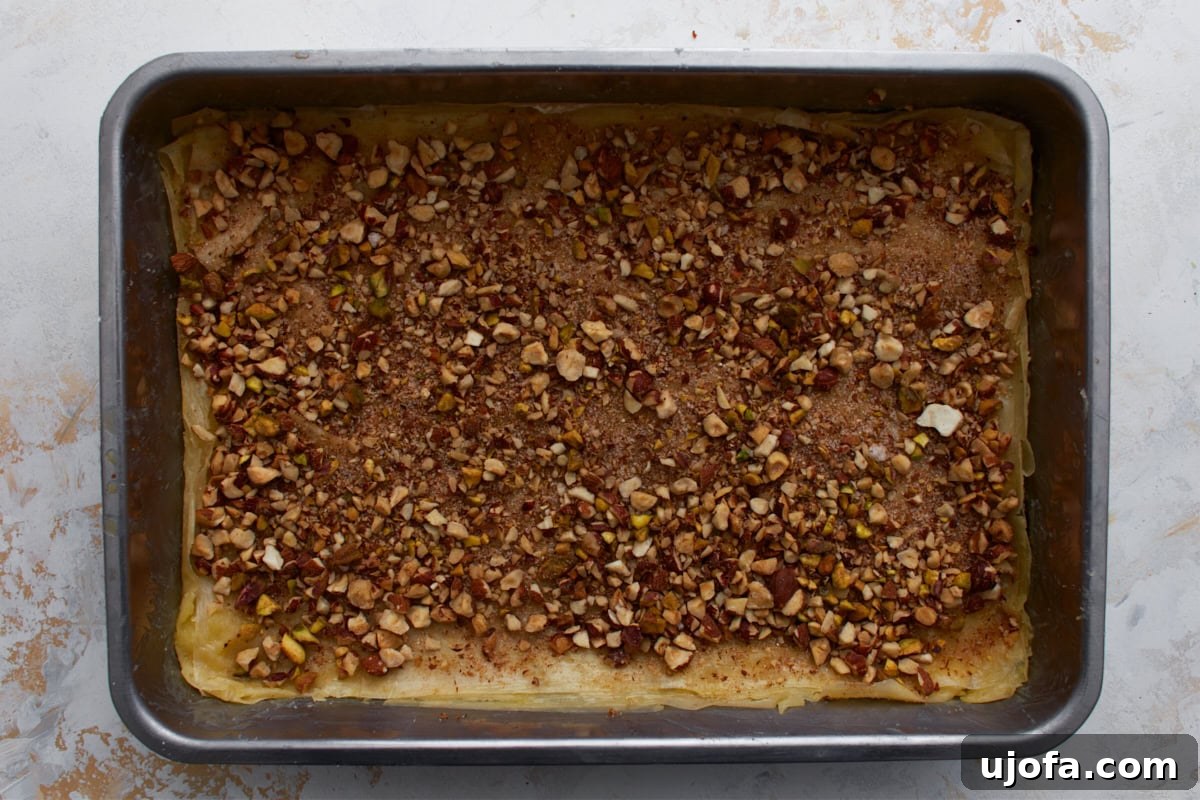
Step 5: Add the First Layer of Nut Filling. Once you have your initial 8 buttered phyllo layers in place, sprinkle approximately one-third of your prepared nut mixture evenly over the entire surface. Gently spread the nuts to form a thin, uniform layer, taking care not to press them down too firmly, which could compact the pastry layers.
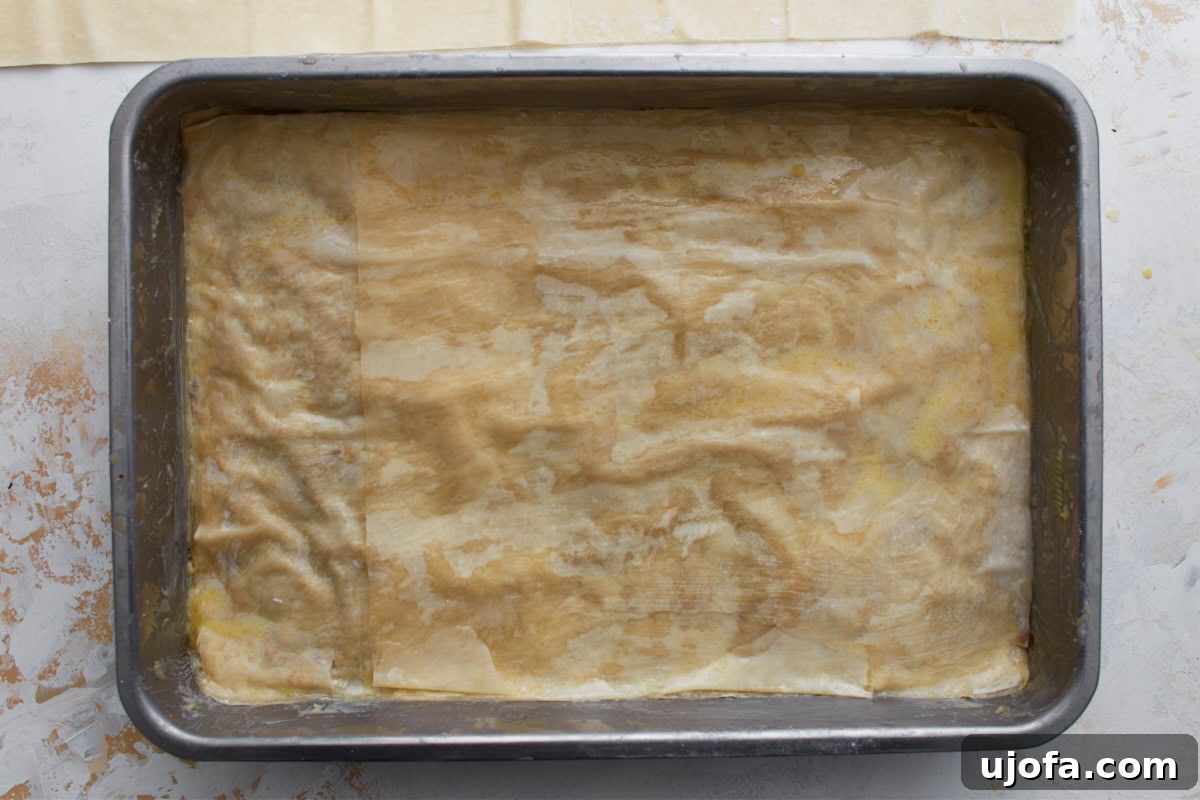
Step 6: Continue with the Second Phyllo Layer. Now, add 6 more sheets of phyllo dough over the nut layer. Just like before, brush each individual sheet generously with melted butter before carefully placing the subsequent sheet on top. This consistent buttering is what creates those wonderful flaky strata in the finished baklava.
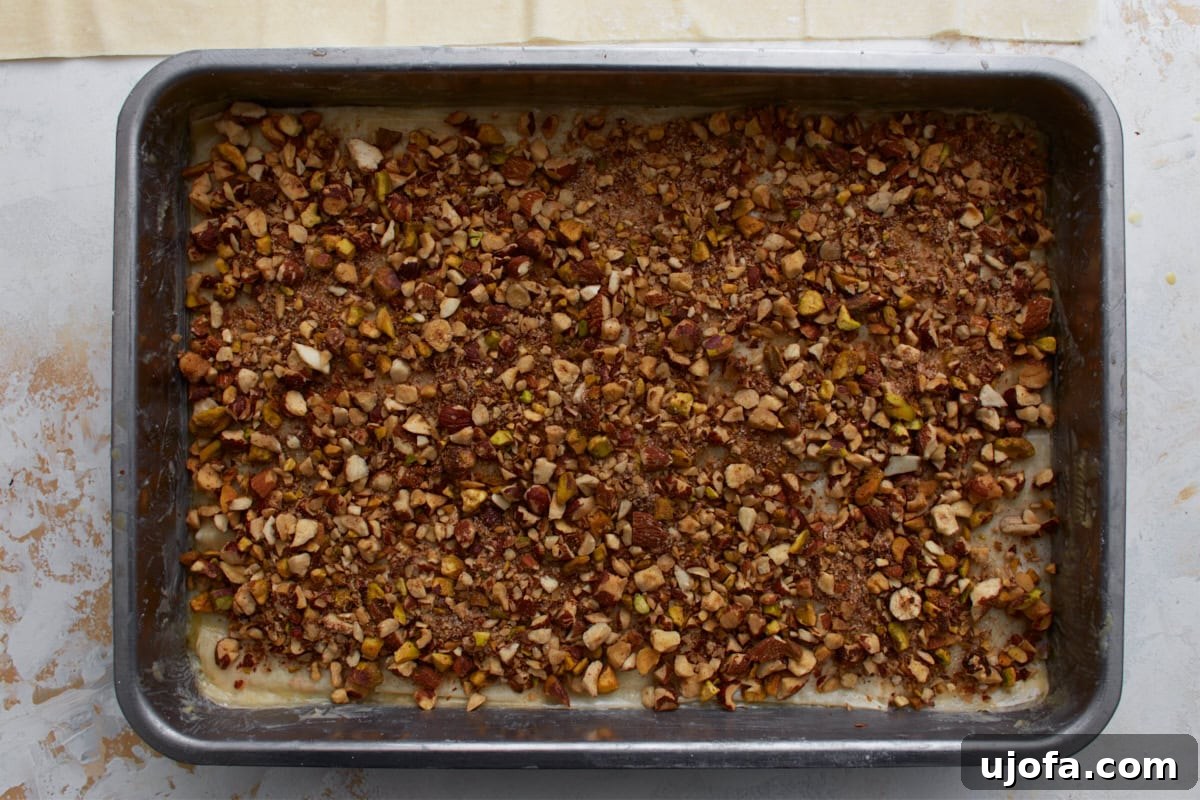
Step 7: Distribute the Second Nut Layer. Sprinkle another one-third of the fragrant nut mixture evenly over the freshly buttered phyllo layers. Ensure the coverage is consistent, setting the stage for the next set of layers.
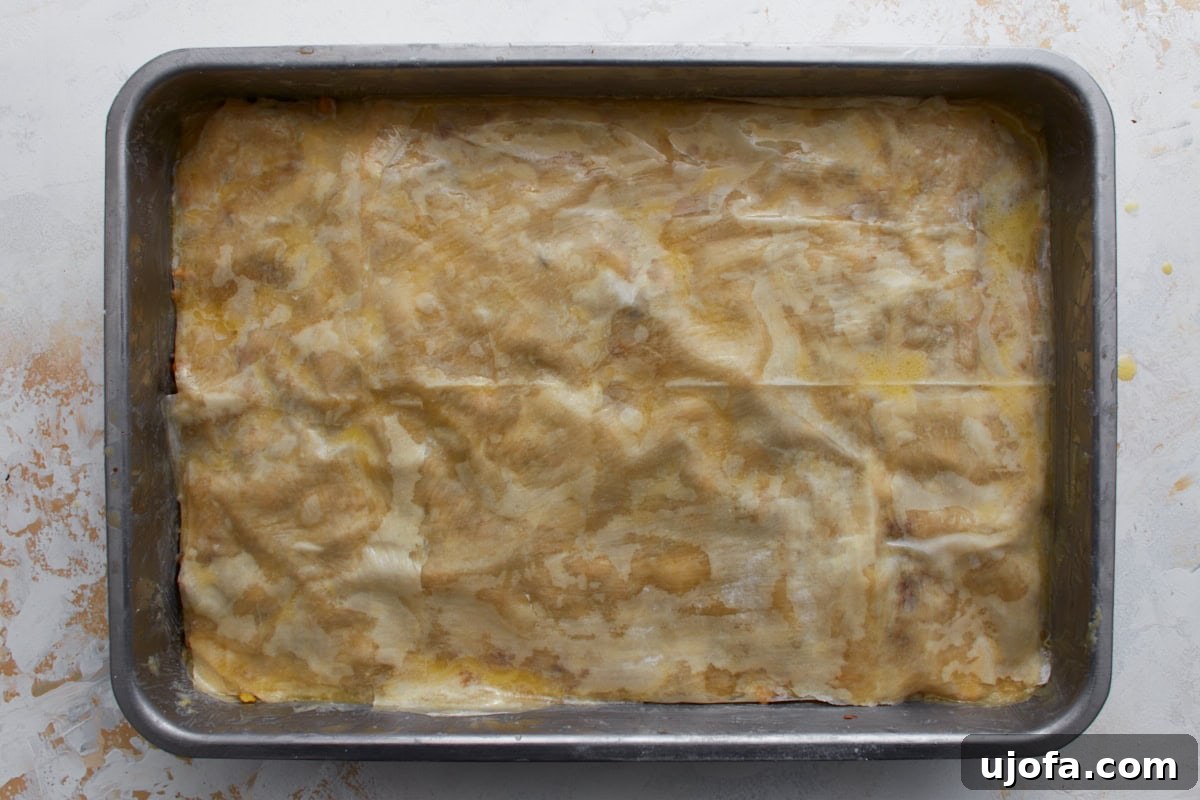
Step 8: Complete the Layers and Top with Phyllo. Repeat the layering process once more: add 6 additional sheets of phyllo, brushing each with melted butter, and then spread the remaining nut mixture evenly across the surface. This will complete the three distinct layers of nuts. To finish, top the baklava with the final approximately 8 sheets of phyllo, brushing each sheet thoroughly with melted butter as you stack them. Be extra generous with butter on the very top layer; this ensures a deep golden-brown, wonderfully crisp crust once baked.
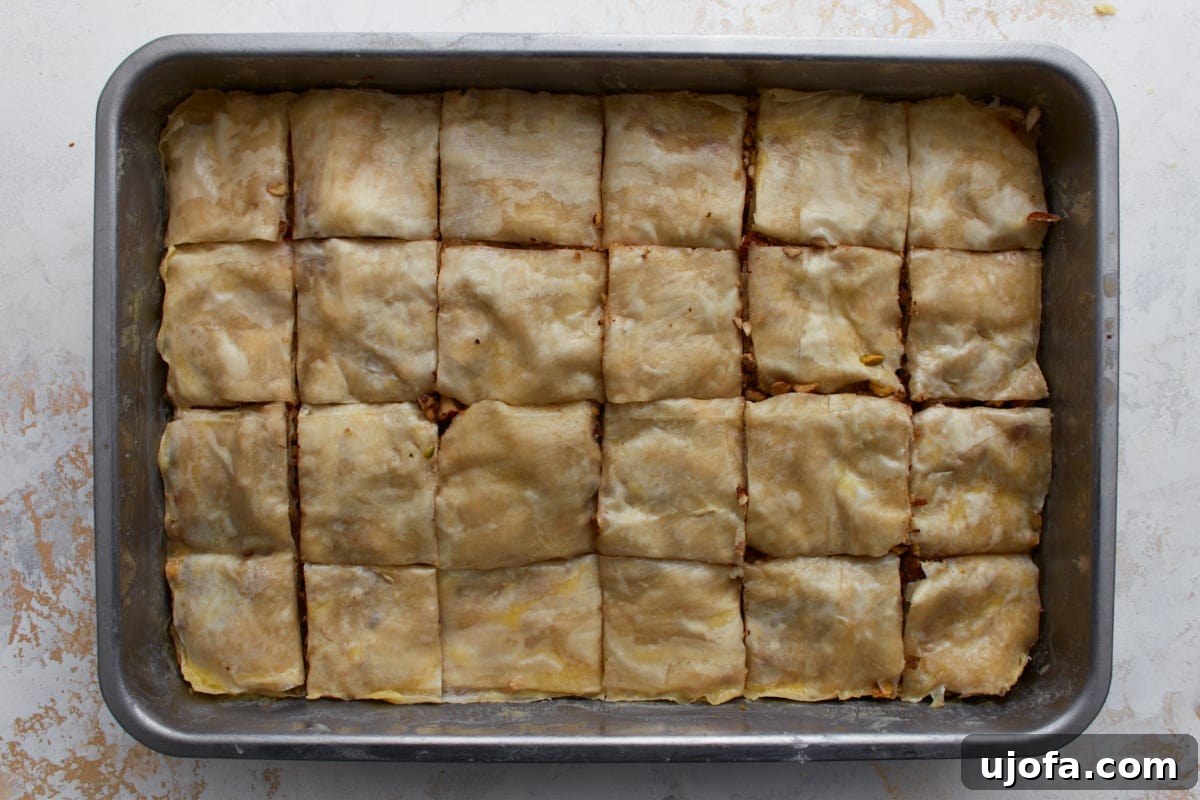
Step 9: Precisely Cut the Baklava. Before baking, it’s essential to cut the baklava. Using a very sharp knife, carefully slice the entire pastry into your desired shapes – traditional diamonds or neat squares. Make sure your cuts go all the way through to the bottom of the pan. Cutting before baking prevents the delicate, crisp layers from shattering once they are baked and hardened, making for clean, beautiful pieces ready for serving.
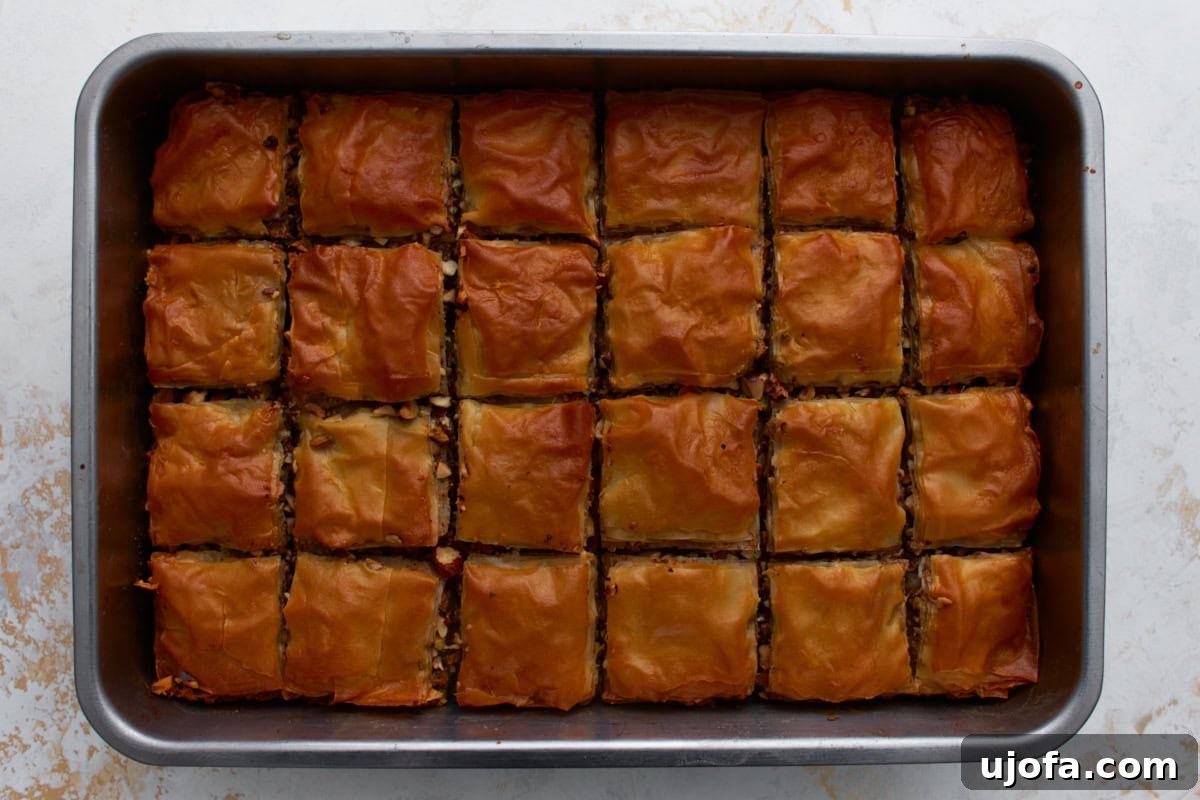
Step 10: Bake to Golden Perfection. Place the prepared baklava in your preheated oven and bake for approximately 45–50 minutes. The baklava is ready when its top surface has achieved a rich, deep golden-brown color, is visibly crisp, and appears slightly puffed. Keep a close watch during the final minutes to prevent over-browning.
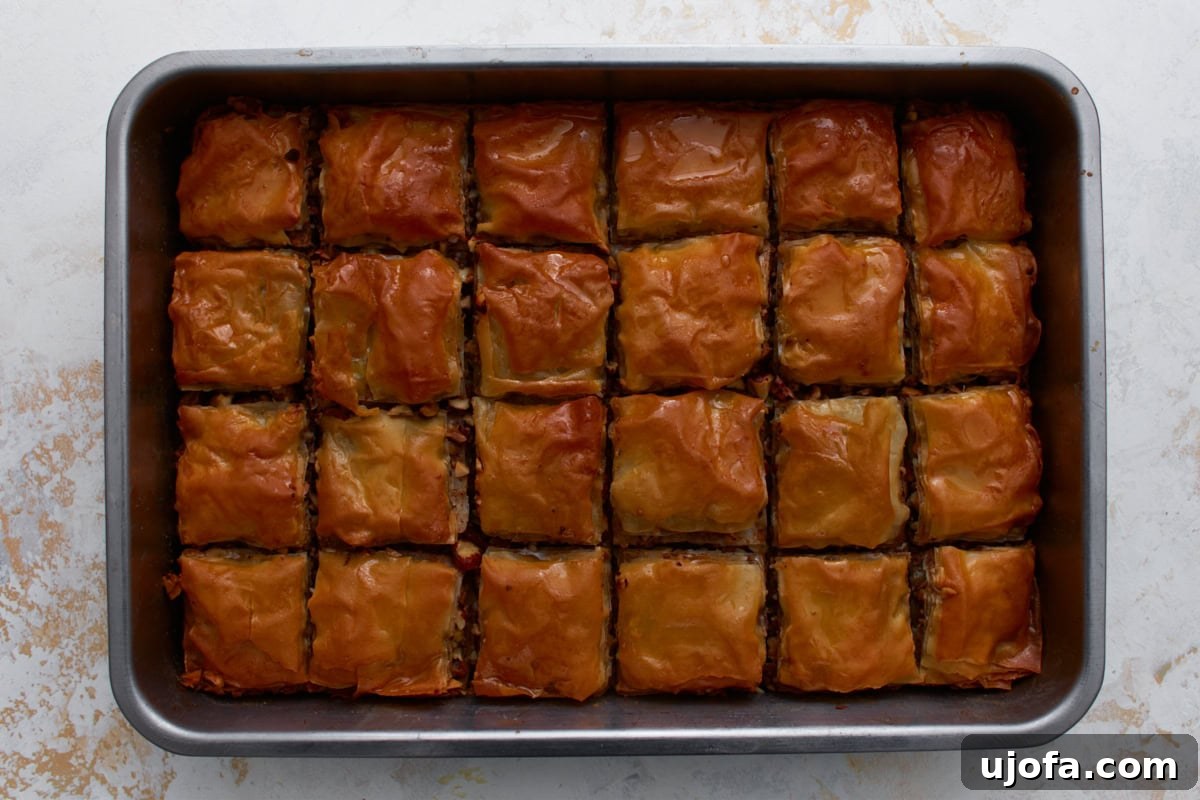
Step 11: Drench with Syrup. As soon as the baklava is removed from the oven, while it’s still piping hot, immediately and evenly pour the completely cooled honey syrup over the entire pastry. You should hear a gentle sizzling sound as the cool syrup begins to penetrate the hot, crisp phyllo layers. This creates the signature moist and sweet interior that baklava is famous for.
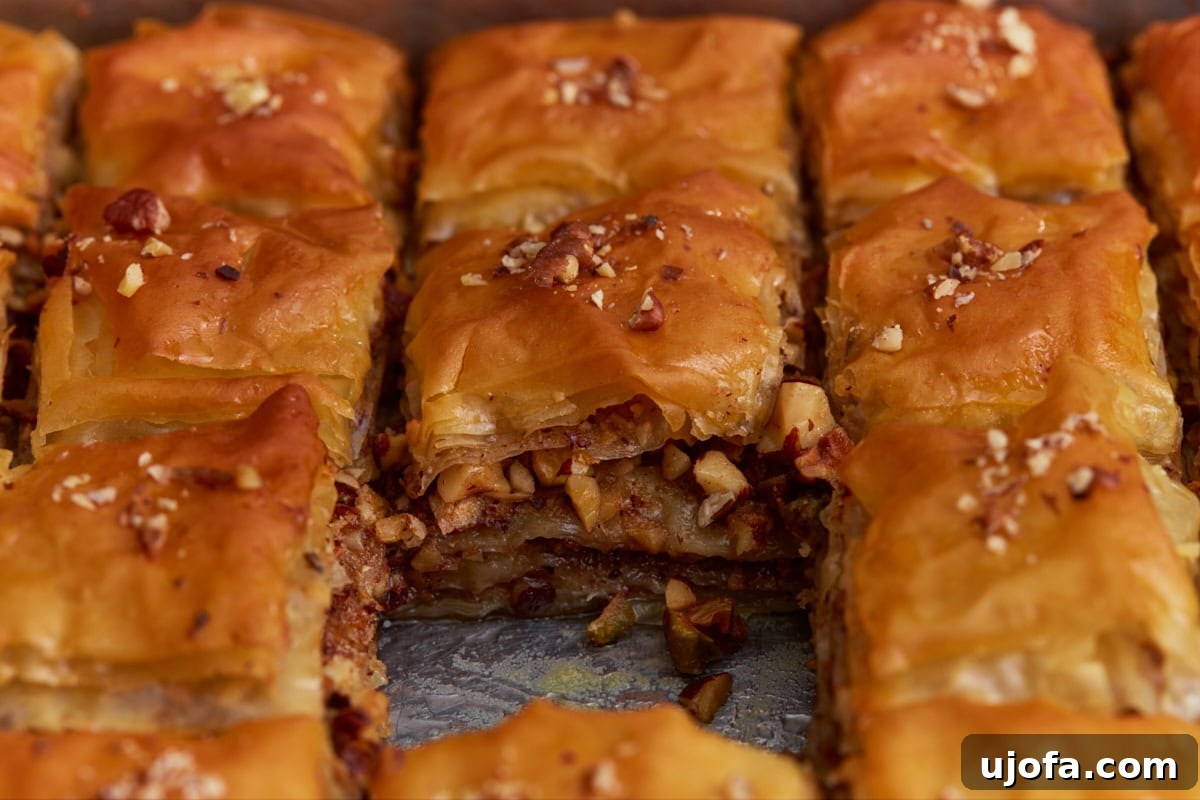
Step 12: Allow to Rest and Absorb. This final step is critical for optimal flavor and texture. Allow the baklava to sit uncovered at room temperature for at least 4 hours, or ideally overnight. This extended resting period provides ample time for the syrup to be fully absorbed into every layer, allowing the flavors to meld and deepen, and the pastry to set perfectly. The patience pays off with truly exceptional baklava.
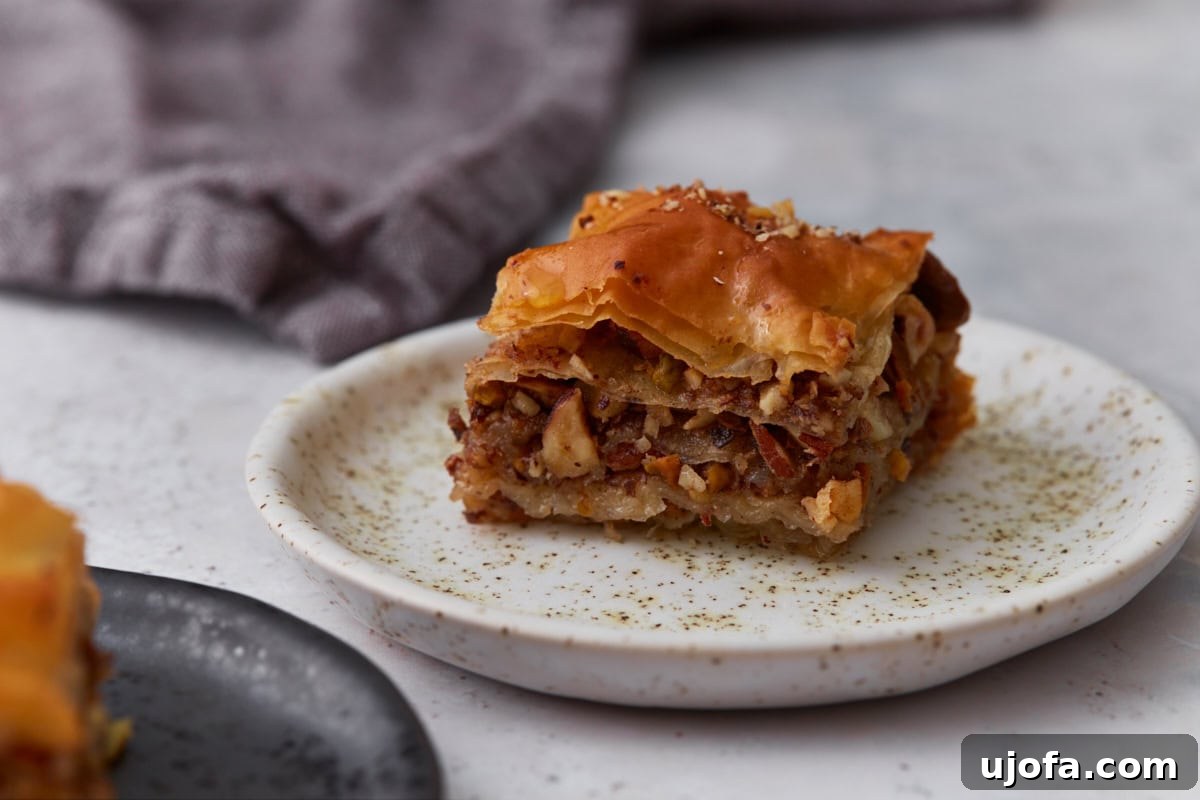
Delightful Serving Suggestions for Gluten-Free Baklava
Gluten-free baklava, with its rich sweetness and intricate textures, is a dessert that truly shines when paired thoughtfully. Because of its intense flavor, serving it in smaller pieces is often best, allowing guests to savor each bite without becoming overwhelmed. A classic accompaniment is a strong, invigorating cup of freshly brewed coffee or a shot of espresso; the bitterness perfectly cuts through the honeyed sweetness of the baklava, creating a harmonious balance. Similarly, a warm cup of black tea or refreshing mint tea offers a comforting counterpoint. If you’re creating an elaborate brunch spread, consider balancing the baklava’s sweetness with something savory, such as a hearty crustless ham and cheese quiche, which provides a wonderful contrast. For truly special occasions, imagine serving this homemade baklava alongside a basket of warm, flaky gluten-free croissants. It also pairs exquisitely with subtly sweet baked goods, like my gluten-free lemon poppy seed muffins, creating a luxurious and comforting spread for a cozy brunch or a festive holiday breakfast.
Storing Your Homemade Gluten-Free Baklava
Proper storage is essential to maintain the crispness and delectable flavor of your gluten-free baklava. This dessert stores best at room temperature. Simply keep it loosely covered on your kitchen counter for up to 1 week. The loose covering allows for some air circulation, which helps the delicate phyllo layers retain their crisp texture. It’s important to avoid sealing baklava tightly or refrigerating it. The cold air and excess moisture in the refrigerator can cause the pastry to soften, losing its desired flakiness, and may also lead to the honey syrup crystallizing, which alters the texture and appearance of the dessert.
If you plan to enjoy your baklava far in the future, it’s best to freeze it before adding the syrup. After cutting the baklava into individual portions, wrap each piece tightly in plastic wrap, followed by a layer of aluminum foil, to prevent freezer burn. It can be frozen for up to 3 months. When you’re ready to serve, thaw the baklava, bake it until it’s hot and crisp again, and then immediately pour freshly made, cooled syrup over the top, allowing it to absorb as usual. Baklava is also an excellent make-ahead dessert option. I frequently prepare it a full day in advance, allowing it to sit uncovered overnight. This extra time allows the syrup to thoroughly saturate the phyllo layers, intensifying the flavors and ensuring every bite is perfectly moist and rich.
Explore More Delicious Gluten-Free Mediterranean Desserts
If you loved creating and enjoying this gluten-free baklava, you might also be interested in exploring other delightful gluten-free Mediterranean-inspired desserts that are equally satisfying and impressive:
- Gluten-Free Biscotti: These classic Italian cookies are crafted with almond flour and studded with sliced almonds, then baked twice to achieve their signature crisp and crunchy texture. They are an absolute dream for dipping into coffee or tea and make a superb pairing with baklava on an elegant dessert platter.
- Gluten-Free Tiramisu: Indulge in this exquisite gluten-free tiramisu, featuring layers of espresso-soaked gluten-free ladyfingers intertwined with a silky, rich mascarpone cream. It’s a decadent and timeless Italian dessert that’s both beautiful to behold and incredibly delicious, making it perfect for holidays or any sophisticated dinner party.
- Gluten-Free French Macarons: Discover the delicate artistry of these gluten-free French macarons. They boast perfectly crisp shells and soft, chewy centers, generously filled with a creamy ganache or buttercream. Their light texture and elegant appearance make them an ideal choice for special occasions, afternoon tea, or adding a touch of sophistication to any dessert tray.
- Dairy-Free Crème Brûlée: Experience the luxurious simplicity of dairy-free crème brûlée. This dessert features a smooth, creamy custard base, expertly topped with a thin, brittle layer of caramelized sugar that provides a satisfying crack when tapped with a spoon. It’s an impressive yet surprisingly straightforward dessert that is naturally gluten-free and dairy-free.