
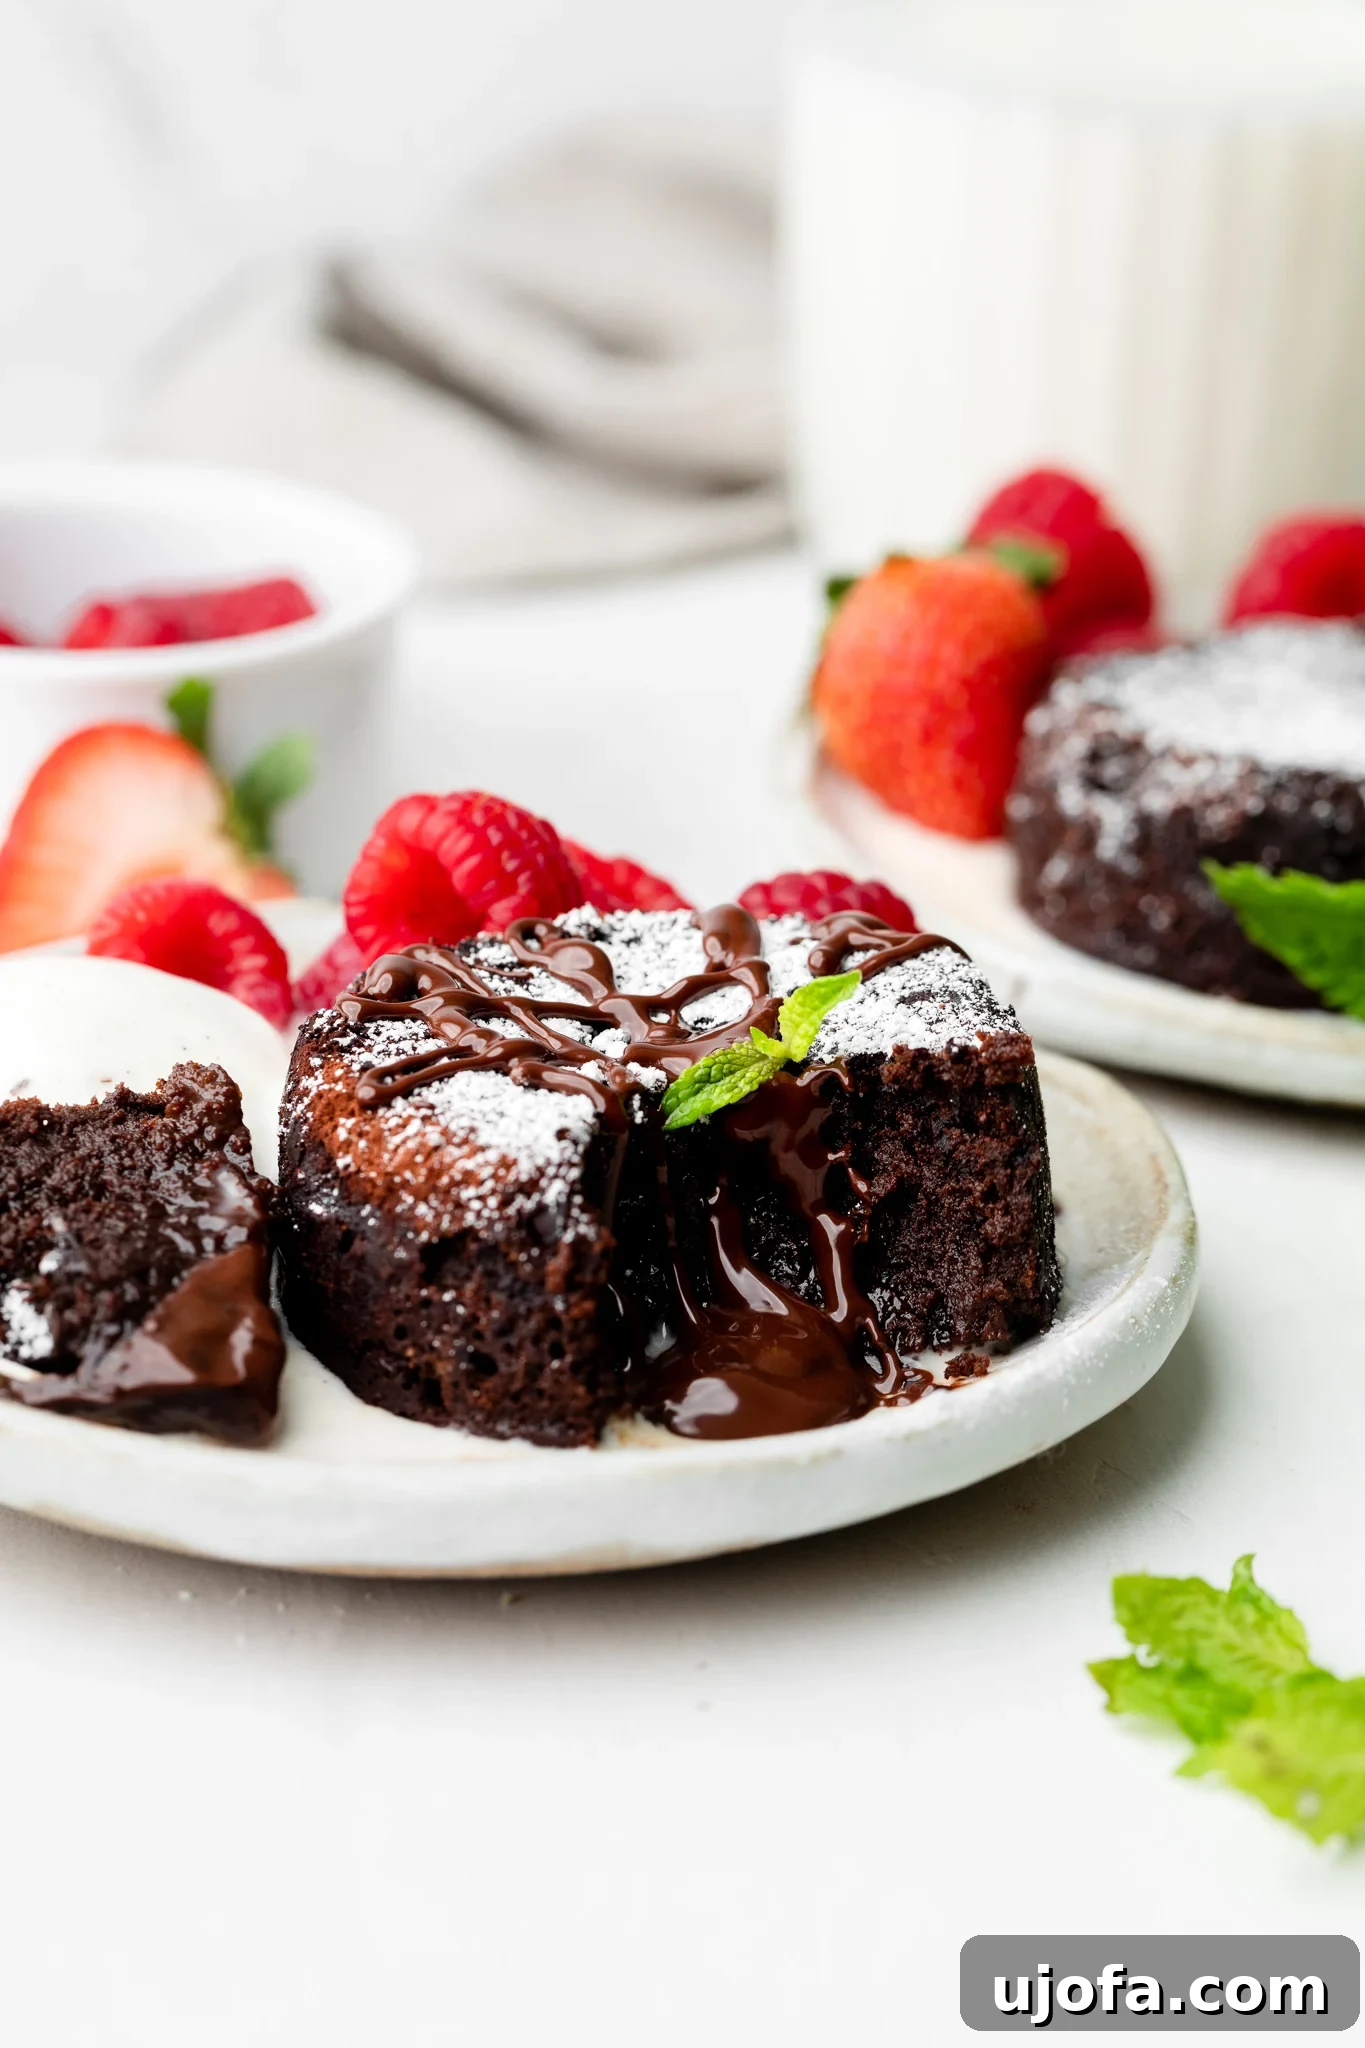
Decadent Gluten-Free Molten Chocolate Lava Cakes: Your 20-Minute Dessert Dream
Prepare to impress with these unbelievably rich and effortlessly elegant Gluten-Free Molten Chocolate Lava Cakes. Imagine a tender, moist chocolate cake exterior giving way to an ooey-gooey, warm molten chocolate center – pure dessert perfection in every bite. This mini chocolate cake recipe is not only a showstopper but also incredibly quick, coming together in just about 20 minutes, making it ideal for any special occasion or a spontaneous craving for something truly decadent.
Crafted with a thoughtful blend of coconut sugar, pure maple syrup, almond flour, and coconut flour, these lava cakes offer a refined-sugar-free and grain-free indulgence. They are also easily made dairy-free, ensuring that everyone can enjoy this delightful treat without compromise. Get ready to add this amazing recipe to your favorites list!
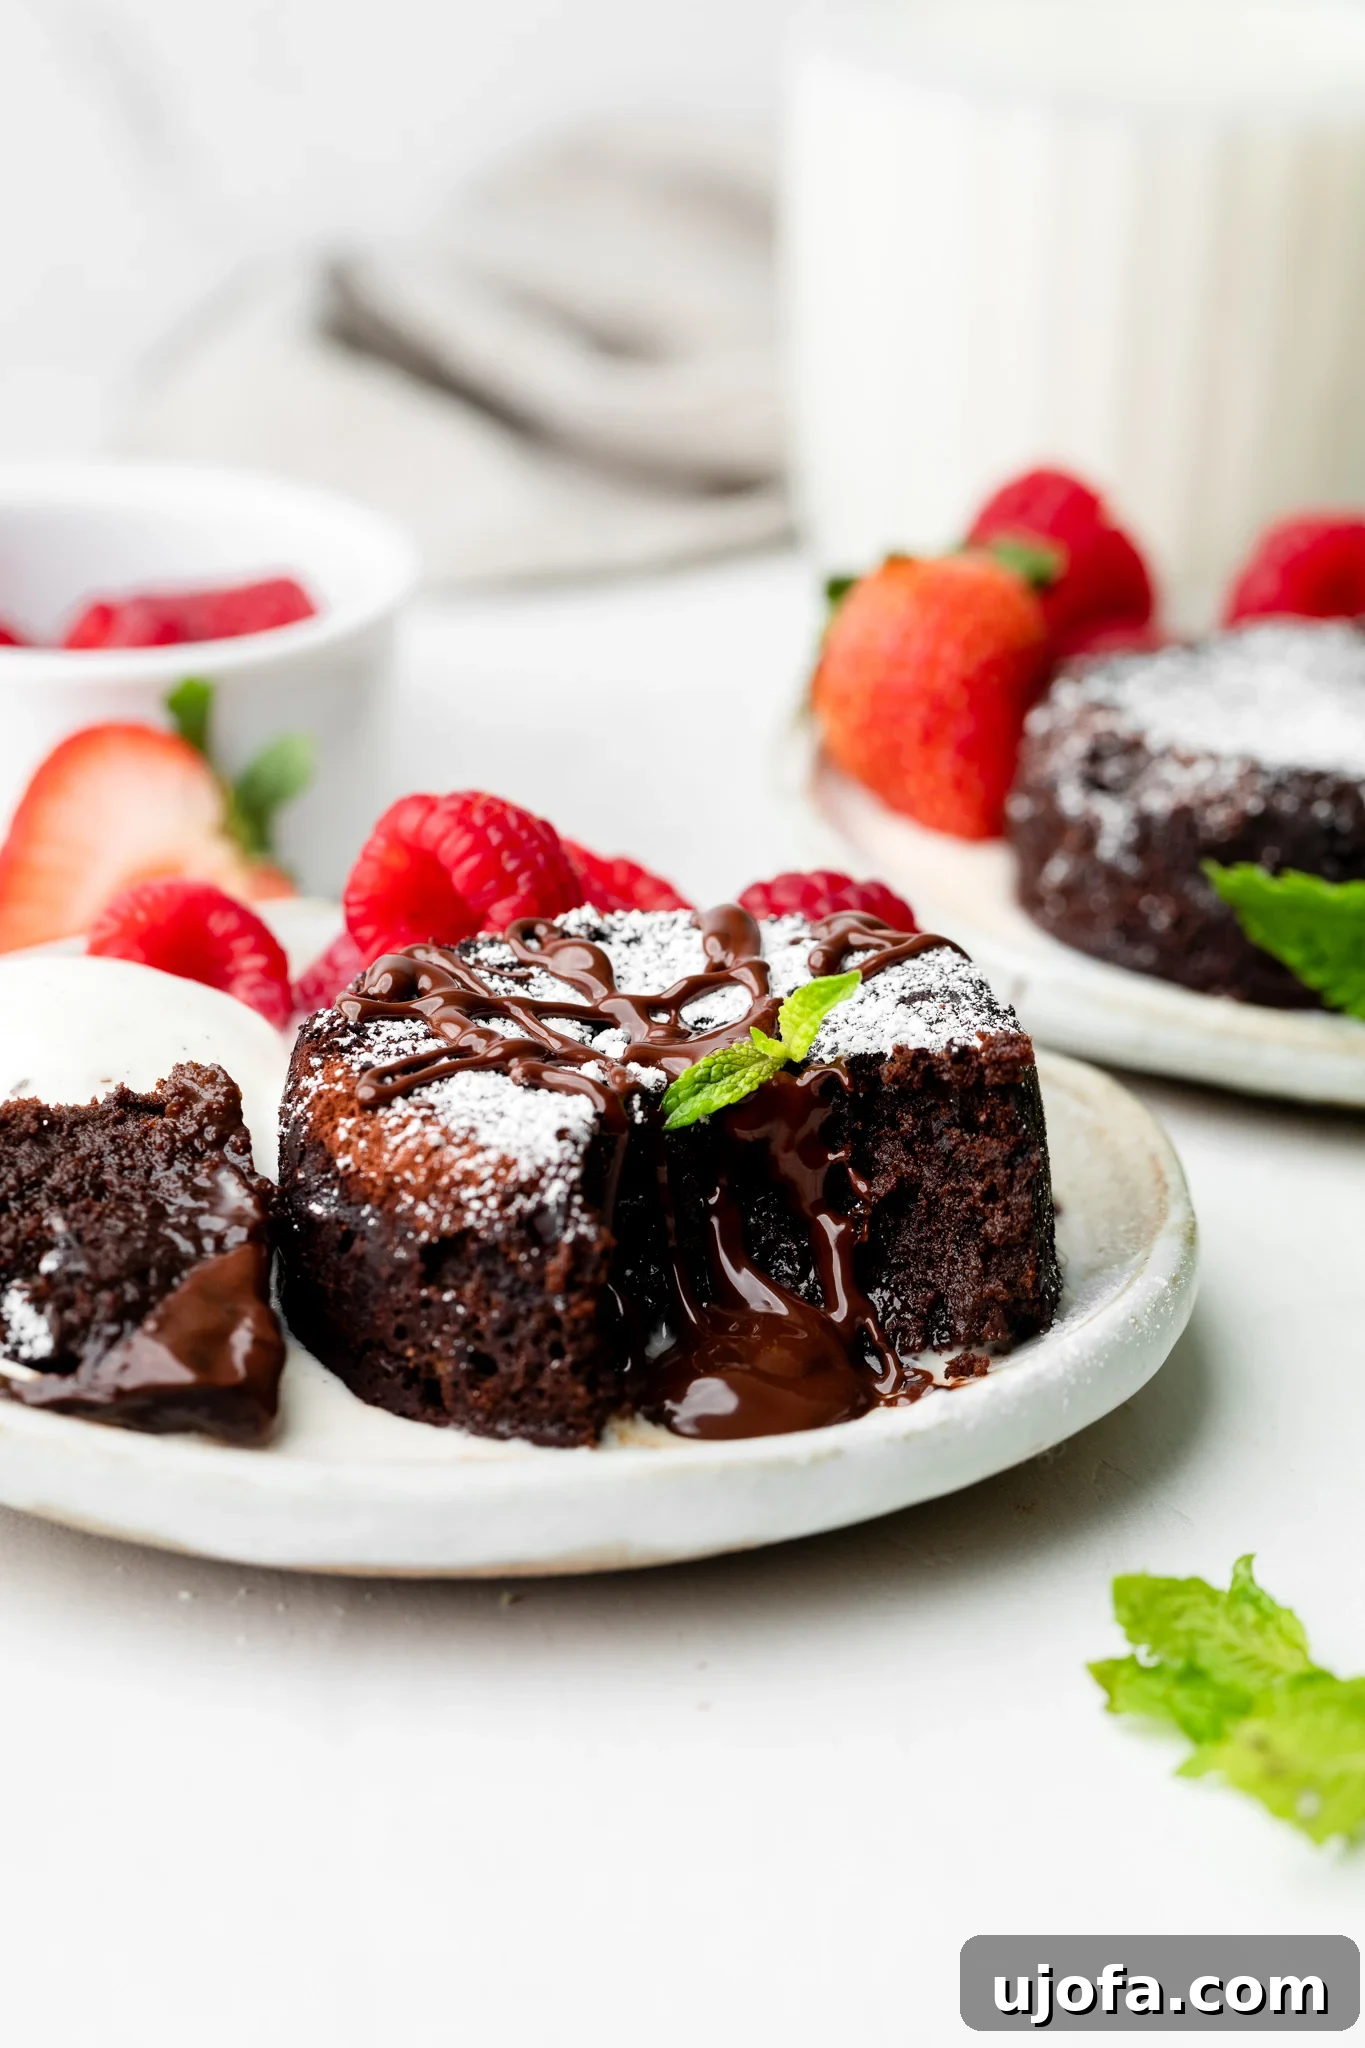
Why You’ll Love These Gluten-Free Lava Cakes
If you’re searching for an easy, delicious, and healthier dessert that truly feels special, your quest ends here! These Molten Chocolate Mini Lava Cakes are a testament to how decadent a dessert can be while still accommodating various dietary preferences. They strike the perfect balance between indulgence and mindful eating, making them a fantastic choice for holidays, a romantic date night, or a memorable birthday celebration.
What makes these mini chocolate cakes truly exceptional is their commitment to healthier ingredients without sacrificing an ounce of flavor or texture. You’d never guess they’re gluten-free, dairy-free (optional), grain-free, and refined-sugar-free once you experience their rich, chocolatey goodness. Simply dust with a touch of powdered sugar and crown with fresh berries or a dollop of your favorite ice cream for an ultimate chocolate experience. This recipe isn’t just a dessert; it’s a delightful creation you’ll want to revisit again and again!
Key Ingredients for the Perfect Molten Core
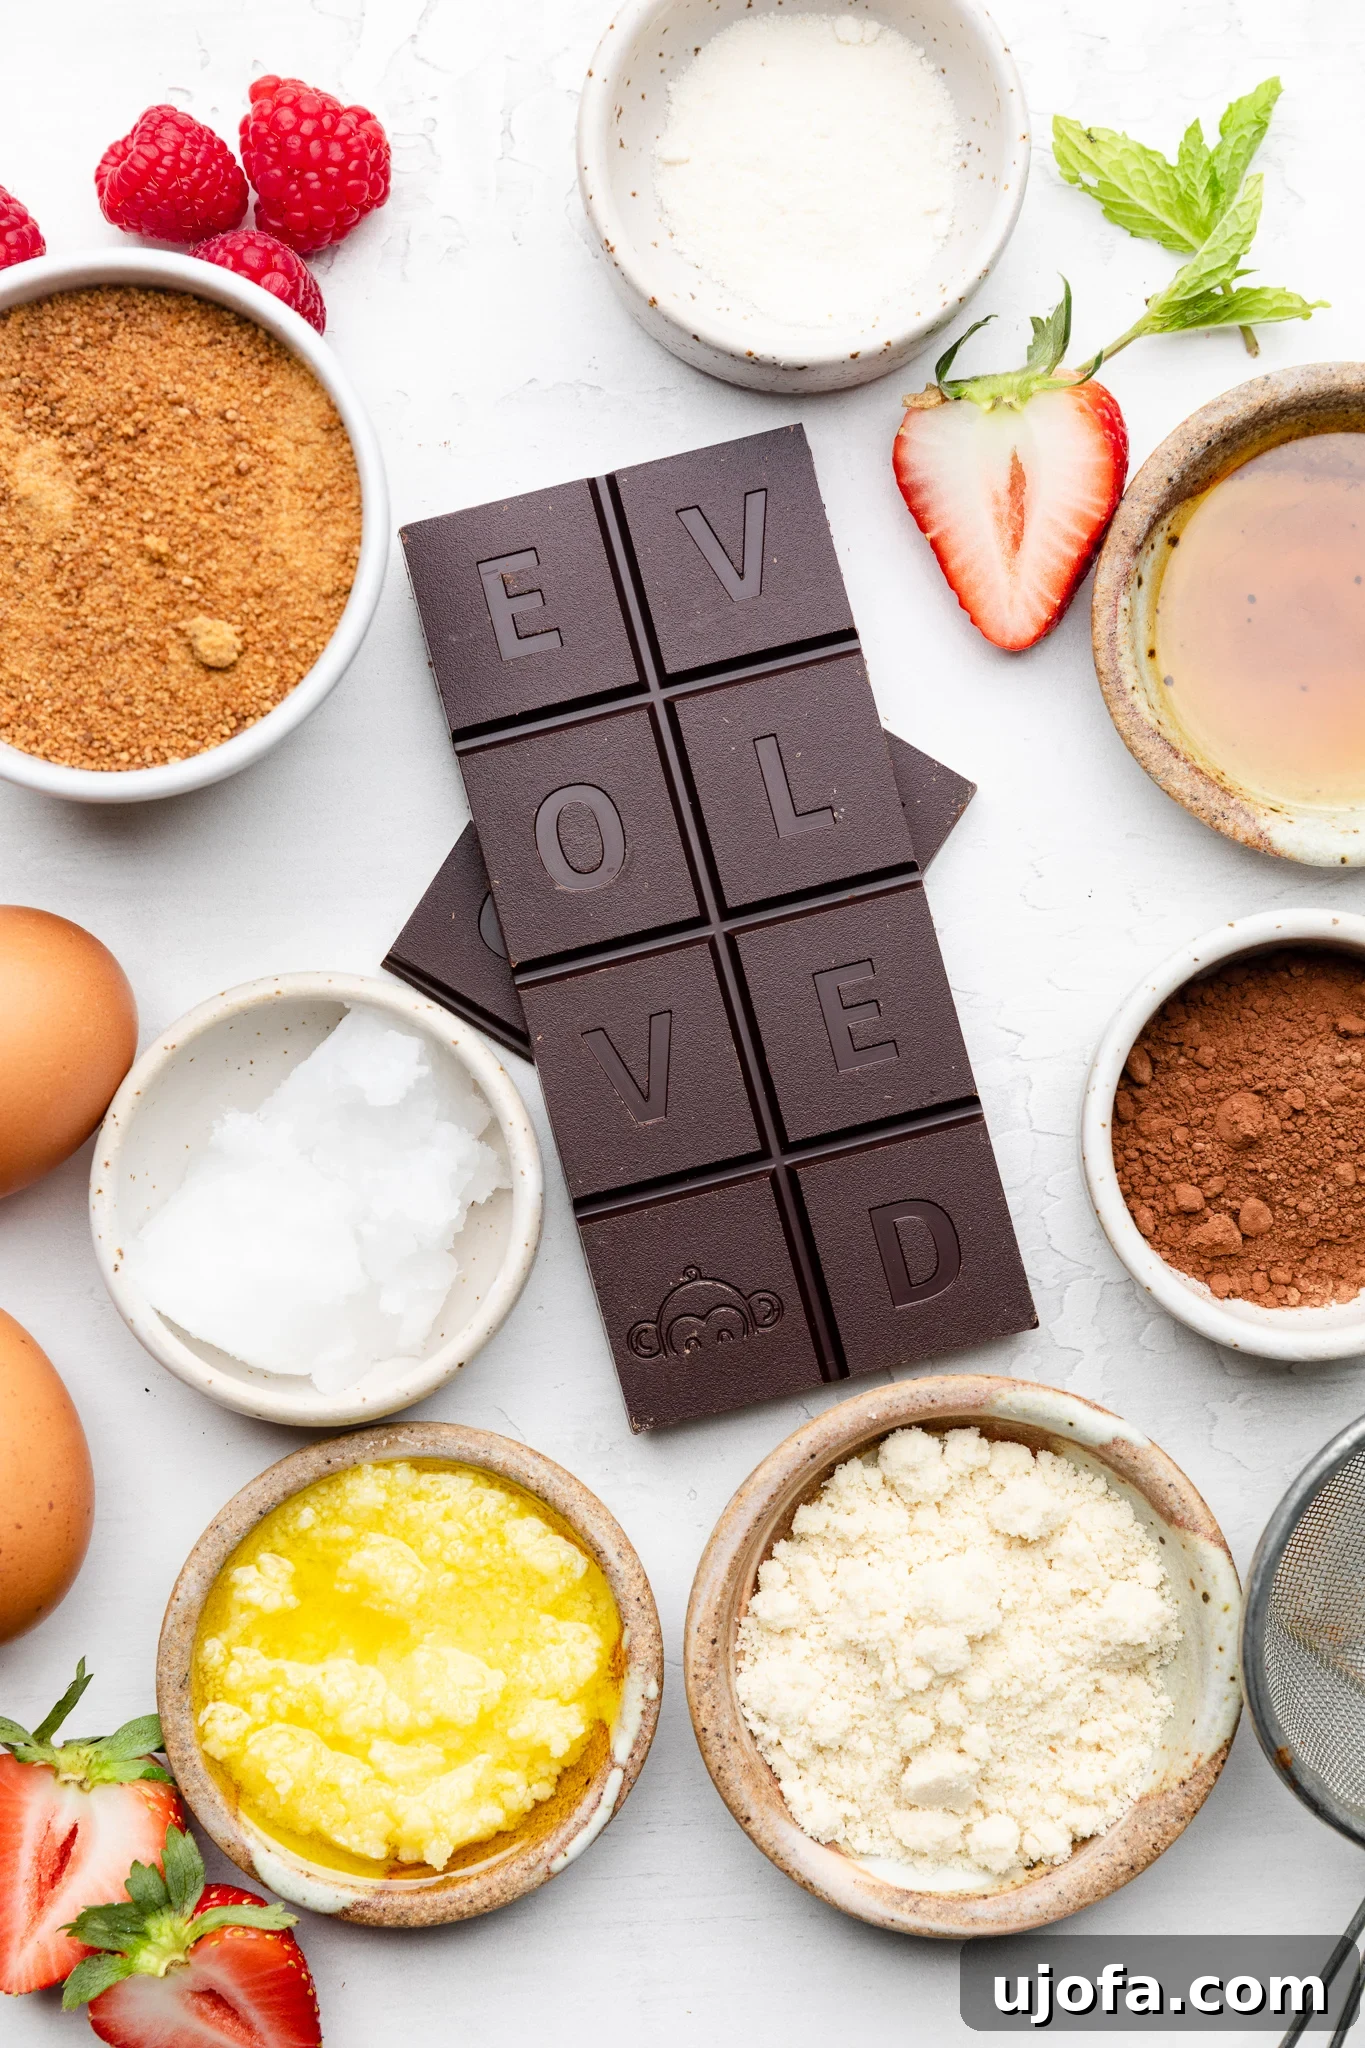
Creating these exquisite gluten-free lava cakes relies on a careful selection of ingredients that deliver incredible flavor and the signature molten texture. If you’re new to baking gluten-free with almond flour or coconut flour, prepare to be amazed! This thoughtful blend yields a super moist, delightfully fluffy mini chocolate cake that stands shoulder-to-shoulder with traditional versions.
Here’s a closer look at the stars of this recipe:
- High-Quality Dark Chocolate: The heart of any great chocolate dessert. Opt for dark chocolate with at least 70% cacao for a deep, rich flavor. Brands like Hu Chocolate & Eating Evolved are excellent Paleo and refined sugar-free choices. Enjoy Life Foods dark chocolate chips also work wonderfully, ensuring a dairy-free option. The quality of your chocolate directly impacts the intensity and flavor of your lava cakes.
- Coconut Oil: A fantastic, healthier alternative to conventional vegetable oils, coconut oil contributes to the smooth texture and rich mouthfeel of the cake batter while keeping the recipe naturally gluten-free and dairy-free.
- Ghee (Clarified Butter): Ghee adds a lovely richness and depth of flavor. While ghee is clarified butter and contains trace amounts of dairy, it is often well-tolerated by those with mild dairy sensitivities. For a 100% dairy-free version, simply substitute with a high-quality vegan butter.
- Coconut Sugar & Pure Maple Syrup: These natural sweeteners are pantry staples for a reason! They provide a balanced sweetness without the need for refined sugars like brown or granulated sugar. Coconut sugar offers a subtle caramel note, while maple syrup adds a rich, distinct flavor. You can also experiment with date syrup for a different natural sweetness.
- Almond Flour & Coconut Flour: This dynamic duo forms the perfect gluten-free flour blend for these cakes. Coconut flour is highly absorbent and requires significant moisture, which is why the precise ratio with almond flour is crucial. Please adhere to the specified quantities; altering them can result in a dry cake and compromise the delicate balance required for that molten center. Almond flour provides structure and a tender crumb, while coconut flour adds to the fluffiness.
- Cacao Powder: We opt for cacao powder over unsweetened cocoa powder due to its abundance of antioxidants and intensely deep chocolate flavor. Feel free to use unsweetened cocoa powder if that’s what you have on hand, just ensure it’s not sweetened to control the sugar content.
- Eggs: Essential for structure, richness, and helping to achieve that iconic molten center. We recommend using high-quality, organic eggs for the best results.
- Sea Salt: Just a dash of sea salt enhances all the chocolate flavors, balancing the sweetness and making the overall taste more profound.
- Powdered Sugar (Optional): For an elegant finishing touch, a light dusting of powdered sugar (or Swerve powdered sugar for a low-sugar alternative) adds visual appeal and a delicate sweetness.
Essential Equipment for Your Mini Lava Cakes
To achieve the perfect individual molten chocolate cakes, a few key pieces of equipment are indispensable:
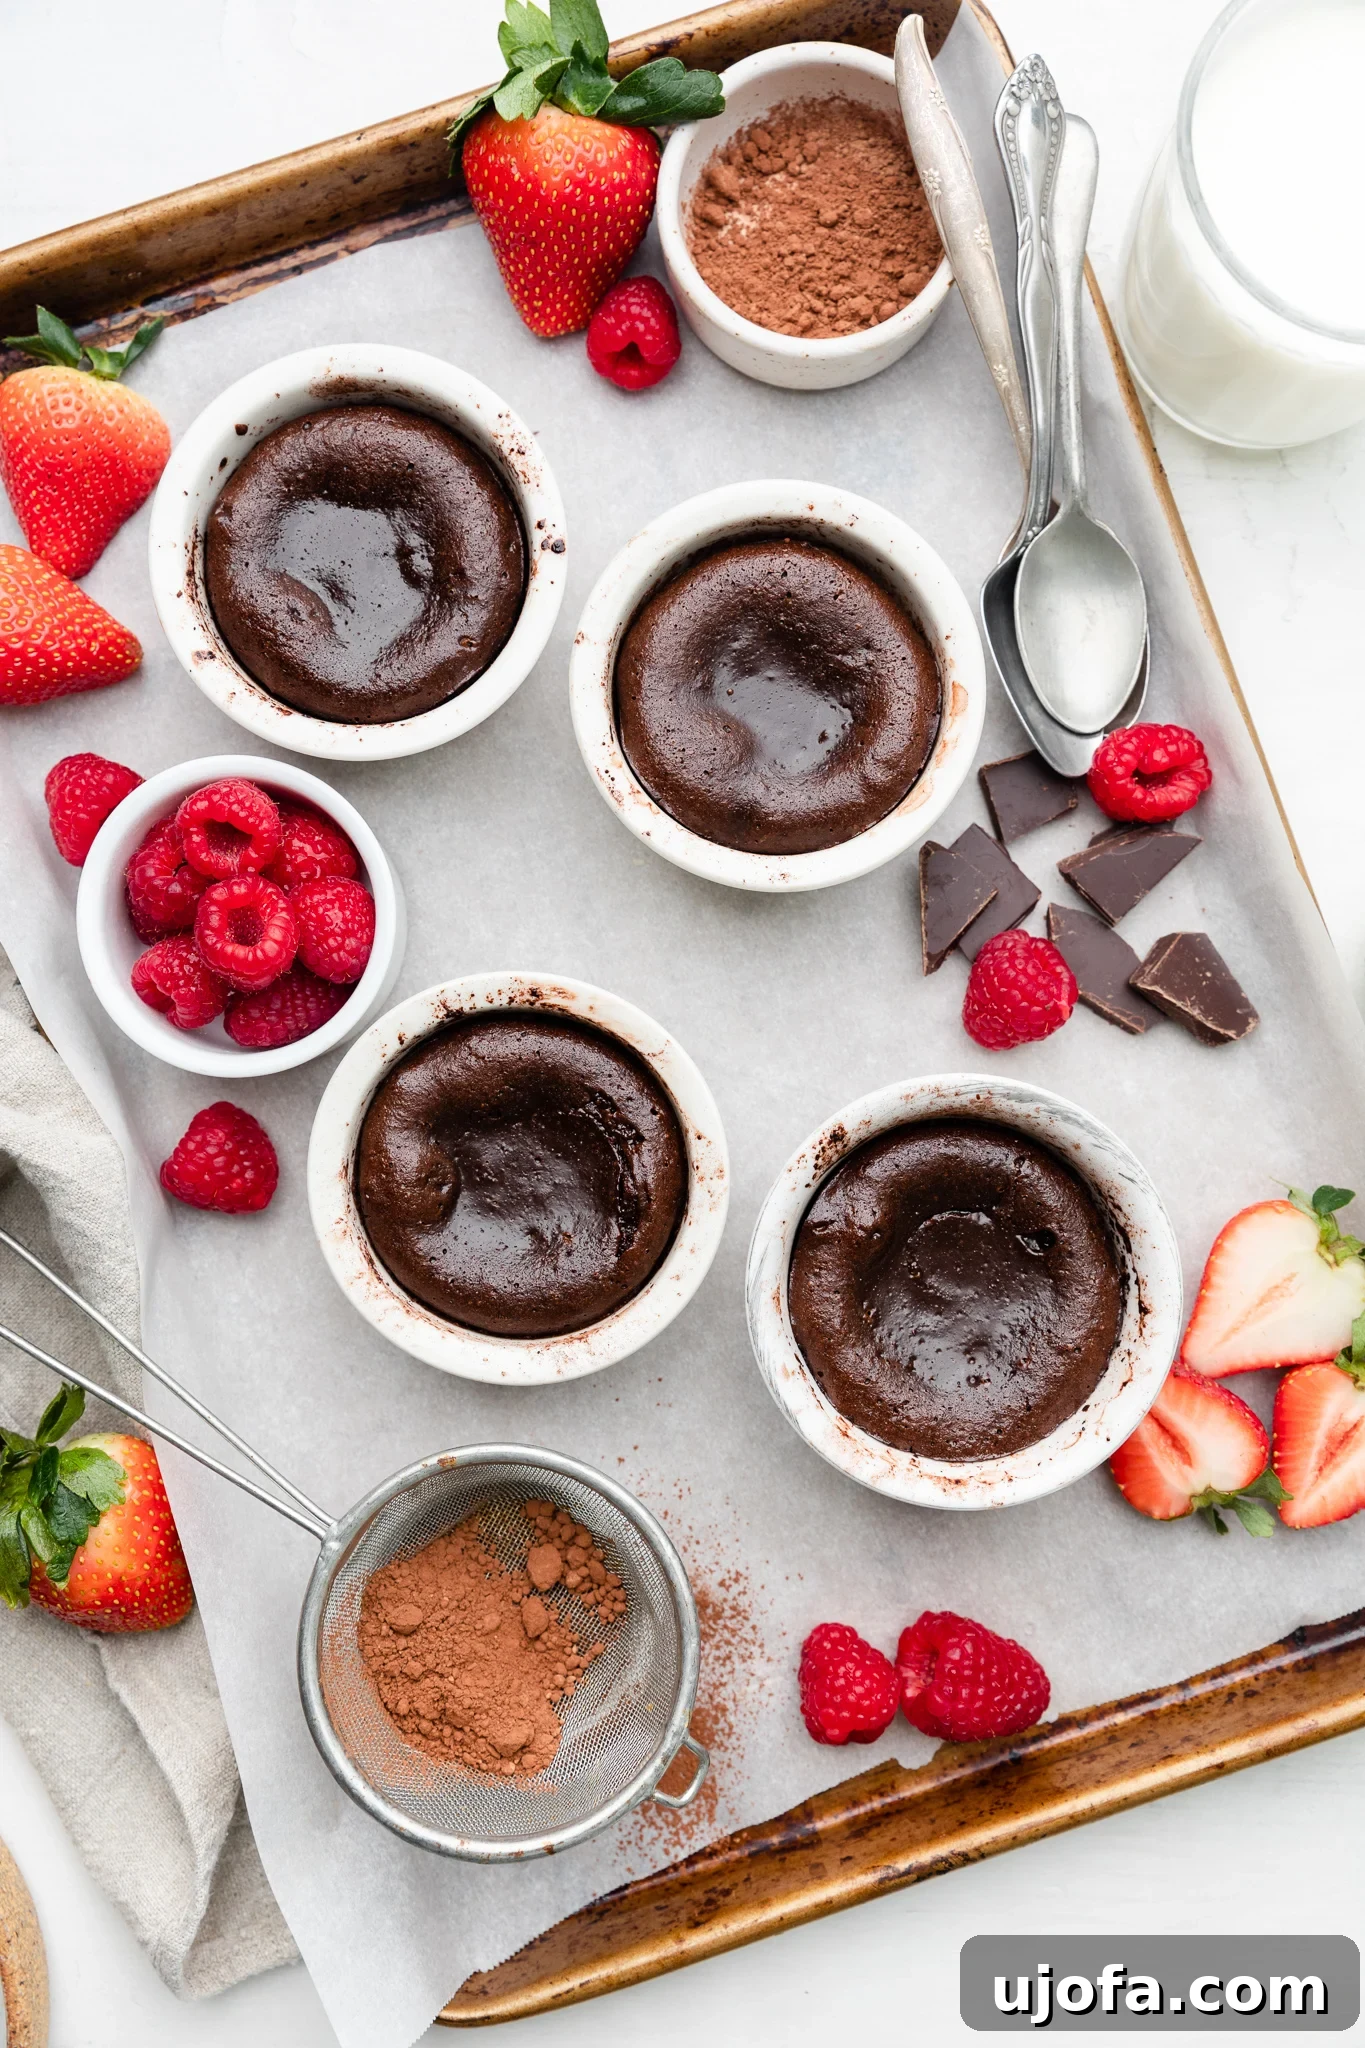
- Ramekins: These small, individual baking dishes are crucial for achieving the classic lava cake shape and ensuring an even bake. Six-ounce ramekins work well, filled about two-thirds of the way. Alternatively, 4-ounce ceramic ramekins (as pictured) can be filled closer to the top for a slightly taller cake. Make sure they are oven-safe.
- Microwave-Safe Bowl: For efficiently melting your chocolate and fats.
- Mixing Bowls: One medium bowl for wet ingredients and another for combining.
- Whisk and Spatula: A whisk for smoothly combining wet ingredients and a spatula for gently folding in the dry ingredients, preventing overmixing.
Step-by-Step Guide to Decadent Lava Cakes
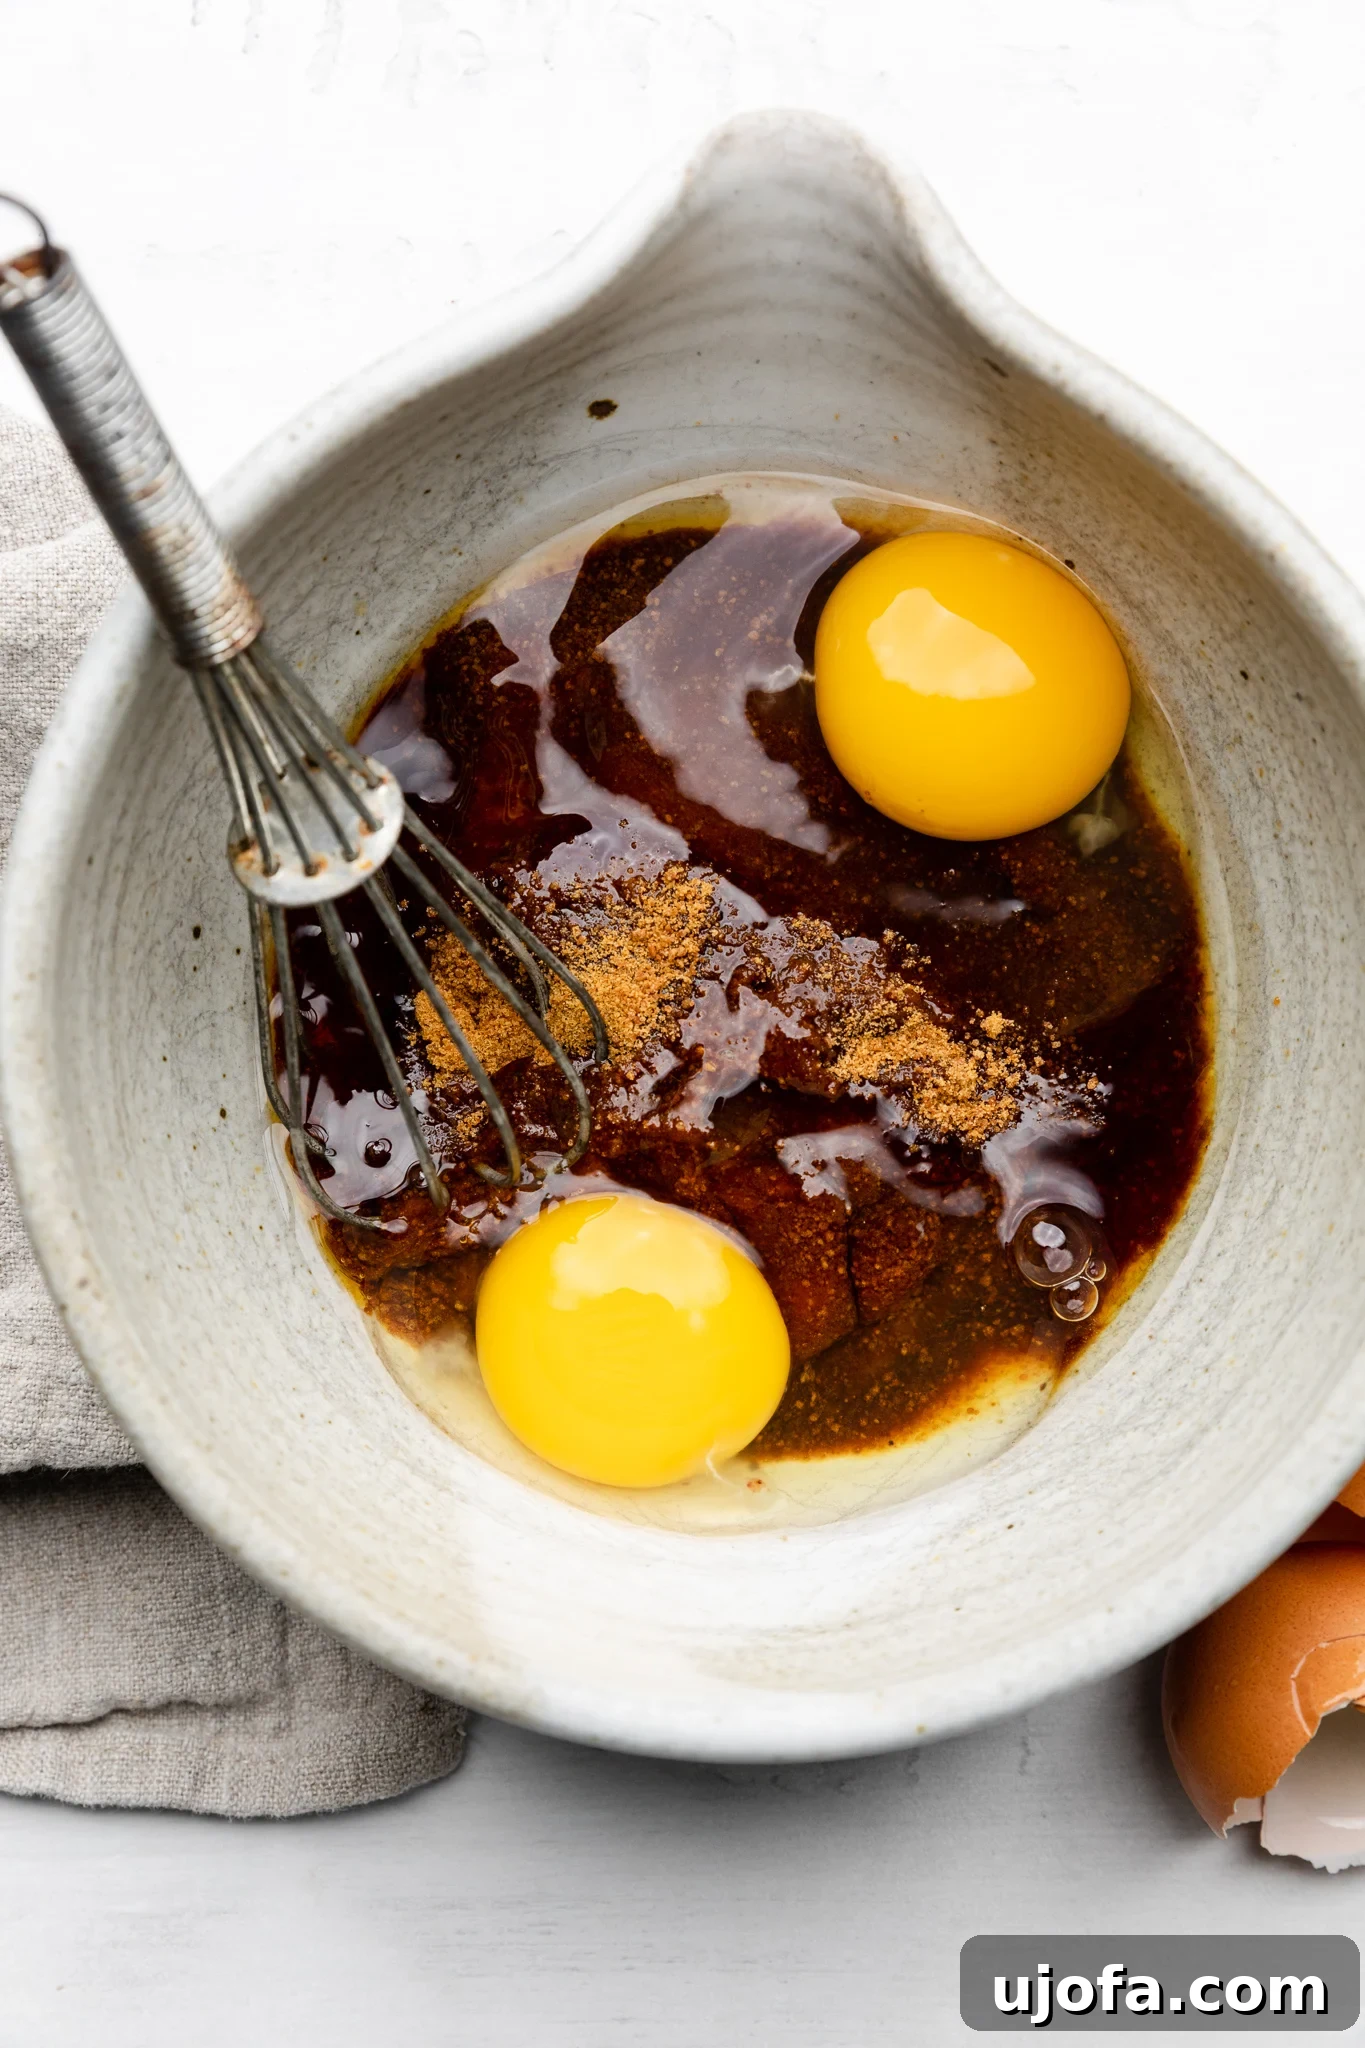
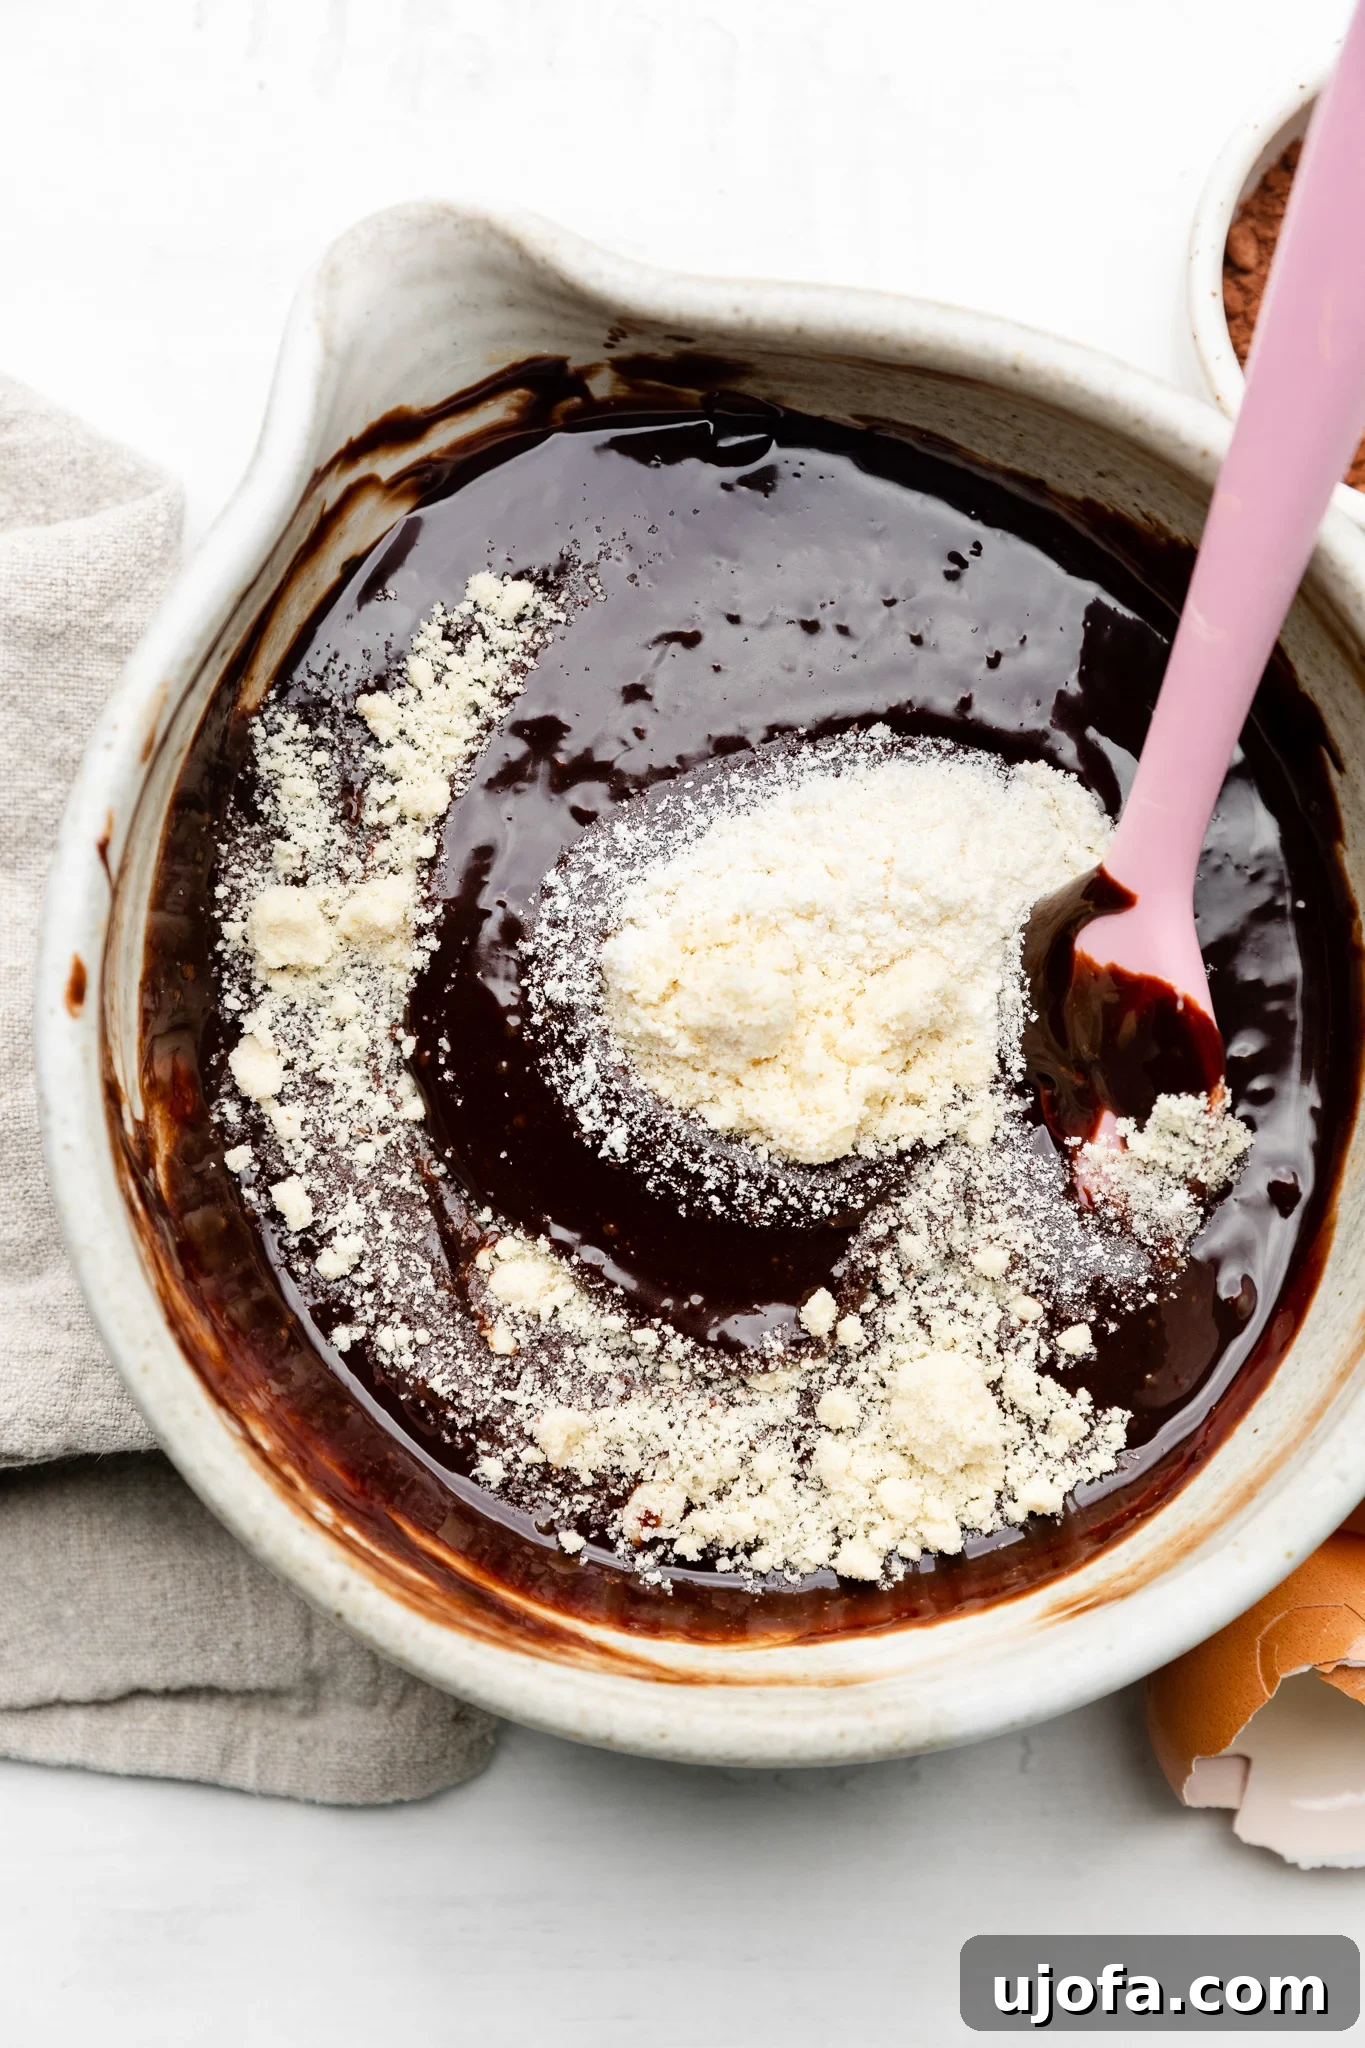
Creating these divine molten chocolate lava cakes is a straightforward process that yields impressive results. Follow these simple steps for a dessert that’s sure to delight:
- Preheat and Prepare the Ramekins: Begin by preheating your oven to 400°F (200°C). This ensures the oven is at the correct temperature for a quick, even bake, which is key to the molten center. Generously grease four 4-ounce or 6-ounce ramekins with a thin layer of ghee or vegan butter. Don’t skimp on this step – it’s crucial for easy removal! After greasing, dust the inside of each ramekin with cacao powder, rotating to ensure full coverage. This creates a non-stick layer and adds an extra touch of chocolate flavor to the cake’s exterior.
- Melt the Chocolate Blend: In a microwave-safe bowl, combine your dark chocolate, coconut oil, and ghee. Microwave the mixture on high in 30-second intervals, stirring thoroughly after each interval, until the chocolate is completely melted and smooth. Be careful not to overheat the chocolate, as this can cause it to seize. Once melted, set the mixture aside to cool slightly while you prepare the wet ingredients.
- Combine Wet Ingredients: In a separate medium-sized bowl, whisk together the eggs, coconut sugar, pure maple syrup, and a dash of sea salt until they are well combined and slightly frothy. The whisking incorporates air, contributing to the cake’s light texture. Gradually add the slightly cooled melted chocolate, ghee, and coconut oil mixture into the egg mixture, stirring gently until everything is fully incorporated and smooth.
- Fold in Dry Ingredients and Fill: Now, add the almond flour and coconut flour to the wet mixture. Using a rubber spatula, gently fold the dry ingredients into the batter until just combined. Be careful not to overmix, as this can develop the gluten in the flour (even gluten-free flours can become tough with overmixing) and lead to a less tender cake. Divide the batter evenly among the four prepared ramekins. If using 6-ounce ramekins, fill them approximately two-thirds full; for 4-ounce ramekins, you can fill them almost to the top.
- Bake to Perfection: Place the filled ramekins on a baking sheet and bake for 11-13 minutes. Keep a close eye on them during the final few minutes of baking. The cakes are done when a toothpick inserted about a half-inch from the side of the ramekin comes out clean. The center should still appear a bit melty and wobbly – this is exactly what you want for that perfect molten core! Overbaking is the biggest enemy of a lava cake, as it will solidify the center.
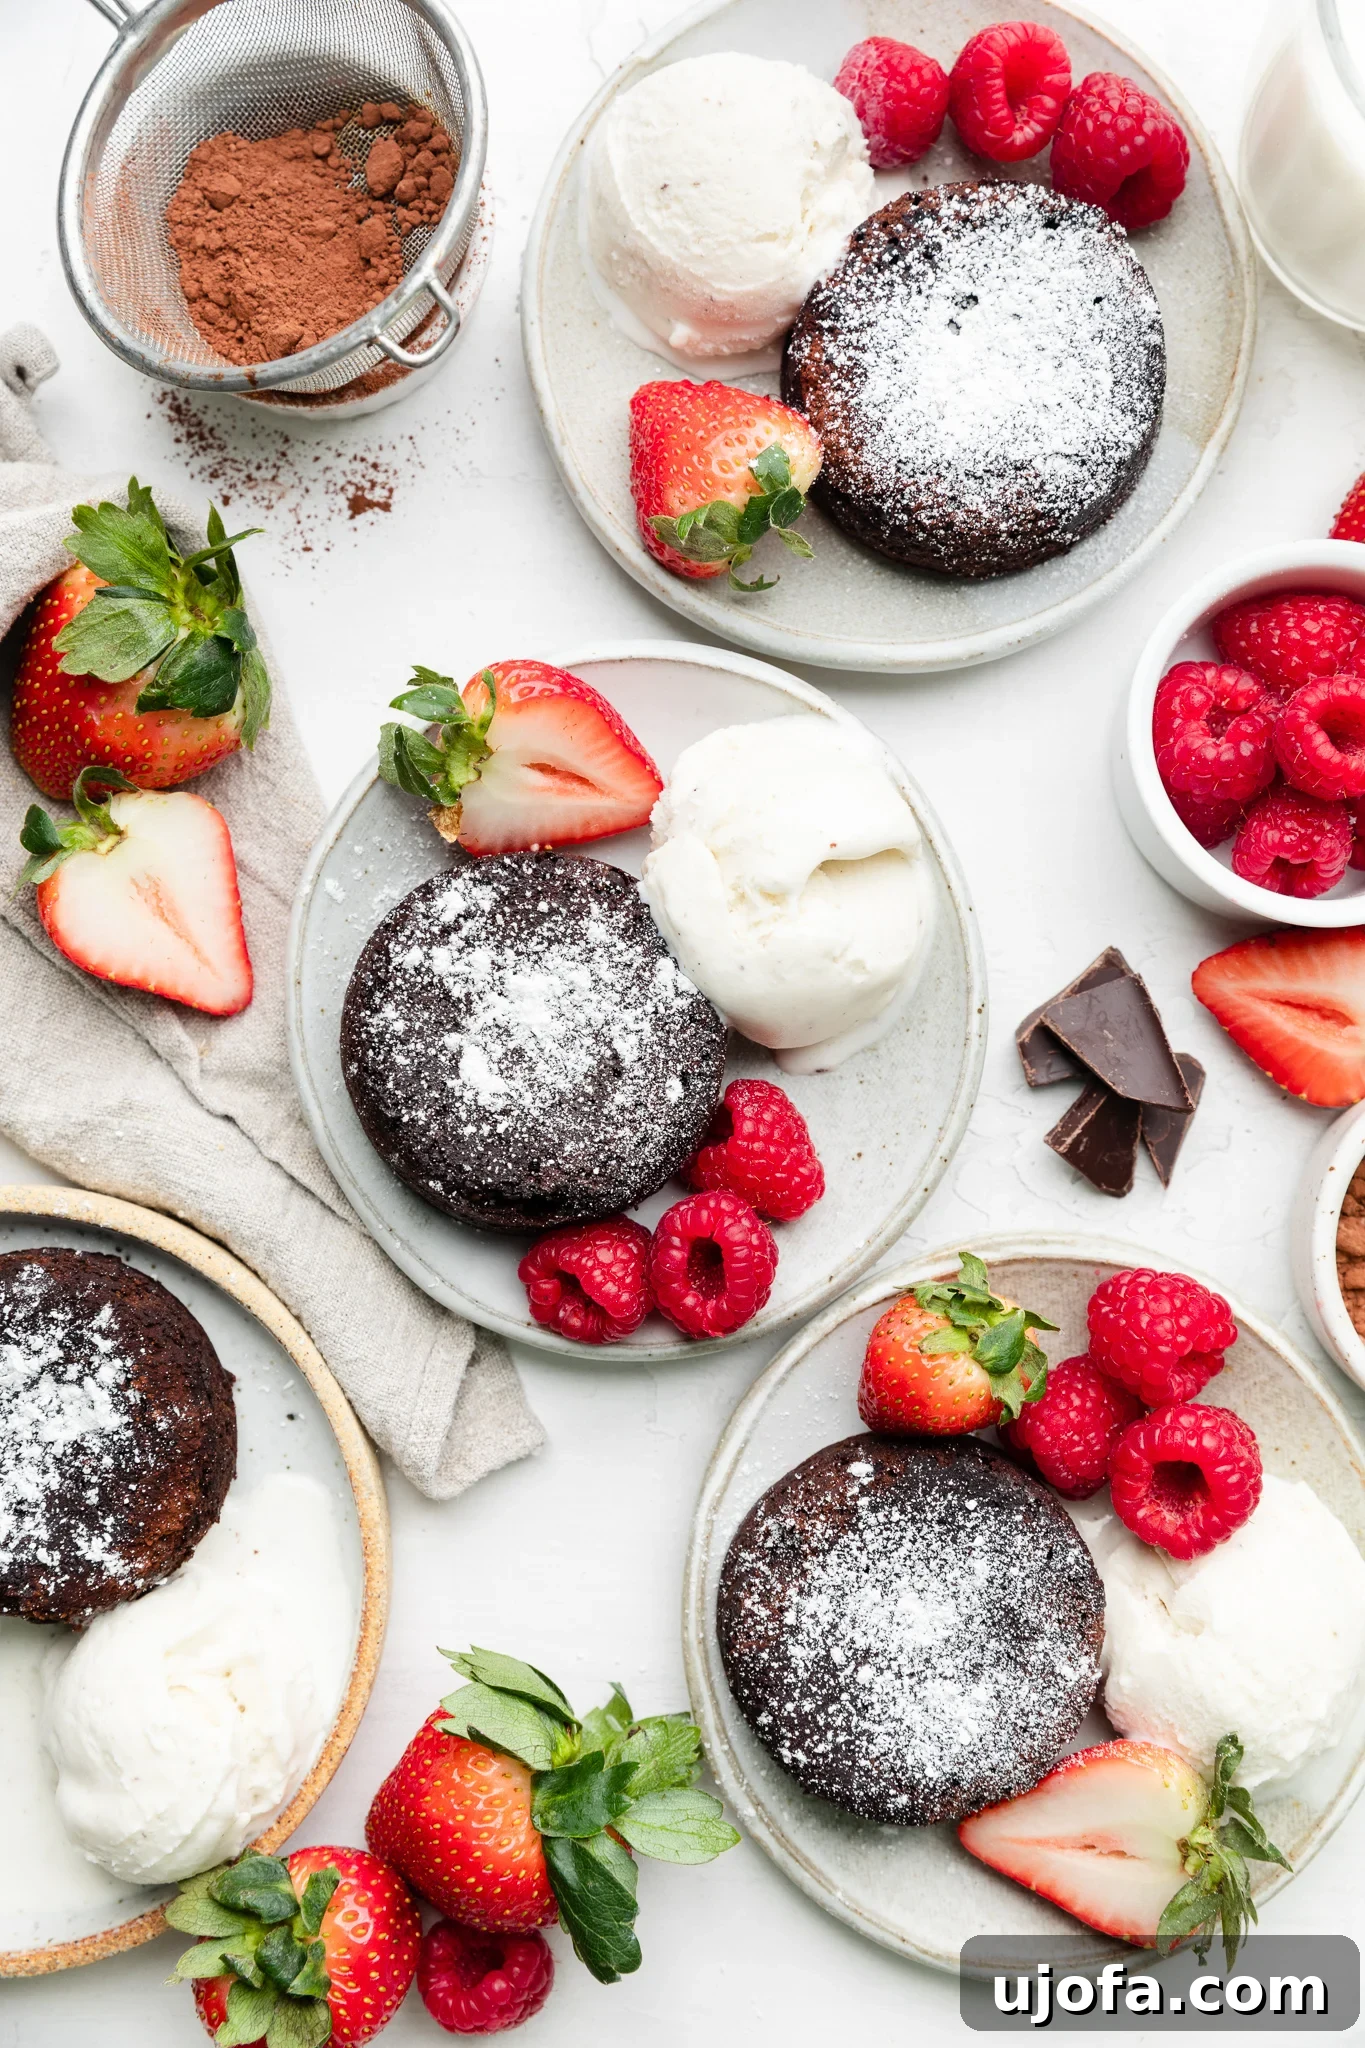
- Cool, Unmold, and Serve: Once baked, remove the lava cakes from the oven and let them cool in their ramekins for 5-10 minutes. This resting period allows the cakes to set slightly, making them easier to unmold. To remove, place a plate upside down over each ramekin, then carefully invert them. Lightly tap the bottom of the ramekin; the cake should gently release onto the plate. Serve immediately while still warm! Garnish each mini chocolate cake with fresh berries, a dusting of powdered sugar, or a scoop of your favorite dairy-free ice cream for an unforgettable dessert experience. Enjoy!
Expert Tips for Flawless Gluten-Free Lava Cakes
Achieving the perfect molten chocolate lava cake is an art, but with these expert tips, you’ll master it in no time!
- Mastering the Bake Time: The window for perfectly baked lava cakes is small, typically 11-13 minutes. Keep a vigilant eye on your oven! The key indicator for doneness is when a toothpick inserted about ½ inch from the edge of the ramekin comes out clean. The very center, however, should still look a bit undercooked and wobbly. This ensures your “molten” core remains beautifully liquid. Overbaking is the most common mistake, turning your lava cake into a standard mini chocolate cake.
- Effortless Demolding: Patience is a virtue here. After baking, allow the cakes to rest in their ramekins for 5-10 minutes. This cooling period allows the cake’s structure to firm up slightly, making it much easier to release. To unmold, simply place a serving plate on top of the ramekin and, holding both firmly, invert them. A gentle tap on the bottom of the ramekin should help the cake slide right out.
- Nut-Allergy Considerations: This recipe heavily relies on almond flour. Unfortunately, a successful substitute for almond flour in this specific recipe has not been tested. Given the unique properties of almond and coconut flour, direct substitutions without extensive testing can significantly alter the texture. If you have a nut allergy, it might be best to seek out a specifically designed nut-free lava cake recipe.
- Storage and Reheating: Should you be lucky enough to have leftovers, store your cooled mini chocolate lava cakes in an airtight container in the refrigerator for up to 3 days. If stacking, separate layers with parchment paper to prevent sticking. To enjoy them again, reheat individual cakes in the microwave for 15-20 seconds, or until the center is warm and gooey once more.
- Serving Suggestions: These gluten-free lava cakes are best served warm, allowing their molten center to shine. Enhance the experience with a light dusting of organic powdered sugar. For an extra touch of freshness and color, top with a handful of mixed berries (raspberries, strawberries, blueberries). A scoop of dairy-free vanilla bean ice cream or a dollop of coconut whipped cream makes an exquisite pairing, creating a delightful contrast in temperatures and textures.
- Quality of Ingredients: Using high-quality ingredients, especially for the dark chocolate and fresh eggs, will significantly impact the flavor and texture of your lava cakes. Splurge a little on these key components for a truly superior dessert.
- Don’t Overmix: When incorporating the dry ingredients, fold gently with a spatula until just combined. Overmixing can lead to a tougher cake, even with gluten-free flours.
Frequently Asked Questions (FAQs)
Healthy-ish! These gluten-free molten chocolate lava cakes are crafted with mindful ingredient swaps, making them dairy-free (if using vegan butter), Paleo-friendly, grain-free, and refined sugar-free. While they are still a dessert, they are a more allergy-friendly and nutritionally conscious option compared to standard lava cake recipes, packed with rich flavor and wholesome alternatives.
Yes, absolutely! The molten center is perfectly safe to eat. The baking process cooks the batter just enough to a safe temperature, similar to enjoying eggs sunny side up or over easy with a runny yolk. For peace of mind, always use high-quality, organic eggs in your baking.
Yes, it’s highly recommended. Coconut flour recipes demand a significant amount of moisture due to its high absorbency. The precise blend and ratio of almond flour and coconut flour in this recipe have been carefully tested and re-tested to ensure the perfect moist texture and structural integrity. Substituting either flour, especially coconut flour, is not recommended as it could drastically alter the cake’s consistency, potentially leading to a dry or crumbly result. This recipe has not been tested with gluten-free all-purpose flour blends.
No, neither baking powder nor baking soda is needed for these gluten-free lava cakes. The eggs provide enough lift and structure for these delightful mini cakes.
While these cakes are best served fresh and warm, you can prepare the batter ahead of time. Mix the batter and store it covered in the refrigerator for up to 24 hours. When ready to bake, let the batter sit at room temperature for about 15-20 minutes before dividing into ramekins and baking as directed. This helps ensure an even bake and a perfectly molten center.
If your lava cake didn’t have a molten center, it was likely overbaked. The key to a gooey center is to remove the cakes from the oven when the edges are set but the center still appears slightly soft and jiggly. Ovens can vary, so it’s always a good idea to monitor closely during the last few minutes of baking. Adjust your baking time by a minute or two next time to achieve that perfect molten flow.
More Gluten-Free Cakes & Desserts to Explore
If you loved these lava cakes, be sure to try these other fantastic gluten-free and often dairy-free dessert recipes:
Gluten-Free Mug Cake
Paleo Chocolate Mousse
Gluten-Free Strawberry Shortcake
No Bake Mini Cheesecake Jars
Gluten-Free Almond Butter Chocolate Chip Oatmeal Cookies
Love this recipe? Please leave a 5-star 🌟🌟🌟🌟🌟 rating in the recipe card below & a review in the comment section. Or, follow me on Facebook, Pinterest or Instagram today!
Gluten-Free Molten Chocolate Mini Lava Cakes
Ingredients
- 4 oz dark chocolate , Eating Evolved or Hu are both great Paleo brands. Enjoy Life Chocolate Chips work, too!
- 2 tbsp coconut oil
- 2 tbsp ghee, plus more for greasing the ramekins, (can sub vegan butter for dairy allergies)
- 2 eggs
- ½ cup coconut sugar
- Dash sea salt
- 1 tbsp maple syrup
- 2 tbsp almond flour
- ½ tbsp coconut flour
- 1 tbsp cacao powder, for dusting ramekins
Instructions
-
Preheat oven to 400°F (200°C). Grease 4 (4 oz or 6 oz) ramekins with a tiny bit of ghee, then dust with the cacao powder.
-
Add the chocolate, coconut oil, and ghee to a microwave-safe bowl. Microwave on high in 30 second increments, stirring in between, until melted. Set aside to cool a bit.
-
Whisk the eggs, coconut sugar, maple syrup, and sea salt in a medium-sized bowl until combined. Add in the melted chocolate/ghee/oil mixture and stir to combine.
-
Add in the almond flour and coconut flour and gently fold it into the batter using a spatula until combined. Divide evenly between the 4 ramekins, filling them about ⅔ of the way full if using 6 oz ramekins, or almost to the top if you use 4 oz ramekins.
-
Bake for 11-13 mins (keep an eye on them!) until a toothpick inserted ½ inch from the side of the ramekin comes out clean. The middle will look a little melty…but it should be set. You want to make sure not to overcook them, otherwise the “molten” part won’t be so molten anymore!
-
Let them sit for 5-10 mins. To remove from the baking dishes, flip each one upside down on a plate and lightly tap on the bottom of the ramekin. They should plop right out. Top each mini chocolate cake with berries or ice cream of choice and ENJOY!
Notes
Baking the Lava Cakes: These small chocolate cakes will bake for 11-13 minutes, but keep an eye on them! They are done when a toothpick is inserted ½ inch from the side of the ramekin comes out clean.
The middle will look a little melty…but it should be set. You want to make sure not to overcook them, otherwise, the “molten” part won’t be so molten anymore!
Removing from Ramekins: After baking, Let them sit for 5-10 mins. To remove from the baking dishes, flip each one upside down on a plate and lightly tap on the bottom of the ramekin. They should plop right out.
Nut-Allergy: Unfortunately, I have not tested this mini chocolate cake without almond flour. If you try a substitute, be sure to let us know how it works out in the comments below!
Storage: Store leftover mini chocolate cake in an airtight container in the fridge. Separate layers with parchment paper. Reheat them in the microwave for 15-20 seconds.
Serving: Serve this gluten free cakes warm and dust with organic powdered sugar and Top with berries or the dairy-free ice cream of choice.
Nutrition
Carbohydrates: 36g |
Protein: 6g |
Fat: 31g |
Saturated Fat: 19g |
Cholesterol: 102mg |
Sodium: 79mg |
Potassium: 263mg |
Fiber: 4g |
Sugar: 23g |
Vitamin A: 119IU |
Calcium: 46mg |
Iron: 4mg
All nutrition facts are an estimate and automatically calculated. While I fact check them using My Fitness Pal, please note that they may not always be 100% accurate and depend on ingredients used. Weigh your total and divide by the number of servings for the most accurate grams per serving size.
Photos by: Casey fromThe Mindful Hapa