
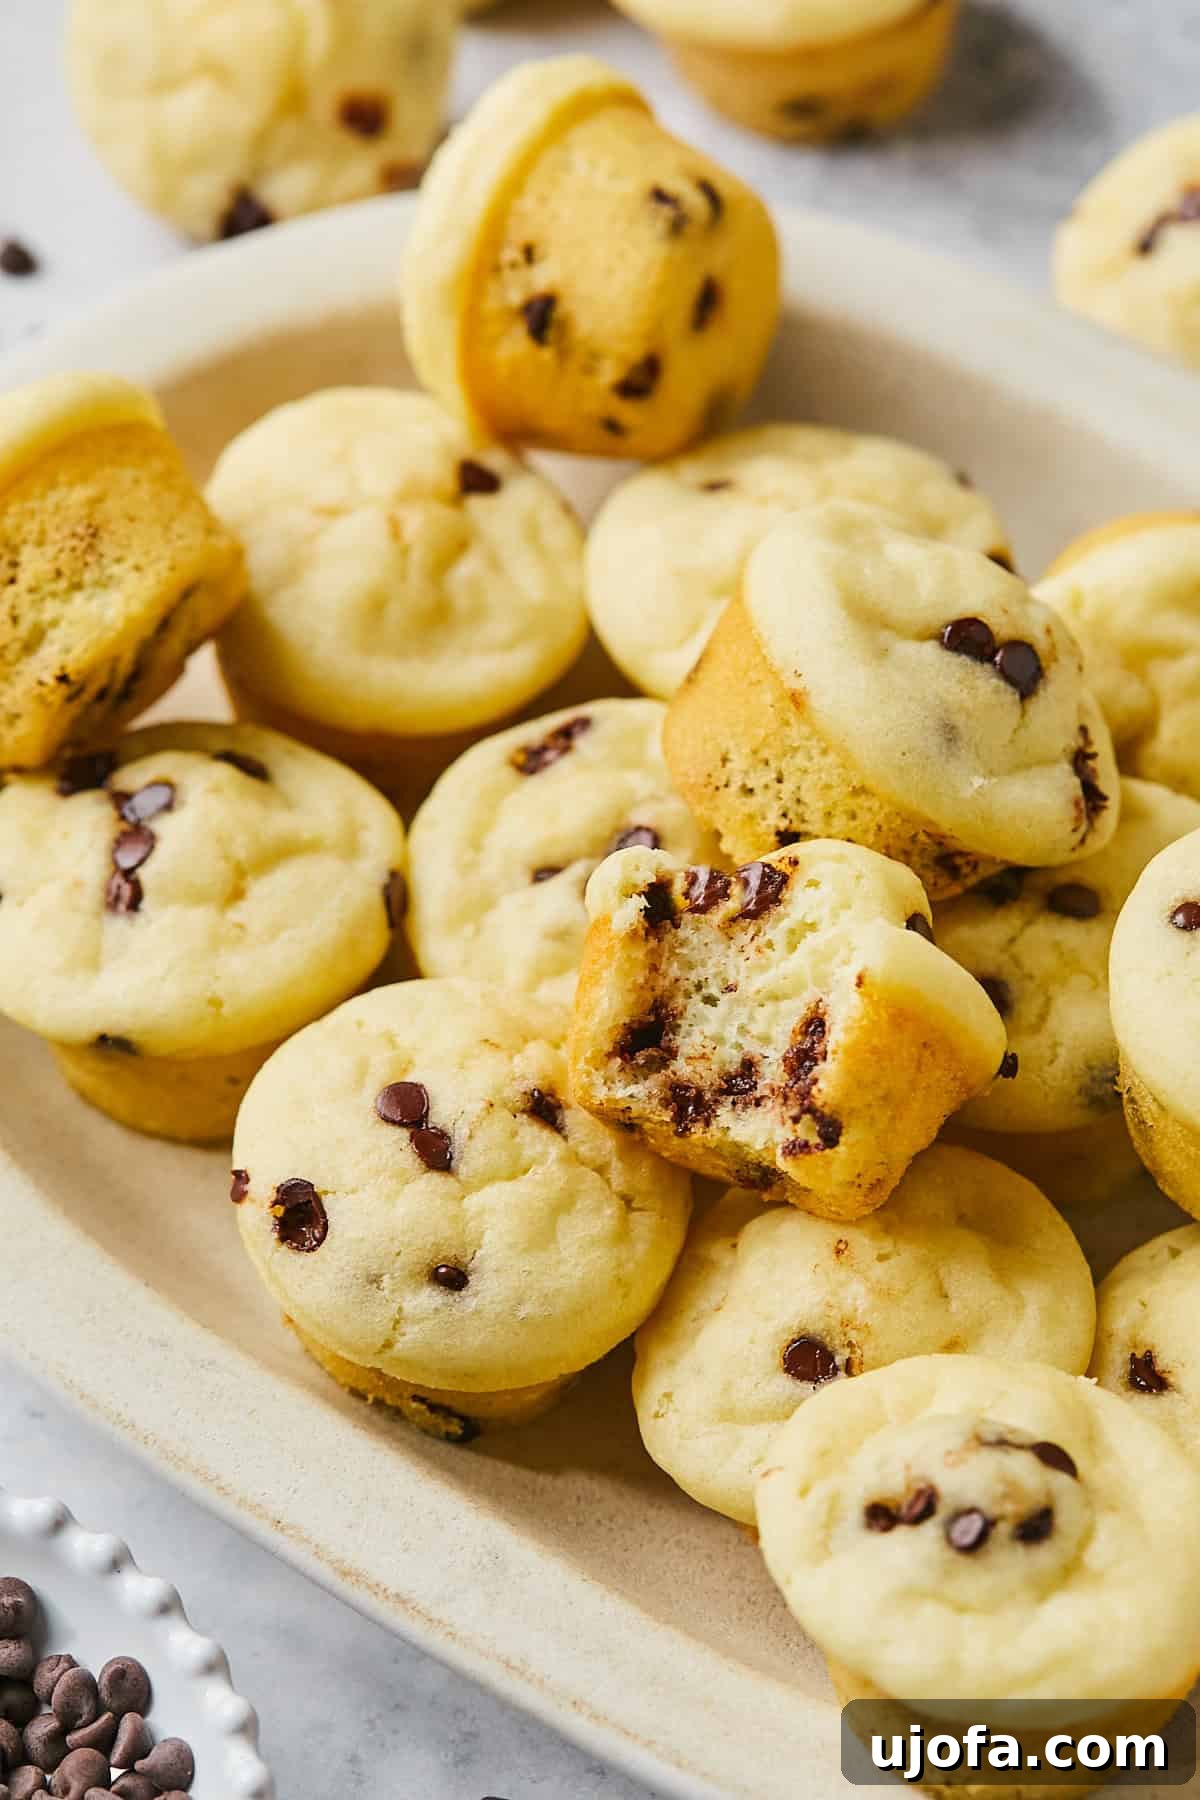
Welcome to the ultimate guide for crafting the most delightful and effortlessly delicious gluten-free mini muffins! Forget those store-bought pouches packed with endless ingredients and excess sugar. This game-changing recipe proves that homemade gluten-free snacks can be incredibly fluffy, remarkably wholesome, and utterly irresistible. Best of all, they come together in a single bowl using just five simple pantry staples. A quick whisk, a short bake, and you’ll watch these bite-sized wonders disappear as quickly as you made them. Kids will adore their soft, tender crumb, while parents will celebrate the refreshingly clean ingredient list and the pure joy of a healthier treat.
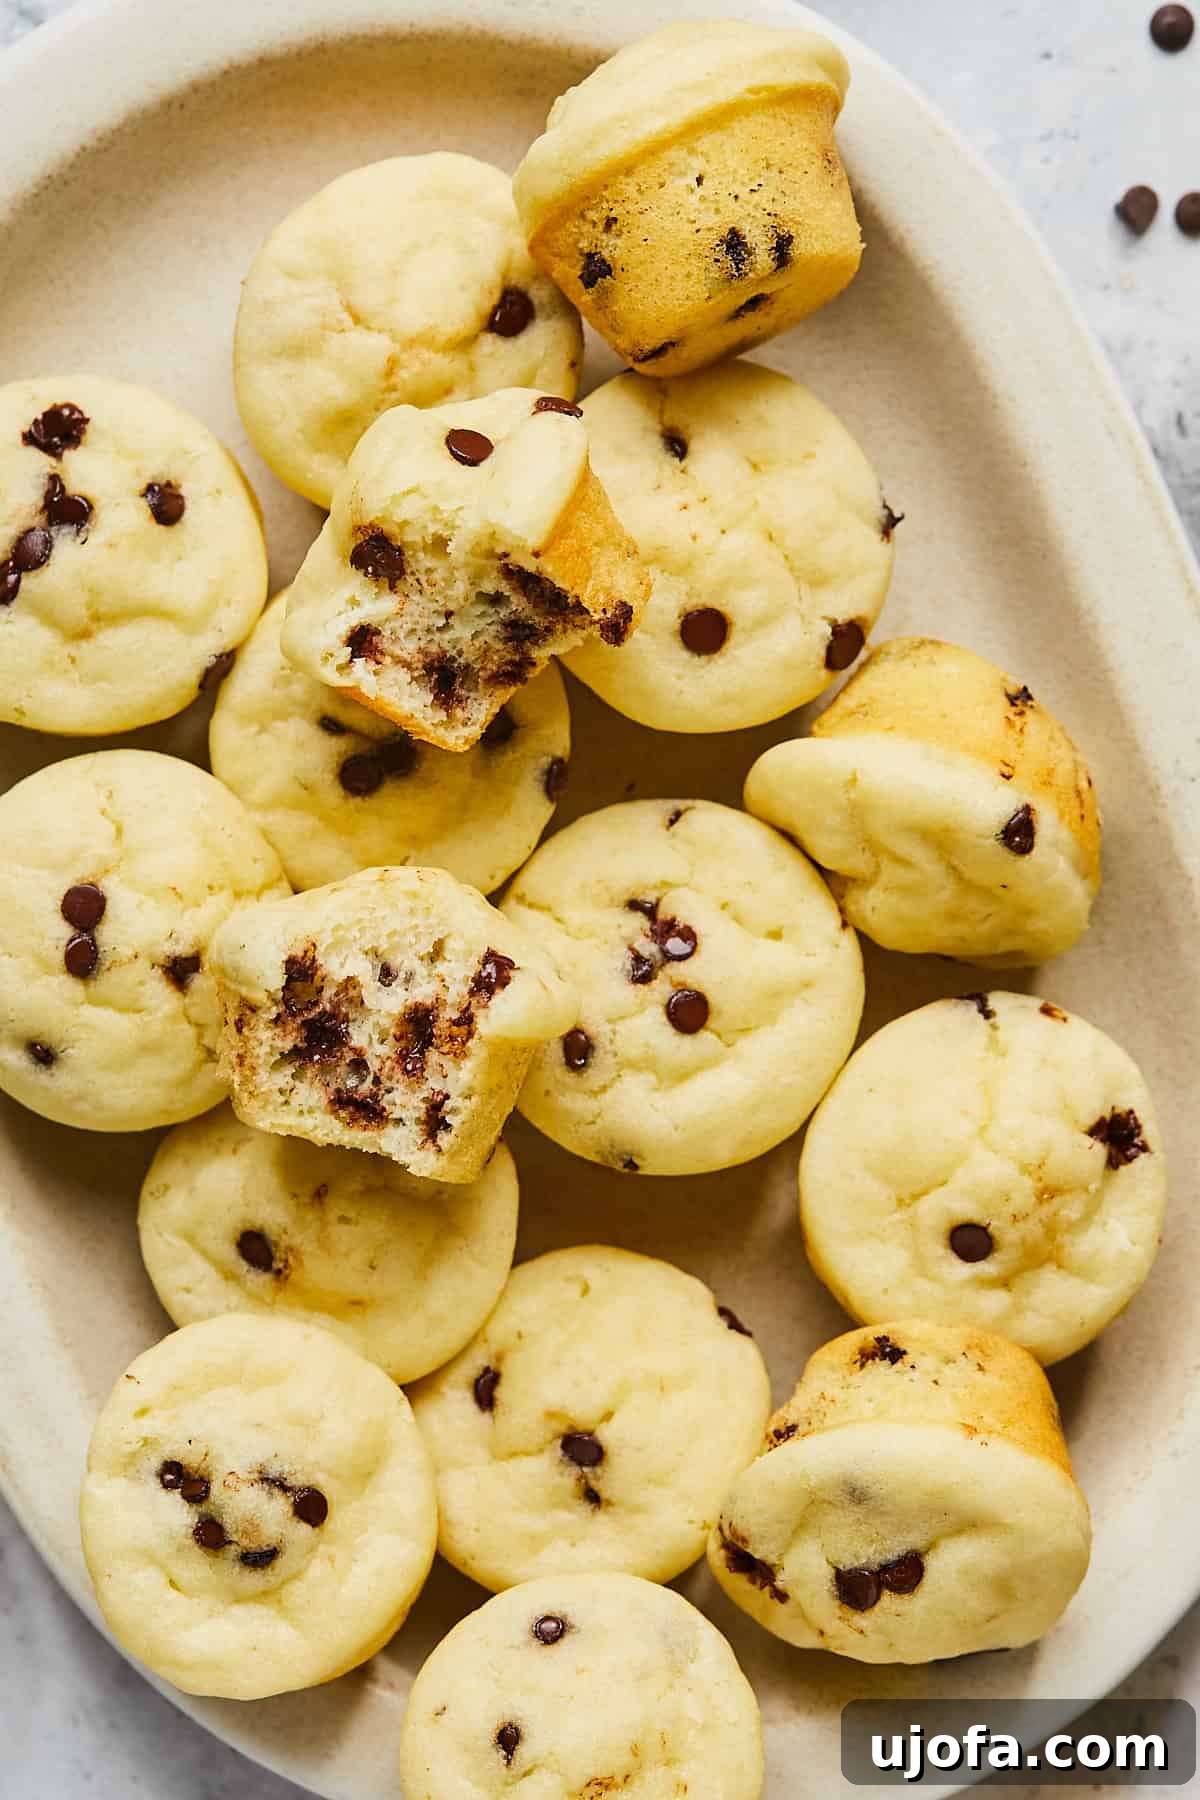
Why These Gluten-Free Mini Muffins Will Become Your Family’s Favorite
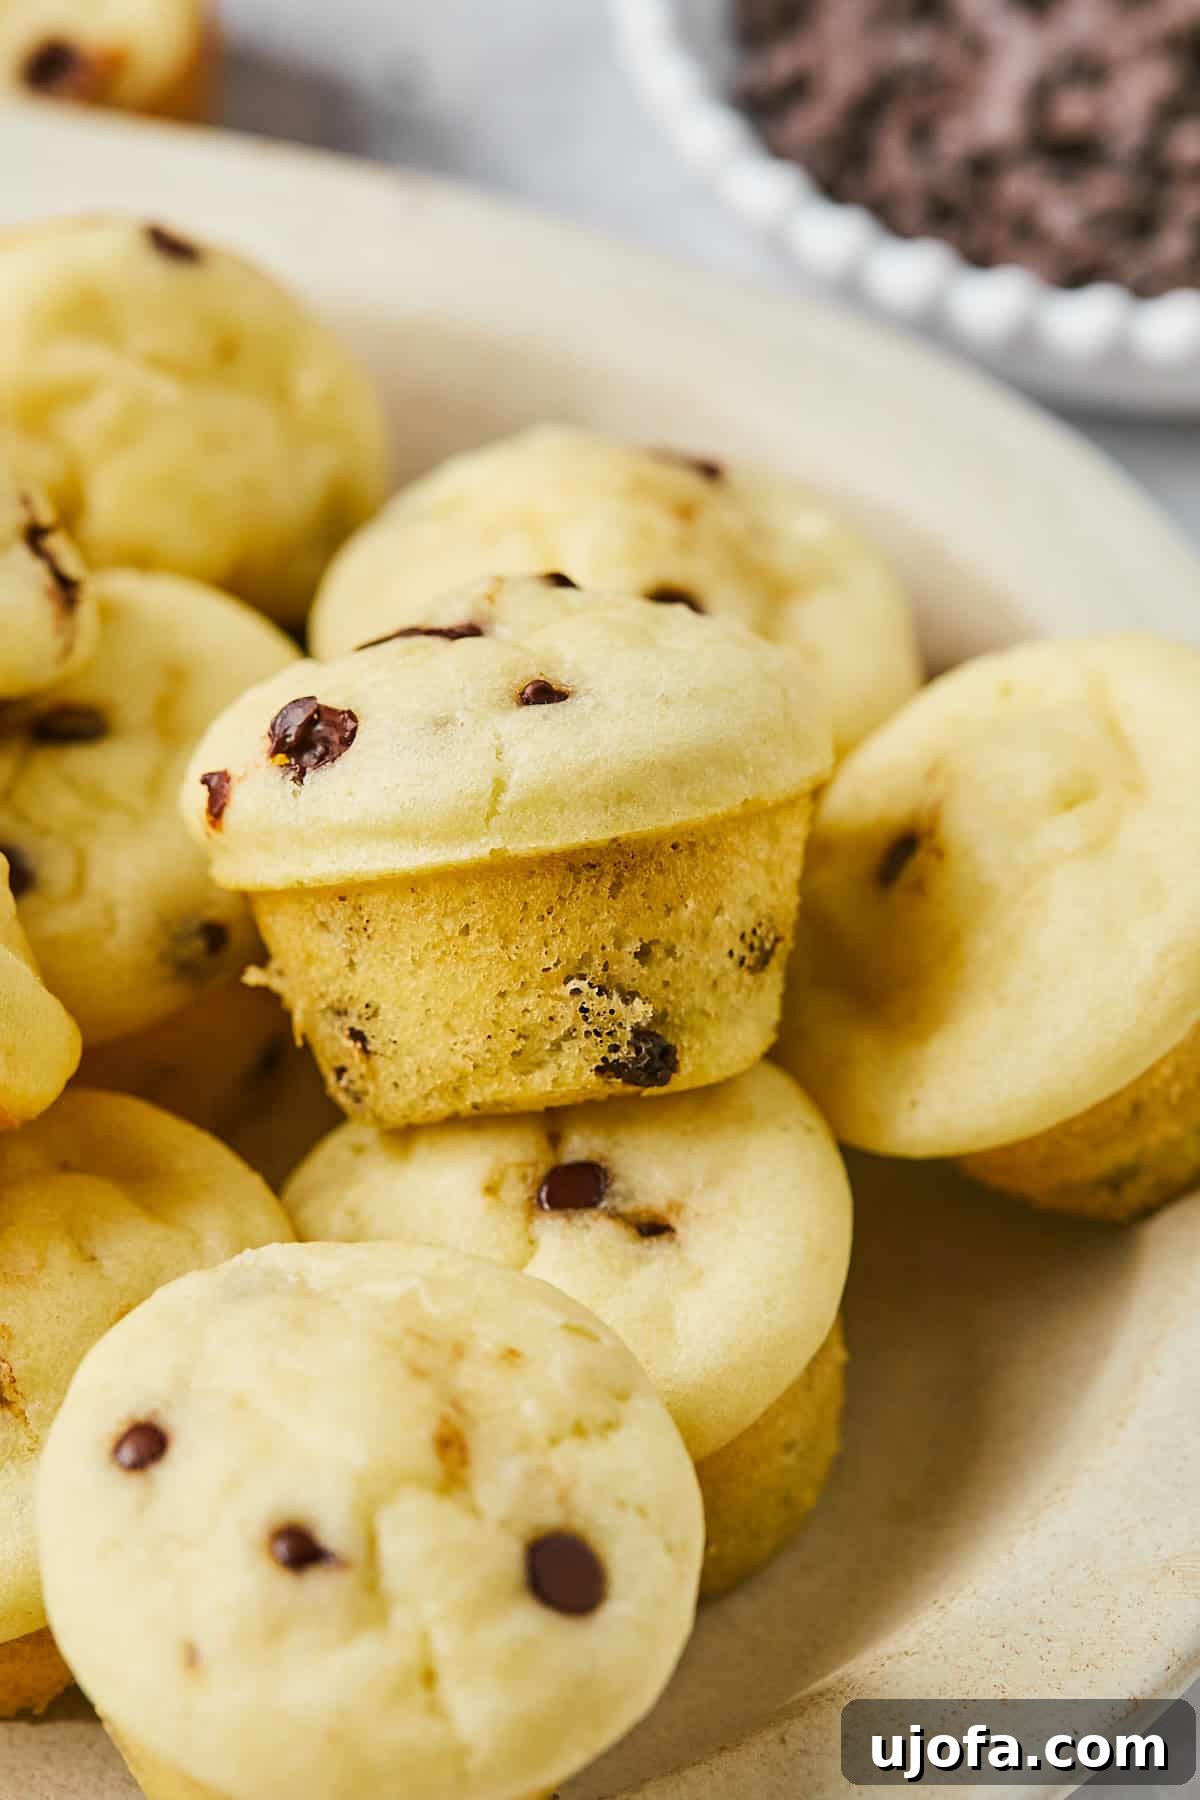
If your children light up at the thought of a quick snack from a Little Bites pouch, prepare for them to fall head over heels for these homemade gluten-free mini muffins. This recipe isn’t just a delicious alternative; it’s a superior choice that delivers on taste, texture, and nutrition. Each tiny muffin is as fluffy and moist as its conventional counterpart but is crafted with only five real-food ingredients, significantly less sugar, and absolutely zero preservatives.
These adorable, bite-sized treats are perfect for busy mornings, quick after-school snacks, or a delightful addition to lunchboxes. They mix up in less than 5 minutes and are ready to eat in under 25 minutes, making them an ideal solution for parents seeking convenience without compromise. Pair them with a batch of easy gluten-free blueberry muffins for a diverse breakfast spread or tuck in a few of our banana protein muffins for an extra protein boost. The versatility and sheer deliciousness of these mini muffins make them an instant family staple.
Beyond the Box: The Benefits of Homemade Mini Muffins
- Unmatched Freshness & Flavor: Nothing beats the taste of freshly baked muffins, warm from the oven. The simple ingredients truly shine through.
- Control Over Ingredients: You decide what goes into your family’s snacks. No hidden sugars, artificial flavors, or preservatives.
- Economical & Sustainable: Baking at home often costs less than buying pre-packaged snacks and reduces packaging waste.
- Kid-Approved Goodness: Their miniature size and delightful chocolate chip (or other favorite mix-in) flavor make them a huge hit with children of all ages.
- Allergy-Friendly: Naturally gluten-free, with easy options to make them dairy-free or egg-free, catering to various dietary needs.
- Perfect for Meal Prep: These muffins freeze beautifully, allowing you to bake a large batch and have healthy snacks on hand for weeks.
The Secret Weapon: How Gluten-Free Pancake Mix Creates the Fluffiest 5-Ingredient Muffins
The quest for a homemade mini muffin that could rival the nostalgic texture and delicate crumb of popular store-bought brands like Little Bites, without the intimidatingly long ingredient list, led to a true culinary breakthrough. The magic lies in one simple swap: replacing traditional combinations of flour, sugar, and various leavening agents with a high-quality gluten-free pancake mix.
Why is this such a game-changer? Gluten-free pancake mix is expertly pre-balanced with a blend of gluten-free starches, flours, and precisely measured baking powder or other leaveners. This pre-formulated mix takes all the guesswork out of achieving that perfect rise and consistently moist texture. It ensures the batter rises evenly, creating light and airy muffins that stay tender for days. No more dense, dry, or crumbly gluten-free baked goods! This smart shortcut not only simplifies the baking process but also guarantees exceptional results every single time.
My kids, who are perhaps the toughest critics, declared these muffins lighter and undeniably tastier than their store-bought counterparts. As a parent, I love knowing each muffin clocks in at a modest 89 calories with only 4 grams of sugar, making them a much healthier and more satisfying option for snack time.
Nutrition Snapshot: Homemade vs. Store-Bought
When it comes to snack choices for our families, understanding what goes into each bite is paramount. Let’s take a closer look at how these homemade gluten-free mini muffins stack up against a popular store-bought alternative, highlighting the tangible benefits of baking at home.
| Mary’s Whole Life Mini Muffins | Entenmann’s Little Bites | |
| Ingredient Count | 5 | 25+ |
| Additives | None | Potassium sorbate, artificial flavors, corn syrup, palm oil, soy flour, mono and diglycerides, carrageenan, xanthan gum |
| Certified Gluten-Free | Yes | No |
| Sugar per muffin (approx.) | 4 grams | 8-10 grams |
| Preservatives | None | Yes |
As you can see from this direct comparison, choosing homemade means choosing purity and simplicity. With significantly fewer ingredients, no artificial additives, and a much lower sugar content, these homemade gluten-free mini muffins offer a truly wholesome alternative that you can feel great about serving.
The 5 Essential Ingredients You Need for Fluffy Mini Muffins
The beauty of this recipe lies in its elegant simplicity. With just five core ingredients, you can create a batch of incredibly fluffy and flavorful gluten-free mini muffins. Each ingredient plays a crucial role in achieving the perfect texture and taste. Let’s break them down:
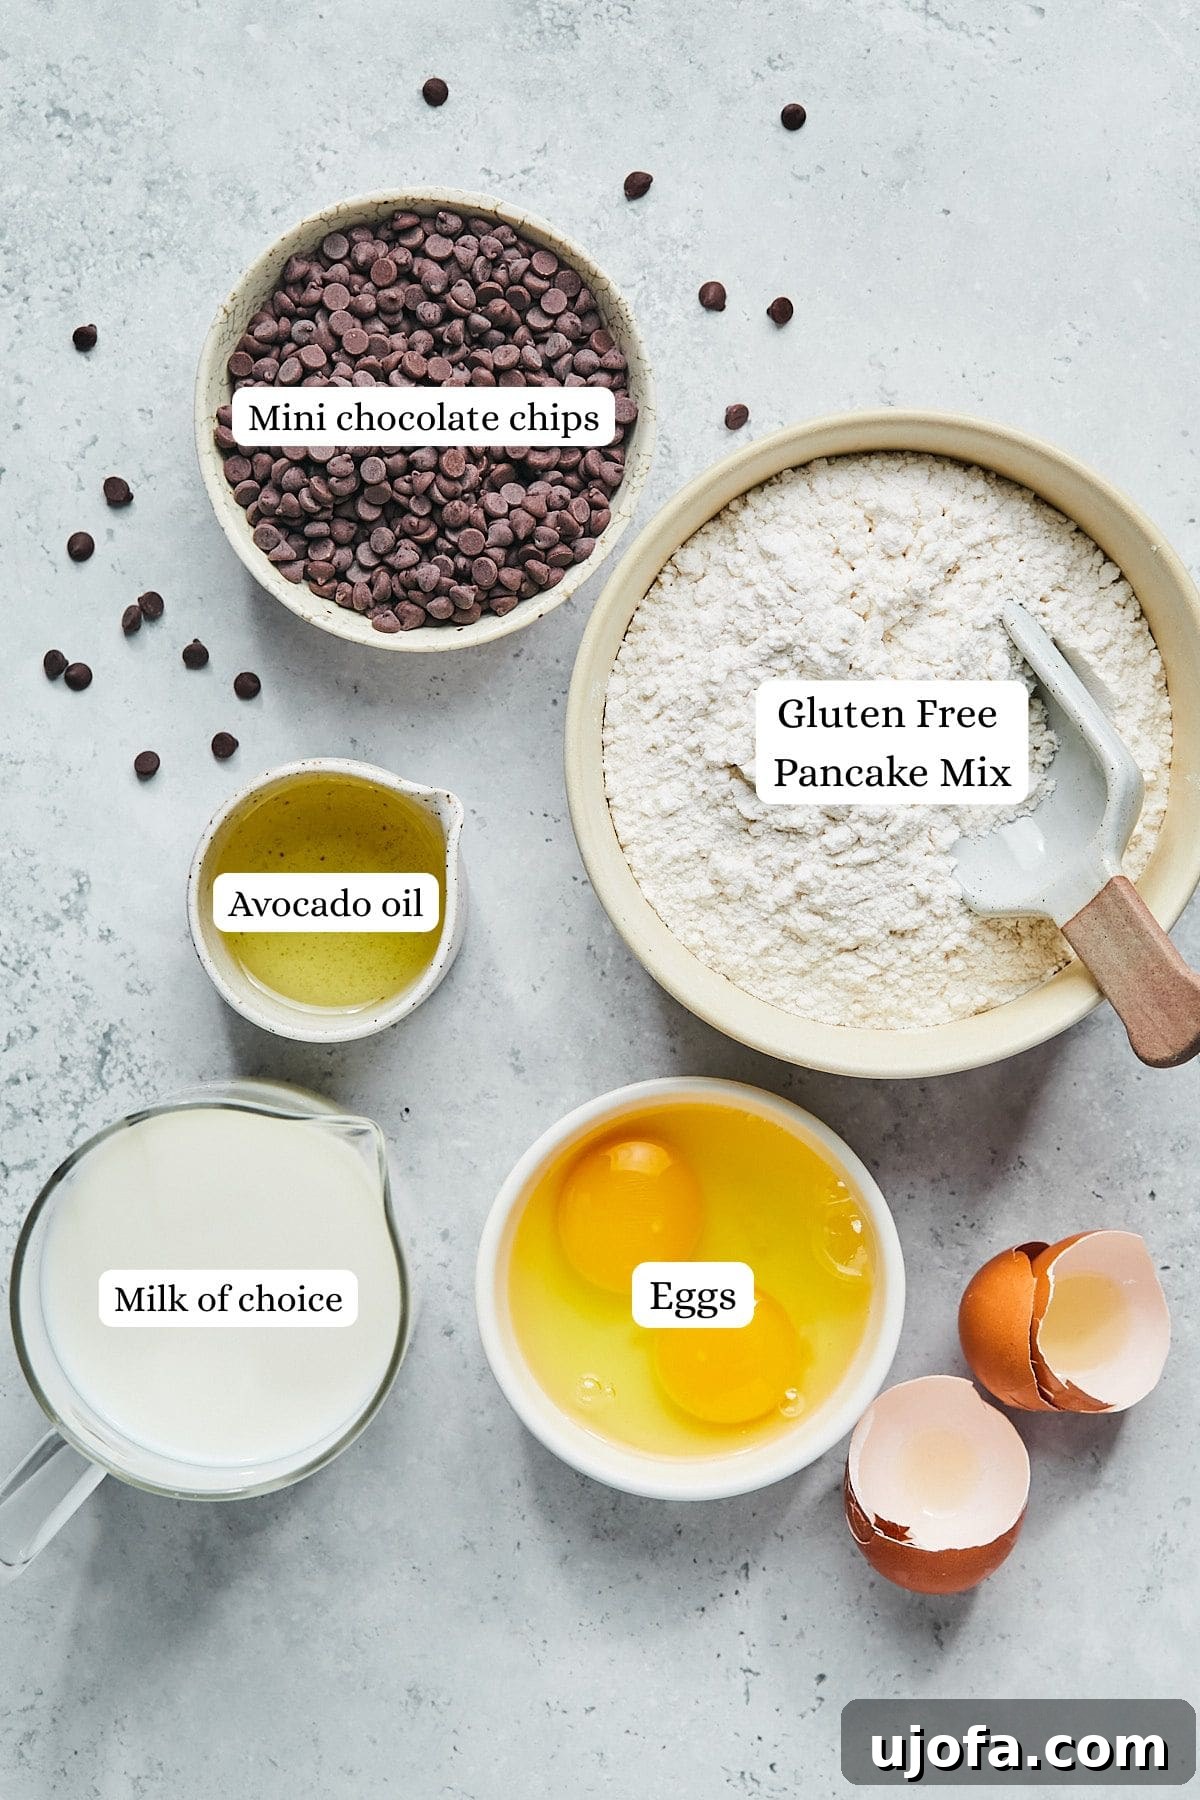
- Gluten-Free Pancake Mix: This is our star ingredient and secret weapon. I personally achieve consistent, excellent results with King Arthur Gluten-Free Pancake Mix, but any reputable 1:1 gluten-free pancake mix that contains leavening agents (like baking powder) will work wonderfully. The pre-mixed flours and leaveners ensure a uniform rise and delicate crumb without needing to measure multiple dry ingredients.
- Almond Milk: Unsweetened almond milk is my go-to for a light and dairy-free option. However, feel free to substitute with any dairy milk for a slightly richer flavor and texture. Oat milk or soy milk also make excellent plant-based alternatives. Just ensure whatever milk you choose is at room temperature to help the batter emulsify smoothly and promote a better rise.
- Eggs: Large eggs bind the ingredients, add structure, and contribute to the muffins’ lift and richness. For the fluffiest outcome, it’s crucial to use room-temperature eggs. This allows them to incorporate more easily into the batter, creating a smoother consistency and helping the leaveners activate more effectively.
- Avocado Oil: Chosen for its neutral flavor profile and heart-healthy monounsaturated fats, avocado oil ensures a moist muffin without imparting any strong taste. If you don’t have avocado oil, melted unsalted butter or a light olive oil (not extra virgin, as it can be too strong) are excellent substitutes. Coconut oil, melted and slightly cooled, also works beautifully, adding a subtle tropical note.
- Mini Chocolate Chips: These tiny morsels are essential for creating that classic mini muffin appeal and satisfying sweetness. I recommend Enjoy Life brand mini chocolate chips to keep the recipe dairy-free and allergy-friendly. If chocolate isn’t your preference, this is where you can get creative! Try swapping the chips for fresh or frozen blueberries, finely diced strawberries, or chopped walnuts to mimic the flavors of my popular gluten-free banana bread muffins. For a fun, sweet-savory brunch plate, consider pairing these with homemade McGriddle muffins for an unexpected twist.
With these five simple ingredients, you’re just moments away from baking a batch of the most delectable gluten-free mini muffins your family will love!
How to Make Perfect Gluten-Free Mini Muffins: A Step-by-Step Guide
Making these gluten-free mini muffins is incredibly straightforward, designed for even the busiest home baker. The process is quick, clean, and yields fantastic results every time. Here’s a concise overview followed by detailed steps:
TL:DR: Preheat oven to 350°F. Whisk gluten-free pancake mix, almond milk, eggs, and avocado oil in one bowl. Fold in mini chocolate chips. Fill a well-greased 24-cup mini muffin pan almost to the top. Bake for 14-15 minutes until golden and a toothpick comes out clean. Cool briefly and enjoy!
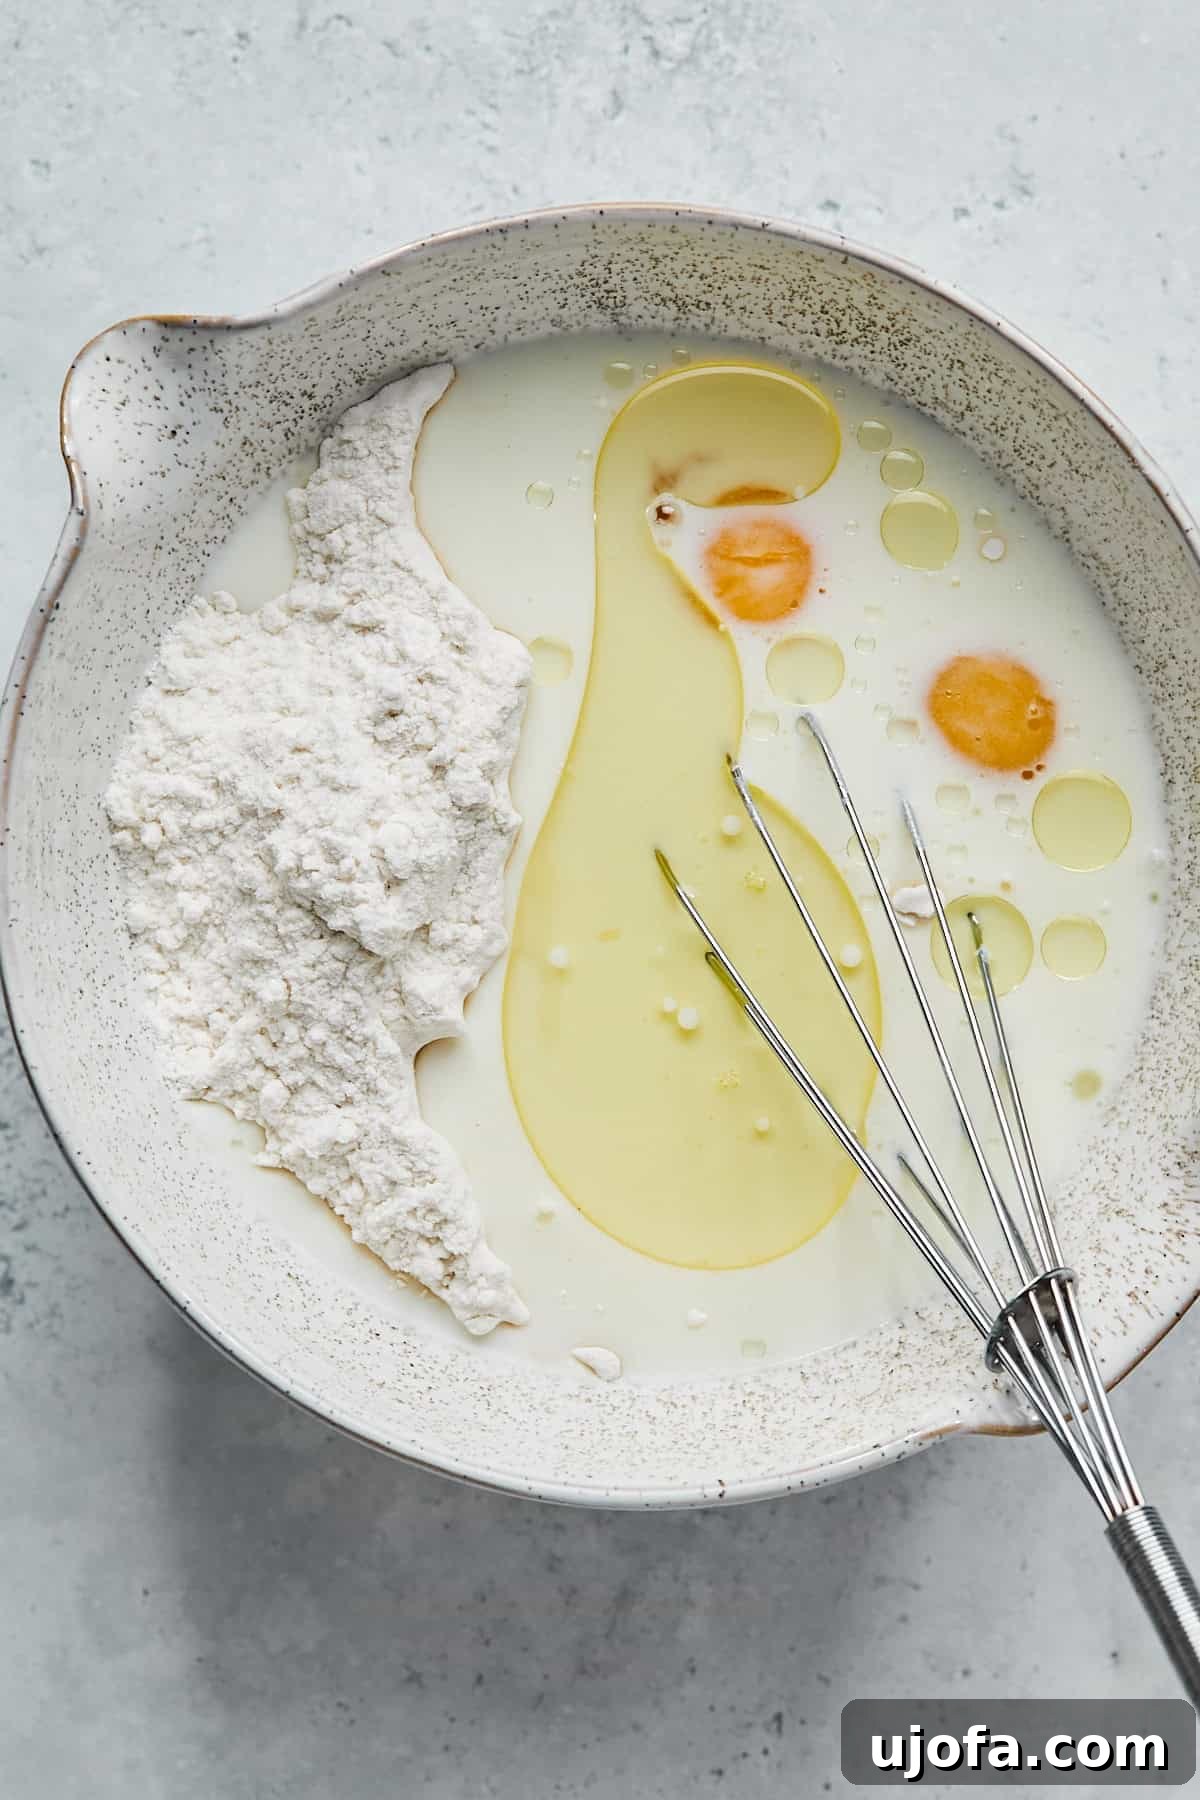
Step 1: Prepare Your Oven and Pan. Begin by preheating your oven to a precise 350°F (175°C). While the oven heats, generously spray a 24-cup mini muffin pan with non-stick cooking spray. Ensuring every cavity is well-greased is crucial for preventing sticking, especially with gluten-free batters. In a large mixing bowl, combine the gluten-free pancake mix, room-temperature almond milk, room-temperature eggs, and avocado oil. Whisk these ingredients together until they are just blended. Be careful not to overmix; a few small lumps are perfectly fine and often result in a tenderer muffin.
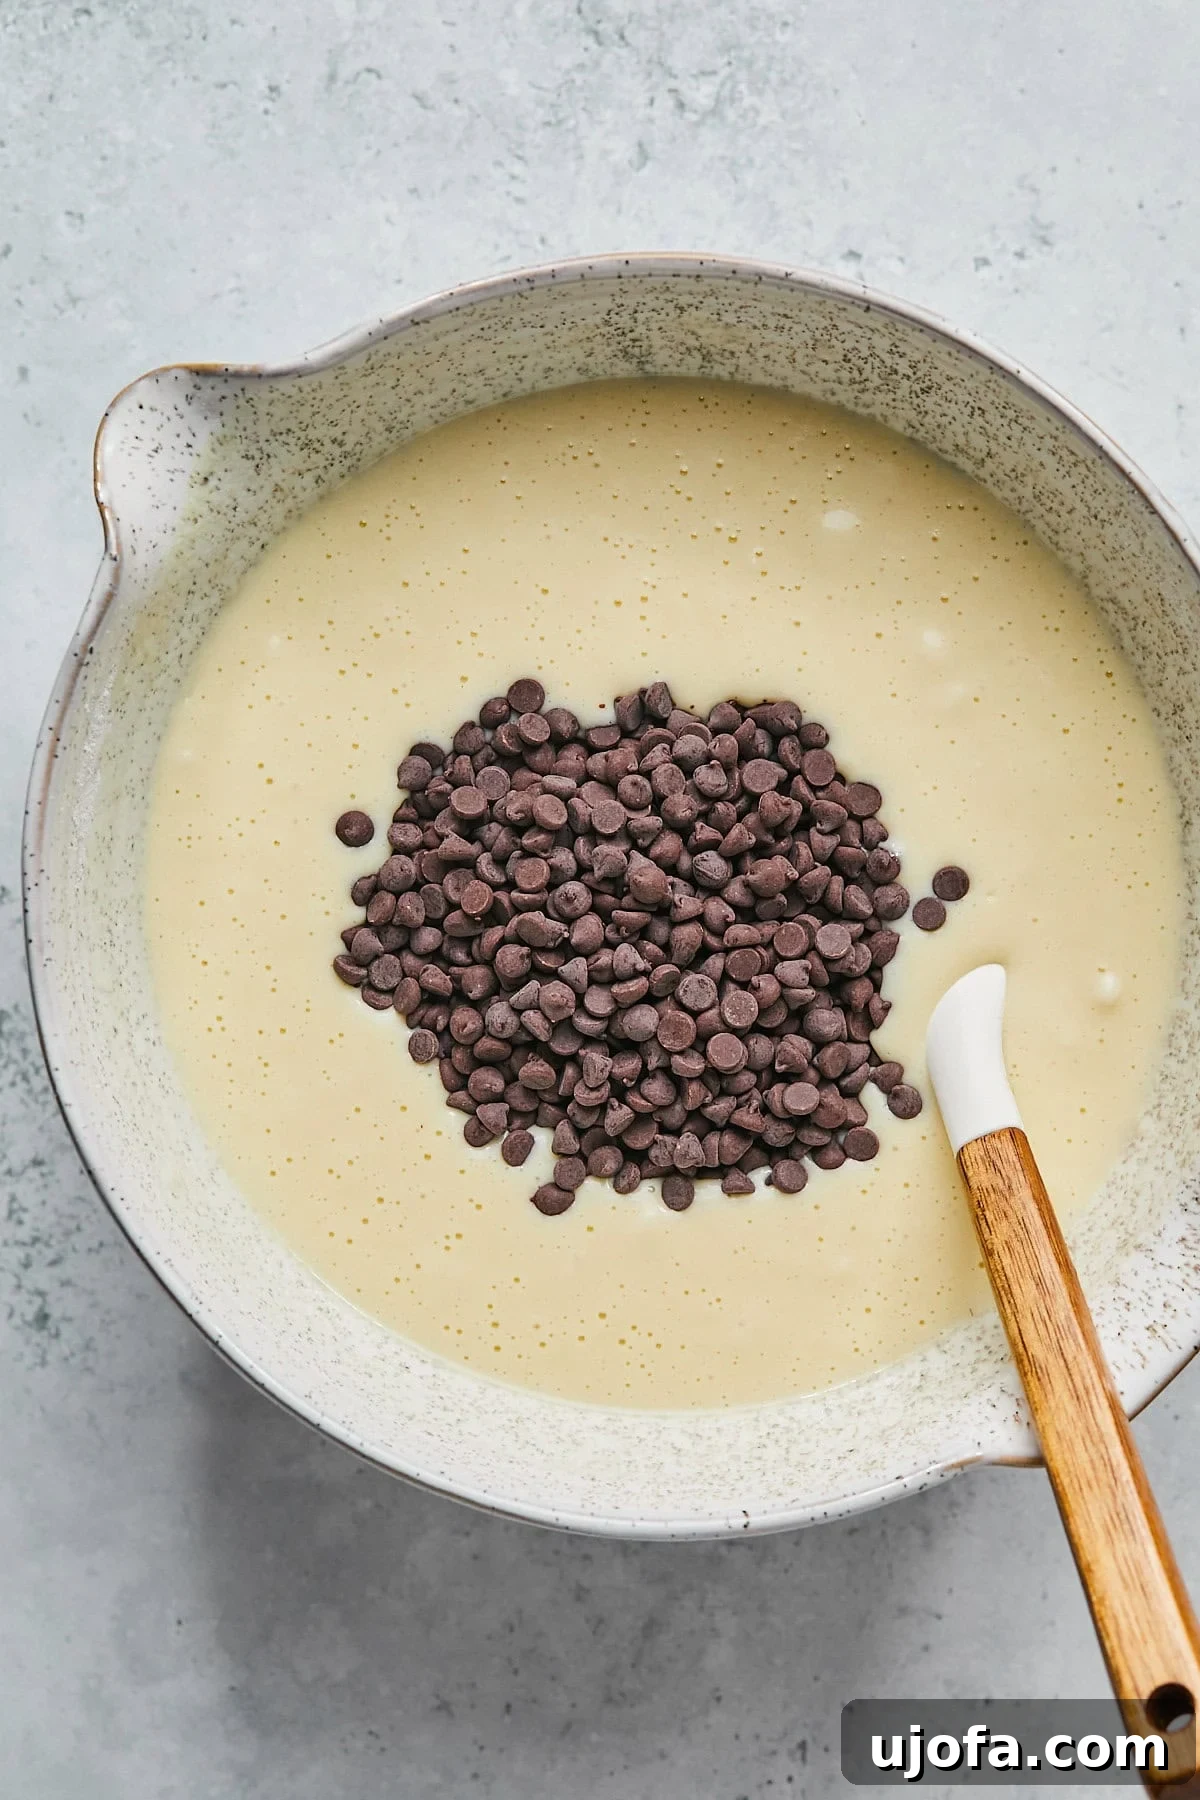
Step 2: Add Your Favorite Mix-Ins. Gently fold in ¾ cup of mini chocolate chips into the muffin batter. Use a spatula for this step to avoid overmixing, which can lead to tough muffins. The mini chips are ideal as they distribute more evenly throughout the small muffins. If you’re opting for other additions like blueberries, diced fruit, or nuts, this is the stage to incorporate them. Ensure they are evenly distributed but still handled with care.
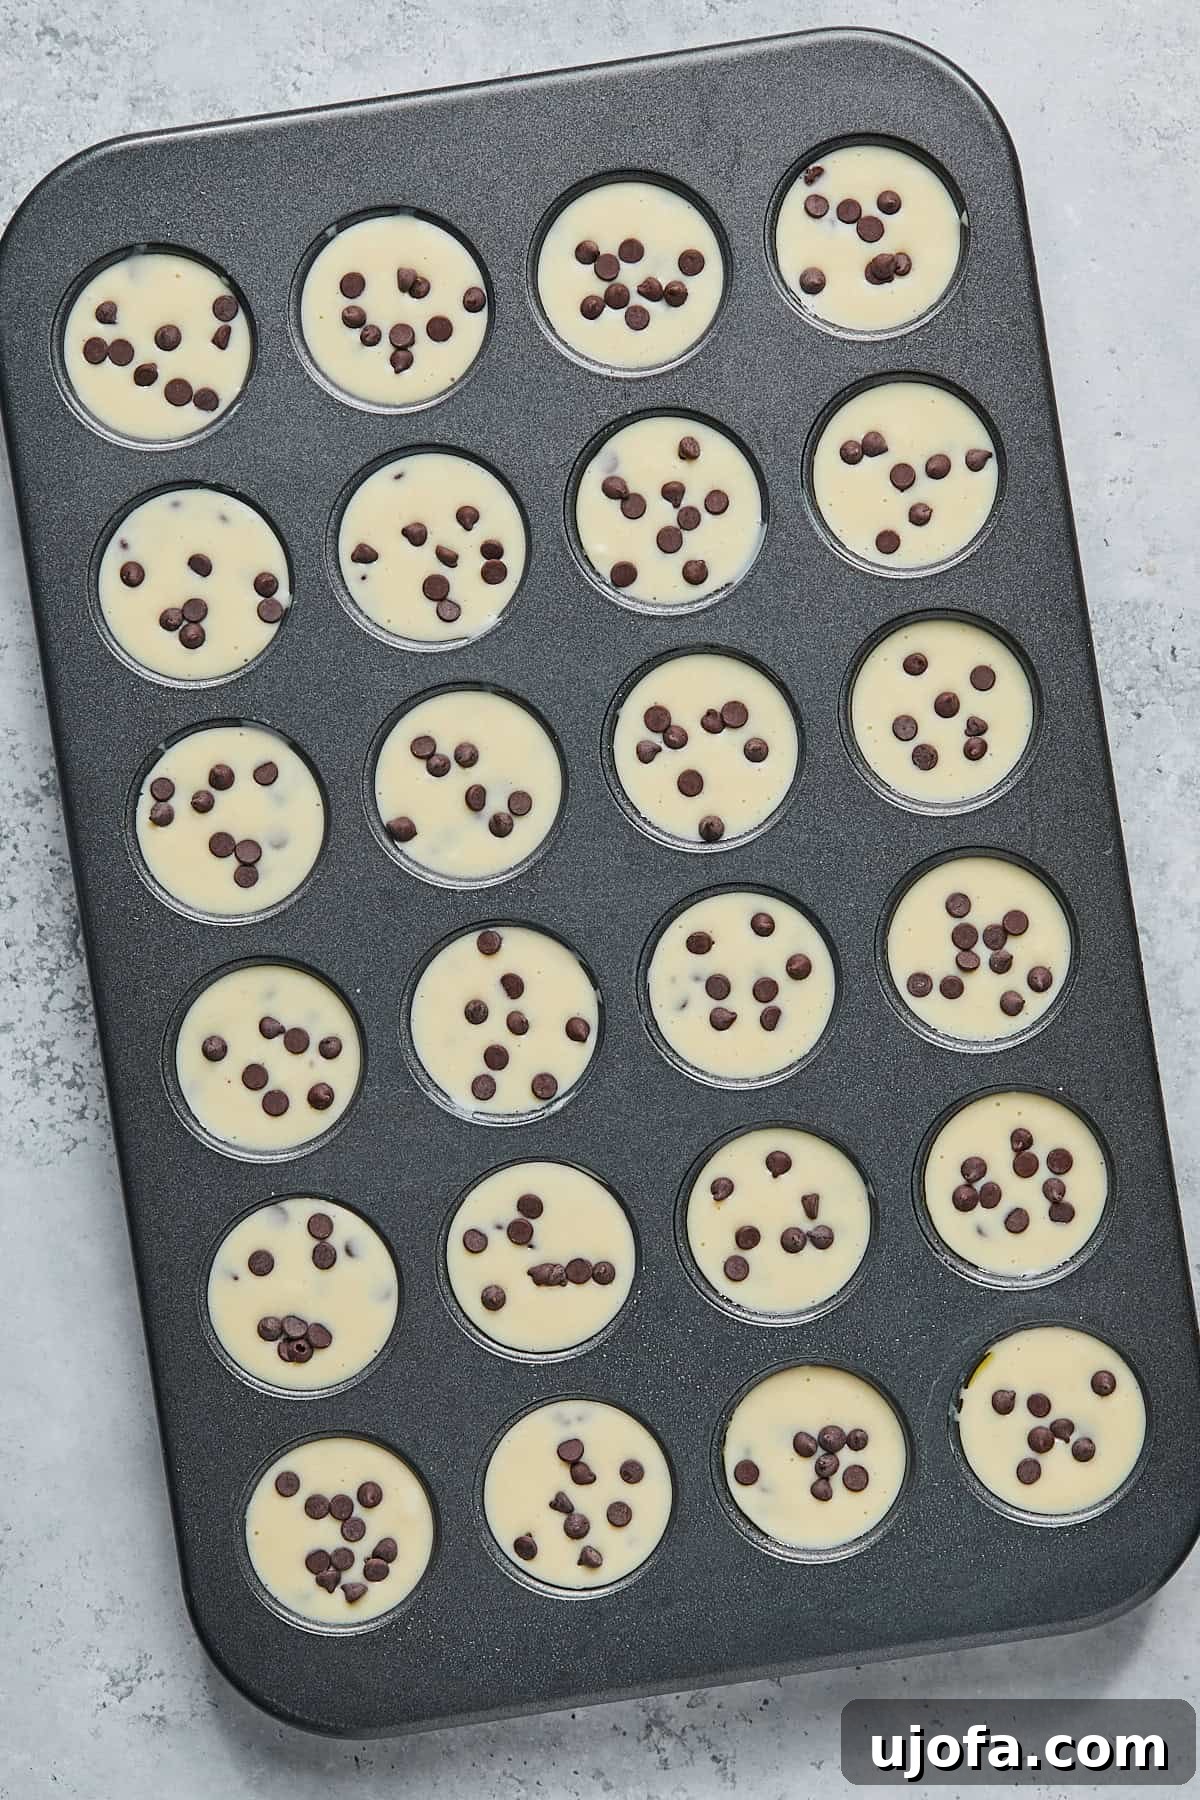
Step 3: Fill the Muffin Cups. Using a small spoon or a mini ice cream scoop, fill each prepared muffin cup almost to the top with batter. Overfilling slightly helps create that beautiful domed top. For an extra touch of sweetness and visual appeal, sprinkle a few additional mini chocolate chips over the top of each filled cup. This also helps identify them as chocolate chip muffins once baked.
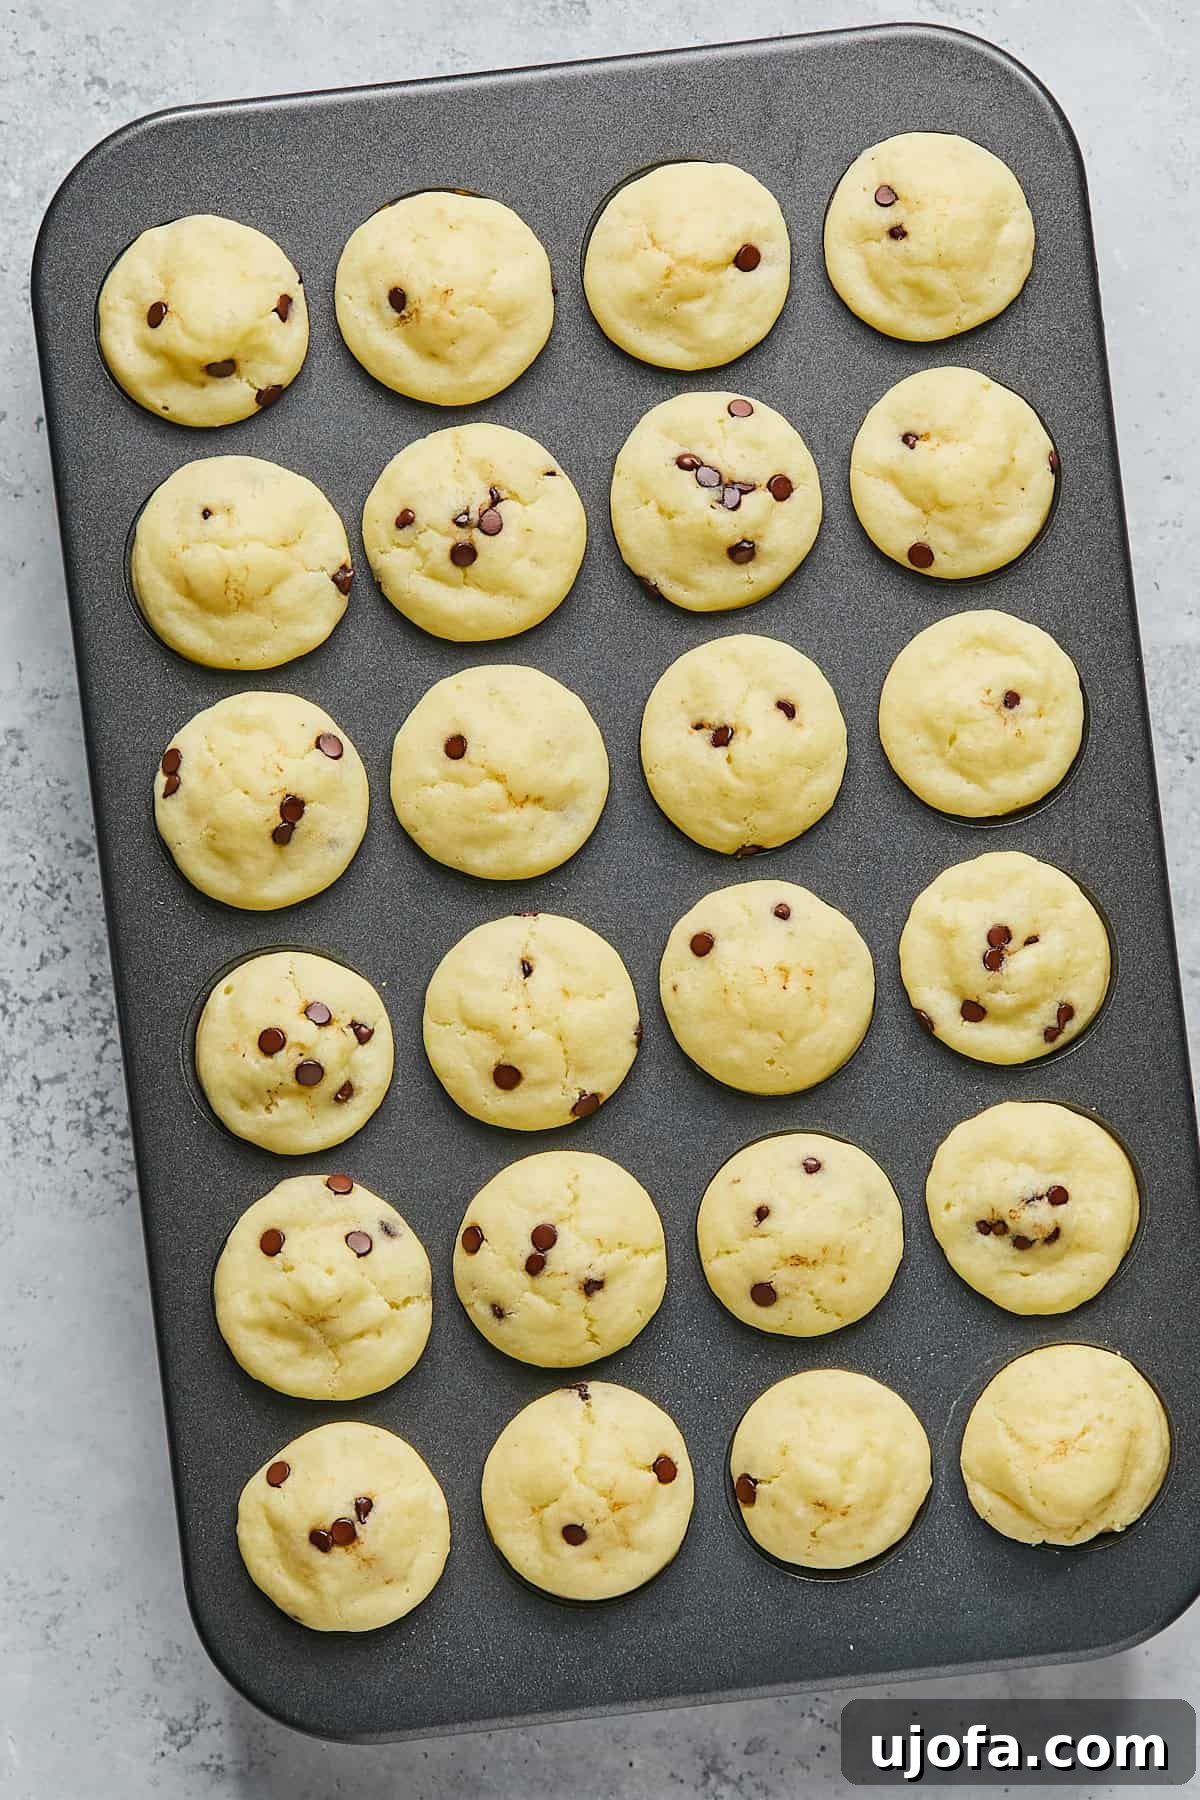
Step 4: Bake to Golden Perfection. Place the muffin pan into the preheated oven and bake for 14-15 minutes. Baking times can vary slightly depending on your oven, so start checking for doneness around the 13-minute mark. The muffins are ready when their tops are lightly golden, spring back gently when touched, and a toothpick inserted into the center comes out clean. Once baked, remove the pan from the oven and let the muffins cool in the pan for about 5 minutes. This brief resting period allows them to firm up slightly, making them easier to remove. Then, carefully release them from the pan using an offset spatula or a small knife and transfer them to a wire rack to cool completely, or enjoy them warm!
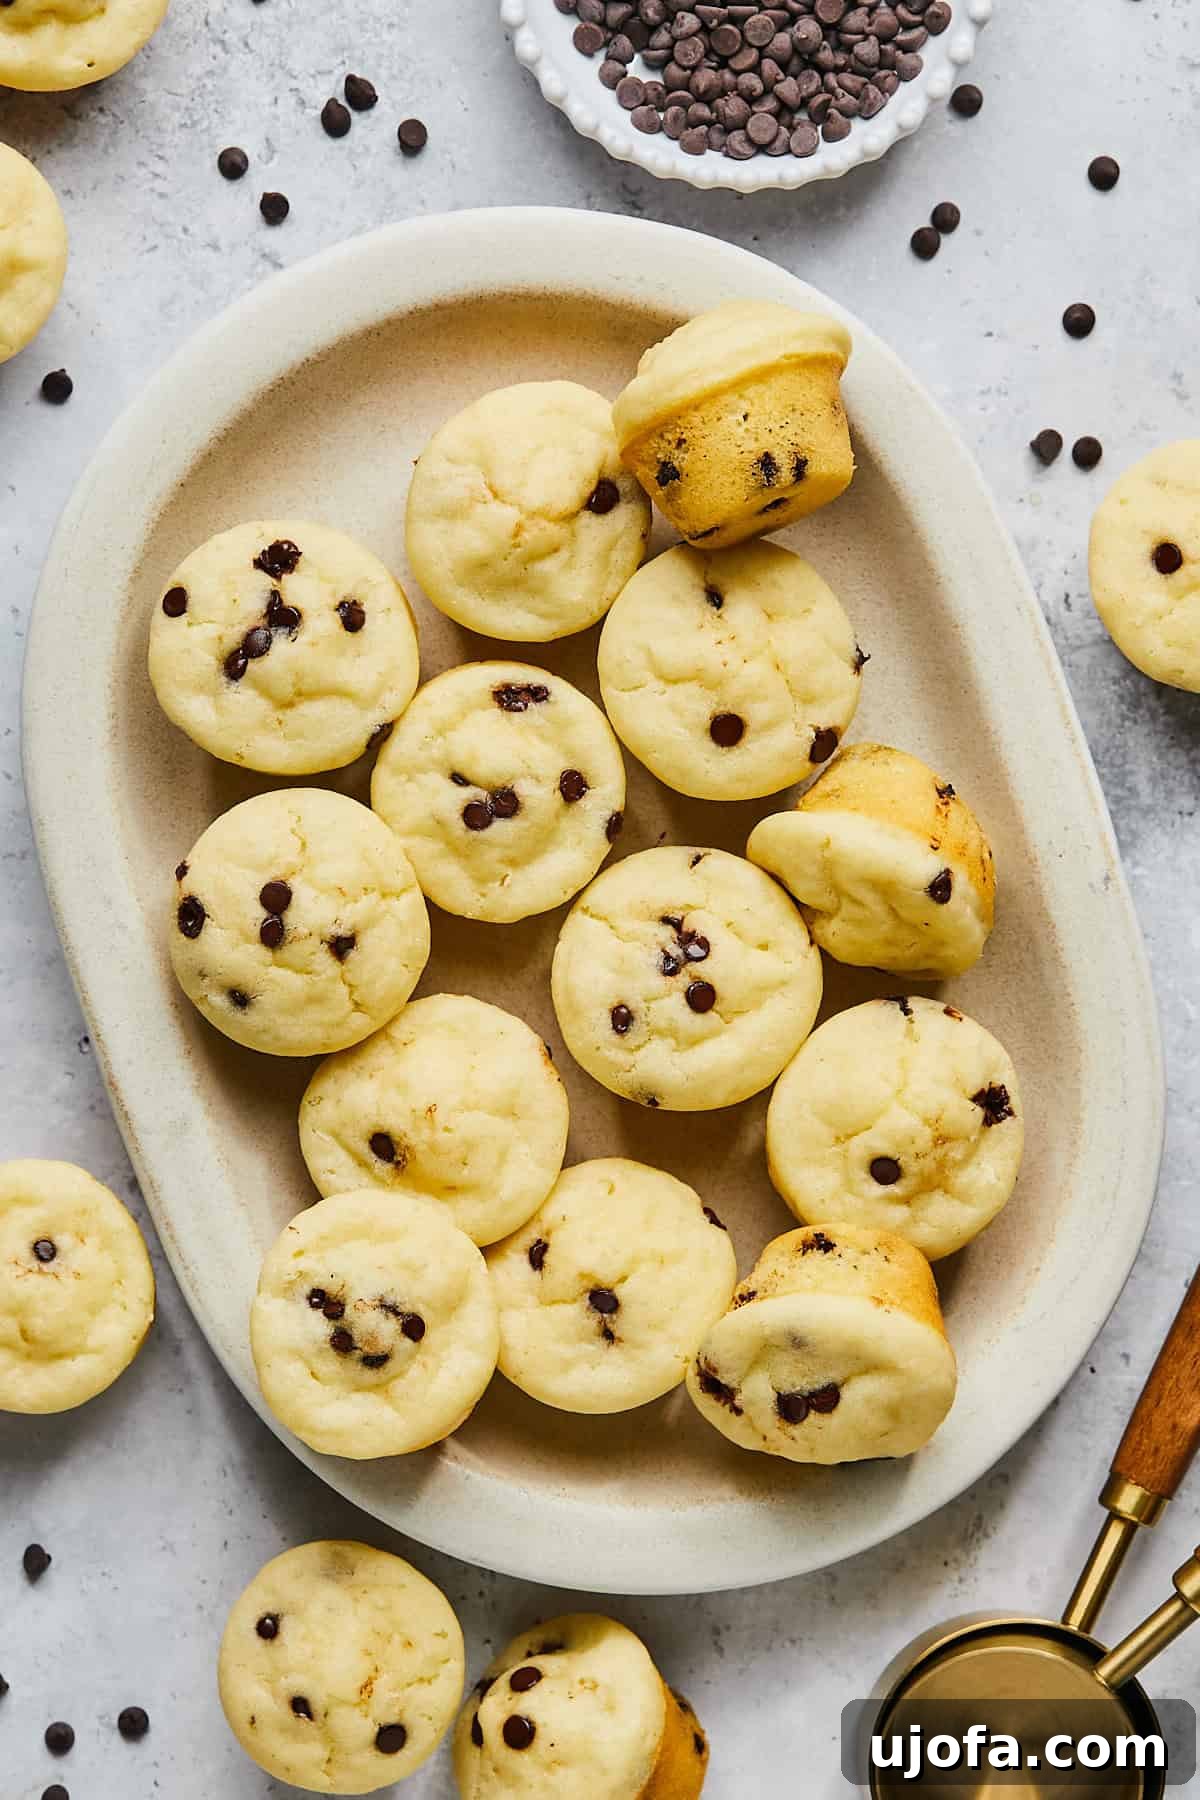
Troubleshooting & Expert Tips for Gluten-Free Mini Muffin Success
Achieving bakery-quality gluten-free mini muffins is simple with a few expert tricks and tips. Here’s how to ensure every batch is perfect:
- Optimal Baking Time for Mini Muffins: While standard muffins bake longer, mini muffins require a quicker cook time. Most mini muffin pans will yield a light, moist crumb at 350°F (175°C) baked for precisely 14-15 minutes. Ovens vary, so it’s always wise to start checking at 13 minutes. Over-baking is the arch-nemesis of gluten-free batters, as it can quickly lead to dry, crumbly muffins. The tops should be set and lightly golden.
- Preventing Muffins from Sticking: To guarantee a clean release every time, skip paper liners for mini muffins. Instead, spray your mini muffin pan very generously with a high-quality non-stick cooking spray, ensuring every crevice is coated. After baking, allow the muffins to rest in the pan for exactly 5 minutes before attempting to lift them out. The residual oil in the batter, combined with this brief cooling period, helps create a natural, non-stick barrier. An offset spatula or a small, thin knife is your best friend for gently prying them out.
- Secrets to Keeping Them Fluffy: The key to a soft, airy, bakery-style loft in your muffins lies in ingredient temperature. Ensure both your eggs and milk (or chosen dairy-free alternative) are at room temperature. Cold ingredients can shock the batter, inhibiting the full activation of the leavening agents present in the pancake mix. Room-temperature ingredients blend more smoothly and allow the batter to rise beautifully, resulting in a consistently light and tender texture throughout.
- Egg-Free Option for Allergy Needs: If you or a family member requires an egg-free alternative, you can easily adapt this recipe. Simply whisk together 2 tablespoons of ground flaxseed meal with 5 tablespoons of water. Let this mixture rest for about 5 minutes until it thickens and achieves a gel-like consistency. This “flax egg” can then be used in place of the two eggs called for in the recipe, providing a similar binding and moisture without dairy.
- Storage & Freezing for Future Enjoyment: These mini muffins are fantastic for meal prepping! Once they have cooled completely to room temperature, transfer them to airtight zip-top bags or containers. They can be stored at room temperature for up to 3 days or frozen for up to 2 months. To enjoy from frozen, simply thaw them at room temperature for about 20 minutes, or microwave individual muffins for 10-15 seconds for a warm, soft, and delicious snack on demand. This makes them perfect for grab-and-go breakfasts or lunchbox additions.
- Creative Mix-In Variations: While chocolate chips are a classic, don’t hesitate to experiment! Consider adding lemon zest and poppy seeds for a bright flavor, cinnamon and diced apples for a fall treat, or even a handful of finely chopped nuts for added texture and healthy fats. Adjust sweet mix-ins like dried cranberries or raisins according to your preference.
Recipe FAQs: Your Gluten-Free Mini Muffin Questions Answered
Absolutely! This recipe is designed with dairy-free options in mind. Simply use almond milk (or another plant-based milk like oat or soy milk) and ensure you choose certified dairy-free chocolate chips, such as Enjoy Life brand. The gluten-free pancake mix itself typically doesn’t contain dairy, but always check the label to be sure.
For consistent and excellent results, I highly recommend King Arthur Gluten-Free Pancake Mix. However, any certified gluten-free pancake mix that contains its own leavening (like baking powder) will work well. Just ensure it’s a “complete” pancake mix that only requires liquid and eggs, not just a plain gluten-free flour blend.
Muffins sinking in the middle is typically a sign of over-mixing the batter. When you overmix, you develop any available gluten (even in trace amounts in “gluten-free” flours, or compact the starches), and you also knock out the air bubbles created by the leavening agents. Whisk the ingredients only until just combined – a few small lumps are perfectly acceptable and often lead to a tenderer muffin.
Yes, they are absolutely perfect for lunchboxes! Once completely cooled, store them in an airtight container. They will stay fresh at room temperature for up to 3 days. For longer storage or convenient grab-and-go options, freeze individual portions. Simply pull them out in the morning, and they will thaw by lunchtime.
Yes, you can adapt this recipe for full-sized muffins. The yield will be smaller (likely 12 standard muffins instead of 24 mini muffins). You will also need to adjust the baking time; full-sized muffins typically bake for 18-22 minutes at 375°F (190°C), or until a toothpick inserted into the center comes out clean. Keep an eye on them, as oven temperatures can vary.
Absolutely! Fresh or frozen berries like blueberries, raspberries, or finely diced strawberries make wonderful additions. If using frozen fruit, do not thaw it beforehand; simply fold it into the batter frozen to prevent it from bleeding too much color into the muffins. Gently toss berries with a teaspoon of the dry pancake mix before adding to the batter to prevent them from sinking to the bottom.
If these incredible gluten-free mini muffins become a lifesaver for your school mornings or a beloved snack, please consider leaving a star rating and sharing your favorite mix-ins in the comments below! We love hearing about your creative variations. Craving more delicious and easy gluten-free treats? Be sure to explore our extensive gluten-free muffin archive for seasonal spins like pumpkin spice and zesty orange cranberry muffins, along with many other wholesome options.
More Gluten-Free Breakfast & Snack Favorites
- Easy Lemon and Poppyseed Muffins
- Homemade McGriddle Muffins
- Homemade Breakfast Protein Biscuits
- Cheeseburger Egg Bites
- Healthy Banana Protein Muffins
Love this recipe? Please leave a 5-star 🌟🌟🌟🌟🌟 rating in the recipe card below & a review in the comment section. Or, follow me on Facebook, Pinterest or Instagram today!
Gluten-Free Mini Muffins (Little Bites Copycat)
Equipment
-
mini muffin pan
Ingredients
- 2 cups gluten free pancake mix, I like King Arthur Brand mix
- 1.5 cups almond milk, or milk of choice, at room temperature
- 2 eggs, room temperature
- 2 tbsp avocado oil
- ¾ cup mini chocolate chips, + more for topping – I like Enjoy Life brand for dairy-free
Instructions
-
Preheat oven to 350°F (175°C). Generously spray a 24-cup mini muffin pan with non-stick cooking spray, ensuring every cavity is coated.
-
In a large bowl, combine the gluten-free pancake mix, room-temperature almond milk, room-temperature eggs, and avocado oil. Whisk until just blended. Avoid overmixing; a few small lumps are fine.
-
Gently fold in ¾ cup of mini chocolate chips or your chosen filling.
-
Spoon the batter into each muffin cup, filling almost to the top. Sprinkle a few extra chocolate chips over each muffin for a bakery-style finish.
-
Bake for 14-15 minutes, or until the tops are lightly golden, spring back when gently touched, and a toothpick inserted into the center comes out clean.
-
Remove the pan from the oven and let the muffins cool in the pan for 5 minutes before carefully releasing them with an offset spatula. Transfer to a wire rack to cool completely. Enjoy warm or at room temperature!
Notes
- How Long to Bake Mini Muffins: Mini pans vary, but 14-15 minutes at 350°F yields a light, moist crumb. Check at 13 minutes. Over-baking dries gluten-free batters quickly.
- Prevent Sticking: Skip paper liners, spray the pan well, and let the muffins rest 5 minutes before lifting. The oil in the batter helps create a clean release.
- Keep Them Fluffy: Room-temperature eggs and milk allow the leaveners in the mix to activate fully, giving every bite a soft, bakery-style loft.
- Egg-Free Option: For egg-free muffins, whisk 2 tablespoons ground flax with 5 tablespoons water, rest 5 minutes, then use in place of the eggs.
- Storage & Freezing: Cool completely, then freeze in zip bags up to 2 months. Thaw at room temperature for 20 minutes or microwave for 10 seconds for a warm snack.
Nutrition
All nutrition facts are an estimate and automatically calculated. While I fact check them using My Fitness Pal, please note that they may not always be 100% accurate and depend on ingredients used. Weigh your total and divide by the number of servings for the most accurate grams per serving size.