
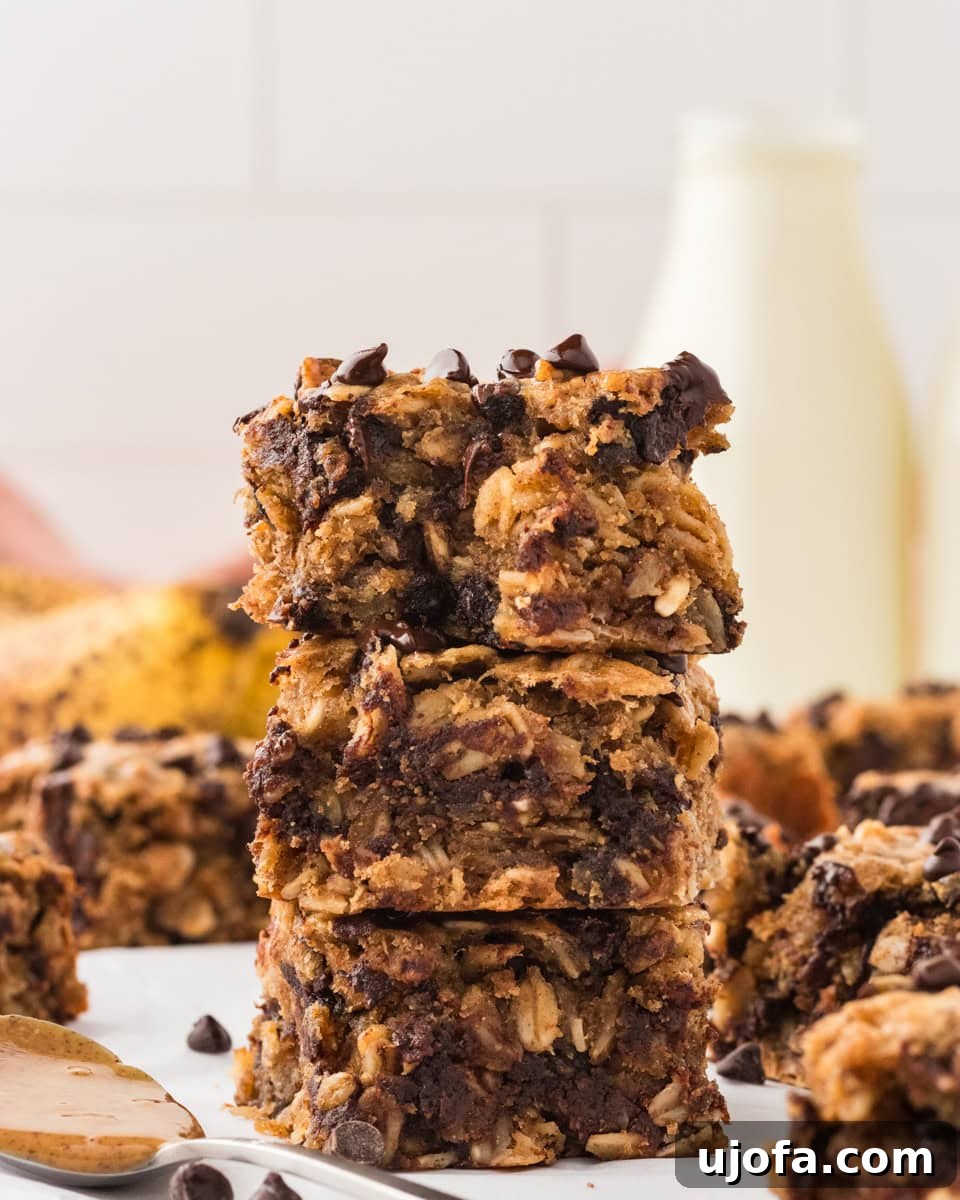
Welcome to your new favorite go-to snack: incredibly delicious **Banana Oatmeal Bars**! These soft, chewy bars strike the perfect balance between wholesome goodness and satisfying sweetness. Packed with the hearty texture of rolled oats and rich chocolate chips, they offer a delightful treat that keeps you energized without being overly sugary. Each bar is a balanced blend of complex carbohydrates, healthy fats, and protein, making it an ideal choice for sustained fullness. Whether you’re heading to the park, need a quick bite on a busy morning, or a satisfying pick-me-up between meals, these banana-chocolate wonders are designed to fit seamlessly into your active lifestyle.
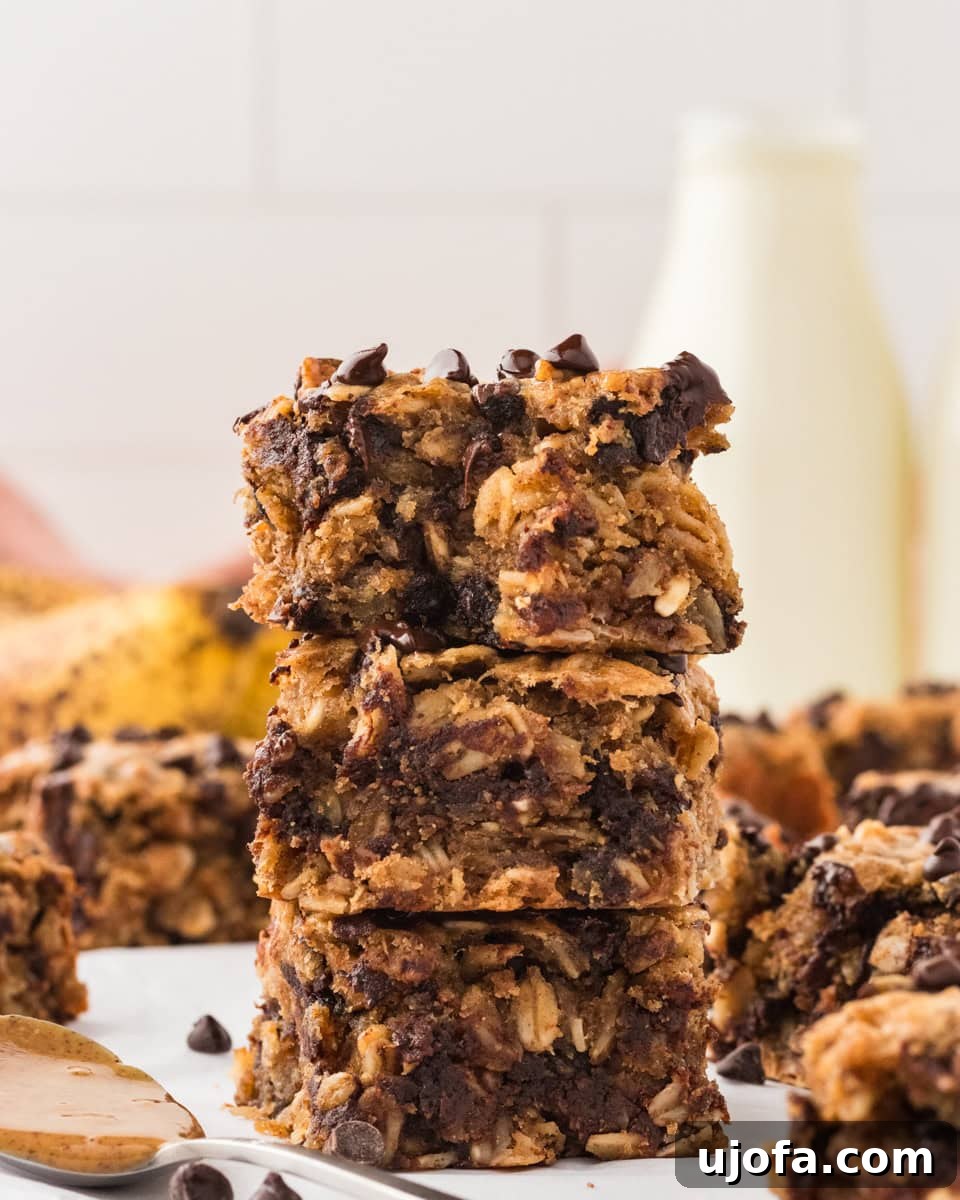
As someone who always keeps ripe bananas and oats stocked in the pantry, these soft-baked oatmeal bars are a natural choice. They are a fantastic way to utilize those perfectly ripe bananas that might otherwise go to waste. While homemade granola bars are a staple, these banana oatmeal bars offer a unique soft, cake-like texture that’s irresistible. The best part? They are incredibly quick and easy to prepare, going from your pantry to your plate in just about 30 minutes. Their adaptable nature means you can tweak them to suit any craving or dietary preference, making them a true kitchen hero.
Beyond their ease and speed, these bars are a powerhouse of flavor and nutrition. Naturally **gluten-free and dairy-free**, they cater to common dietary needs without compromising on taste. They serve as a comforting breakfast to kickstart your day, a quick and energizing snack when hunger strikes, or even a healthier dessert option when you crave something sweet. The combination of hearty oats, creamy peanut butter, and that signature soft and chewy granola bar texture makes them ideal for meal prepping throughout the week or as a convenient grab-and-go option. Plus, they’re a definite hit with kids, making them perfect for lunchboxes or after-school treats.
What sets these banana oatmeal bars apart is their incredible versatility and wholesome profile. Made with simple, accessible ingredients, they provide sustained energy thanks to the fiber-rich oats and healthy fats from peanut butter and coconut oil. The natural sweetness from ripe bananas and a touch of maple syrup means you get a satisfying flavor without excessive added sugar. This recipe isn’t just about making a snack; it’s about crafting a mindful, delicious treat that supports your well-being and simplifies your busy schedule. Let’s dive into creating these delightful bars that promise to become a cherished part of your recipe collection!
Wholesome Gluten-Free Banana Oatmeal Bars
Julia Elizabeth
16
squares
5
25
30
Equipment
-
1 9×9-inch baking dish
Ingredients
-
2 large ripe bananas, about 1 cup mashed -
¼ cup maple syrup -
1 egg, beaten -
2 tablespoons coconut oil, melted -
1 teaspoon vanilla extract -
2 cups rolled oats, gluten-free certified if needed -
¾ cup natural peanut butter, smooth or crunchy, softened -
1 teaspoon cinnamon -
1 teaspoon baking powder -
½ teaspoon salt -
⅔ cup mini chocolate chips, plus more for sprinkling on top (dairy-free if needed)
Instructions
-
Prepare your baking dish: Line a 9×9-inch baking dish with parchment paper, ensuring the paper extends over the sides. This thoughtful step will make it incredibly easy to lift the finished bars out later. Preheat your oven to 350°F (175°C).
-
In a medium-sized mixing bowl, mash the 2 ripe bananas with a fork until they are mostly smooth, with just a few small lumps remaining for texture. Then, stir in the maple syrup, beaten egg, melted coconut oil, and vanilla extract until well combined.
-
To the wet ingredients, add the natural peanut butter, rolled oats, cinnamon, baking powder, and salt. Mix gently until all the ingredients are just combined. Be careful not to overmix, as this can lead to denser bars.
-
Carefully fold in the ⅔ cup of mini chocolate chips into the batter. This ensures even distribution throughout your delicious bars. Transfer the mixture to your prepared 9×9-inch baking dish, spreading it out evenly with a spatula or the back of a spoon.
-
Bake in the preheated oven at 350°F (175°C) for 25 minutes, or until the edges are just beginning to turn a light golden brown. The center should look set but still feel soft to the touch.
-
Once baked, remove the dish from the oven. Immediately sprinkle additional chocolate chips over the warm bars. The residual heat will gently melt them, creating a lovely glossy finish and extra chocolatey goodness.
-
Allow the bars to cool in the dish for a few minutes, then use the extended parchment paper to carefully lift them out and transfer them to a wire cooling rack. For neat slices and to prevent crumbling, let the bars cool completely before cutting and serving. If you’re eager, you can enjoy them warm straight from the oven with melty chocolate, but be aware they will be softer.
Notes & Tips for Success
- **Egg Substitute:** If you need an egg-free option, you can substitute the egg with ¼ cup of unsweetened applesauce. This works well to bind the ingredients and add moisture.
- **Chocolate Choices:** For maximum chocolate in every bite of these smaller bars, mini chocolate chips are highly recommended. If you’re monitoring sugar intake, opt for sugar-free chocolate chips (brands like Lily’s are excellent). For a strictly **dairy-free option**, Enjoy Life Mini Chocolate Chips are a fantastic choice, or you can omit chocolate chips entirely if preferred.
- **Coconut Oil Alternatives:** Virgin or unrefined coconut oil is preferred as it helps bind the ingredients and contributes to the chewy texture. If you’re not a fan of coconut flavor, feel free to use unsalted butter or a dairy-free butter alternative. Make sure it’s melted for easy incorporation.
- **Nut Butter Variations:** This recipe calls for natural smooth peanut butter (the kind where the oil separates), but don’t hesitate to use crunchy peanut butter for an added textural element. You can also experiment with your favorite nut butter, such as almond butter or cashew butter, for a different flavor profile.
- **Softening Peanut Butter:** To ensure your natural peanut butter mixes smoothly into the batter, I recommend warming it slightly. Heat it in the microwave in 10-second intervals; typically, 10-20 seconds is enough to reach the right consistency.
- **Accurate Banana Measurement:** After mashing your ripe bananas, it’s a good idea to measure them to ensure you have roughly 1 cup. Bananas vary greatly in size, and using too much can result in overly mushy bars, while too little could lead to dry, crumbly bars.
- **Avoid Overmixing:** Mixing the batter too vigorously can develop the gluten in the oats and lead to dense, tough bars. Mix just until the ingredients are combined for that perfect soft and chewy texture.
- **Patience is Key for Cutting:** For clean, non-crumbly squares, allow the banana oatmeal bars to cool completely on a wire rack before attempting to cut them. A sharp knife or a bench scraper will help achieve precise cuts.
- **Boost Your Protein:** For an extra protein kick, consider swapping ¼ cup of the rolled oats with ¼ cup of your favorite protein powder. This is a great way to enhance the nutritional value, especially for post-workout snacks.
- **Ensuring Easy Removal:** Always grease your baking pan thoroughly or, as recommended in the recipe, line it with parchment paper that overhangs the sides. This prevents sticking and makes lifting the entire batch out a breeze.
- **Storage Recommendations:** These delicious bars can be stored in an airtight container at room temperature for up to 2 days. For longer freshness, refrigerate them for up to a week.
- **Freezing for Later:** To extend their shelf life even further, freeze individual squares in a freezer-friendly container for up to 3 months. Place parchment paper between layers to prevent sticking. Thaw them overnight in the refrigerator for a convenient ready-to-eat snack.
Nutrition Facts (Approximate)
Calories: 195kcal
Carbohydrates: 22g
Protein: 5g
Fat: 11g
Saturated Fat: 4g
Polyunsaturated Fat: 2g
Monounsaturated Fat: 3g
Trans Fat: 0.01g
Cholesterol: 11mg
Sodium: 161mg
Potassium: 174mg
Fiber: 2g
Sugar: 11g
Vitamin A: 41IU
Vitamin C: 1mg
Calcium: 44mg
Iron: 1mg
Nutrition information is automatically calculated and should be used as an approximation.
Additional Info
Baking, Breakfast, Snack
American
Tried this recipe?
Mention @mamaknowsglutenfree or tag #mamaknowsglutenfree!
How to Make Banana Oatmeal Bars Step-by-Step
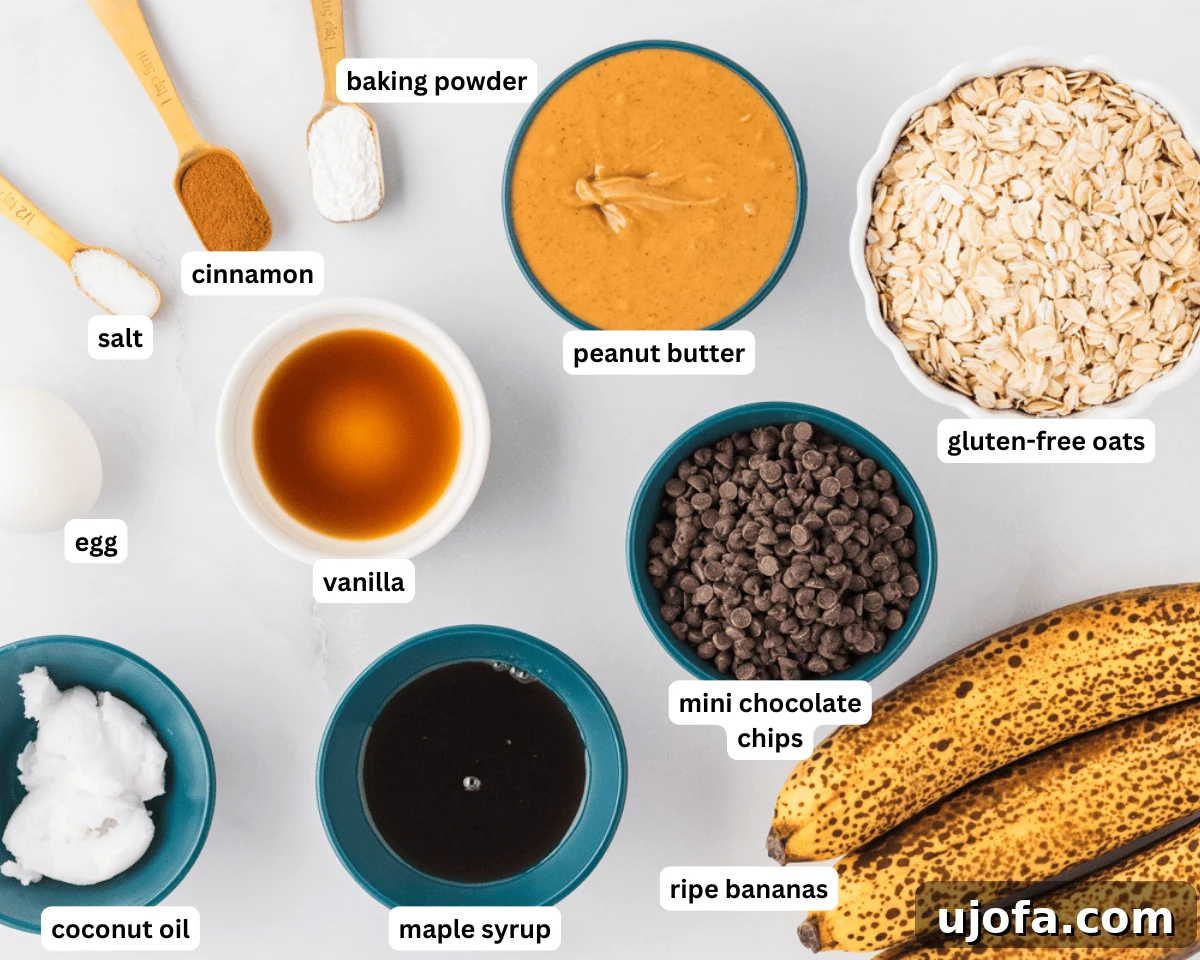
Begin by gathering all your fresh and pantry ingredients. Having everything measured and ready will make the baking process smooth and enjoyable.
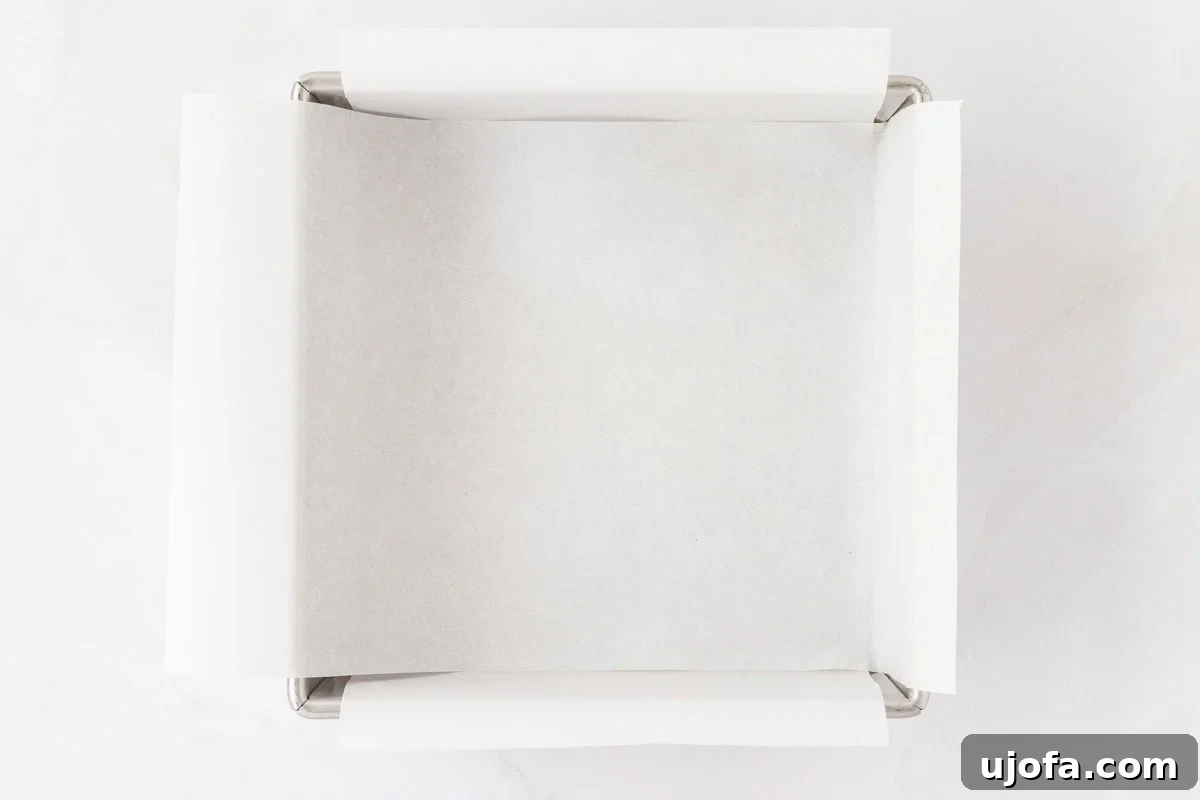
Take a 9×9-inch baking dish and line it with parchment paper, leaving an overhang on the sides. This ensures effortless removal of the baked bars. Preheat your oven to 350°F (175°C).
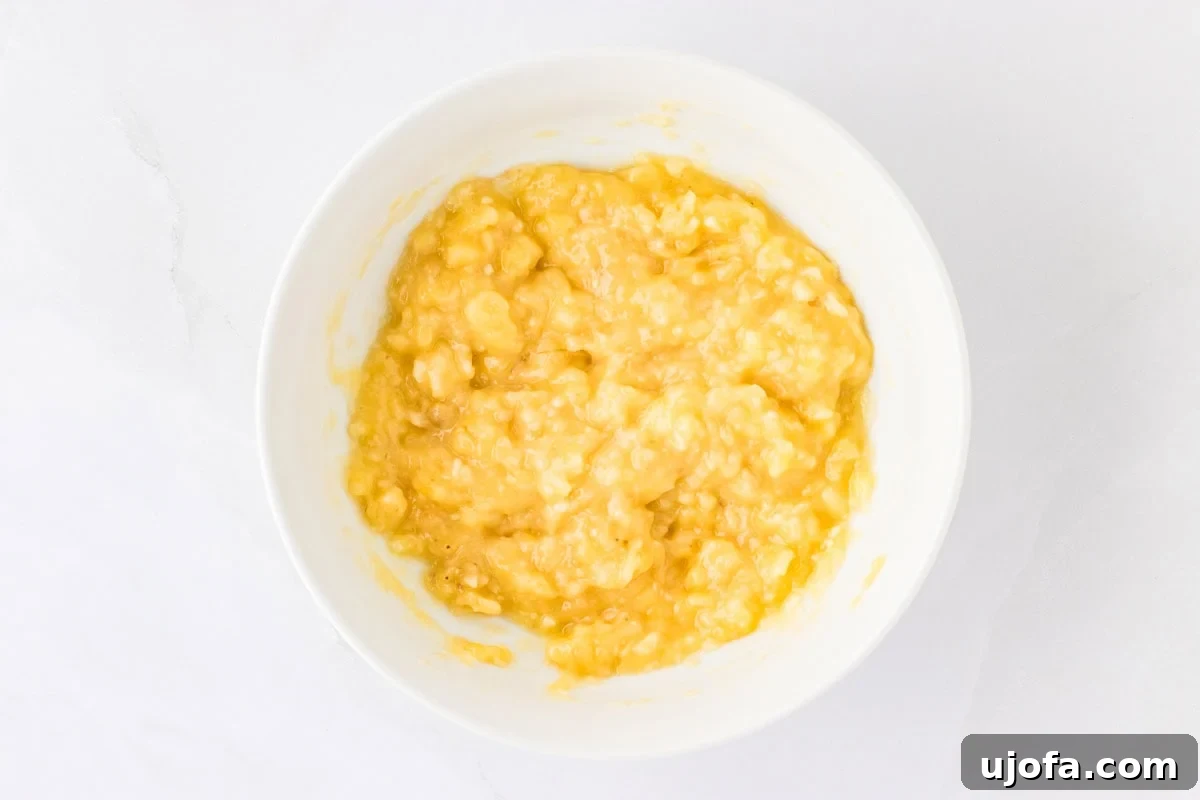
In a medium mixing bowl, mash the 2 ripe bananas thoroughly with a fork until they reach a mostly smooth consistency, with perhaps a few delightful small lumps remaining.
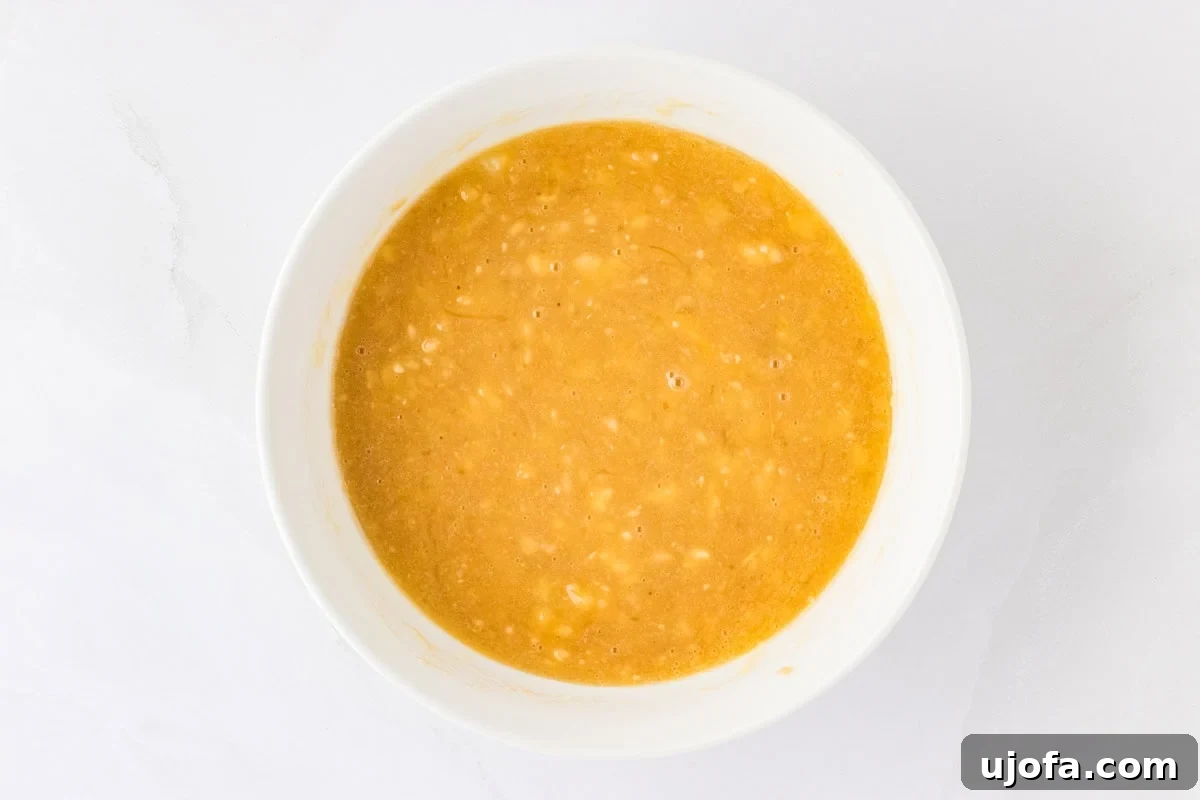
Into the mashed bananas, whisk in ¼ cup of maple syrup, 1 beaten egg, 2 tablespoons of melted coconut oil, and 1 teaspoon of vanilla extract. Stir until all the wet ingredients are well incorporated.
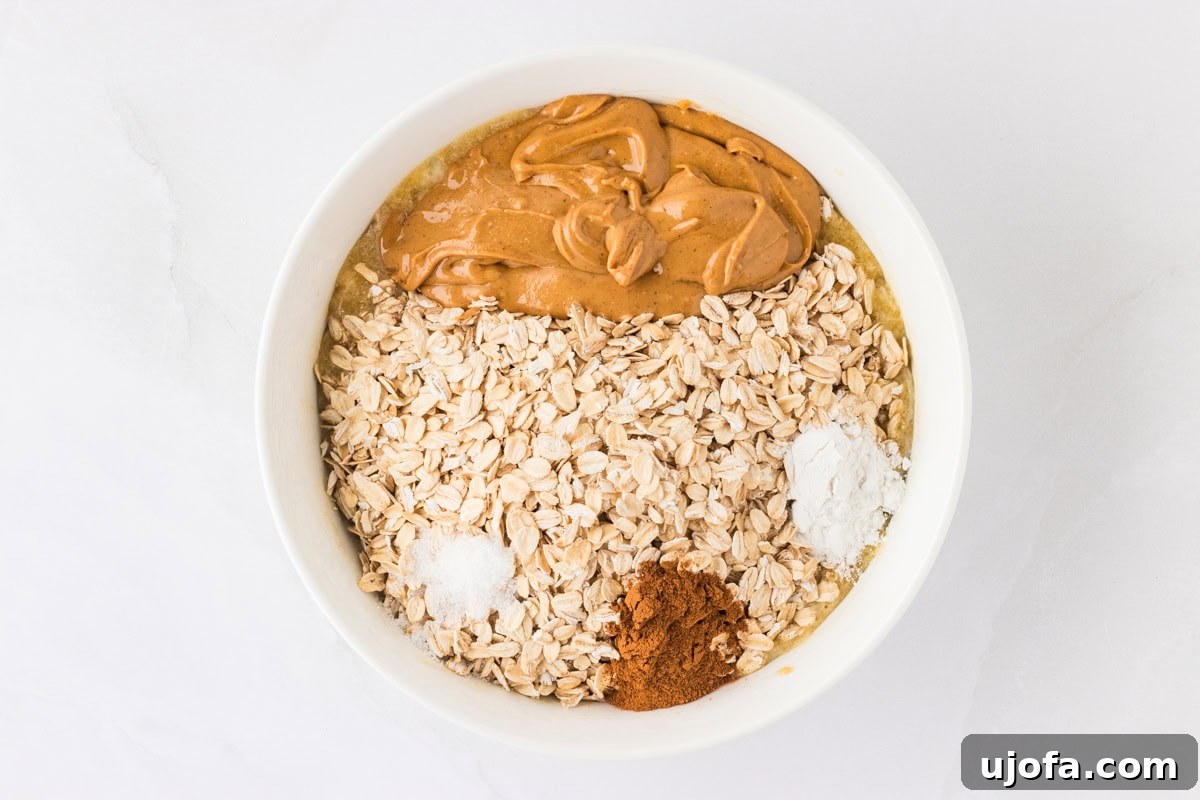
Now, add the dry and binding ingredients: 2 cups of gluten-free rolled oats, ¾ cup of softened natural peanut butter, 1 teaspoon of cinnamon, 1 teaspoon of baking powder, and ½ teaspoon of salt. Ensure your peanut butter is slightly warm and runny for easier mixing.
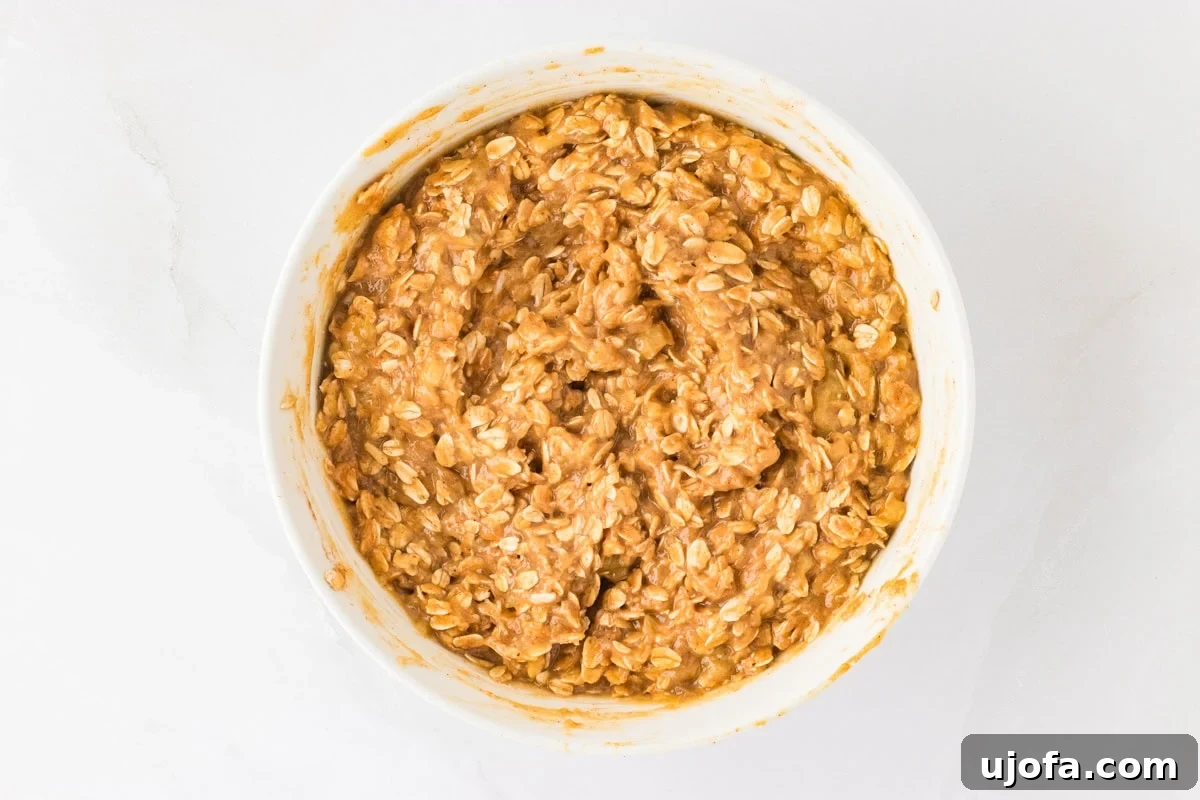
Mix all the ingredients gently until they are just combined. Be careful not to overmix the batter to maintain a tender texture in your finished bars.
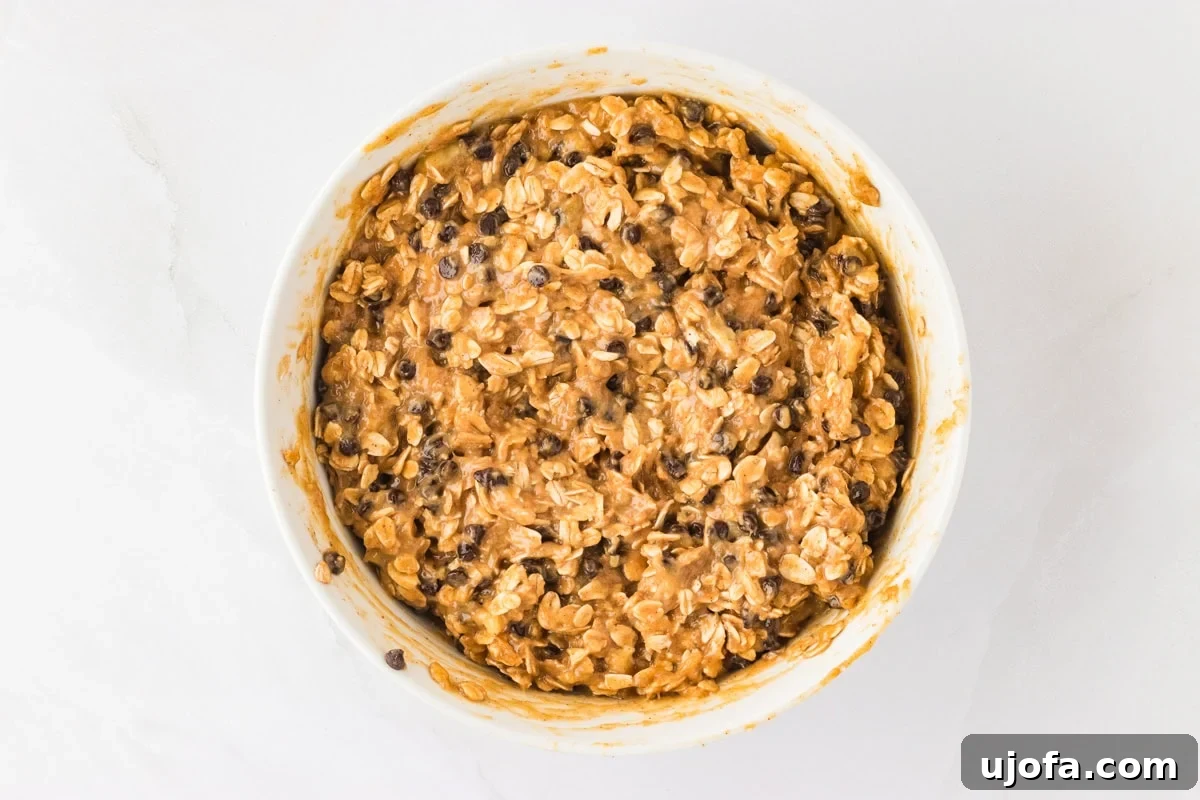
Finally, gently fold in the ⅔ cup of mini chocolate chips. Mini chips ensure you get a taste of chocolate in every single bite. Distribute them evenly throughout the batter.
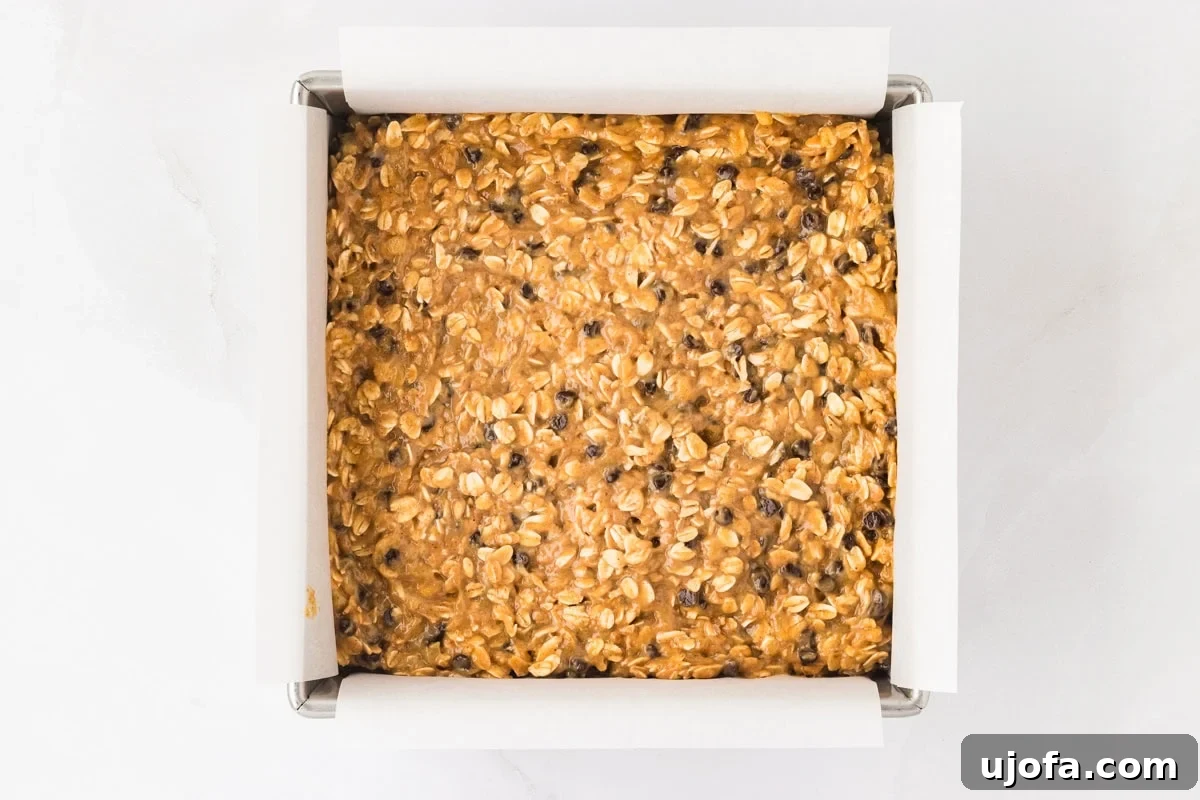
Pour the prepared batter into your parchment-lined baking dish. Use a knife or spatula to spread the mixture evenly across the pan, ensuring a consistent thickness for even baking.
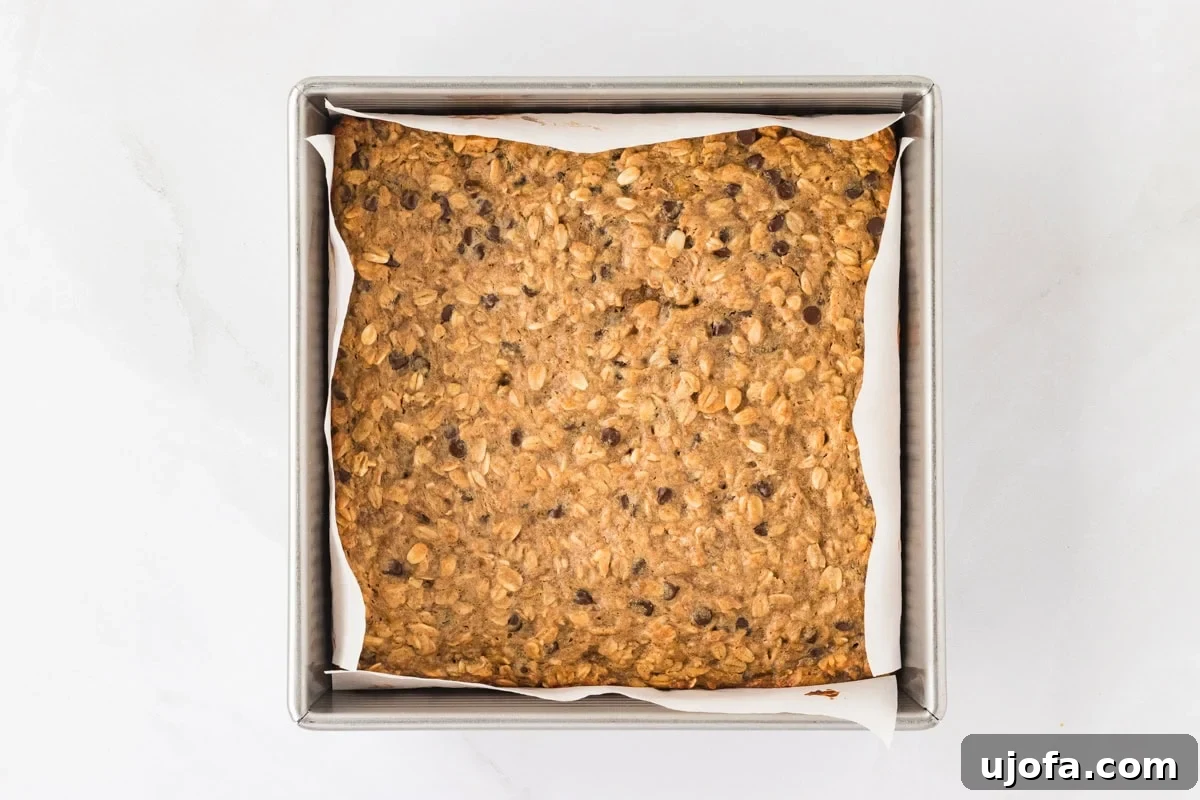
Place the baking dish on the middle rack of your preheated oven. Bake for approximately 25 minutes, or until the edges of the bars begin to turn a beautiful golden brown and the center is set.
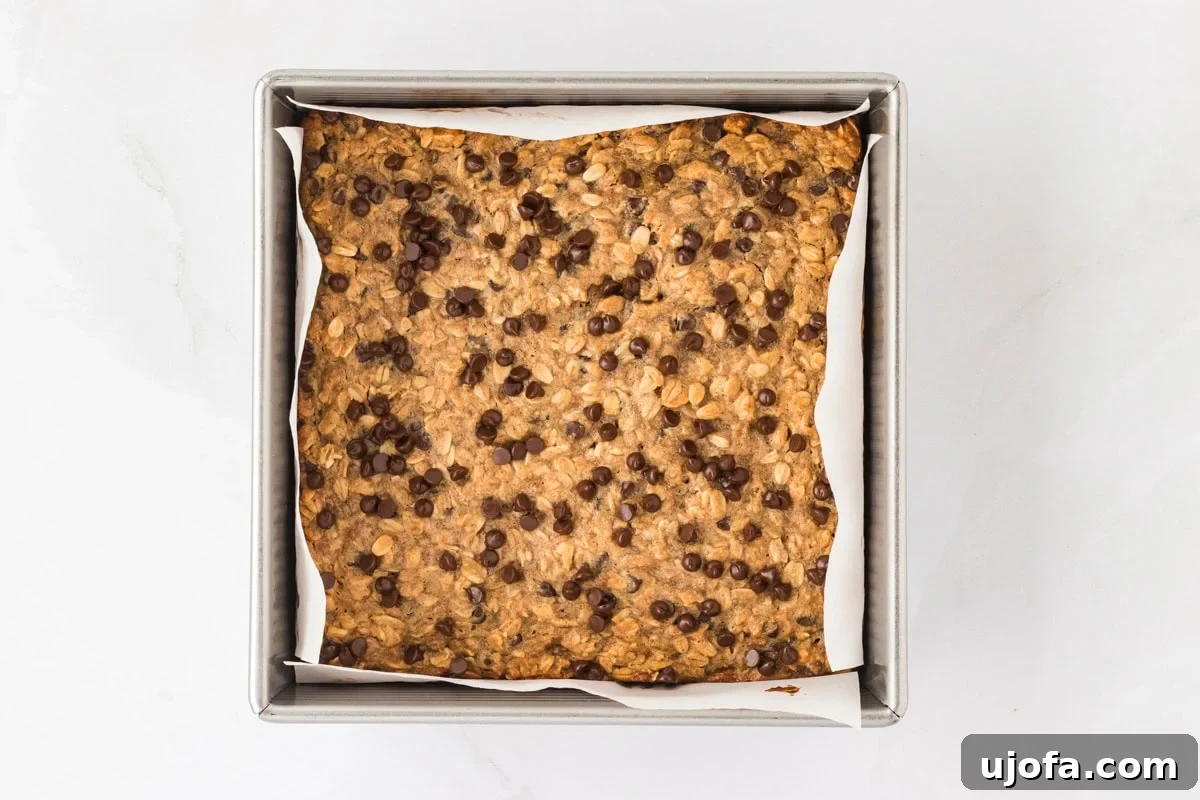
Once baked to perfection, remove the dish from the oven. While the bars are still warm, sprinkle a generous amount of additional chocolate chips over the top. The warmth will help them melt beautifully.
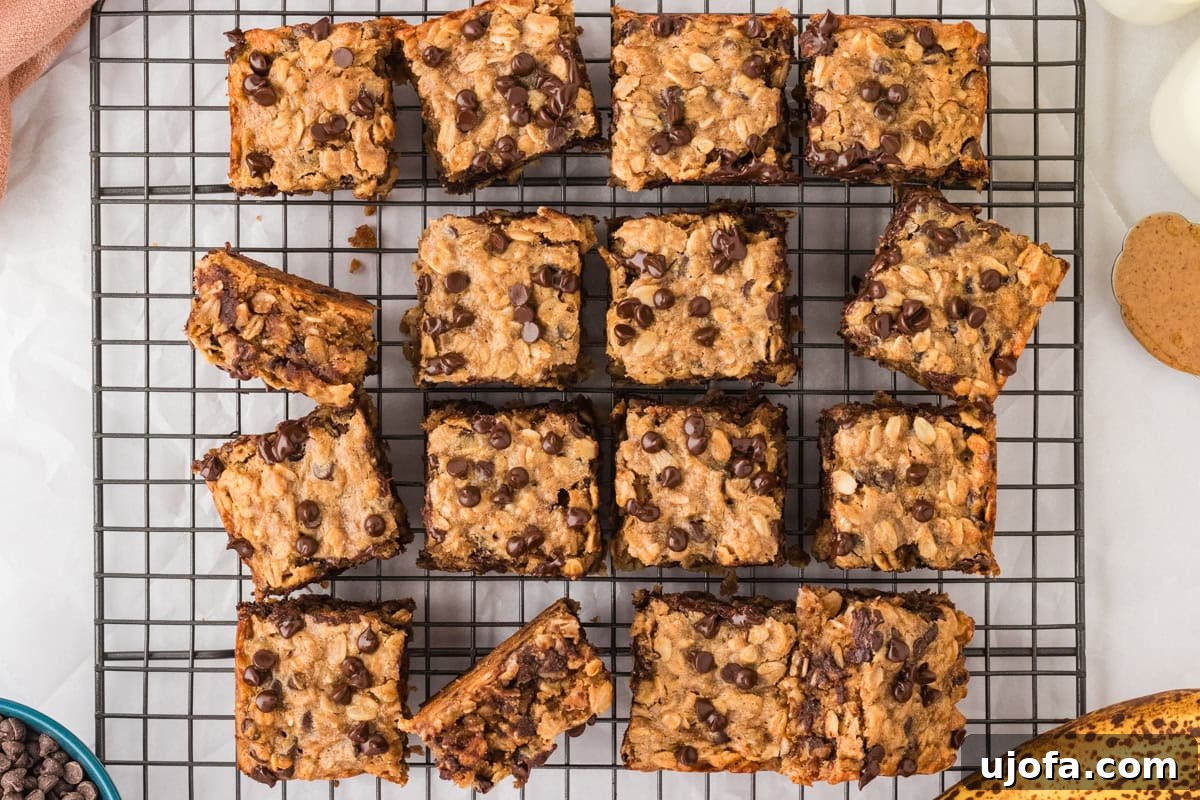
Using the parchment paper overhang, carefully lift the entire batch of bars out of the baking dish and transfer them to a wire cooling rack. For the best texture and to prevent crumbling, allow the bars to cool completely before cutting them into squares. While waiting for them to cool might be a test of patience, it’s worth it for perfectly neat slices. If you can’t resist, enjoy them warm straight from the oven, savoring the melty chocolate! Enjoy every wholesome bite!
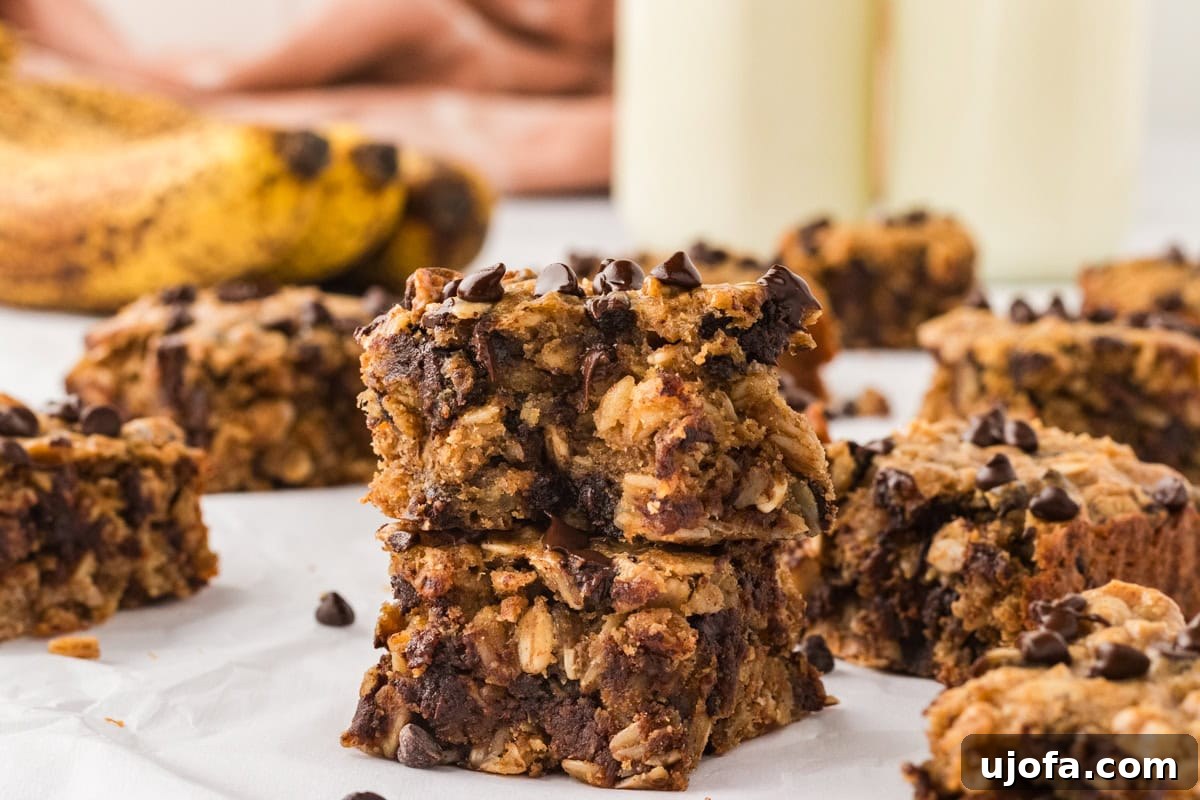
Why You Will Love These Gluten-Free Banana Oatmeal Bars
These **gluten-free banana oatmeal bars** aren’t just another recipe; they’re a culinary revelation that combines ease, flavor, and health benefits into one irresistible package. Here’s why they’re destined to become a staple in your kitchen:
- **Effortlessly Easy & Quick:** From prep to bake, these bars are ready in just 30 minutes. Perfect for busy mornings or when you need a speedy homemade treat.
- **Wholesomely Delicious:** Enjoy a perfectly balanced sweetness from ripe bananas and maple syrup, complemented by the rich flavor of chocolate chips. They’re satisfying without being overly indulgent.
- **Hearty & Filling:** Thanks to the rolled oats and peanut butter, these bars are packed with fiber, healthy fats, and protein, keeping you feeling full and energized for longer.
- **Diet-Friendly:** Naturally **gluten-free and dairy-free**, they cater to common dietary restrictions, making them suitable for a wide range of eaters.
- **Kid-Approved:** The delightful taste and soft texture make these bars a huge hit with children, ideal for packed lunches, after-school snacks, or a wholesome dessert.
- **Incredibly Versatile:** Enjoy them as a quick breakfast, a nutritious snack, or even a healthier dessert. They’re excellent for meal prepping and convenient grab-and-go options.
- **Simple, Real Ingredients:** Made with accessible, whole ingredients you likely already have on hand, this recipe avoids complicated steps and obscure components.
Customization and Variations for Your Oatmeal Bars
One of the best aspects of these banana oatmeal bars is their adaptability! While delicious as is, they offer a fantastic canvas for your creativity. Feel free to experiment with these ideas to suit your taste or what you have available:
- **Add-ins for Texture and Flavor:** Beyond chocolate chips, consider folding in a handful of chopped nuts like walnuts, pecans, or almonds for extra crunch and healthy fats. Shredded coconut (toasted or untoasted) adds a tropical twist.
- **Dried Fruit Delights:** Incorporate dried fruits such as raisins, cranberries, chopped apricots, or dates for bursts of natural sweetness and chewiness.
- **Spice It Up:** Enhance the warm flavors by adding a pinch of nutmeg, a dash of ginger, or a blend of pumpkin pie spice to the batter along with the cinnamon.
- **Nut Butter Swirl:** Before baking, drizzle extra softened peanut butter (or almond butter) over the top of the batter and swirl it gently with a knife for a beautiful marble effect and an extra layer of nutty flavor.
- **Glaze it Over:** Once cooled, these bars would be delightful with a simple drizzle of a dairy-free powdered sugar glaze (powdered sugar mixed with a tiny bit of plant-based milk and vanilla extract).
- **Seed Power:** For an added nutritional boost, mix in a tablespoon or two of chia seeds, flax seeds, or hemp seeds. They blend in seamlessly and add omega-3s and fiber.
- **Fruity Freshness:** While the base is banana, you could gently fold in a small amount of finely diced apple or berries (fresh or frozen) for an extra fruity dimension. If using frozen, add them directly to the batter without thawing.
- **Protein Boost:** As mentioned in the tips, swapping a portion of the oats for protein powder can transform these into a more muscle-friendly snack.
Serving Suggestions
I frequently prepare these oatmeal banana bars for **meal prep** due to their incredible versatility and convenience. They’re genuinely perfect for almost any occasion! Here are some ideas on how to enjoy them:
- **Quick Breakfast:** Grab a bar (or two!) for a nourishing and satisfying start to your day, especially on busy mornings. Pair it with a cup of coffee or tea.
- **On-the-Go Snack:** Their portable nature makes them ideal for packing in lunchboxes, taking to work, on hikes, or for a post-workout refuel.
- **Healthy Dessert:** Craving something sweet after dinner? These bars offer a healthier alternative to traditional desserts, satisfying your sweet tooth without the guilt.
- **Warm Comfort:** While delicious at room temperature, warming a bar slightly in the microwave for 10-15 seconds enhances its softness and brings out the banana and chocolate flavors even more.
- **Pair with Dairy-Free Yogurt:** Crumble a bar over a bowl of dairy-free yogurt with some fresh berries for a delightful parfait-style treat.
- **With a Scoop of Ice Cream:** For a truly indulgent dessert, serve a warm bar with a scoop of dairy-free vanilla ice cream.
Storage Instructions
Proper storage ensures your delicious banana oatmeal bars stay fresh and tasty for as long as possible:
- **Countertop Storage:** Store the bars in an airtight container at room temperature for up to 2 days. This keeps them soft and ready for a quick snack.
- **Refrigerator Storage:** For extended freshness, transfer the bars to an airtight container and refrigerate them for up to a week. Chilled bars tend to have a firmer, chewier texture.
- **Freezing for Longevity:** These bars freeze beautifully! Arrange individual squares in a single layer between sheets of parchment paper within a freezer-friendly container or freezer bag. They can be stored in the freezer for up to 3 months. When you’re ready to enjoy one, simply thaw it overnight in the refrigerator, or gently warm it in the microwave for a few seconds.
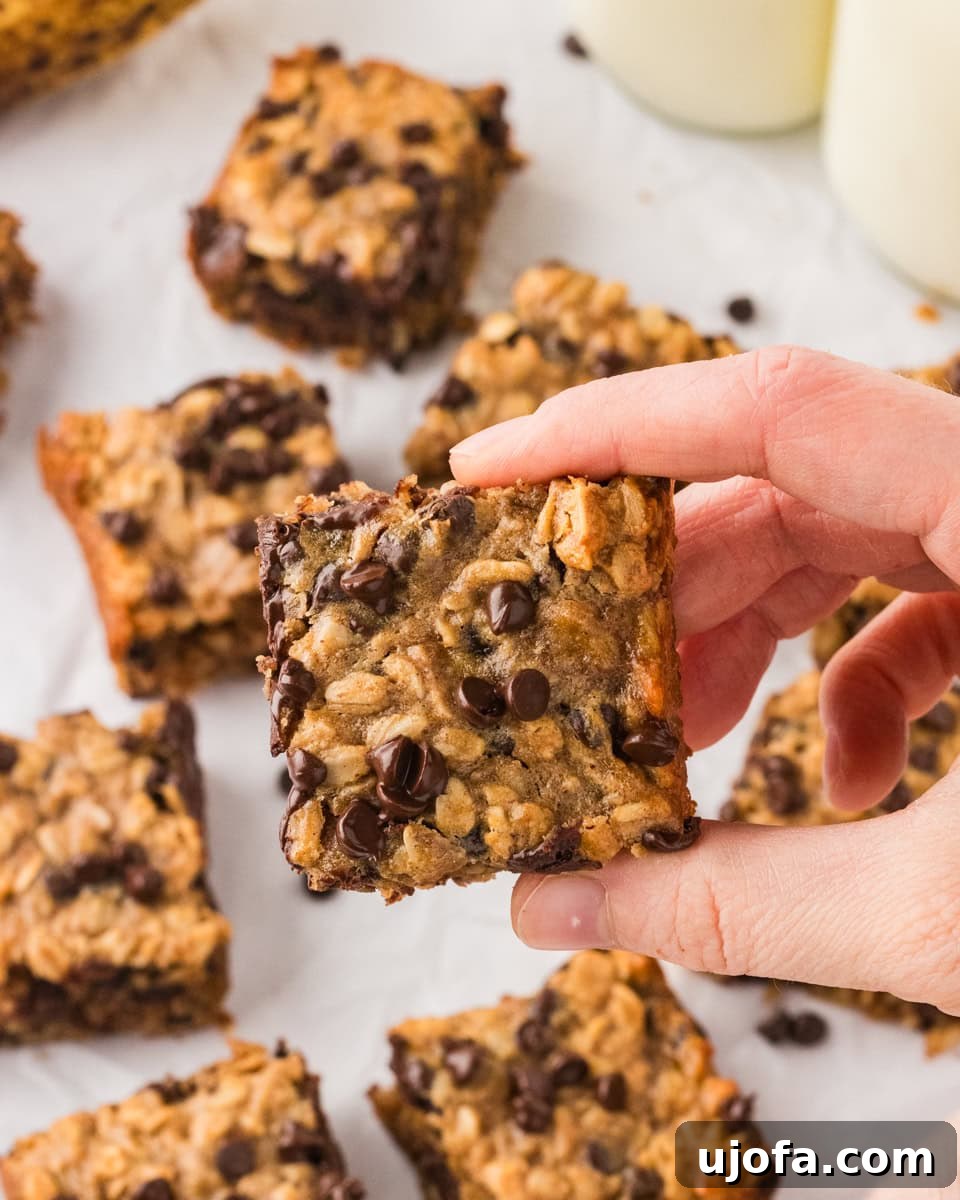
Frequently Asked Questions (FAQs)
Here are some common questions you might have about making and enjoying these delightful banana oatmeal bars:
Can I use instant oats instead of rolled oats?
It’s best to stick with rolled oats for this recipe. Instant oats are more finely processed and absorb liquid much faster, which can result in a mushy or overly dense texture in the bars. Rolled oats provide the hearty, chewy texture that makes these bars so satisfying.
Are these bars truly gluten-free?
Yes, as long as you use certified gluten-free rolled oats. While oats are naturally gluten-free, they are often processed in facilities that also handle wheat, barley, and rye, leading to cross-contamination. Always look for a “certified gluten-free” label on your oat packaging to ensure they are safe for a gluten-free diet.
Can I make these bars vegan?
Absolutely! To make these banana oatmeal bars vegan, simply replace the egg with a “flax egg” (1 tablespoon ground flaxseed mixed with 3 tablespoons water, let sit for 5 minutes until gel-like) or ¼ cup of applesauce. Ensure your chocolate chips are also dairy-free and vegan-friendly.
What if I don’t have maple syrup?
You can substitute maple syrup with other liquid sweeteners like honey (if not vegan), agave nectar, or a similar liquid sweetener. Keep in mind that the flavor profile might change slightly, and adjust to your taste.
How ripe should the bananas be?
For the best flavor and natural sweetness, use very ripe bananas. Look for bananas with plenty of brown spots or even entirely brown peels. These bananas are sweeter and easier to mash, providing more moisture to the bars.
Can I reduce the amount of sugar?
The recipe already uses a modest amount of maple syrup and relies heavily on the natural sweetness of ripe bananas. If you prefer less sweetness, you could try reducing the maple syrup slightly (e.g., to 3 tablespoons) or using unsweetened applesauce as an egg substitute. Remember, the bananas contribute significantly to the overall sweetness and moisture.
Why did my bars crumble?
Crumbling can often occur if the bars haven’t cooled completely before cutting. The ingredients need time to set and firm up. Also, ensuring your bananas are the right measurement and not overmixing the batter can help prevent dry or crumbly bars.
More Delicious Banana Oatmeal Recipes To Try
If you’ve fallen in love with these banana oatmeal bars, you’ll be thrilled to know the versatile combination of banana and oats extends to many other delightful recipes. Here are more wholesome and satisfying banana oatmeal creations you should definitely try:
- Gluten-Free Banana Oatmeal Pancakes: A fluffy and flavorful breakfast option that’s easy to make and perfect for weekend mornings.
- Wholesome Gluten-Free Banana Oatmeal Bread: A comforting, moist loaf that’s ideal for breakfast, brunch, or a satisfying snack with your favorite spread.
- Chewy Banana Oatmeal Cookies: Soft, chewy, and naturally sweet cookies that make a delightful treat for any time of day.
- Moist Banana Oatmeal Muffins: Perfect grab-and-go muffins that are packed with flavor and make a great addition to any breakfast or snack rotation.