
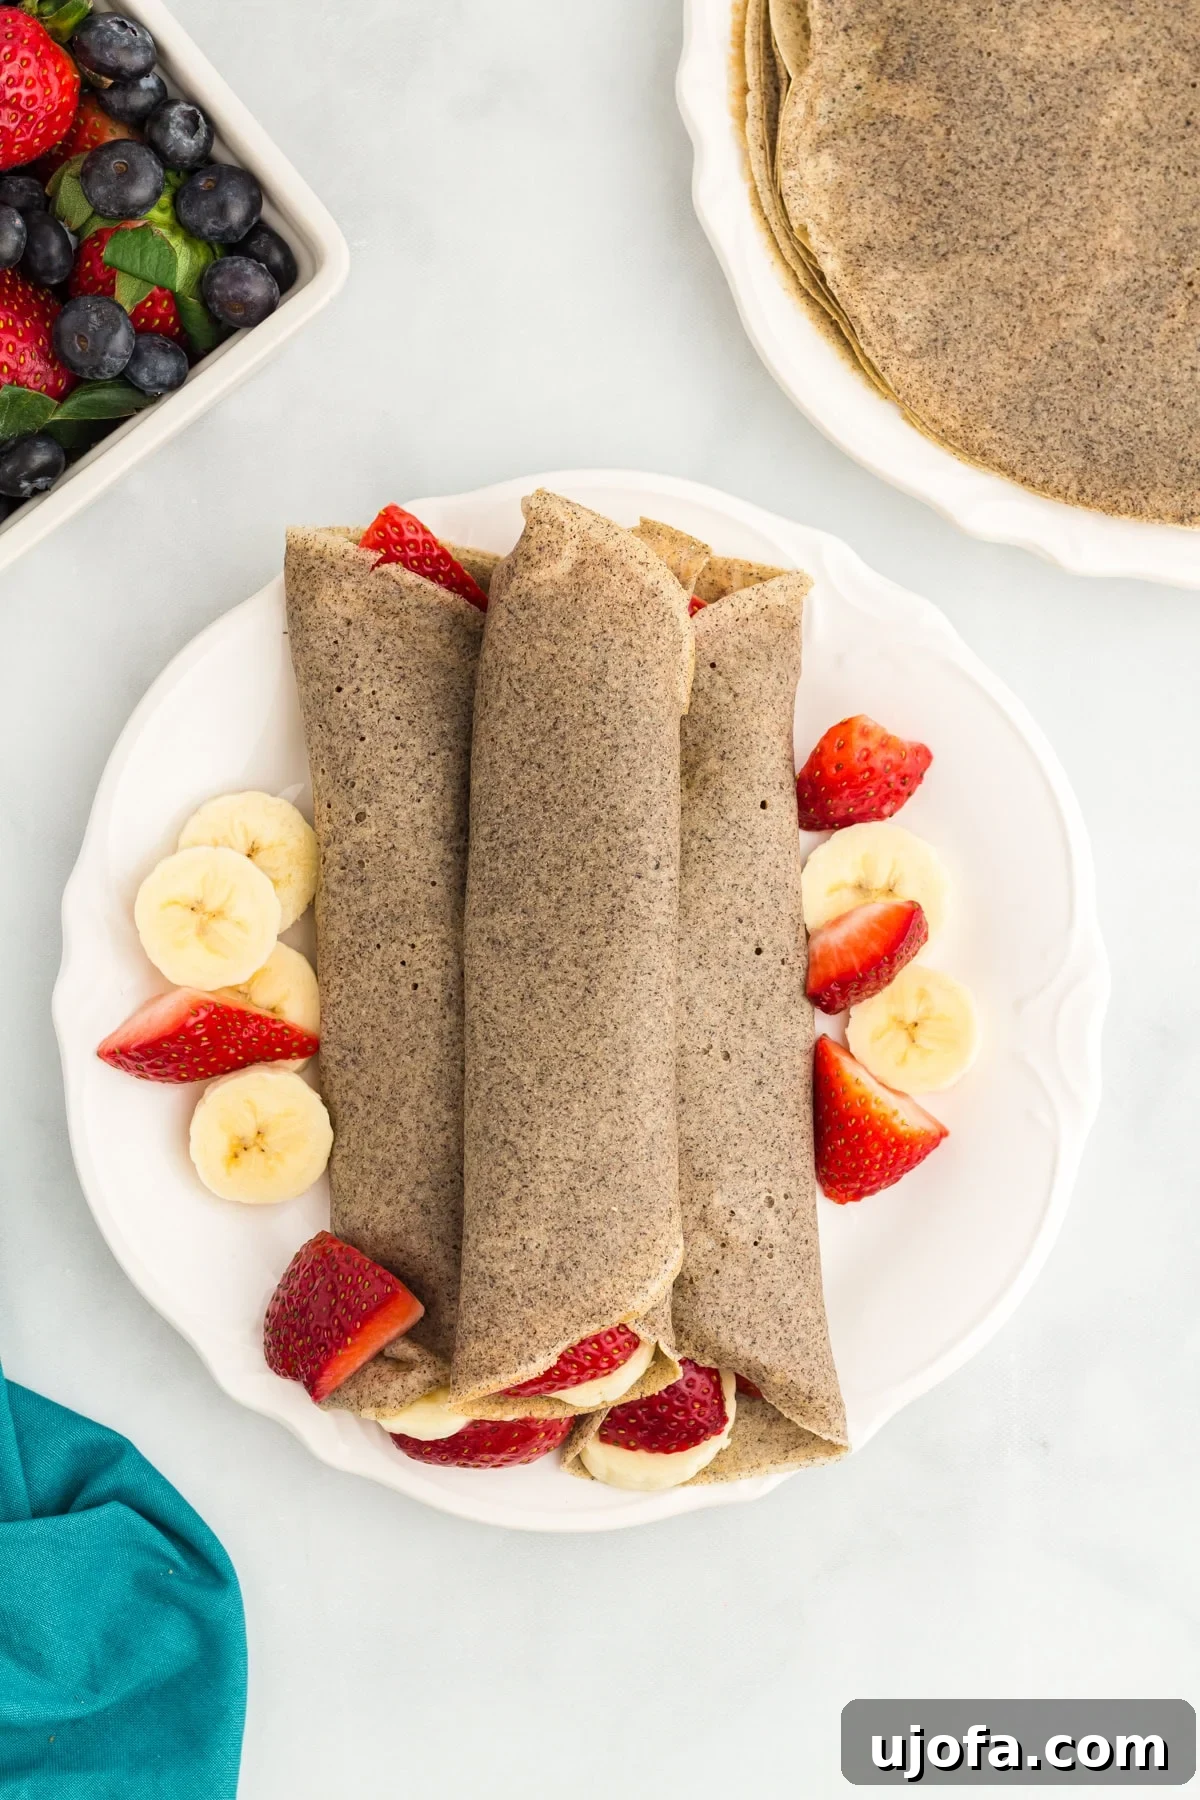
Once, I believed my days of enjoying French crepes were over due to dietary restrictions. That was until I discovered a delightful truth: buckwheat crepes, traditionally known as galettes, trace their origins to the scenic Brittany region of France and are inherently gluten-free. These rustic, exquisitely lacy crepes are not only authentic but also remarkably simple to prepare in your own kitchen. With just four fundamental ingredients and the convenience of a blender, you can transform a handful of pantry staples into a delicious French culinary experience. In less than 30 minutes, you’ll be effortlessly flipping, thoughtfully filling, and thoroughly savoring a genuine taste of France, right at your table. This recipe opens up a world of possibilities for those seeking delicious, naturally gluten-free options without compromising on flavor or tradition.
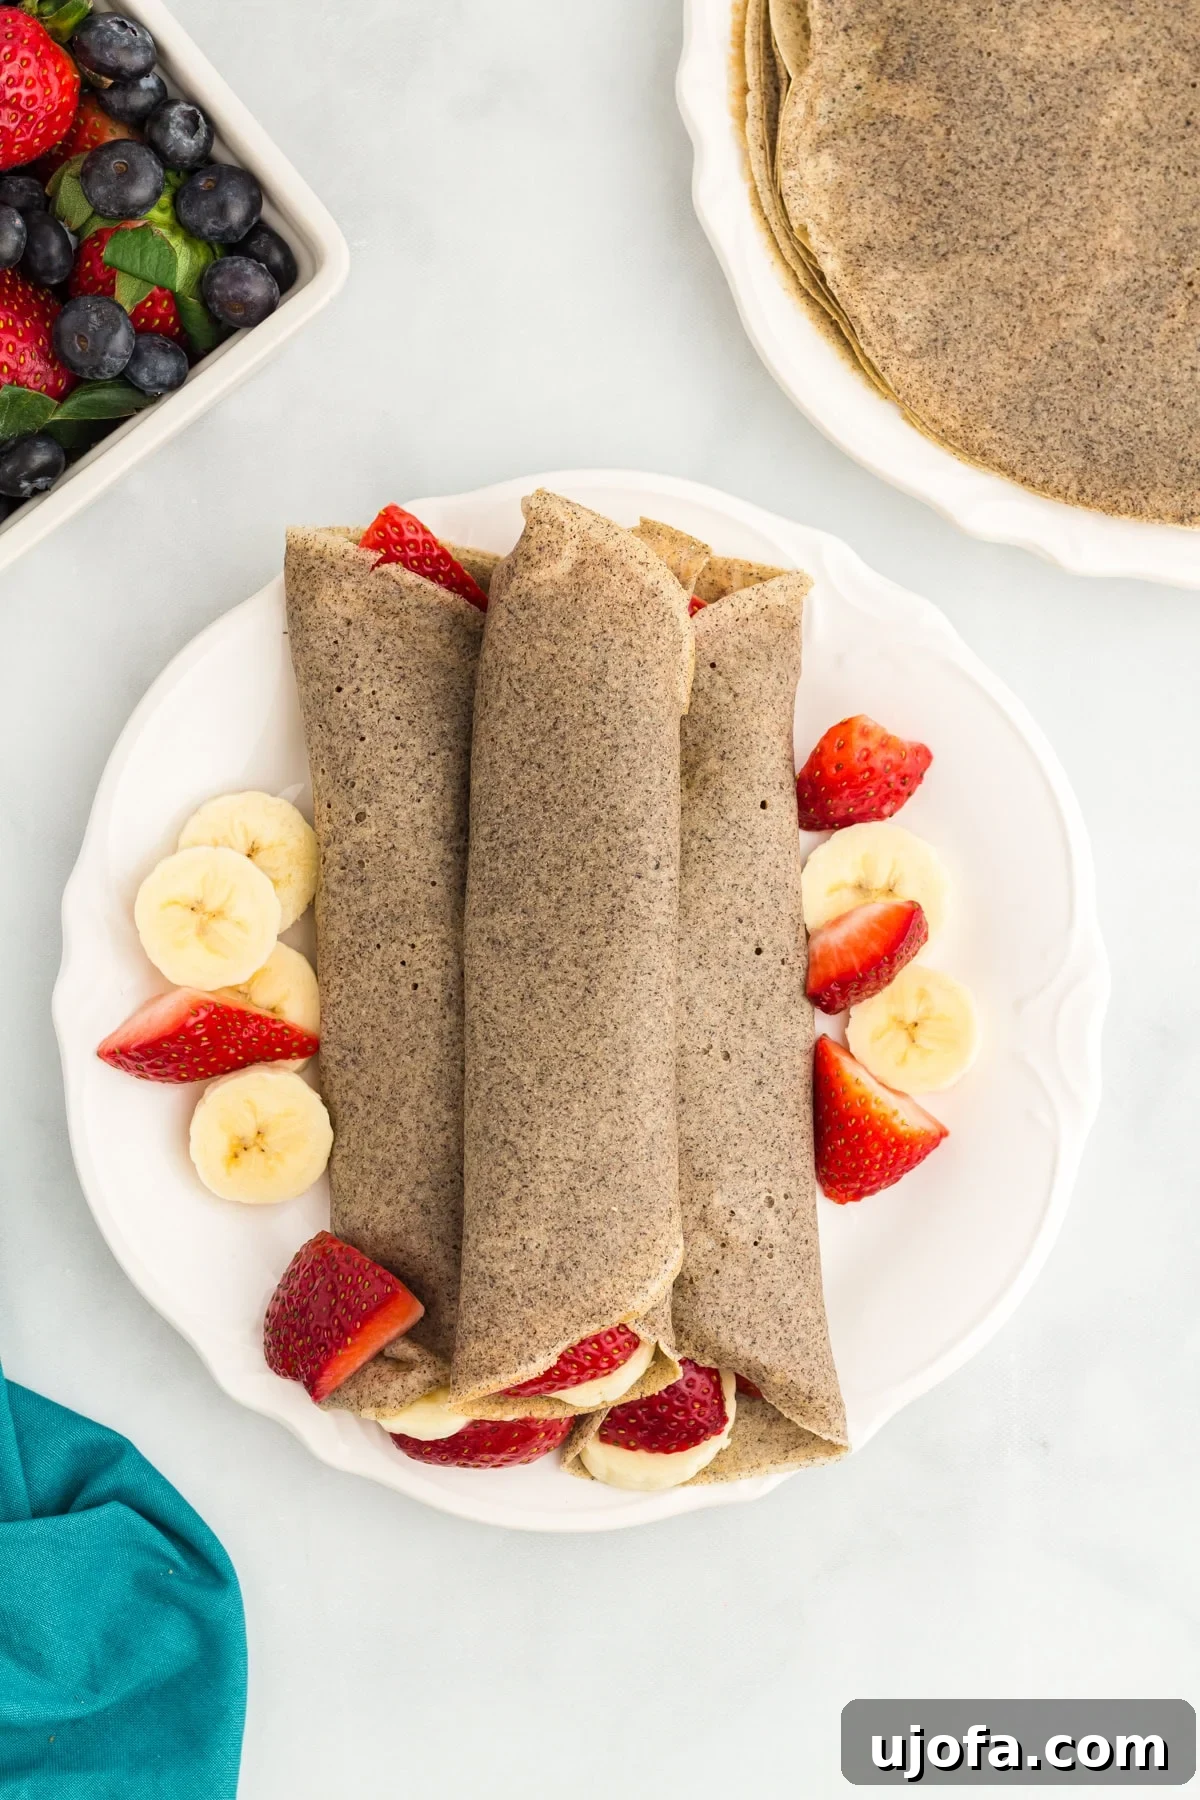
Mastering Gluten-Free Buckwheat Crepes: Authentic French Galettes
Embark on a culinary journey to the heart of Brittany with this ultimate guide to crafting perfect gluten-free buckwheat crepes. Known as galettes in their native France, these savory (or sweet!) pancakes offer a rustic charm and a distinct nutty flavor that sets them apart from their wheat-based counterparts. Whether you’re managing a gluten intolerance, exploring healthier alternatives, or simply seeking a delightful new recipe, these buckwheat crepes promise an effortless and rewarding cooking experience. This comprehensive article covers everything from ingredient selection to expert cooking tips, diverse serving suggestions, and smart storage solutions, ensuring you can enjoy this French classic anytime.
The Allure of Buckwheat Crepes: A Naturally Gluten-Free French Delight
While I cherish the delicate texture of a classic gluten-free crepe made with a blend of flours, my heart truly belongs to the distinct character of buckwheat flour. These traditional French pancakes, or galettes, are celebrated for their light, lacy structure and a subtle, earthy, nutty flavor that is truly captivating. The beauty of authentic galettes lies in their simplicity and inherent gluten-free nature, making them a fantastic option for anyone seeking delicious alternatives.
My recipe exclusively uses 100% buckwheat flour, avoiding any blends that might contain starches or gums. This not only keeps the crepes naturally gluten-free but also allows the pure, rustic flavor of buckwheat to shine through. The addition of a splash of milk ensures the batter achieves a perfectly smooth, pourable consistency, essential for spreading thinly in the pan. Buckwheat itself is a pseudo-cereal, rich in fiber, protein, and essential minerals, making these crepes a wholesome choice for any meal. Its robust profile means these crepes hold up beautifully to a wide array of fillings, from the simplest sweet spreads to hearty savory ingredients.
Essential Tips for Perfect Gluten-Free Buckwheat Crepes
Achieving the ideal buckwheat crepe is all about technique and a few key considerations. Follow these expert gluten-free cooking tips to ensure every crepe is a success:
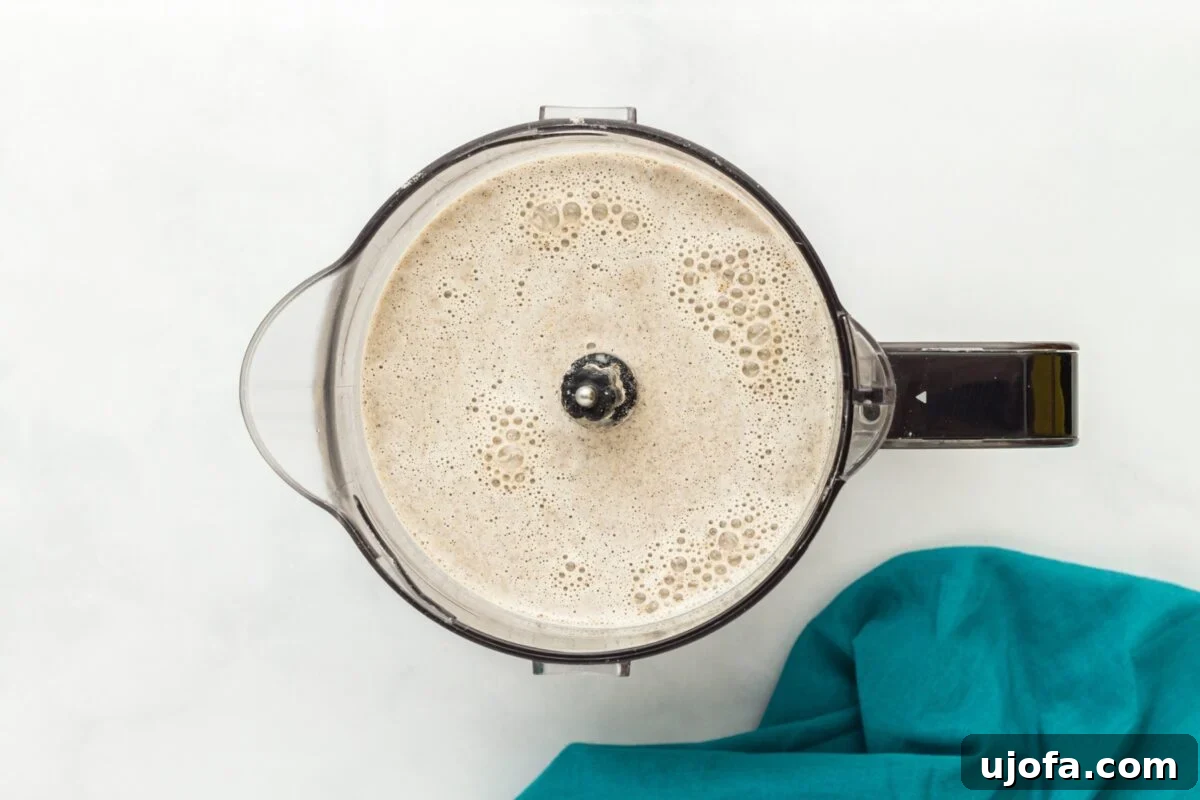
- Batter Consistency is Key: If your batter appears lumpy after initial blending, don’t hesitate to continue blending until it’s completely smooth. For an extra silken texture, you can also pour the batter through a fine-mesh strainer to catch any remaining lumps. A smooth batter ensures a uniform, tear-free crepe.
- Adjusting Batter Thickness: The perfect crepe batter should be thin, similar to heavy cream. If you find your batter is too thick, gradually add 1-2 tablespoons more milk (or your chosen dairy-free alternative) at a time, whisking well after each addition, until you achieve the desired pourable, thin consistency. Too thick a batter will result in dense, cake-like crepes, while too thin might make them difficult to handle.
- The Art of the Flip: Knowing when to flip your crepe is crucial. Look for visual cues: the edges should appear dry and begin to gently lift from the pan. The surface of the crepe should no longer look shiny and wet, indicating it’s mostly set. A gentle shake of the pan should cause the crepe to slide easily. For confirmation, you can carefully lift an edge with a thin spatula – if the underside is a light golden brown, it’s ready for its flip!
- Resting the Batter: While not strictly necessary due to the absence of gluten, allowing your buckwheat crepe batter to rest for 15-30 minutes (or even longer, refrigerated) can help the flour fully hydrate. This can lead to a slightly smoother batter and more tender crepes, enhancing their delicate texture.
- Maintaining Pan Temperature: Consistent medium-high heat is vital. If the pan isn’t hot enough, the crepes will be pale and won’t develop those beautiful lacy edges. If it’s too hot, they’ll burn before setting through. Adjust the heat as needed between crepes to maintain an even cooking surface.
- The First Crepe Test: Don’t get discouraged if your first crepe isn’t perfect. It’s often a test run for your pan’s temperature and batter consistency. Adjust as needed after the first one, and the rest will likely turn out beautifully.
Buckwheat Crepes (Galettes)
Cheryl Johnson
10 crepes
5 mins
20 mins
25 mins
Print Recipe
These rustic, naturally gluten-free buckwheat crepes (galettes) are surprisingly easy to make at home with just 4 simple ingredients and a blender. In less than 30 minutes, you’ll be flipping, filling, and savoring a little taste of France at your own table.
Equipment
-
1 non-stick skillet or crepe maker
Ingredients
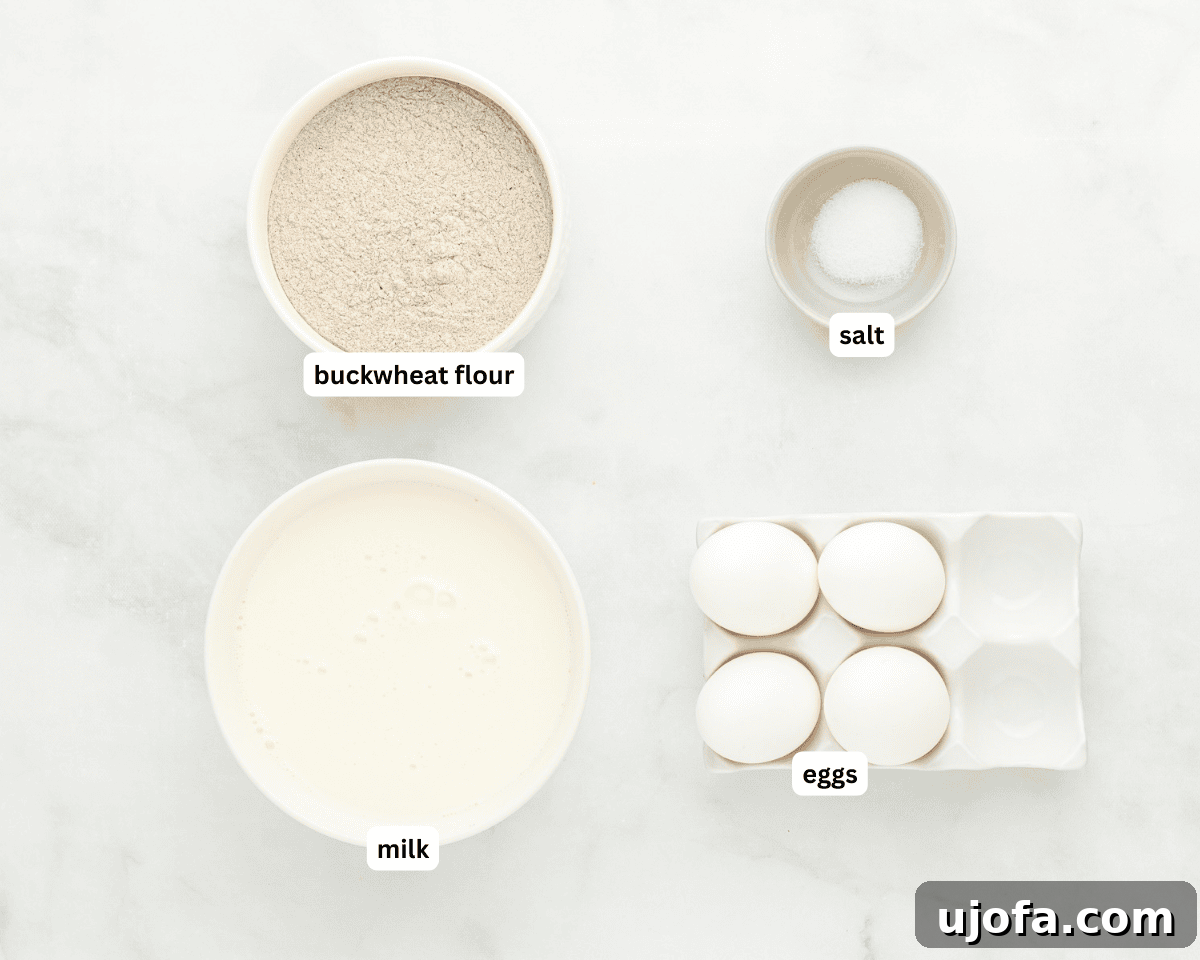
- 2 cups milk, For dairy-free, use almond, oat, or soy milk.
- 1 ¼ cups buckwheat flour, 185 grams
- 4 large eggs
- ½ teaspoon salt
- non-stick cooking spray
Instructions
-
Combine the milk, buckwheat flour, eggs, and salt into a high-powered blender. Blend on high speed until the mixture is perfectly smooth (approximately 30 seconds).
-
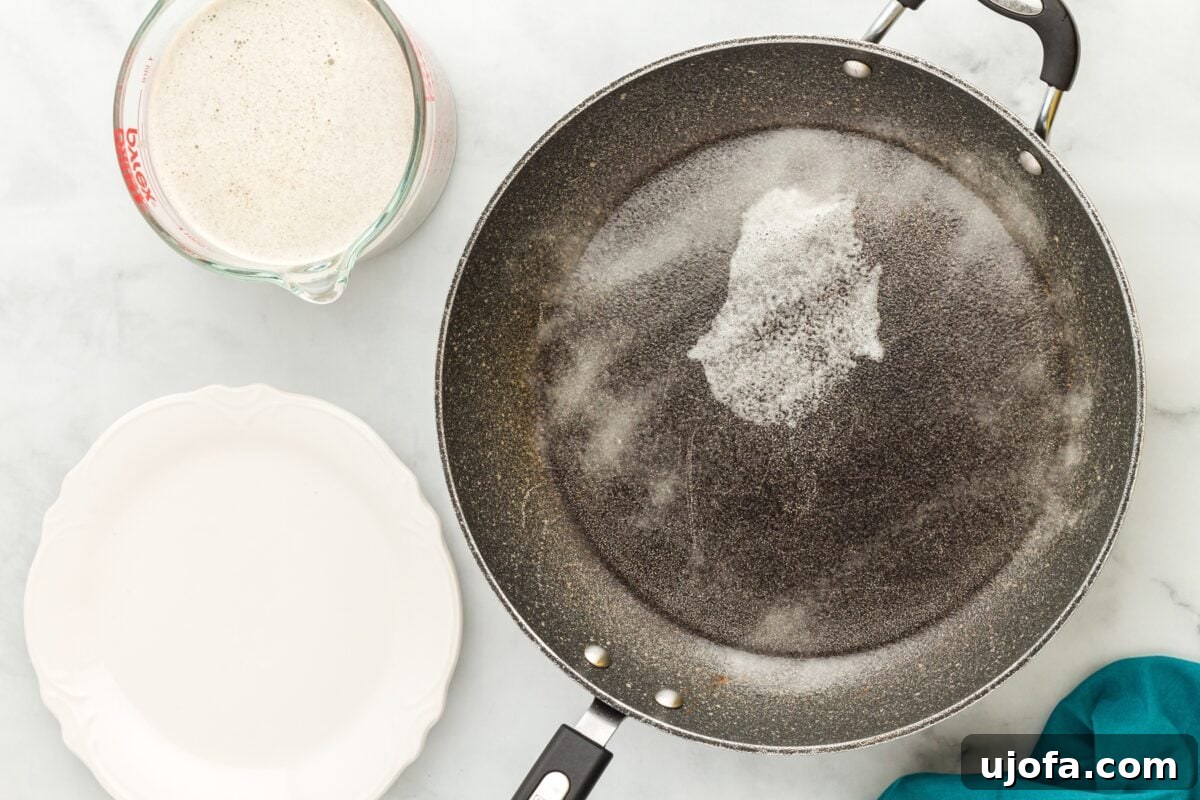
Heat a 10-inch frying pan over medium-high heat or preheat your dedicated crepe maker according to its instructions. If using a crepe maker, proceed directly to the specialized crepe maker steps below.
-
For Frying Pan: Just before adding the batter, lightly spray the heated frying pan with non-stick cooking spray. It’s important to re-spray the pan lightly between each crepe to prevent any sticking and ensure easy flipping.
-
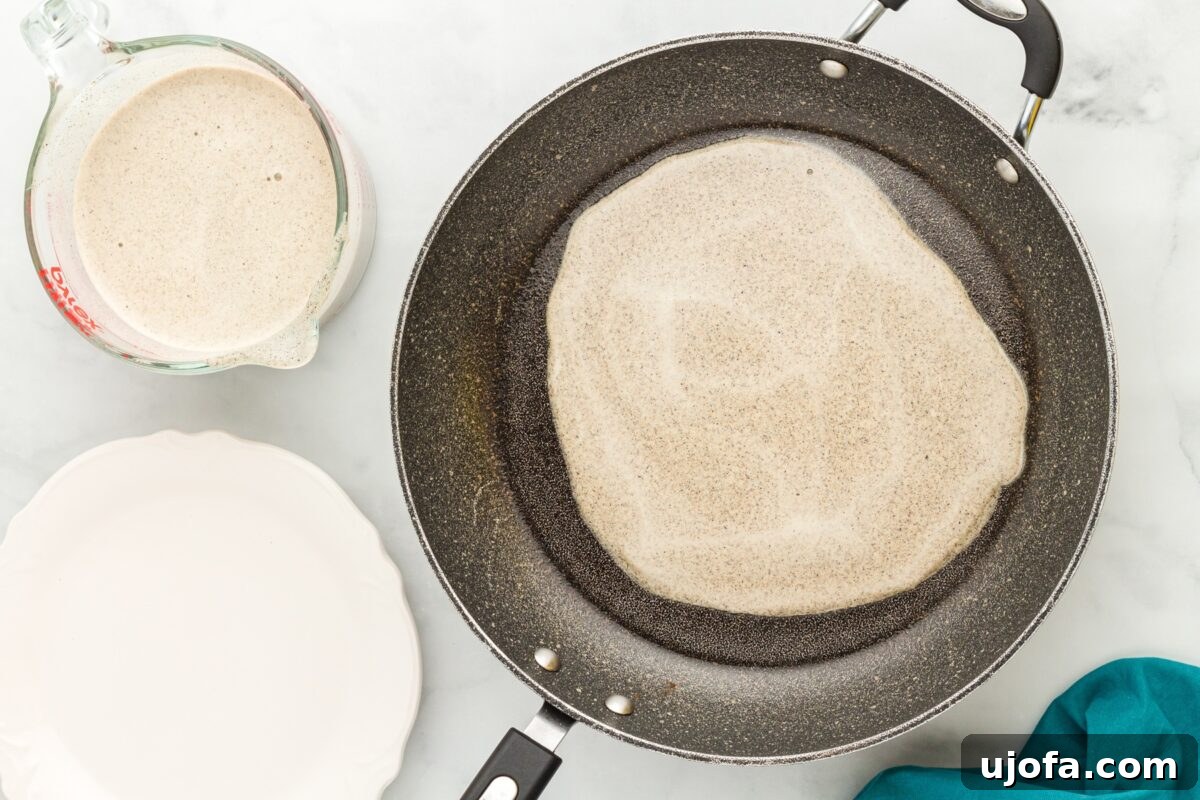
Lift the hot frying pan from the heat and tilt it towards you. While tilted, pour in approximately 1/3 cup of batter. As you pour, quickly rotate the frying pan in a circular motion to allow the crepe batter to evenly spread into a thin, consistent circle, about 8 inches in diameter. Work swiftly, as the batter will begin to cook instantly upon touching the hot surface.
-
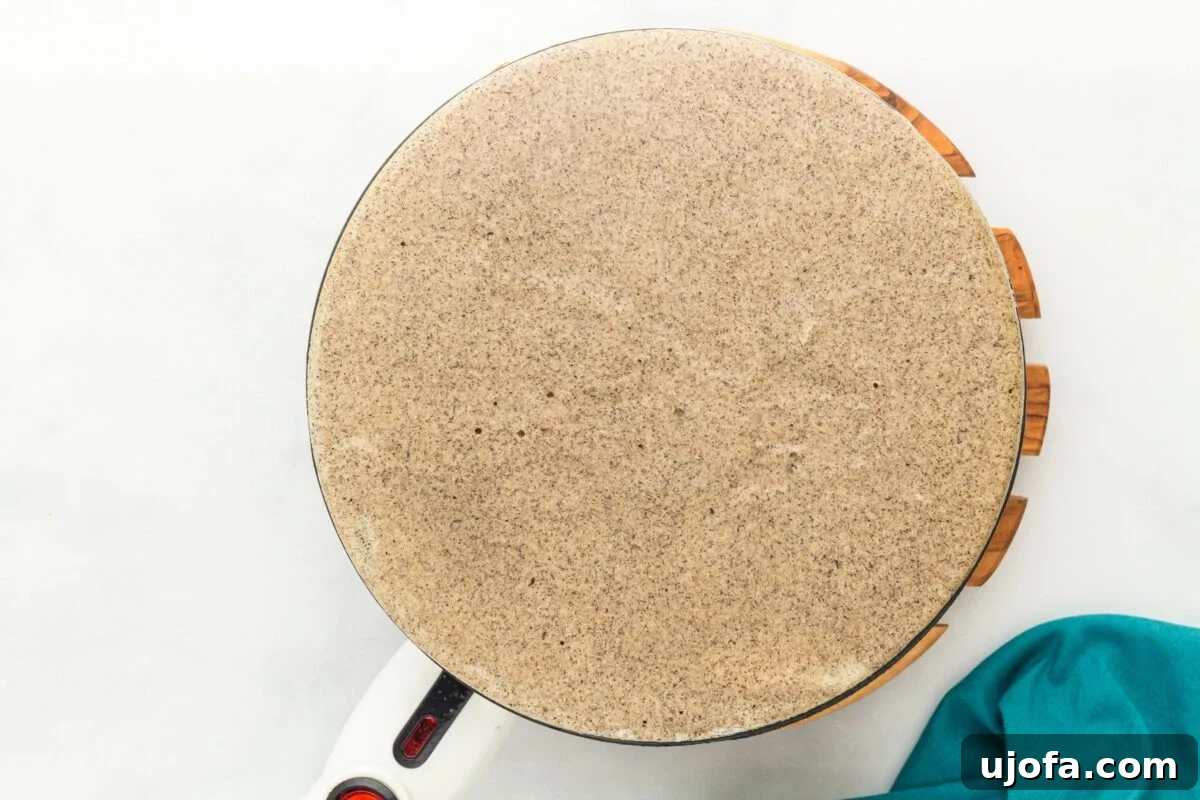
Return the frying pan to the heat and cook the crepe for 1 to 2 minutes. You’ll know it’s ready when the edges appear set and start to lift slightly from the pan. The top surface should also look mostly set, losing its raw, shiny appearance.
-
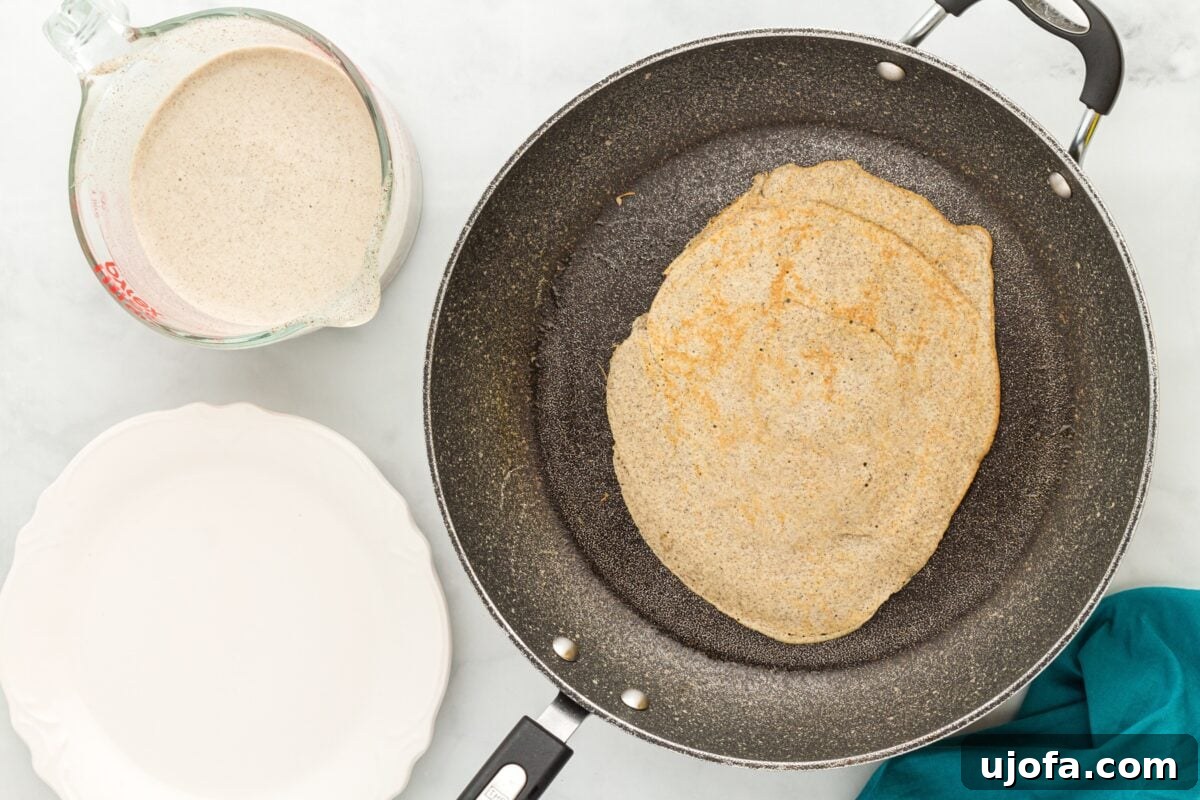
Using a flexible silicone spatula, carefully slide it under the crepe and gently flip it to cook the other side. Continue cooking for another 1 to 2 minutes, or until that side is also fully set and lightly golden.
-
For Crepe Maker: If you are using a crepe maker, strictly follow the manufacturer’s specific instructions for your model. Crepe makers are designed to produce exceptionally thin crepes, which is often the preferred authentic texture. These thinner crepes are more delicate, so exercise caution and use a rubber spatula when removing them to avoid tearing.
-
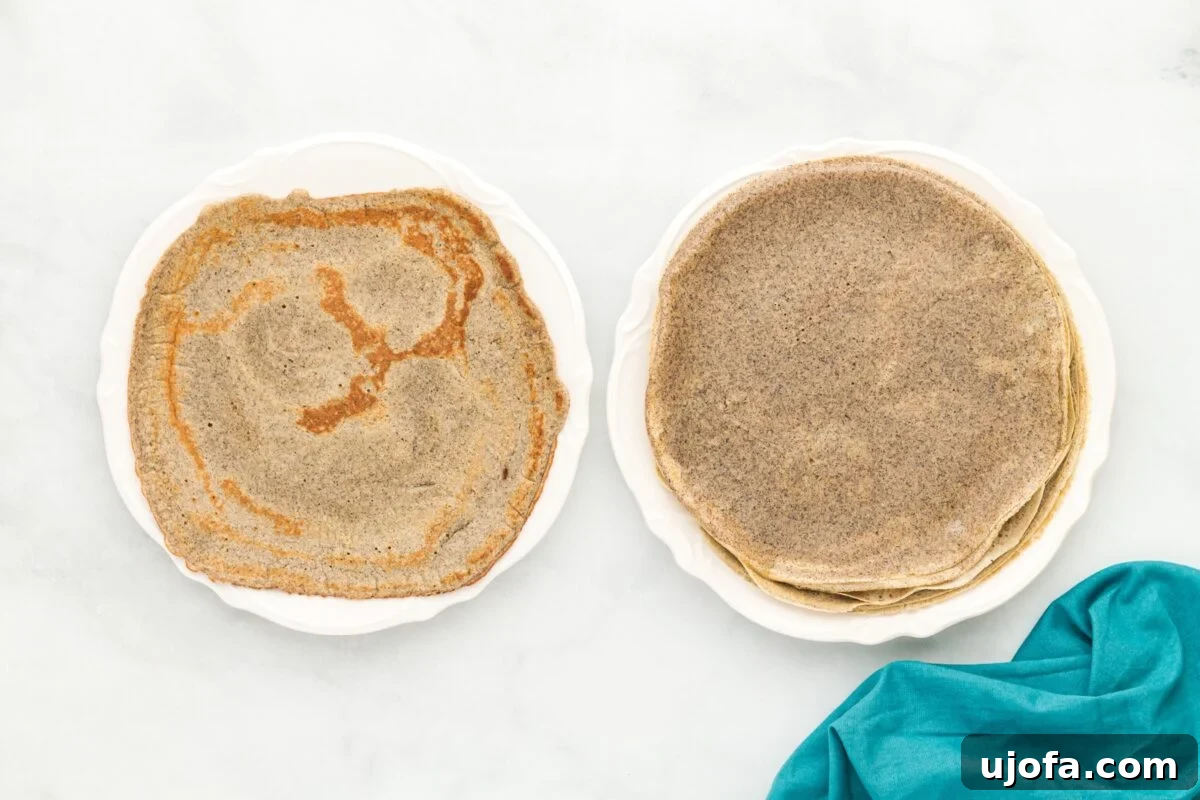
Once cooked, transfer the crepe to a plate. Continue repeating the above steps with the remaining batter until all crepes are made, stacking them as you go.
-
Serve your freshly made buckwheat crepes warm, accompanied by your preferred sweet or savory fillings. Enjoy the delightful flavors of France!
Notes
- Use ⅓ cup of batter per crepe for an ideal 8-inch diameter. This measurement helps ensure consistent size and thinness.
- For optimal results, ensure your non-stick skillet or crepe maker is properly seasoned and adequately heated before pouring the batter.
Nutrition
Calories: 105 kcal
Carbohydrates: 13 g
Protein: 6 g
Fat: 4 g
Saturated Fat: 2 g
Polyunsaturated Fat: 1 g
Monounsaturated Fat: 1 g
Trans Fat: 0.01 g
Cholesterol: 71 mg
Sodium: 161 mg
Potassium: 184 mg
Fiber: 2 g
Sugar: 3 g
Vitamin A: 174 IU
Calcium: 76 mg
Iron: 1 mg
Nutrition information is automatically calculated and should be used as an approximation.
Additional Info
Step-by-Step Visual Guide to Crafting Buckwheat Crepes
Making buckwheat crepes is a straightforward process, especially with a visual guide. Follow these simple steps to create perfect, tender galettes every time.
Culinary Versatility: Sweet and Savory Buckwheat Crepe Filling Ideas
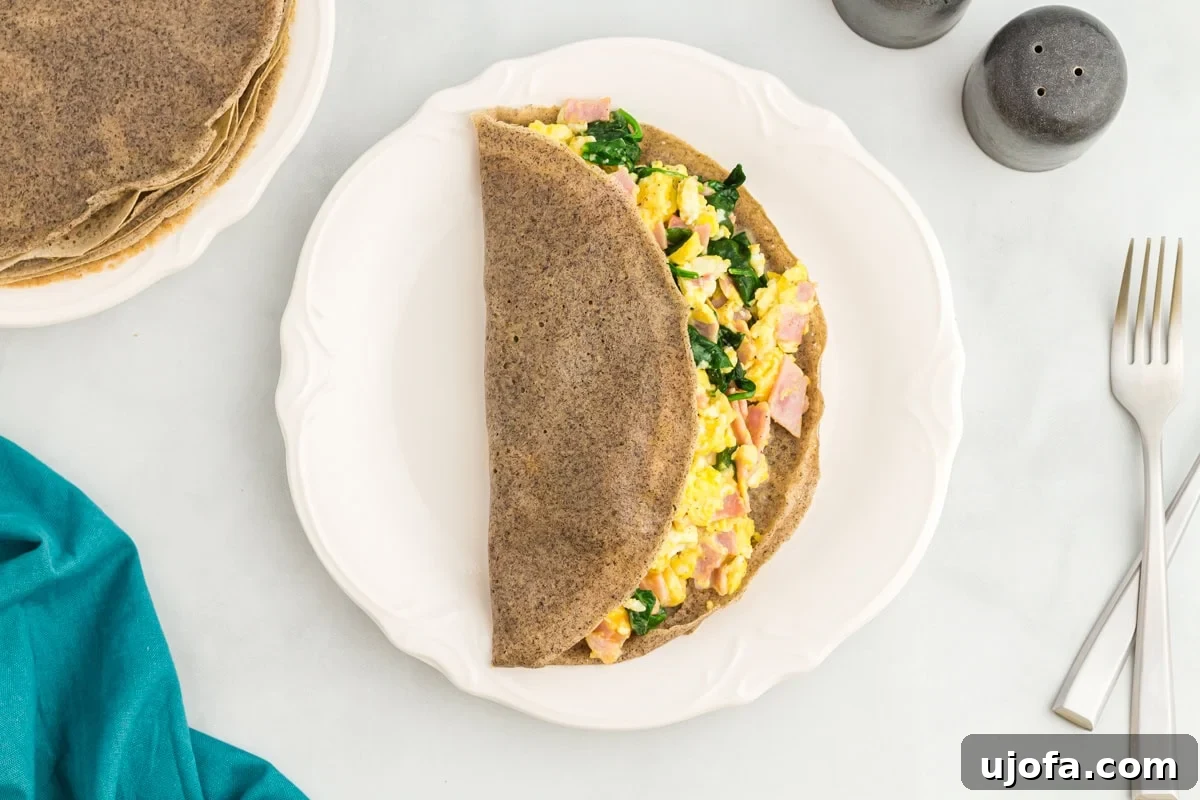
One of the greatest joys of making buckwheat crepes is their incredible versatility. Like their classic French counterparts, galettes serve as a perfect canvas for an endless array of sweet and savory fillings, making them suitable for any meal of the day. Embrace your creativity and explore these delicious ideas:
Sweet Filling Inspirations:
- Classic Sugar and Lemon: A simple sprinkle of granulated sugar and a squeeze of fresh lemon juice highlights the crepe’s delicate flavor beautifully.
- Fresh Fruit Medley: Layer with slices of fresh bananas, vibrant strawberries, blueberries, or raspberries. A dollop of whipped cream or a drizzle of maple syrup takes it over the top.
- Chocolate Hazelnut Delight: A generous spread of Nutella or any chocolate hazelnut spread is always a crowd-pleaser, especially when paired with sliced bananas.
- Fruit Preserves and Jam: A spoonful of your favorite fruit jam, marmalade, or compote offers a burst of fruity sweetness. Apricot, cherry, or raspberry jams are excellent choices.
- Apple Cinnamon Compote: Warm, spiced apple compote adds a cozy, comforting flavor, perfect for a chilly morning.
- Powdered Sugar and Cream: A simple dusting of powdered sugar and a light whipped cream for an elegant and understated dessert.
Savory Filling Sensations:
- Traditional Ham and Cheese Galette: Emulate the classic Breton galette by filling your crepe with thin slices of cooked ham and a generous grating of Gruyere cheese. Fold into a square, leaving the egg exposed if you choose to add a fried egg on top for a ‘galette complète’.
- Eggs Your Way: Scrambled eggs, a perfectly fried egg, or a delicate omelet make for a hearty breakfast or brunch crepe. Add a sprinkle of cheese and some fresh herbs like chives or parsley.
- Sautéed Vegetables and Herbs: Spinach, mushrooms, onions, bell peppers, or asparagus lightly sautéed with garlic create a flavorful and healthy filling.
- Goat Cheese and Herbs: Crumbled goat cheese with fresh thyme or rosemary offers a tangy, aromatic experience. A drizzle of honey can add a lovely sweet counterpoint.
- Smoked Salmon and Cream Cheese: A sophisticated option, perfect for brunch. Spread with cream cheese, add smoked salmon, and garnish with fresh dill and capers.
- Chicken and Mushroom Cream Sauce: Diced cooked chicken (leftovers work wonderfully!) tossed in a light mushroom cream sauce makes for a satisfying lunch or light dinner.
Whether you’re starting your morning with a nutritious breakfast, enjoying a light and flavorful lunch, or treating yourself to a cozy dessert, these buckwheat crepes are wonderfully adaptable to your cravings and culinary imagination.
Storage and Make-Ahead Tips for Your Buckwheat Crepes
One of the greatest advantages of these buckwheat crepes is how well they store, making them an excellent candidate for meal prep or enjoying freshly made. Preparing a batch ahead of time ensures you always have a quick and delicious option at hand.
Storing Cooked Crepes:
- Refrigerator Storage: Cooked buckwheat crepes can be stored in the refrigerator for up to 3 days. To prevent them from sticking together and to maintain their delicate texture, stack them with a small piece of parchment paper or wax paper between each crepe. Place the stack in an airtight container or wrap them tightly in plastic wrap before refrigerating.
- Freezer Storage: For longer storage, buckwheat crepes freeze beautifully for up to 2 months. To freeze, stack the cooled crepes with parchment paper in between each one, then wrap the entire stack tightly in plastic wrap, followed by aluminum foil or place them in a freezer-safe bag. Lay them flat in the freezer.
- Reheating Cooked Crepes: When you’re ready to enjoy frozen crepes, you don’t even need to thaw them completely. You can gently reheat them in a microwave for 30-60 seconds (or longer if from frozen), or warm them quickly in a lightly greased skillet over medium heat for about 30 seconds per side until heated through and pliable.
Preparing Batter in Advance:
- Refrigerating Batter: The crepe batter can also be prepared up to 24 hours in advance. Simply cover the blender jar or transfer the batter to an airtight container and store it in the refrigerator. Allowing the batter to rest for several hours or overnight can actually improve the texture and flavor of the crepes, as the flour has more time to fully hydrate.
- Before Using Stored Batter: It’s important to give the batter a good re-stir or quick re-blend before pouring it into the pan. This helps to re-incorporate any settled flour and ensures a smooth, consistent crepe. If the batter seems a bit thick after chilling, you may add a tablespoon or two of milk to achieve the desired pourable consistency.
These make-ahead options offer incredible flexibility, allowing you to enjoy fresh, warm buckwheat crepes with minimal effort, even on busy mornings or for spontaneous meals.
Explore More Gluten-Free Buckwheat Delights
Buckwheat flour is a versatile ingredient that extends far beyond crepes. If you’ve enjoyed the unique flavor and texture of these galettes, I encourage you to explore other delicious gluten-free recipes featuring this wholesome flour. Here are a couple of my favorites that showcase buckwheat’s culinary potential:
- Buckwheat Bread: Discover how to make a hearty and flavorful gluten-free bread.
- Buckwheat Pancakes: For another delightful breakfast option, try these fluffy and satisfying pancakes.
Expanding your repertoire with buckwheat flour is a fantastic way to introduce new flavors and nutritional benefits into your gluten-free diet. Enjoy the journey!