
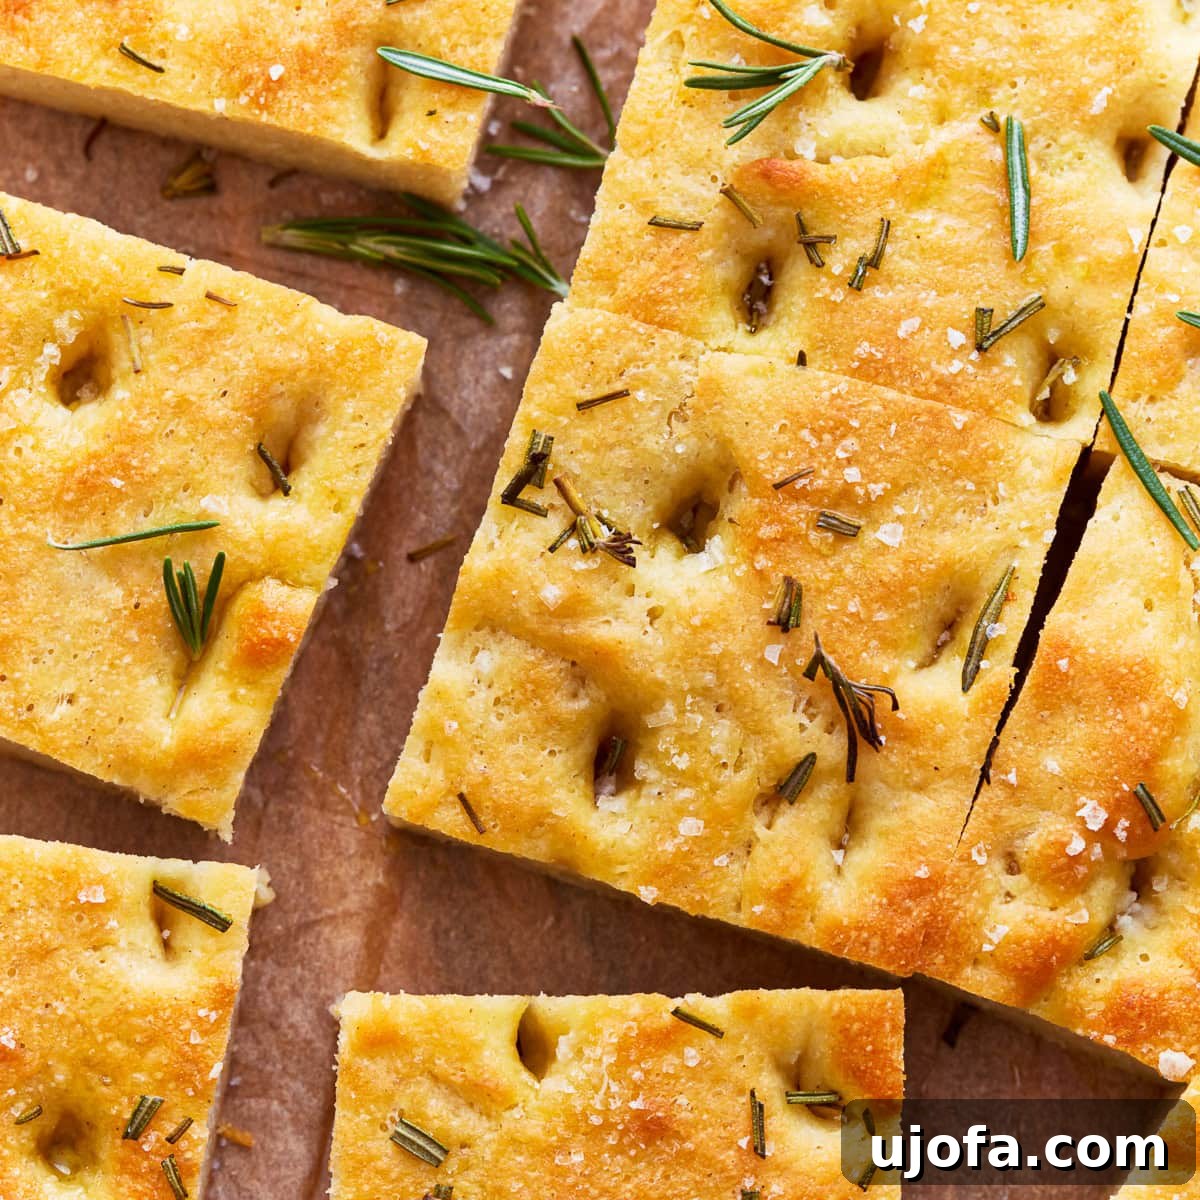
Welcome to the ultimate guide for crafting the most delightful Gluten-Free Focaccia bread! If you’ve been searching for a simple, yet incredibly satisfying recipe that delivers on both taste and texture, your quest ends here. This isn’t just any bread recipe; it’s a culinary revelation that results in a perfectly fluffy interior, a distinctively crispy top, and that irresistible golden crust every time. Best of all, it’s naturally dairy-free and vegan, making it a fantastic option for a wide array of dietary needs without compromising on flavor.
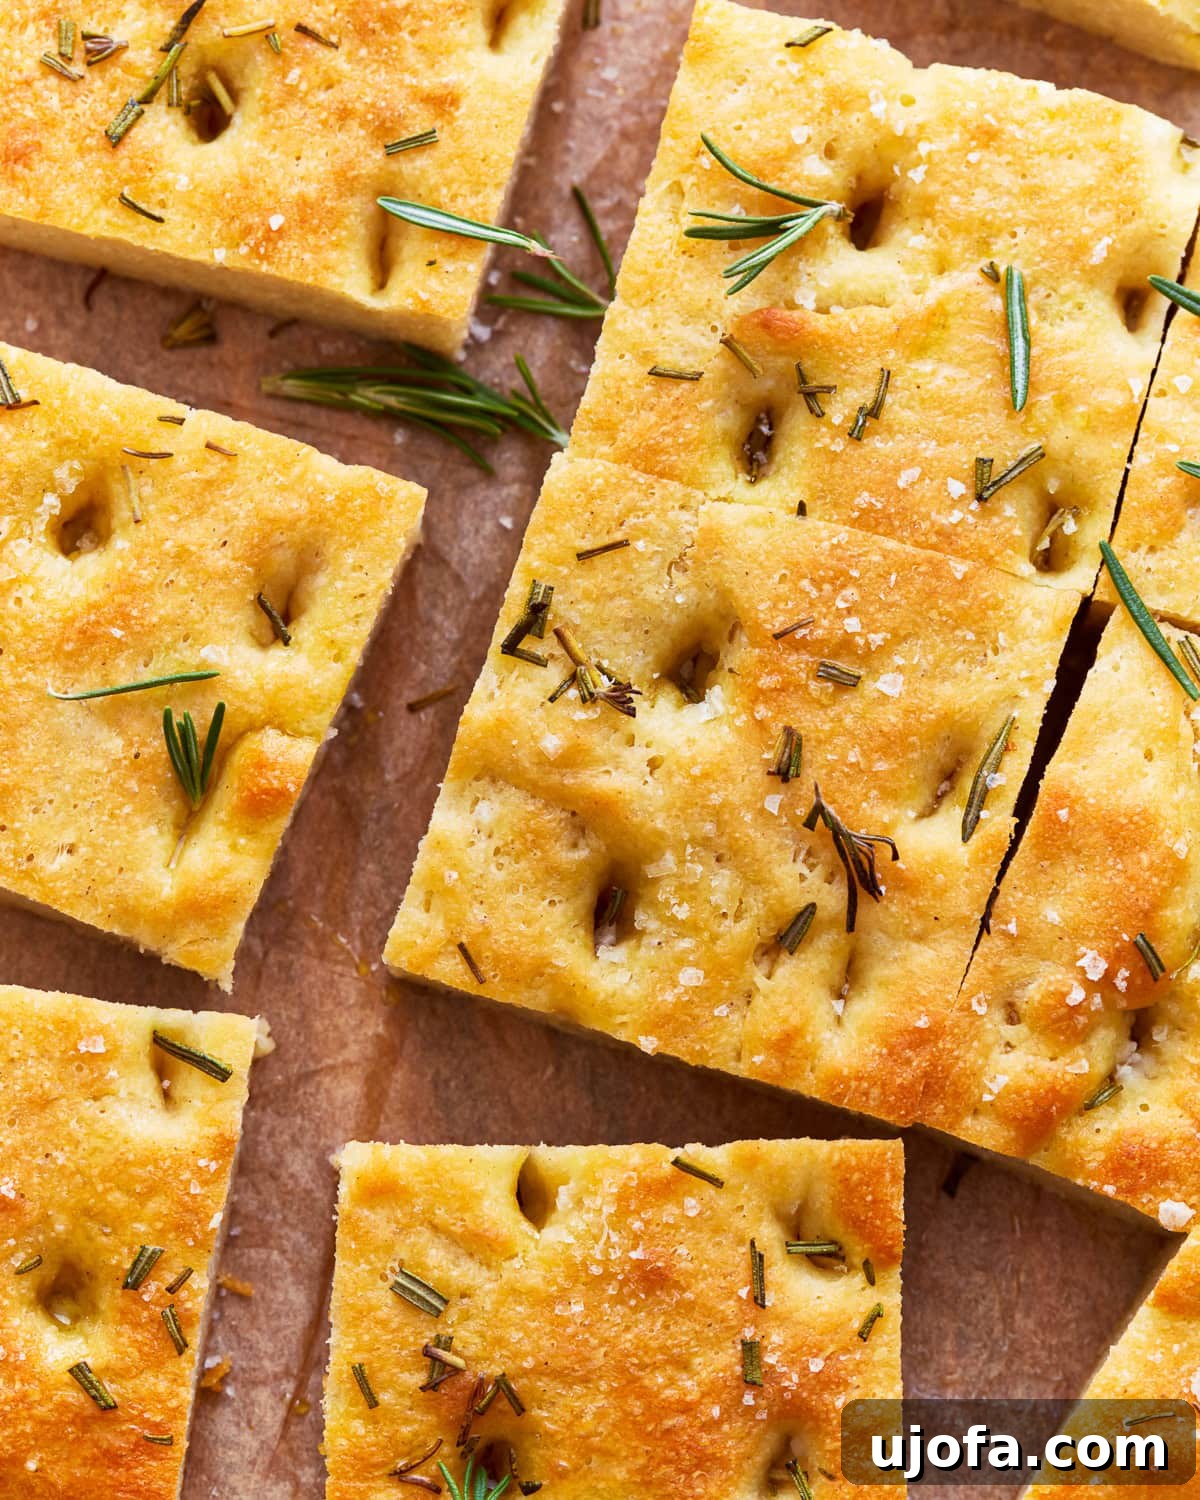
The Ultimate Gluten-Free Focaccia Recipe: Simple, Fluffy, & Flavorful
Imagine the aroma of freshly baked Italian bread wafting through your kitchen – that’s the experience this gluten-free focaccia recipe promises. In just a little over an hour, you can create a masterpiece that rivals its traditional gluten-containing counterparts. This recipe embodies simplicity; the dough comes together effortlessly, and there’s no need for any specialized bakeware. All you require is a trusty sheet pan generously slathered with olive oil and a sprinkle of fresh herbs to achieve a truly authentic taste.
More than just a delicious bread, focaccia is incredibly versatile. It serves as a fantastic side dish to any meal, transforming a simple soup or salad into a gourmet experience. It also makes an exceptional base for a gluten-free pizza, offering a unique texture that holds up beautifully to your favorite toppings. And for those looking for a hearty sandwich bread, its robust structure and tender crumb are absolutely perfect. Get ready to impress your family and friends with this easy-to-make, utterly delicious homemade gluten-free focaccia!
What is Focaccia, and Why Go Gluten-Free?
Focaccia is a beloved Italian flatbread, often compared to pizza dough but typically thicker and imbued with a distinctively airy, soft texture. Traditionally dimpled, drizzled with olive oil, and sprinkled with herbs and sea salt, it’s a staple in Italian cuisine, perfect for dipping, slicing, or enjoying on its own. The name “focaccia” is thought to derive from the Roman “panis focacius,” meaning “hearth bread,” highlighting its ancient roots and simple preparation method.
For many, however, enjoying traditional focaccia is not an option due to gluten sensitivities or celiac disease. The challenge with gluten-free baking, especially bread-making, often lies in replicating the elasticity and structure that gluten provides. Without gluten, doughs can be dense, crumbly, and lack the characteristic rise. This gluten-free focaccia recipe meticulously addresses these challenges. By carefully selecting ingredients and employing specific techniques, we achieve a bread that boasts the desired fluffy texture and a delightful chew, ensuring everyone can enjoy this Italian classic without compromise. It’s a testament to how allergy-friendly baking can be just as delicious and satisfying.
Essential Ingredients for Your Gluten-Free Focaccia
Creating extraordinary gluten-free focaccia starts with understanding the role of each ingredient. Here’s a detailed look at what you’ll need and why it’s crucial for achieving that perfect texture and taste:
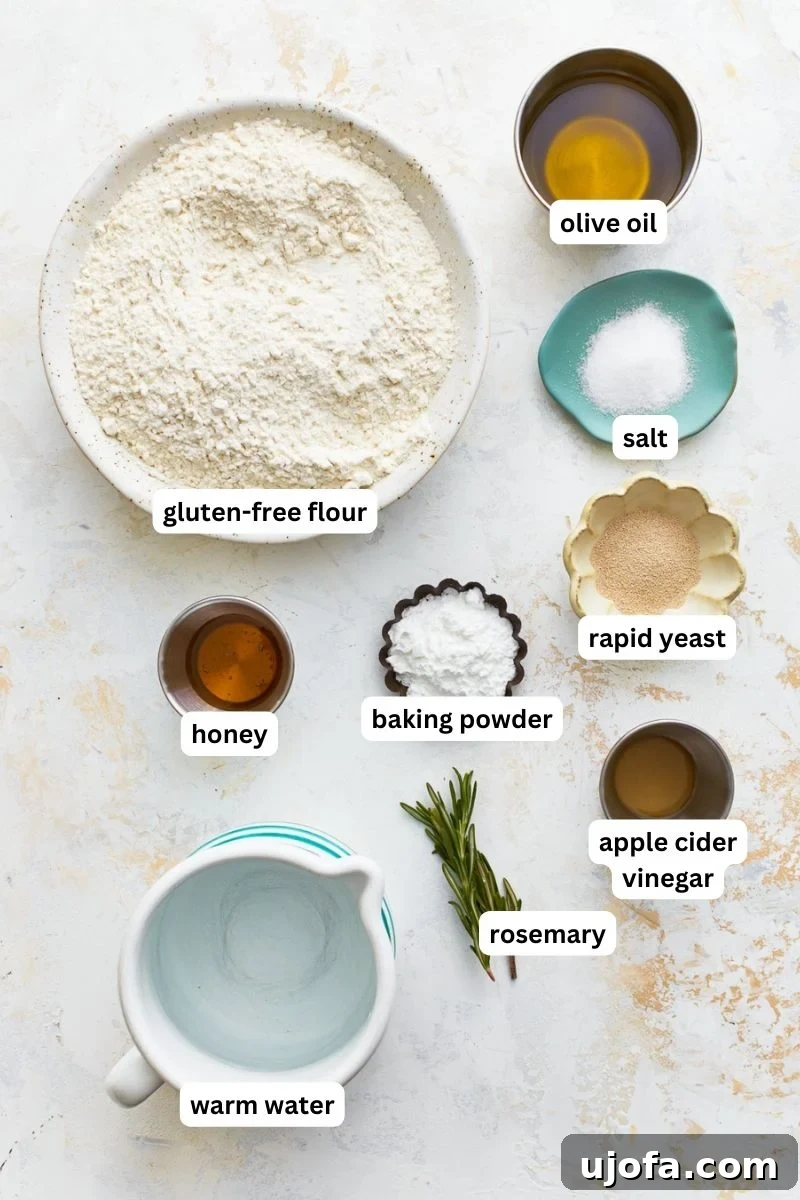
- Gluten-Free All-Purpose Flour with Xanthan Gum: This is the foundation of our gluten-free bread. The inclusion of xanthan gum is vital as it acts as a binder, mimicking the elasticity and structure that gluten would typically provide. It helps prevent the bread from becoming crumbly and dense. While various brands exist, I highly recommend Pillsbury gluten-free flour for consistent results in yeast baking. Be aware that different blends can yield varying outcomes, so choose a blend specifically designed for yeast-based recipes.
- Yeast (Rapid Rise/Instant): The unsung hero of any fluffy bread, active dry or instant yeast is what gives focaccia its characteristic airy texture and delightful rise. I prefer Fleischmann’s RapidRise or Red Star Quick·Rise instant yeast for their reliability and quick action. Always ensure your yeast is fresh and not expired, as its potency directly impacts the bread’s rise.
- Baking Powder: While yeast does the heavy lifting, baking powder provides an extra boost, contributing to a lighter, airier crumb in gluten-free dough, which can sometimes be heavier than traditional doughs.
- Water (Warm): Water hydrates the flour, forming the dough, but its temperature is critical. It must be warm enough to activate the yeast (110-115°F or 43-46°C) but not too hot, which would kill the yeast. Using a thermometer is highly recommended for accuracy.
- Honey: Honey serves as food for the yeast, helping it become active and produce carbon dioxide, which makes the bread rise. For a strictly vegan focaccia, granulated sugar is an excellent substitute, serving the same purpose.
- Apple Cider Vinegar: This acidic ingredient plays a crucial role in creating a moist and tender crumb. It interacts with the baking powder and other ingredients to improve the texture of gluten-free baked goods. Lemon juice can be used as an alternative.
- Olive Oil (Extra Virgin): A generous amount of olive oil is non-negotiable for authentic focaccia. It contributes significantly to the bread’s light, moist, and springy texture, imparts a rich flavor, and helps create that signature crunchy, golden-brown crust. It’s also essential for preventing sticking. Use a good quality extra virgin olive oil for the best flavor.
- Salt: Beyond just enhancing the natural flavors of the bread, salt also helps regulate yeast activity, ensuring a controlled and steady rise. Plus, a sprinkle of coarse sea salt on top before baking adds a wonderful textural contrast and burst of flavor.
- Rosemary (Fresh or Dried): The classic focaccia herb! Rosemary adds a delicious, aromatic, and slightly piney flavor that complements the olive oil beautifully. Feel free to experiment with your favorite herbs or spices, such as thyme, oregano, or even chili flakes, for a personalized touch.
Step-by-Step to Focaccia Perfection
Follow these detailed instructions to create your own magnificent batch of gluten-free focaccia. Each step is designed to ensure success, even if you’re new to gluten-free baking.
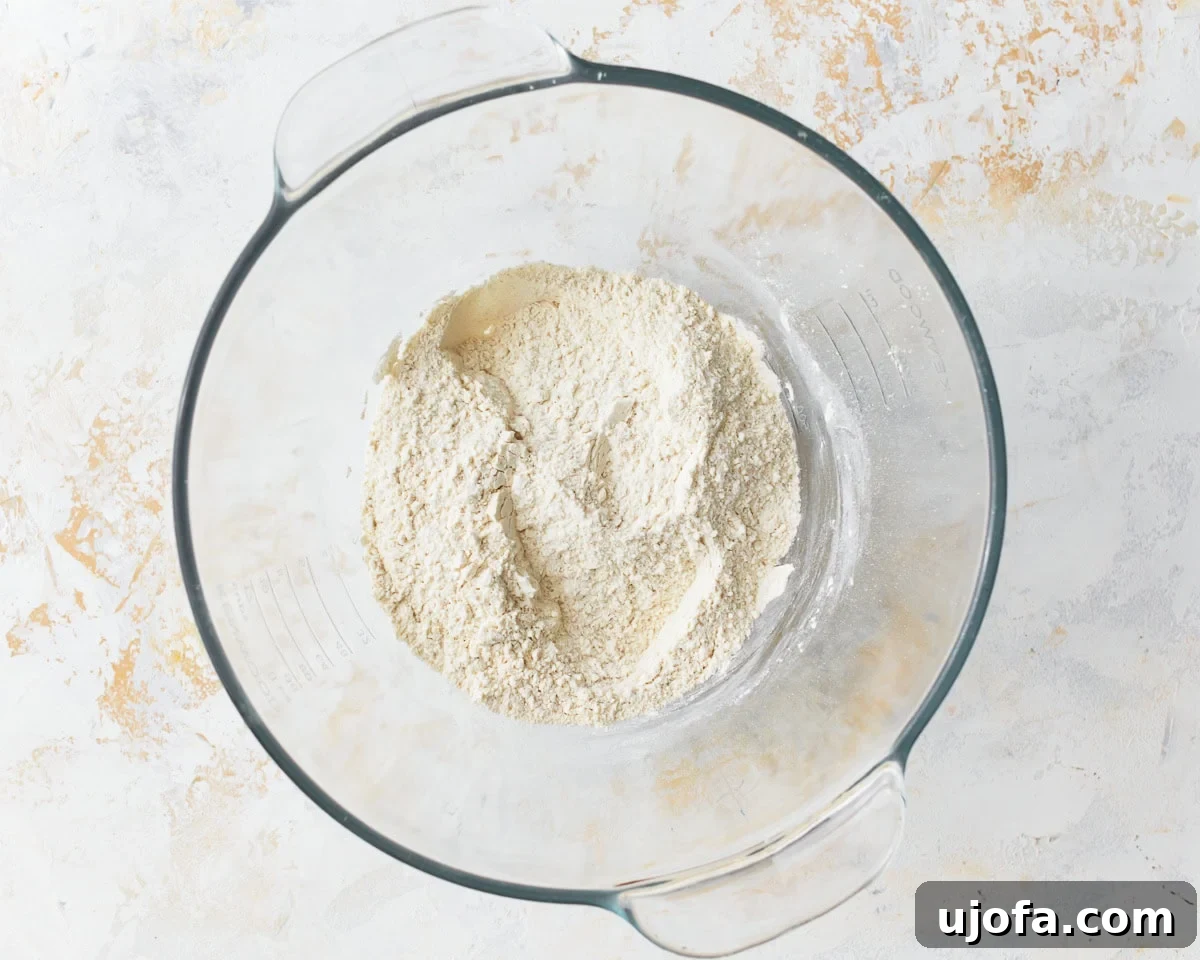
Step 1: Preheat for Proofing. Begin by preheating your oven to its lowest setting, ideally a proofing setting, or to 200°F (93°C). Once the oven reaches approximately 100°F (38°C), turn it off. This creates the perfect warm, draft-free environment for your dough to rise. In a large mixing bowl, combine the dry ingredients: 3½ cups of gluten-free all-purpose flour, 2¼ teaspoons (which is typically one packet) of instant yeast, 1 tablespoon of baking powder, and 1 teaspoon of salt. Stir these ingredients thoroughly with a whisk or spoon until they are well combined. This ensures even distribution of the leavening agents.

Step 2: Activate the Yeast. In a separate container, add 1 tablespoon of honey (or granulated sugar for a vegan option) to 2 cups of warm water. The water temperature is crucial here; aim for 110-115°F (43-46°C). You can microwave the water in a large glass measuring cup for 30-45 seconds, then use a thermometer to verify the temperature. If the water is too hot, it will kill the yeast, preventing your bread from rising. Stir the honey or sugar into the water until it is completely dissolved.
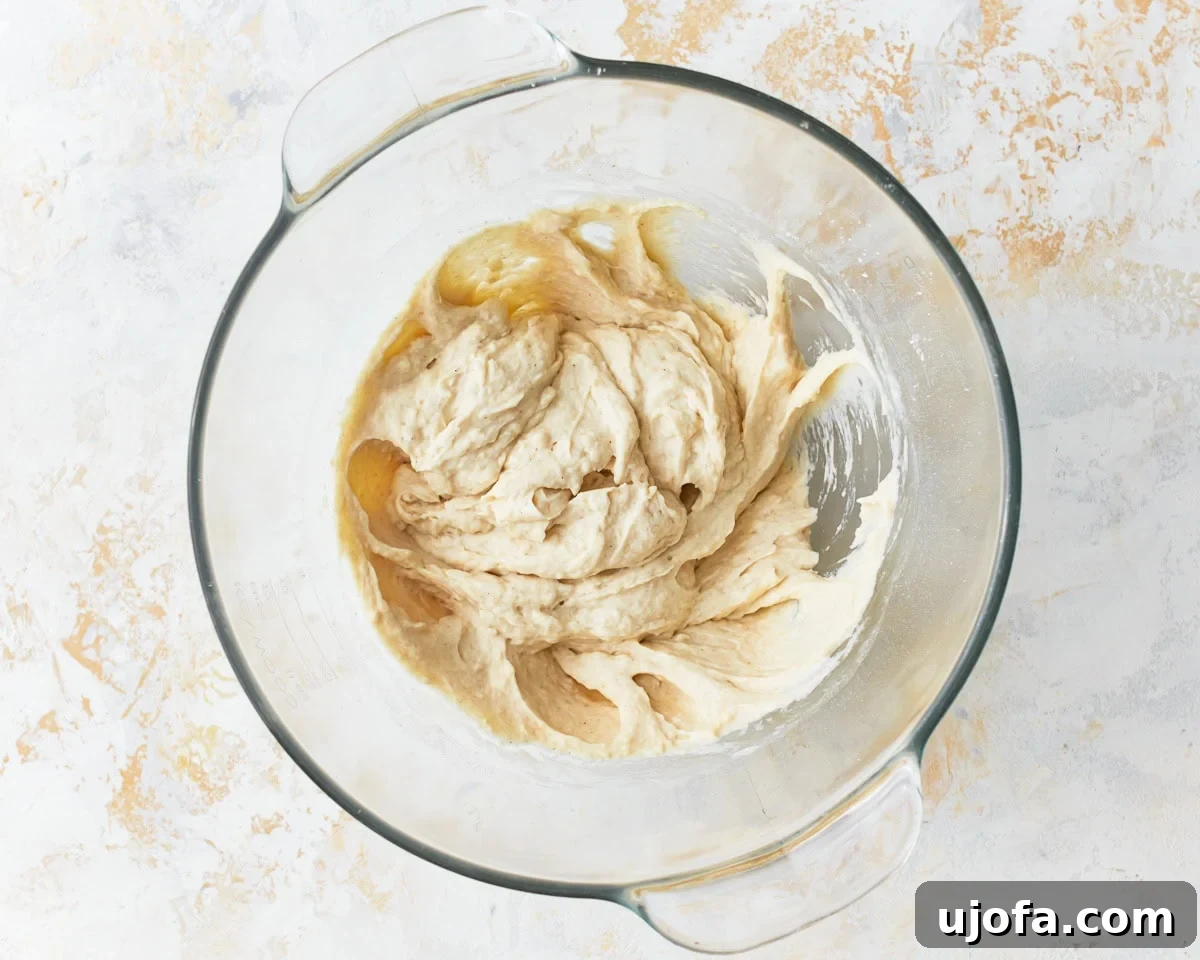
Step 3: Combine and Mix. Pour the warm water and honey/sugar mixture into your large bowl containing the gluten-free flour blend. Using a stand mixer with a paddle attachment, or a hand mixer, mix the ingredients on low speed. Continue mixing until the dry and wet ingredients are just combined and a shaggy dough begins to form. Be careful not to overmix at this stage.
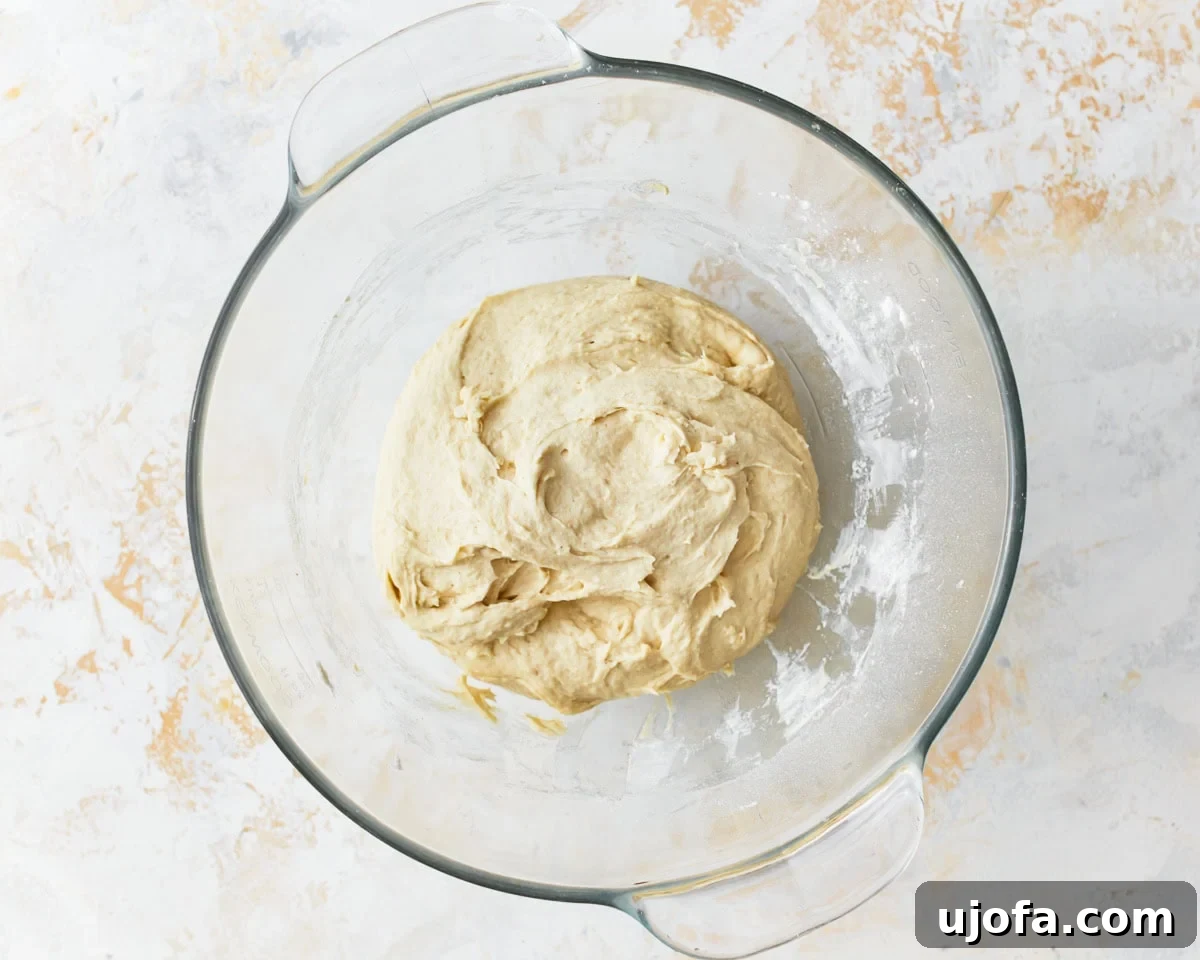
Step 4: Incorporate Fats and Acids. Now, add ½ cup of olive oil and 1 teaspoon of apple cider vinegar to the dough mixture. Continue to mix on low speed for 1-2 minutes. During this time, the dough will start to come together more cohesively, but it will remain quite soft and sticky. This is completely normal for high-hydration gluten-free doughs, so don’t be alarmed by the consistency.
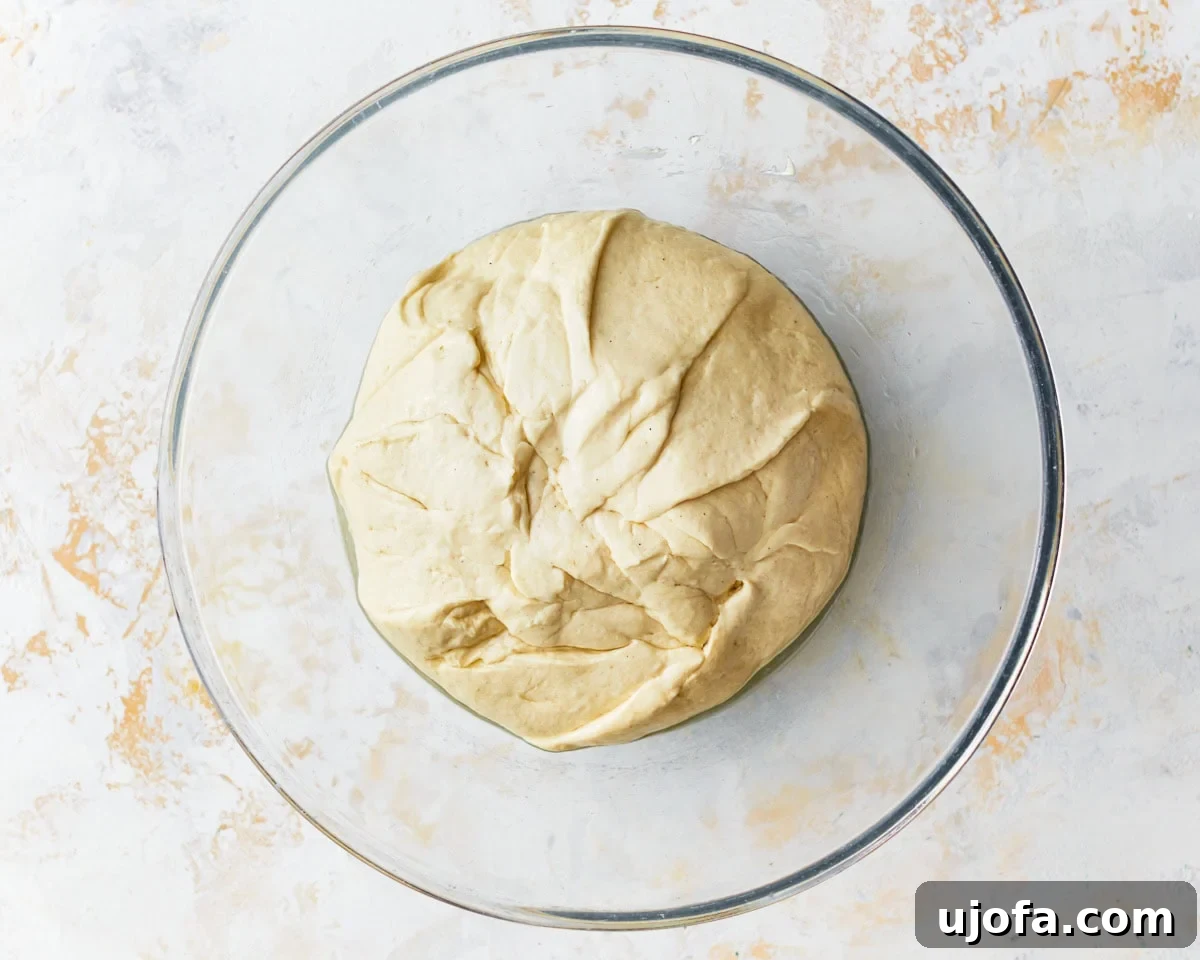
Step 5: First Rise (Proofing). Lightly grease an ovenproof bowl with olive oil or cooking spray. Transfer the sticky dough into this greased bowl. Cover the bowl snugly with plastic wrap, then place a clean kitchen towel over the plastic wrap. Position the bowl in your pre-warmed (and now turned off) oven for about 30 minutes. This warm, protected environment is ideal for the yeast to work its magic and for the dough to rise significantly.
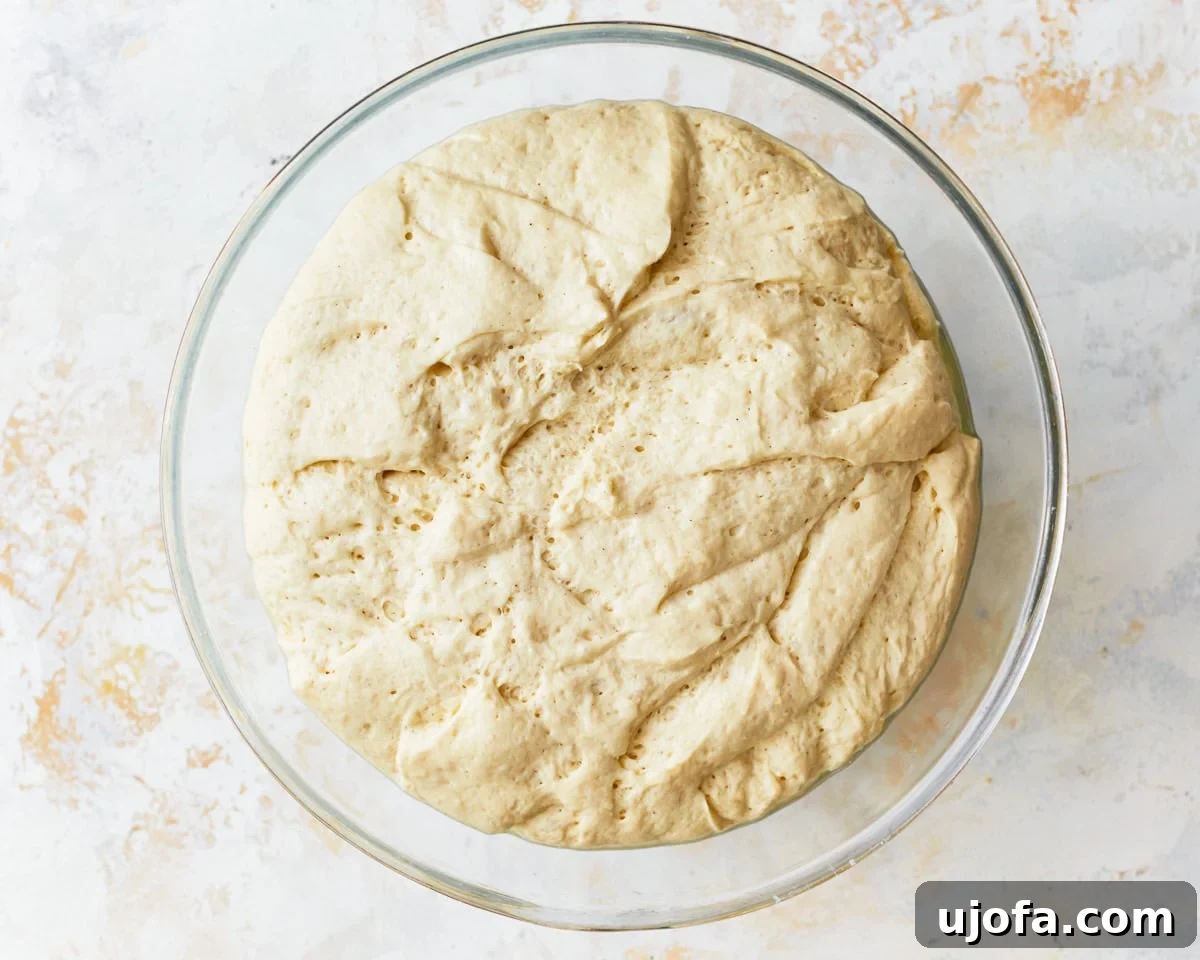
Step 6: Prepare for Baking. Once the dough has risen, carefully remove the bowl from the oven. Now, preheat your oven to 400°F (204°C). This higher temperature is perfect for achieving a crispy exterior and a thoroughly baked interior for your focaccia.
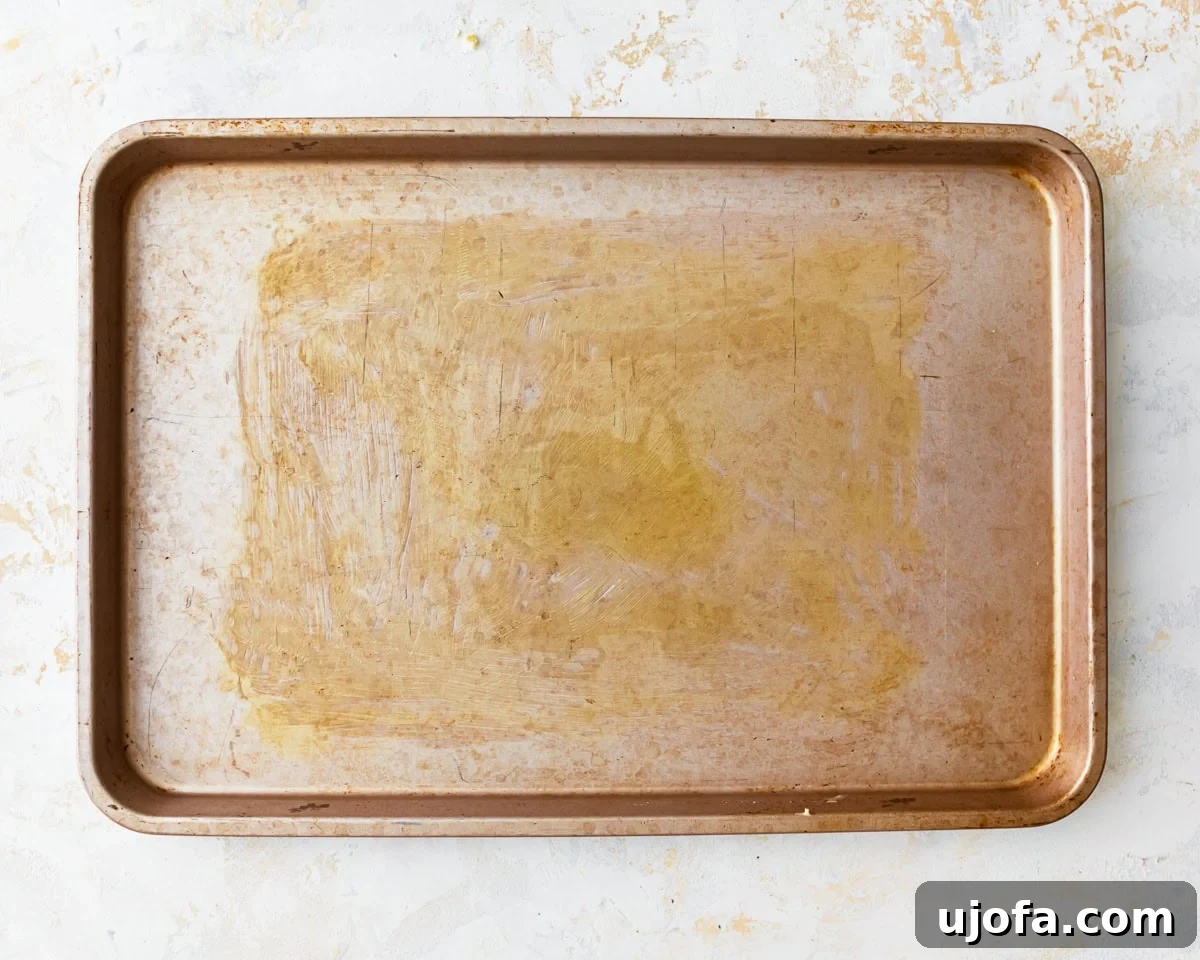
Step 7: Oil the Baking Sheet. Pour a generous 1 tablespoon of olive oil onto the center of a standard baking sheet. This initial layer of oil is crucial not only for flavor but also to prevent the focaccia from sticking, ensuring easy removal after baking.
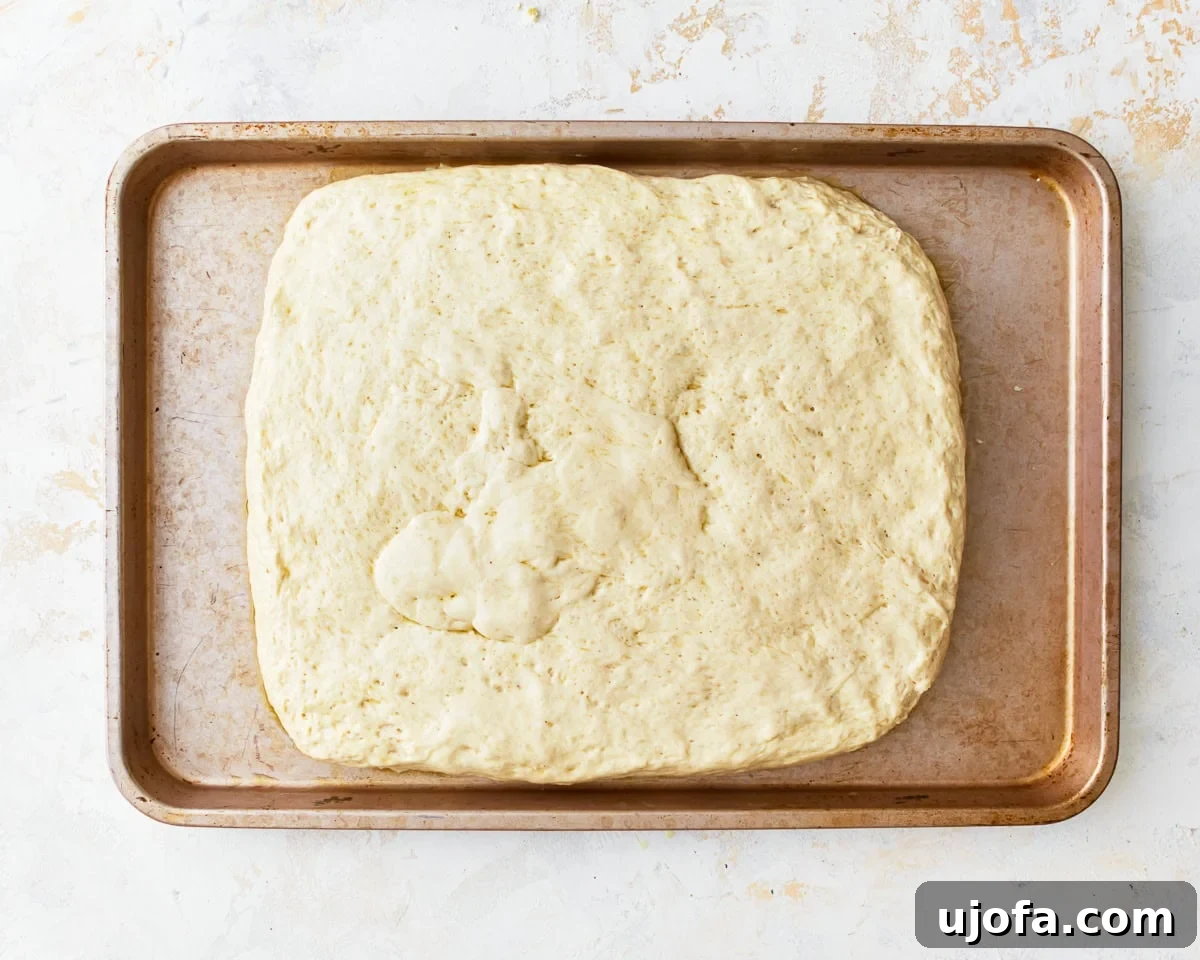
Step 8: Shape the Dough. Invert the bowl containing the risen dough onto the oiled baking sheet. The dough should release easily due to the greased bowl. Gently pat the sticky dough into an 8×10-inch rectangle, aiming for a thickness of about 1 inch. Resist the urge to knead or overwork the dough at this stage; gentle handling is key to maintaining its airy structure.
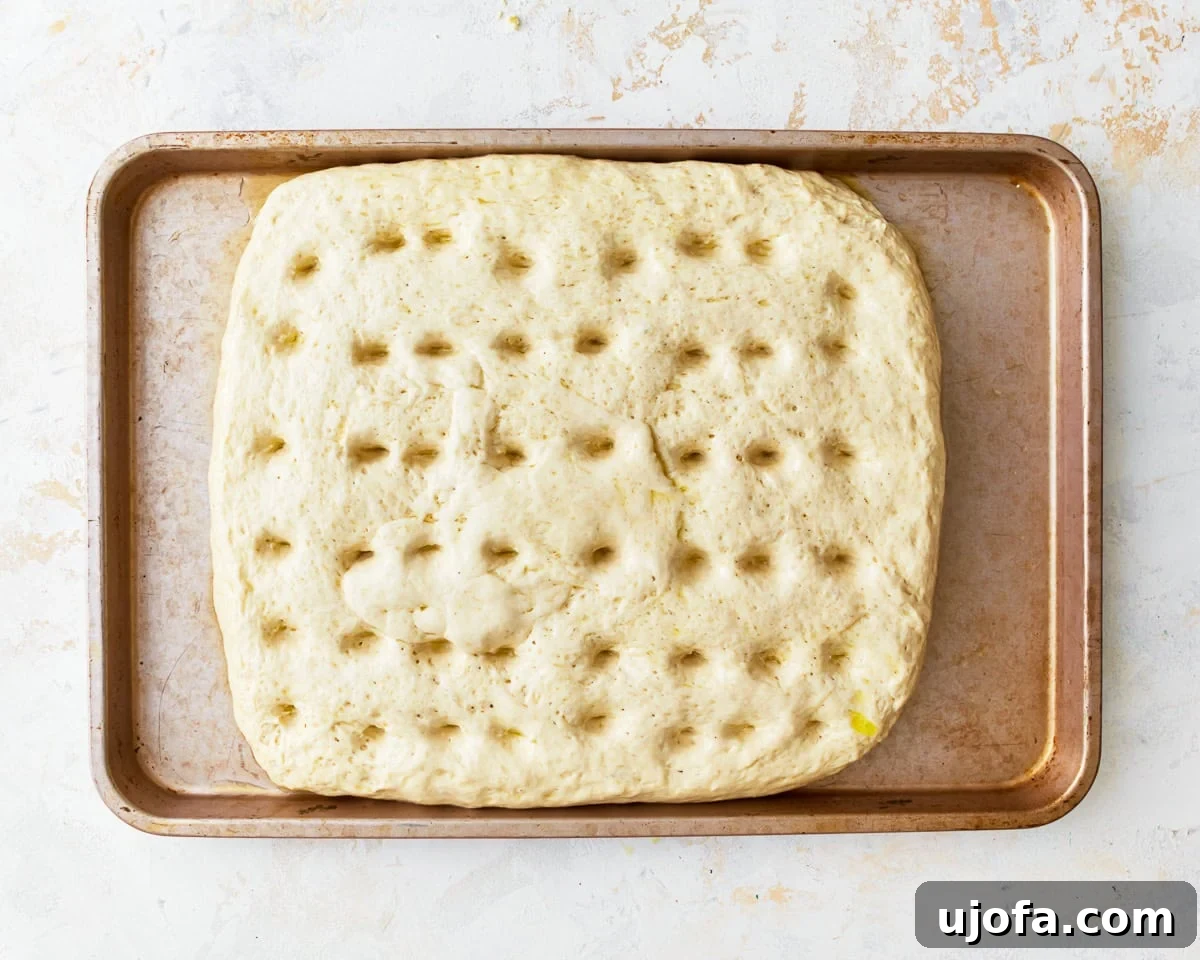
Step 9: Create the Signature Dimples. Using your fingertips, gently press down into the dough to create small indentations or “dimples.” These dimples are not just for aesthetics; they help the olive oil pool and absorb into the bread during baking, resulting in a more flavorful and moist interior. Ensure you press firmly enough to make clear indentations but not so hard that you deflate the dough completely.
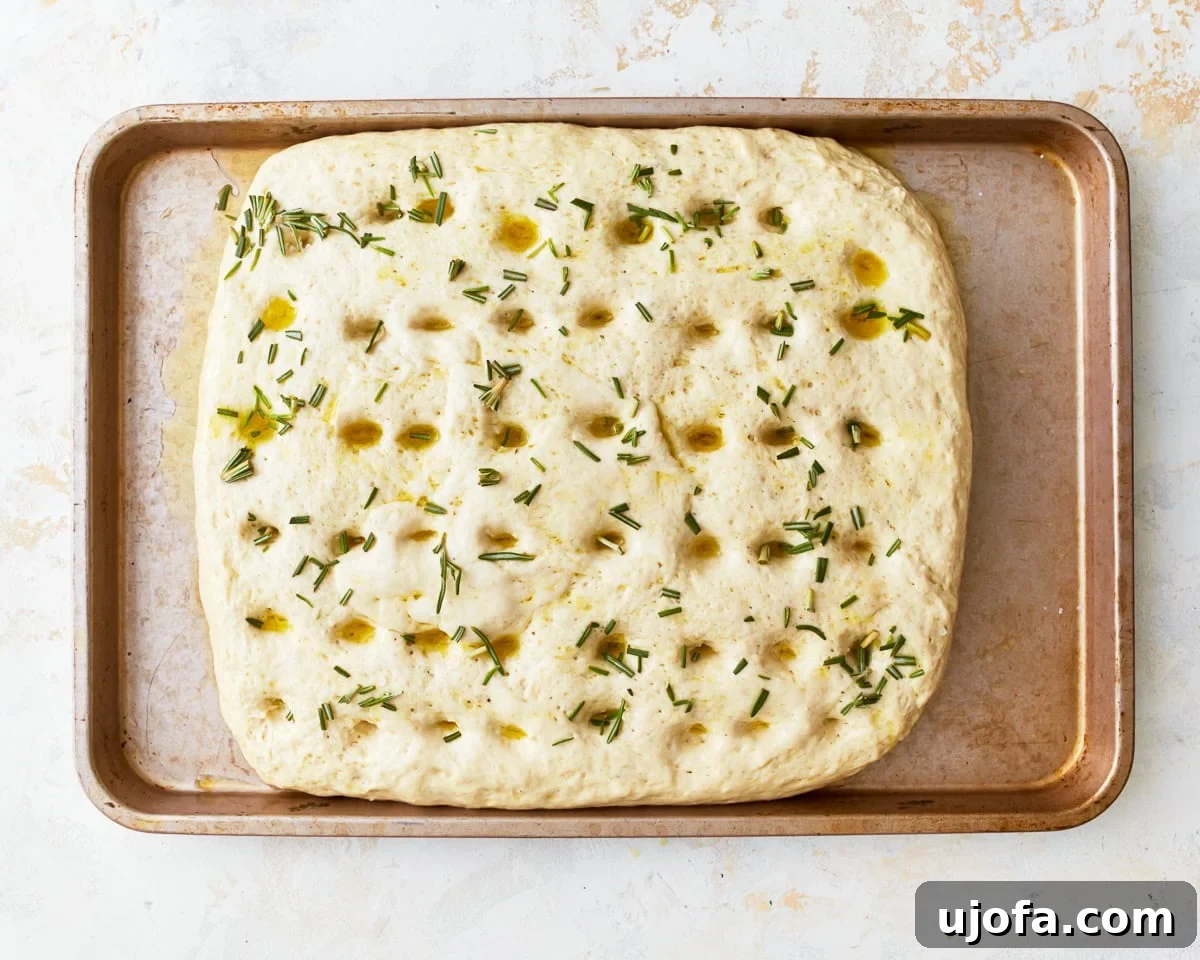
Step 10: Final Drizzle and Seasoning. Drizzle another tablespoon of fresh olive oil evenly over the dimpled dough. This ensures a rich flavor and helps achieve a beautiful golden crust. Sprinkle the top liberally with coarse sea salt and 1 tablespoon of chopped fresh rosemary (or your chosen herbs). The salt adds a delightful crunch and enhances the overall taste profile.
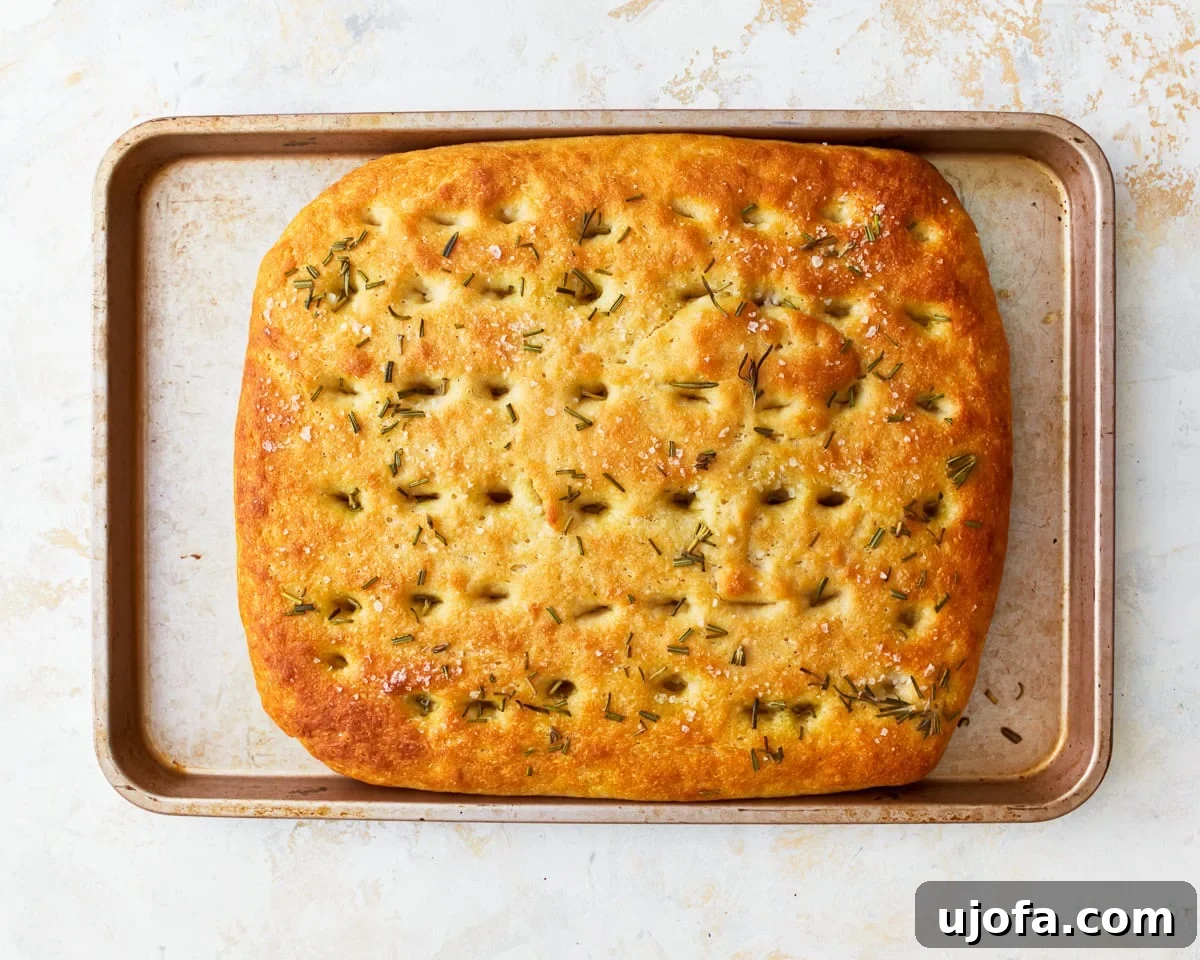
Step 11: Bake to Golden Perfection. Place the baking sheet on the top rack of your preheated 400°F (204°C) oven. Bake for approximately 20 minutes, or until the focaccia is golden brown on the edges and cooked through. For an extra crispy and beautifully golden-brown crust, you can carefully set your oven to broil for an additional 30 seconds to 1 minute. Exercise extreme caution during this step: broilers vary greatly, and focaccia can go from perfectly crisp to burnt very quickly. Stay by your oven and watch it constantly! Once baked, remove from the oven and allow it to cool slightly on the baking sheet before transferring to a wire rack. Slice with a pizza cutter for ease and enjoy your homemade gluten-free focaccia warm!
Expert Tips for Mastering Gluten-Free Focaccia
Achieving a consistently perfect gluten-free focaccia requires a few key considerations. Here are some expert tips to guide you:
- Accurate Flour Measurement: Gluten-free flours can be tricky. Always use the “spoon-and-level” method: spoon flour into your measuring cup until it overflows, then level it off with a straight edge (like a knife). Scooping directly from the bag can compact the flour, leading to too much flour and a dense, dry focaccia.
- Yeast Freshness is Key: Yeast is a living organism. Ensure your rapid yeast or instant yeast is fresh and active. If your yeast has expired or doesn’t bubble when activated, it won’t provide a good rise, resulting in a flat loaf. Store yeast in an airtight container in the refrigerator or freezer to prolong its shelf life.
- Mind the Water Temperature: As mentioned, warm water (110-115°F or 43-46°C) is essential to activate the yeast. Water that is too cold will not wake the yeast up, and water that is too hot will kill it. A cooking thermometer is your best friend here.
- Warm Rising Environment: Yeast loves warmth! Ensure your focaccia rises in a warm, draft-free place. Using your oven set to 100°F (38°C) and then turned off is an excellent method, but other options include a sunny spot, a warm corner near a heater, or even a microwave (turned off, of course) with a cup of hot water alongside the dough to create a steamy environment.
- Don’t Skip the Dimples: The characteristic dimples aren’t just for show. Pressing little holes into the dough before baking helps the generous amount of olive oil soak deeply into the bread, infusing it with flavor and contributing to its moist, tender interior. It also creates a textural contrast with the crispy top.
- Top Rack Advantage: Baking the focaccia on the top rack of your oven ensures it gets even heat from above, promoting a beautifully golden-brown and crispy crust.
- Embrace the Soft, Sticky Dough: Focaccia dough is traditionally a high-hydration dough, and this gluten-free version is no exception. Expect it to be noticeably soft and sticky, almost like a thick batter rather than a firm bread dough. Don’t be tempted to add more flour; trust the process. There’s no complicated shaping required, so let the dough relax and do its thing. It will turn out perfectly!
- Generous Olive Oil for Non-Stick: If your focaccia sticks to the pan, it’s a clear sign you need more olive oil. Don’t be shy! Really slather both the pan and the top of the bread with oil to prevent sticking and enhance flavor.
- Easy Slicing: A pizza cutter is an ideal tool for neatly slicing focaccia bread into squares or rectangles, making serving a breeze.
Beyond the Basic: Focaccia Variations
While classic rosemary and sea salt focaccia is undeniably delicious, this gluten-free base is incredibly adaptable. Here are some ideas to inspire your culinary creativity:
- Garlic & Herb: Mince fresh garlic and mix it with chopped parsley, oregano, or thyme. Drizzle over the dimpled dough with olive oil before baking.
- Tomato & Olive: Press halved cherry tomatoes and pitted Kalamata olives into the dough’s dimples before the final olive oil drizzle and salt.
- Sun-Dried Tomato & Basil: Finely chop sun-dried tomatoes (oil-packed, drained) and fresh basil leaves. Scatter them over the dough.
- Caramelized Onion: Sauté thinly sliced onions until deeply caramelized, then spread them over the focaccia before baking.
- Sweet Focaccia: For a delightful treat, reduce the salt and add a touch more sugar to the dough. Instead of savory toppings, sprinkle with cinnamon sugar, thinly sliced apples, or even a light fruit compote.
- Cheese Lovers: For those not dairy-free, sprinkle grated Parmesan or a blend of Italian cheeses over the top during the last 5-10 minutes of baking.
Serving Suggestions: Unleash Your Focaccia’s Potential
Your freshly baked gluten-free focaccia is a versatile player in the kitchen:
- Classic Accompaniment: Serve warm alongside a hearty bowl of soup, a crisp green salad, or your favorite pasta dish. It’s perfect for soaking up rich sauces.
- Focaccia Pizza: Absolutely! This dough makes an incredible gluten-free pizza crust. You have two options:
- Top the risen dough directly with your preferred sauce and toppings, then bake.
- Bake the focaccia until almost done, then add sauce and toppings (especially cheese) and bake again briefly to melt and warm through. The possibilities are truly endless!
- Sandwich Bread Extraordinaire: Slice the focaccia horizontally to create substantial pieces perfect for sandwiches. Fill with deli meats, grilled vegetables, pesto, or your favorite sandwich fillings. Its sturdy yet tender nature makes it ideal.
- Dipping Delight: Cut into strips and serve with a bowl of high-quality balsamic vinegar mixed with olive oil, a creamy hummus, or a flavorful tapenade for an appetizer.
- Bruschetta Base: Toast slices lightly and top with fresh tomatoes, basil, and a drizzle of balsamic glaze for a gluten-free bruschetta.
Storage and Reheating Your Gluten-Free Focaccia
To keep your gluten-free focaccia fresh and delicious:
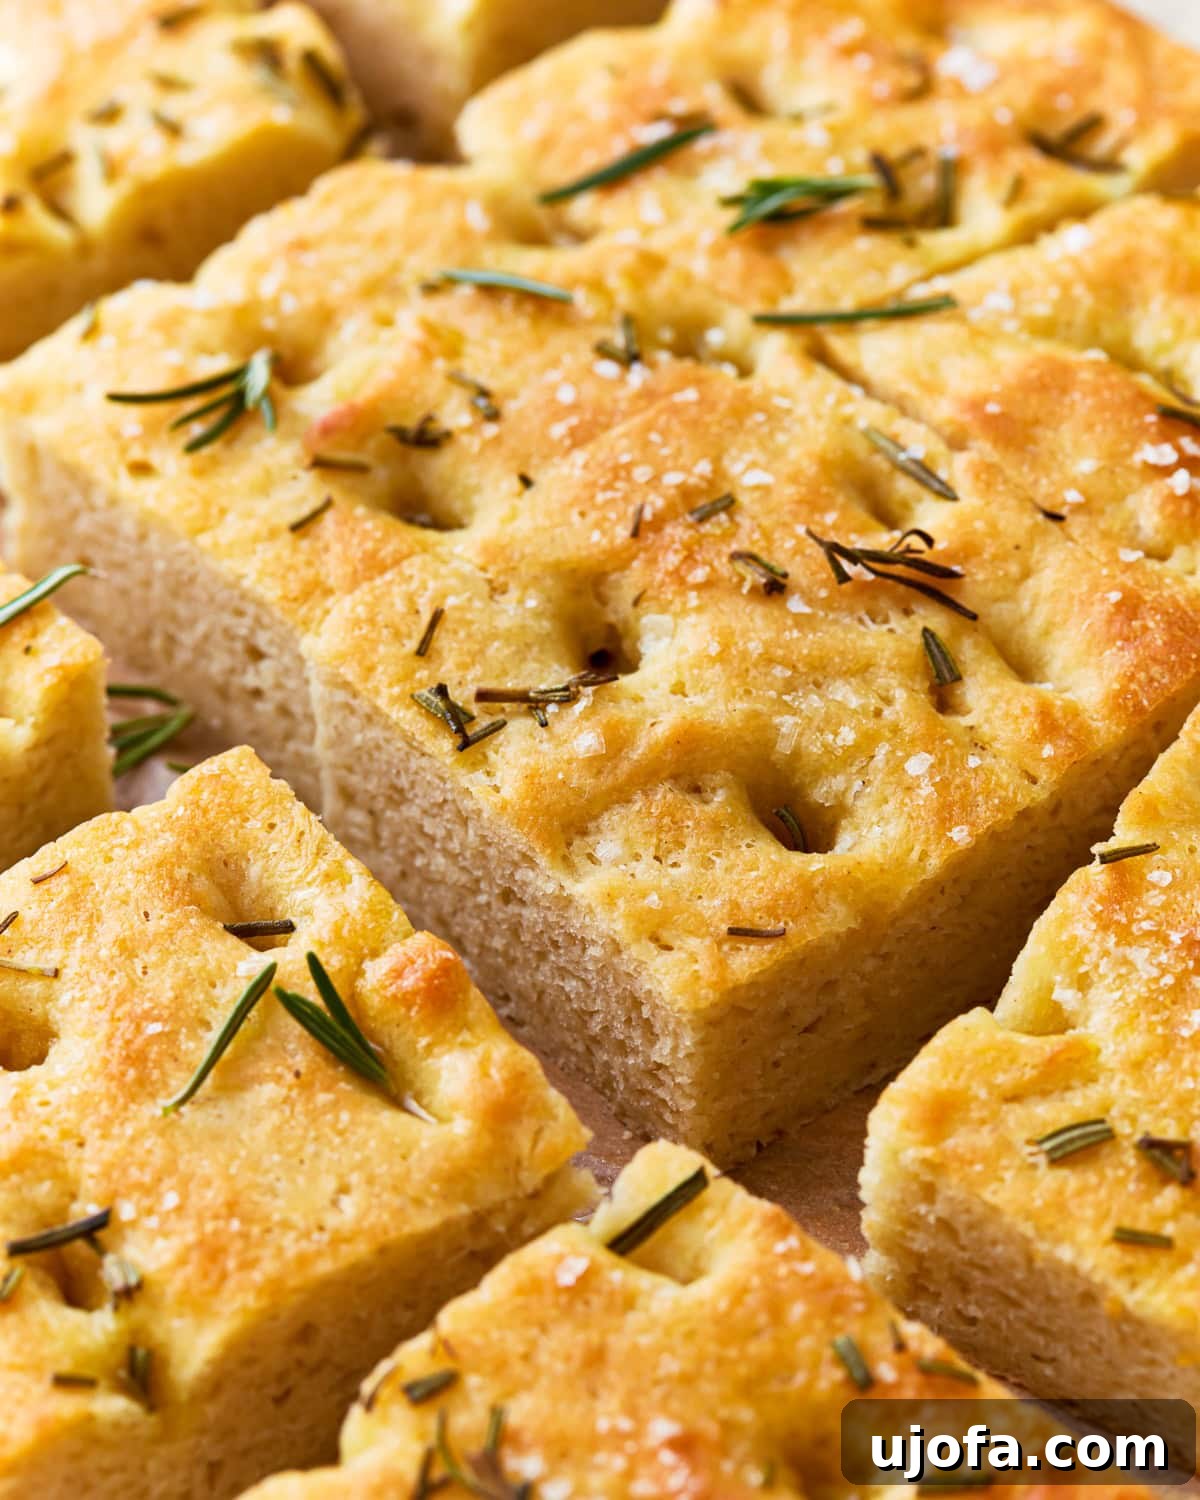
- Room Temperature: Store leftover gluten-free focaccia bread in an airtight container or tightly wrapped in plastic wrap at room temperature for up to 2 days. This helps maintain its moisture and prevents it from drying out.
- Freezing: For longer storage, wrap individual slices or the entire loaf tightly in plastic wrap, then place in a freezer-safe bag or container. It can be stored in the freezer for up to 2 months. Thaw at room temperature before enjoying.
- Reheating: To restore its fresh-baked taste and texture, reheat slices in a preheated oven at 375°F (190°C) for 5-10 minutes, or until warmed through and crispy. You can also quickly warm it in the microwave, though this may soften the crust.
Gluten-Free Focaccia
Ingredients
- 3½ cups gluten-free all-purpose flour with xanthan gum
- 2¼ teaspoons rapid yeast/instant yeast, 1 packet
- 1 tablespoon baking powder
- 2 cups warm water, 110-115°F (43-46°C)
- 1 tablespoon honey
- 1 teaspoon apple cider vinegar
- 10 tablespoons olive oil, divided (½ cup + 2 tablespoons)
- 1 teaspoon salt, plus more for sprinkling
- 1 tablespoon chopped fresh rosemary, or 1 teaspoon dried
Instructions
-
Preheat your oven to the proofing setting or to 200°F (93°C). Once it gets to 100°F (38°C), turn off your oven.
-
In a large bowl, combine the gluten-free all-purpose flour, instant yeast, gluten-free baking powder, and salt. Stir to combine the ingredients.
-
Add the honey or sugar to the warm water and stir until it is dissolved.
-
Pour the warm water and honey or sugar mixture into the gluten-free flour mixture and mix with your mixer on low. (I used my stand-up mixer with the paddle attachment).
-
Pour ½ cup of olive oil and apple cider vinegar into the dough mixture and mix on low speed for 1-2 minutes until the dough starts to form. The dough will be sticky.
-
Place the dough in a greased ovenproof bowl (I used olive oil cooking spray) and cover it with plastic wrap. Cover the bowl with a kitchen towel and place in the warm oven for 30 minutes to rise.
-
Remove the dough from the oven and preheat the oven to 400°F (204°C).
-
Pour 1 tablespoon of olive oil onto the middle of a baking sheet.
-
Turn the bowl over on top of the greased baking sheet. Gently pat the dough into an 8×10-inch rectangle about 1-inch thick.
-
Use your fingertips to press down lightly into the dough to form the dimples in the dough.
-
Drizzle another tablespoon of olive oil over the dimpled dough. Sprinkle the top of the dough with salt and the chopped rosemary (or your herbs of choice).
-
Bake on the top rack of the oven for 20 minutes.
-
For a golden-brown crust, set your oven to broil, and broil the bread for 30 seconds to 1 minute. Please watch your oven because every broiler is different and you could over-crisp the focaccia.
Notes
- *I microwave the water in a large glass measuring cup for 30-45 seconds. I also use a thermometer to check the temperature. If your water is too hot, it will kill the yeast.
- Measure your flour using the spoon-and-level method to avoid a dense, dry focaccia.
- Make sure your instant/rapid yeast is fresh. If your yeast expired, you will not get a good rise.
- Do not overheat the water or you could kill the yeast.
- Make sure to rise the focaccia in a warm place. I rise my bread in the oven set to 100°F.
- Don’t skip the step to dimple (poke little holes) into the dough. It helps the olive oil soak into the bread.
- Bake the focaccia on the top rack.
- Focaccia bread is easily sliced with a pizza cutter.
- Store leftovers in an air-tight container.
- Reheat in the oven at 375°F (190°C) on a baking sheet or in the microwave.
Nutrition
Nutrition information is automatically calculated, so should only be used as an approximation.
Additional Info
More Gluten-Free Bread Recipes to Try!
If you loved making this gluten-free focaccia, you’ll be thrilled to explore other delicious gluten-free bread options. Expanding your baking repertoire can be incredibly rewarding. Here are some more gluten-free bread recipes that are sure to become family favorites, offering a variety of textures and flavors for every occasion:
- Easy Gluten-Free Bread: A perfect starter recipe for everyday sandwiches and toast.
- Gluten-Free Bread Machine Bread: Effortless baking with the convenience of a bread machine.
- Gluten-Free Dinner Rolls: Soft, fluffy rolls ideal for any meal or holiday gathering.
- Gluten-Free Sourdough Bread: Experience the tangy flavor and chewy texture of sourdough, without the gluten.
- Gluten-Free Flatbread: Quick and versatile, perfect for wraps, dips, or mini pizzas.
- Gluten-Free Baguette: Achieve that classic crisp crust and airy interior, perfect for garlic bread or sophisticated appetizers.
- Gluten-Free Buckwheat Bread: A hearty and nutritious option with a distinct earthy flavor.
Conclusion: Enjoy Your Homemade Gluten-Free Focaccia!
You’ve now mastered the art of making incredibly delicious and authentic gluten-free focaccia. This recipe proves that dietary restrictions don’t mean sacrificing flavor or texture. With its simple ingredients and straightforward steps, you can confidently bake a show-stopping bread that is fluffy, crispy, dairy-free, and vegan. Whether you serve it as a side, transform it into a unique pizza crust, or craft the perfect sandwich, this homemade focaccia is sure to become a cherished addition to your recipe collection. Happy baking!