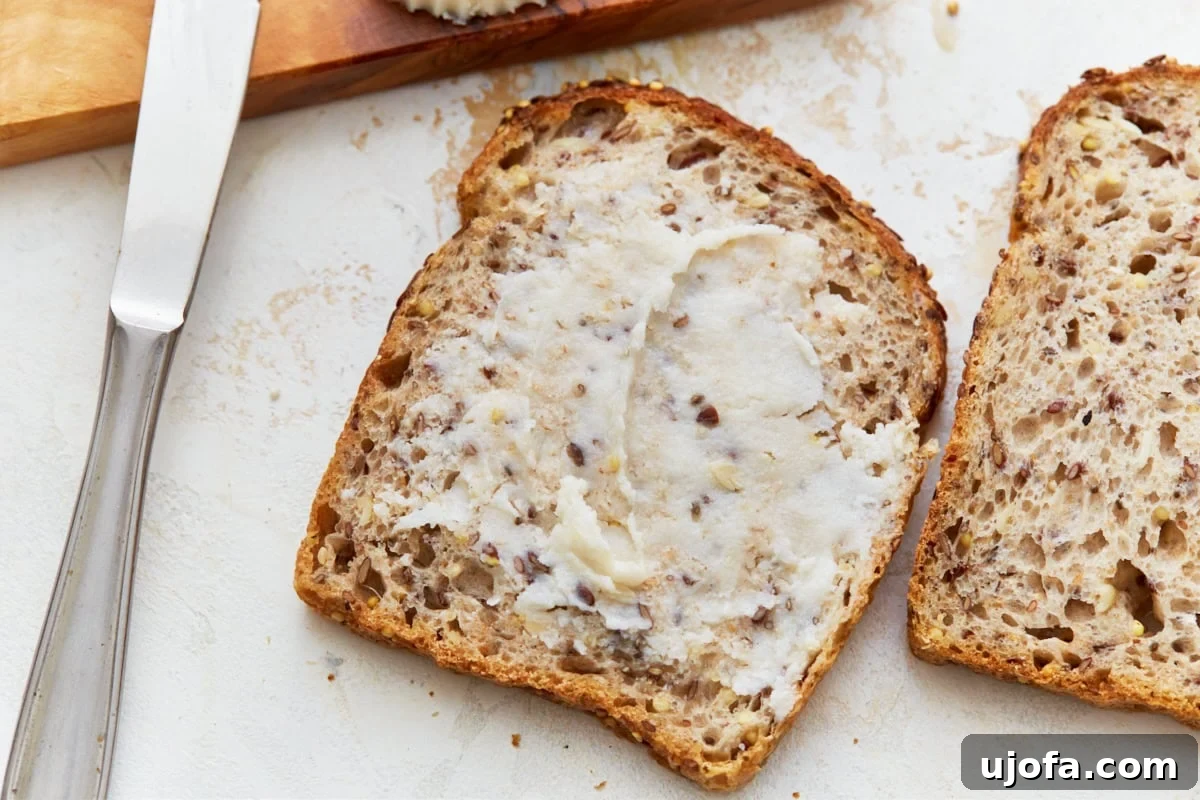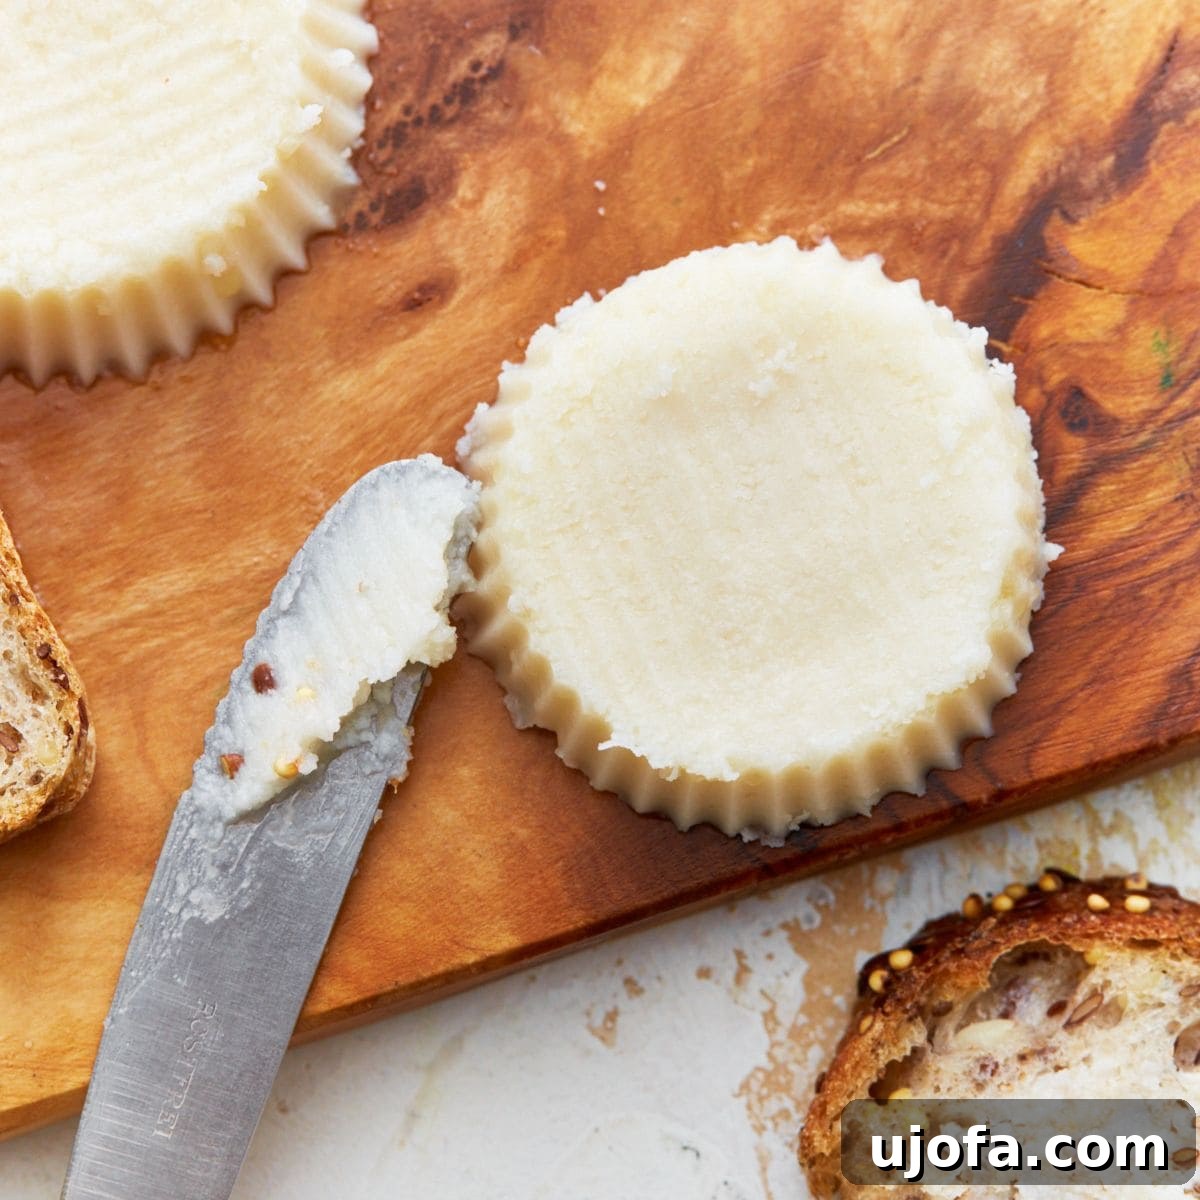
Unlock the secret to a rich, creamy, and spreadable butter that’s entirely plant-based and melts just like its dairy counterpart! This homemade vegan butter recipe is a game-changer, offering a delightful dairy-free alternative for all your culinary needs. Whether you’re spreading it on warm toast, coating a frying pan for savory dishes, or incorporating it into your favorite baked goods, this butter delivers the same luxurious texture and flavor you love, crafted from simple, wholesome ingredients.
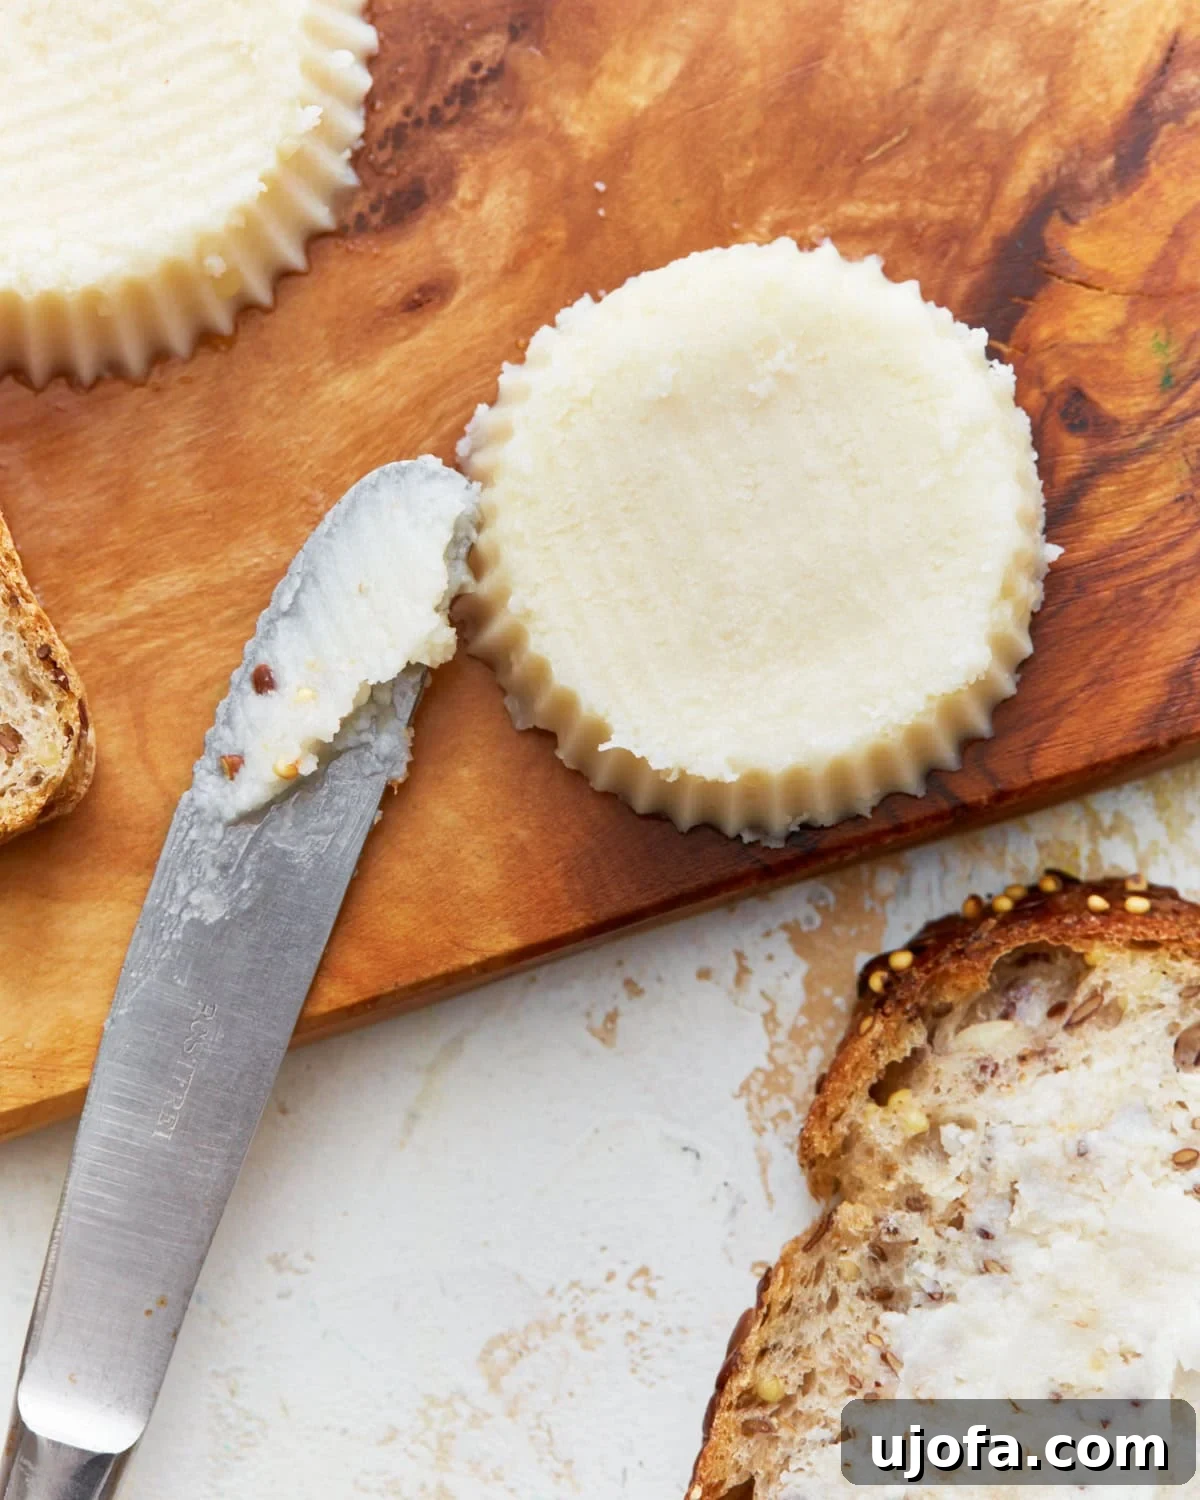
The Quest for Perfect Dairy-Free Butter
For many transitioning to a dairy-free lifestyle, one of the most significant culinary challenges is finding a truly satisfying butter substitute. The market is flooded with options, but often, these store-bought alternatives fall short in flavor, texture, or are laden with ingredients we’d prefer to avoid. I often found myself longing for the comforting richness of traditional butter, especially for simple pleasures like a piece of warm, buttered toast, or the essential fat needed for perfect pastries.
This longing spurred my journey to create a homemade vegan butter that not only mimics the familiar taste and texture of dairy butter but surpasses many commercial versions in its simplicity and wholesome ingredient list. It took me a while, much like perfecting dairy-free mayonnaise, but the result is nothing short of revolutionary for my kitchen. This recipe delivers a simple, non-dairy butter with ingredients you can truly feel good about, and the best part? It melts beautifully and tastes absolutely delicious!
The secret to its authentic creamy flavor and silky, spreadable texture lies in a carefully selected combination of refined coconut oil, nutritional yeast, and a touch of apple cider vinegar. Nutritional yeast, a common hero in lactose-free and vegan cooking, is instrumental here for replicating that characteristic salty, savory, and slightly cheesy undertone often associated with butter. Meanwhile, refined coconut oil plays a crucial role, offering a neutral base that sets perfectly without imparting any unwanted coconut flavor, ensuring your homemade butter is truly versatile.
Essential Ingredients for Your Homemade Vegan Butter
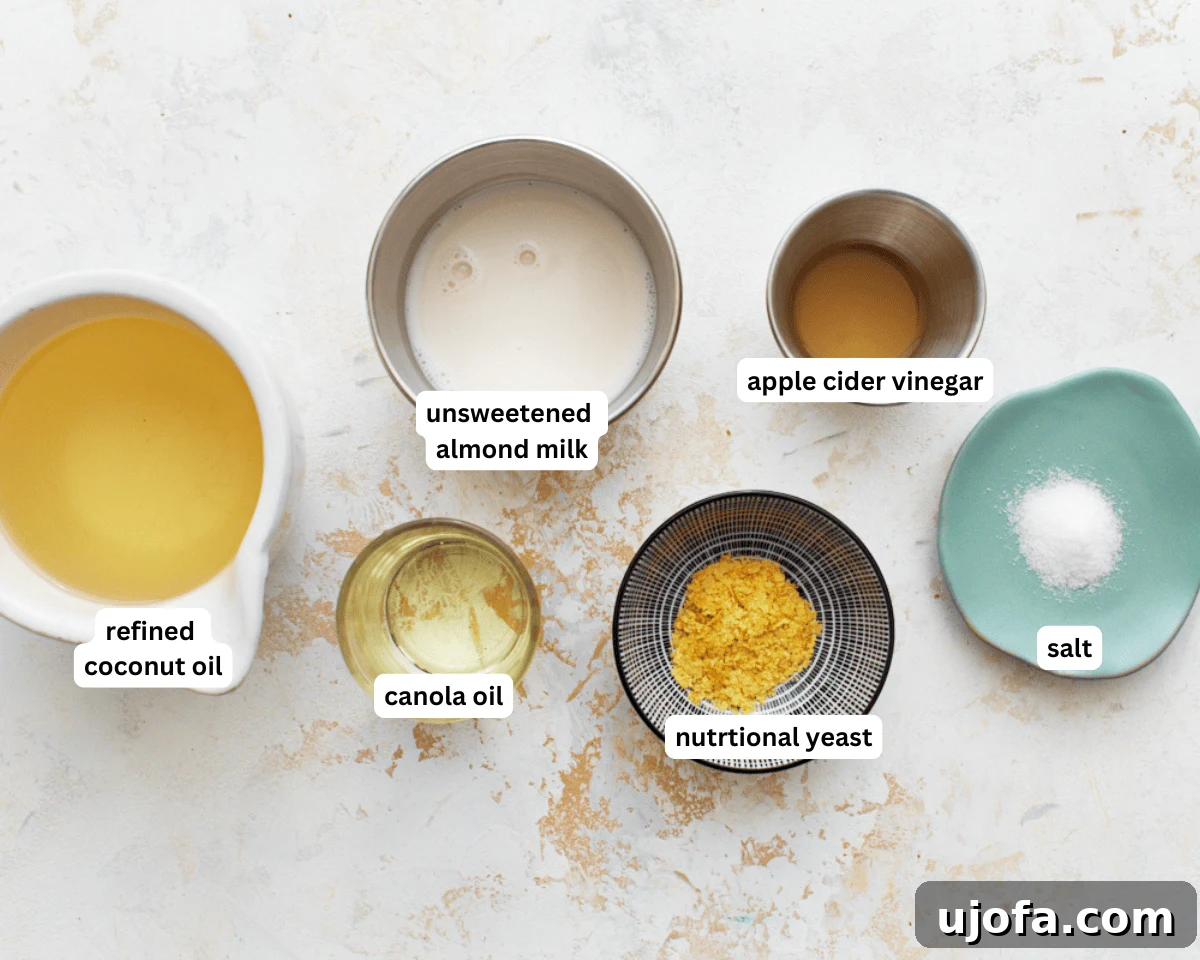
Creating this rich and creamy vegan butter starts with understanding the role of each carefully selected ingredient. Here’s a closer look at what you’ll need and why:
- Refined Coconut Oil: This is perhaps the most critical ingredient. You must use refined coconut oil because it is neutral in flavor and colorless. Unlike unrefined (virgin) coconut oil, which carries a distinct coconut aroma and taste, refined coconut oil allows the butter’s natural, savory flavors to shine through. Its high saturated fat content is also essential for giving the butter its solid, spreadable consistency when chilled, mimicking dairy butter’s texture.
- Canola Oil: Chosen for its neutral flavor profile, canola oil contributes to the overall fat content without dominating the taste. It helps create a softer, more spreadable consistency than coconut oil alone, preventing the butter from becoming too hard when refrigerated. If you prefer, other neutral-flavored oils like avocado oil, sunflower oil, or grapeseed oil can be excellent substitutes, offering similar benefits.
- Unsweetened Almond Milk: We recommend unsweetened and unflavored almond milk to ensure the final product’s taste is purely buttery. Any other plain, unsweetened plant-based milk (such as soy, oat, or cashew milk) can also be used. The key is to avoid flavored or sweetened varieties, as these will alter the intended savory flavor of your vegan butter. The plant milk helps to emulsify the oils and contributes to the creamy texture.
- Apple Cider Vinegar: Just a touch of apple cider vinegar (ACV) introduces a mild acidity that is crucial for balancing the rich, fatty flavors of the oils. It provides a subtle tanginess that brightens the butter’s profile, much like the slight sourness found in some traditional cultured butters. This small addition enhances the overall complexity of the flavor.
- Nutritional Yeast: Considered the “secret weapon” in many vegan recipes, nutritional yeast is vital for imparting that classic, savory, and slightly umami “buttery” flavor. It has a cheesy, nutty taste that significantly elevates the butter’s depth and authenticity. Beyond flavor, it’s also a good source of B vitamins.
- Salt: Salt is a fundamental flavor enhancer in butter. We love a well-salted butter, which truly brings out its richness. However, if you are monitoring your sodium intake or prefer unsalted butter for specific baking needs, you can certainly omit it or adjust the quantity to your liking.
Expert Tips for Crafting the Best Vegan Butter
To ensure your homemade vegan butter turns out perfectly every time, keep these expert tips in mind:
- Achieving the Perfect Emulsification: Emulsification is the heart of making dairy-free butter. It’s the process of blending two immiscible liquids (like oil and water/milk) into a stable, uniform mixture. For optimal emulsification, make sure all your ingredients, especially the plant milk, are at room temperature before blending. Cold milk can cause the melted refined coconut oil to seize and harden prematurely, preventing a smooth, cohesive mixture. A high-speed blender or food processor is ideal for creating a stable emulsion quickly and efficiently, resulting in a perfectly creamy and homogenous butter.
- Whipping Your Butter to Fluffy Perfection: For a truly luxurious experience, this recipe can easily be adapted to make light and airy whipped butter. After the initial blending and emulsification (following step 1 of the recipe), transfer the mixture to a stand mixer bowl. Chill it in the refrigerator for 30-45 minutes, or until it has thickened but is still soft and malleable, not fully solidified. Once it reaches this consistency, use a hand or stand mixer on medium to high speed to whip the butter for 2-4 minutes. This process introduces air, increasing its volume slightly and yielding a wonderfully light, fluffy, and even more spreadable consistency, perfect for pastries or as a delicate topping.
- Baking with Homemade Vegan Butter: When using your vegan butter for baking, it’s crucial to let it soften at room temperature for at least 30 minutes. Resist the urge to microwave it! Microwaving butter, whether dairy or vegan, can break down its delicate structure, separating the fats and water content. This separation can negatively impact the texture and rise of your baked goods. Natural softening preserves the butter’s integrity, ensuring consistent and delicious results in all your baking endeavors.
- Infusing Flavors: Unleash Your Creativity: This dairy-free butter provides an excellent neutral base for custom flavor infusions. Don’t hesitate to experiment with your favorite herbs and seasonings! Common favorites include fresh minced garlic and herbs like rosemary or chives for savory applications. Imagine a vibrant dill butter for potatoes, or a sweet cinnamon-sugar butter for breakfast pastries. The possibilities are endless, allowing you to tailor your butter to any dish or craving.
Refined vs. Unrefined Coconut Oil: A Crucial Distinction
The choice of coconut oil is paramount in this recipe. Refined coconut oil is processed to remove its distinct coconut flavor and aroma, making it a neutral base. This neutrality is precisely what we need to create a butter that tastes like traditional dairy butter, allowing the other flavors (like nutritional yeast and apple cider vinegar) to shine through and contribute to the authentic buttery profile.
In contrast, unrefined, or virgin, coconut oil retains its natural, strong coconut taste and scent. While fantastic for recipes where a prominent coconut flavor is desired (think certain curries, tropical desserts, or smoothies), it would overpower the delicate buttery notes we’re aiming for in this recipe. Using unrefined coconut oil would result in coconut-flavored butter, which might be delicious in its own right, but not what we’re making here. Therefore, always double-check your label to ensure you’re grabbing the refined variety to achieve the classic buttery taste and ideal consistency.
Blender or Whisk? Making Vegan Butter Without Special Equipment
While a high-speed blender or food processor makes the process of creating this smooth, emulsified vegan butter incredibly easy and efficient, it is absolutely possible to make it without these specialized appliances. If you don’t have a blender or food processor, a strong whisk and a good dose of arm power will do the trick.
To make it manually, ensure your melted refined coconut oil and other liquids are at room temperature. Combine all ingredients in a sturdy bowl and begin whisking vigorously. The key is to whisk thoroughly and consistently to ensure the oils and liquids are fully combined and emulsified. This might take a bit longer and require more effort to achieve the same smooth and creamy consistency, but with persistence, you can definitely achieve a well-emulsified, delicious homemade vegan butter. The goal is to avoid any separation of fats and liquids, so keep whisking until the mixture is uniform and stable before pouring it into your molds.
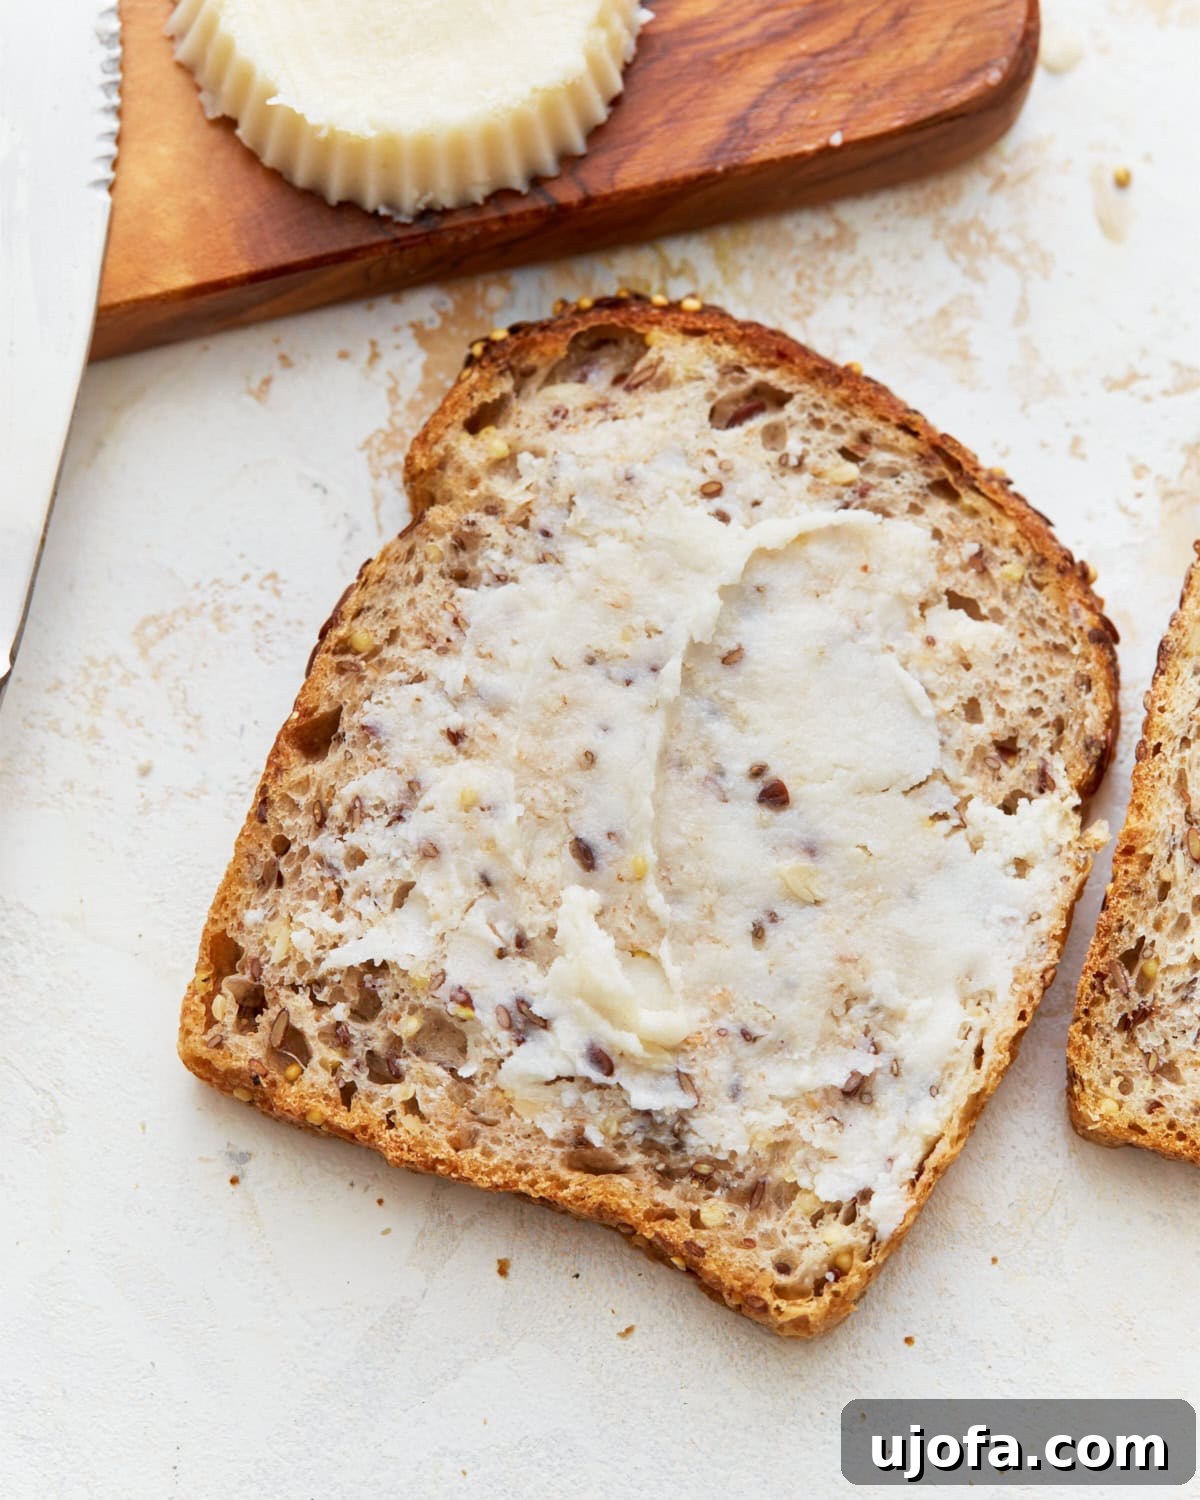
Versatile Serving Suggestions: How to Enjoy Your Homemade Vegan Butter
The beauty of this easy vegan lactose-free butter lies in its incredible versatility. You can use it in virtually all the same ways you would use traditional dairy butter, effortlessly integrating it into your daily meals and special recipes. Its rich flavor and creamy texture make it a staple in any kitchen.
Here are just a few ideas to get you started:
- Breakfast & Brunch: Spread it generously on your morning toast, bagels, or English muffins. It’s equally delicious melted over fluffy pancakes, waffles, or added to warm oatmeal for extra richness.
- Cooking & Sautéing: Use it to sauté your favorite vegetables, adding a depth of flavor that oil alone can’t achieve. It’s perfect for making a savory roux for gravies and sauces, or for pan-frying plant-based proteins.
- Baking & Pastries: This vegan butter performs exceptionally well in baking. I’ve successfully used it to create delectable treats like my gluten-free chocolate chip cookies, light and airy gluten-free vanilla cupcakes, and even in delicate phyllo dough for savory or sweet pastries.
- Savory Enhancements: Elevate everyday dishes by spreading it on homemade gluten-free garlic bread, melting it over steamed corn on the cob, or stirring it into creamy mashed potatoes. It’s also fantastic for enriching sauces, like my dairy-free Alfredo.
- Flavor Infusions: As mentioned in our tips, this butter is an excellent canvas for flavor. Try making a compound butter with fresh herbs, lemon zest, or chili flakes for an extra kick!
Storing Your Homemade Vegan Butter for Longevity
Proper storage is key to enjoying your homemade vegan butter for as long as possible. Luckily, it’s quite simple to keep it fresh and ready for use.
When stored in an airtight container in the refrigerator, your homemade vegan butter will stay fresh and delicious for up to two weeks. Ensure the container is sealed tightly to prevent any absorption of refrigerator odors and to maintain its creamy texture.
For longer-term storage, vegan butter freezes beautifully for up to 3 months. In our household, butter is a high-demand item, so I often prepare a larger batch and freeze it in convenient portions. A smart hack for freezing is to pour the freshly blended butter into ice cube trays. Once solidified, transfer these individual cubes into a freezer-safe bag. This method provides perfectly portioned, easy-to-grab cubes that can be thawed as needed, reducing waste and ensuring you always have fresh vegan butter on hand. Simply thaw your desired amount in the refrigerator overnight or at room temperature for a few hours before use.
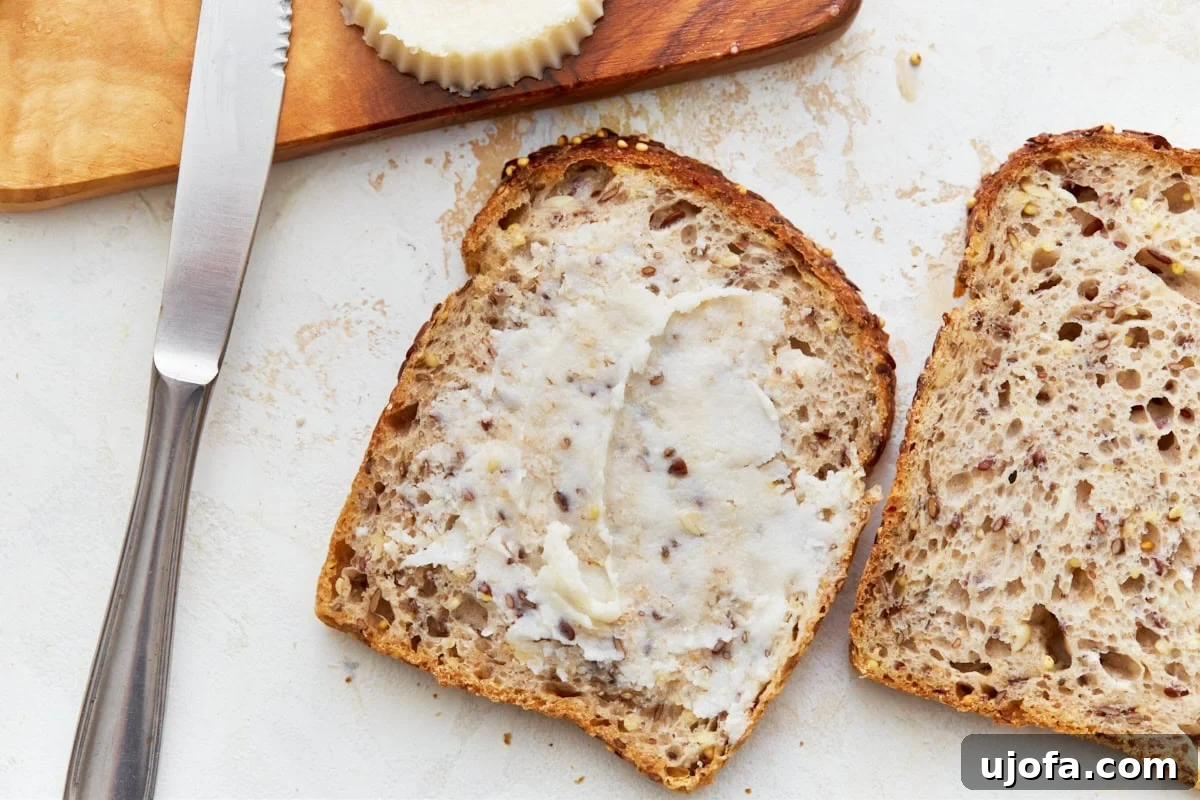
More Dairy-Free Spreads & Dips to Explore
If you’re loving the freedom and flavor of homemade dairy-free options, you’ll be thrilled to discover more recipes that make living a plant-based life delicious and easy. Expand your culinary repertoire with these fantastic dairy-free spreads and dips:
- Dairy-Free Coconut Yogurt
- Dairy-Free Ranch Dressing
- Dairy-Free Tzatziki
- Gluten-Free Gravy
- Gluten-Free Roux
Homemade Vegan Butter Recipe Card
This simple and straightforward recipe for homemade vegan butter yields a creamy, spreadable, dairy-free alternative that melts just like traditional butter. It’s perfect for all your culinary adventures, from spreading on sandwiches to frying and baking.
By: Sabine Venier
Servings: 1 cup
Prep Time: 5 minutes
Total Time: 5 minutes
Equipment
- 1 blender or food processor
Ingredients
- 1/2 cup refined coconut oil, melted
- 2 tablespoons canola oil
- 1/4 cup unsweetened almond milk, or other plant milk
- 1 teaspoon apple cider vinegar
- 1 teaspoon nutritional yeast
- 1/4 tsp salt
Instructions
- In a blender or food processor, combine the melted refined coconut oil, canola oil, almond milk, apple cider vinegar, nutritional yeast, and salt. Blend on high until the mixture is smooth and fully emulsified.
- Pour the mixture into small molds or an airtight container.
- Refrigerate for 1-2 hours until the butter has solidified. Once set, it’s ready to use. Store in the fridge for up to 2 weeks.
Notes
- I love using this recipe to make whipped butter, too! Follow step 1 to mix and emulsify the butter. Once blended, I add the butter to my stand mixer bowl and chill for 30-45 minutes or until it thickens but is still soft and malleable. Once the mixture is firm but not fully set, use a hand or stand mixer on medium to high speed. Whip the butter for 2-4 minutes until light and fluffy. It should increase in volume slightly and have a whipped, airy consistency. This process introduces air into the mixture, giving it that smooth, whipped texture while keeping it light and spreadable.
- When I bake with vegan butter, I let it soften for 30 minutes outside of the fridge instead of microwaving it. Baking requires butter to have a specific structure. Microwaving butter breaks it down and separates the fat and water content.
- Emulsification is key for making dairy-free butter. I like to make sure my ingredients, especially plant milk, are at room temperature before blending. Cold milk can cause the fat to harden and prevent the mixture from fully emulsifying.
- This dairy-free butter is an excellent base for herbs and seasonings. I like to use it for garlic butter and rosemary butter. Experiment and add in your favorite flavors.
- Vegan butter can stay fresh for up to two weeks when stored in an airtight container in the refrigerator.
- It can also be frozen for up to 3 months. We go through butter quickly in this house, so I like to make a big portion, freeze it, and store it in portions. A great tip is to store it in ice cube trays and transfer them to a freezer-safe bag for easy-to-grab cubes.
Nutrition
Serving: 1 serving | Calories: 1173 kcal | Carbohydrates: 2g | Protein: 1g | Fat: 137g | Saturated Fat: 92g | Polyunsaturated Fat: 10g | Monounsaturated Fat: 25g | Trans Fat: 0.1g | Sodium: 663mg | Potassium: 44mg | Fiber: 1g | Sugar: 0.1g | Calcium: 77mg | Iron: 0.2mg
Nutrition information is automatically calculated, so should only be used as an approximation.
Additional Info
Course: Baking, sauces
How to make Homemade Vegan Butter Step-by-Step
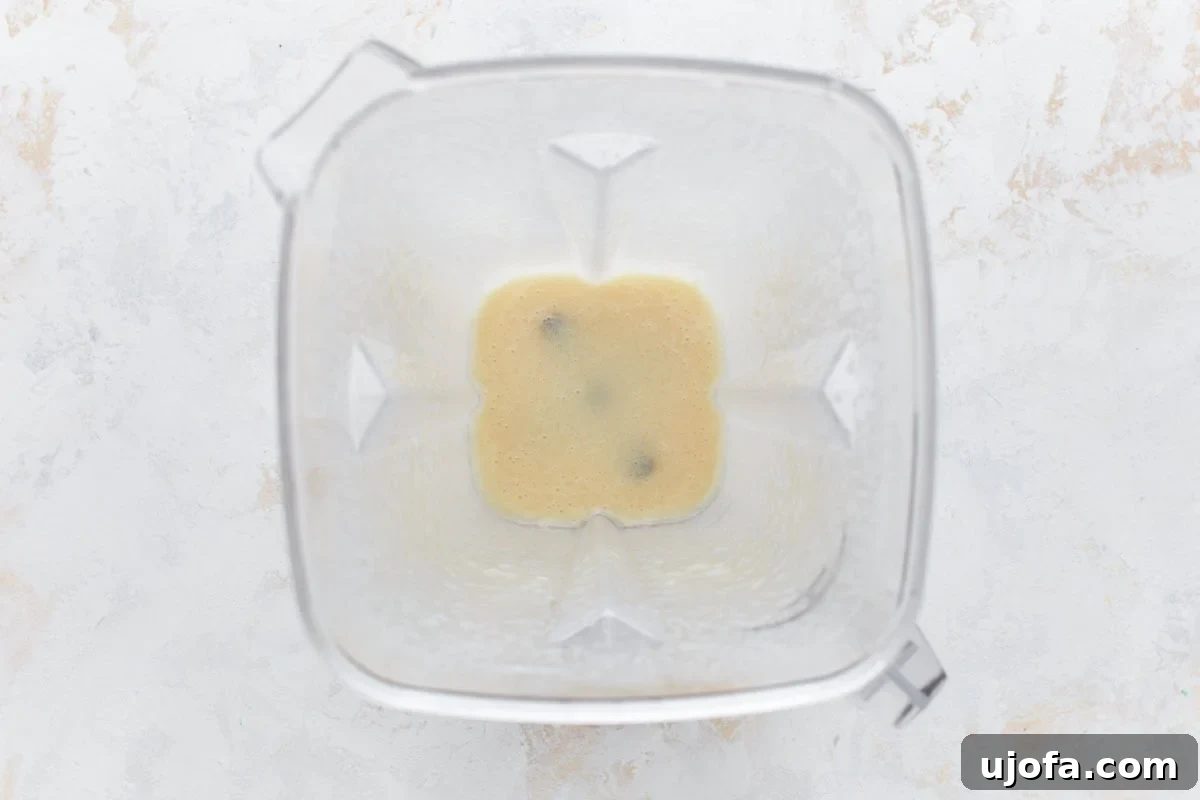
Step 1: Blend Ingredients. In a blender or food processor, combine 1/2 cup melted refined coconut oil, 2 tablespoons canola oil, 1/4 cup unsweetened almond milk, 1 teaspoon apple cider vinegar, 1 teaspoon nutritional yeast, and 1/4 teaspoon salt. Blend on high speed until the mixture is completely smooth and fully emulsified. This ensures a uniform and creamy texture.
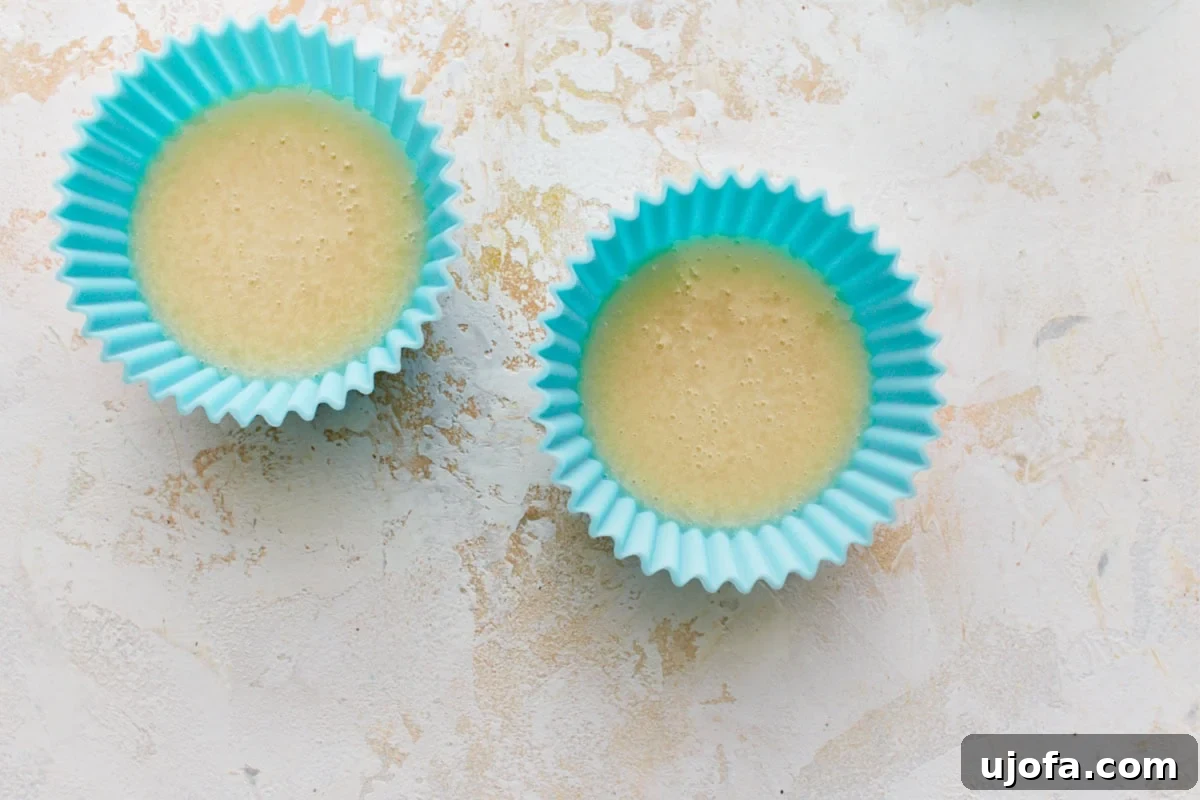
Step 2: Pour into Molds. Carefully transfer the freshly blended vegan butter mixture into your chosen molds, such as silicone cupcake molds for individual portions, or a single airtight container for a larger block. Ensure they are placed on a flat surface before chilling.
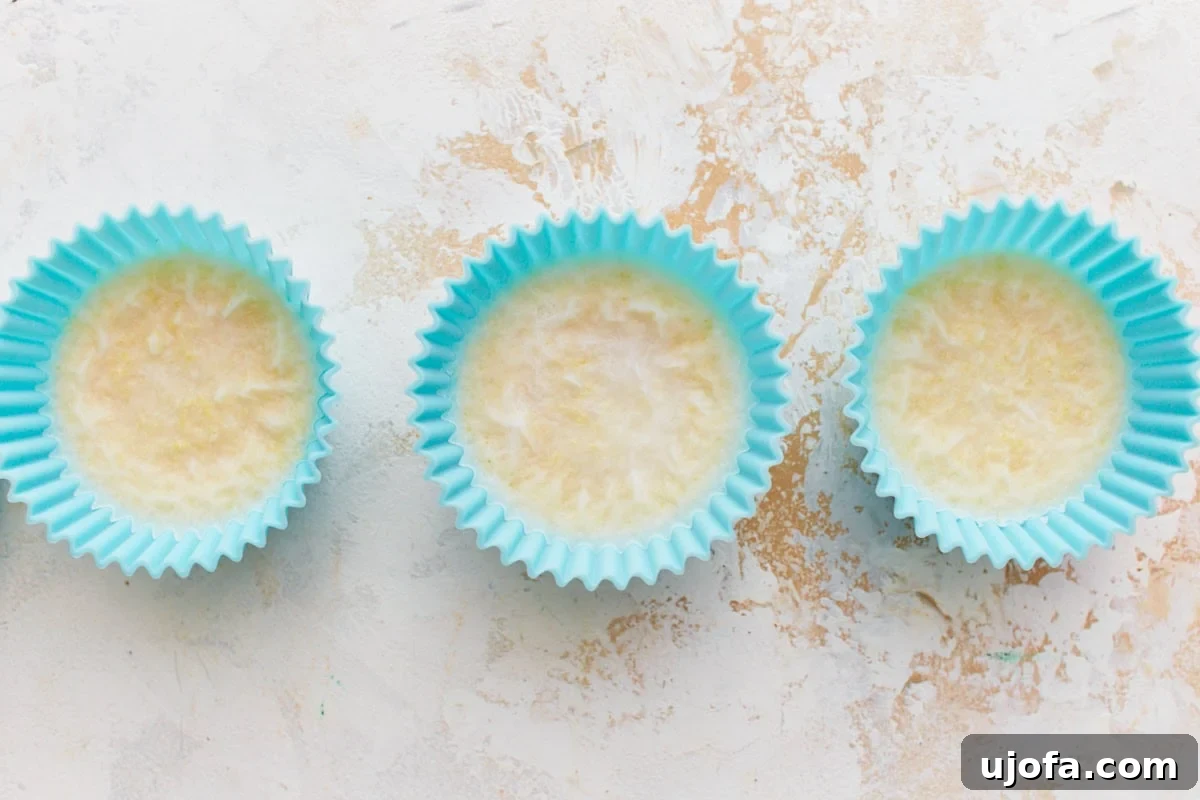
Step 3: Chill Until Solidified. Refrigerate the molds or container for 1-2 hours, or until the vegan butter solidifies and is fully set. Once firm, it’s ready to be used. Remove from molds, spread, serve, and enjoy the creamy goodness on your favorite dishes!