
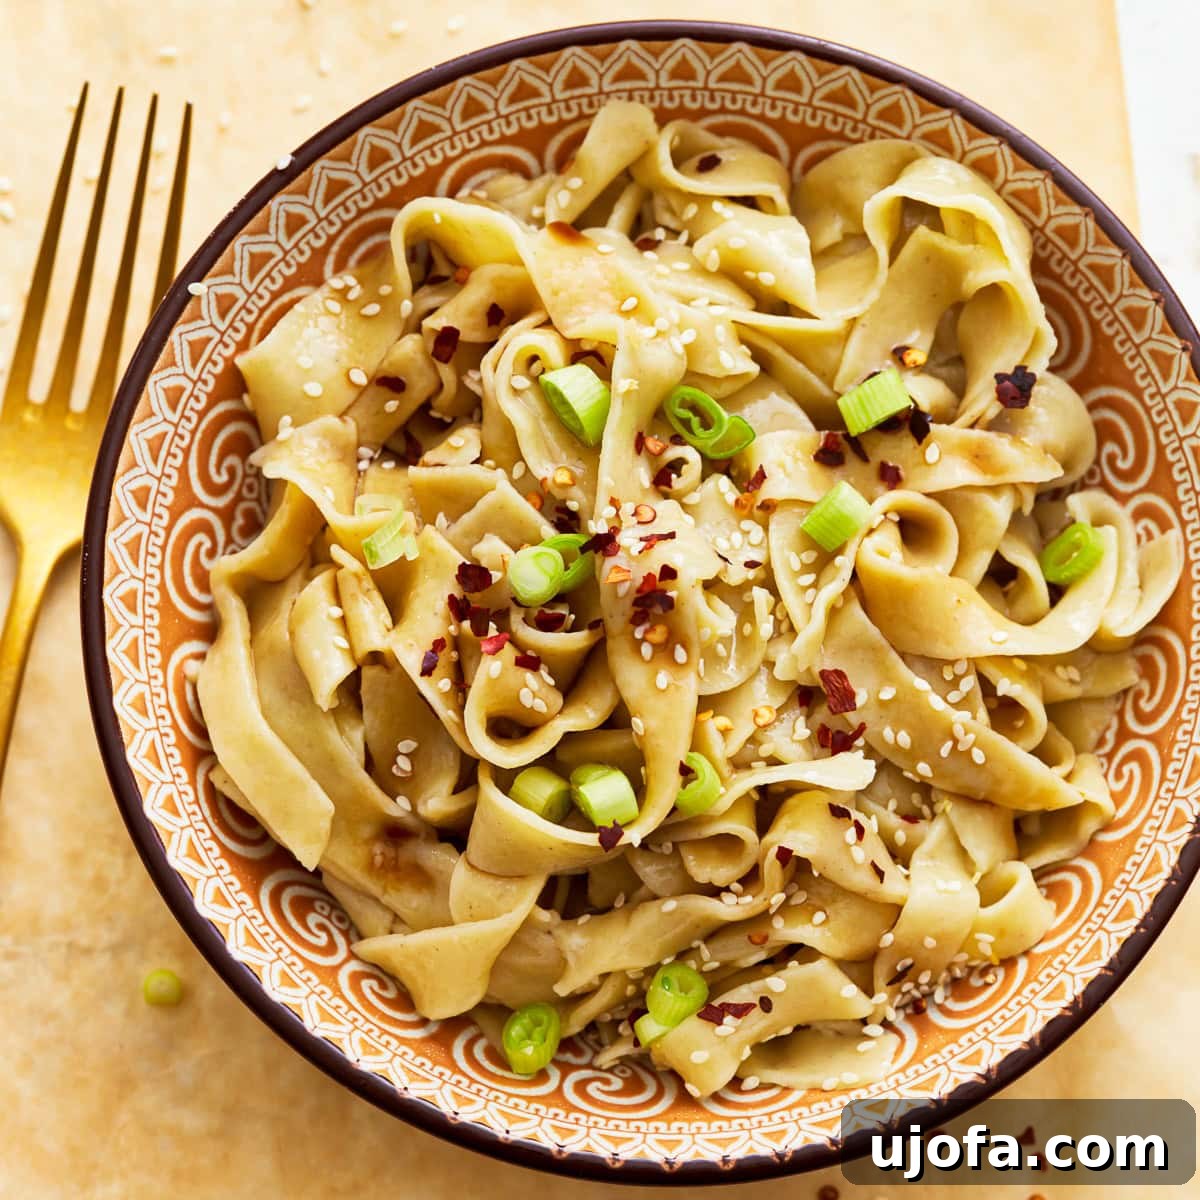
Embark on a culinary journey to create the most incredible **homemade gluten-free egg noodles** you’ve ever tasted! Imagine perfectly chewy, rich, and utterly delicious noodles that come together with just four core ingredients (plus water and salt). This recipe empowers you to craft a versatile gluten-free staple right in your kitchen, no fancy pasta maker required. Simply roll out the dough by hand and transform it into the ideal base for all your cherished comfort foods, from a heartwarming chicken noodle soup to a creamy beef stroganoff. Say goodbye to store-bought limitations and hello to fresh, wholesome, and truly satisfying gluten-free noodles that will undoubtedly become a forever favorite in your weekly meal rotation.
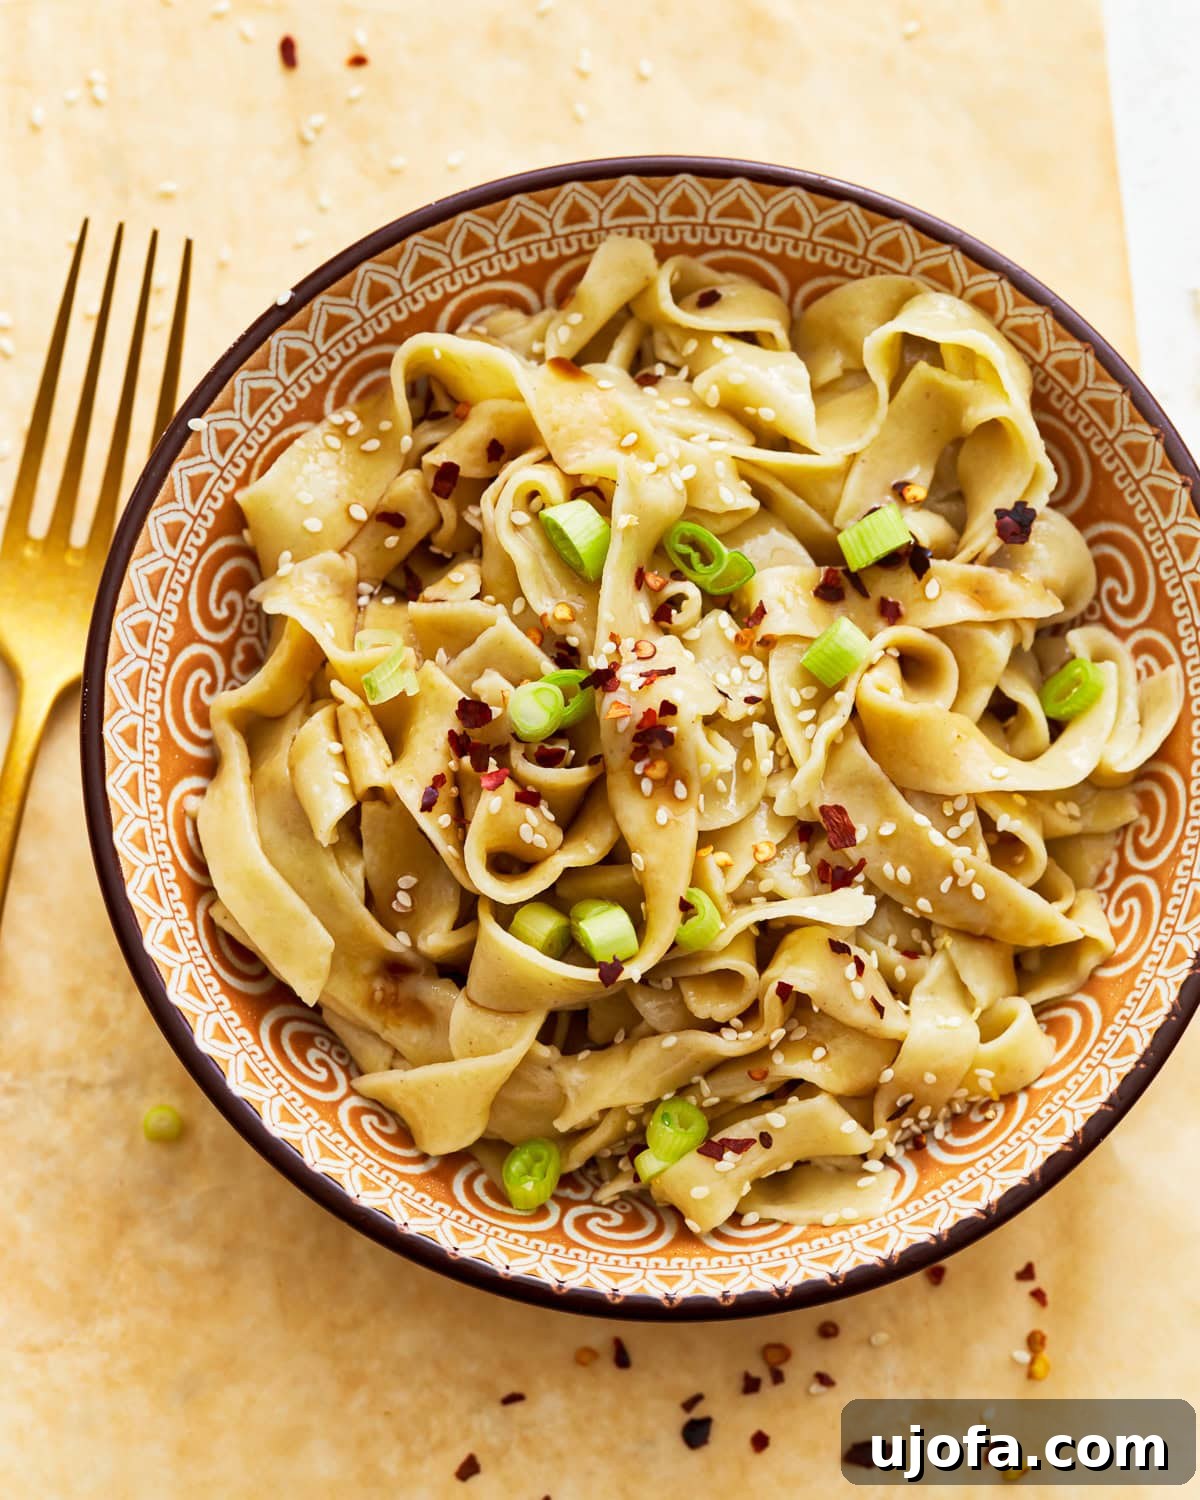
The Ultimate Guide to Homemade Gluten-Free Egg Noodles
For too long, those following a gluten-free diet have had to compromise on the simple pleasure of a perfectly chewy egg noodle. Store-bought gluten-free options often fall short, lacking the springy texture and rich flavor that makes traditional egg noodles so beloved. That’s where this recipe steps in, inspired by my successful ventures into homemade gluten-free pasta and gluten-free Pad Thai. After extensive testing, I’ve fine-tuned a method that utilizes a thoughtful combination of gluten-free flour, tapioca starch, and a generous amount of eggs to create an unparalleled noodle experience. The result is a dough that’s surprisingly easy to handle and transforms into noodles with a smooth texture and deep, satisfying taste. Forget the complex machinery; with just a rolling pin and a little love, you can bring these delightful egg noodles to life.
Why Choose Homemade Gluten-Free Egg Noodles?
- Unmatched Taste and Texture: The primary reason to make your own! Freshly made noodles possess a superior flavor and a signature chewiness that’s difficult to replicate in mass-produced alternatives. This recipe ensures a delicate richness from the eggs and a perfect bite every time.
- Complete Control Over Ingredients: Making noodles from scratch means you know exactly what goes into them. This is especially crucial for those with Celiac disease, gluten sensitivities, or other dietary restrictions. You can select your preferred certified gluten-free flour blend and ensure no hidden gluten finds its way into your meal.
- Surprising Simplicity: Many shy away from homemade pasta, fearing it’s too complicated. This recipe proves otherwise. With straightforward steps and common kitchen tools, you’ll be amazed at how easily you can create professional-quality noodles without needing a specialized pasta machine.
- Economic and Satisfying: While quality gluten-free ingredients can sometimes be pricier, making staples like noodles at home can be more cost-effective in the long run. Plus, there’s an undeniable sense of accomplishment and satisfaction that comes from preparing delicious food from scratch.
- Ultimate Versatility: Once you master these noodles, a world of culinary possibilities opens up. They are incredibly adaptable, serving as the perfect foundation for a vast array of dishes, from comforting soups to elaborate pasta entrees.
Essential Ingredients for Perfect Gluten-Free Egg Noodles
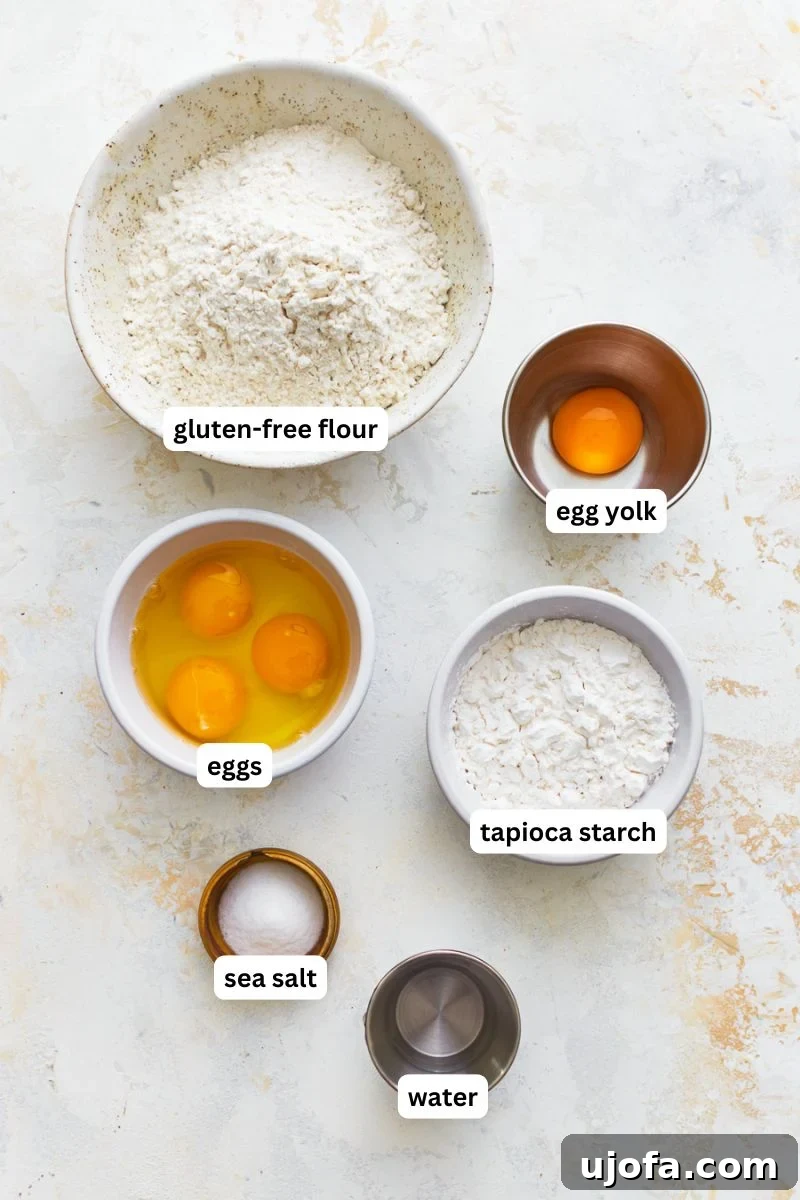
Crafting exceptional gluten-free egg noodles starts with selecting the right ingredients. Each component in this recipe plays a vital role in achieving that perfect chewy texture and rich flavor profile. By understanding their functions, you’ll be well-equipped to create delicious noodles consistently.
- All-Purpose Gluten-Free Flour Blend: This forms the foundational structure of our noodles. The quality and composition of gluten-free flour blends can vary significantly between brands. Most blends typically contain a mix of rice flour (white or brown), potato starch, tapioca starch, and often sorghum or millet flour. These varying ratios can affect how much liquid the dough absorbs. For the best results, I recommend using a high-quality, all-purpose blend. If your chosen blend does not already contain xanthan gum, you’ll need to add it separately as instructed to ensure proper binding.
- Xanthan Gum: This crucial ingredient acts as a binder and elasticity enhancer in gluten-free baking and cooking, effectively mimicking the properties of gluten. Without gluten, baked goods and pastas can be crumbly and lack structure. Xanthan gum provides that much-needed elasticity and helps the dough hold together, preventing it from tearing when rolled and giving the cooked noodles their characteristic chew. Only add xanthan gum if your specific gluten-free flour blend does not already list it as an ingredient.
- Tapioca Starch (or Tapioca Flour): Often confused, tapioca starch and tapioca flour are the same product, derived from the cassava root. In this recipe, tapioca starch is key for adding a desirable stretch to the raw dough, making it more pliable and easier to work with. Once cooked, it contributes significantly to the delightful chewiness and tender texture of the finished noodles, making them satisfyingly resilient rather than brittle.
- Eggs (3 Large Eggs + 1 Extra Egg Yolk): Eggs are absolutely central to egg noodles, providing richness, flavor, and a beautiful golden hue. The proteins in eggs also contribute to the dough’s structure and elasticity. Adding an extra egg yolk is my secret for making these noodles exceptionally rich and flavorful, giving them a luxurious texture that truly stands out. Don’t waste the leftover egg white! Save it for a healthy breakfast omelet or use it to make a light and airy meringue dessert.
- Fine Sea Salt: A small but mighty ingredient, salt is essential for seasoning the dough itself, enhancing the overall flavor of the noodles, and preventing them from tasting bland. It also plays a subtle role in strengthening the dough’s structure.
- Water: Water is added sparingly to achieve the perfect dough consistency. Its precise amount can depend on the humidity in your kitchen and the specific gluten-free flour blend you’re using. It helps hydrate the flours, bringing all the ingredients together into a cohesive, workable dough. We’ll discuss how to adjust water levels in the tips below.
Mastering the Dough: Tips for Success
Working with gluten-free dough can sometimes be a bit different from traditional wheat flour dough, but with these tips, you’ll achieve perfect results every time. These insights will help you navigate common challenges and ensure your homemade gluten-free egg noodles are a resounding success.
- Accurate Flour Measurement (The Spoon & Level Method): This is perhaps the most critical tip for consistent gluten-free baking. Do not scoop flour directly from the bag with your measuring cup, as this compacts the flour and results in using too much. Instead, use a spoon to lightly scoop the gluten-free flour into your measuring cup until it’s overflowing. Then, use the back of a knife or a straight edge to level off the top. This method ensures you’re using the correct, lighter amount of flour needed for the dough.
- Dough Consistency is Key: Gluten-free flour blends absorb liquid differently, so the exact amount of water needed can vary slightly. The goal is a dough that is smooth, pliable, and elastic, not crumbly or overly sticky. If your dough feels too dry and isn’t coming together well, add water one teaspoon at a time until it reaches the desired consistency. Conversely, if the dough is too sticky and difficult to handle, sprinkle in a small amount of extra gluten-free flour, a tablespoon at a time, until it becomes manageable. Trust your instincts and the feel of the dough.
- Hydration Matters: The Dough Rest: After kneading, it’s crucial to let the dough rest, covered, at room temperature for at least 30 minutes. This resting period allows the gluten-free flours to fully hydrate, absorbing the moisture more completely. This process makes the dough more pliable, less prone to tearing when rolled, and significantly easier to work with. Don’t skip this step – it makes a noticeable difference in the final texture of your noodles.
- Preventing Stickiness During Rolling: Gluten-free dough can sometimes be prone to sticking. To avoid frustration, liberally dust your work surface, rolling pin, and even your hands with extra gluten-free flour before you begin rolling. A large sheet of parchment paper can also be a valuable ally, providing a non-stick surface that helps with both rolling and transferring the delicate dough.
- Make Ahead Option: Planning ahead makes meal prep easier. You can prepare the dough in advance by shaping it into a ball, wrapping it tightly in plastic wrap, and storing it in the refrigerator for up to 24 hours. When you’re ready to make your noodles, remember to let the refrigerated dough come to room temperature for about 30-60 minutes before rolling and cutting. This will make it much more manageable and less likely to crack.
- Rolling Without a Pasta Maker: Achieving uniform thinness by hand is easier than you might think. Divide your dough into manageable portions (quarters work well). Work on a well-floured surface and apply even pressure with your rolling pin, rotating the dough frequently. Aim for consistent thickness across the entire sheet to ensure even cooking.
Gluten-Free Egg Noodles: Addressing Common Questions
Are Traditional Egg Noodles Gluten-Free?
Generally, no. Traditional egg noodles are made with wheat flour, which contains gluten. This makes them unsuitable for individuals with Celiac disease, gluten sensitivity, or those following a gluten-free diet. While some specialty brands offer gluten-free egg noodles in stores, finding them can sometimes be a challenge, and their taste and texture might not always meet expectations. This homemade recipe offers a reliable and delicious alternative, ensuring you can enjoy classic noodle dishes without any concerns about gluten.
How Thin Should I Roll Out the Dough for GF Noodles?
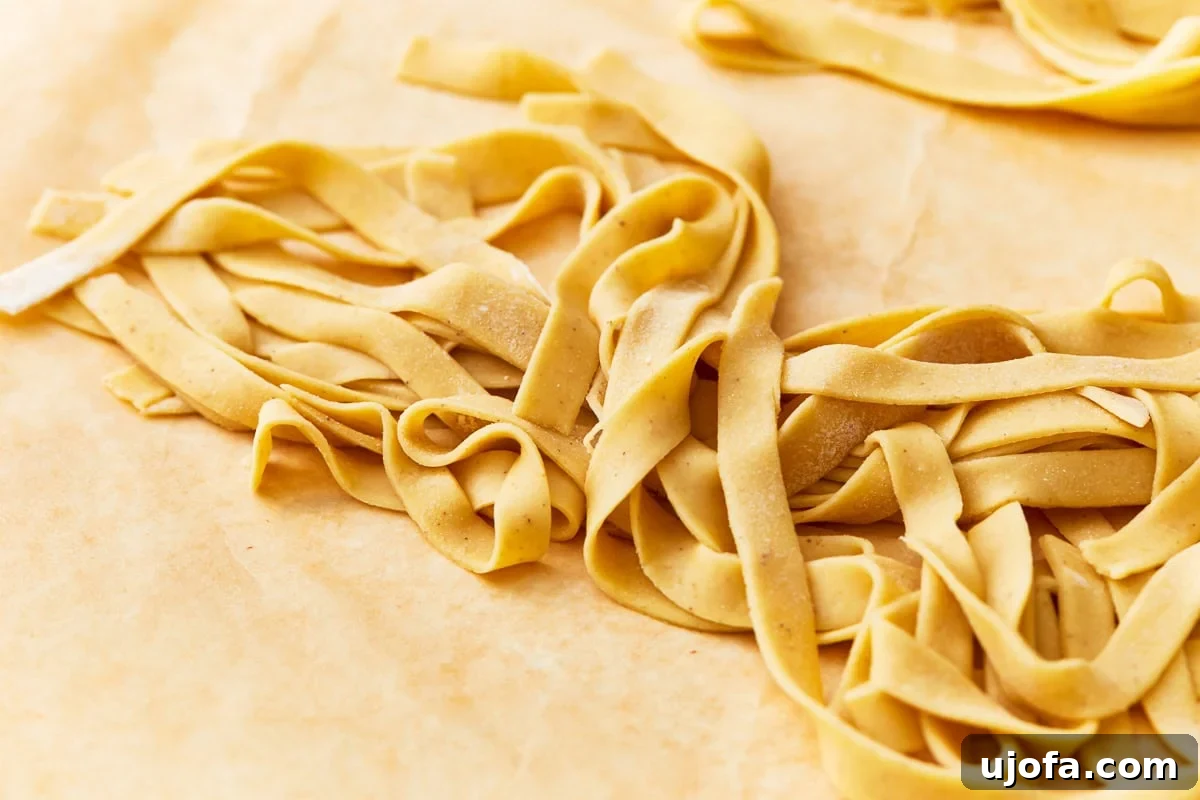
The thickness of your gluten-free egg noodles is entirely a matter of personal preference and can impact the final dish. Thinner noodles, rolled to approximately 1/16th of an inch, will cook much faster and have a lighter, more delicate texture. These are ideal for brothy soups or light sauces where you want the noodles to almost melt in your mouth. Thicker noodles, around 1/8th of an inch, will take slightly longer to cook but offer a heartier, chewier bite. These are perfect for robust stews, creamy sauces like Alfredo, or beef stroganoff, where their substantial texture can stand up to richer ingredients. Experiment with different thicknesses to discover what you enjoy most for various applications.
What Equipment Do I Need to Make Homemade GF Egg Noodles?
One of the beauties of this recipe is its simplicity and minimal equipment requirements. You don’t need a fancy pasta maker or special gadgets. Here’s what you’ll need:
- A large mixing bowl for combining ingredients.
- A fork or your hands for mixing the dough.
- A clean, lightly floured work surface (or a large piece of parchment paper).
- A sturdy rolling pin.
- A sharp knife or pizza cutter for slicing the noodles.
- Plastic wrap for resting the dough.
- A large pot for boiling the noodles.
That’s it! Basic kitchen tools are all you need to create fantastic gluten-free egg noodles from scratch.
Versatile Serving Suggestions for Your Homemade Noodles
Once you’ve made these incredible gluten-free egg noodles, you’ll find they are incredibly versatile, ready to elevate any meal where traditional pasta would be used. Their robust texture and rich flavor make them perfect for a wide array of dishes. Here are some delightful ideas to get you started:
- Classic Pasta Pairings: Toss the freshly cooked noodles with your favorite gluten-free spaghetti sauce, or for a creamy indulgence, coat them in a luscious dairy-free Alfredo sauce. The noodles’ slightly chewy texture holds up beautifully to rich sauces.
- Hearty Soups and Stews: These noodles are a natural fit for comforting liquids. Add them to a hearty beef stroganoff for a truly satisfying meal, or make the ultimate gluten-free chicken noodle soup. They absorb the savory flavors of the broth, creating an incredibly rich and wholesome dish.
- Flavorful Stir-fries: For a quick and delicious weeknight dinner, mix these noodles with sautéed vegetables, your protein of choice (chicken, beef, or tofu all work wonderfully), and a generous drizzle of gluten-free teriyaki sauce. The noodles provide a fantastic base, soaking up all the aromatic stir-fry goodness.
- Simply Delicious: Sometimes, the simplest preparations are the best. For an effortless yet deeply satisfying dinner, toss the warm noodles with a knob of butter and a generous sprinkle of freshly grated Parmesan cheese. This allows the inherent rich flavor and perfect texture of the homemade noodles to truly shine.
- Baked Casseroles: Use these noodles as the base for your favorite gluten-free baked casseroles, such as a creamy tuna noodle casserole or a chicken and mushroom bake. Their sturdy structure holds well during baking.
- Creamy Mushroom Noodles: Sauté mushrooms with garlic and herbs, then stir in some cream or a dairy-free alternative, and toss with the cooked noodles for an elegant vegetarian dish.
Storage and Freezing: Enjoy Your Noodles Longer
Preparing a batch of these homemade gluten-free egg noodles means you can enjoy fresh, delicious meals for days or even weeks. Proper storage ensures they retain their wonderful texture and flavor, ready for whenever a noodle craving strikes.
Storing Uncooked Dough
If you’ve made the dough ahead of time or have leftovers before rolling and cutting, wrap the dough ball tightly in plastic wrap to prevent it from drying out. Store it in the refrigerator for no longer than 24 hours. Before use, it’s essential to let the dough come to room temperature for about 30-60 minutes, which makes it much more pliable and easier to roll without cracking.
Storing Cooked Noodles
Once you’ve cooked your gluten-free egg noodles, any leftovers should be stored promptly. Allow them to cool completely, then transfer them to an airtight container. They will keep well in the refrigerator for up to 3 days. To reheat, you can quickly toss them in a pan with a splash of water or broth, or microwave them until warm.
Freezing for Future Meals
Freezing uncooked noodles is a fantastic way to enjoy homemade pasta convenience at any time. After cutting the noodles to your desired shape, lay them flat in a single layer on a baking sheet lined with parchment paper. Freeze them until they are solid, typically 30-60 minutes. Once frozen, transfer the individual noodles to a freezer-safe bag or an airtight container, ensuring as much air is removed as possible. Frozen noodles will maintain their best texture and taste for up to 2 months. When you’re ready to cook them, there’s no need to thaw! Simply add the frozen gluten-free egg noodles directly to a pot of boiling salted water and cook for a few extra minutes compared to fresh noodles, until they reach your preferred al dente texture.
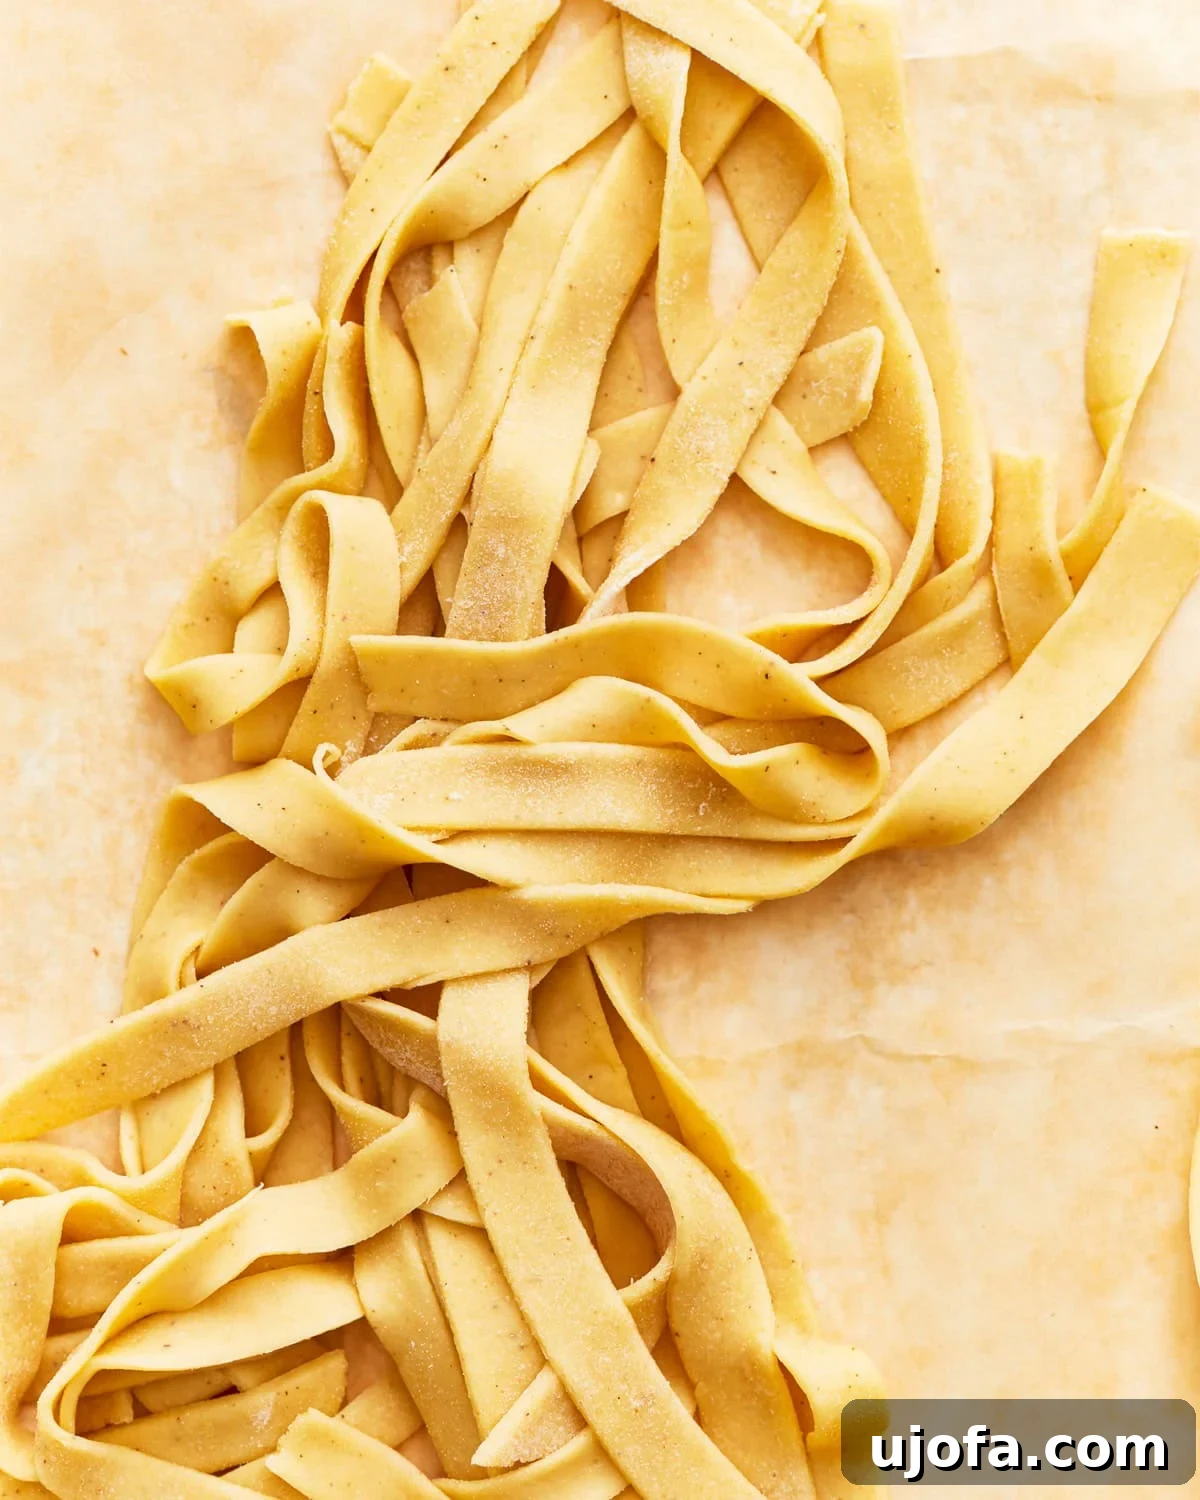
Homemade Gluten-Free Egg Noodles Recipe
Here’s the complete recipe for crafting perfect, chewy, and delicious gluten-free egg noodles right in your kitchen. This recipe makes approximately 4 servings and is designed to be straightforward and rewarding.
Recipe Details
- By: Sabine Venier
- Servings: 4 servings
- Prep Time: 30 minutes
- Cook Time: 2 minutes
- Rest Time: 30 minutes
- Total Time: 1 hour 2 minutes
These gluten-free egg noodles are perfectly chewy, delicious, and so easy to make. Ideal for your favorite soups, stews, or saucy dishes!
Ingredients
- 1 ½ cups all-purpose gluten-free flour
- 1 teaspoon xanthan gum (omit if your flour blend already contains it)
- ½ cup tapioca starch
- ½ teaspoon fine sea salt
- 3 large eggs
- 1 large egg yolk
- 1 tablespoon water
Instructions
- In a large mixing bowl, combine the gluten-free flour, xanthan gum (if required), tapioca starch, and fine sea salt. Whisk or mix thoroughly to ensure even distribution of the dry ingredients.
- Create a spacious well in the center of your dry flour mixture. Into this well, carefully add the 3 large eggs, the single extra large egg yolk, and the 1 tablespoon of water.
- Using a fork or your fingers, gradually begin to incorporate the dry flour mixture from the edges into the wet ingredients in the center. Continue mixing until a shaggy, somewhat crumbly dough forms.
- Once the dough starts to come together, transfer it onto a clean, lightly floured work surface. Knead the dough vigorously for about 5-7 minutes. The dough should transform into a smooth, elastic, and cohesive ball. If the dough feels too dry and resistant, add a small amount of water (half a teaspoon at a time). If it’s too sticky, sprinkle in a little more gluten-free flour (a tablespoon at a time) until it reaches the ideal consistency.
- Form the kneaded dough into a ball. Wrap it tightly with plastic wrap to prevent it from drying out. Allow the dough to rest at room temperature for approximately 30 minutes. This crucial resting period allows the gluten-free flours to properly hydrate and the dough to relax, making it much easier to roll out.
- After the resting period, unwrap the dough and divide it into 4 equal portions. This makes the rolling process more manageable. Flatten each portion slightly into a disk shape using your hands.
- Lightly flour a large piece of parchment paper and your rolling pin with gluten-free flour. Take one portion of dough and roll it out into a thin, even rectangular sheet. Aim for a thickness of approximately 1/16 to 1/8 inch. The thinner you roll, the more delicate your noodles will be.
- Using a sharp knife or a pizza cutter, carefully cut the rolled-out dough sheet into strips of your desired width (e.g., thin for delicate soups, wider for heartier dishes). Repeat the rolling and cutting process with the remaining dough portions.
- To cook your fresh gluten-free egg noodles, bring a large pot of generously salted water to a rolling boil. Carefully add the noodles to the boiling water. Cook for approximately 2 minutes, or until they reach an al dente texture – tender but still with a slight bite. Drain the cooked noodles immediately and serve them hot with your preferred sauce, broth, or toppings.
Important Recipe Notes for Best Results
- Accurate Flour Measurement: Always use the “spoon & level” method when measuring gluten-free flour. Lightly spoon the flour into your measuring cup and level it off with the straight edge of a knife. This prevents over-measuring and a dry dough.
- Dough Adjustments: Gluten-free flour blends vary. Be prepared to adjust the dough’s consistency: if it’s too dry, add a tiny bit more water; if it’s too sticky, add a little extra gluten-free flour.
- Storing Uncooked Dough: Uncooked noodle dough can be wrapped tightly in plastic wrap and refrigerated for up to 24 hours. Always allow it to come to room temperature before rolling.
- Freezing Noodles: To freeze, cut noodles to shape and lay them flat on a baking sheet to freeze solid. Once frozen, transfer to an airtight freezer bag or container for up to 2 months. Cook directly from frozen, adding a few extra minutes to the boiling time.
- Ingredient Labels: Always verify all product labels to ensure they are certified gluten-free, especially for ingredients like flour blends and sauces, to avoid cross-contamination.
Nutrition Information (Approximate)
Please note that nutrition information is an approximation and can vary based on specific ingredient brands and preparation methods.
- Serving: 1 serving
- Calories: 271 kcal
- Carbohydrates: 47 g
- Protein: 10 g
- Fat: 6 g
- Saturated Fat: 2 g
- Polyunsaturated Fat: 1 g
- Monounsaturated Fat: 2 g
- Trans Fat: 0.01 g
- Cholesterol: 188 mg
- Sodium: 368 mg
- Potassium: 62 mg
- Fiber: 5 g
- Sugar: 2 g
- Vitamin A: 267 IU
- Calcium: 57 mg
- Iron: 3 mg
Additional Info
- Course: Dinner
- Cuisine: American
How to Make Gluten-Free Egg Noodles Step-by-Step with Images
Visually guide yourself through each stage of making these delightful gluten-free egg noodles. These step-by-step instructions, accompanied by illustrative images, will ensure your success.
Step 1: Combine Dry Ingredients
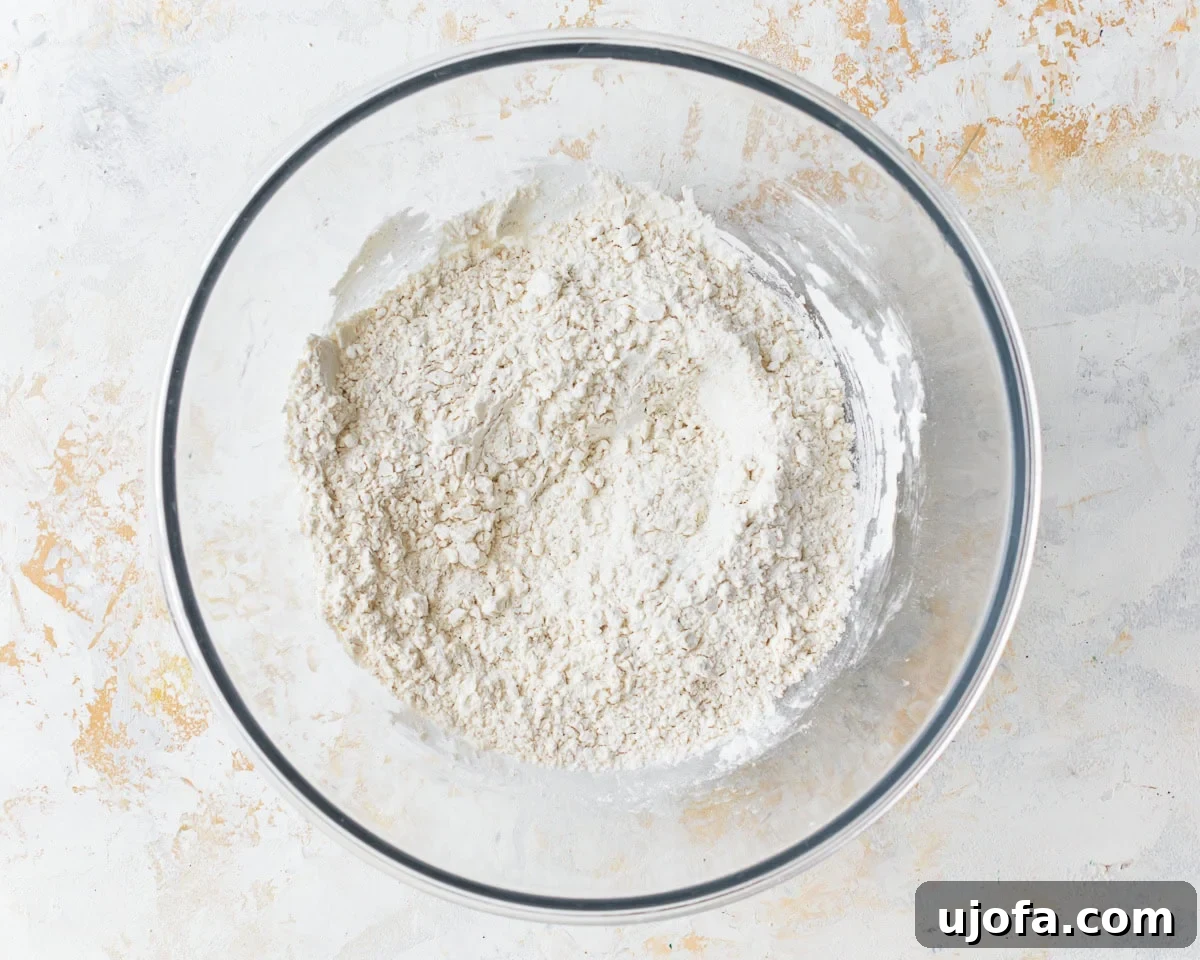
In a large mixing bowl, measure out 1 ½ cups of your chosen all-purpose gluten-free flour, 1 teaspoon of xanthan gum (remember to omit if your flour blend already contains it), ½ cup of tapioca starch, and ½ teaspoon of fine sea salt. Use a whisk or fork to mix these dry ingredients thoroughly until they are evenly distributed throughout the bowl. This ensures that each component can work its magic effectively.
Step 2: Incorporate Wet Ingredients
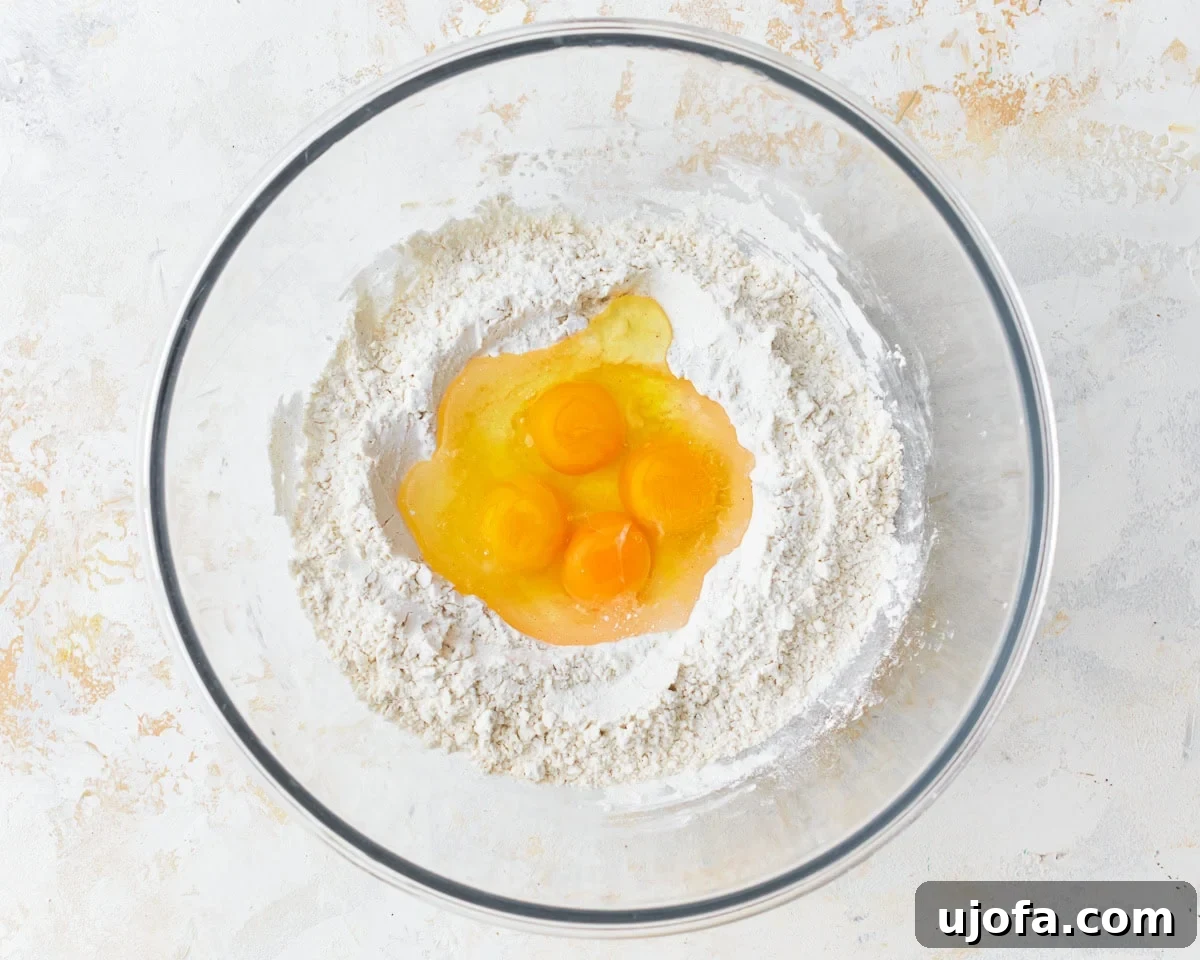
With the dry ingredients well combined, use your hand or the back of a spoon to create a deep well in the very center of the mixture. Carefully crack 3 large eggs into this well, add the extra egg yolk, and then pour in 1 tablespoon of water. This central placement helps to gradually combine the wet and dry ingredients without making a mess.
Step 3: Form the Dough
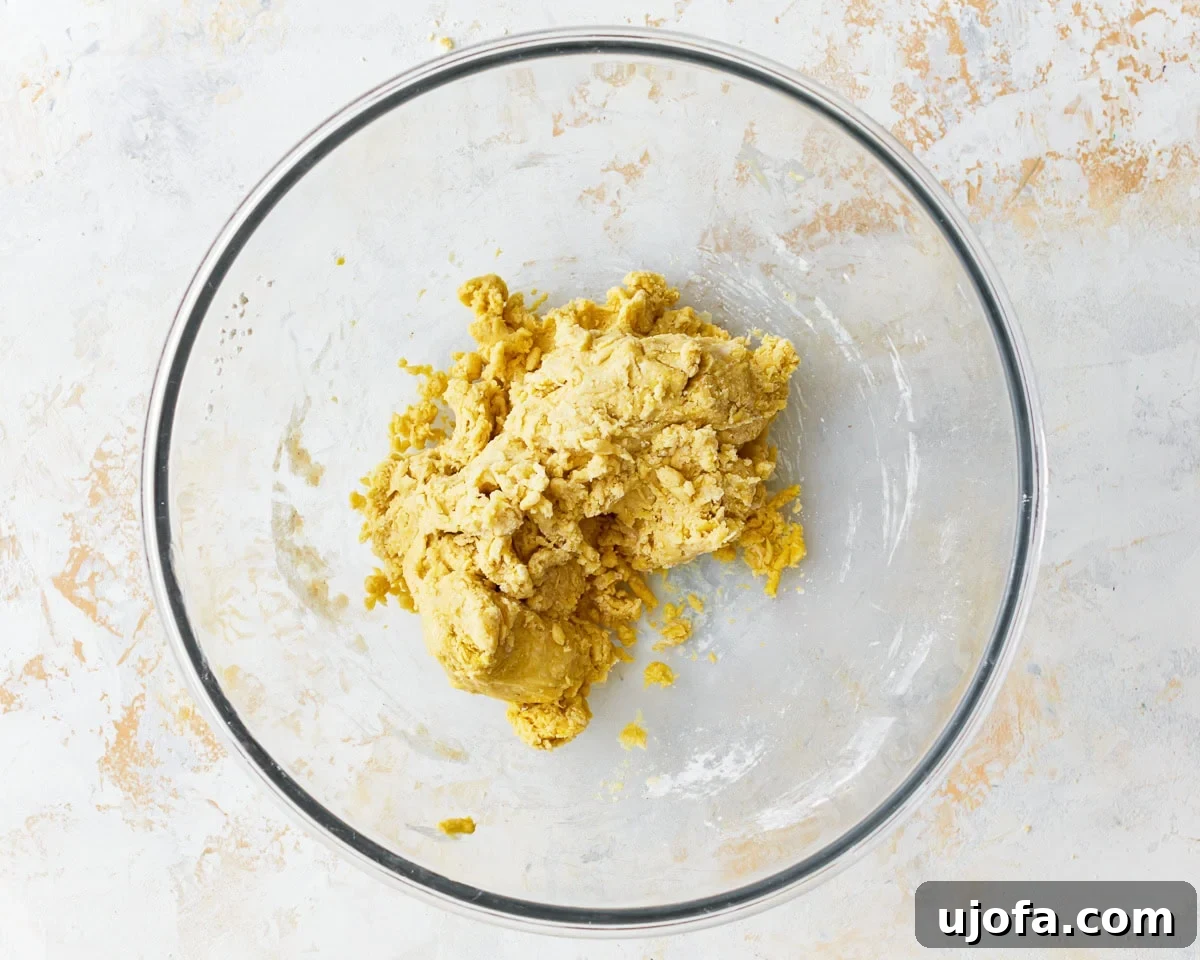
Begin to gently incorporate the dry flour mixture from the sides of the well into the liquid ingredients. You can use a fork, a pastry blender, or even your fingertips for this step. Continue mixing and bringing the dough together until a shaggy, somewhat crumbly, but mostly cohesive dough mass forms. It won’t be smooth yet, but it should stick together.
Step 4: Knead for Smoothness
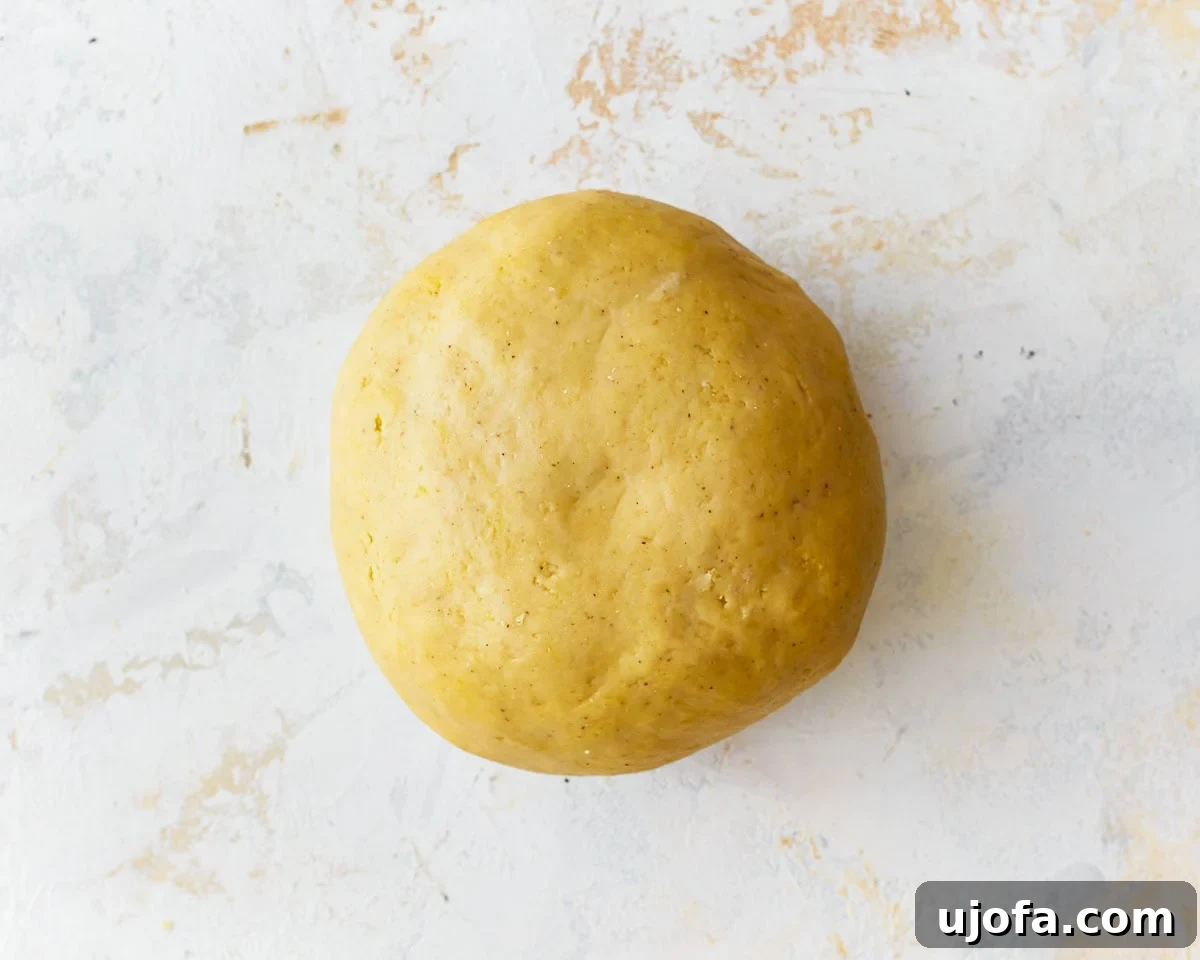
Transfer the shaggy dough from the bowl onto a clean, lightly floured work surface. Now, it’s time to knead! Work the dough with your hands for approximately 5-7 minutes. During this process, the dough will transform, becoming much smoother and more elastic. This kneading develops the binders in the gluten-free flour and activates the xanthan gum, giving the dough its necessary structure. If the dough feels too dry and crumbly, add water in very small increments (e.g., ½ teaspoon at a time); if it’s too sticky, dust with a little extra gluten-free flour (a tablespoon at a time) until it’s pliable and easy to handle.
Step 5: Rest the Dough
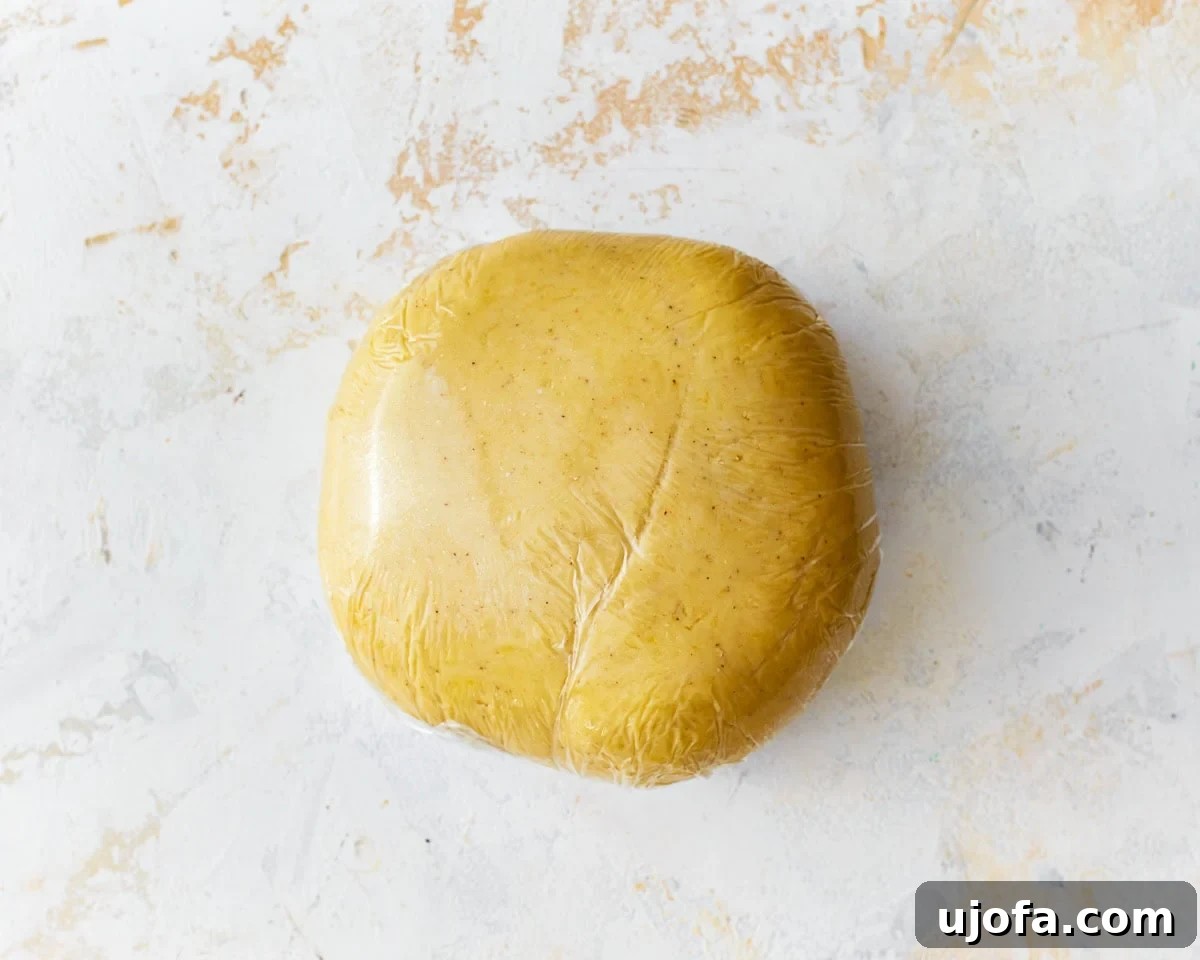
Once your dough is smooth and well-kneaded, shape it into a neat ball. Wrap this ball tightly in plastic wrap, ensuring it’s completely sealed to prevent any drying. Allow the dough to rest at room temperature for at least 30 minutes. This resting period is critical as it allows the gluten-free flours to fully absorb the moisture, resulting in a more hydrated, relaxed, and much easier-to-roll dough that is less likely to tear.
Step 6: Portion and Prepare for Rolling
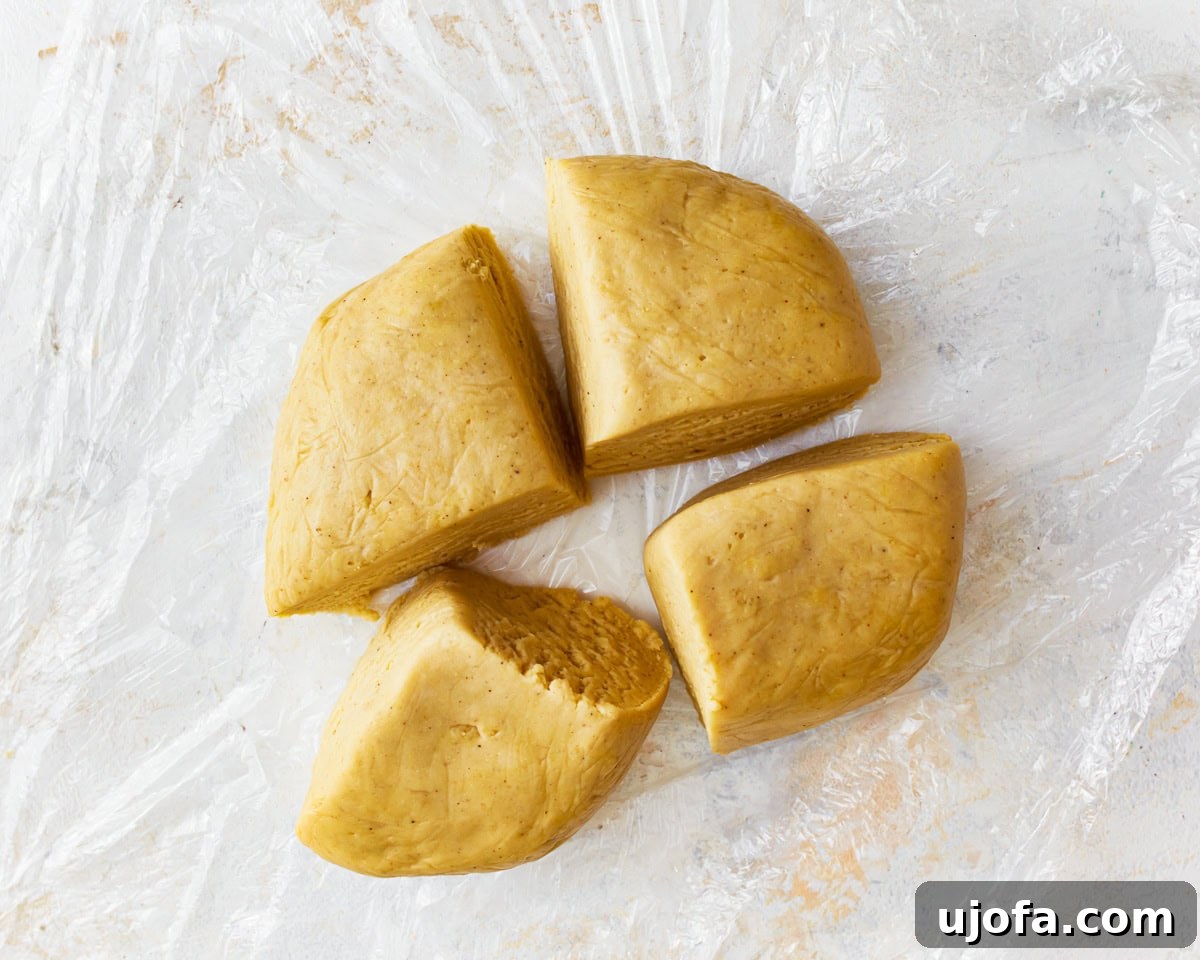
After the dough has rested, unwrap it. For easier handling and to ensure uniform thickness, divide the dough ball into four equal portions. Gently flatten each portion into a small disk using your hands. This pre-shaping will make the initial rolling much more straightforward.
Step 7: Roll Out the Dough
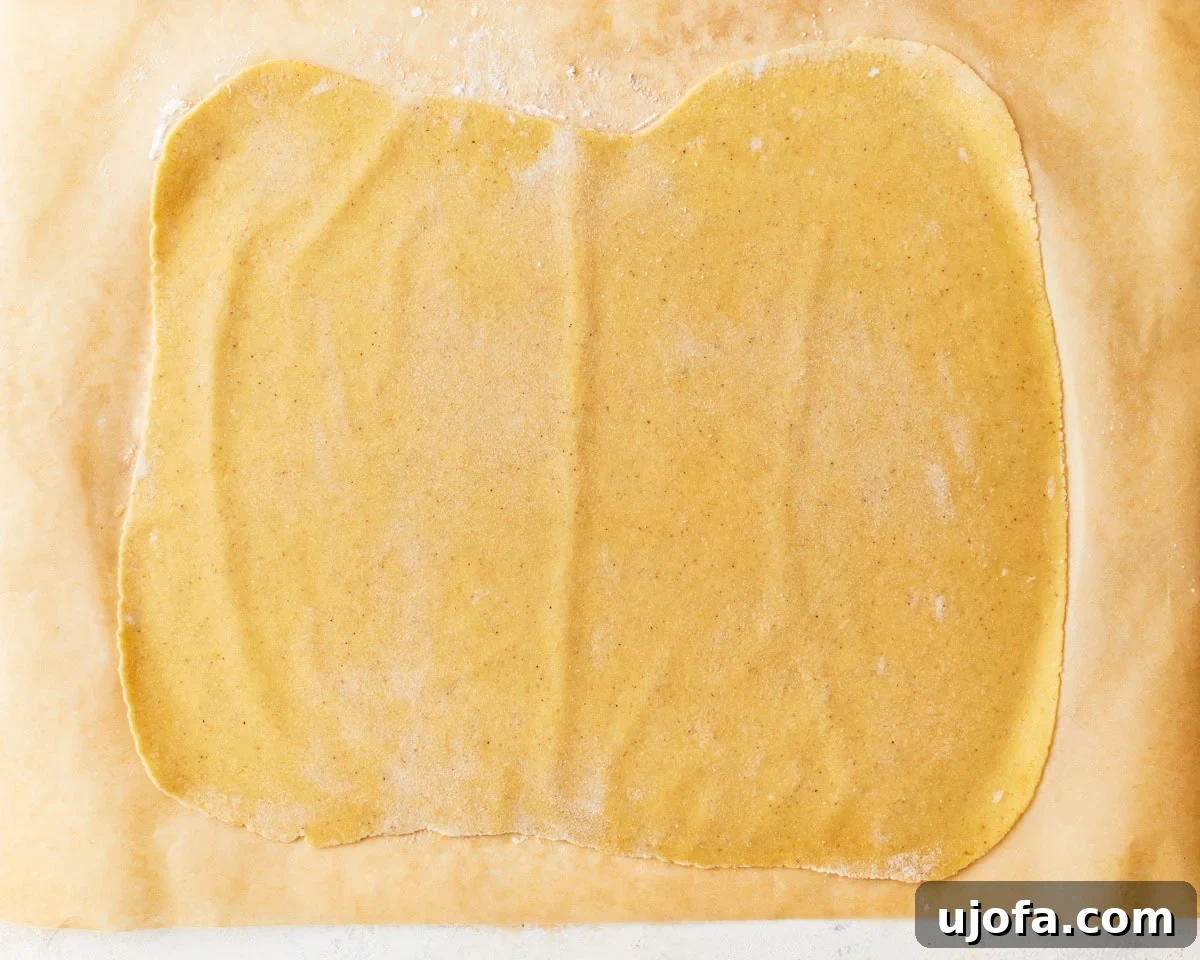
Prepare your rolling surface by lightly dusting a large piece of parchment paper and your rolling pin with gluten-free flour. Take one portion of the dough and begin to roll it out. Apply even pressure as you roll, working from the center outwards, rotating the dough frequently. Aim to roll it into a thin rectangular sheet, striving for a consistent thickness of approximately 1/16 to 1/8 inch. The thinner you manage to roll it, the more delicate your final noodles will be.
Step 8: Cut into Noodles
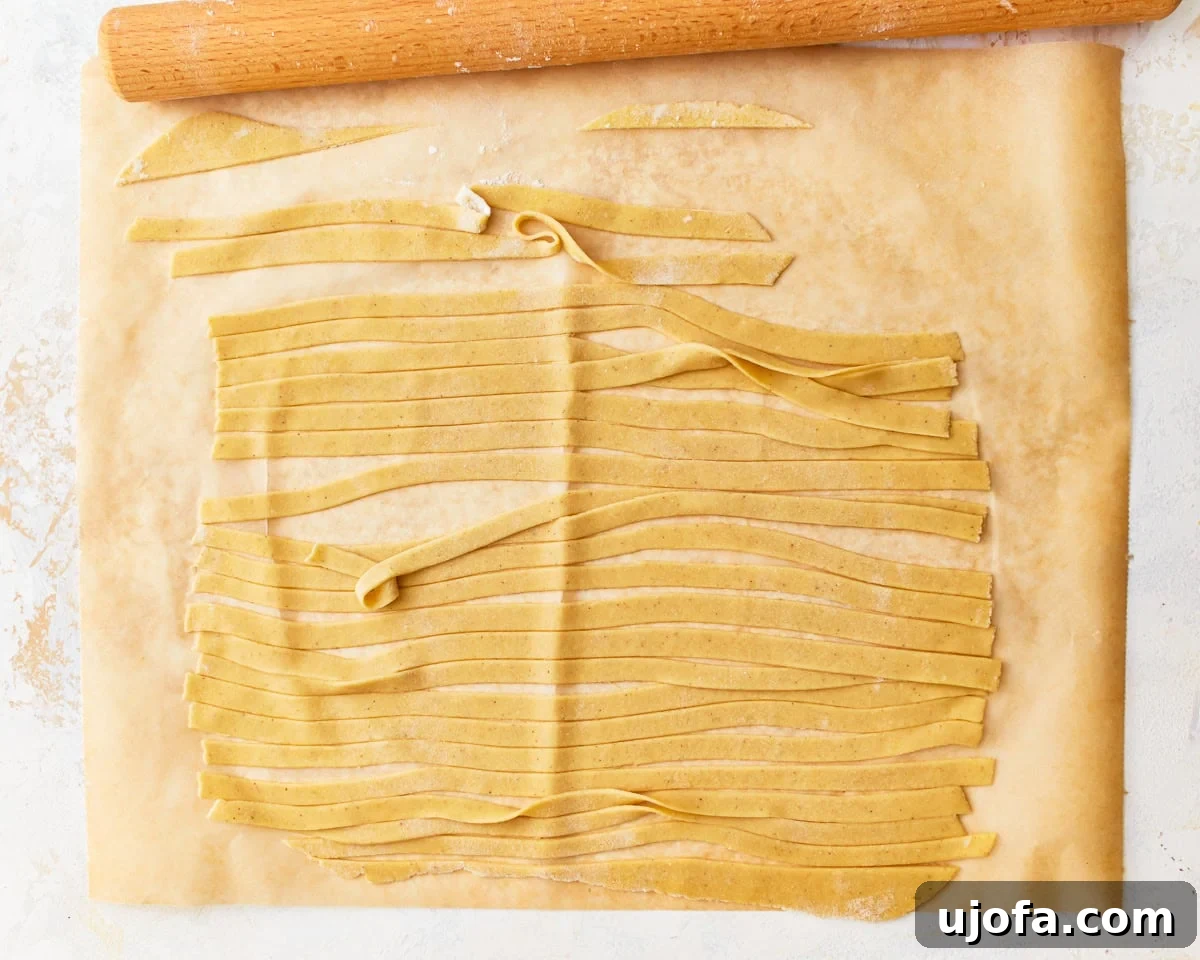
Once a dough sheet is rolled to your desired thinness, use a sharp knife or a pizza cutter to cut the dough into long, uniform strips. You can make them thin like linguine or wider and thicker for classic egg noodle shapes. Carefully separate the cut noodles and lay them gently on a clean, lightly floured surface or baking sheet. Repeat the rolling and cutting process with the remaining three portions of dough until all your noodles are formed.
Step 9: Cook and Serve
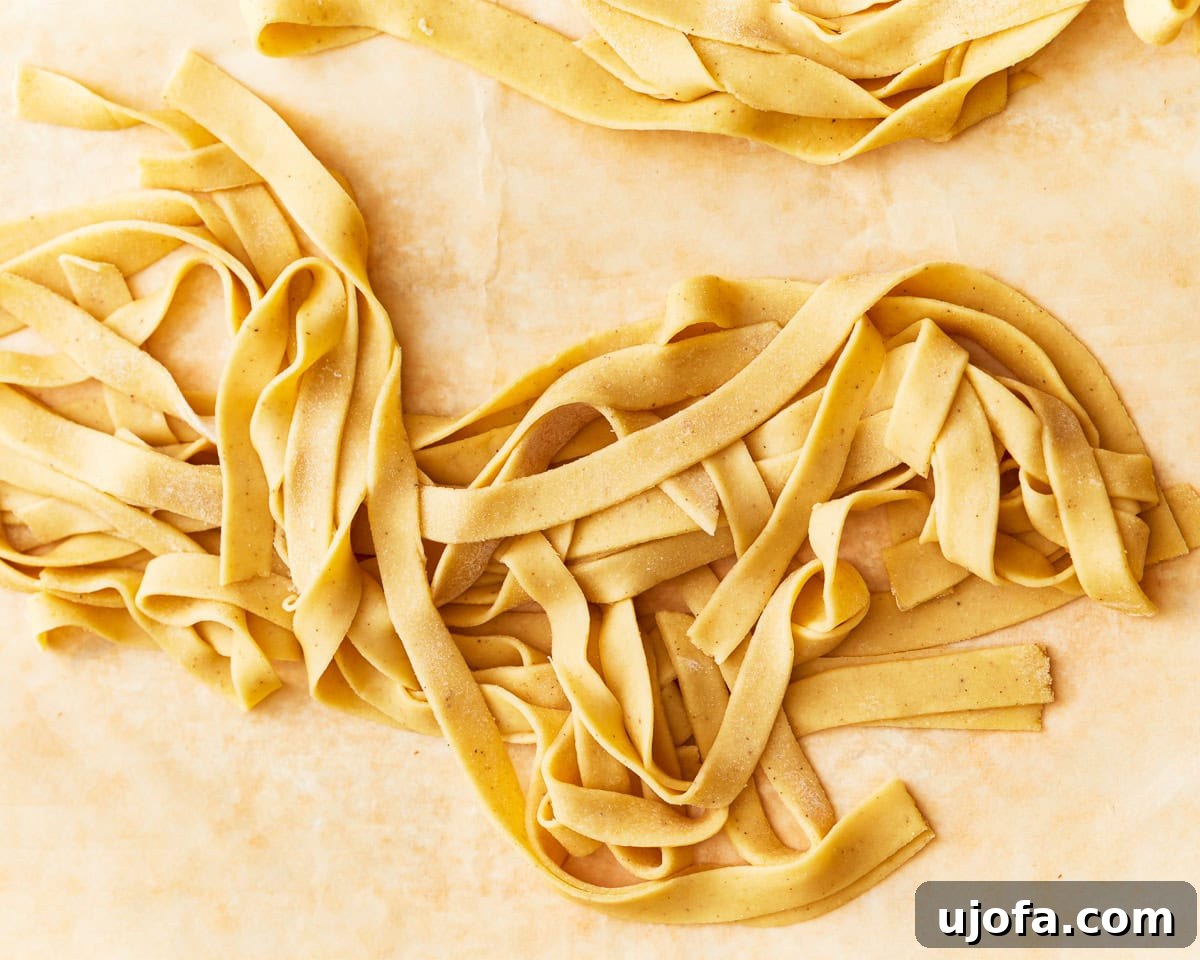
To cook your delicious homemade gluten-free egg noodles, bring a large pot of generously salted water to a rolling boil. Carefully add the noodles to the boiling water, ensuring they don’t clump together. Cook for approximately 2 minutes, or until they reach an al dente texture – they should be tender yet still have a slight, pleasant chew. Be careful not to overcook, as fresh noodles cook very quickly. Once cooked, promptly drain the noodles and serve them immediately with your favorite sauce, broth, or toppings. Enjoy the fruits of your labor!
Explore More Gluten-Free Noodle Recipes
If you loved making these egg noodles, you’re in for a treat! Here are more fantastic gluten-free noodle recipes to expand your culinary repertoire:
- Gluten-Free Pad Thai
- Gluten-Free Ramen
- Gluten-Free Chicken Noodle Soup
- Almond Flour Pasta
Conclusion: Your New Go-To Gluten-Free Noodle Recipe
Creating your own gluten-free egg noodles from scratch might seem like a daunting task at first, but this recipe makes it incredibly accessible and rewarding. With just a few simple ingredients and clear, easy-to-follow steps, you can produce perfectly chewy, rich, and delicious noodles that will outshine any store-bought alternative. This recipe not only caters to dietary needs but also elevates your comfort food experience, bringing a taste of homemade goodness back to your table. So roll up your sleeves, embrace the joy of making pasta, and savor the satisfaction of these wonderful gluten-free egg noodles. They are sure to become a beloved staple in your kitchen!