
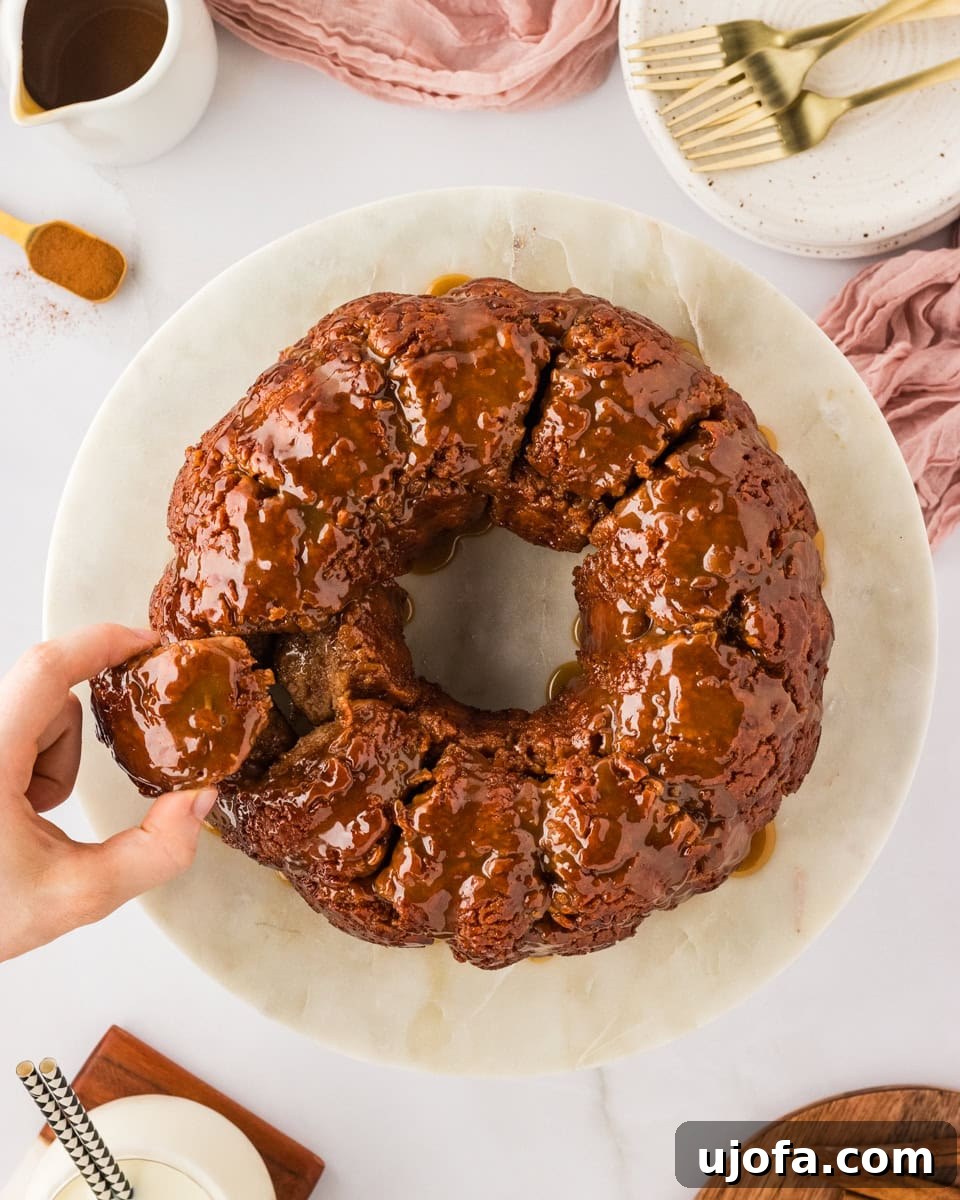
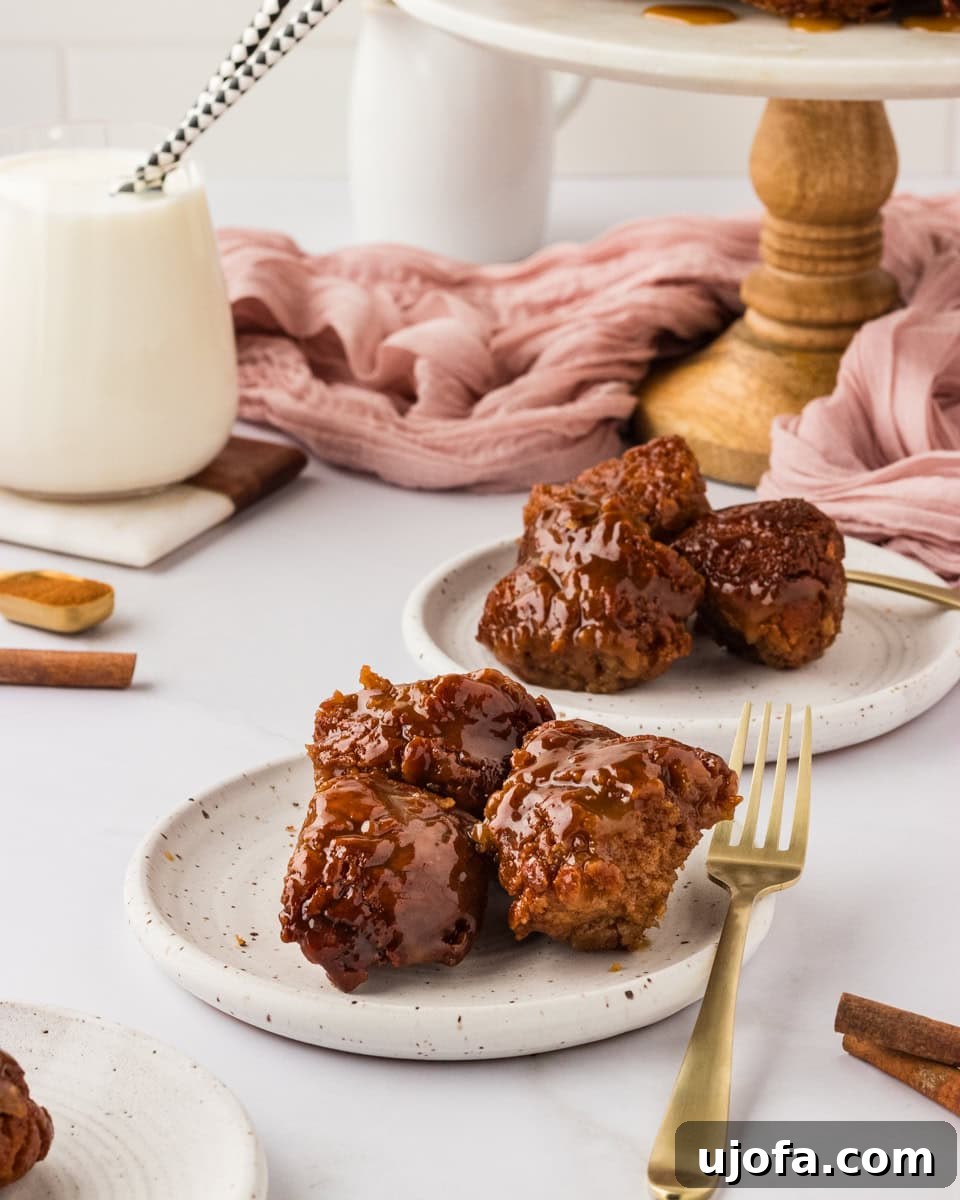
Prepare to indulge in a truly irresistible treat that promises to delight every palate! Our homemade Gluten-Free Monkey Bread boasts a delightful contrast of textures, with a perfectly crunchy, golden-brown caramelized exterior giving way to an incredibly soft, wonderfully sweet, and delightfully sticky interior. Each individual dough ball is lovingly rolled in a fragrant cinnamon sugar mixture, then generously layered with a rich, savory-sweet caramel that provides a sublime balance to the overall sweetness. This isn’t just a dessert; it’s a celebration of flavor and texture that’s surprisingly easy to make and, more importantly, a joy to share. Forget any notions of complicated gluten-free baking – this recipe proves that delicious, pull-apart bread is within everyone’s reach, regardless of dietary needs.
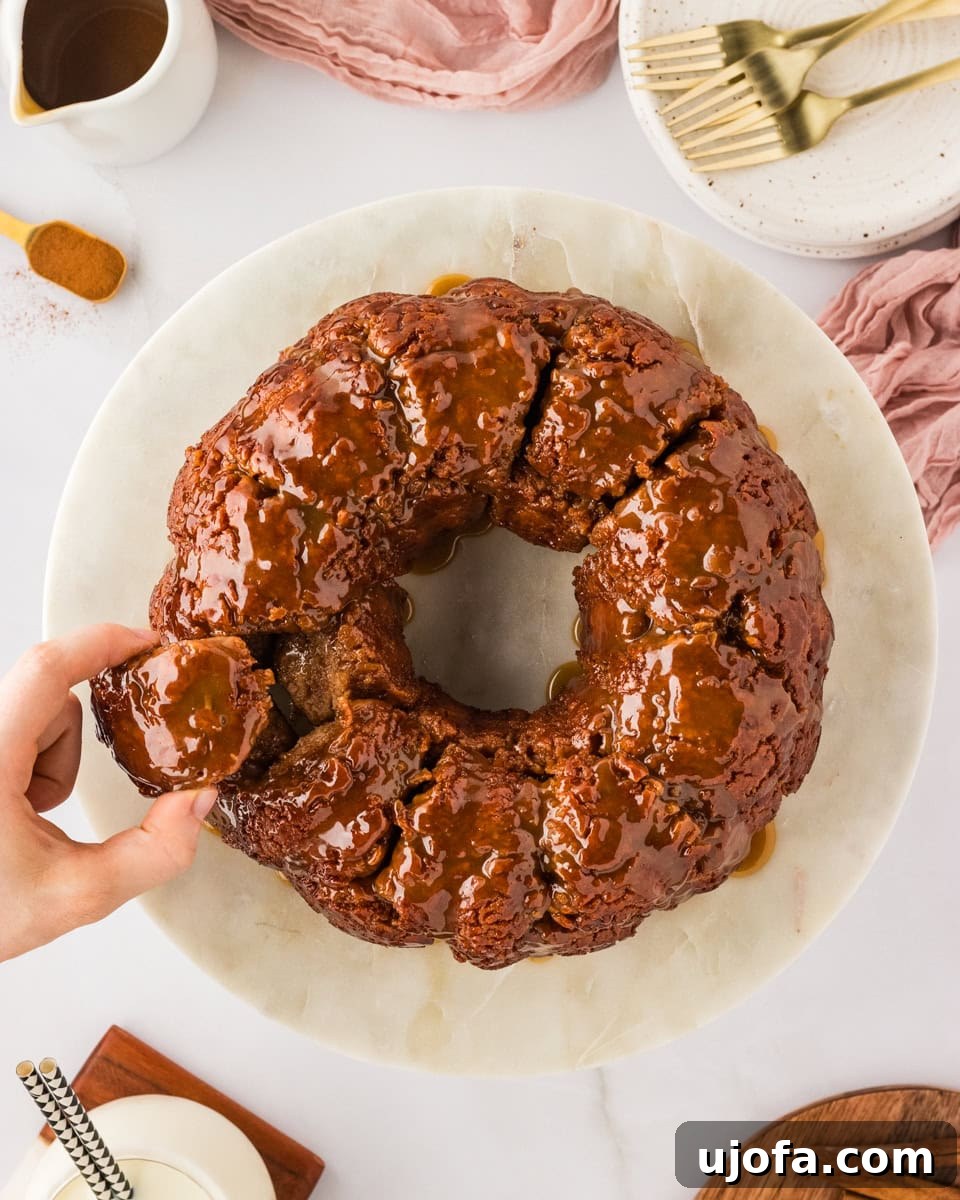
Delightful Gluten-Free Monkey Bread: A Sweet Treat for Everyone
For those of us navigating the world of gluten-free eating, discovering truly satisfying sweet treats can feel like a quest. Having personally embraced a gluten-free lifestyle, I’ve made it my mission to recreate the comforting flavors and textures of beloved baked goods from my childhood. Monkey bread holds a special place in my heart, a nostalgic breakfast or brunch staple I grew up with. The joy of pulling apart warm, gooey pieces of cinnamon-sugar-coated bread with friends and family is an experience I was determined to bring back, completely gluten-free.
This recipe delivers on that promise. The gluten-free dough balls are wonderfully moist, remarkably fluffy, and possess just the right amount of delightful chewiness. Think of this monkey bread as a delicious shortcut to the beloved flavors of classic cinnamon rolls, but without the extra fuss of multiple rises or intricate shaping. It’s the ultimate pull-apart bread, designed for communal enjoyment – just like its namesake, you’ll find yourself happily pulling off each sticky, sweet piece by hand. Whether it’s for a relaxed weekend breakfast, a festive holiday brunch, or a comforting dessert to share at a dinner party, this gluten-free monkey bread is guaranteed to be a crowd-pleaser that leaves everyone smiling and asking for more.
Why Gluten-Free Monkey Bread is a Must-Try
Finding a show-stopping gluten-free dessert that everyone can enjoy can sometimes be a challenge. This Gluten-Free Monkey Bread elegantly solves that problem. It’s not just a “good for gluten-free” recipe; it’s genuinely delicious, period. The combination of its chewy, tender dough, rich cinnamon-sugar coating, and luscious caramel sauce creates a symphony of flavors and textures that appeals to all. It’s perfect for gatherings because of its pull-apart nature, fostering a sense of shared enjoyment. Hosting a brunch? It’s a stellar centerpiece. Need an impressive yet easy-to-make dessert? This is it. Plus, the ease of preparation makes it a fantastic project for bakers of all skill levels, ensuring a successful and satisfying result every time.
Essential Gluten-Free Baking Tips for Perfect Monkey Bread
Baking gluten-free can sometimes require a slightly different approach than traditional baking, but with a few key tips, you’ll achieve perfect results every time. Our Gluten-Free Monkey Bread recipe is designed to be straightforward, and these pointers will help ensure your success:
- Preventing Dryness: Gluten-free doughs can be prone to drying out if over-baked. Pay close attention to your baking time. In my oven, 48 minutes proved to be the sweet spot, resulting in a moist interior and perfectly caramelized crust. However, ovens vary, so I highly recommend checking your monkey bread around the 40-minute mark. Look for a deep golden brown color and a firm, springy texture. An inserted skewer should come out clean.
- Pan Alternatives: While a bundt pan creates that iconic monkey bread shape, it’s not strictly necessary. If you don’t have one, you can easily use two large 9×5-inch loaf pans. This is also a great option if you’re making the recipe for a smaller crowd; simply halve the recipe and use one loaf pan. Adjust baking time accordingly for loaf pans, as they might bake a bit faster due to different surface area exposure.
- Timely Removal for Gooey Caramel: The caramel sauce is a crucial element of monkey bread, and you want it to remain beautifully gooey and sticky. To prevent it from hardening and sticking to the pan, remove the monkey bread from its pan almost immediately after baking. I find that letting it cool for just 5 minutes allows it to set slightly without becoming rigid, making it easy to invert onto a serving platter or plate. Work quickly but carefully to ensure all that delicious caramel coats the bread properly.
- Accurate Flour Measurement: Gluten-free flours can be tricky. Always spoon and level your gluten-free flour blend rather than scooping directly from the bag. Scooping can pack too much flour into your measuring cup, leading to a dry, dense dough. Using a kitchen scale for precise measurement (especially for flour) is always recommended for consistent gluten-free baking results.
- Yeast Activation is Key: Ensure your warm milk and water are truly around 110°F (43°C). If the liquid is too hot, it will kill the yeast, preventing your dough from rising. If it’s too cold, the yeast won’t activate properly. A kitchen thermometer is your best friend here.
- Room Temperature Ingredients: For the best dough consistency and rise, make sure your egg and any other refrigerated ingredients are at room temperature. This helps them incorporate more smoothly into the batter, creating a more uniform and tender crumb.
Gluten-Free Monkey Bread Recipe
By: Julia Elizabeth
Servings: 12 servings
Prep Time: 1 hour
Cook Time: 50 minutes
Total Time: 1 hour 50 minutes
This irresistible gluten-free monkey bread features a crisp, caramelized crust and a soft, sweet, sticky interior. Each dough ball is coated in cinnamon sugar and drenched in rich, salty caramel, creating a perfectly balanced and utterly delicious treat. It’s a simple, shareable gluten-free dessert or breakfast ideal for any occasion.
Equipment
- 1 Stand Mixer with paddle attachment
- 1 Bundt Pan (or two 9×5 loaf pans)
- Measuring Cups
- 1 Saucepan
Ingredients
Dough
- 1 cup warm milk*, around 110°F (43°C)
- ⅔ cup warm water, around 110°F (43°C)
- 2 tablespoons melted butter
- 1 packet instant yeast (ensure it’s instant yeast, not dry active yeast)
- ¼ cup white sugar
- 3 ½ cups gluten-free all-purpose flour (Pillsbury recommended; other gluten-free bread flour blends may work but results can vary)
- 2 teaspoons psyllium husk
- 1 teaspoon baking powder
- 1 teaspoon salt
- 2 teaspoons vanilla extract
- 1 large egg, room temperature
Caramel
- 1 ½ cups brown sugar
- ½ cup butter
- ⅔ cup heavy whipping cream
- 1 teaspoon vanilla extract
- ½ teaspoon salt
Cinnamon Sugar and Toppings
- 4 tablespoons butter, melted
- ¾ cup brown sugar
- 1 ½ tablespoons cinnamon
- Chopped pecans, optional garnish
You can adjust these measurements for US Customary or Metric using a conversion tool.
For a visual guide, consider watching a video tutorial on how to prepare this delicious Gluten-Free Monkey Bread, demonstrating each step from dough preparation to the final caramel drizzle.
Instructions
- In a medium-sized bowl, combine the warm water, warm milk, 2 tablespoons of melted butter, ¼ cup of white sugar, and the packet of instant yeast. Stir gently and allow this mixture to sit for a few minutes while you prepare your dry ingredients.
- In the bowl of a stand mixer, add the 3 ½ cups of gluten-free all-purpose flour, 2 teaspoons of psyllium husk, 1 teaspoon of baking powder, and 1 teaspoon of salt. Whisk these dry ingredients together thoroughly until everything is well combined.
- Pour the wet yeast mixture into the dry ingredients in the stand mixer bowl. Add the room temperature large egg and 2 teaspoons of vanilla extract. Using the paddle attachment, mix on medium speed for 5 minutes, stopping as needed to scrape down the sides of the bowl to ensure all ingredients are incorporated.
- Once the dough is mixed, cover the stand mixer bowl tightly with plastic wrap. Set it aside in a warm place to rise for at least 30 minutes. This is the perfect time to start preparing your luscious caramel sauce.
- To make the caramel sauce, combine 1 ½ cups of brown sugar, ½ cup of butter, and ⅔ cup of heavy whipping cream in a medium saucepan. Place the saucepan over medium heat and stir constantly until the mixture comes to a full boil. Once boiling, continue to cook for exactly 5 minutes, maintaining a constant stir to prevent burning. After 5 minutes, remove the saucepan from the heat and stir in 1 teaspoon of vanilla extract and ½ teaspoon of salt. Set aside.
- Prepare your cinnamon sugar coating and dipping station. In a small bowl, whisk together ¾ cup of brown sugar and 1 ½ tablespoons of cinnamon until well combined. In another small bowl, melt 4 tablespoons of butter for dipping. Lightly grease your bundt pan with butter or cooking spray.
- Pour approximately ¼ cup of the prepared caramel sauce into the bottom of the greased bundt pan, spreading it evenly. Now, using hands lightly greased with butter or cooking spray (this prevents sticking), pull off about 1-2 tablespoons of dough. Roll each piece into a loose ball (they don’t need to be perfectly uniform).
- Dip each dough ball into the melted butter, ensuring it’s fully coated. Then, roll it in the cinnamon sugar mixture until well covered. Place the coated dough balls into the bundt pan. Continue this process until you have used about half of the dough.
- Pour another ¼ cup of caramel sauce over the layer of dough balls in the bundt pan. Repeat the rolling, dipping, and coating process with the remaining dough, placing the second half of the dough balls on top of the caramel layer. Finish by pouring a final ¼ cup of caramel sauce over the top of all the dough balls.
- Allow the assembled monkey bread dough to sit while your oven preheats to 350°F (177°C). Once your oven has reached the target temperature, carefully place the bundt pan in the oven and bake for 45-50 minutes. The bread should be golden brown and the caramel bubbly.
- After baking, remove the monkey bread from the oven. Let it cool on a wire rack on the counter for a minimum of 5 minutes. This brief cooling period allows the caramel to set slightly without hardening, ensuring a clean release from the pan.
- Carefully invert the bundt pan onto a large serving plate or platter. If desired, drizzle any leftover warm caramel sauce over the top and sprinkle with chopped pecans for an extra crunch and flavor. Serve warm and enjoy this delightful, pull-apart treat!
Notes
*Milk and Water Temperature: It is crucial to ensure the warm water and milk temperature is precisely at or around 110℉ (43°C). If the liquid is too hot, it will prematurely kill the yeast, preventing the dough from rising. Conversely, if the temperature is too cold, the yeast will not activate properly, resulting in a dense dough. A kitchen thermometer is highly recommended for accuracy.
Nutrition
Serving: 1 serving
Calories: 479 kcal
Carbohydrates: 73g
Protein: 5g
Fat: 20g
Saturated Fat: 12g
Polyunsaturated Fat: 1g
Monounsaturated Fat: 5g
Trans Fat: 1g
Cholesterol: 68mg
Sodium: 462mg
Potassium: 114mg
Fiber: 5g
Sugar: 47g
Vitamin A: 664IU
Vitamin C: 0.1mg
Calcium: 130mg
Iron: 2mg
Nutrition information is automatically calculated and should be used as an approximation only. Variations can occur based on specific ingredients and brands used.
Additional Info
Course: Brunch, Dessert, Breakfast
Cuisine: American
Tried this recipe? We’d love to see your creations! Mention @mamaknowsglutenfree or tag #mamaknowsglutenfree on Instagram!
How to Make Gluten-Free Monkey Bread: A Step-by-Step Guide with Photos
Let’s walk through the process of creating this incredible gluten-free monkey bread with detailed steps and helpful visual cues. Each stage is crucial to achieving that perfect balance of crispy, soft, sweet, and sticky goodness.
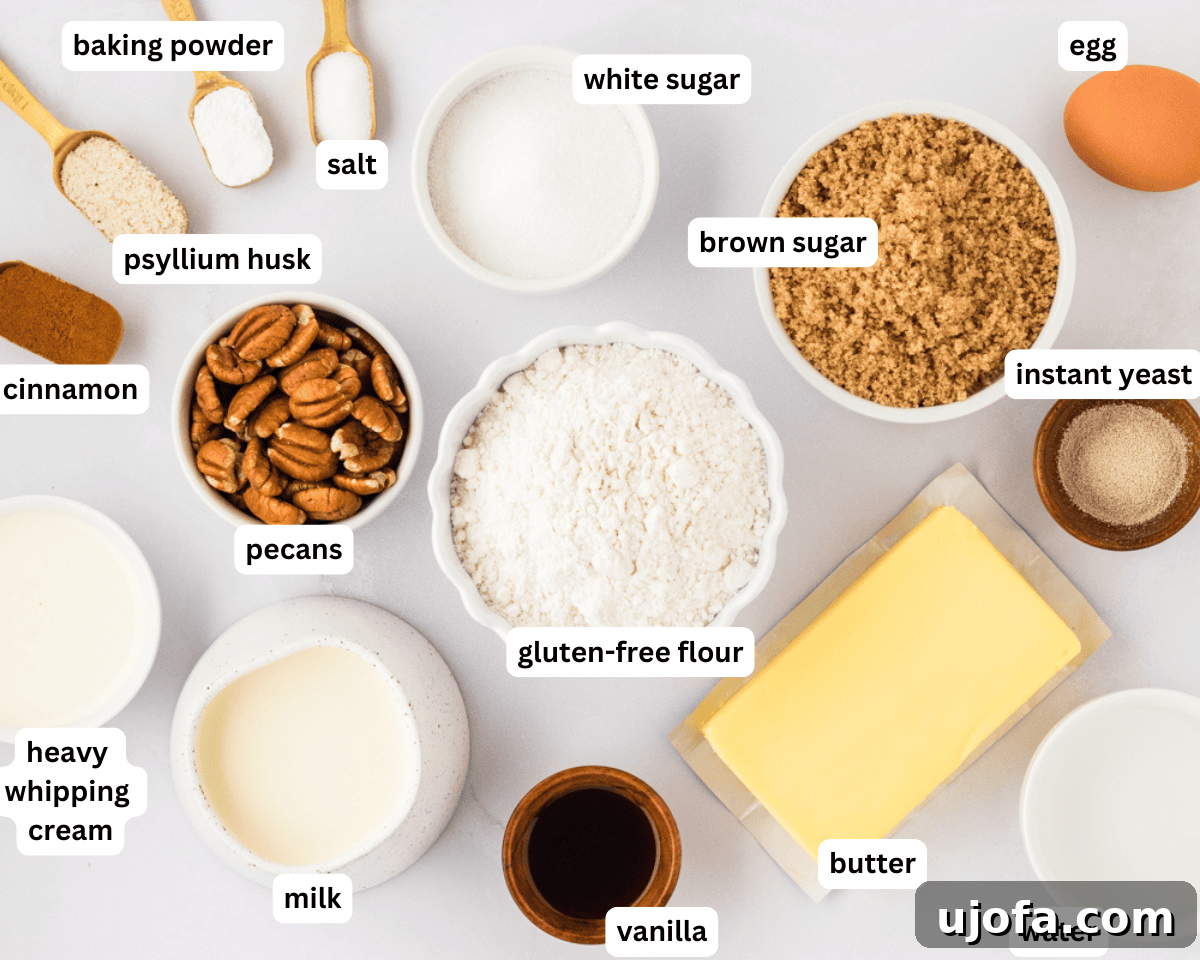
First things first, gather all your ingredients and measure them out. This “mise en place” approach ensures a smooth baking process and prevents any last-minute scrambling. Having everything ready to go will make the recipe much more enjoyable and efficient.
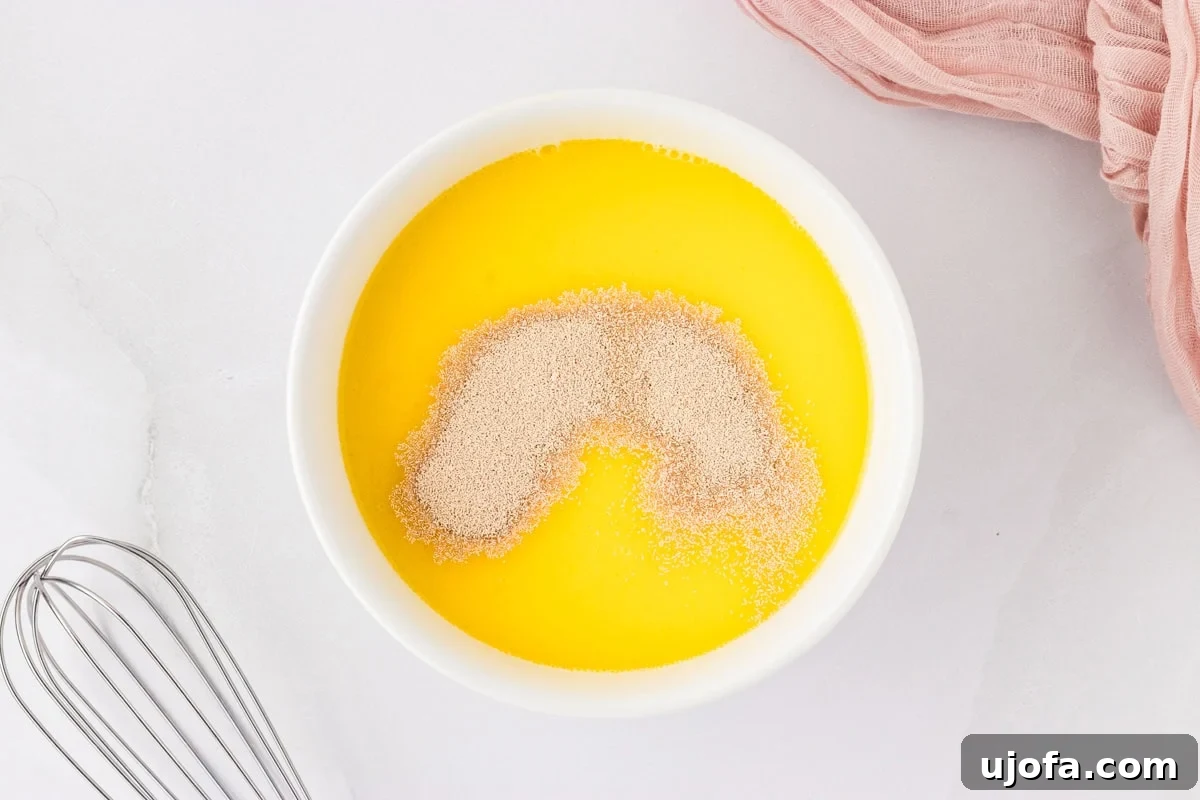
In a small bowl, whisk together 1 cup of warm milk, ⅔ cup of warm water, 2 tablespoons of melted butter (ensure it’s cooled slightly if freshly melted), and 1 packet of instant yeast. Stir gently to combine everything. This initial step is vital for activating the yeast, so make sure your liquids are around 110°F (43°C) – not too hot to kill the yeast, and not too cold to inhibit its activation. Let this mixture rest for about 5-10 minutes. You should see it become slightly foamy, indicating the yeast is active and ready to work its magic.
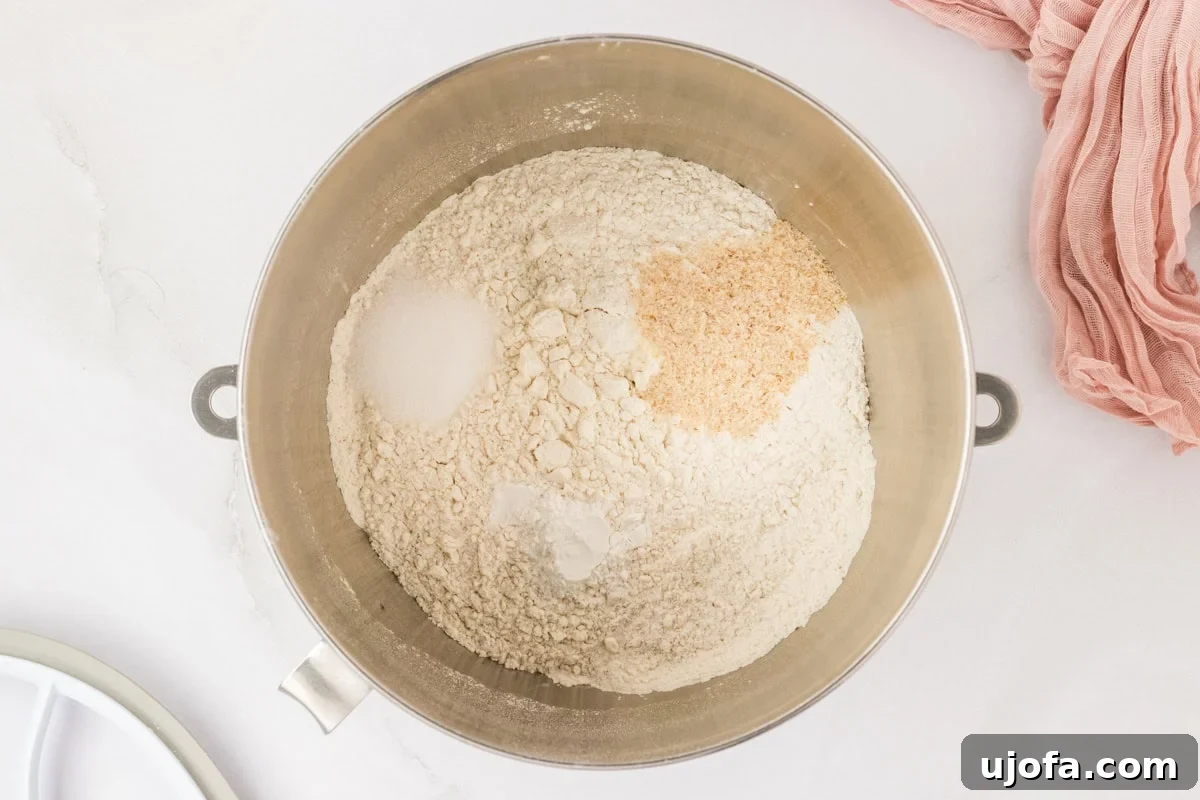
Now, grab your stand mixer bowl. Add 3 ½ cups of your chosen gluten-free all-purpose flour, 2 teaspoons of psyllium husk, 1 teaspoon of salt, and 1 teaspoon of baking powder. Using a whisk attachment or a simple hand whisk, combine these dry ingredients thoroughly. Psyllium husk is an excellent gluten-free binder that helps create a more elastic and workable dough, mimicking some of the properties of gluten. Ensure there are no lumps and all ingredients are evenly distributed.
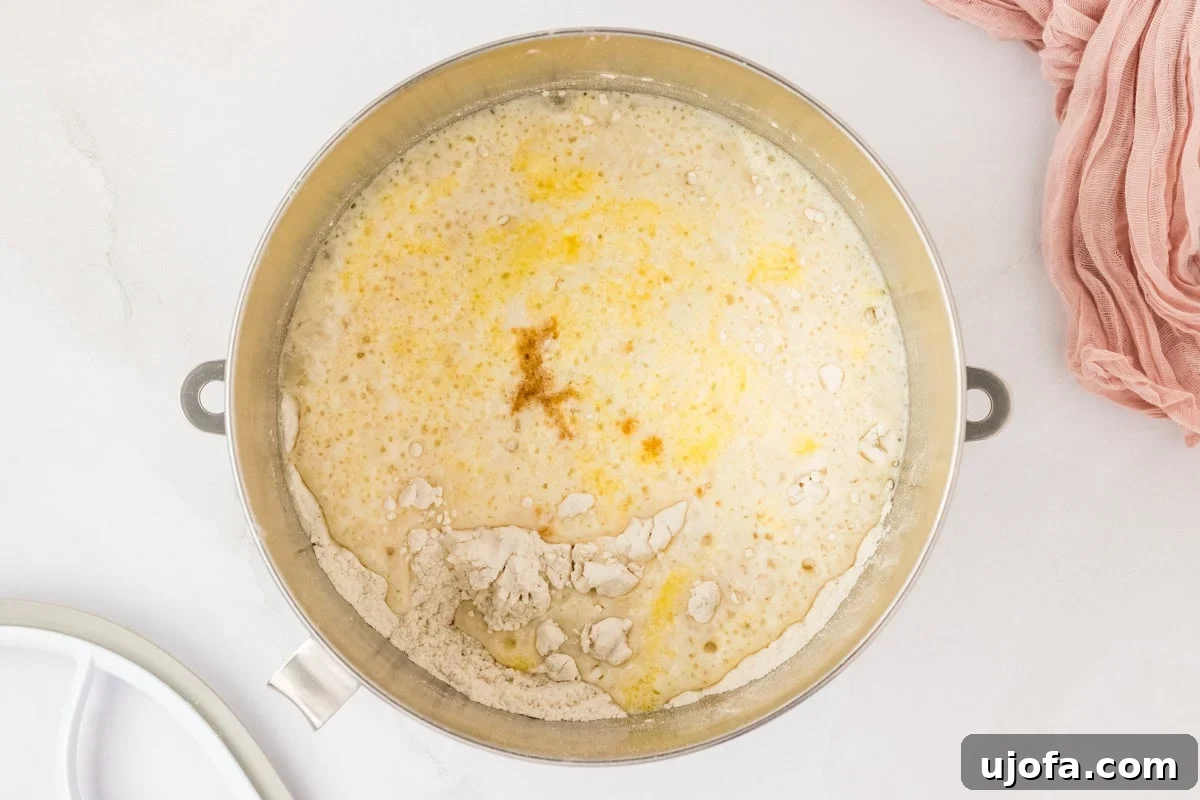
Combine wet and dry ingredients: Pour the active milk mixture directly into the stand mixer bowl with the dry ingredients. Add 1 room-temperature large egg and 2 teaspoons of vanilla extract. Attach the paddle attachment to your stand mixer and mix on medium speed for a full 5 minutes. As the dough comes together, it will be sticky. Don’t be afraid to stop the mixer periodically and use a spatula to scrape down the sides of the bowl, ensuring all ingredients are fully incorporated into a cohesive, soft dough.
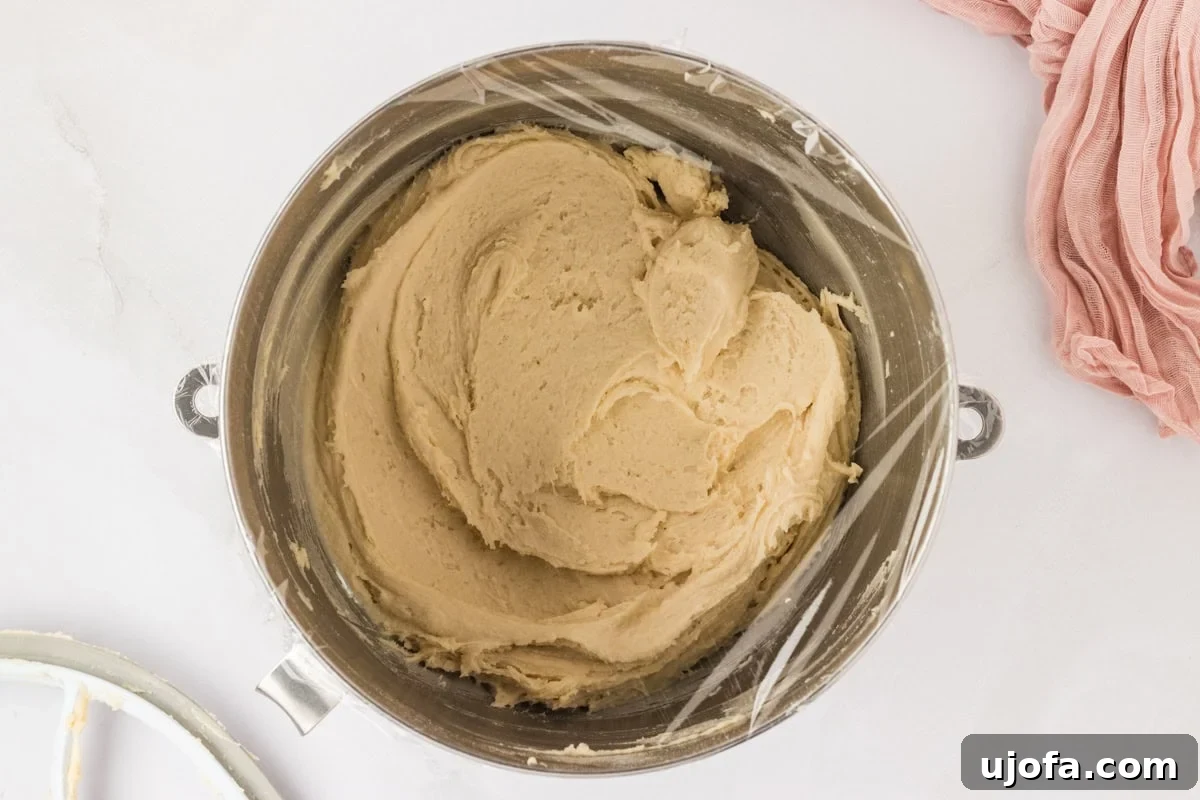
Once the dough is mixed, cover the stand mixer bowl tightly with plastic wrap. This helps trap warmth and moisture, creating an ideal environment for the dough to rise. Place the bowl in a warm area of your kitchen – near a sunny window or on top of a preheating oven are good spots. Let the dough sit and rise for at least 30 minutes. During this time, the yeast will continue to work, subtly expanding and flavoring the dough. This is also the perfect opportunity to prepare your rich caramel sauce.
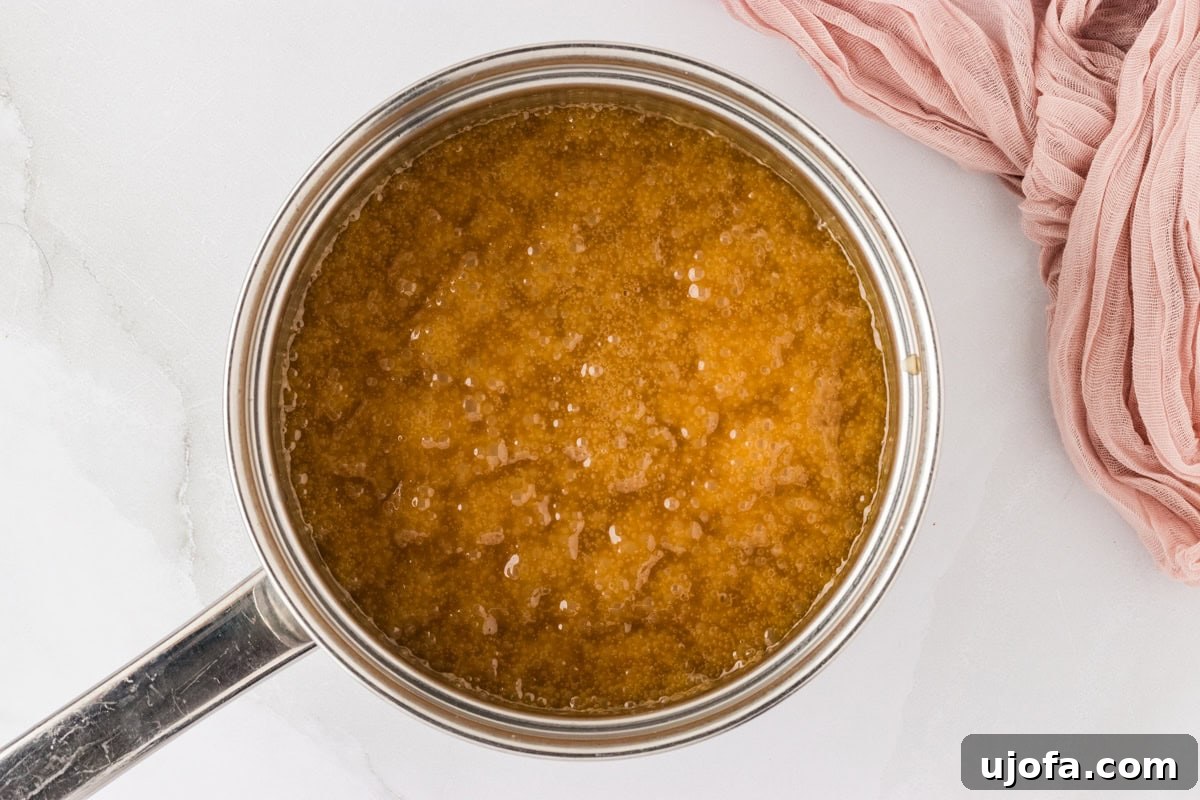
Make the caramel sauce: In a medium saucepan, combine ½ cup of butter, 1 ½ cups of brown sugar, and ⅔ cup of heavy cream. Place the saucepan over medium heat. Stir the mixture constantly as the butter melts and the sugar dissolves. Bring the mixture to a full rolling boil. Once it reaches a boil, continue cooking for exactly 5 minutes, stirring continuously to prevent scorching. The caramel will thicken beautifully. After 5 minutes, remove the saucepan from the heat and stir in 1 teaspoon of vanilla extract and ½ teaspoon of salt. The salt is key here, adding a wonderful depth that balances the sweetness. Set the caramel aside; it will continue to thicken slightly as it cools.
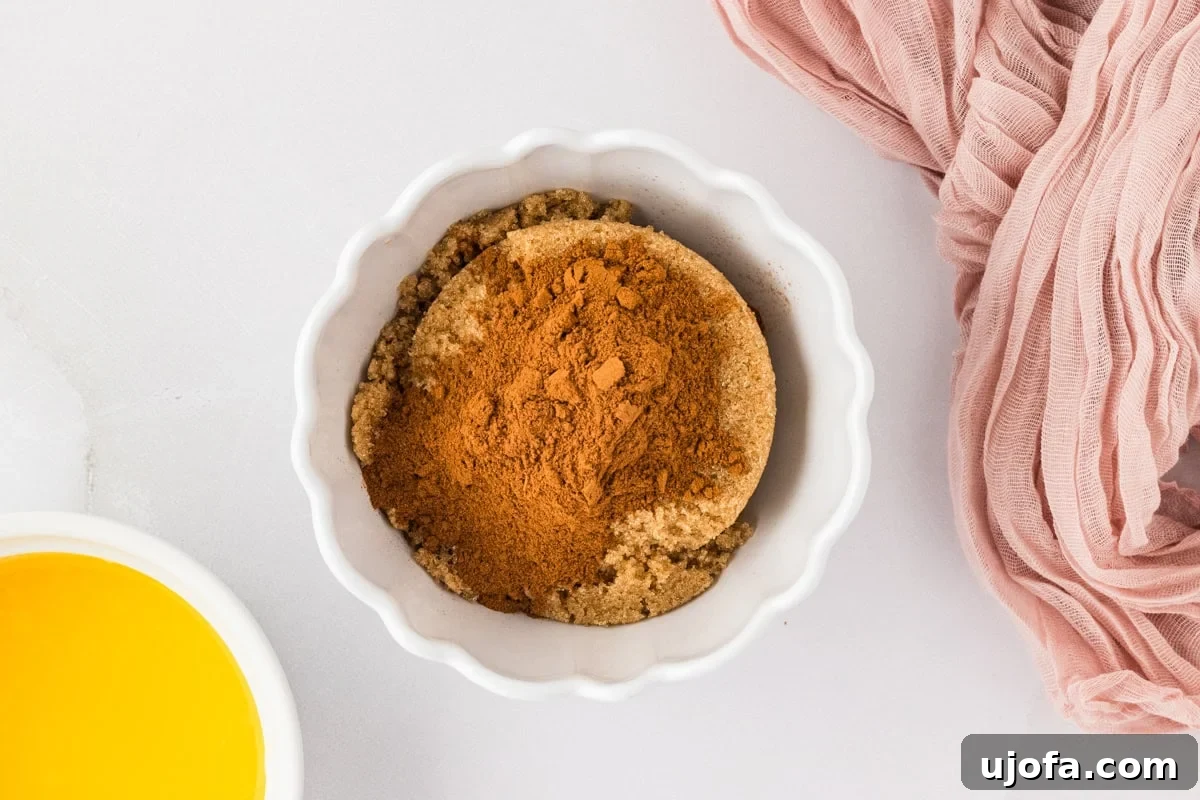
Make coating: Now, let’s prepare the irresistible cinnamon sugar coating. In a small bowl, combine ¾ cup of brown sugar and 1 ½ teaspoons of ground cinnamon. Use a fork or a small whisk to mix these ingredients together thoroughly, ensuring an even distribution of spice. In another separate small bowl, melt 4 tablespoons of butter. This will be your dipping station for the dough balls, providing moisture for the cinnamon sugar to adhere to.
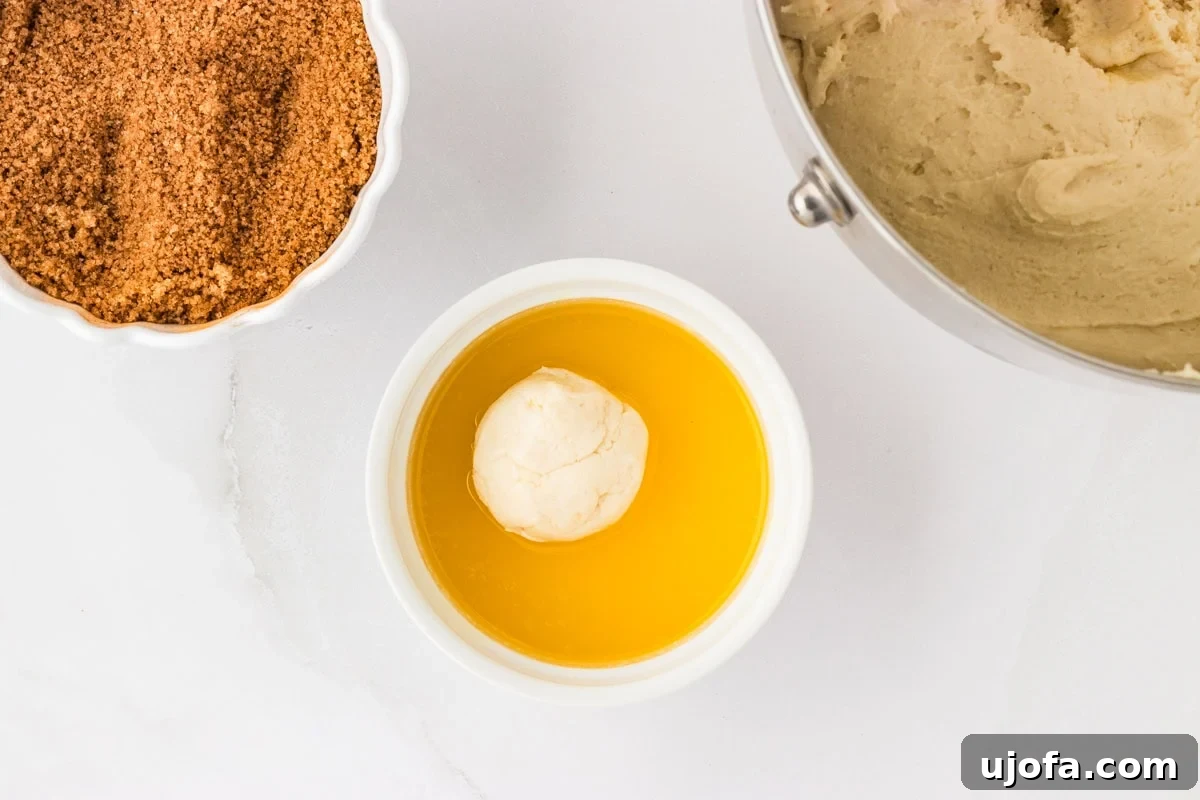
Before you start assembling, generously grease your bundt pan. This is crucial for preventing the sticky caramel and dough from adhering to the pan. Now, set up your dipping station: the bowl of melted butter, followed by the bowl of cinnamon sugar, and finally, your greased bundt pan. Make sure your risen dough is also easily accessible. This organized setup will make the assembly process quick and efficient.
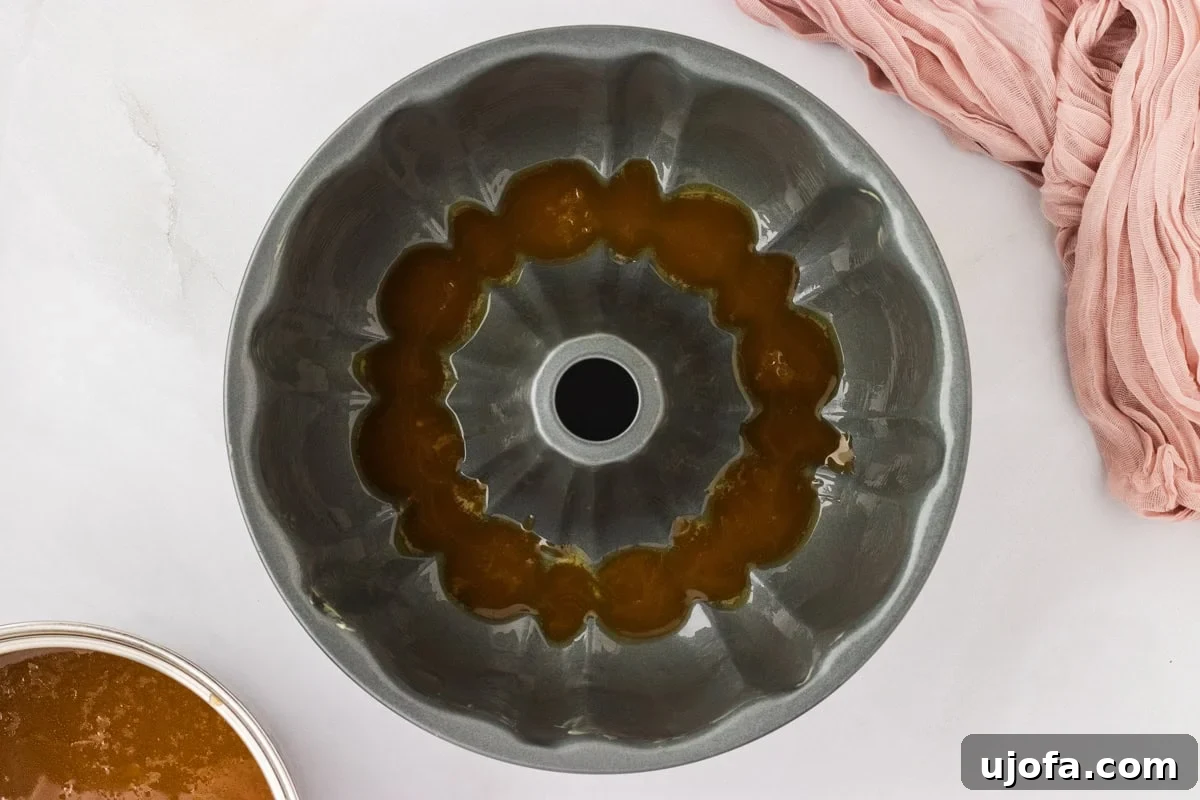
Carefully pour about ¼ cup of the still-warm caramel sauce into the bottom of your greased bundt pan. Use a spatula to gently spread it evenly across the bottom surface. This initial layer of caramel will create a beautiful, sticky bottom crust for your monkey bread and ensure every piece is drenched in flavor.
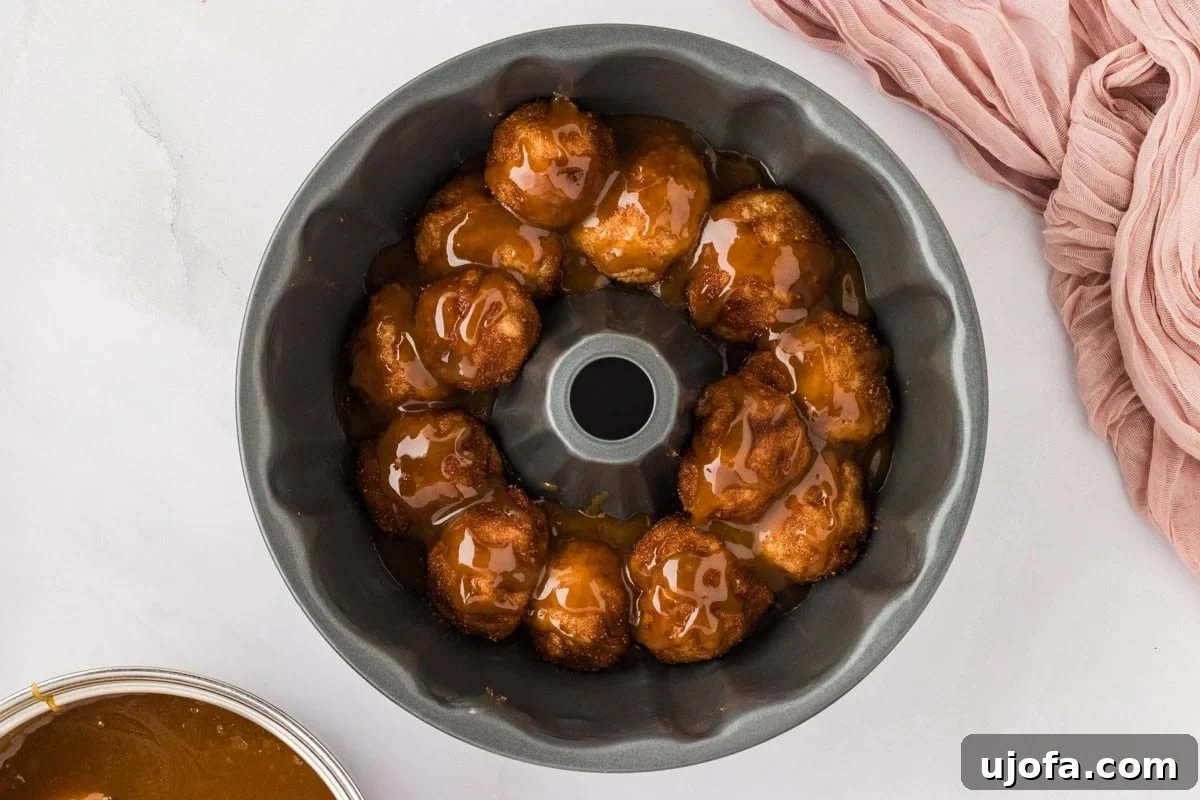
Make dough balls: Now comes the fun part! Lightly grease your hands with butter or cooking spray – this will prevent the sticky dough from clinging to your fingers. Pinch off approximately 1-2 tablespoons of dough (don’t worry about being perfectly precise; eyeballing it is fine) and roll it into a loose ball. It doesn’t need to be perfectly round or uniform. Immediately dip each dough ball into the bowl of melted butter, ensuring it’s completely coated. Then, transfer it to the cinnamon sugar mixture and roll it until thoroughly covered. Place the coated dough ball into the bundt pan. Repeat this process until you’ve used about half of the prepared dough, arranging the balls somewhat evenly in the pan.
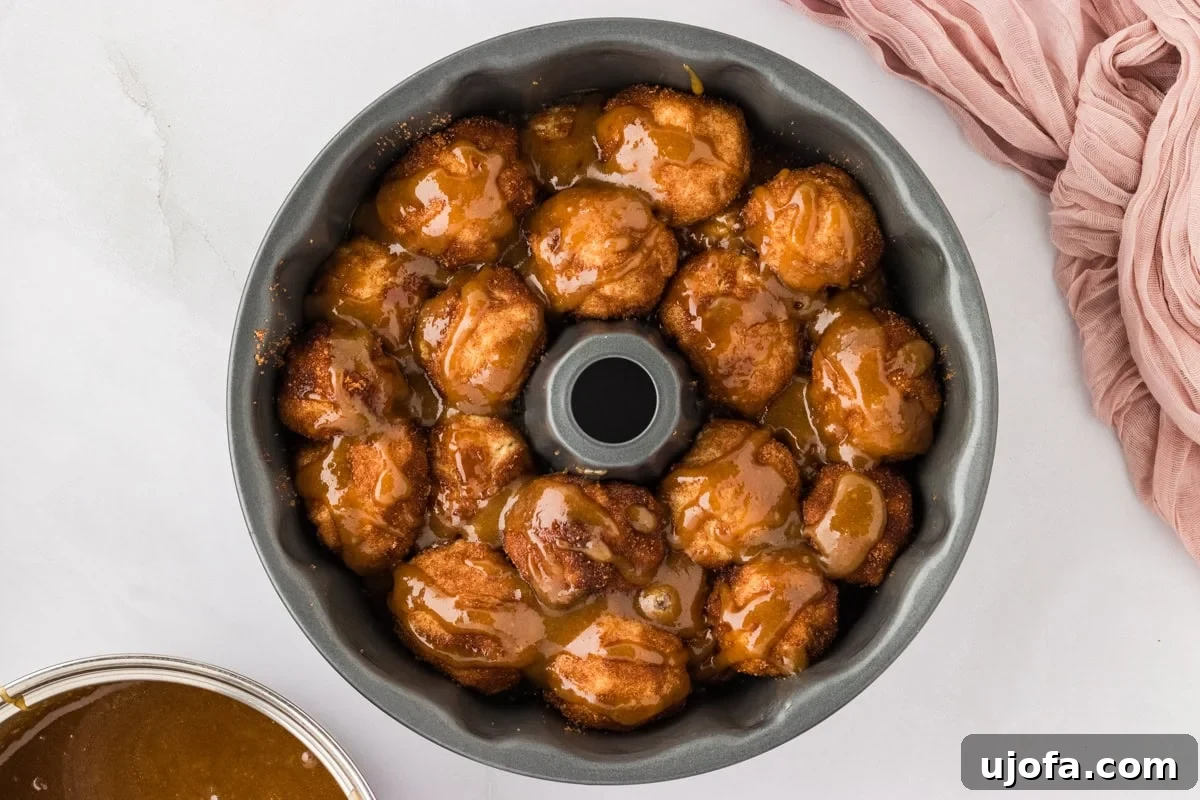
Once you’ve placed the first half of the dough balls, pour another ¼ cup of caramel sauce evenly over them in the bundt pan. This layer of caramel will seep down and coat the existing dough balls while preparing a gooey base for the next layer. Repeat the rolling, dipping, and coating steps with the remaining dough until all of it has been transformed into cinnamon-sugar-coated balls and placed in the bundt pan. Finally, pour one last ¼ cup of caramel sauce generously over the very top layer of dough balls. This ensures maximum caramel goodness in every bite!
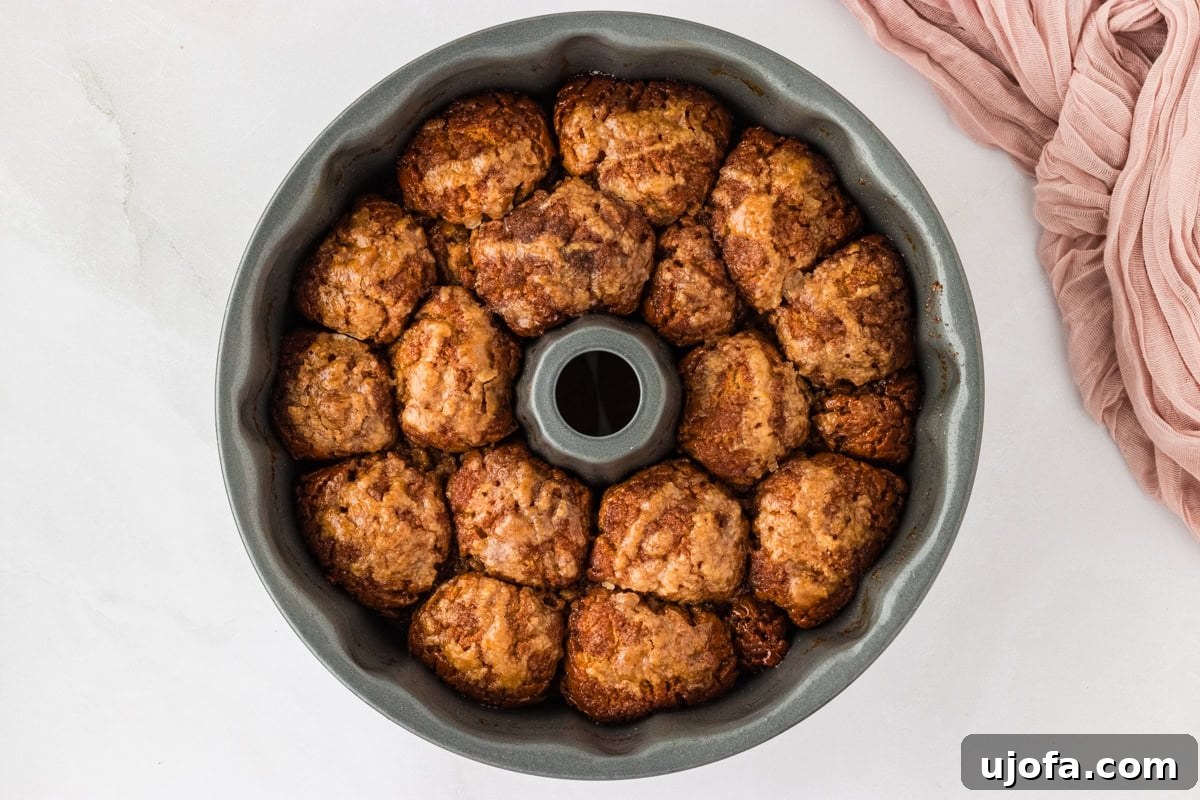
While your beautifully assembled monkey bread dough sits in the bundt pan, take this time to preheat your oven to 350°F (177°C). Allowing the dough to sit for a few minutes while the oven heats gives it a final chance to slightly proof, contributing to a lighter texture. Once your oven is fully preheated, carefully place the bundt pan into the oven and bake for 45-50 minutes. The monkey bread will turn a rich golden brown, and the caramel will be bubbling and fragrant. Keep an eye on it to prevent over-baking.
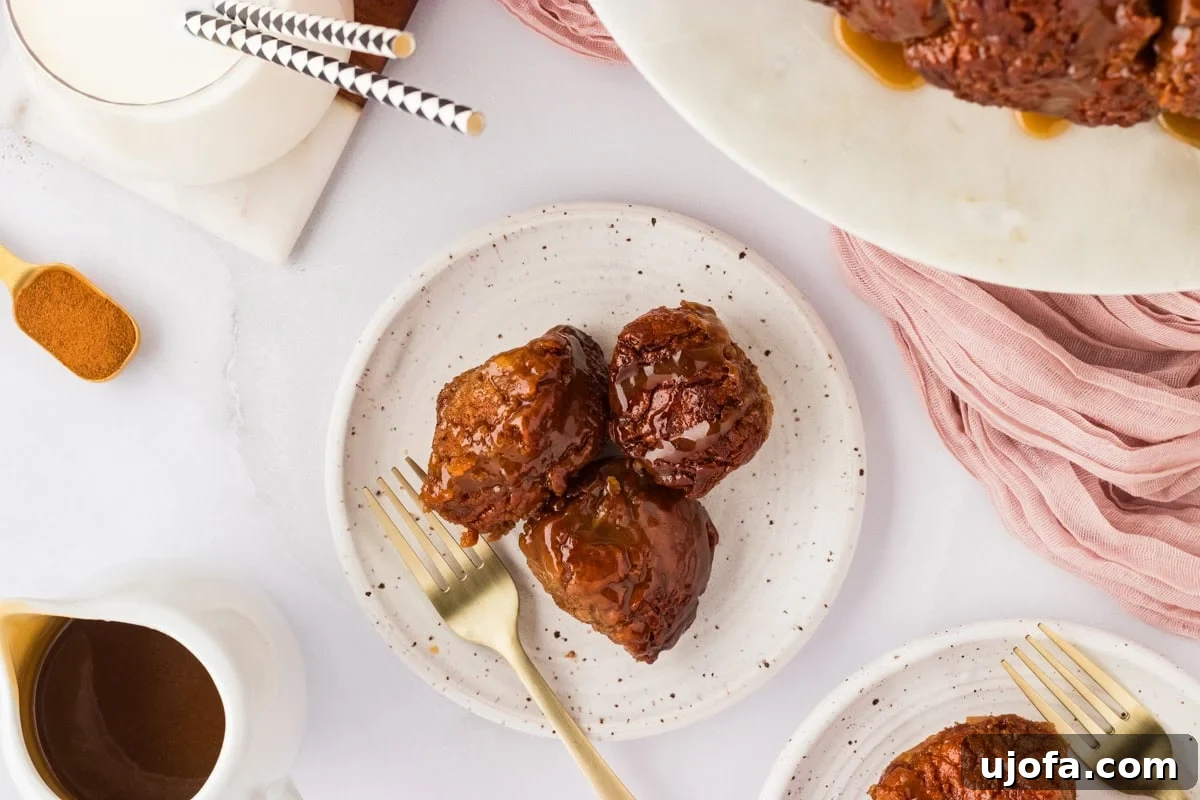
Once the monkey bread has finished baking and is a beautiful golden color, carefully remove it from the oven. Let it cool on your counter for at least 5 minutes. This brief cooling period is essential for allowing the caramel to firm up just enough to release cleanly from the pan without sticking, but not so much that it becomes rigid. After 5 minutes, place your serving platter face down over the bundt pan and, holding both firmly, quickly and confidently invert them together. The monkey bread should slide out onto the platter, glistening with caramel. If desired, drizzle any remaining caramel sauce over the top for extra decadence and sprinkle with chopped pecans for a delightful nutty crunch. Serve immediately and enjoy the warm, sticky goodness!
Creative Serving Suggestions for Your Monkey Bread
Gluten-free monkey bread is a star on its own, but a few thoughtful serving touches can elevate the experience even further. I love to present the warm monkey bread in the center of a large serving platter, surrounded by small side plates and dainty forks. This setup encourages guests to easily pull apart the individual dough balls, making it a wonderfully interactive and communal treat. For the ultimate indulgence, always serve your monkey bread straight from the oven. This ensures the interior remains incredibly fresh and warm, while the rich caramel glaze stays beautifully gooey and absolutely delicious.
Beyond the classic presentation, consider these delightful enhancements:
- A Scoop of Vanilla Ice Cream: The contrast of warm, sticky monkey bread with a cold, creamy scoop of vanilla ice cream is pure bliss. The ice cream will melt slightly into the caramel, creating an even richer sauce.
- Whipped Cream: A dollop of freshly whipped cream can add a light, airy counterpoint to the sweetness and richness of the bread.
- Morning Glory: Serve it as a decadent breakfast or brunch item alongside fresh fruit salad, crispy bacon, and a hot cup of coffee or tea.
- Holiday Treat: Garnish with a sprinkle of powdered sugar for a festive, snowy look, or add seasonal spices like nutmeg or ginger to the cinnamon sugar for a holiday twist.
- Chocolate Drizzle: For chocolate lovers, a light drizzle of melted dark or milk chocolate over the top can add another layer of flavor and visual appeal.
- Nutty Crunch: If you’re a fan of nuts, sprinkle some toasted chopped pecans, walnuts, or almonds over the top before serving for added texture and flavor.
Storage and Reheating Tips for Leftovers
While this gluten-free monkey bread is best enjoyed fresh and warm from the oven, sometimes you might have a few pieces leftover – or maybe you want to bake it ahead of time! Properly storing and reheating ensures you can savor its deliciousness for days to come. Here’s how:
- For immediate freshness: If you anticipate leftovers, allow the monkey bread to cool completely before storing. Place the entire cake or individual pieces in an airtight container. This is crucial for preventing the bread from drying out and for keeping the caramel from becoming too hard.
- Refrigeration: Store the wrapped monkey bread in an airtight container in the refrigerator for 3-5 days. The caramel will firm up significantly when chilled, but it will soften beautifully upon reheating.
- Freezing for longer storage: For longer preservation, wrap individual slices or the whole cooled monkey bread tightly in plastic wrap, then again in aluminum foil. Place it in a freezer-safe bag or container. It can be frozen for up to 2-3 months. Thaw overnight in the refrigerator before reheating.
- Reheating in the Oven: This is my preferred method for reheating, as it helps to re-crisp the exterior while making the interior soft and gooey again. Preheat your oven to 300°F (150°C). Place the monkey bread (covered loosely with foil if you want to prevent over-browning) on a baking sheet and heat for 10-15 minutes, or until warmed through and the caramel is bubbly.
- Reheating in the Microwave: For quick individual servings, you can reheat small pieces in the microwave. Place a single piece on a microwave-safe plate and heat for 15-30 seconds, or until warm and sticky. Be careful not to overheat, as this can make the bread tough.
No matter how you store or reheat it, this gluten-free monkey bread remains a delightful treat, offering a burst of sweet, cinnamon-caramel goodness whenever a craving strikes.
More Delicious Gluten-Free Sweet Bread Recipes to Explore
If you’ve fallen in love with this gluten-free monkey bread, you’re in for a treat! The world of gluten-free sweet breads is vast and delicious. Here are some more irresistible recipes from our collection that you might enjoy, perfect for breakfast, brunch, or dessert:
- Gluten-Free Cinnamon Rolls: The classic sweet roll, now perfectly gluten-free, with a rich cinnamon filling and decadent icing.
- Gluten-Free Challah Bread: A beautiful, braided bread that’s soft, slightly sweet, and perfect for special occasions or everyday enjoyment.
- Gluten-Free Coffee Cake: A moist and flavorful cake with a crunchy streusel topping, ideal for pairing with your morning coffee.
- Gluten-Free Cinnamon Roll Cake: All the flavors of a cinnamon roll baked into an easy, shareable cake format.
- Gluten-Free Apple Bundt Cake: A comforting and delicious apple-studded bundt cake, perfect for autumn or any time of year.
- Gluten-Free Apple Crisp: A warm and inviting dessert with tender baked apples and a buttery, crisp gluten-free topping.
Baking gluten-free doesn’t mean sacrificing flavor or fun. With these recipes, you can continue to explore and enjoy a wide array of sweet, comforting breads and desserts that cater to your dietary needs without compromising on taste. Happy baking, and happy eating!