
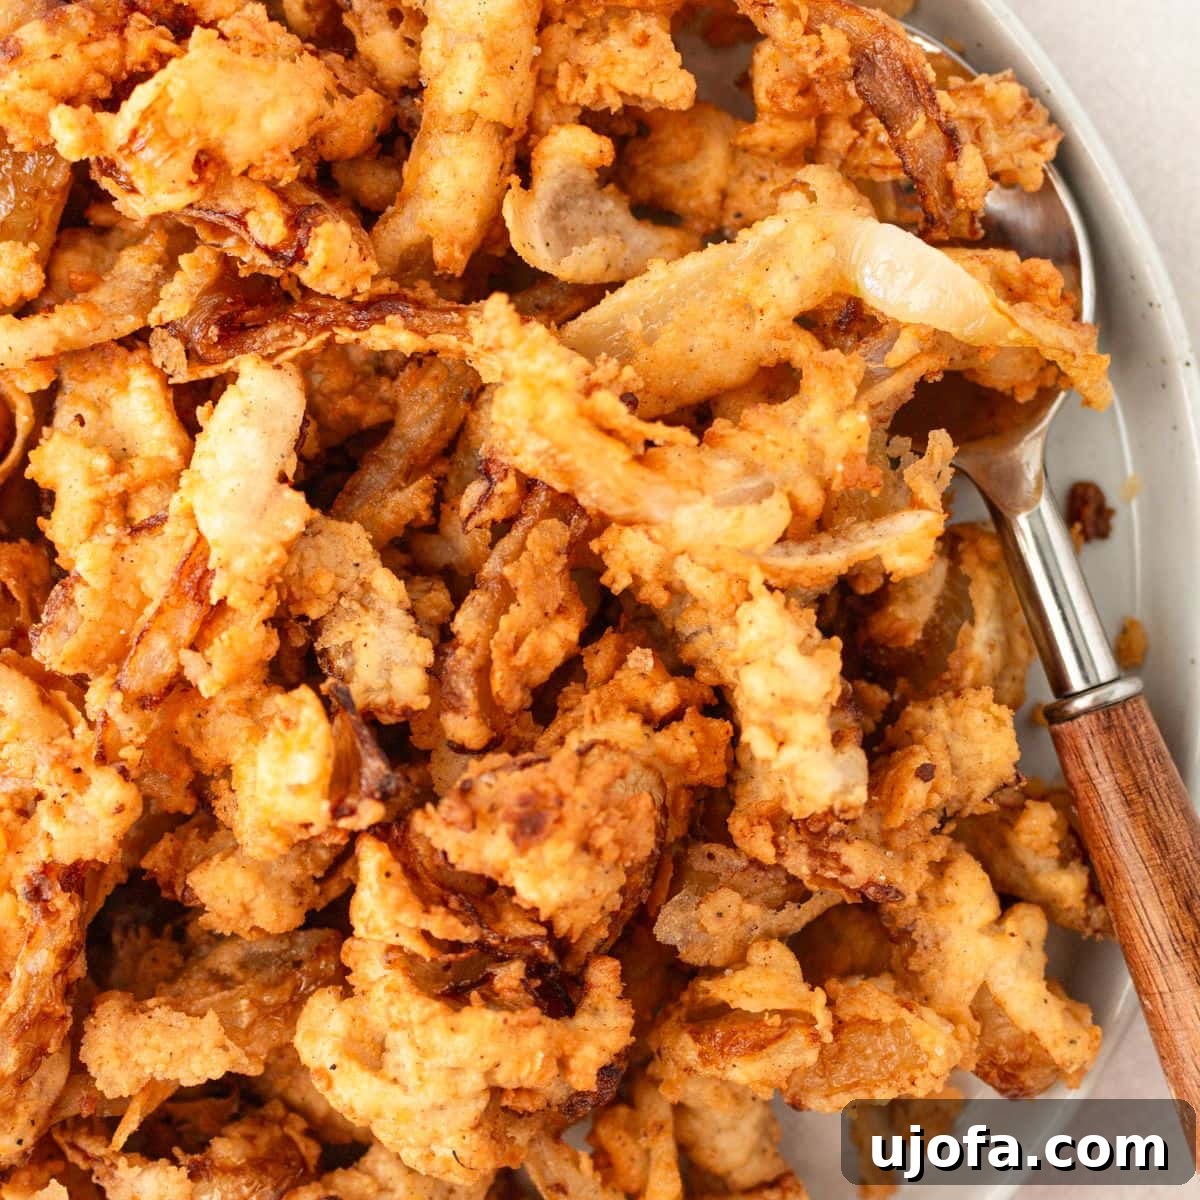
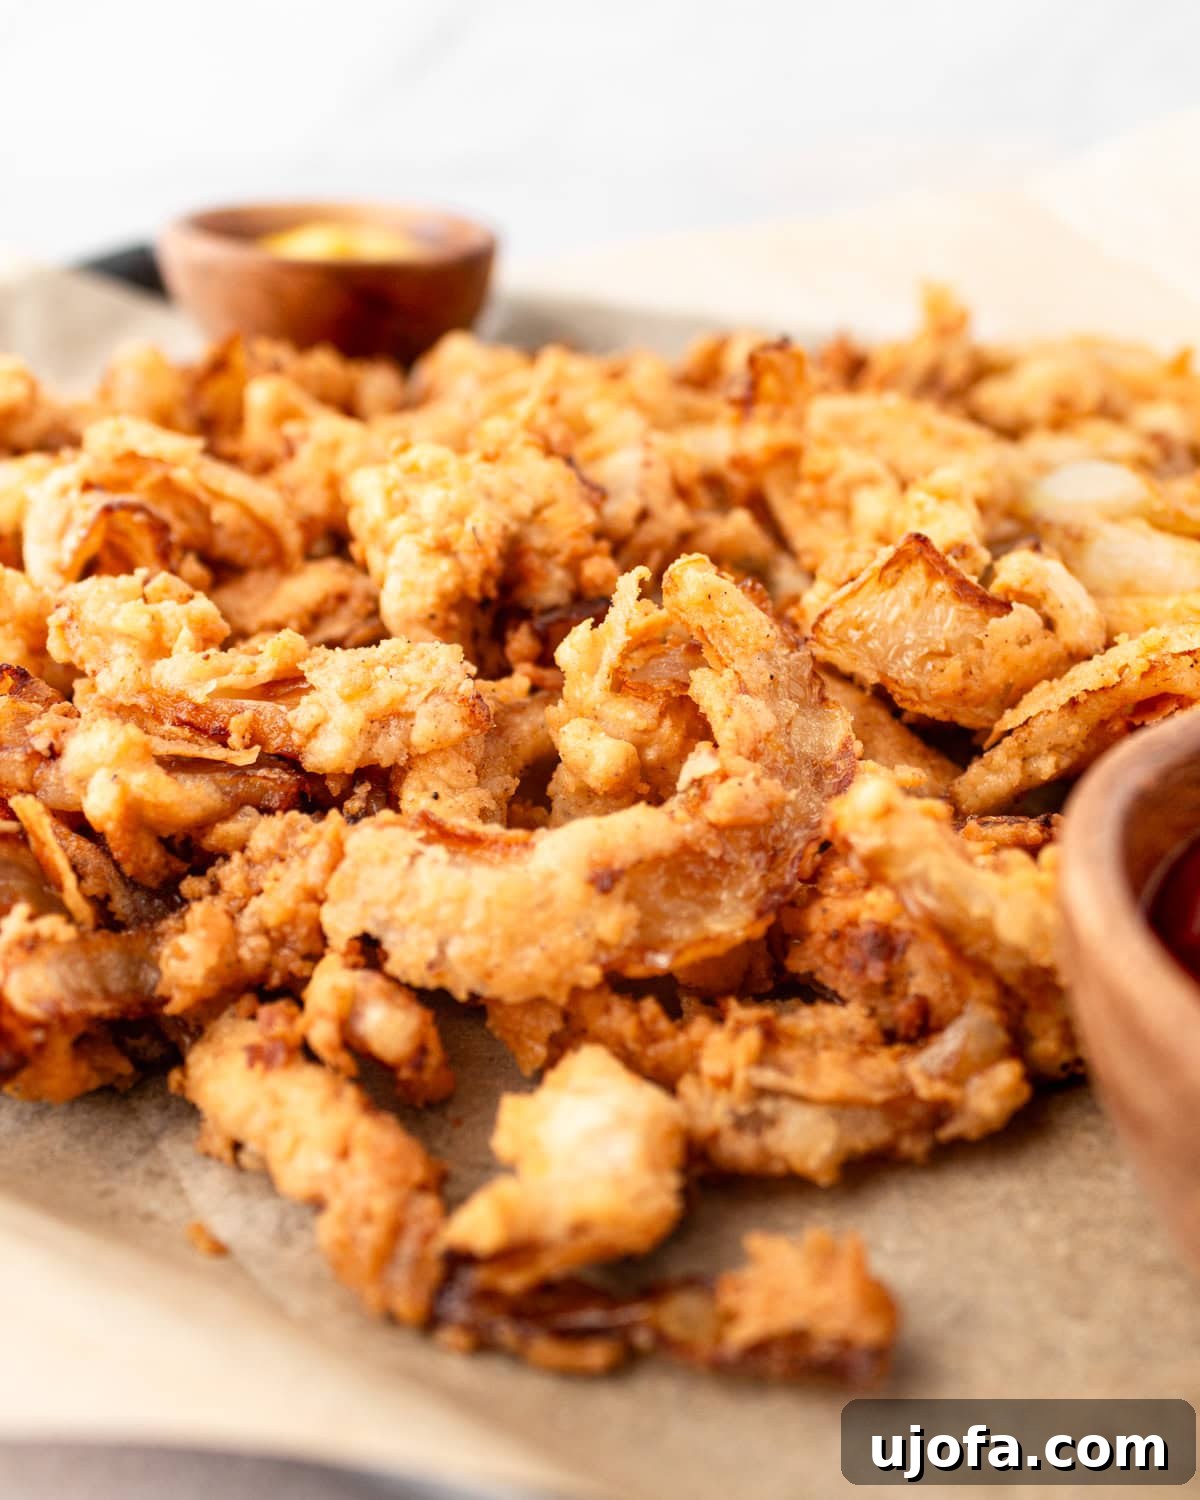
If you’re seeking that irresistible crispy, crunchy texture and savory flavor of classic fried onions but need a gluten-free option, look no further! This homemade recipe delivers an authentic experience that rivals even your favorite store-bought brands, like French’s fried onions, all without any gluten. Thinly sliced onions are marinated in creamy buttermilk to achieve incredible tenderness before being dredged in a perfectly seasoned gluten-free flour blend. Once fried to a golden perfection, these onions emerge wonderfully crispy, deeply flavorful, and utterly mouthwatering. They are an absolute game-changer, serving as the perfect topping for an array of dishes, from hearty casseroles and juicy burgers to fresh salads and festive holiday meals. Prepare to elevate your culinary creations with these incredibly simple yet profoundly delicious gluten-free fried onions!
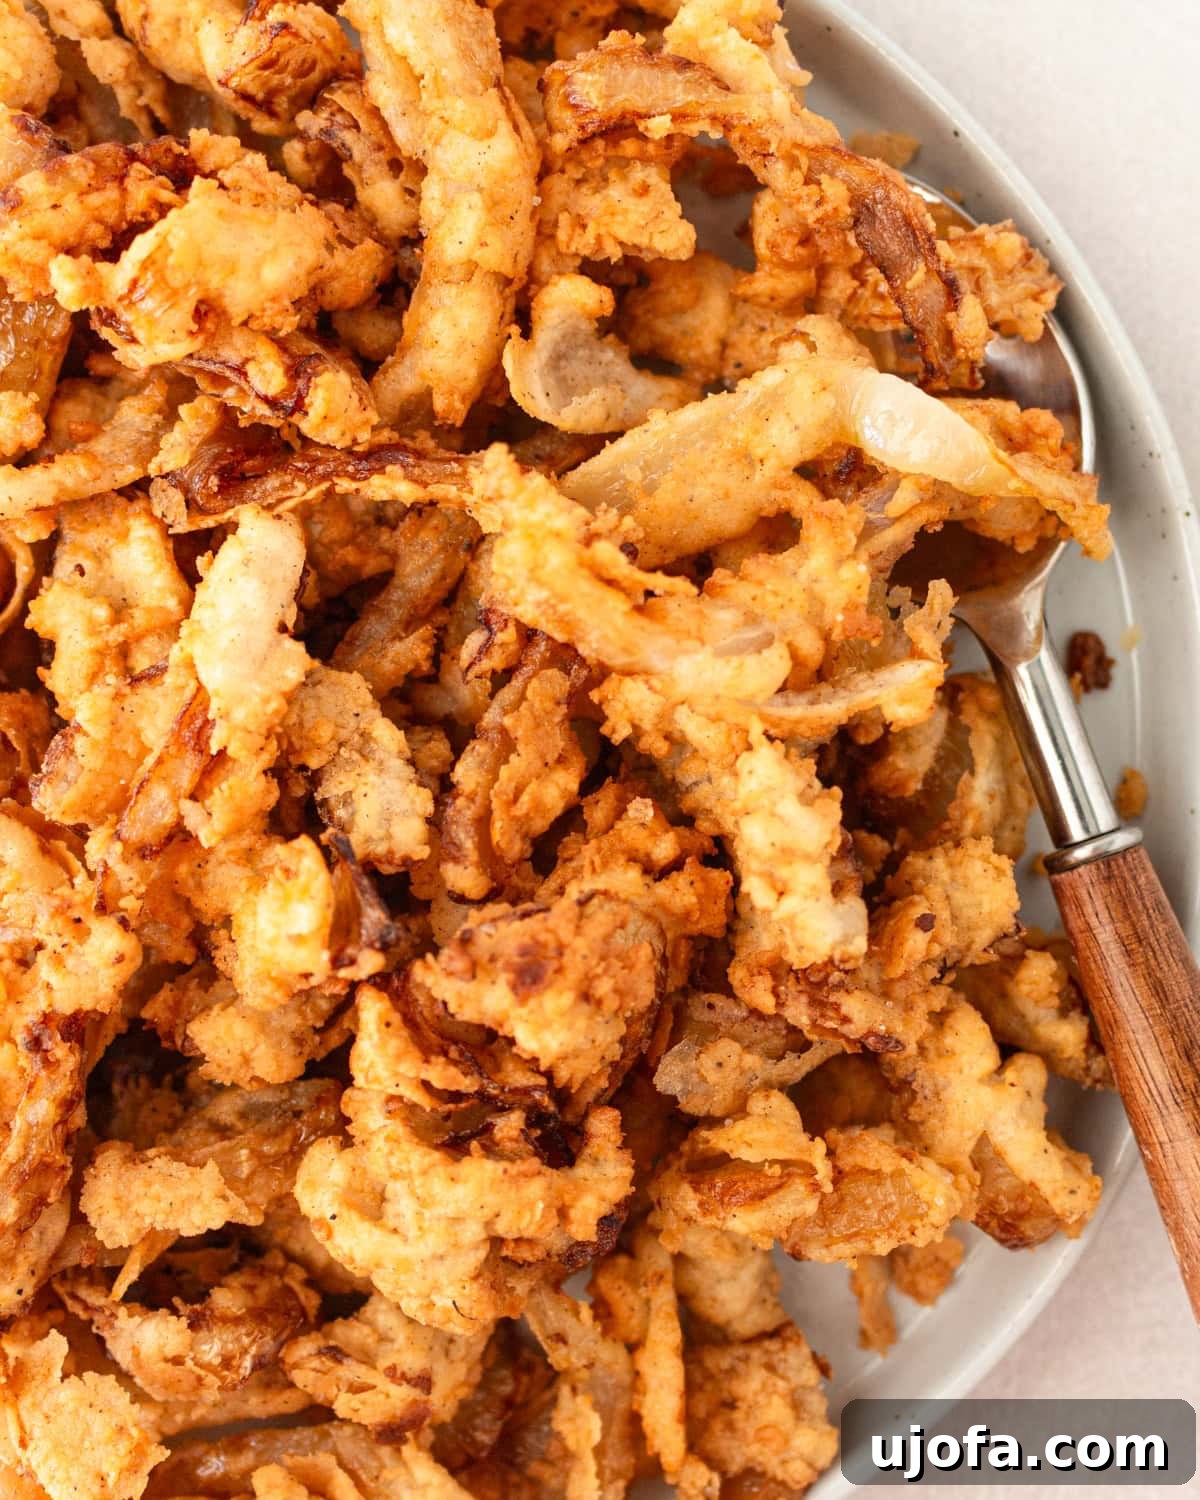
Made these for my GF green bean casserole on Thanksgiving. Everyone loved it! I think it was better than the traditional green bean casserole because of the homemade fried onions!
– Brenda Garner
Experience Unmatched Crispiness & Flavor, Completely Gluten-Free!
Craving the satisfying crunch of fried onions but adhering to a gluten-free lifestyle? This recipe is your answer! Not only are these gluten-free fried onions incredibly crispy and flavorful, but they are also surprisingly simple to prepare. Unlike some recipes, there’s no need for perfectly uniform onion rings, making this dish even more accessible than our popular gluten-free onion rings. The secret lies in a strategic buttermilk soak, which works wonders by tenderizing the onions and infusing them with a subtle tang. This buttermilk coating also acts as the perfect adhesive for our carefully seasoned gluten-free flour blend, which features aromatic garlic powder and savory smoked paprika. The result is a uniformly coated onion that fries up beautifully golden and remarkably crunchy. While these crispy onions are a holiday staple in my kitchen, especially for topping festive casseroles, their versatility makes them a delightful addition to meals all year round. Imagine adding a layer of gourmet crunch to weeknight dinners or elevating simple appetizers with ease. Say goodbye to compromising on flavor or texture; these homemade gluten-free fried onions prove that deliciousness knows no dietary bounds!
Essential Ingredients for Perfect Gluten-Free Fried Onions
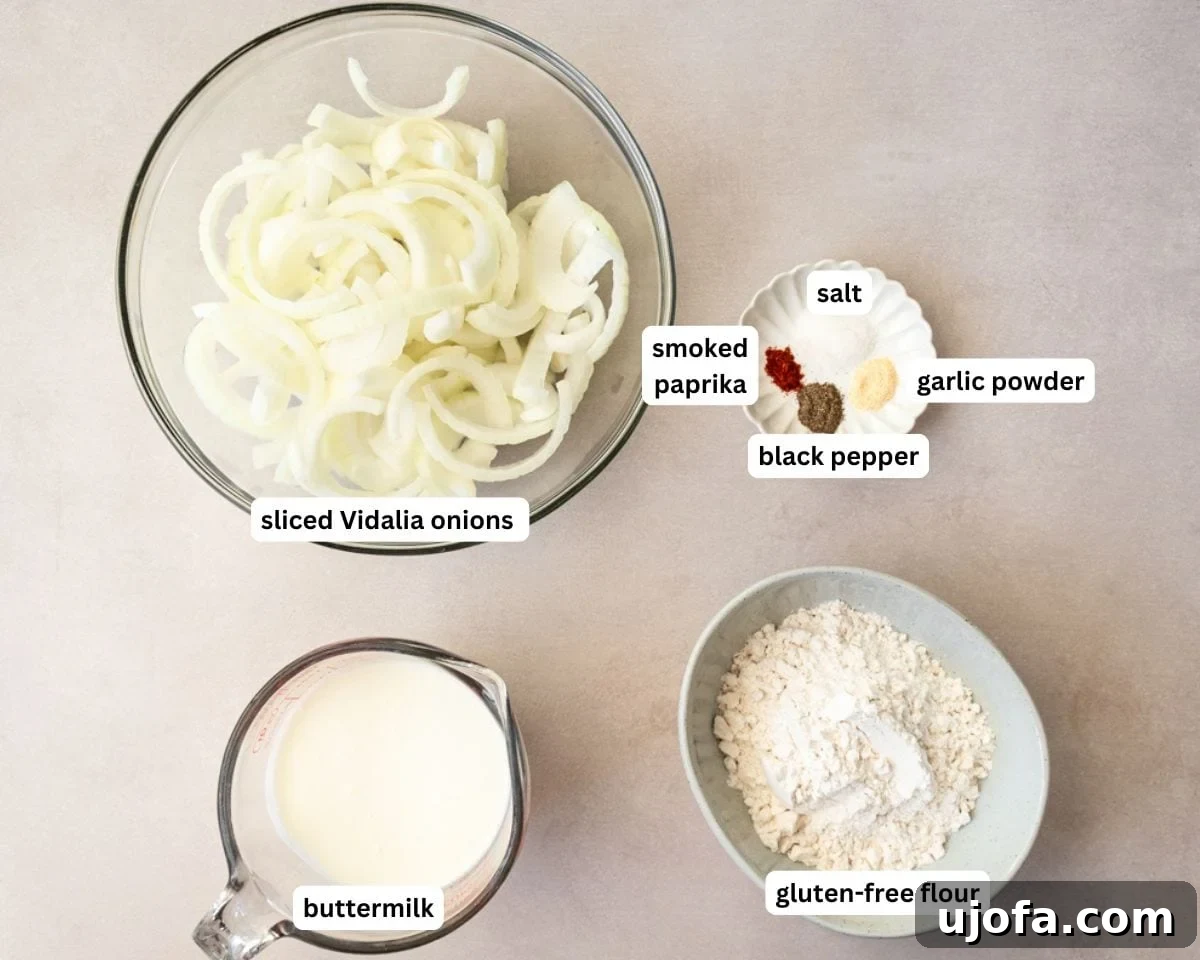
Crafting the perfect batch of gluten-free fried onions starts with selecting the right ingredients. Each component plays a vital role in achieving that desirable crispy texture and rich flavor. Here’s a detailed look at what you’ll need and why it’s important:
- Buttermilk: This humble ingredient is a game-changer. Soaking thinly sliced onions in buttermilk for just 30 minutes performs two critical functions: it gently removes any harsh bitterness from the onions, leaving them milder and sweeter, and it tenderizes them beautifully. Furthermore, the buttermilk’s slightly viscous texture helps the gluten-free flour adhere more effectively, ensuring a consistent and crispy coating. No buttermilk on hand? No problem! You can easily make your own by adding 2 ½ tablespoons of white vinegar or lemon juice to 2 ½ cups of milk (dairy or dairy-free works perfectly!). Give it a quick stir and let it sit for about 10 minutes in the refrigerator until it slightly curdles – then it’s ready to use!
- Gluten-Free All-Purpose Flour: The foundation of our crispy coating. It’s crucial to use a high-quality 1:1 gluten-free flour blend, such as Pillsbury gluten-free flour or a similar cup-for-cup variety. These blends are specifically formulated to mimic the texture and baking properties of traditional wheat flour, providing a light yet robust coating that fries up beautifully without falling apart. Using a 1:1 blend ensures consistent results and a truly gluten-free experience.
- Vidalia Onions: While other onions can be used, Vidalia onions are my top recommendation for this recipe. Known for their distinct sweetness and significantly less pungent flavor compared to yellow or red onions, Vidalias create a more balanced and enjoyable fried onion. Their natural sweetness caramelizes slightly during frying, enhancing the overall flavor profile. If Vidalia onions aren’t available, other sweet onion varieties like Walla Walla or Maui onions make excellent substitutes.
- Seasonings: The right blend of spices transforms a simple onion coating into an explosion of flavor. We mix salt, garlic powder, black pepper, and smoked paprika directly into the gluten-free flour. This combination provides a savory, aromatic, and slightly smoky depth that complements the sweet onions perfectly. The smoked paprika, in particular, adds a unique complexity that sets these fried onions apart. I also love to sprinkle a little extra salt over the onions immediately after frying, as this enhances their flavor and crispiness.
- Oil for Frying: Choosing the right oil is essential for successful deep frying. I highly recommend using oils with a high smoke point, such as canola, vegetable, or peanut oil. These oils can withstand higher temperatures without breaking down or imparting undesirable flavors to your food. The amount of oil you’ll need will depend on the size and depth of your Dutch oven or frying pot. Aim for about 2 to 3 inches of oil, enough to fully submerge the onion pieces and ensure even, consistent frying. Proper oil depth helps in achieving uniform crispness and prevents scorching.
Expert Tips for Perfectly Crispy Gluten-Free Fried Onions
Achieving perfectly crispy, golden-brown gluten-free fried onions is a rewarding experience, and these tips will help you master the process. Pay close attention to these details for the best possible results:
- Work Quickly and Be Prepared: Fried onions can go from perfectly golden to overcooked in a flash. It’s crucial to have everything ready before you start frying. Always line two baking trays with several layers of paper towels beforehand. As soon as the onions are done frying, use a slotted spoon or spider to quickly remove them from the hot oil and transfer them directly to the paper-lined trays. The paper towels are essential for absorbing any excess oil, which helps maintain their crispiness and prevents them from becoming greasy.
- Fry in Small Batches: Patience is key to maintaining consistent oil temperature and achieving maximum crispiness. I typically fry my onions in about 6 small batches. Overcrowding the pot by frying too many onions at once will drastically drop the oil’s temperature. This lower temperature leads to soggy, oily fried onions rather than the desired crispy texture. By frying in smaller quantities, you ensure the oil stays consistently hot, promoting even cooking and that irresistible crunch.
- Monitor Oil Temperature (Thermometer Recommended!): The oil temperature is arguably the most critical factor for perfect fried onions. Ideally, your oil should be maintained around 350°F (177°C) for optimal frying. While optional, an accurate deep-fry thermometer clipped to the side of your pot is highly recommended. It takes the guesswork out of frying and ensures consistent results. If you don’t have a thermometer, you can perform a simple test: drop a small piece of onion into the hot oil. If it immediately sizzles vigorously and floats to the top, your oil is ready. My oil usually takes about 10-15 minutes to reach the target temperature.
- Customize Your Seasonings: This recipe provides a fantastic base, but don’t hesitate to experiment with your favorite seasonings! If you enjoy a little heat, consider adding a pinch of cayenne pepper or chili powder to the flour mixture for an extra kick. Onion powder (in addition to garlic powder), a touch of dried thyme, or even a hint of curry powder could offer interesting variations. Feel free to adjust the ratios of salt, pepper, garlic powder, and smoked paprika to suit your personal taste preferences.
- Slice Onions Uniformly Thinly: While we mentioned that perfect rings aren’t necessary, uniform, thin slices are crucial for even cooking and crispiness. Aim for slices that are roughly 1/8 to 1/4 inch thick. Thicker slices will take longer to cook through and might not achieve the same level of crispness. A mandoline slicer can be a great tool for achieving consistent thinness, but a sharp knife and a steady hand work just as well.
- Don’t Skimp on Soaking Time: The 30-minute buttermilk soak is not just for tenderizing; it also helps the coating stick. Resist the urge to shorten this time, as it’s a vital step for flavor and texture.
- Shake Off Excess Flour: After dredging the onions in the flour mixture, gently shake off any excess flour before placing them in the hot oil. Too much loose flour can fall off into the oil, causing it to burn and affect the flavor of subsequent batches.
Decoding Store-Bought Crispy Onions: Are They Truly Gluten-Free?
It’s a common misconception that all crispy fried onions are created equal, especially when it comes to gluten content. Unfortunately, for those following a gluten-free diet, the reality is often disappointing. Most commercially available crispy onions, including popular brands like French’s fried onions found in those iconic red and white cans, are typically made with wheat flour. This means they are not suitable for individuals with celiac disease or gluten sensitivity. Wheat is a primary ingredient used for coating, and it’s essential to be vigilant about checking labels.
While some specialty stores, particularly around the holiday season, might carry gluten-free versions of crispy fried onions, they can be difficult to find and often come with a higher price tag. The good news is that making your own gluten-free fried onions at home is not only straightforward but also often more affordable and significantly more delicious. When you prepare them from scratch, you have complete control over the ingredients, ensuring they are genuinely gluten-free and tailored to your taste preferences. Plus, the freshness and superior flavor of homemade fried onions are simply incomparable. So, instead of endlessly searching for elusive store-bought options or risking cross-contamination, empower yourself with this easy-to-follow recipe and enjoy crispy, savory onions with complete peace of mind.
Troubleshooting: Why Are My Gluten-Free Fried Onions Not Crispy?
There’s nothing more disheartening than expecting perfectly crispy fried onions and ending up with a soggy, greasy batch. If your gluten-free fried onions aren’t achieving the desired crunch, there are a few common culprits to investigate. Don’t worry, these issues are usually easy to fix!
- Onion Slice Thickness: This is paramount. As demonstrated in the step-by-step photos below, your onions must be sliced thinly. Aim for uniform slices, no thicker than 1/8 to 1/4 inch. Thicker slices retain more moisture, take longer to cook through, and will struggle to get truly crispy. Thin slices, conversely, fry up much quicker and achieve a superior crispness. Using a mandoline slicer can help ensure consistent thinness.
- Oil Temperature: The temperature of your frying oil is critical. If the oil isn’t hot enough (below 350°F / 177°C), the onions will absorb too much oil, becoming greasy and soggy instead of crispy. They will “stew” rather than “fry.” Conversely, if the oil is too hot (above 375°F / 190°C), the coating will burn before the onion inside is properly cooked, resulting in a bitter taste. Invest in a reliable deep-fry thermometer to maintain the ideal temperature of around 350°F (177°C).
- Overcrowding the Pan: Frying too many onions at once is a frequent mistake. When you add a large batch of onions to the oil, it causes a significant drop in temperature. As mentioned in our tips, this temperature drop leads to soggy results. Fry your onions in small batches, ensuring there’s plenty of space around each piece. This allows the oil temperature to recover quickly and maintain its heat, promoting even cooking and crispiness.
- Excess Moisture on Onions: While buttermilk is essential, ensuring the onions are properly coated and excess buttermilk is shaken off before flouring can help. Similarly, ensure your buttermilk doesn’t make the flour coating too wet. The buttermilk should provide a thin, even layer for the flour to adhere to, not be dripping wet.
- Not Shaking Off Excess Flour: After dredging, gently shake the onions to remove any loose, unattached flour. Excess flour can fall into the oil and burn, or create a thick, doughy crust that prevents true crispness.
- Draining Post-Frying: Always transfer freshly fried onions to a paper towel-lined baking sheet immediately after removing them from the oil. This step is crucial for absorbing any residual oil, preventing them from becoming greasy and helping them stay crispy as they cool.
By addressing these points, you’ll be well on your way to consistently producing perfectly crispy and delicious gluten-free fried onions!
Creative Ways to Enjoy Your Gluten-Free Fried Onions
Once you’ve experienced the delightful crunch and savory flavor of these homemade gluten-free fried onions, you’ll want to put them on everything! Their versatility makes them an ideal topping for an incredible range of dishes, transforming everyday meals into something special. Here are some of my favorite serving suggestions to inspire your culinary adventures:
- Classic Casserole Topping: Undoubtedly the most iconic pairing! These fried onions are an absolute must-have for gluten-free green bean casserole, adding that essential crispy, savory layer that defines the dish. But don’t stop there! Try them on potato casseroles, tuna noodle casseroles, or any creamy baked dish that needs a textural contrast.
- Elevate Your Burgers and Sandwiches: Forget plain old raw onions! Pile these crispy fried onions high on your favorite beef, chicken, or veggie burgers for an instant gourmet upgrade. They also make a fantastic addition to deli-style sandwiches, grilled cheese, or even hot dogs, providing a satisfying crunch and savory depth.
- Crunchy Salad Topper: Transform a simple salad into a star with a generous sprinkle of these crispy onions. They add a wonderful texture and savory flavor that complements fresh greens, grilled chicken, or any vibrant salad combination.
- Delicious on Tacos and Wraps: Looking for an unexpected twist? Add these fried onions to your next taco night! Whether it’s beef, chicken, or vegetarian tacos, the crispy onions bring an exciting texture and extra layer of flavor. They’re also great in quesadillas and various wraps.
- Savory Soup and Chili Garnish: Instead of croutons, top your bowls of creamy tomato soup, hearty lentil soup, or spicy chili with these gluten-free fried onions. They’ll soften slightly while still providing a lovely textural contrast and rich onion flavor.
- Upgrade Your Mashed Potatoes: For a truly decadent side dish, stir some into your mashed potatoes or sprinkle them on top for a delightful textural element that pairs wonderfully with roasts and gravies.
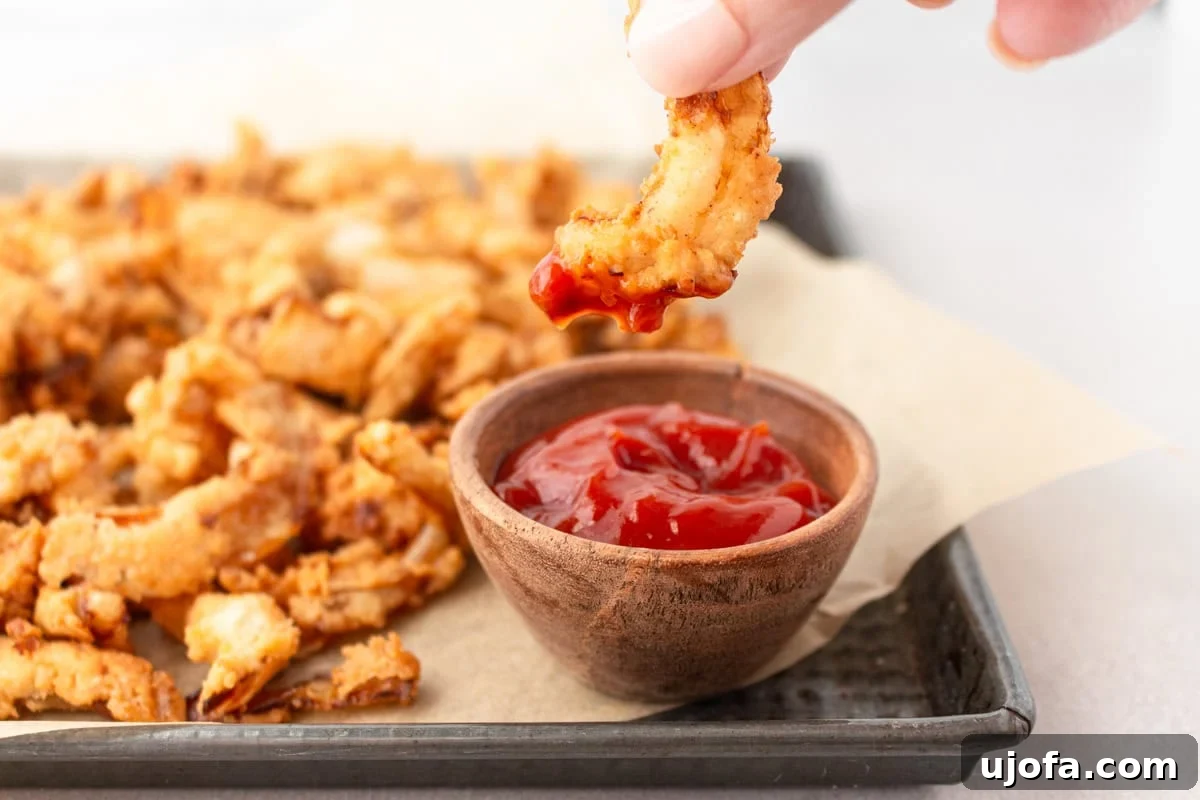
- Perfect with Dipping Sauces: Sometimes, the simplest way to enjoy them is as a standalone snack! Serve them warm with your favorite dipping sauces like classic ketchup, tangy mustard, spicy sriracha mayo, or our creamy dairy-free ranch dressing. They make a fantastic appetizer or party snack.
- Accompany Grilled Meats and Fish: Serve a handful alongside grilled steaks, chicken breasts, or flaky white fish for a delicious, easy side that adds texture and savory notes.
- Breakfast and Brunch Booster: Get creative! Add them to scrambled eggs, omelets, or breakfast burritos for an unexpected savory crunch that makes breakfast more exciting.
Storage & Reheating for Maximum Crispiness
One of the best things about these gluten-free fried onions is how well they store, allowing you to enjoy their delicious crispiness for days after preparation. Proper storage and reheating techniques are key to maintaining their optimal texture and flavor. Here’s how to keep them fresh and ready for your next meal:
- Room Temperature Storage: Once your gluten-free crispy fried onions have cooled completely to room temperature, transfer them to an airtight container. It’s important they are fully cool before sealing, as any residual warmth can create condensation, which will lead to sogginess. Stored properly at room temperature, they will remain wonderfully crispy for approximately 3-4 days. For best results, avoid storing them in the refrigerator, as the moisture and cold can quickly diminish their crisp texture.
- Reheating for Re-Crisping: If your fried onions lose a bit of their crispness over time, or if you simply prefer them warm, they are incredibly easy to re-crisp. You can pop them into your air fryer at 350°F (177°C) for just a few minutes, shaking the basket once or twice, until they are hot and crispy again. Alternatively, spread them in a single layer on a baking sheet and reheat them in a preheated oven at 350°F (177°C) for 5-7 minutes. Keep a close eye on them, as they can burn quickly.
- Freezing for Long-Term Storage: For longer storage, these fried onions can also be frozen. Once completely cooled, spread them in a single layer on a baking sheet and freeze for about an hour until solid. This prevents them from sticking together. Then, transfer them to a freezer-safe airtight container or a heavy-duty freezer bag. They can be stored in the freezer for up to 3 months.
- Thawing and Re-Crisping Frozen Onions: When ready to use from frozen, you can reheat them directly from the freezer. Spread them on a baking sheet or in an air fryer basket. Note that the texture might change slightly after being frozen and thawed, so they will almost certainly need to be re-crisped in the oven or air fryer to regain their crunch. Follow the same re-crisping instructions as above, adding a few extra minutes to account for them being frozen.
With these storage and reheating tips, you’ll always have a batch of crispy, savory gluten-free fried onions ready to enhance any dish, whether it’s for a special occasion or a simple weeknight dinner.
Explore More Deep-Fried Gluten-Free Delights!
If you loved making these crispy fried onions, you’re in for a treat! The world of gluten-free deep-fried goodness is vast and delicious. Expand your repertoire with these other fantastic recipes that bring that satisfying fried crunch right to your gluten-free kitchen:
- Gluten-Free Mozzarella Sticks: Gooey, cheesy, and perfectly crispy – a classic appetizer made safe for gluten-free diets.
- Gluten-Free Corn Dogs: Recreate this carnival favorite at home with a sweet corn batter and savory hot dogs.
- Gluten-Free Fish & Chips: Enjoy flaky, tender fish in a crisp, golden batter, paired with perfectly fried chips.
- Gluten-Free Falafel: Savory, herbaceous chickpea fritters, a staple of Middle Eastern cuisine, now completely gluten-free.
Gluten-Free Fried Onions Recipe
Ashley Barbey
4
servings
15 minutes
5 minutes
30 minutes
50 minutes
Ingredients
Adjust servings: 1x, 2x, 3x (functionality removed)
Adjust servings: 1x, 2x, 3x (functionality removed)
-
2
large
Vidalia onions,
thinly sliced -
2 ½
cups
buttermilk -
2
cups
gluten-free all-purpose flour,
use a 1:1 gluten-free flour mix -
1
teaspoon
salt -
½
teaspoon
black pepper -
¾
teaspoon
garlic powder -
¼
teaspoon
smoked paprika -
oil,
for frying (canola, vegetable, or peanut oil works best) -
salt,
for sprinkling
US Customary – Metric (conversion functionality removed)
Instructions
-
Begin by preparing your onions for their buttermilk bath. Place the thinly sliced onions into a clean, medium-sized bowl. Pour the buttermilk over the onions, ensuring all slices are well coated. Stir gently to evenly distribute the buttermilk. Allow the onions to marinate in this mixture for a minimum of 30 minutes at room temperature, stirring once halfway through the soaking period. This step is crucial for tenderizing the onions and reducing their pungent flavor. While they marinate, prepare your frying station: line two large baking sheets with several layers of paper towels. These will be used to absorb excess oil from the fried onions, keeping them crispy.
-
In a separate bowl, prepare your seasoned flour coating. Whisk together the 2 cups of gluten-free all-purpose flour with 1 teaspoon of salt, ½ teaspoon of black pepper, ¾ teaspoon of garlic powder, and ¼ teaspoon of smoked paprika until thoroughly combined. This ensures every onion slice gets an even distribution of flavor.
-
For easy coating, transfer the prepared flour mixture into a large zip-top bag. If you are making a double batch or prefer to work with smaller quantities, you can divide the flour mixture between two bags. This method allows for efficient and mess-free coating of the onions.
-
Using tongs or a slotted spoon, carefully transfer a portion of the buttermilk-soaked onions into the zip-top bag containing the flour mixture. Allow any excess buttermilk to drip off before adding them to the bag. Seal the bag completely, making sure to trap some air inside. Then, shake vigorously until all the onion pieces are thoroughly coated with the seasoned gluten-free flour. Repeat this process with the remaining onions, working in batches to ensure even coating.
-
While the onions are marinating and being coated, begin heating your frying oil. In a large, deep Dutch oven or heavy-bottomed pot, add enough oil to reach a depth of approximately 2-3 inches. This ensures the onions can be fully submerged for even cooking. Heat the oil over medium-high heat until it reaches a temperature of 350°F (177°C). This typically takes about 10-15 minutes, but using a deep-fry thermometer clipped to the side of the pan is highly recommended for accurate temperature control. Maintaining the correct oil temperature is crucial for achieving crispy, non-greasy fried onions.
-
Once the oil is at the correct temperature, it’s time to fry. Carefully add the coated onions into the hot oil in 6 small batches. Avoid overcrowding the pot, as this will drop the oil temperature and result in soggy onions. Use a slotted frying spoon to gently stir the onions, preventing them from sticking together and ensuring they cook evenly. Fry each batch until they turn a beautiful golden brown and are visibly crispy, which should take approximately 4-5 minutes per batch. Work quickly and efficiently, as the onions can burn easily.
-
As each batch of onions reaches its perfect golden crispness, use your slotted spoon to remove them from the oil. Allow any excess oil to drip off for a moment before transferring them to the paper towel-lined baking sheets you prepared earlier. Immediately sprinkle the hot fried onions with a pinch of extra salt to taste. The salt adheres best while they are still warm and enhances their overall flavor. Continue this process until all your gluten-free fried onions are cooked to perfection. Serve warm and enjoy!
Notes
- To Store: Allow the fried onions to cool completely before storing them in an airtight container at room temperature. They will remain crispy for 3-4 days. For longer storage, you can freeze them for up to 3 months.
- To Reheat: To restore their crispness, reheat in a preheated oven at 350°F (177°C) or in an air fryer for a few minutes until hot and crunchy.
- Mama says, “Always check all of your ingredient labels to ensure they are certified gluten-free, especially for flours and seasonings, to prevent cross-contamination!”
Nutrition
Serving:
1
serving
Calories:
349
kcal
Carbohydrates:
64
g
Protein:
12
g
Fat:
7
g
Saturated Fat:
3
g
Polyunsaturated Fat:
1
g
Monounsaturated Fat:
2
g
Cholesterol:
17
mg
Sodium:
753
mg
Potassium:
412
mg
Fiber:
8
g
Sugar:
18
g
Vitamin A:
312
IU
Vitamin C:
8
mg
Calcium:
248
mg
Iron:
3
mg
Nutrition information is automatically calculated, so should only be used as an approximation.
Additional Info
Side Dish
American
Tried this recipe?
Mention @mamaknowsglutenfree or tag #mamaknowsglutenfree!
How to Make Gluten-Free Fried Onions: A Detailed Step-by-Step Guide
Follow these clear, detailed steps to create your own batch of perfectly crispy gluten-free fried onions from scratch. Each stage is designed to ensure maximum flavor and the ideal crunchy texture.
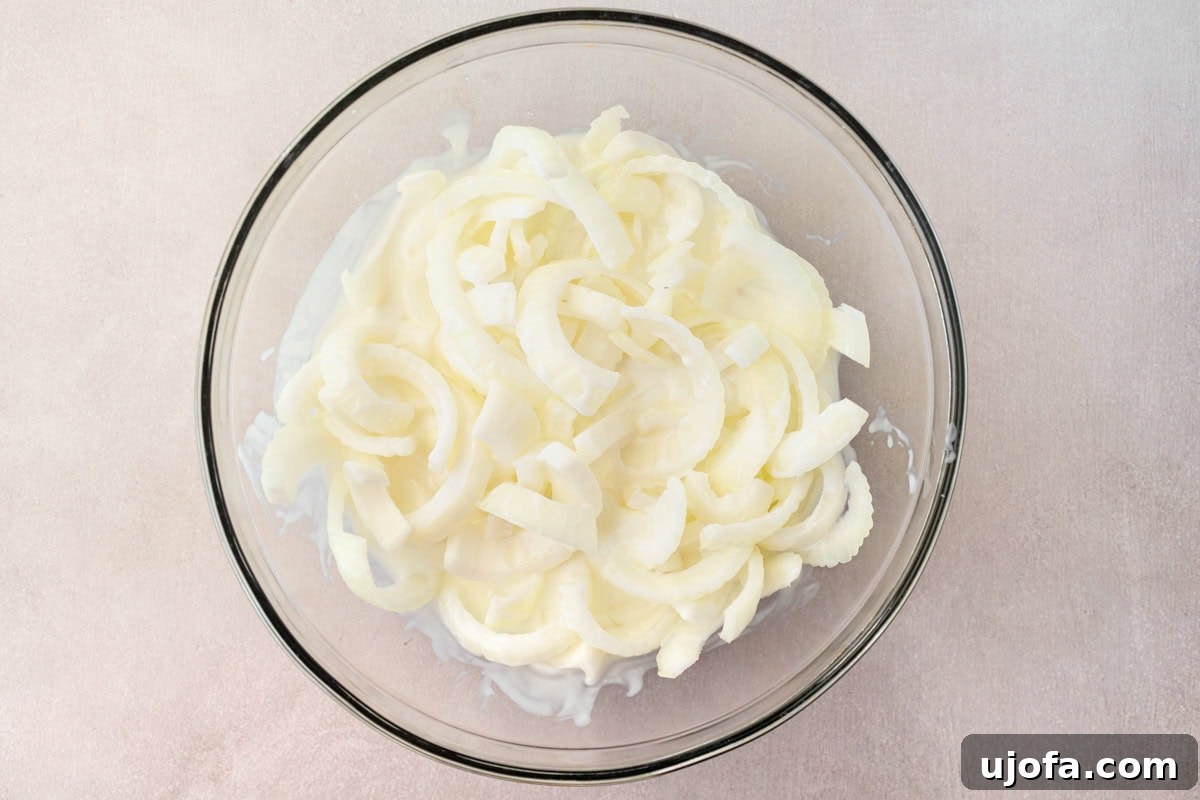
Step 1: Prepare the Buttermilk Soak. Begin by placing 2 large, thinly sliced Vidalia onions into a bowl. Ensure the slices are uniform and thin for even cooking. Pour 2 ½ cups of buttermilk over the onions, making sure they are fully submerged and coated. Stir gently to mix. Let the onions sit and marinate in the buttermilk mixture for 30 minutes. This crucial step tenderizes the onions and removes any harsh bitterness, contributing to their overall sweet and mellow flavor. Remember to stir them once halfway through the marinating time. While the onions are soaking, prepare your landing zone for the fried onions by lining two baking sheets with several layers of paper towels. These towels will absorb any excess oil after frying, helping to maintain crispiness.
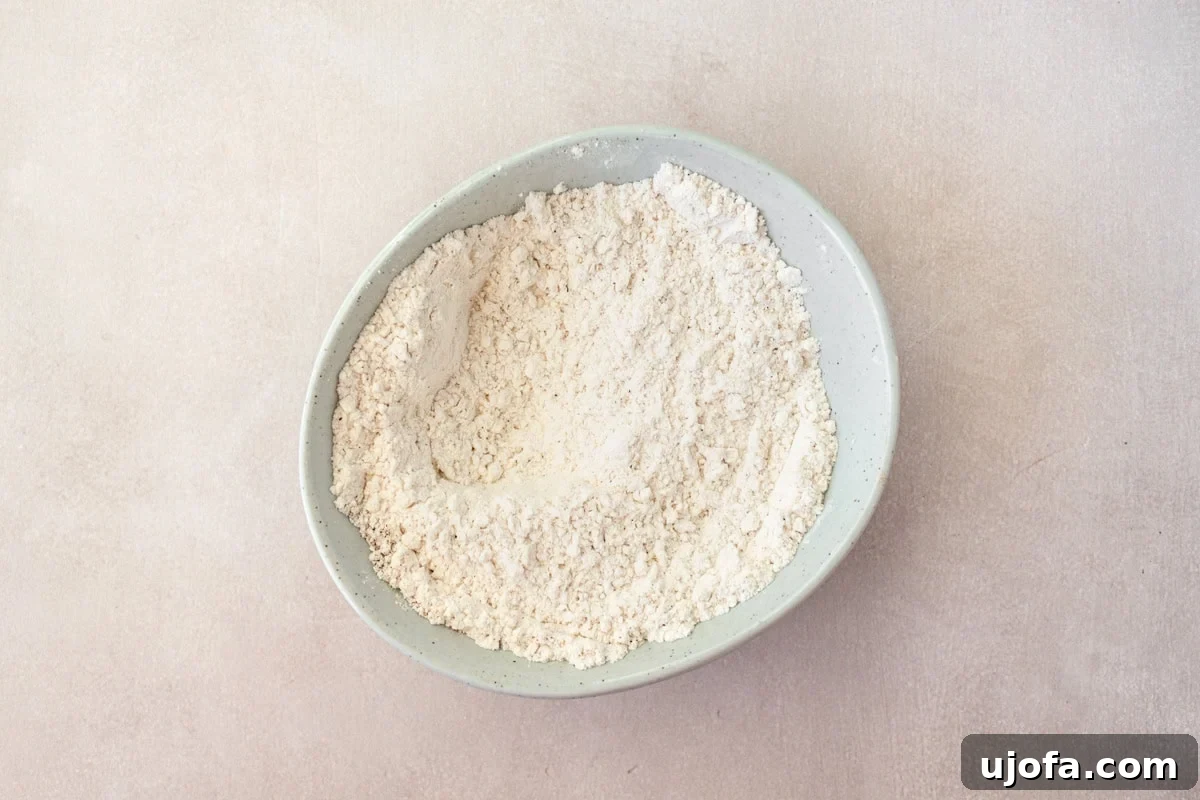
Step 2: Create the Seasoned Flour Blend. In a separate, clean bowl, combine your dry ingredients. Whisk together 2 cups of gluten-free all-purpose flour (ensure it’s a 1:1 gluten-free flour mix), 1 teaspoon of salt, ½ teaspoon of black pepper, ¾ teaspoon of garlic powder, and ¼ teaspoon of smoked paprika. Mix these ingredients thoroughly to ensure the seasonings are evenly distributed throughout the flour. This flavorful coating is what gives our fried onions their signature taste and incredible crunch.
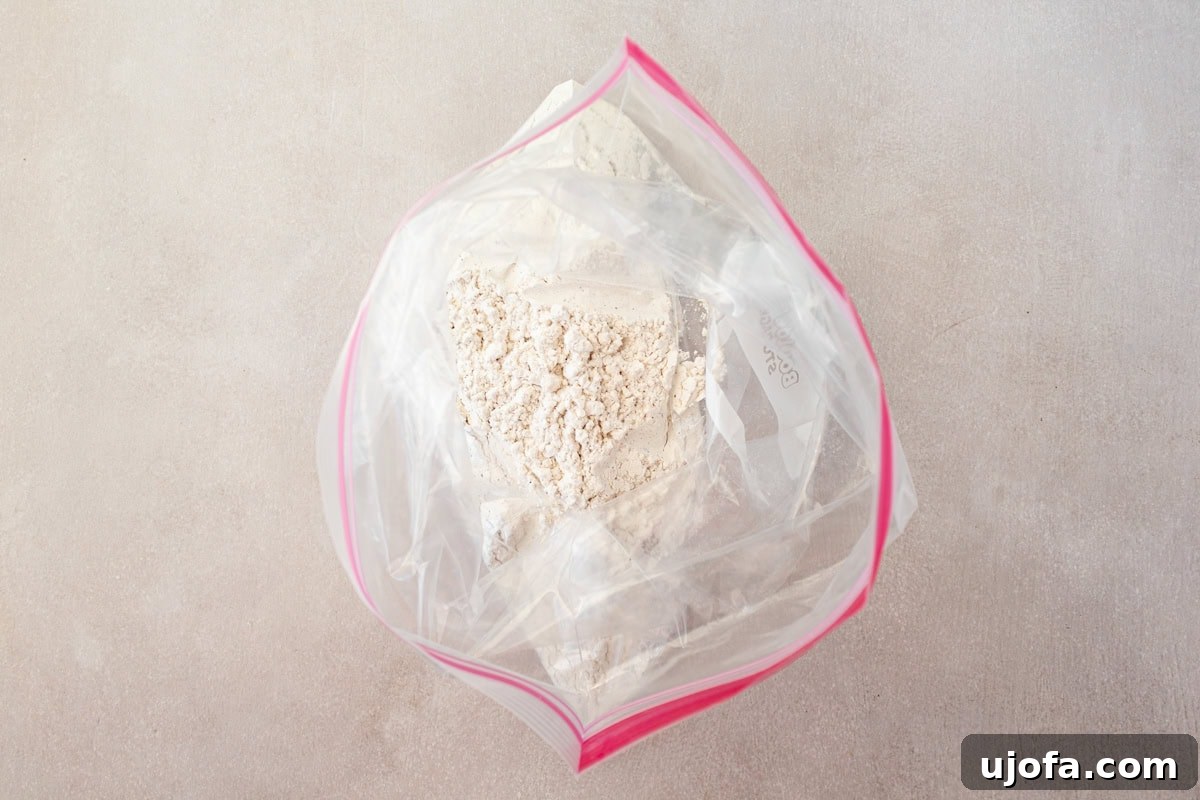
Step 3: Prepare the Coating Station. Carefully pour the whisked flour mixture into a large zip-top bag. This bag will serve as your convenient and mess-free coating station for the onions. If you prefer to work with smaller quantities or are making a larger batch, you can divide the flour mixture between two zip-top bags. The bag method ensures that each onion slice is completely and uniformly coated with the seasoned flour, which is essential for consistent crispiness.
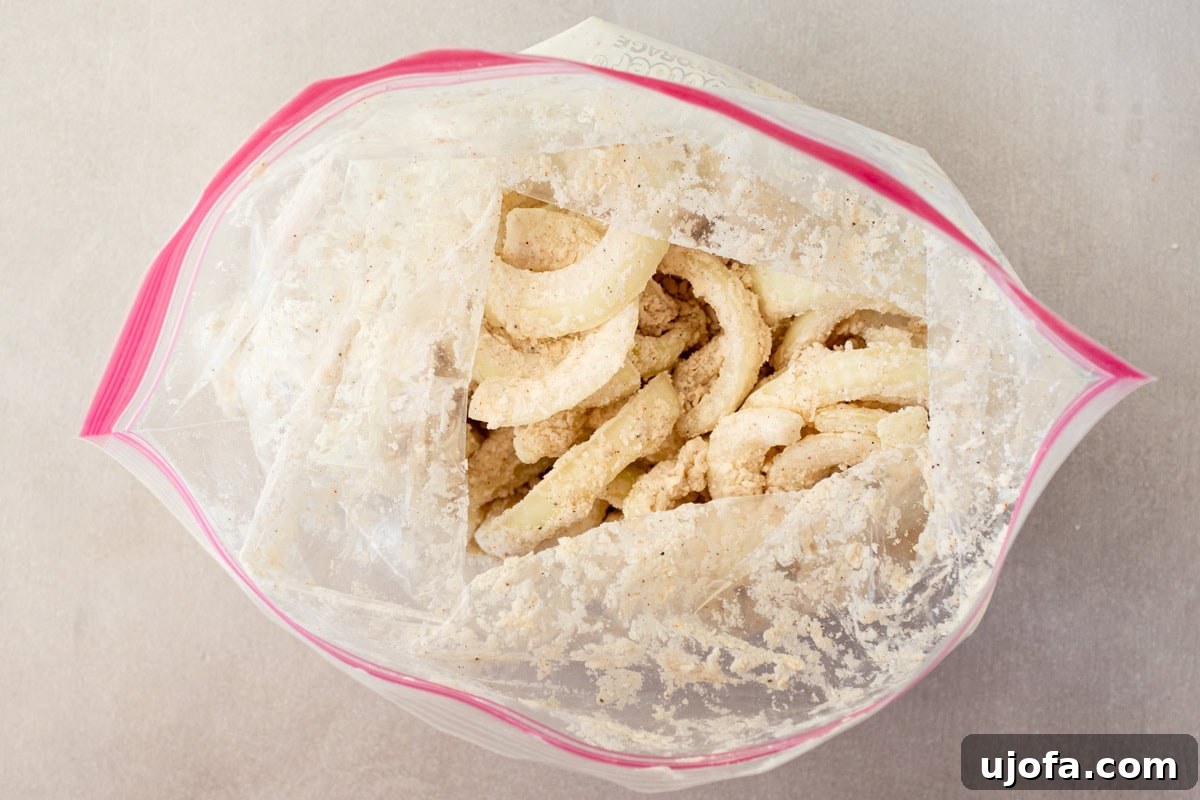
Step 4: Coat the Onions. Using tongs or a slotted spoon, transfer the buttermilk-soaked onions from their bowl into the zip-top bag containing the seasoned flour mixture. Allow any excess buttermilk to drip off before adding the onions to the bag. Once a batch of onions is inside, zip the bag completely, making sure it’s securely sealed. Then, shake the bag vigorously to ensure that all the onion pieces are thoroughly coated in the flour mixture. This shaking action helps to create an even, thin layer of coating on each slice. Remove the coated onions to a separate plate while you finish coating the remaining batches.
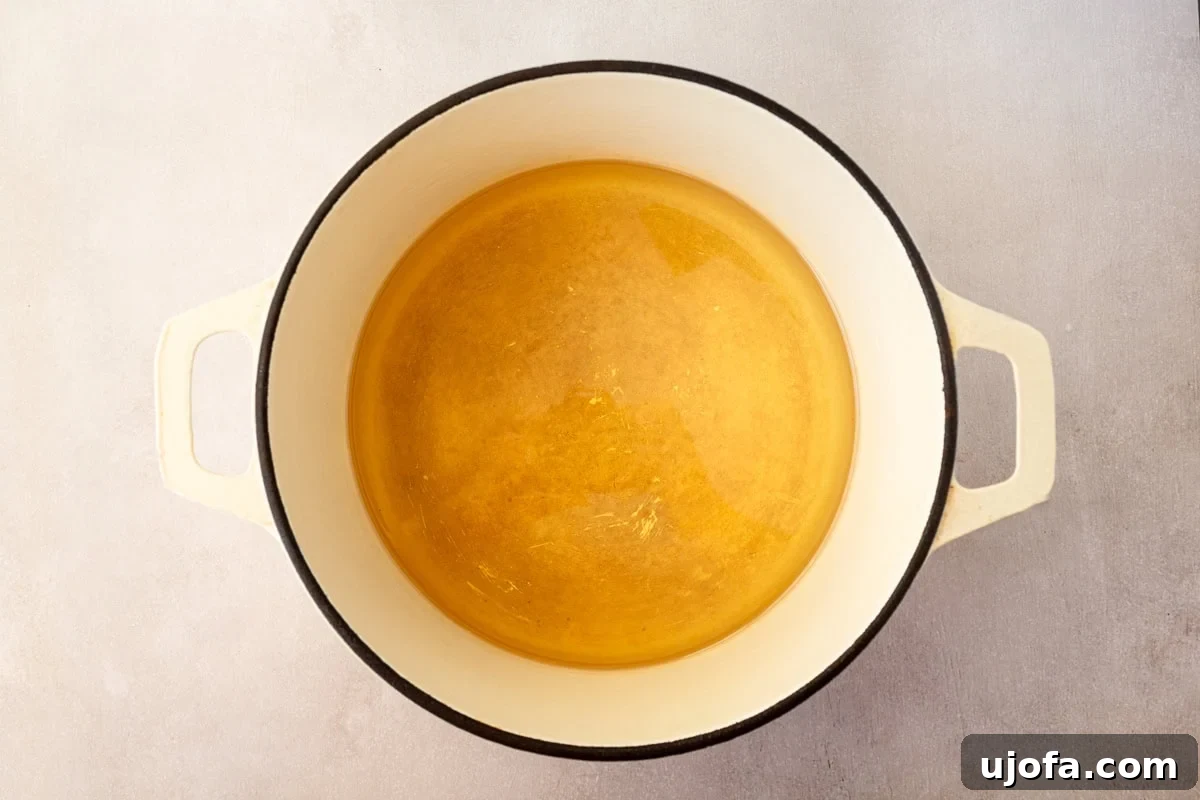
Step 5: Heat the Frying Oil. While you’re coating the onions, begin heating your oil. In a large, deep Dutch oven or a sturdy, heavy-bottomed pot, add your chosen frying oil (canola, vegetable, or peanut oil works best) to a depth of about 2-3 inches. Place the pot over medium-high heat. Allow the oil to heat up to 350°F (177°C). This process typically takes around 10-15 minutes. Using a deep-fry thermometer, ideally one that can clip to the side of the pan, is highly recommended to monitor and maintain the precise oil temperature. Correct oil temperature is paramount for achieving perfectly crispy and non-greasy fried onions. If you don’t have a thermometer, you can test by dropping a small piece of onion into the oil; if it sizzles immediately and floats to the top, it’s ready.
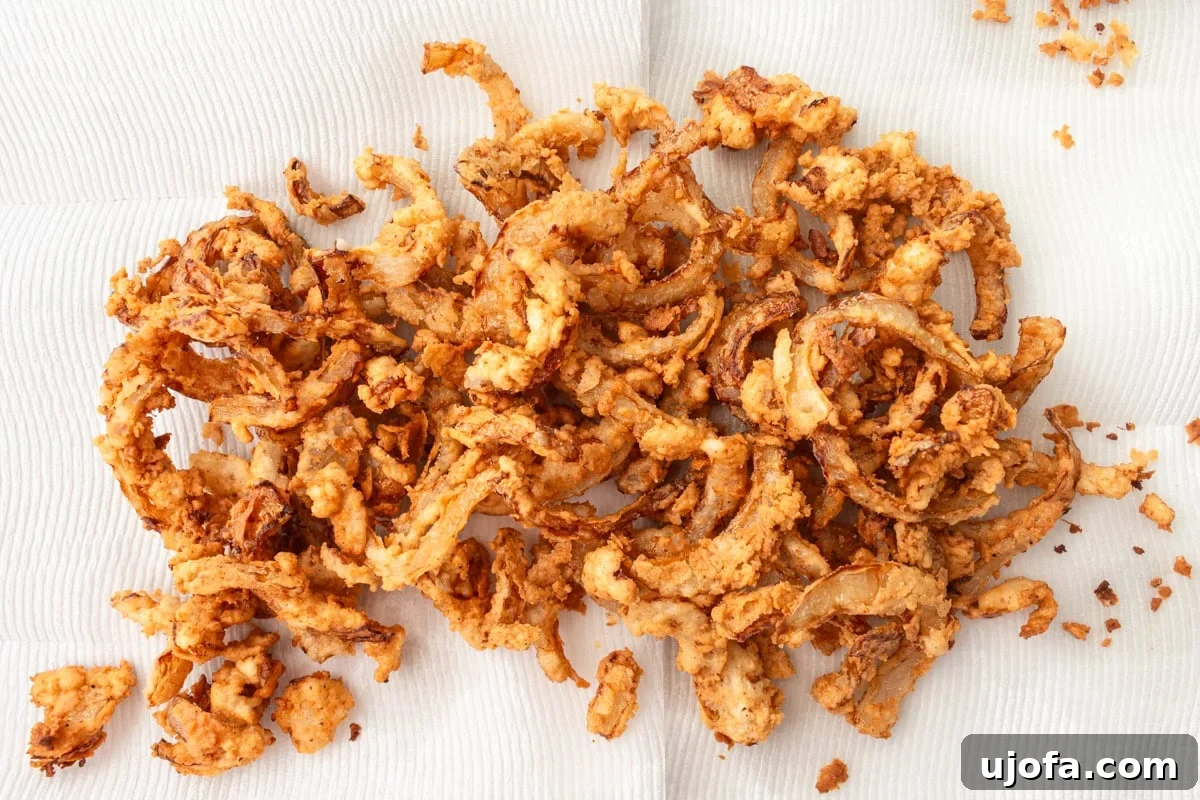
Step 6: Fry and Season. With your oil at the correct temperature, it’s time to fry the onions. Carefully place a small batch of coated onions into the hot oil. It’s crucial to fry them in 6 small batches to avoid overcrowding the pot, which would lower the oil temperature and lead to soggy results. Use a slotted frying spoon to gently stir the onions, ensuring they don’t stick together and cook evenly. Fry each batch until they turn a beautiful, deep golden brown and are satisfyingly crispy, which generally takes about 4-5 minutes per batch. Once cooked, quickly remove the onions from the oil using the slotted spoon, allowing any excess oil to drain back into the pot. Immediately transfer the fried onions to your paper towel-lined baking sheets. While still hot, generously sprinkle them with extra salt to taste. The salt adheres best to the warm onions, enhancing their flavor and contributing to that irresistible crunch. Continue frying the remaining batches, re-salting each as they come out, until all your delicious gluten-free fried onions are ready to enjoy!