
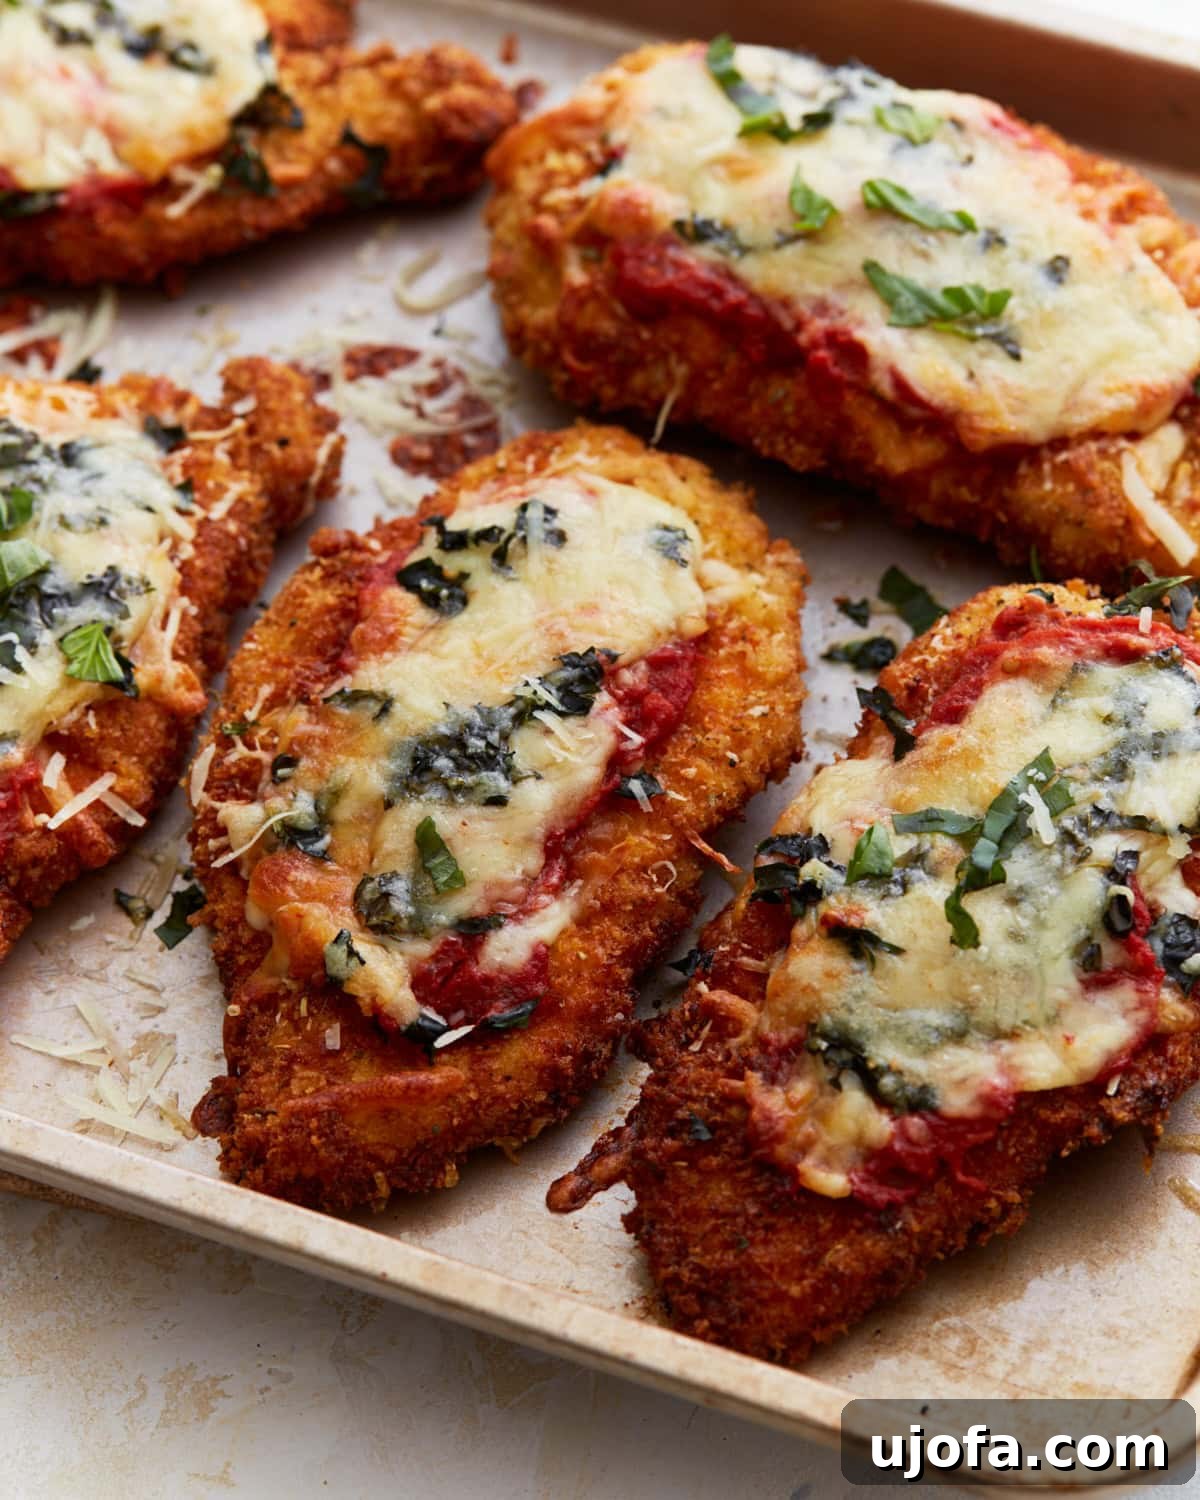
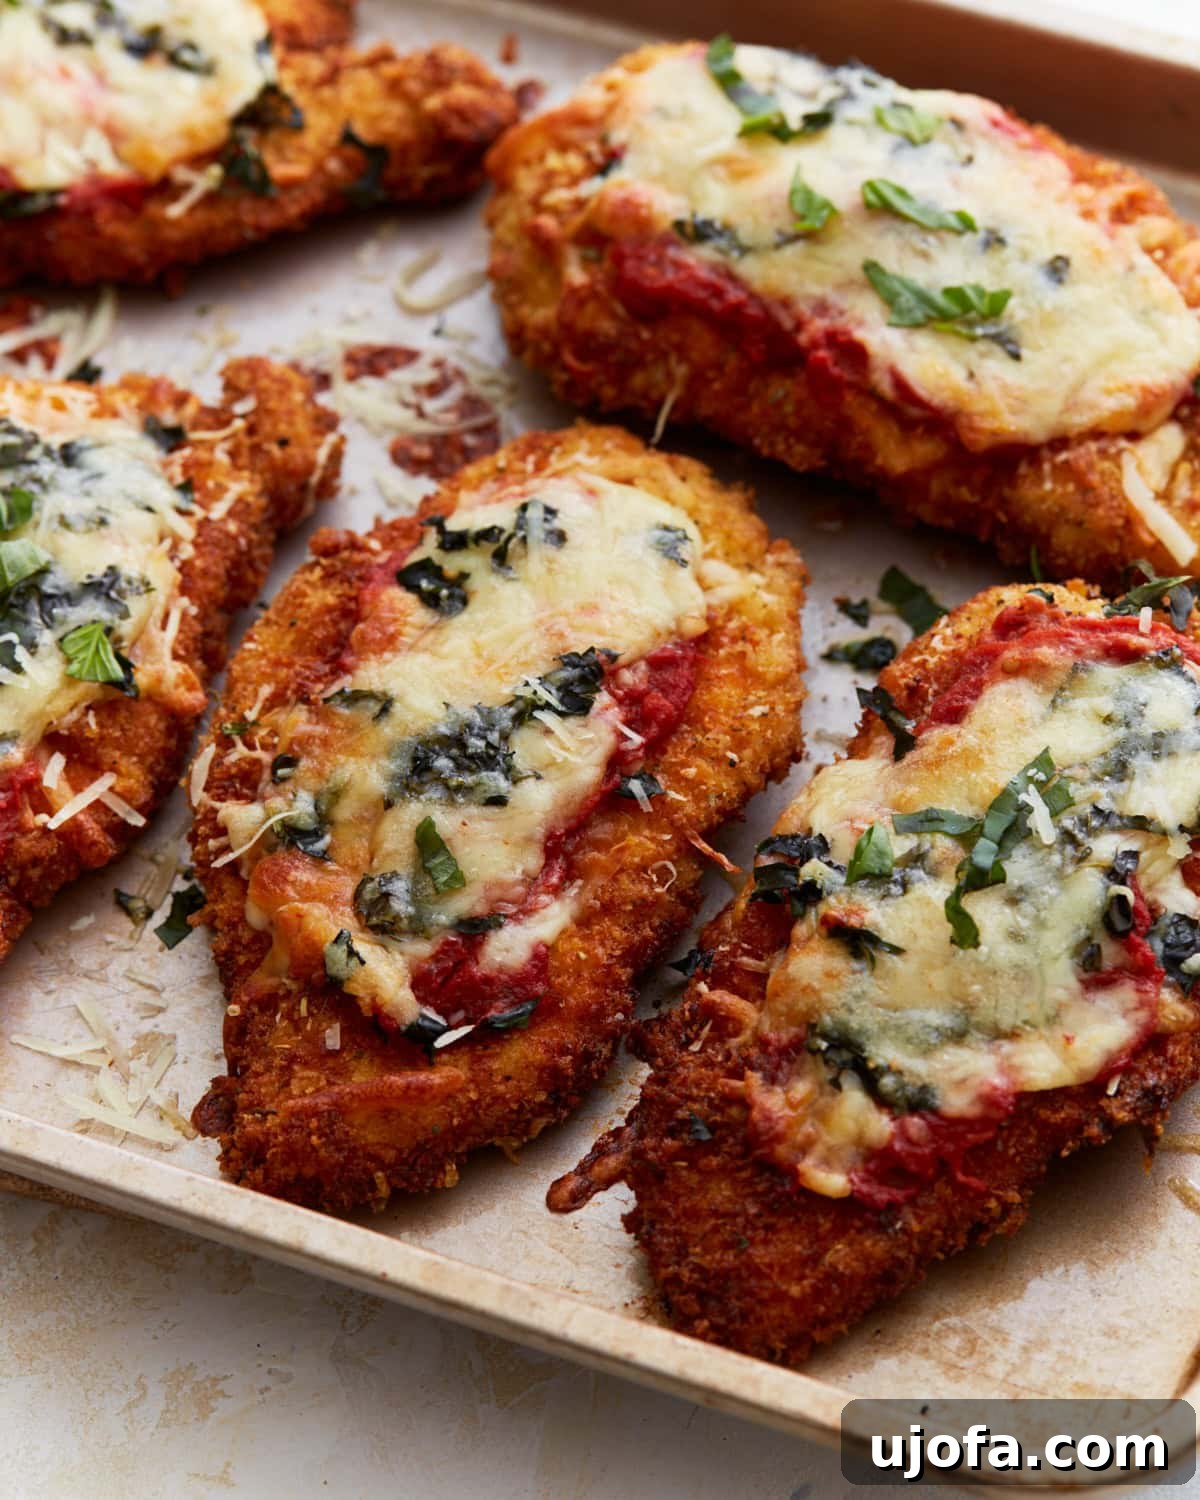
For those navigating a gluten-free lifestyle, the simple joy of classic comfort foods often feels like a distant memory. Among them, Chicken Parmesan stands as a beloved icon – a dish synonymous with warmth, rich flavors, and that irresistible crispy-cheesy combination. The thought of recreating this culinary masterpiece without gluten might seem daunting, but fear not! This meticulously crafted gluten-free chicken parmesan recipe isn’t just a substitute; it’s a triumph, delivering all the familiar magic and more.
Imagine tender chicken cutlets, perfectly pan-fried to achieve a glorious golden crunch, then lovingly blanketed in vibrant marinara sauce and a generous layer of bubbling, melty mozzarella. This isn’t a complex, elaborate endeavor reserved for special occasions. In fact, you’ll be surprised at how effortlessly this dish comes together, whether you’re whipping up a quick meal on a bustling weeknight or enjoying a leisurely Sunday dinner with loved ones. If you’ve been yearning for the authentic taste and comforting embrace of classic chicken parm since embracing a gluten-free diet, prepare to rediscover it in the most delicious way possible.
“This is the best chicken parm recipe I have ever made, gluten-free or not! The whole family has been raving about it all evening, definitely recommend getting your chicken as thin as possible for the best result. Thank you so much for sharing!”
– Jill
Recreating Comfort: The Ultimate Gluten-Free Chicken Parmesan Recipe
My culinary journey since going gluten-free has been largely dedicated to reclaiming the beloved comfort foods that once graced my table. Among these cherished dishes, this gluten-free chicken parmesan stands out as a true culinary victory. It’s more than just a recipe; it’s a testament to how simple pantry staples can be transformed into something truly extraordinary, proving that going gluten-free doesn’t mean sacrificing flavor or texture. The secret to its irresistible crispy coating lies in a thoughtful combination of seasoned gluten-free breadcrumbs and gluten-free panko, quickly pan-fried in rich olive oil. This initial step creates a perfectly golden, crunchy exterior that holds up beautifully through the final bake.
Once the chicken has achieved its golden crisp, it’s transferred to the oven, where it’s crowned with a generous layer of robust marinara sauce and an abundance of perfectly melted mozzarella. The magic happens as the cheese bubbles and browns, creating a rich, savory blanket over the tender chicken. The result is a dish that is deeply cozy, incredibly satisfying, and always a smash hit with everyone at my dinner table. And if you’re lucky enough to have leftovers, they’re just as delightful the next day, making this recipe a fantastic choice for meal prepping or enjoying a quick lunch. This recipe isn’t just about recreating a classic; it’s about elevating it, ensuring that every bite is a celebration of flavor and texture, all while being completely gluten-free.
Gluten-Free Chicken Parmesan
Audrey Roberts
6
servings
15
25
40
Save
Pin Recipe
Print Recipe
Step-by-step photos can be found below the recipe card for visual guidance.
Ingredients
- 6 skinless, boneless thin-sliced chicken breasts, or skinless, boneless chicken breasts halved to make fillets
- salt and black pepper, to taste
- 2 large eggs
- 1 cup gluten-free panko bread crumbs, I recommend 4C gluten-free panko bread crumbs, often found at Walmart
- 1 cup gluten-free bread crumbs, or use 4C gluten-free bread crumbs
- ½ cup Parmesan cheese, grated, For dairy-free: Follow Your Heart dairy-free parmesan cheese works wonderfully
- ½ tsp garlic powder
- ½ tsp onion powder
- 1 tbsp Italian seasoning
- ½ cup gluten-free flour, Pillsbury gluten-free flour is a great choice
- ¼ cup cornstarch, can substitute for more gluten-free flour for a slightly less crispy coating
- ½ cup olive oil
- ½ cup gluten-free marinara sauce
- 1 cup mozzarella cheese, sliced or shredded, For dairy-free: Violife dairy-free mozzarella cheese shreds melt beautifully
- ½ cup Parmesan cheese (for topping)
- ¼ cup fresh basil, chopped, for garnish
(Video of recipe preparation can be found here)
Instructions
-
Prepare the Oven: Preheat your oven to 450°F (230°C) to ensure it’s ready for baking.
-
Whisk the Eggs: In a shallow bowl or pie pan, whisk the 2 large eggs until well combined and slightly frothy. Set this aside for the dredging process.
-
Create the Flour Mixture: In a separate shallow dish, thoroughly mix together the ½ cup of gluten-free flour and ¼ cup of cornstarch. This blend helps create a light, crisp base for the breading.
-
Prepare the Breadcrumb Mixture: In a third shallow bowl, combine the 1 cup of gluten-free panko bread crumbs, 1 cup of regular gluten-free bread crumbs, ½ cup of grated Parmesan cheese, ½ tsp garlic powder, ½ tsp onion powder, and 1 tbsp Italian seasoning. Mix well to ensure the seasonings are evenly distributed.
-
Season and Dredge Chicken in Flour: Season the 6 thin-sliced chicken breasts generously on both sides with salt and black pepper. Then, dredge each chicken breast in the gluten-free flour mixture, ensuring it’s completely coated. Shake off any excess.
-
Egg Wash and Breadcrumb Coating: Dip each flour-coated chicken breast into the whisked eggs, allowing any excess to drip off. Immediately transfer the chicken to the seasoned gluten-free breadcrumb mixture, pressing firmly to ensure an even and thorough coating on both sides. Repeat this process for all chicken cutlets.
-
Pan-Fry to Golden Perfection: Heat the ½ cup of olive oil in a large, heavy-bottomed skillet over medium-high heat until it begins to shimmer. Carefully place the breaded chicken cutlets into the hot oil (work in batches if necessary to avoid overcrowding). Cook for approximately 2 minutes per side, just until they are beautifully golden brown and crispy. Remember, the chicken will finish cooking in the oven, so don’t worry about cooking it through completely at this stage.
-
Assemble for Baking: Transfer the pan-fried chicken breasts to a lightly greased baking dish. Spoon about 2 tablespoons of gluten-free marinara sauce over the top of each chicken breast, spreading it gently.
-
Layer with Cheeses and Herbs: Evenly distribute the 1 cup of mozzarella cheese, the remaining ½ cup of Parmesan cheese, and the ¼ cup of fresh chopped basil over each chicken breast, creating a delicious cheesy topping.
-
Bake Until Bubbly: Place the baking dish into the preheated oven and bake for 15-20 minutes. The chicken parmesan is ready when the cheese is gloriously browned and bubbly, and the chicken is fully cooked through. To ensure doneness, an instant-read thermometer inserted into the thickest part of the chicken should register at least 165°F (74°C).
Pro Tips for the Best Gluten-Free Chicken Parm
- Customize Your Crunch: The ratio of gluten-free panko to regular gluten-free breadcrumbs is flexible. If you prefer an extra-crispy coating, lean more heavily on the panko. For a slightly finer texture, use more standard gluten-free breadcrumbs. Feel free to experiment to find your perfect crunch!
- Spice It Up: Don’t hesitate to personalize the flavor profile of your chicken parmesan. Add a pinch of cayenne pepper to the breadcrumb mixture for a subtle kick, or a generous sprinkle of red pepper flakes with the marinara for a bolder, spicier dish. Dried oregano or thyme can also enhance the Italian seasoning.
- Egg-Free Alternatives for Binding: While eggs are excellent for binding the breading, they aren’t the only option. If you’re out of eggs or prefer an alternative, heavy cream can be used as a substitute. Its fat content helps the breading adhere beautifully, ensuring a crispy crust. You can also try a flax egg (1 tbsp ground flaxseed mixed with 3 tbsp water, let sit for 5 minutes) for a vegan option.
- Achieving Thin Cutlets: As Jill’s comment highlights, thinner chicken breasts yield the best results. If your chicken breasts are thick, you can easily butterfly them (slice horizontally almost all the way through and open like a book) or pound them thin between two pieces of plastic wrap using a meat mallet. This ensures even cooking and a higher breading-to-chicken ratio.
- Oil Temperature is Key: Ensure your olive oil is shimmering but not smoking before adding the chicken. Oil that isn’t hot enough will result in greasy, soggy chicken, while oil that’s too hot will burn the breading before the chicken has a chance to crisp. A good test is to flick a tiny bit of breadcrumb into the oil; if it sizzles gently, it’s ready.
Nutrition
Serving:
1
serving
Calories:
697
kcal
Carbohydrates:
46
g
Protein:
57
g
Fat:
31
g
Saturated Fat:
6
g
Polyunsaturated Fat:
3
g
Monounsaturated Fat:
16
g
Trans Fat:
0.03
g
Cholesterol:
221
mg
Sodium:
624
mg
Potassium:
946
mg
Fiber:
3
g
Sugar:
1
g
Vitamin A:
378
IU
Vitamin C:
4
mg
Calcium:
145
mg
Iron:
2
mg
Nutrition information is automatically calculated, so should only be used as an approximation.
Additional Info
Dinner
Italian
Tried this recipe?
Mention @mamaknowsglutenfree or tag #mamaknowsglutenfree!
How to Make Gluten-Free Chicken Parmesan: A Step-by-Step Visual Guide
Embarking on this delicious gluten-free chicken parmesan journey is made even easier with these detailed step-by-step photos. Follow along for visual guidance through each stage of preparation, ensuring your dish turns out perfectly crispy, cheesy, and utterly satisfying every time.
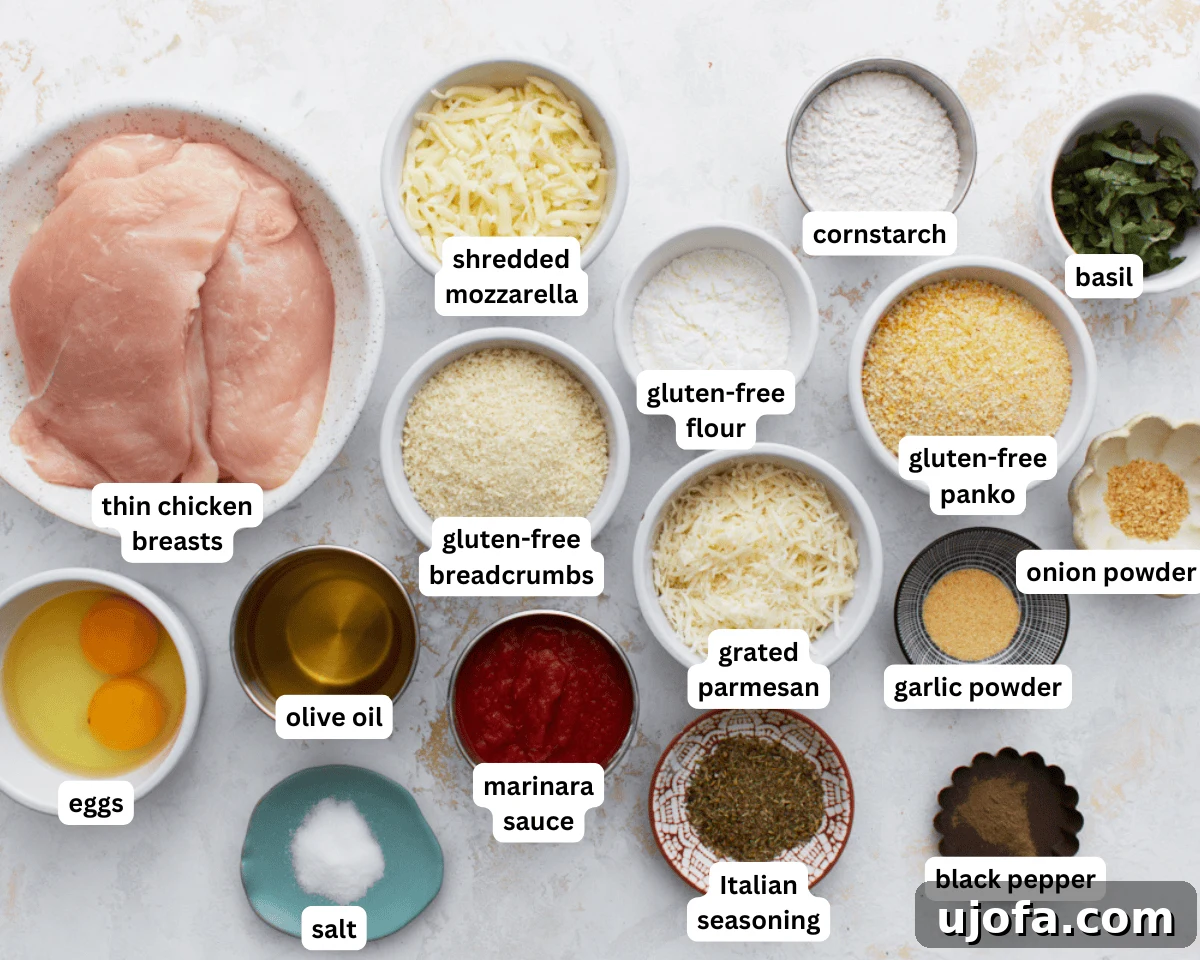
Step 1: Gather Your Ingredients and Preheat the Oven. Before you begin, ensure all your ingredients are measured and ready. This mise en place makes the cooking process smooth and efficient. Don’t forget to preheat your oven to 450°F (230°C) now.
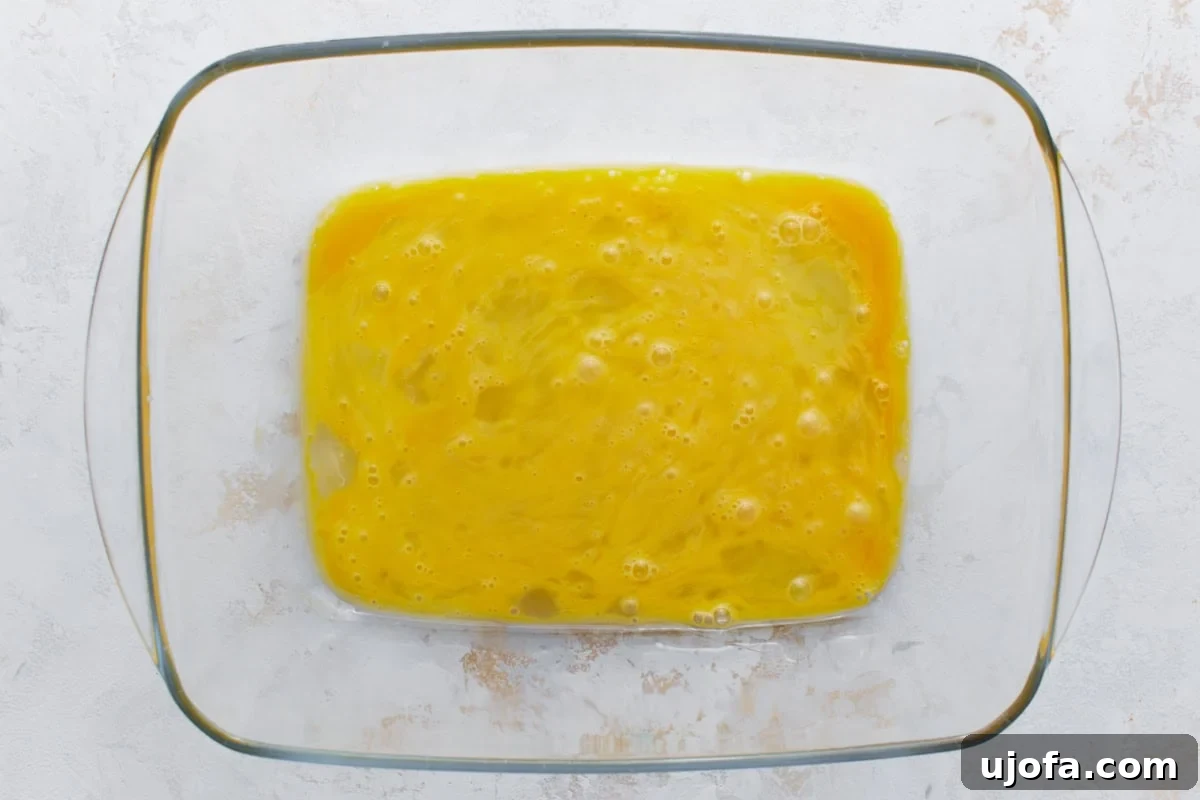
Step 2: Prepare the Egg Wash. In a shallow dish or pie pan, whisk two large eggs thoroughly. This egg wash will act as the crucial binder, helping the breadcrumbs adhere perfectly to the chicken.
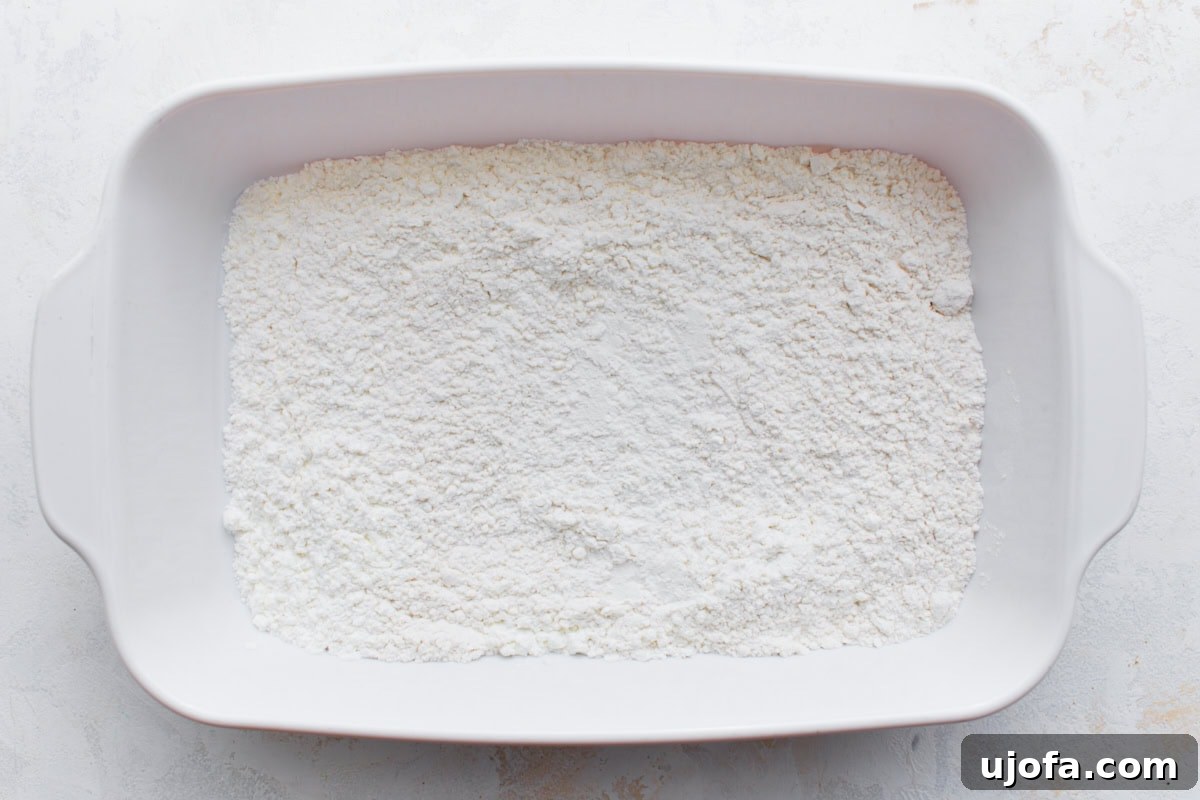
Step 3: Create the Flour Mixture. Combine ½ cup of gluten-free flour with ¼ cup of cornstarch in another shallow dish. The cornstarch is an excellent addition here, contributing to an extra-crispy exterior that truly elevates the dish.
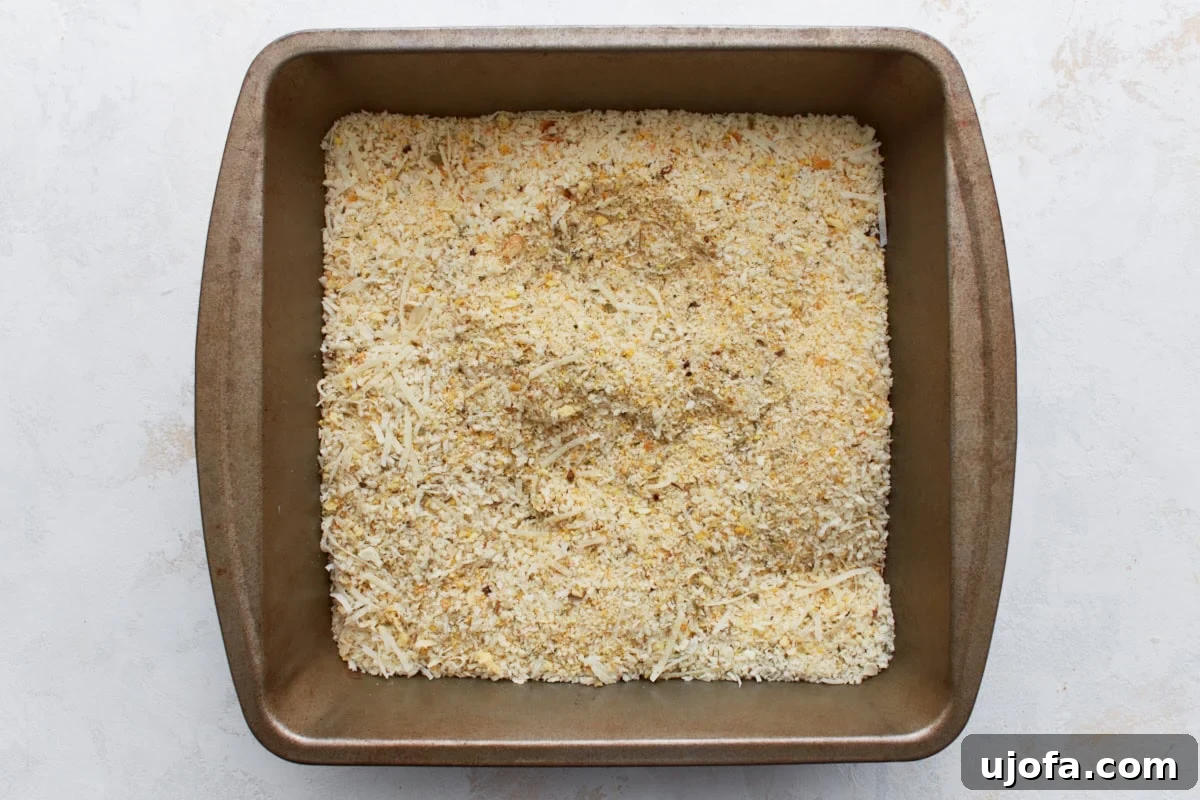
Step 4: Prepare the Flavorful Breadcrumb Mixture. In a third shallow dish, mix 1 cup of gluten-free panko bread crumbs, 1 cup of regular gluten-free bread crumbs, ½ cup of grated Parmesan cheese, ½ tsp garlic powder, ½ tsp onion powder, and 1 tbsp Italian seasoning. This blend forms the heart of our crispy, savory coating.
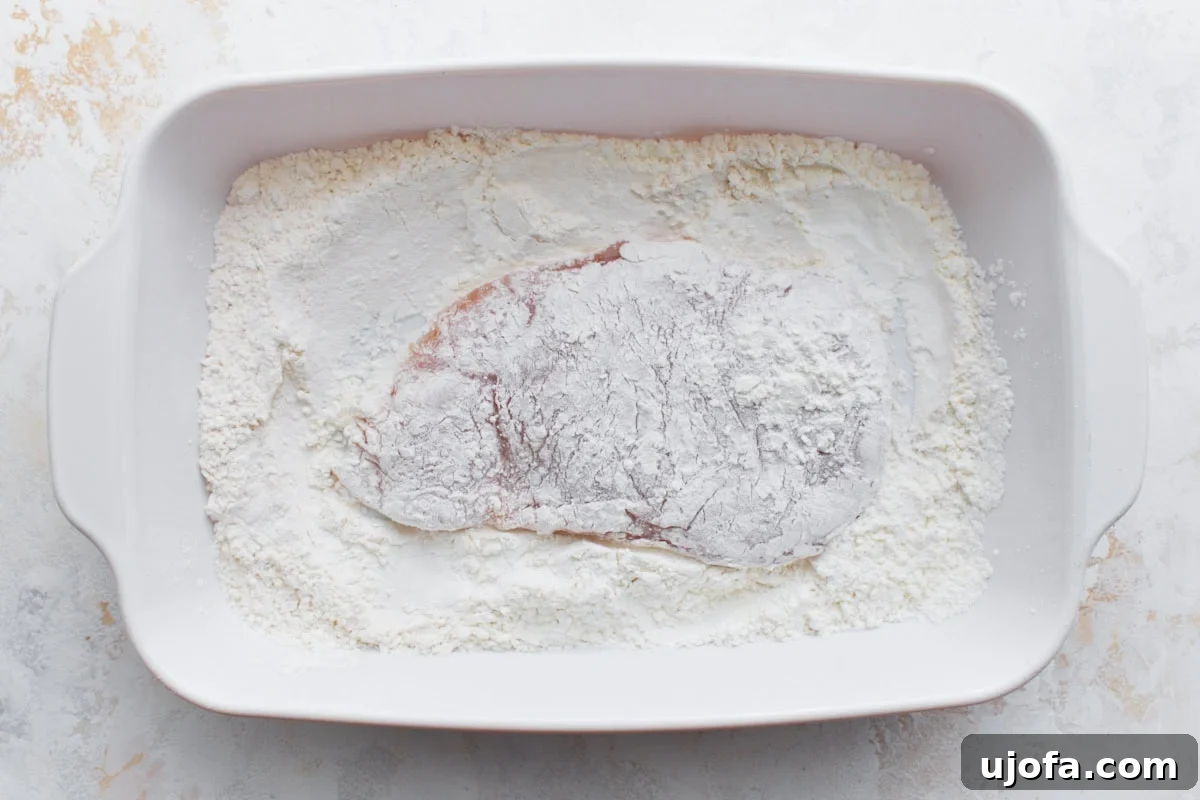
Step 5: Season and Flour the Chicken. Generously season your 6 thin-sliced chicken breasts with salt and black pepper. Next, dredge each piece of chicken thoroughly in the gluten-free flour mixture, ensuring both sides are completely coated. This step helps create a dry surface for the egg wash to adhere to.
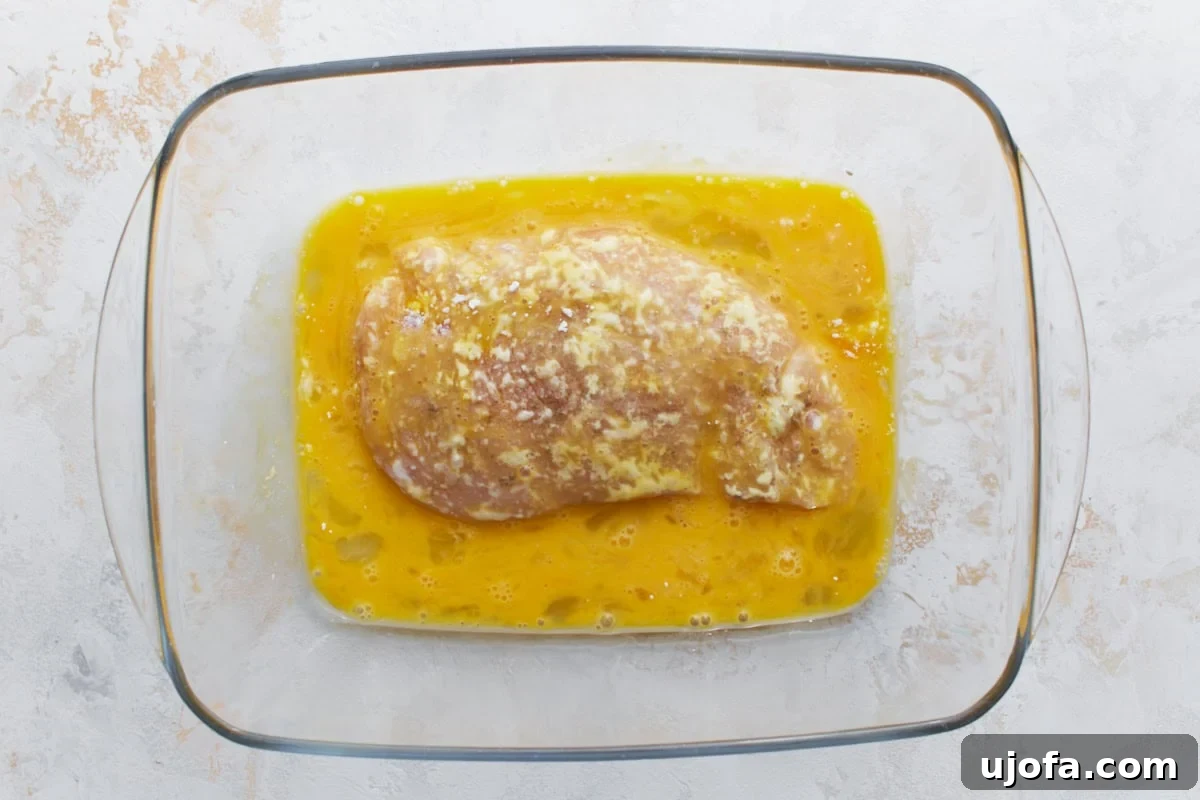
Step 6: Dip in Egg Wash. Carefully immerse each floured chicken breast into the whisked eggs, allowing any excess egg to drip back into the dish. A complete coating ensures the breadcrumbs will stick evenly.
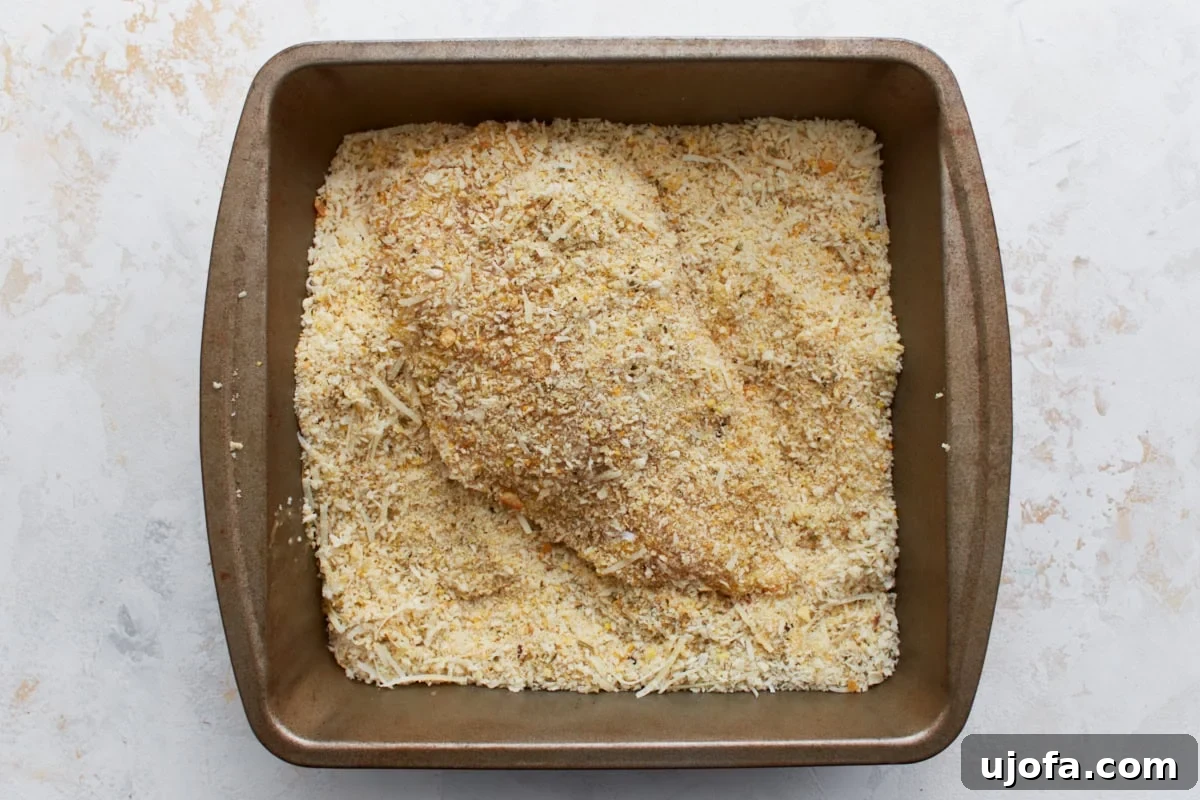
Step 7: Coat with Breadcrumbs. Transfer the egg-washed chicken to the breadcrumb mixture. Press firmly on both sides to ensure a thick, even coating of the seasoned gluten-free breadcrumbs. This is where the magic of the crispy exterior truly begins.
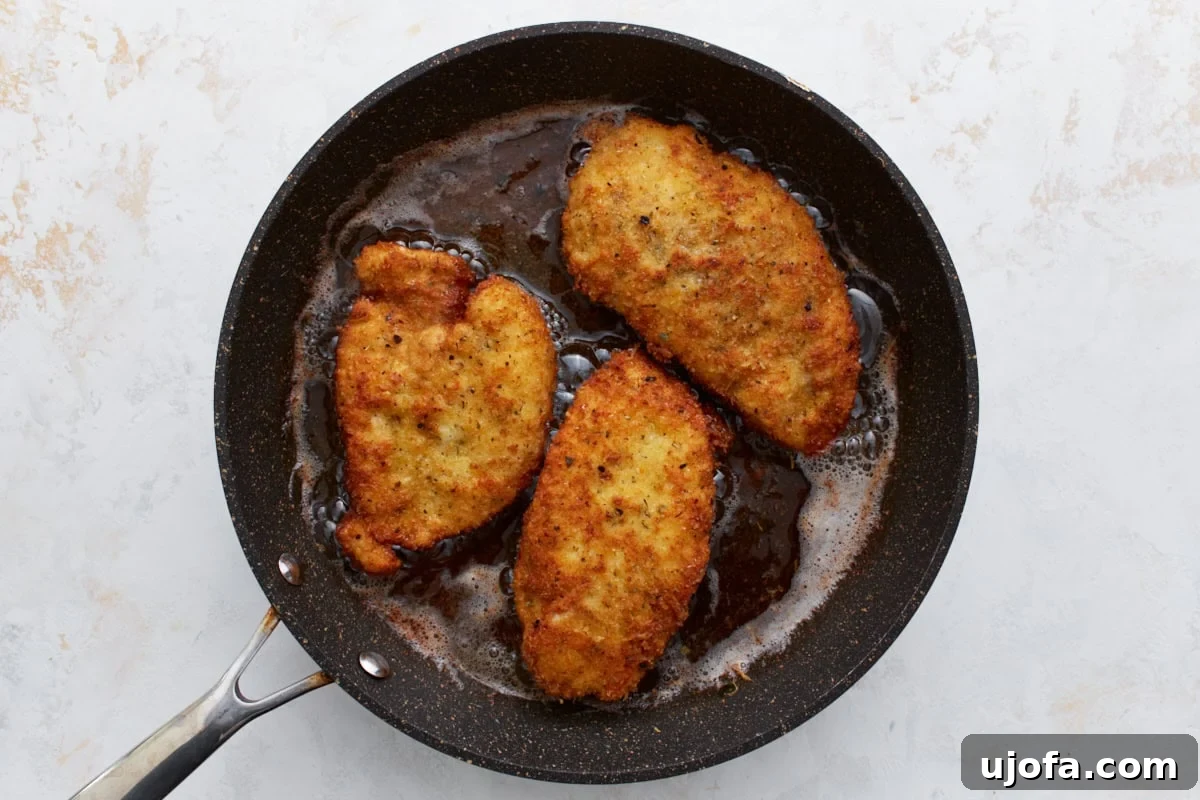
Step 8: Pan-Fry Until Golden. Heat ½ cup of olive oil in a large skillet over medium-high heat until it shimmers. Carefully place the breaded chicken into the hot oil. Cook for approximately 2 minutes per side, just until they are beautifully golden brown and crispy. This step creates the desired crunch; the chicken will finish cooking through in the oven.
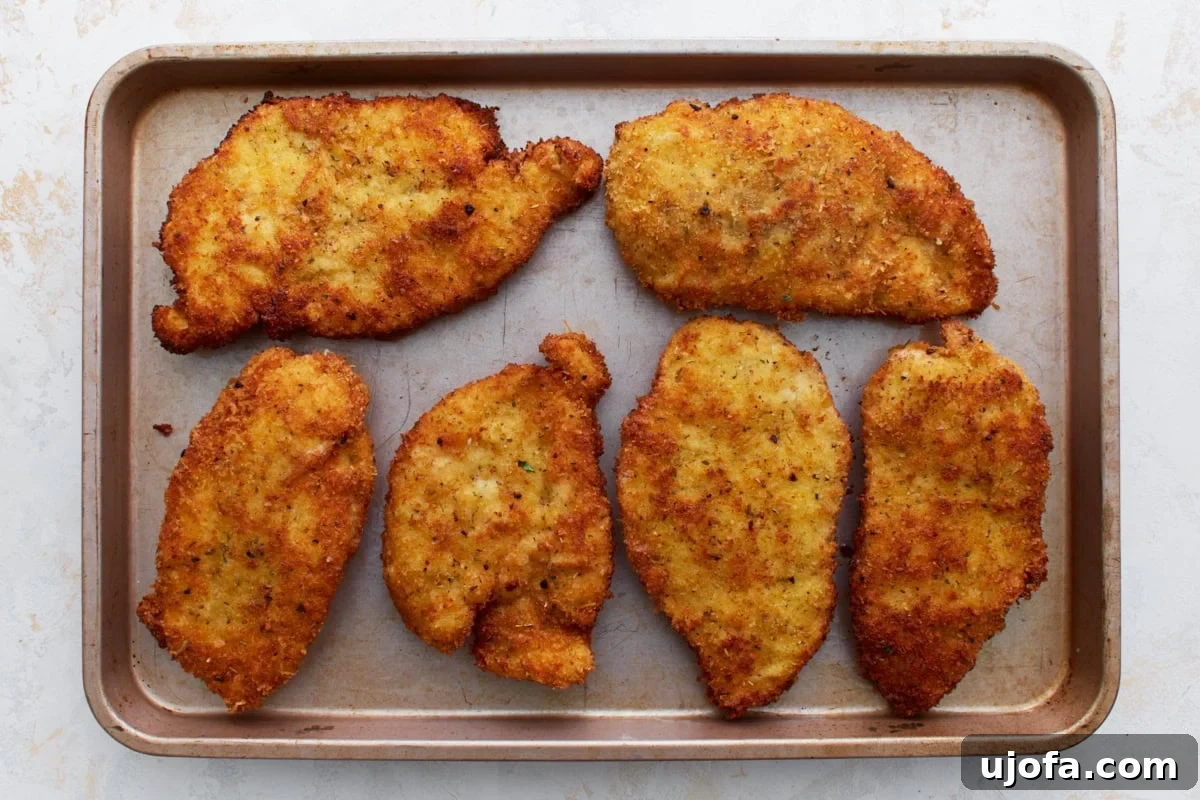
Step 9: Transfer to Baking Dish. Once pan-fried, transfer the crispy chicken breasts to a lightly greased baking dish. Arrange them in a single layer to ensure even baking and melting of the cheese.
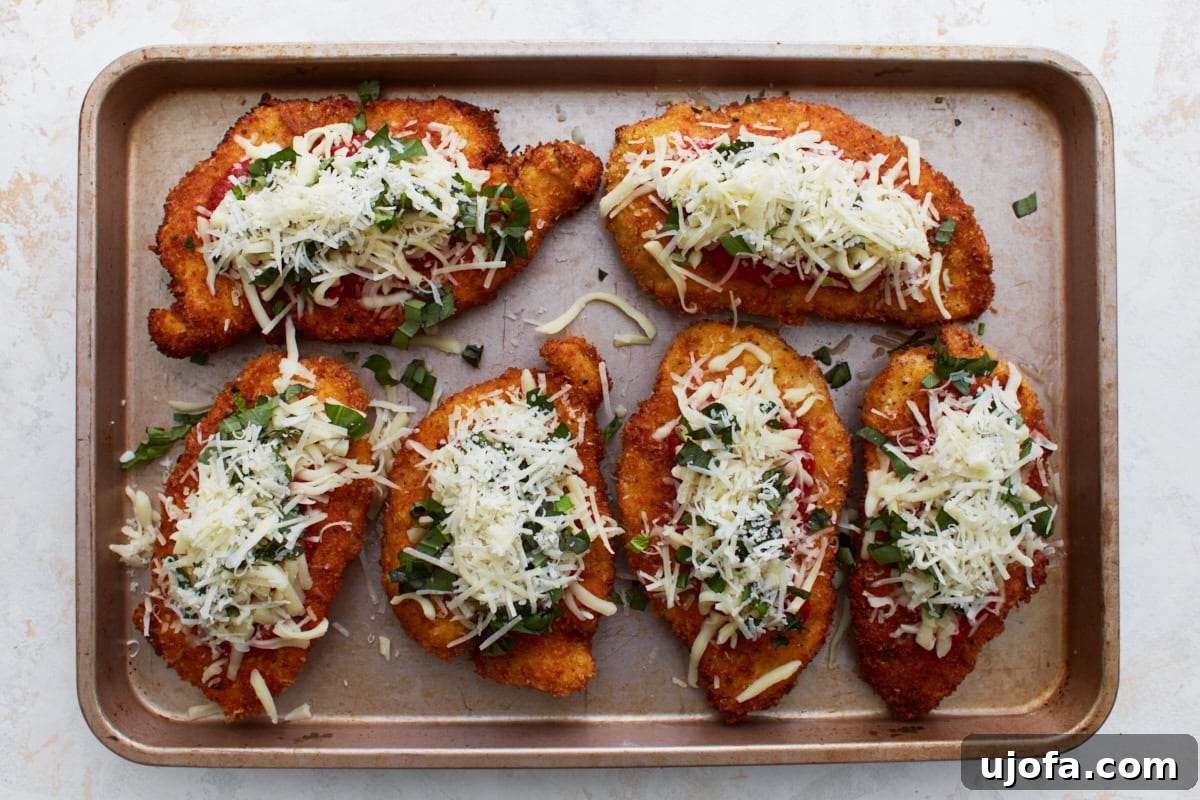
Step 10: Top with Sauce and Cheese. Spoon 2 tablespoons of marinara sauce over each piece of chicken. Then, divide 1 cup of shredded mozzarella, ¼ cup of fresh chopped basil, and the remaining ½ cup of grated Parmesan cheese evenly over the top of each chicken piece, creating a rich, flavorful crown.
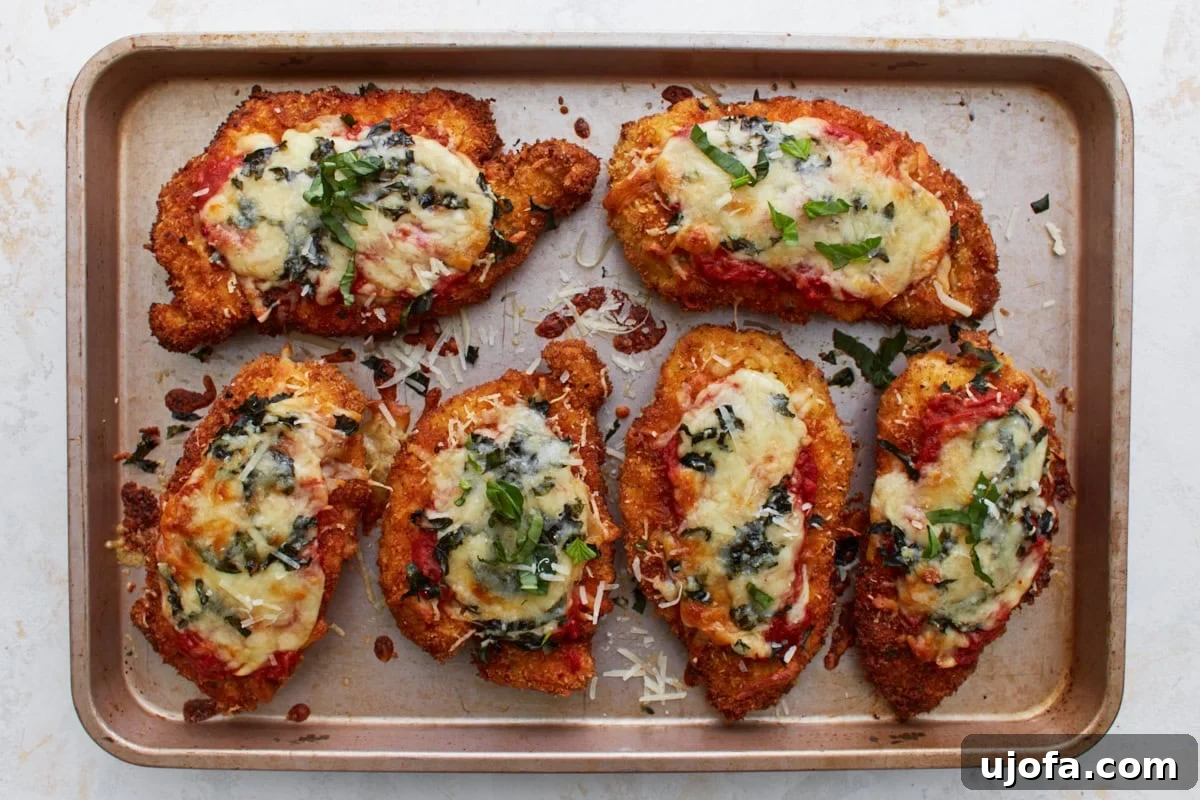
Step 11: Bake to Perfection. Place the baking dish in your preheated oven. Bake for 15-20 minutes, or until the cheese is beautifully golden brown and bubbly, and the chicken has reached an internal temperature of 165°F (74°C) with an instant-read thermometer. This final bake ensures the chicken is cooked through and the cheese is perfectly melted.
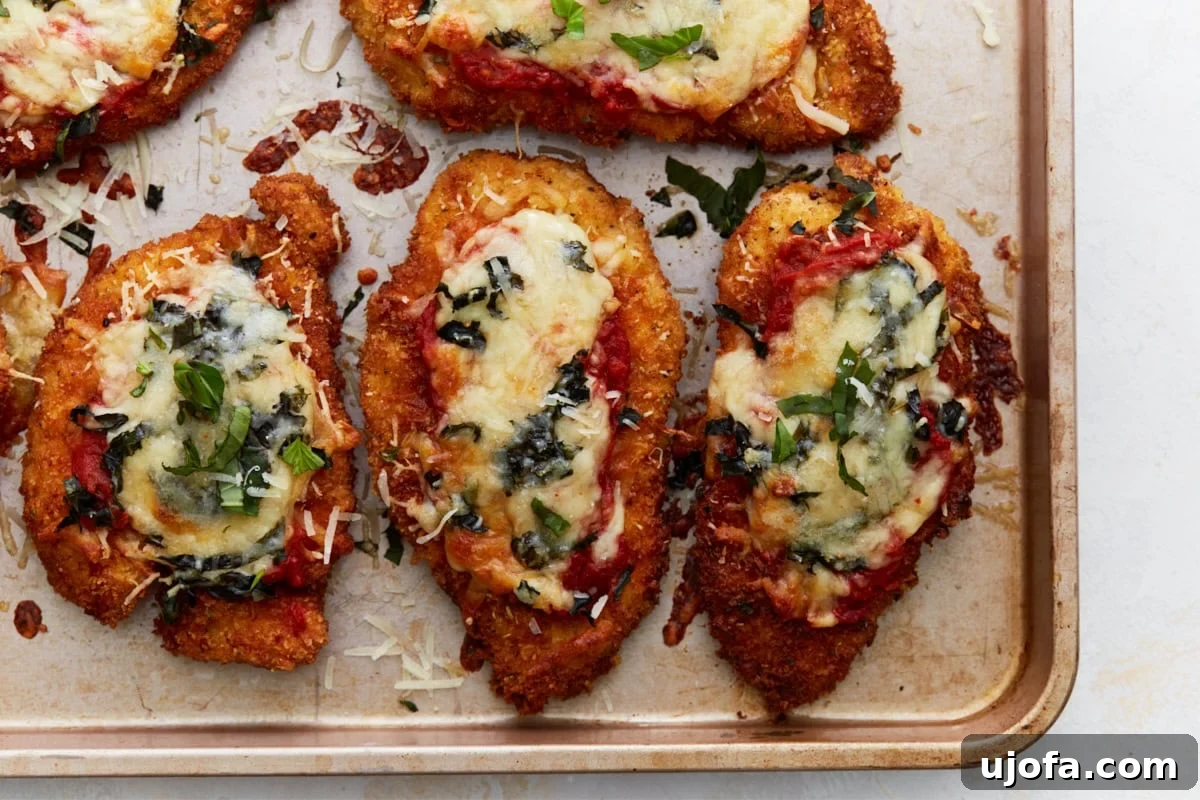
Step 12: Serve and Enjoy. Remove from the oven and allow it to rest for a few minutes before serving. This allows the juices to redistribute and the cheese to set slightly. Serve your magnificent gluten-free chicken parmesan with your favorite sides, over pasta, or in a sandwich. Enjoy every comforting bite!
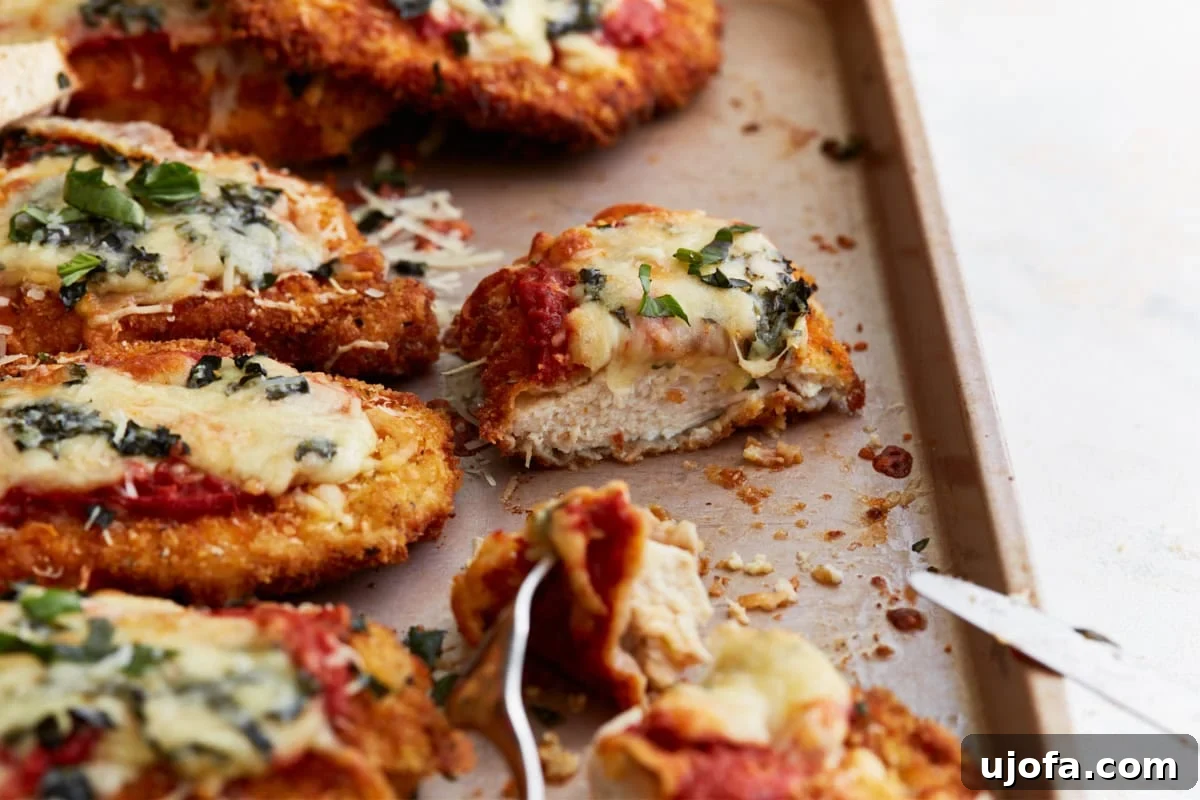
Serving Suggestions: Perfect Pairings for Your Gluten-Free Chicken Parmesan
This versatile gluten-free chicken parmesan is a star on its own, but it truly shines when paired with complementary sides. Depending on the occasion and your cravings, there are countless delightful ways to serve this Italian classic. For a quintessential Italian-style dinner that’s sure to please everyone, I often pair it with a generous portion of homemade gluten-free pasta. The rich marinara from the chicken beautifully coats the pasta, creating a harmonious and hearty meal. Alternatively, for a lighter, vegetable-forward option, zucchini noodles make an excellent substitute, offering a fresh contrast to the savory chicken.
My kids, in particular, are enthusiastic fans of the pasta version, often requesting it for special family dinners. And on those truly indulgent nights, nothing beats a gluten-free chicken parm sandwich! Serve it up on toasted gluten-free baguettes brushed with a hint of garlic butter – the crunch of the baguette with the tender chicken and melty cheese is simply divine. If I happen to make an extra batch, I love to store a few pieces for effortless and delicious lunches throughout the week. They’re fantastic served simply over a crisp green salad, allowing the chicken to be the star, or alongside some perfectly steamed broccoli for a balanced meal. The beauty of this recipe extends to its freezer-friendliness; making a large batch and freezing individual portions is a game-changer for busier weeks, providing a quick and comforting meal solution. Whether it’s a cozy weeknight or entertaining company, this gluten-free chicken parmesan adapts seamlessly to any dining scenario.
Storage Instructions: Keeping Your Gluten-Free Chicken Parmesan Fresh
Proper storage is key to enjoying your delicious gluten-free chicken parmesan long after it’s cooked. Any leftover portions can be stored in an airtight container in the refrigerator for up to 4 days. This makes it an excellent candidate for meal prep, providing convenient and satisfying meals throughout the week.
For longer storage, freezing is a fantastic option, especially if you plan to make a larger batch. To maintain the best texture and prevent sogginess, I recommend freezing the cooked chicken cutlets *before* adding the marinara sauce and cheese. Simply allow the pan-fried chicken to cool completely to room temperature. Once cooled, wrap each piece tightly in plastic wrap, then place them in a freezer-safe bag or container. This way, they can be frozen for up to 3 months without compromising quality. When you’re ready to enjoy these frozen delights, there’s no need to thaw them beforehand. Just place the frozen cutlets on a baking sheet and reheat them in the oven at 350°F (175°C) until they are thoroughly warmed through. Once heated, you can then top them with fresh marinara sauce and a generous sprinkle of mozzarella and Parmesan cheese, baking until the cheese is beautifully melted and bubbly. This method ensures that your reheated chicken parmesan tastes just as comforting and delicious as it did on the first night, making it an invaluable recipe for busy households.
More Easy Gluten-Free Dinner Recipes You’ll Love
- Gluten-Free Black Bean Burger
- Gluten-Free Fried Chicken
- Crustless Pizza
- Gluten-Free Hamburger Helper
- Gluten-Free Meatloaf
Our Gluten-Free Chicken Parmesan recipe was originally published on June 16, 2023. It underwent thorough retesting, refinement, and was republished on September 3, 2025, to deliver an even better, more delicious experience.