
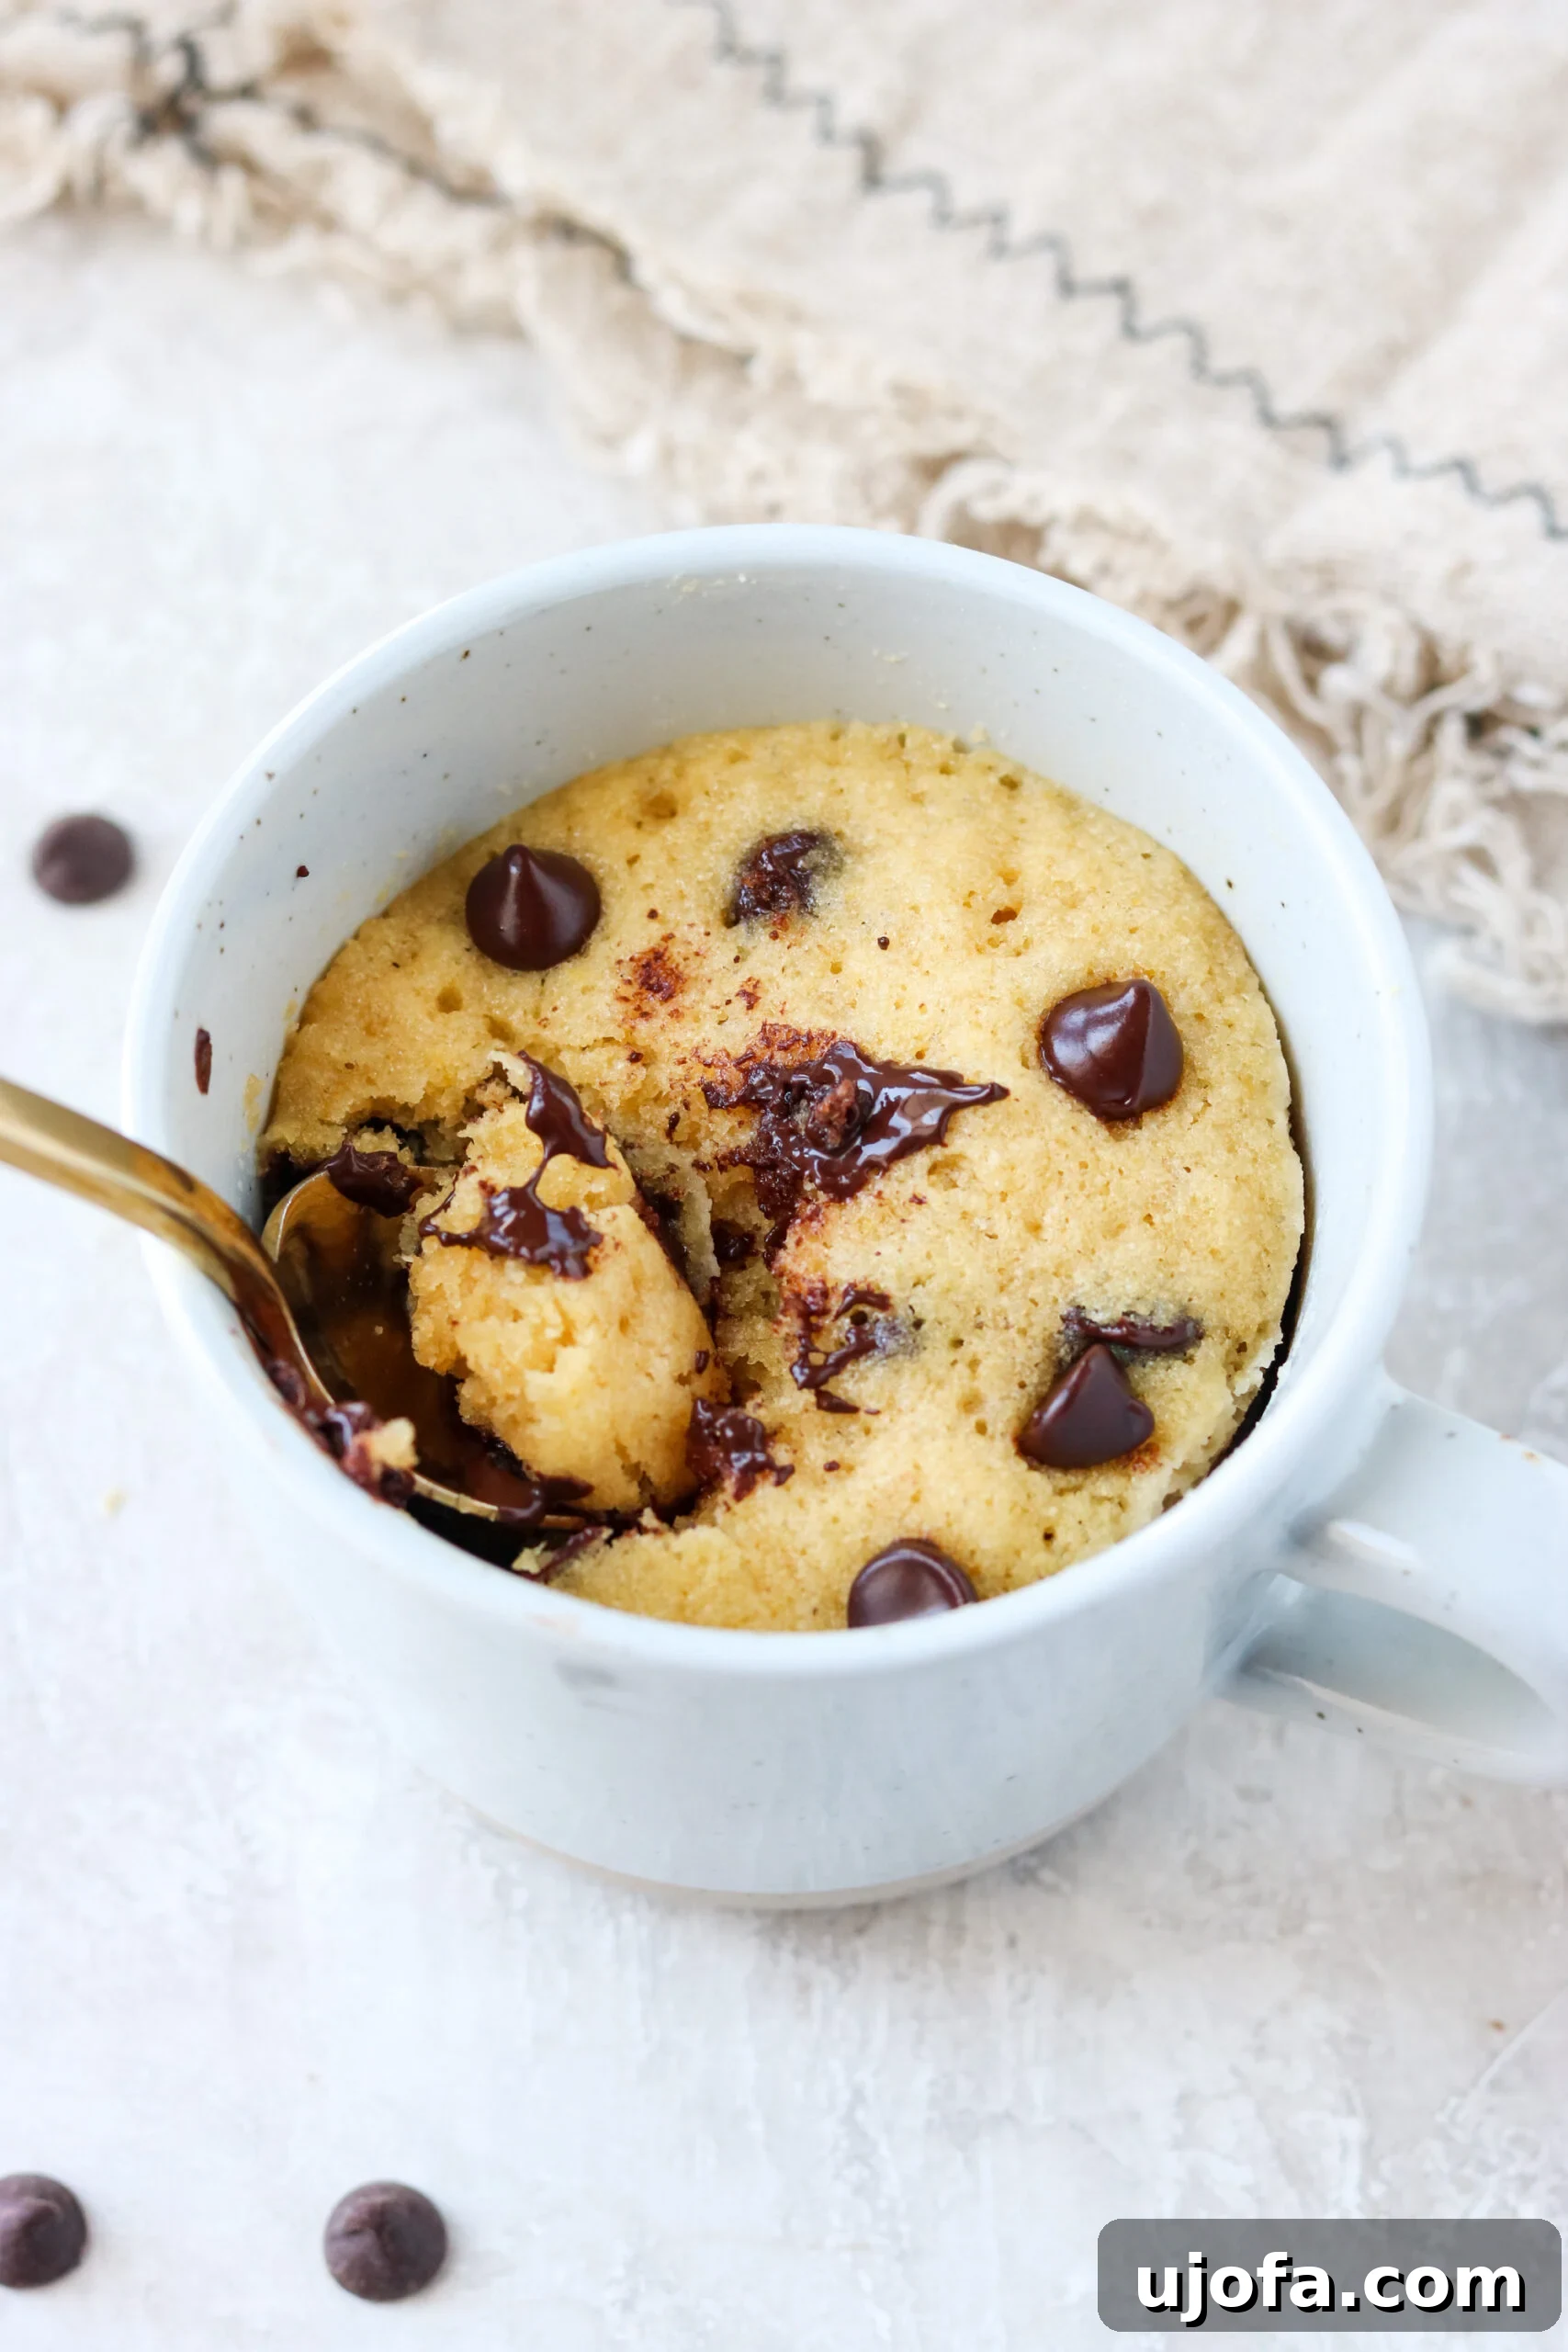
Craving a delightful dessert that’s quick, easy, and fits your dietary needs? This incredible Gluten-Free Mug Cake is your perfect solution! In just 5 minutes, with minimal pantry staples and the magic of your microwave, you can whip up a warm, gooey, single-serving cake that satisfies any sweet tooth. Forget the hassle of baking an entire cake; this individual treat is ideal for those spontaneous cravings. Top it with a dollop of whipped cream, a handful of fresh berries, or a scoop of your favorite ice cream, and indulge in pure bliss.
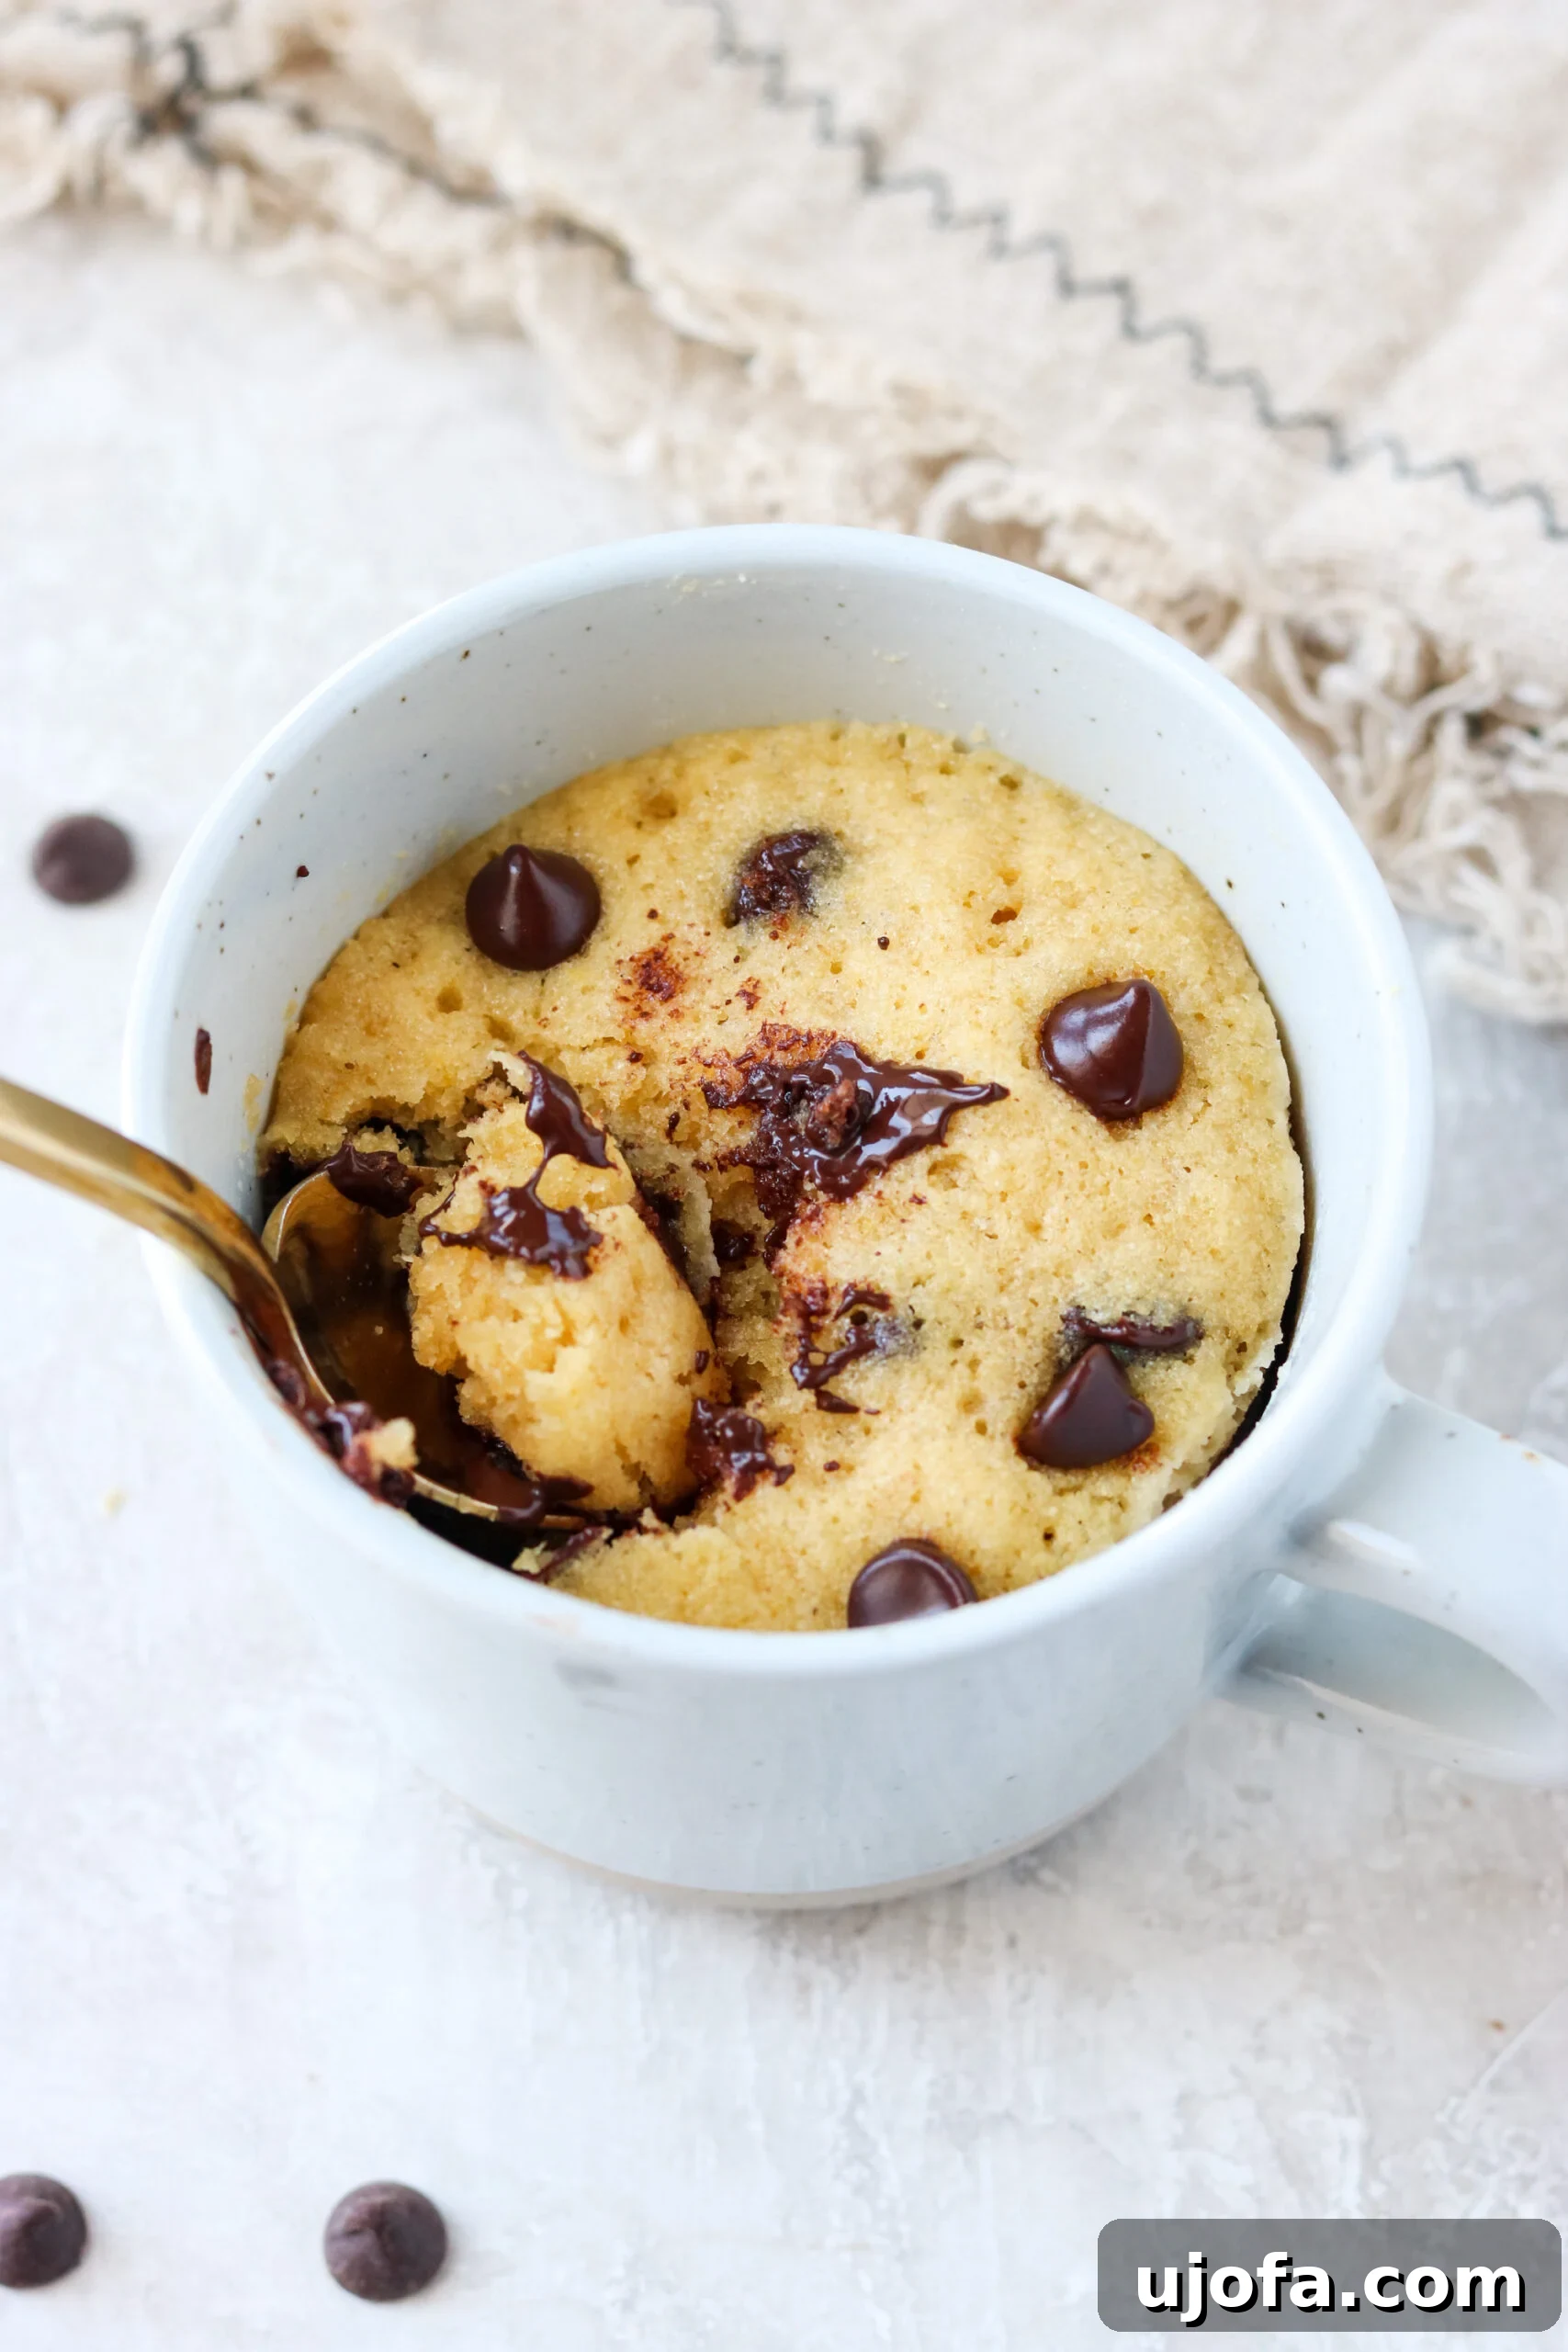
Why You’ll Adore This Gluten-Free Mug Cake
The concept of a “cake-in-a-cup” is nothing short of brilliant, offering an unparalleled level of convenience and instant gratification. This single-serving marvel is an absolute lifesaver for those evenings when a homemade treat is calling your name, but the thought of baking an entire cake or a large batch of cookies feels overwhelming. What sets this particular mug cake apart is its exceptional suitability for various dietary preferences, making it a truly inclusive dessert option.
This delightful dessert checks all the boxes for what you want in a sweet escape: it’s incredibly warm, wonderfully ooey, delightfully gooey, and utterly delicious! Its texture is a true highlight – boasting a delicate sponginess that practically melts in your mouth with every bite. The combination of almond flour and coconut flour creates a grain-free base that achieves the perfect structure and moisture without compromising on flavor or texture. This harmonious blend of gluten-free flours ensures your cake is both light and rich.
Beyond its fantastic taste and texture, one of the biggest draws of this recipe is its simplicity. It comes together remarkably fast, utilizing basic ingredients you likely already have stocked in your pantry and fridge. You’ll be amazed at how quickly you can go from craving to indulging. This is a genuinely easy recipe to keep on hand for a quick dessert fix. So, let’s dive into making this irresistible Gluten-Free Mug Cake and experience dessert perfection in minutes!
For more fantastic gluten-free mug cake creations, be sure to check out my Healthy Chocolate Protein Mug Cake! It’s another delicious, protein-packed chocolate version you won’t want to miss!
The Essential Ingredients for Your Gluten-Free Mug Cake
Crafting the perfect gluten-free mug cake begins with selecting the right ingredients. Each component plays a vital role in achieving that desirable moist, fluffy, and rich texture. Here’s a closer look at what you’ll need and some helpful tips:
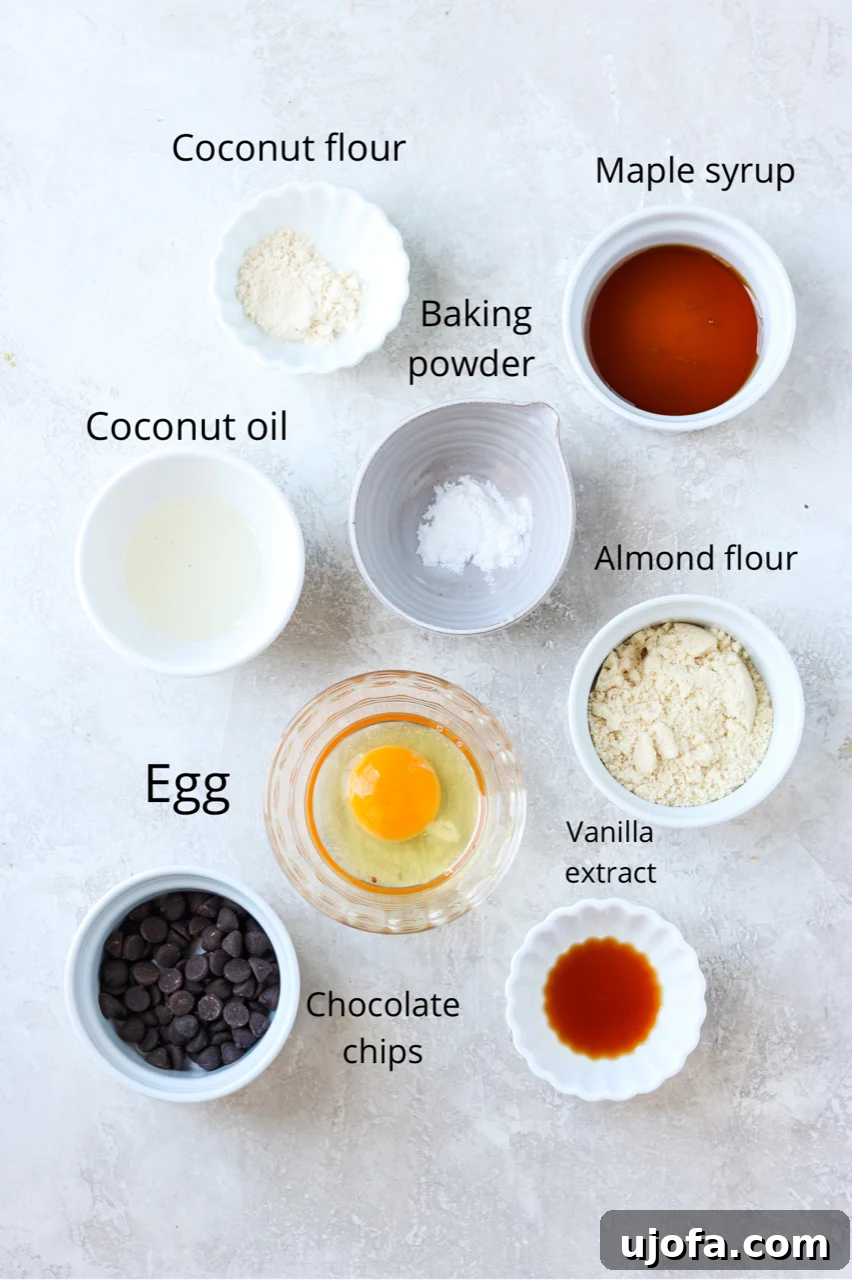
- Baking Powder – This is your leavening agent, crucial for a good rise and a light, airy texture. Always opt for a gluten-free baking powder, and ideally, one that is also aluminum-free for the cleanest taste.
- Coconut Oil – Coconut oil provides essential moisture and richness to the cake. It can be substituted with ghee if preferred. The key is to measure it in its melted liquid state, not solid, to ensure accurate proportions.
- Chocolate Chips – The star of this chocolate chip mug cake! To make this a paleo-friendly dessert, seek out brands like Hu Kitchen or Eating Evolved, which offer refined sugar-free chocolate chips. For a delicious gluten-free and dairy-free option, Enjoy Life Foods is an excellent choice.
- Almond Flour & Coconut Flour – This recipe specifically calls for both almond and coconut flours working in tandem to achieve the ideal texture. Almond flour adds moisture and tenderness, while coconut flour, known for its high absorbency, helps bind the cake and contributes to its structure. I have not tested this recipe with just one or the other, as they each play a distinct and necessary role. If you decide to experiment, please share your results in the comments below!
- Maple Syrup – Our natural sweetener of choice, maple syrup imparts a lovely depth of flavor and contributes to the cake’s moistness.
- Egg – The egg acts as a binder, providing structure and helping the cake rise. It also adds to the rich, moist consistency.
- Vanilla Extract – A touch of vanilla extract is essential for enhancing the overall flavor profile, bringing warmth and sweetness to the chocolate.
- Salt – Just a tiny pinch of salt works wonders in balancing the sweetness and intensifying the chocolate flavor, making every bite even more satisfying.
Crafting Your Perfect Gluten-Free Mug Cake: Step-by-Step Guide
Creating this delicious gluten-free mug cake is incredibly straightforward and fast. Follow these simple steps to enjoy a warm, homemade dessert in minutes!
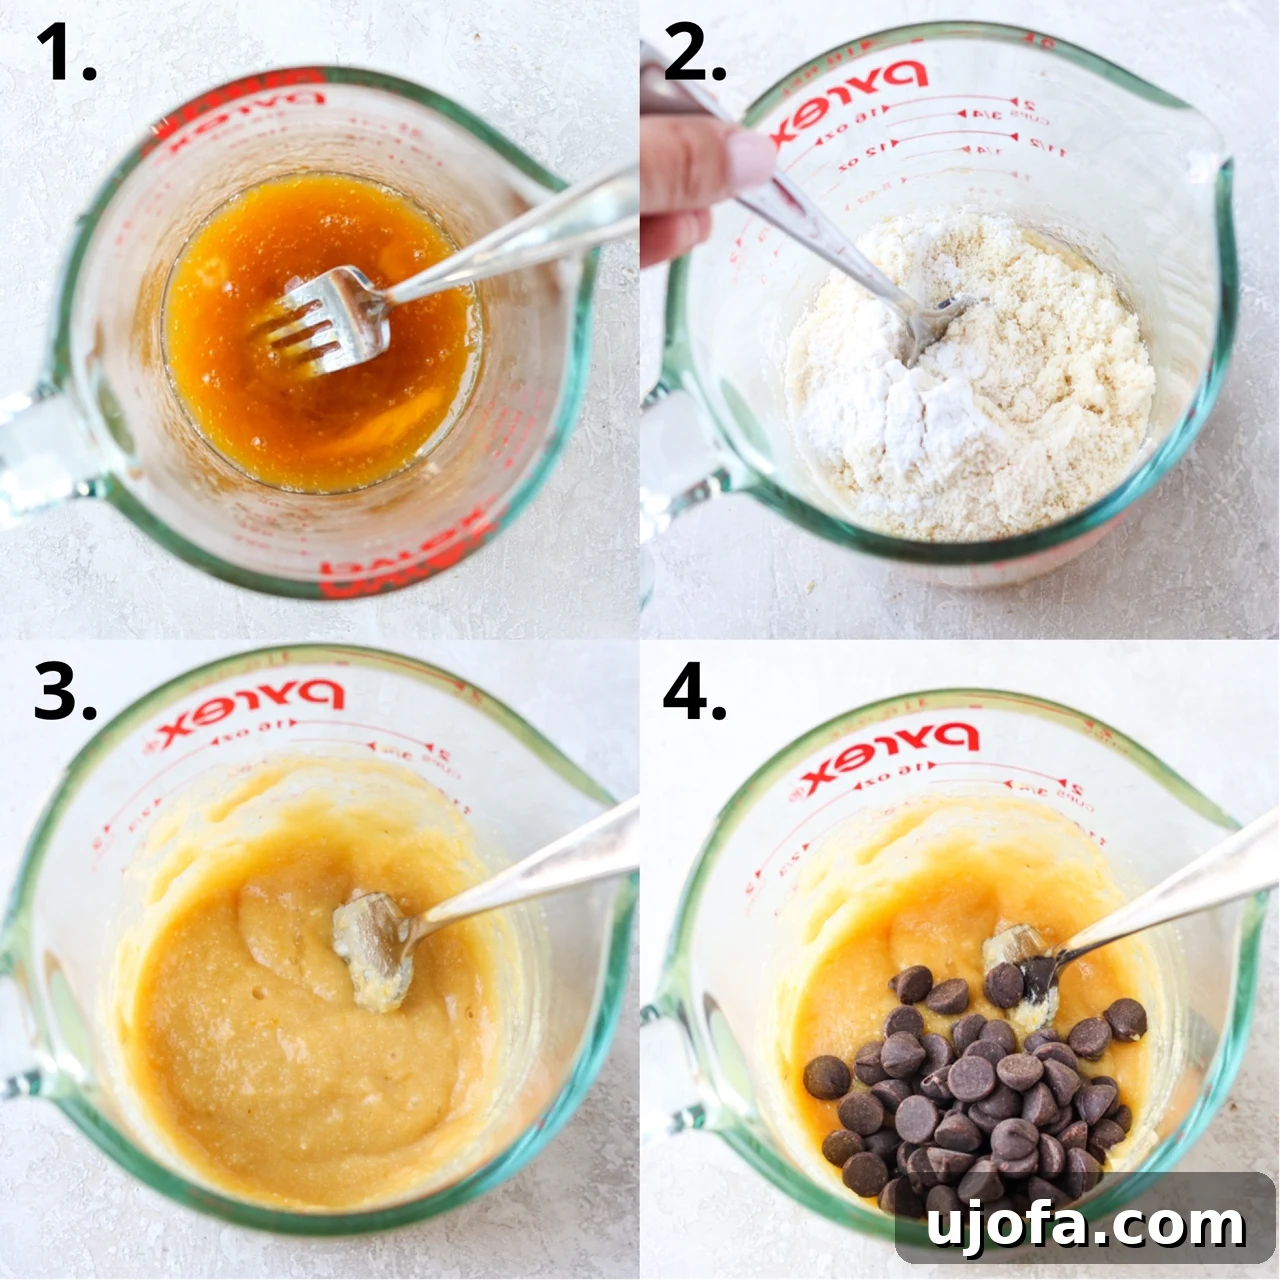
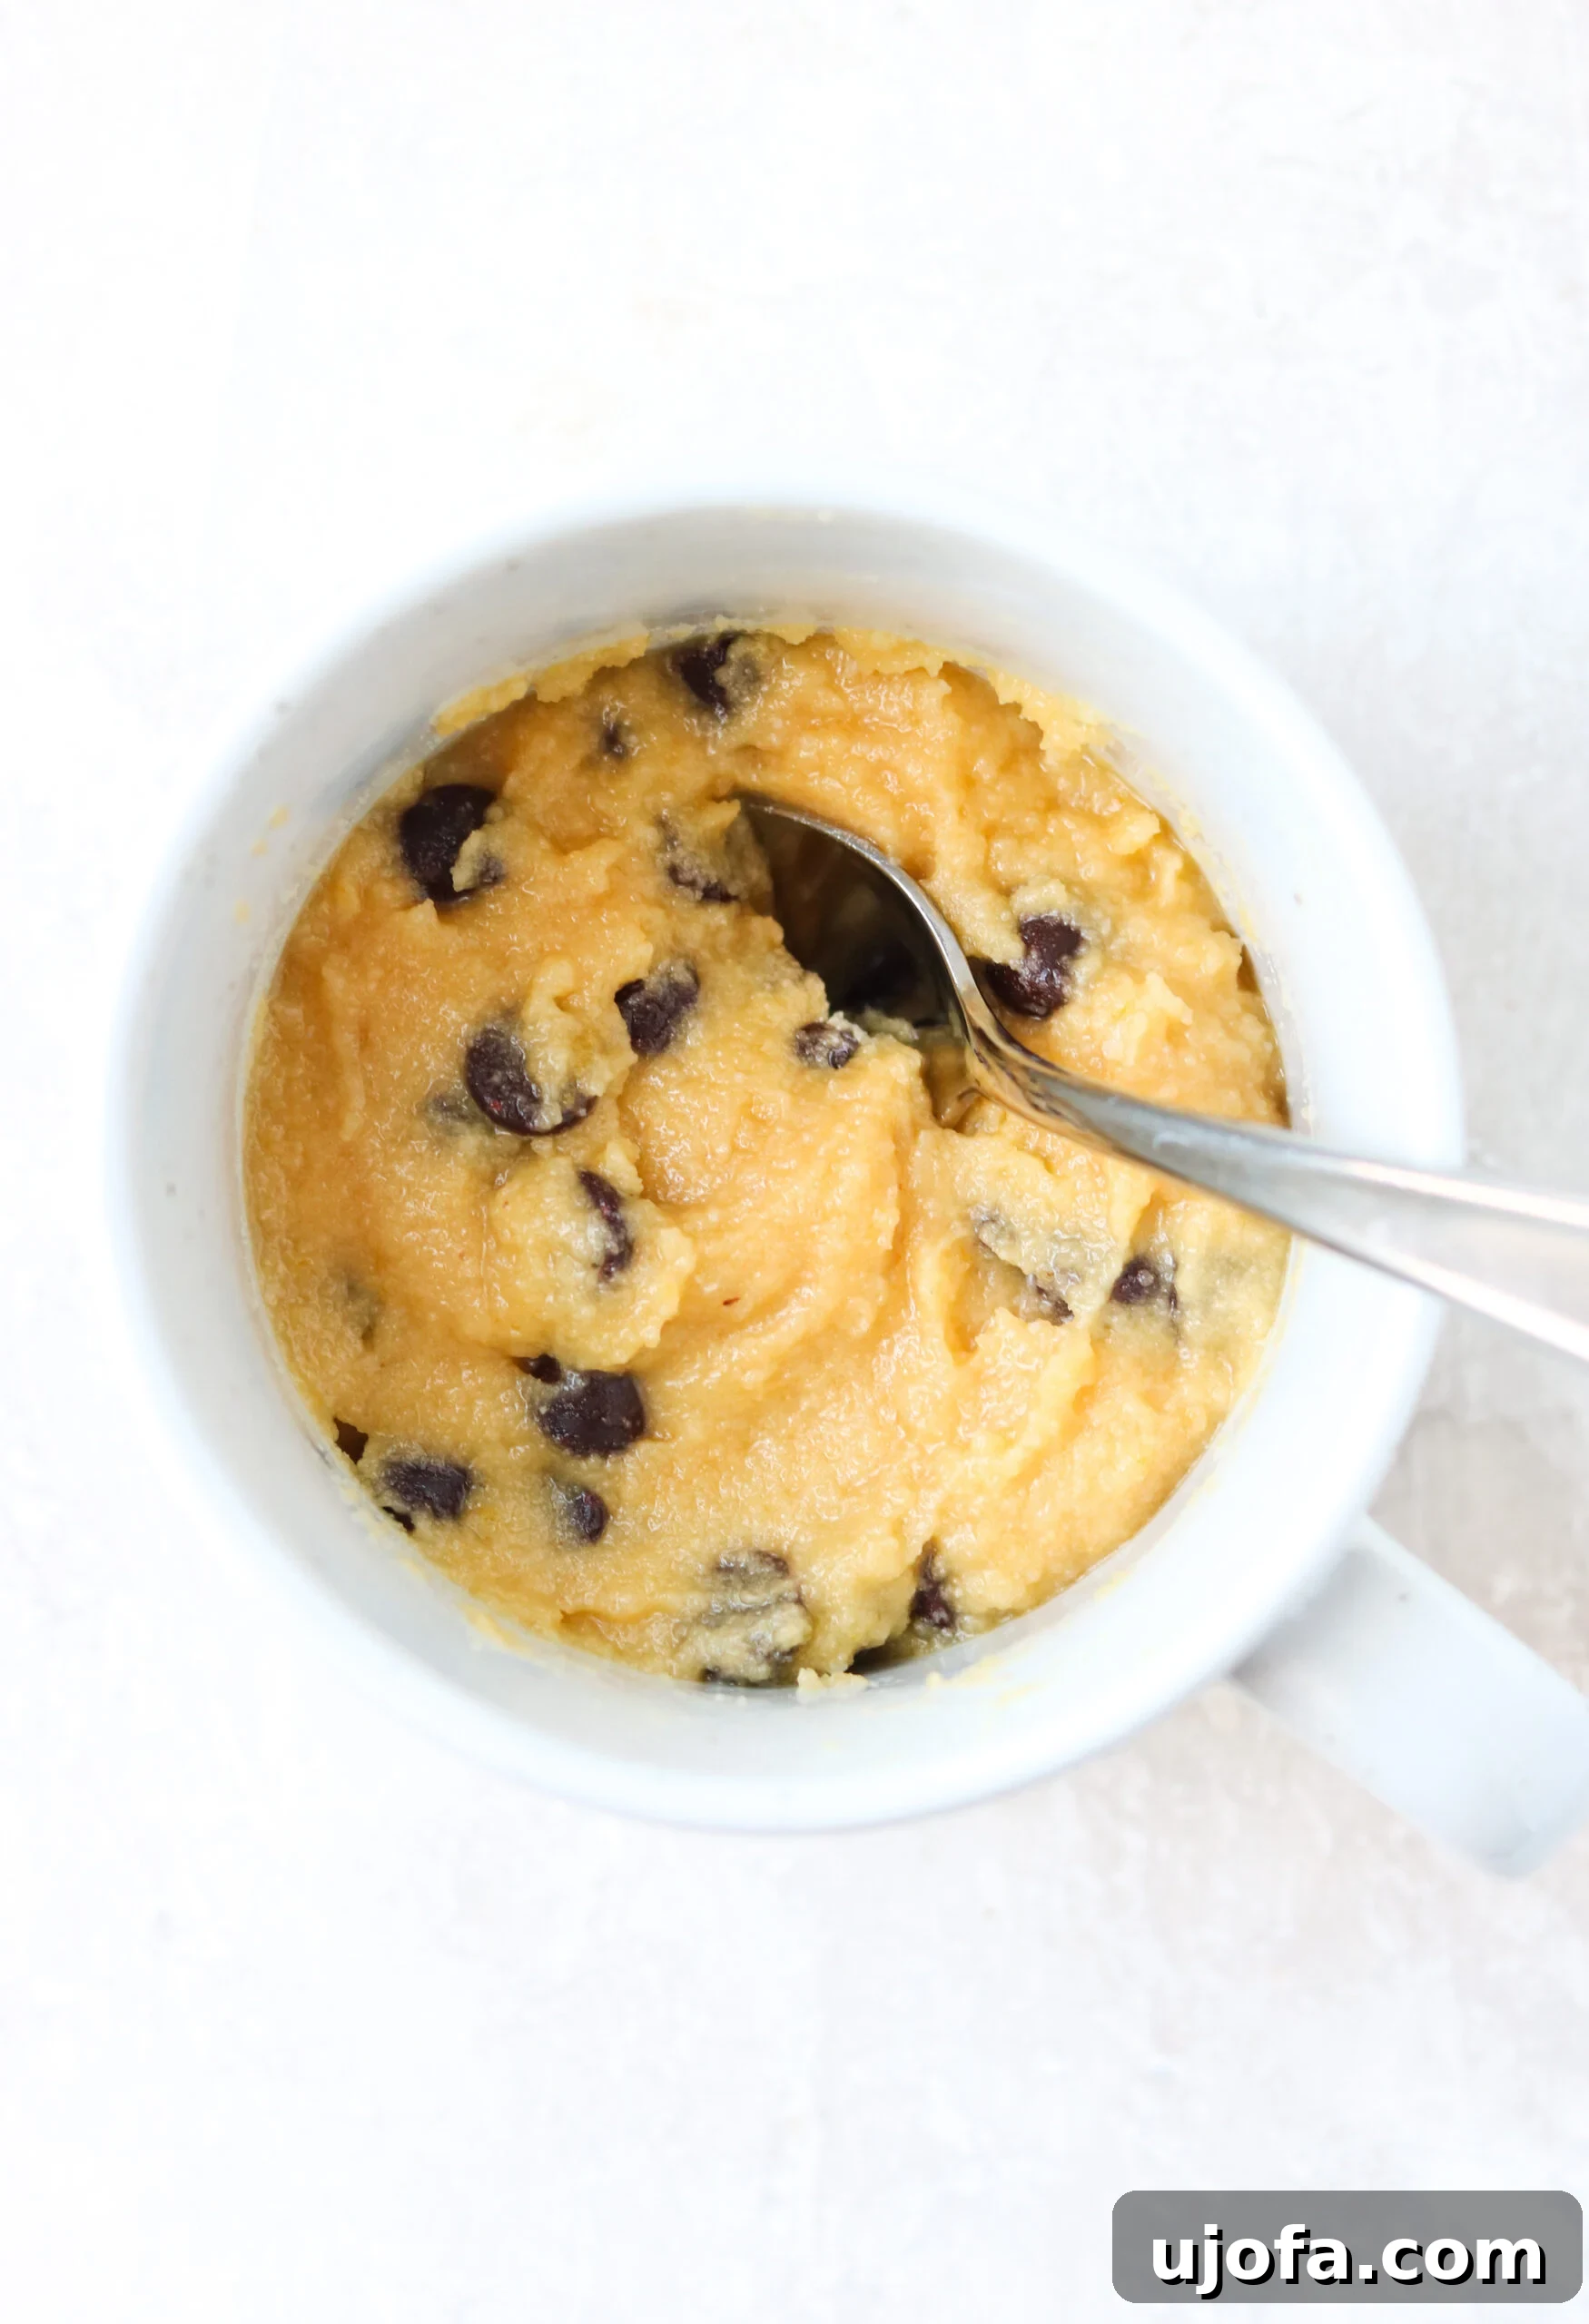
- Combine Wet Ingredients: Begin by adding all of your wet ingredients – that’s the egg, maple syrup, melted coconut oil, and vanilla extract – into a 2-cup Pyrex measuring cup or a small mixing bowl. Whisk them together thoroughly until the mixture is completely smooth and well-combined. While you *can* mix directly in the mug, using a separate bowl often makes it easier to achieve a lump-free batter.
- Incorporate Dry Ingredients: Next, add your dry ingredients: almond flour, coconut flour, baking powder, and a pinch of salt to the wet mixture. Mix diligently until all ingredients are fully incorporated and the batter is smooth, with no pockets of dry flour remaining.
- Fold in Chocolate Chips: Gently fold in the chocolate chips. Be careful not to overmix at this stage; just enough to distribute them evenly throughout the batter.
- Transfer to Mug: Carefully pour the prepared batter into your chosen microwave-safe mug. A 12 oz (or similar medium-sized) mug works perfectly, allowing room for the cake to rise without overflowing.
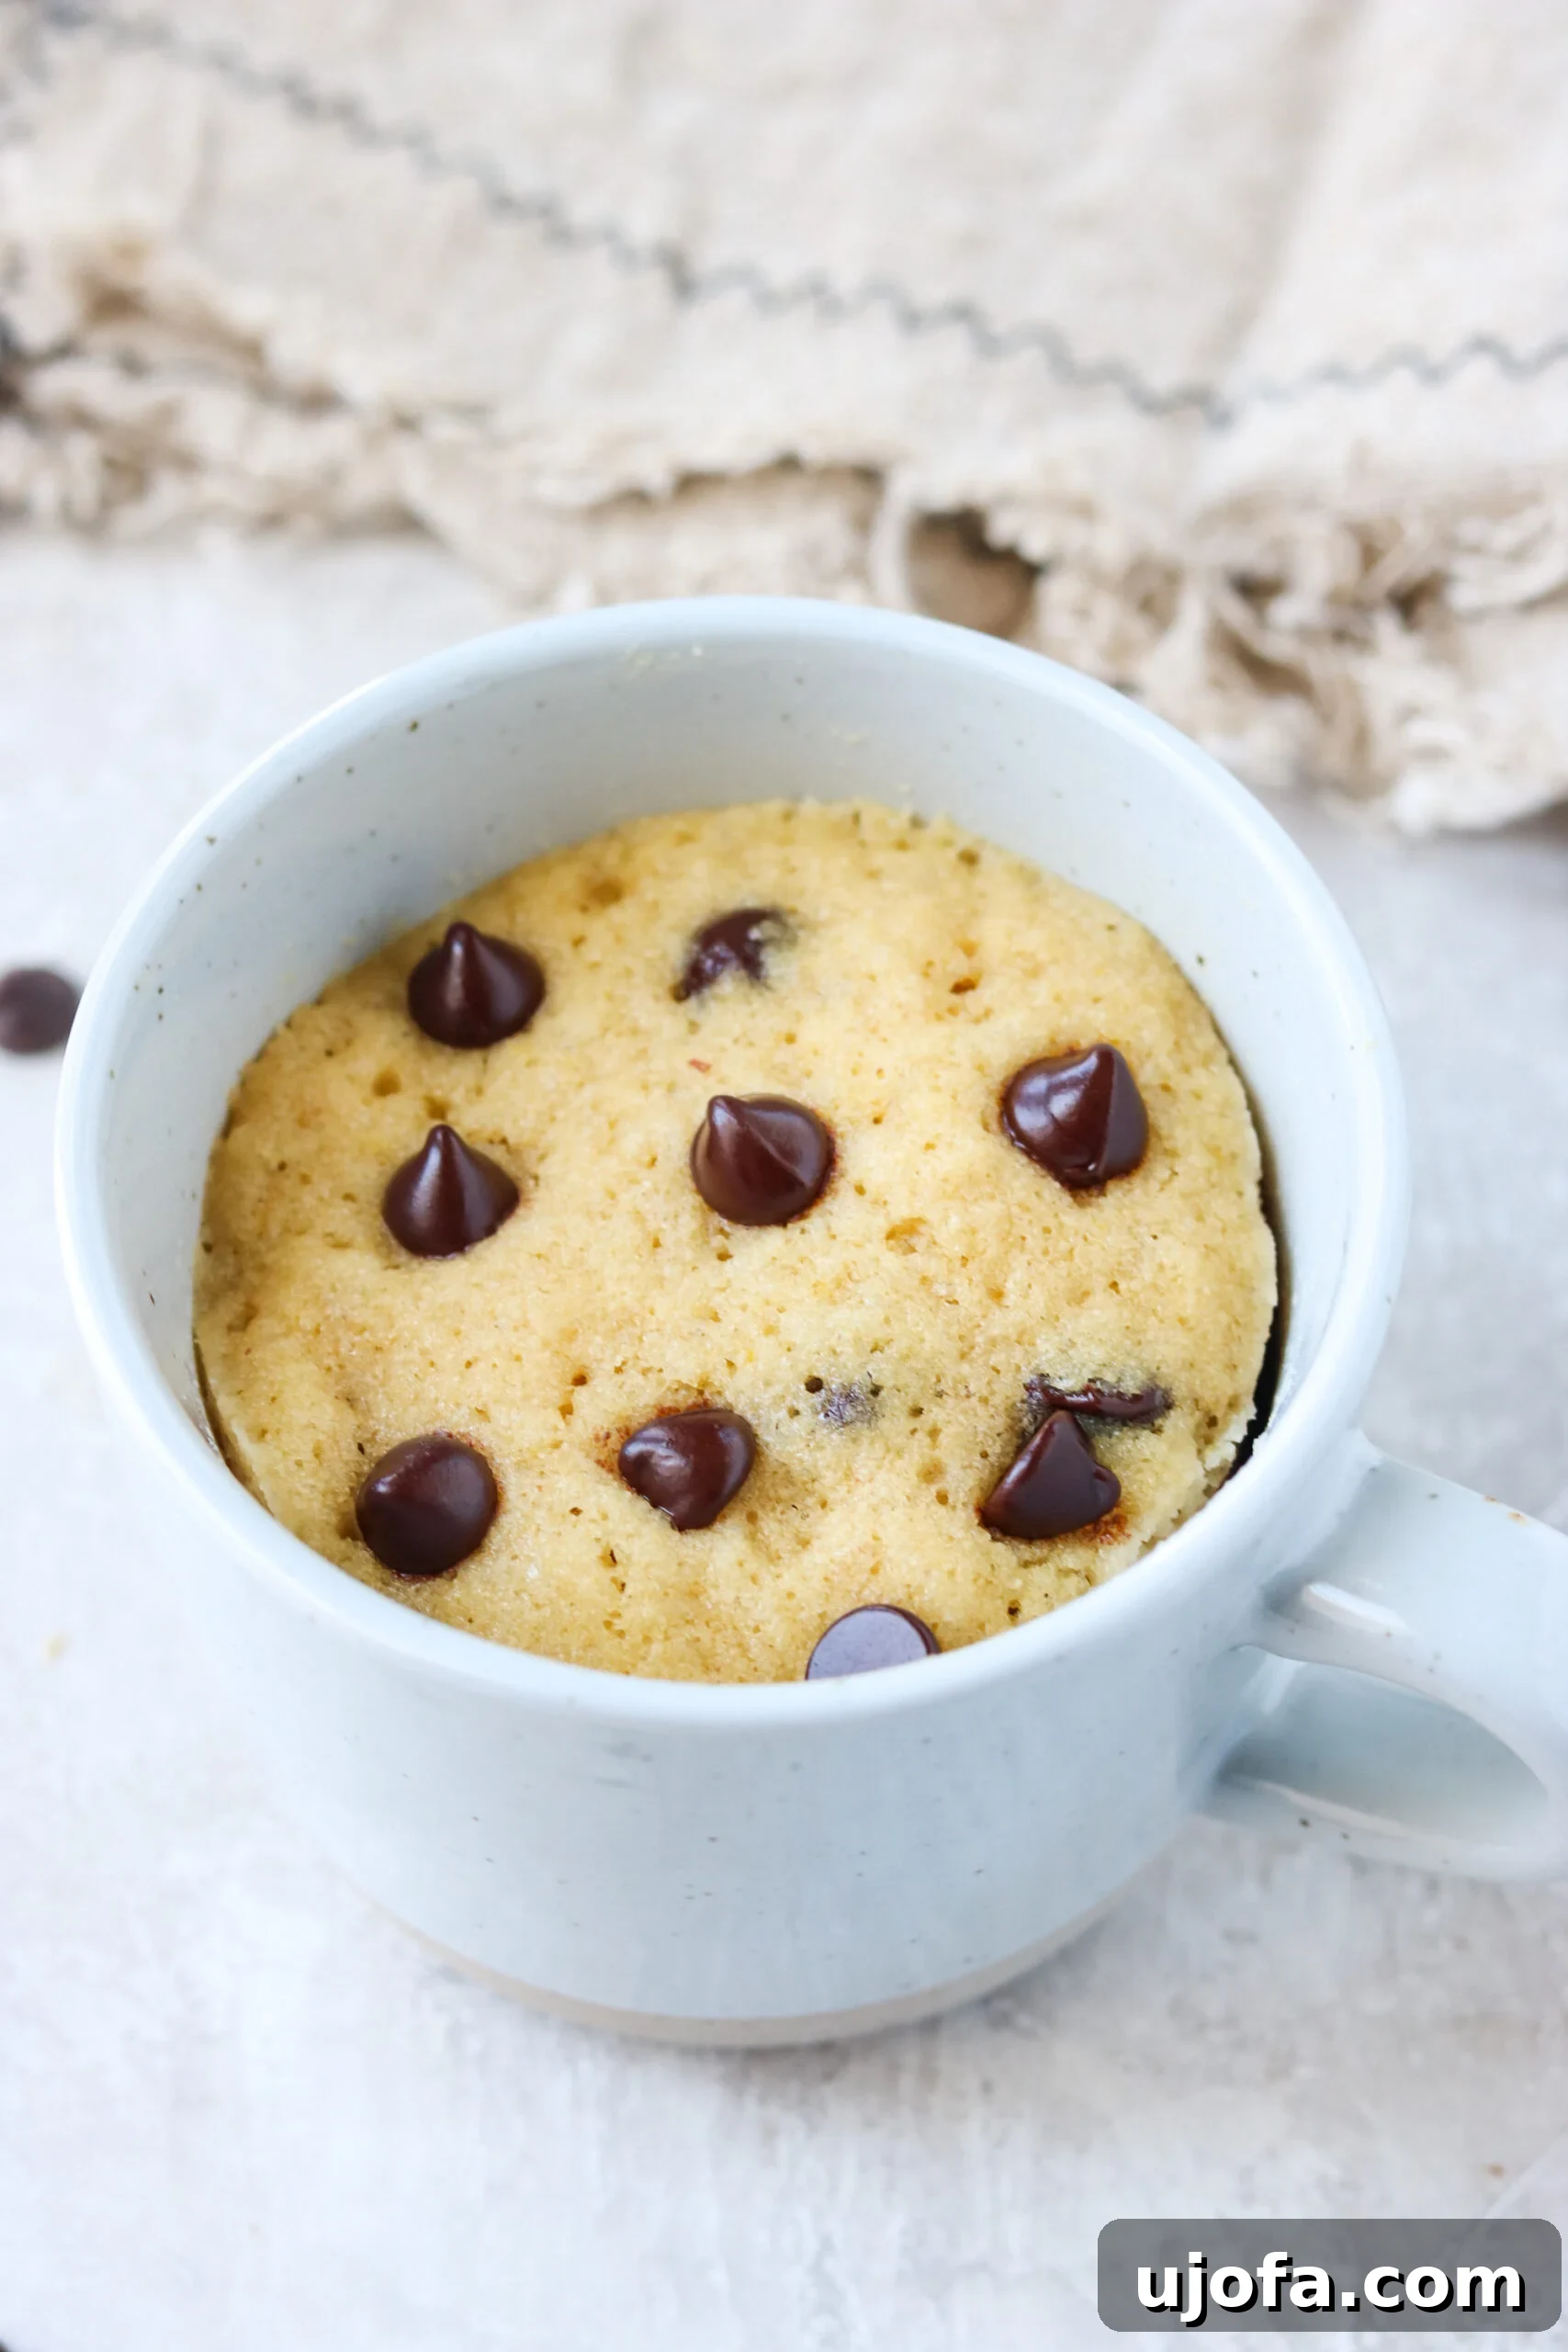
- Microwave to Perfection: Place the mug in the microwave and cook for 1 to 2 minutes. Microwave timings can vary significantly based on your appliance’s wattage, so keep an eye on it. In my microwave, it reached perfect doneness right around the 1-and-a-half-minute mark – a moist, slightly gooey center with firm edges. If desired, you can sprinkle a few more chocolate chips on top before or after microwaving; they tend to sink to the bottom during cooking, so adding them later ensures some remain visible on top!
Pro Tips for the Ultimate Mug Cake Experience
To ensure your gluten-free mug cake turns out perfectly every time, and to customize it to your heart’s content, consider these expert tips:
- Allow for Cooling: This gooey gluten-free chocolate mug cake will be extremely hot when it first emerges from the microwave. Exercise patience and allow it to cool for a minute or two before you dive in. This brief resting period helps the cake set and prevents accidental burns, ensuring a more enjoyable experience.
- Mixing for Success: While the convenience of mixing all ingredients directly in the mug is tempting, I consistently find that preparing the batter in a separate small bowl (like a 2-cup measuring cup) before pouring it into the mug yields a smoother, more evenly mixed cake. This extra step helps prevent dry pockets of flour and ensures all ingredients are thoroughly combined.
- Creative Topping Ideas: The beauty of a mug cake lies in its versatility! While delicious on its own, adding toppings elevates the experience. Consider a scoop of vanilla ice cream (dairy-free for a fully dairy-free treat), a generous dollop of whipped cream, or a spoonful of your favorite nut butter, such as peanut butter or almond butter. Fresh berries like raspberries or strawberries add a lovely tart contrast. A dusting of cocoa powder or ground cinnamon can add an extra layer of flavor. Don’t be afraid to experiment with mini marshmallows, chopped nuts, shredded coconut, or a drizzle of caramel or chocolate sauce. For a complete dessert experience, serve your mug cake alongside a glass of your preferred dairy-free milk, such as almond milk or coconut milk.
- Flour Alternatives and Experimentation: This specific recipe has been carefully developed using a blend of almond flour and coconut flour for optimal texture and flavor. I haven’t personally tested it with other gluten-free flour alternatives. If you’re considering using a different flour, such as Bob’s Red Mill gluten-free all-purpose flour blend, proceed with caution as absorbency and texture can vary greatly. If you do experiment, please share your results in the comments below; your insights could be helpful to others!
- Vegan and Egg-Free Adaptations: For a vegan mug cake, you can easily swap the egg for 1.5 tablespoons of unsweetened applesauce. This substitution works wonderfully to maintain moisture. While I haven’t personally tried a flax egg in this particular recipe, it’s often a viable egg substitute in baking. If you decide to give a flax egg a try, please let us know how it turns out in the comments!
- Storage: Mug cakes are best enjoyed fresh, warm from the microwave. If you happen to have any leftovers (though unlikely!), cover them tightly and refrigerate for up to a day. Reheat gently in the microwave for a few seconds to restore some of its warmth and gooiness.
Oven Method for Your Gluten-Free Mug Cake
If you don’t have a microwave, prefer not to use one, or simply enjoy oven-baked treats, this gluten-free mug cake can absolutely be made in a conventional oven. Here’s how:
- Preheat Oven: Start by preheating your oven to 350 degrees Fahrenheit (175 degrees Celsius).
- Prepare and Transfer: Follow the initial steps to combine all your ingredients as instructed above. Then, pour the prepared batter into an oven-safe ramekin, a ceramic mug, or any other small oven-safe dish. Ensure the dish is large enough to allow for some rise.
- Bake Until Golden: Place the ramekin or mug in the preheated oven and bake for approximately 18-20 minutes. The cake should appear set around the edges and lightly golden on top. A toothpick inserted into the center should come out with moist crumbs, not wet batter.
- Cool and Serve: Once baked, carefully remove the cake from the oven and let it cool for a few minutes. It will still be hot! Then, add your favorite toppings and enjoy your perfectly baked gluten-free mug cake.
Frequently Asked Questions (FAQs) About Gluten-Free Mug Cakes
The moistness of this gluten-free mug cake is primarily due to the inclusion of an egg and coconut oil in the recipe. These ingredients provide richness and structure. To ensure a delightfully moist cake with a fluffy texture, I recommend keeping a close eye on your microwave and cooking for about 45 seconds to 1 minute, then checking every 15-30 seconds until just set. Overcooking is the quickest way to a dry mug cake!
Absolutely! While chocolate chips are a classic, feel free to get creative with other add-ins. Fresh fruits like blueberries, sliced strawberries, or mashed banana work wonderfully. Chopped nuts (walnuts, pecans, almonds), shredded coconut, or even sprinkles for a festive touch would also be delicious additions. Just be mindful of moisture levels if adding a lot of very wet fruit.
Each single-serving gluten-free mug cake, prepared as per this recipe, contains an estimated 547 calories. While it’s a single serving, it is a rich and satisfying dessert.
Yes, this recipe is inherently dairy-free, provided you use dairy-free chocolate chips. Most mainstream chocolate chips contain dairy, so always check the label for brands like Enjoy Life Foods or other specialized dairy-free options.
Yes, to make this mug cake egg-free, you can substitute the egg with 1.5 tablespoons of unsweetened applesauce. This generally works well to bind the ingredients and maintain moisture. I haven’t personally tested it with a flax egg, but it’s another common egg substitute; if you try it, please share your experience in the comments below!
Indeed! To transform this into a delicious vegan mug cake, simply swap the egg for 1.5 tablespoons of unsweetened applesauce, and ensure you are using dairy-free chocolate chips. This simple modification makes the cake suitable for a vegan diet without compromising on flavor or texture.
More Irresistible Gluten-Free Dessert Creations
If you’ve enjoyed this quick and easy gluten-free mug cake, you’ll love exploring these other delicious gluten-free dessert recipes:
Strawberry Shortcake
Paleo Chocolate Lava Cakes
Blueberry Crumb Bars
Key Lime Pie Cheesecake Bars
Easy Gluten-Free Mug Cake Recipe (Chocolate Chip)
Equipment
-
12 oz mug
-
2 cup measuring cup
Ingredients
- 1 egg
- 2 tbsp maple syrup
- 1 tbsp coconut oil, melted
- ½ tsp vanilla extract
- ¼ cup almond flour
- 1 tsp coconut flour
- ½ tsp baking powder
- 2 tbsp chocolate chips, + more for topping
- pinch of salt
Instructions
-
Add all of the wet ingredients (egg, maple syrup, melted coconut oil, vanilla extract) to a 2-cup glass measuring cup (or small bowl) and mix well using a fork or whisk until smooth.
-
Add in the dry ingredients (almond flour, coconut flour, baking powder, salt) and mix until the batter is smooth and there are no lumps. Gently fold in the chocolate chips.
-
Pour the mixture into a medium-sized microwave-safe mug (12 oz size works well) and smooth out the top. Add additional chocolate chips on top, if desired. Microwave for 1-2 minutes. Mine was perfect at the 1.5 minute mark!
-
Let it cool for 1-2 minutes to set and prevent burns. Top with a scoop of dairy-free ice cream or whipped cream, if desired. Enjoy your warm, gooey gluten-free mug cake!
Notes
Expert Tips
- This gooey gluten-free chocolate mug cake will be HOT when it comes out of the microwave! Let it cool for a minute or two before digging in. You can mix all of the ingredients directly in the mug, but I find it easier to mix separately first and then pour it into the mug for a smoother batter.
- Top with vanilla ice cream or whipped cream, if desired! You can also top with a spoonful of peanut butter, other nut butter, fresh berries, a dusting of cocoa powder or ground cinnamon, and more! Or serve with a glass of your favorite dairy-free milk like almond milk or coconut milk.
- I have not tested this recipe with any other gluten-free flour alternatives. You could try using Bob’s Red Mill gluten-free all-purpose flour. Let me know if you do and how it turns out in the comment below.
- To make this vegan, you can swap the egg for 1.5 tbsp applesauce. I haven’t tried it with a flax egg, but if you do, please let us know how it goes in the comments below!
Oven Method
If you don’t have a microwave or prefer not to use it, follow these instructions for an oven-baked version:
- Preheat your oven to 350 degrees F (175 C).
- Combine ingredients in an oven-safe ramekin or mug or another oven-safe dish.
- Bake for 18-20 minutes, until set.
- Let cool for a few minutes, and top with your toppings of choice.
Nutrition
All nutrition facts are an estimate and automatically calculated. While I fact check them using My Fitness Pal, please note that they may not always be 100% accurate and depend on ingredients used. Weigh your total and divide by the number of servings for the most accurate grams per serving size.
Did you make this?Rate & comment below, and tag me on Instagram @maryswholelife
This post was originally published on March 29, 2022 and updated with fresh content on November 3, 2023.