
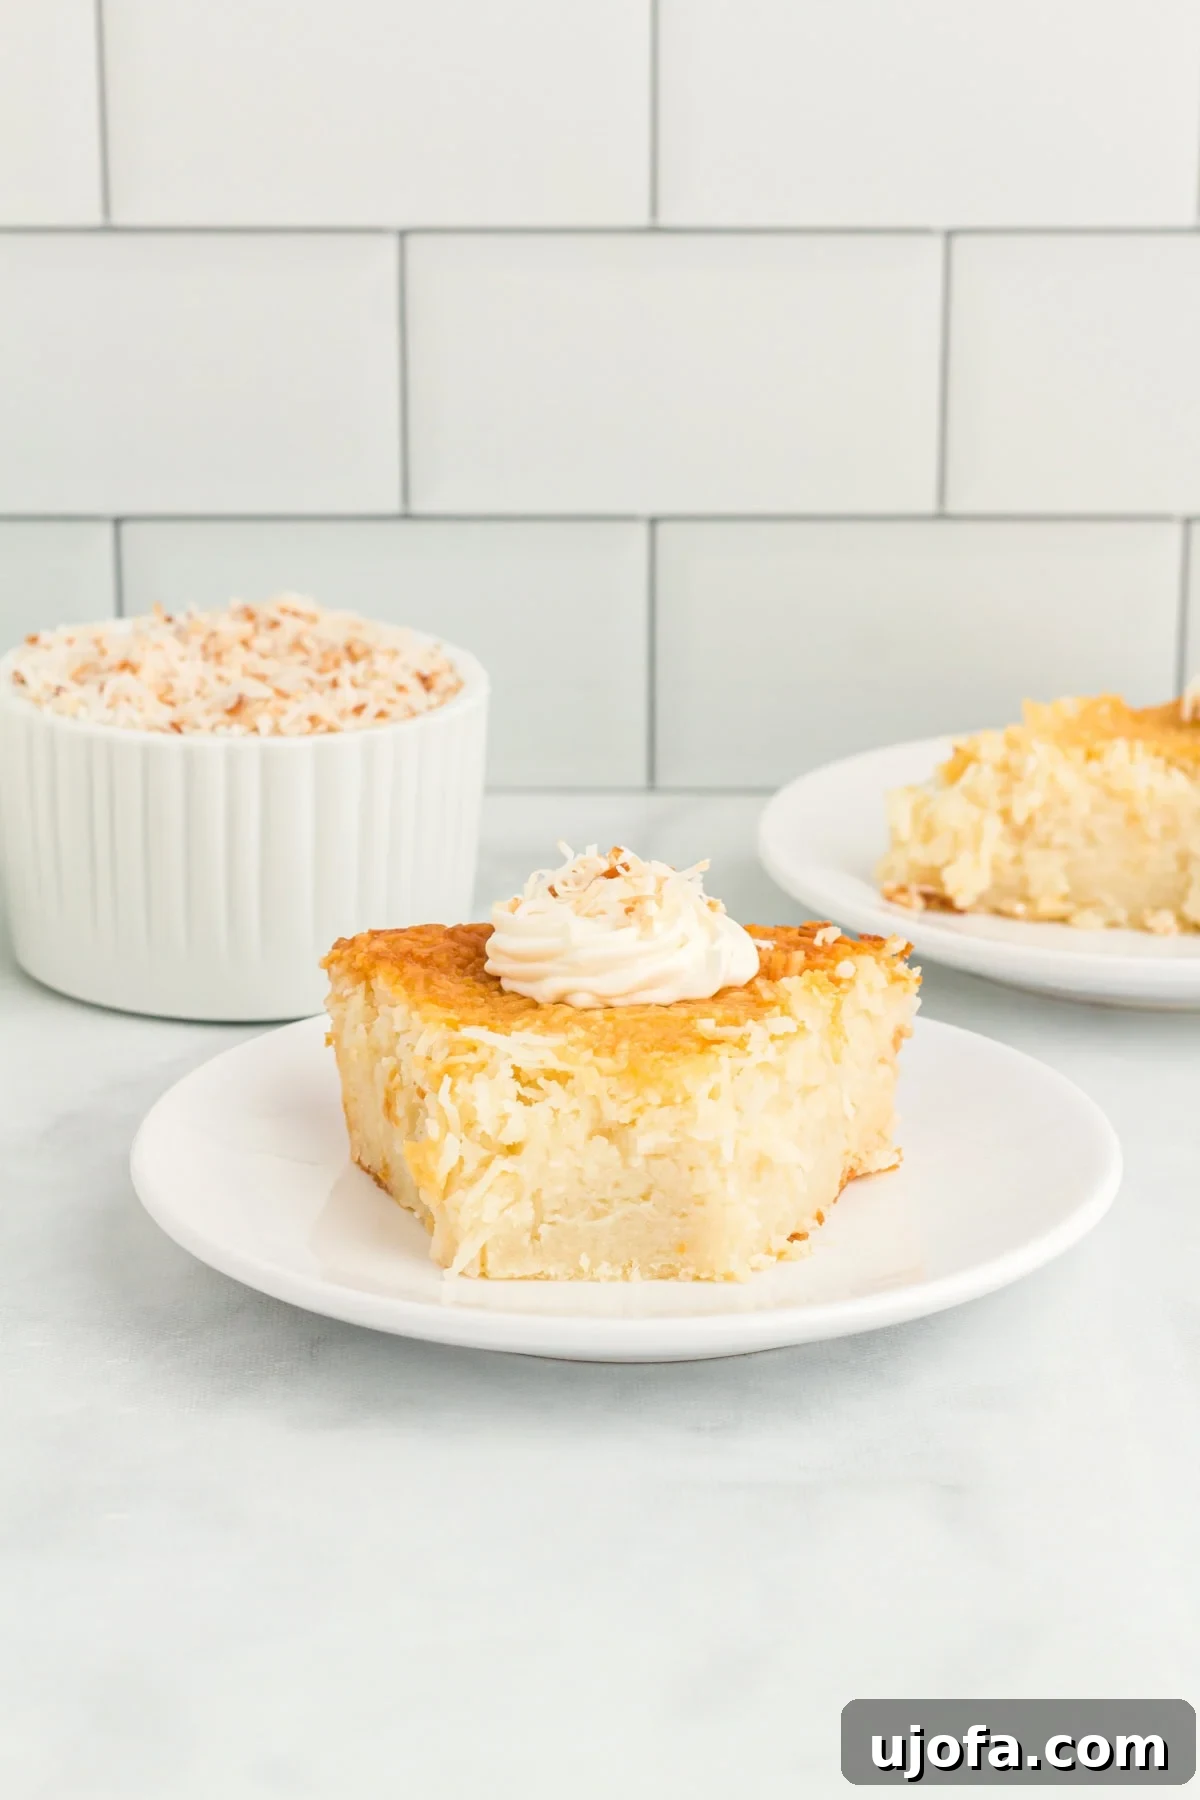
Craving a delightful dessert that’s effortlessly elegant and undeniably delicious? Look no further than this incredible **Crustless Coconut Pie**. This creamy custard pie is a true gem, naturally gluten-free and crafted with simple pantry staples, making it a dream come true for quick baking endeavors. Each bite offers a harmonious blend of rich coconut flavor and a satisfyingly chewy texture, thanks to plenty of sweetened shredded coconut. It’s the ultimate no-fuss dessert that not only tastes amazing but also slices beautifully, making it an ideal choice for dinner parties, holiday feasts, family gatherings, and potlucks alike.
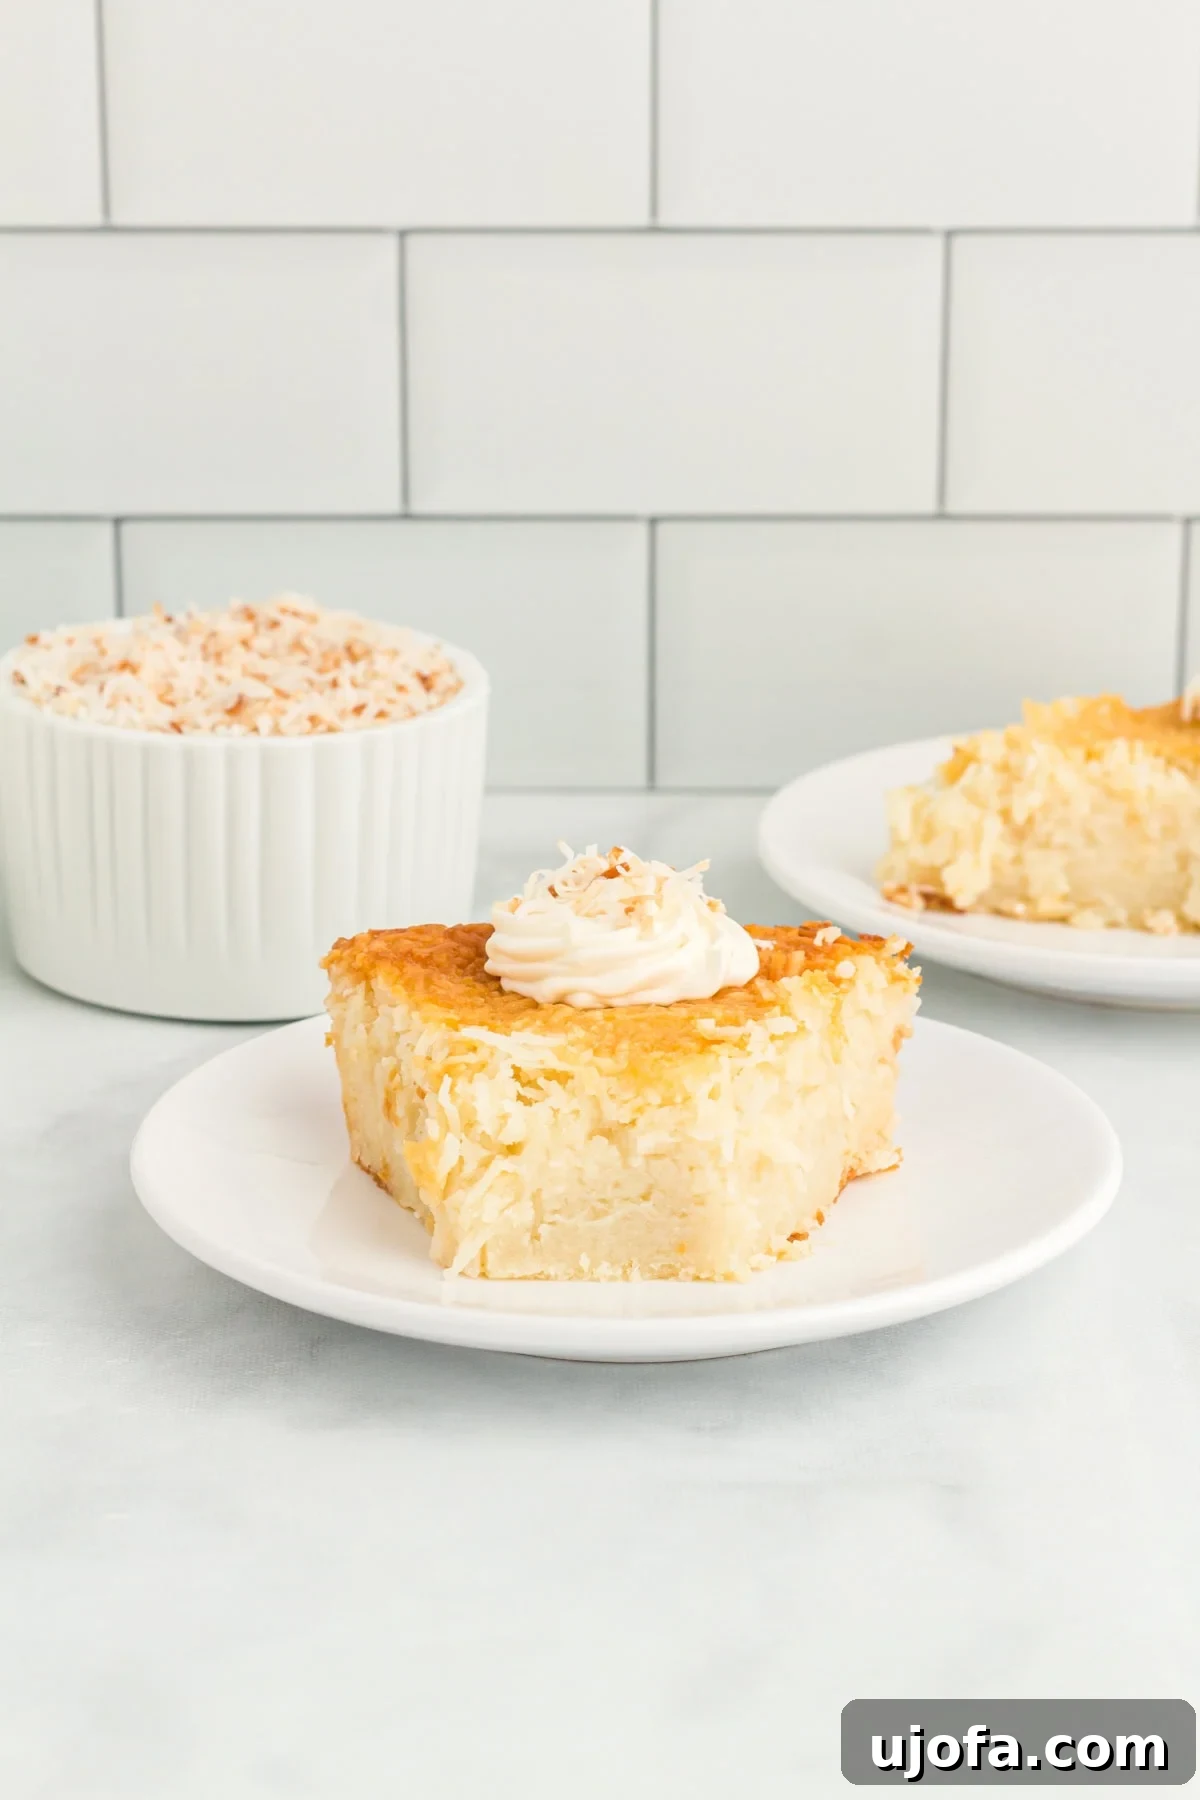
While I adore a classic pie, the thought of preparing a homemade crust can sometimes feel like an extra hurdle. That’s where this brilliant **Gluten-Free Crustless Coconut Pie** shines. It offers all the comforting, tropical flavors of a traditional gluten-free coconut cream pie but simplifies the process significantly by eliminating the need for a crust. This recipe leverages the magic of gluten-free all-purpose flour and generous amounts of sweetened shredded coconut to create a distinctly chewy, golden-brown top and an irresistibly creamy custard center. The beauty of this pie lies in its simplicity – it bakes perfectly in a deep-dish pie plate, then chills to perfection for at least four hours, transforming into glossy, custardy slices that are as appealing to the eye as they are to the palate. It’s the ultimate hassle-free dessert solution for when you need something quick yet impressive.
Why You’ll Adore This Crustless Coconut Pie
Beyond its sheer deliciousness, this crustless coconut pie boasts several qualities that make it a standout dessert:
- Effortlessly Simple: Forget the stress of rolling out dough. This recipe comes together in one bowl, requiring minimal effort and time in the kitchen. It’s perfect for novice bakers or anyone short on time but unwilling to compromise on taste.
- Naturally Gluten-Free: Ideal for those with gluten sensitivities or dietary preferences, this pie delivers all the flavor without any gluten. The use of gluten-free all-purpose flour ensures a stable structure and delightful texture.
- Rich & Creamy Custard: The star of the show is its velvety smooth, rich custard filling, infused with intense coconut flavor. Every spoonful melts in your mouth, offering a luxurious dessert experience.
- Chewy, Golden Top: The sweetened shredded coconut, combined with the baking process, creates a beautifully caramelized, slightly chewy top layer that contrasts wonderfully with the soft custard below.
- Perfect for Any Occasion: From casual weeknight treats to elegant holiday gatherings, this pie is versatile. It’s easy to transport and slices cleanly, making it a crowd-pleaser wherever it goes.
- Make-Ahead Friendly: In fact, this pie tastes even better the next day after it has fully chilled, allowing the flavors to meld and the custard to set perfectly. This makes it an excellent option for planning ahead for events.
Gluten-Free Baking Tips for a Perfect Pie
Achieving the perfect texture and flavor in a gluten-free custard pie requires attention to a few key details. Follow these expert tips to ensure your crustless coconut pie turns out flawlessly every time:
- Always Use Sweetened Shredded Coconut: This isn’t merely a preference; it’s crucial. Unsweetened or flaked coconut won’t provide the same level of moisture, sweetness, or the iconic chewy texture that defines this pie. Sweetened shredded coconut not only enhances the flavor but also contributes significantly to the pie’s structure, helping it form that characteristic “crustless” edge as it bakes.
- Ensure All Dairy and Eggs are at Room Temperature: This step is vital for a smooth, homogenous custard. Cold ingredients, especially milk, cream, or eggs, can cause melted butter to seize and separate, resulting in an uneven, lumpy batter. Letting these ingredients sit out for approximately 30 minutes before mixing allows them to emulsify properly, yielding a silky, consistent custard.
- Select the Right Milk: Avoid skim or low-fat milk. Their insufficient fat content won’t provide the necessary richness or structural integrity for the custard to set correctly. The higher fat content found in 2% milk is essential for creating that desirable creamy, stable, and well-set filling. Whole milk can also be used for an even richer result.
- Do Not Substitute Heavy Cream with Milk: Heavy cream is a non-negotiable ingredient for achieving the luxurious, velvety texture of this custard. Substituting it with milk, even 2% or whole milk, will make the filling too thin, less decadent, and prone to not setting properly, fundamentally altering the pie’s intended consistency.
- Mix Gently After Adding Butter: Once the melted butter is incorporated, whisk the batter just until all ingredients are combined. Over-mixing introduces too much air, which can cause the pie to puff up excessively and unevenly in the oven, only to collapse or crack dramatically as it cools. A smoothly mixed, air-free batter is the secret to a perfectly uniform and custardy texture.
- Prioritize Proper Baking & Avoid Overbaking: The pie is ideally baked when its internal temperature reaches 180°F (82°C). At this point, the edges should appear set and slightly golden, while the very center retains a gentle, delicate wobble. Remember, the pie will continue to firm up and set as it cools on the warm baking tray after being removed from the oven. Resisting the urge to bake it longer is key to preventing a dry, crumbly texture.
- Expect Initial Puffing and Subsequent Settling: It’s completely normal for the center of the pie to appear slightly domed or puffed up when it first emerges from the oven. This is a natural occurrence during baking. As the pie cools and sets, it will gradually sink slightly, resulting in that beautifully smooth, custardy surface you’re looking for.
- Use a Reliable Gluten-Free Flour Blend: Not all gluten-free flours are created equal. A high-quality, all-purpose gluten-free flour blend (like Cup 4 Cup, as suggested) that contains xanthan gum is often recommended for best results in baked goods, as it helps with structure and elasticity.
Crustless Coconut Pie
By: Cheryl Johnson
Servings: 8 servings
Prep: 10 mins | Cook: 55 mins | Chill Time: 4 hrs | Total: 5 hrs 5 mins
Crustless coconut pie is one of my favorite desserts to make in a pinch because it comes together so easily in just one pan. This creamy custard pie is naturally crustless and gluten-free, made with a touch of gluten-free flour for structure and simple pantry staples. It’s a no-fuss dessert that slices beautifully, making it perfect for dinner parties, holidays, and potlucks alike.
Ingredients
- 1 cup granulated sugar
- ¼ cup light brown sugar, packed
- ¼ cup unsalted butter, melted but not too hot
- 3 large eggs, room temperature
- 1 egg yolk, room temperature
- 1 cup 2% milk, room temperature
- 1 cup heavy cream, room temperature
- 1 tbsp vanilla extract
- ½ cup gluten-free all-purpose flour (I use Cup 4 Cup)
- 1 tsp baking powder
- ¼ tsp salt
- 1½ cups shredded sweetened coconut
Instructions
- Preheat oven to 350°F (175°C).
- Spray a 9-inch deep dish pie plate with non-stick cooking spray. Set aside for now.
- In a large bowl, combine granulated sugar, brown sugar, melted butter, eggs, and egg yolk. Whisk together to combine. Do not over mix or there will be too much air added into the batter, which can affect the pie’s texture.
- Whisk milk, cream, and vanilla into the batter. Whisk gently just until combined and smooth.
- Whisk gluten-free flour, baking powder, and salt into the batter. Continue to whisk just until combined and no dry streaks of flour remain.
- Using a silicone spatula, gently stir the shredded sweetened coconut into the batter until it is evenly distributed.
- Pour the prepared batter into the greased 9-inch deep dish pie plate.
- Place the pie plate onto a large baking tray (this will catch any potential spills and make it easier to transfer in and out of the oven) and place into the preheated oven to bake for 55 to 60 minutes. The pie is done when its internal temperature reaches 180°F (82°C), the edges are set and lightly golden, and the center is still slightly jiggly but not watery. It will continue to firm up and fully set as it cools on the hot tray once removed from the oven.
- Let the pie cool completely on the baking tray at room temperature. Once fully cooled, cover tightly with food-safe plastic wrap and let it chill in the refrigerator for at least 4 hours before slicing and serving. For best results, overnight chilling is recommended. Enjoy!
Notes
- For dairy-free: You can substitute the 2% milk with canned full-fat coconut milk and the heavy cream with canned coconut cream (the thick part from a chilled can). Ensure all dairy-free alternatives are also at room temperature before mixing.
- This dessert is best when chilled, as the cooling process allows the custard to firm up beautifully and enhances its creamy texture. However, it can also be enjoyed at room temperature shortly after it has fully cooled.
- Always use a large baking tray under the pie plate, especially if you are using a deep-dish pan, to catch any possible spill-over during baking. This prevents messes in your oven.
- Don’t open the oven door frequently while the pie is baking, especially during the first 40 minutes, as this can cause the pie to crack or sink.
- For an extra touch, lightly toast some additional shredded coconut in a dry pan until golden, then sprinkle on top of the chilled pie before serving.
Nutrition
- Serving: 1 serving
- Calories: 465 kcal
- Carbohydrates: 44g
- Protein: 6g
- Fat: 31g
- Saturated Fat: 22g
- Polyunsaturated Fat: 1g
- Monounsaturated Fat: 6g
- Trans Fat: 0.3g
- Cholesterol: 137mg
- Sodium: 182mg
- Potassium: 203mg
- Fiber: 4g
- Sugar: 36g
- Vitamin A: 766 IU
- Vitamin C: 0.5mg
- Calcium: 114mg
- Iron: 1mg
Nutrition information is automatically calculated, so should only be used as an approximation.
Additional Info
Course: Baking, Dessert
Cuisine: American
How to Make Gluten-Free Crustless Coconut Pie Step by Step
Creating this delightful crustless coconut pie is a straightforward process. Follow these simple steps for a perfect result every time:
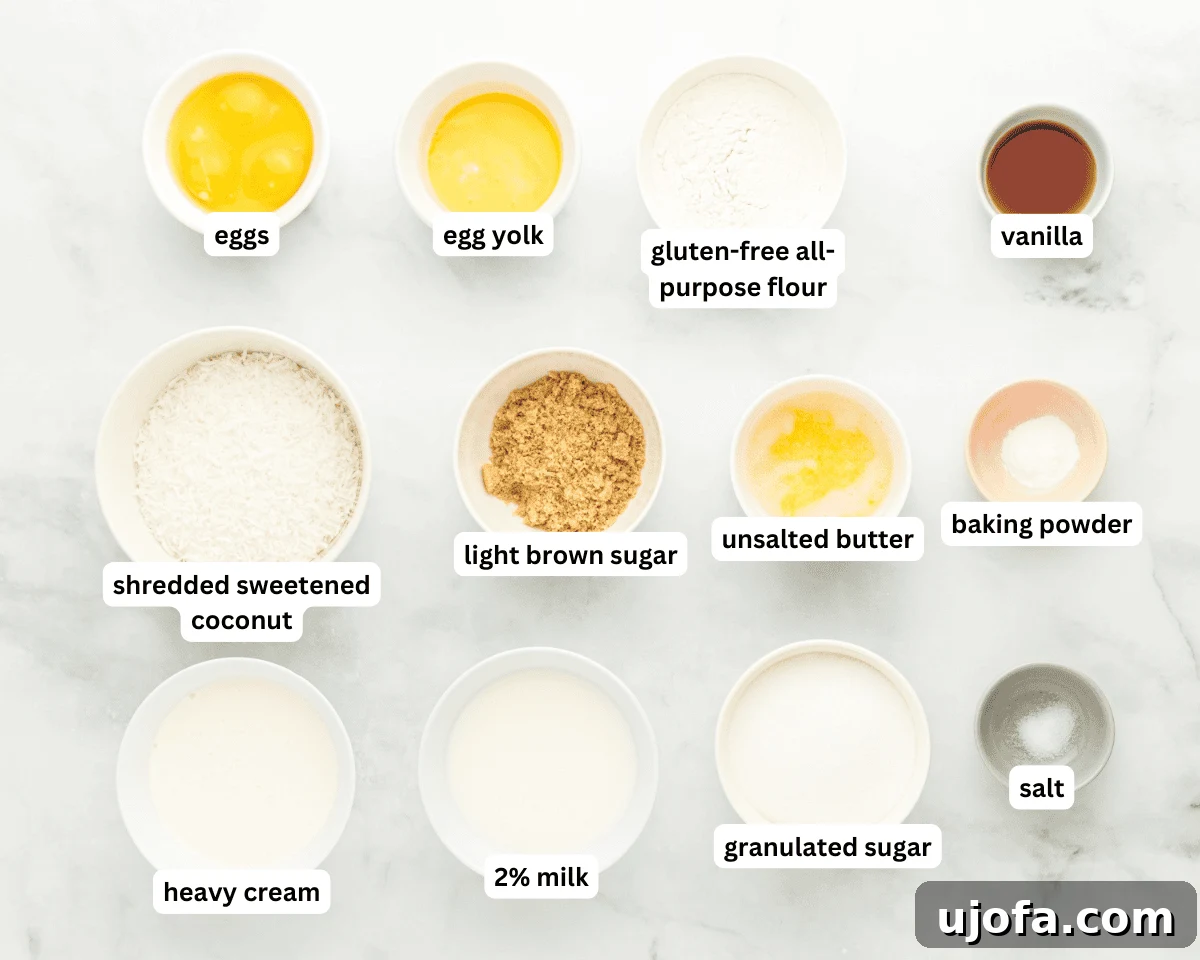
Step 1: Gather Your Ingredients and Prep Your Pan. Begin by gathering all your required ingredients and bringing the dairy and eggs to room temperature. This ensures a smooth, lump-free batter. Preheat your oven to 350°F (175°C). Take a 9-inch deep-dish pie plate and lightly coat it with nonstick cooking spray. Set it aside for later.
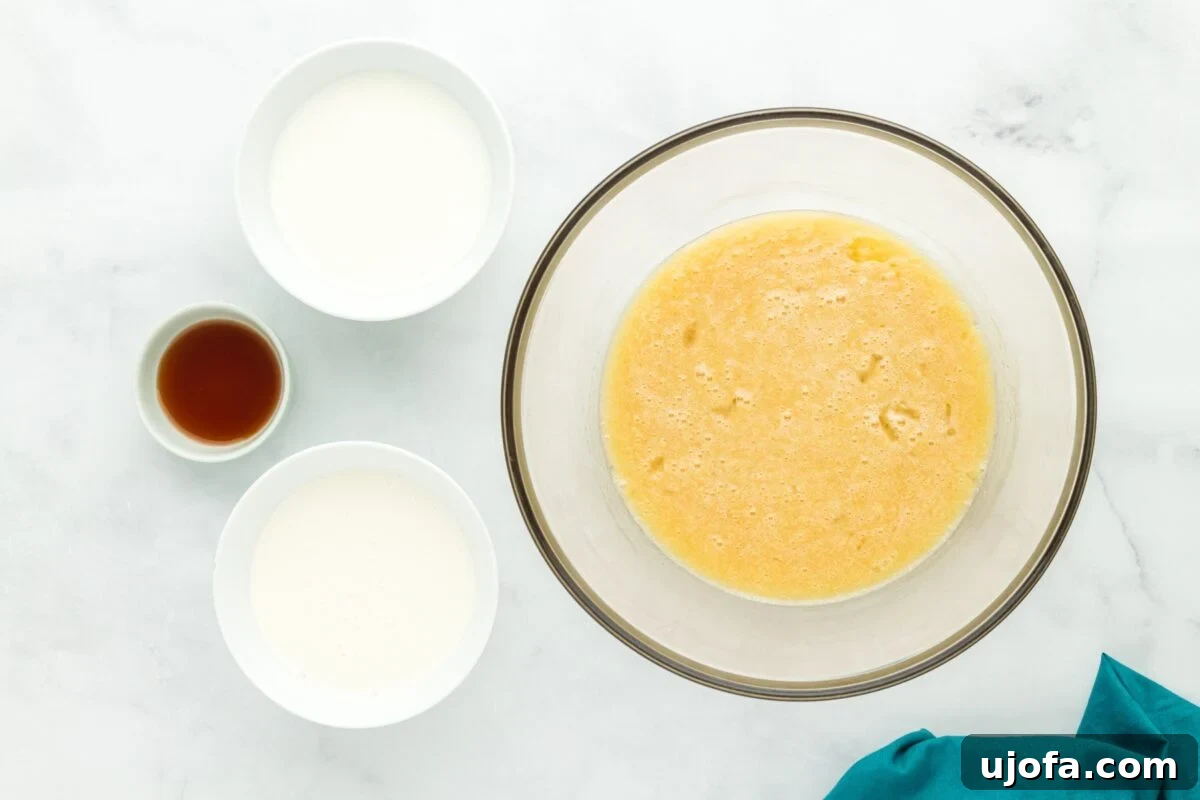
Step 2: Create the Pie Base. In a large mixing bowl, combine 1 cup of granulated sugar, ¼ cup of packed light brown sugar, ¼ cup of melted unsalted butter (ensure it’s not too hot to avoid scrambling the eggs), 3 large room-temperature eggs, and 1 room-temperature egg yolk. Whisk these ingredients together until they are just blended and smooth. Be careful not to overmix, as this can incorporate too much air into the batter, which may affect the final texture of your pie.
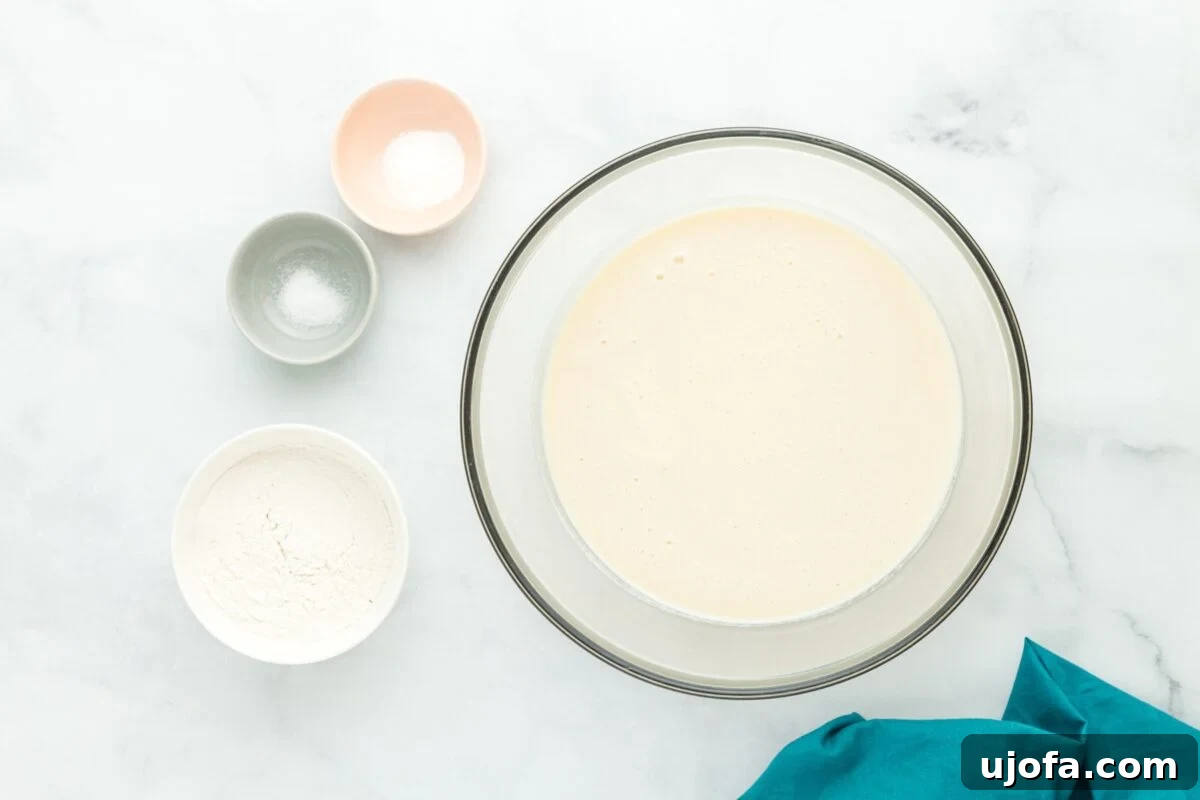
Step 3: Incorporate the Liquids. Gently pour 1 cup of 2% milk, 1 cup of heavy cream, and 1 tablespoon of vanilla extract into the sugar and egg mixture. Whisk everything together very gently, just until all the liquids are fully combined and the mixture is uniformly smooth. Avoid vigorous whisking to maintain a light and creamy consistency.
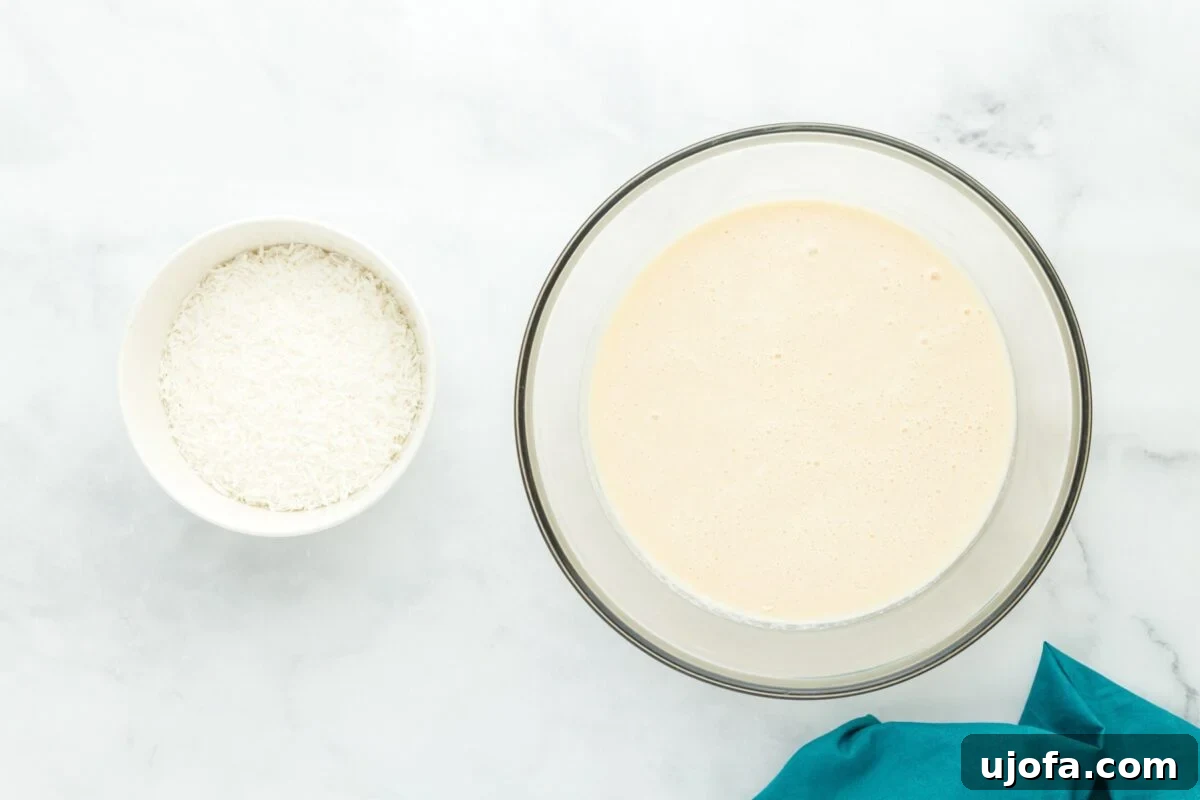
Step 4: Add the Dry Ingredients. Now, it’s time for the dry components. Add ½ cup of gluten-free all-purpose flour, 1 teaspoon of baking powder, and ¼ teaspoon of salt to the wet mixture. Whisk these dry ingredients into the batter until no dry spots of flour are visible and the mixture is smooth and well-incorporated. Again, mix just enough to combine, without overworking the batter.
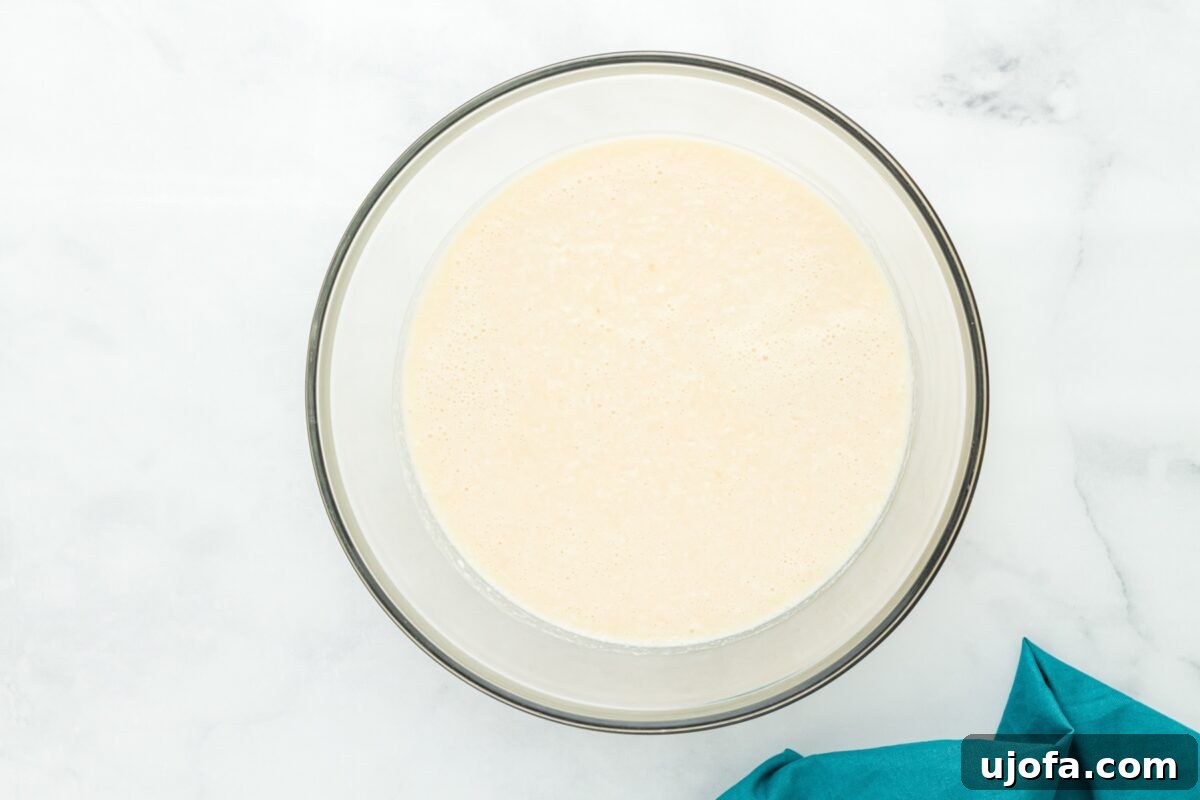
Step 5: Fold in the Coconut. With a silicone spatula, gently fold in 1½ cups of shredded sweetened coconut. Continue to stir until the coconut is evenly distributed throughout the creamy batter. This ensures every slice will have that signature coconut chewiness and flavor. This is a gentle step to avoid deflating the batter.
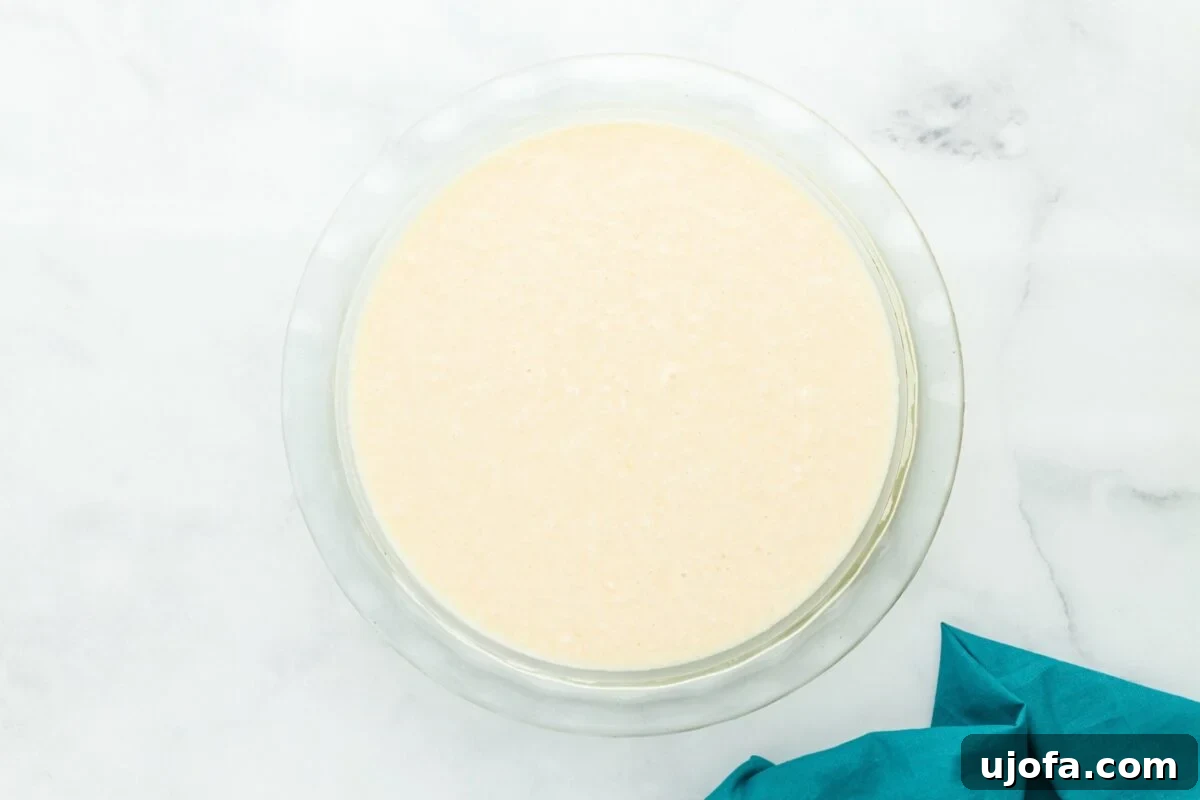
Step 6: Fill the Pie Pan. Carefully pour the prepared coconut pie batter into your greased 9-inch deep-dish pie plate. Use your spatula to gently smooth the top surface of the batter, ensuring an even layer for consistent baking.
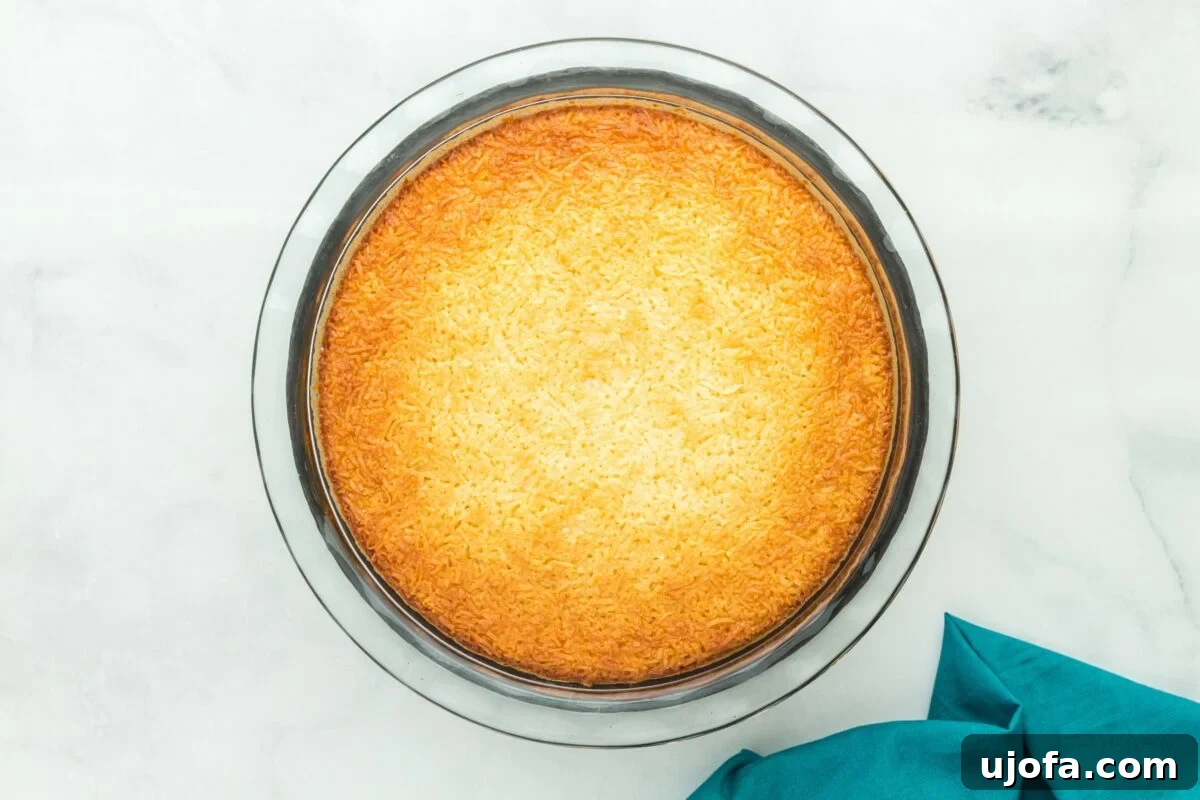
Step 7: Bake to Perfection. To prevent any potential spills and to make handling easier, place the pie plate on a large baking sheet. Carefully transfer it into your preheated oven. Bake for approximately 55–60 minutes. The pie is perfectly baked when its edges are set and a beautiful golden-brown, while the center retains a slight, gentle jiggly motion (but is not liquid). An internal temperature of 180°F (82°C) confirms it’s done. Remember, the pie will continue to set as it cools.
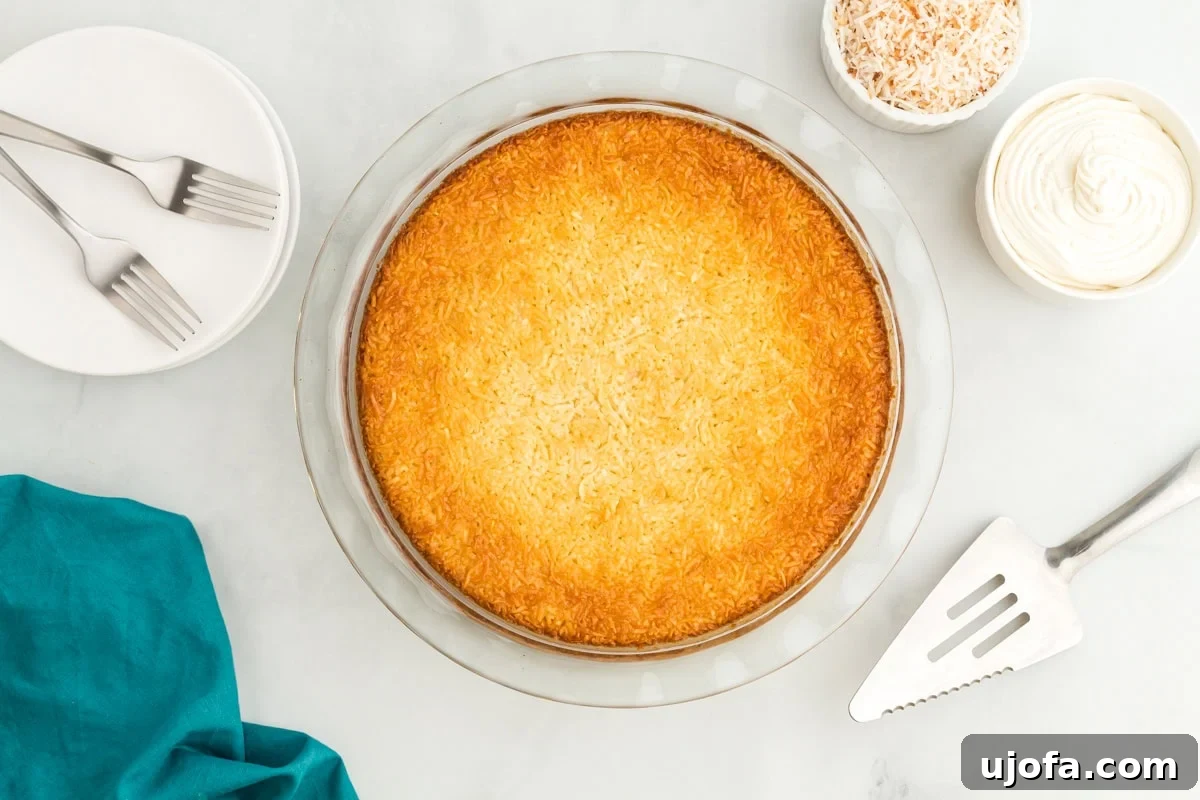
Step 8: Cool and Chill. Once baked, remove the pie from the oven and allow it to cool completely on the baking sheet at room temperature. This gradual cooling is important for the custard to properly set. After it has fully cooled, cover the pie tightly with food-safe plastic wrap and refrigerate it for a minimum of 4 hours. For the absolute best texture and flavor, chilling it overnight is highly recommended before slicing and serving. Enjoy your homemade masterpiece!
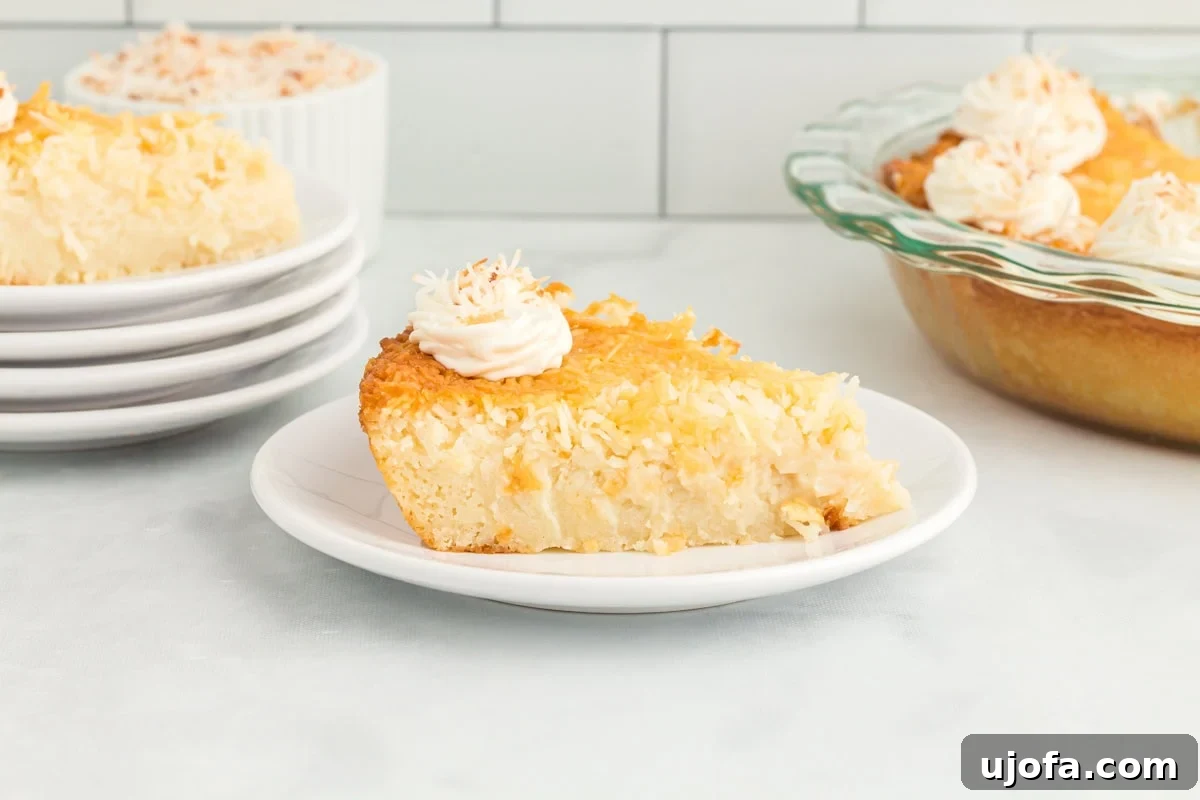
Serving Suggestions for Your Coconut Dream
This **Crustless Coconut Pie** is incredibly versatile and pairs wonderfully with a variety of toppings and accompaniments. My favorite way to enjoy it is perfectly chilled, allowing the custard to truly shine. A generous dollop of freshly whipped cream is almost mandatory, adding a cloud-like lightness that complements the rich pie. For an extra layer of flavor and texture, a sprinkle of golden toasted coconut flakes or delicate shaved white chocolate on top before serving adds an elegant touch.
Consider serving a slice with a scoop of creamy almond milk ice cream or your favorite vanilla bean ice cream. The combination of cold pie and melting ice cream is heavenly. The pie’s light, tropical coconut flavor also pairs beautifully with a side of fresh berries, such as raspberries, blueberries, or sliced strawberries, especially when serving it during the warmer months or over the holidays. For a festive touch, a sprig of fresh mint can elevate its presentation. This dessert is wonderfully easy to transport, making it an excellent choice to bring to dinner parties, holiday gatherings, or potlucks, as it slices cleanly and holds its shape beautifully.
Storage Instructions and Make-Ahead Tips
Proper storage is key to enjoying your **Crustless Coconut Pie** for days to come, and it’s also a fantastic make-ahead dessert!
- Refrigeration: Store any leftover crustless coconut pie in a sealed, food-safe container or tightly wrapped with plastic wrap in the refrigerator for up to 4 days. The pie’s flavor and texture actually improve after sitting overnight, as the custard firms up and the flavors deepen. This makes it an ideal dessert to prepare the night before a party or holiday gathering, ensuring a perfectly set and flavorful treat for your guests.
- Freezing: You can certainly freeze this pie for longer storage. To do so, wrap individual slices tightly in plastic wrap, then place them in a freezer-safe bag or an airtight container. It can be stored in the freezer for up to 2 months. When you’re ready to enjoy it, thaw the slices overnight in the refrigerator. For the best possible texture and enjoyment, serve the pie cold directly from the fridge, or allow it to rest at room temperature for about 10 minutes before slicing and serving. This slight tempering can enhance the creaminess.
- Make-Ahead: As mentioned, this pie is a superstar when it comes to make-ahead convenience. Bake it the night before your event, let it cool completely, and then chill it overnight. This ensures a smoother, firmer slice and allows the flavors to fully develop, taking the pressure off last-minute dessert preparations.
Frequently Asked Questions
Can I use unsweetened coconut?
While you can, it’s not recommended for the best results. Sweetened shredded coconut contributes significantly to the pie’s flavor, moisture, and unique chewy texture. Using unsweetened coconut will result in a less sweet pie with a different texture and may affect the overall structure.
Can I make this pie dairy-free?
Yes, absolutely! As noted in the recipe, you can substitute the 2% milk with full-fat canned coconut milk and the heavy cream with canned coconut cream (the thick part from a chilled can). Just ensure these dairy-free alternatives are also at room temperature before mixing to prevent any seizing with the melted butter.
How do I know when the pie is fully baked?
The pie is done when the edges are set and lightly golden, the center still has a slight, gentle wobble (not liquid), and its internal temperature reaches 180°F (82°C) when measured with an instant-read thermometer. It will continue to set as it cools.
My pie cracked on top, what happened?
Cracking can sometimes occur if the pie is overbaked, if the oven temperature was too high, or if there was too much air incorporated into the batter during mixing. Ensure your ingredients are at room temperature, whisk gently, and use an oven thermometer to verify accuracy.
Why is chilling so important?
Chilling is crucial because it allows the custard to fully set and firm up, resulting in clean, beautiful slices. It also allows the flavors to meld and deepen, making the pie taste even better. A warm or room-temperature custard pie will be much softer and harder to slice.
More Easy Crustless Desserts to Enjoy
If you’ve fallen in love with the ease and deliciousness of crustless pies, be sure to explore these other fantastic recipes:
- Crustless Apple Pie
- Crustless Pumpkin Pie
- Crustless Cheesecake