

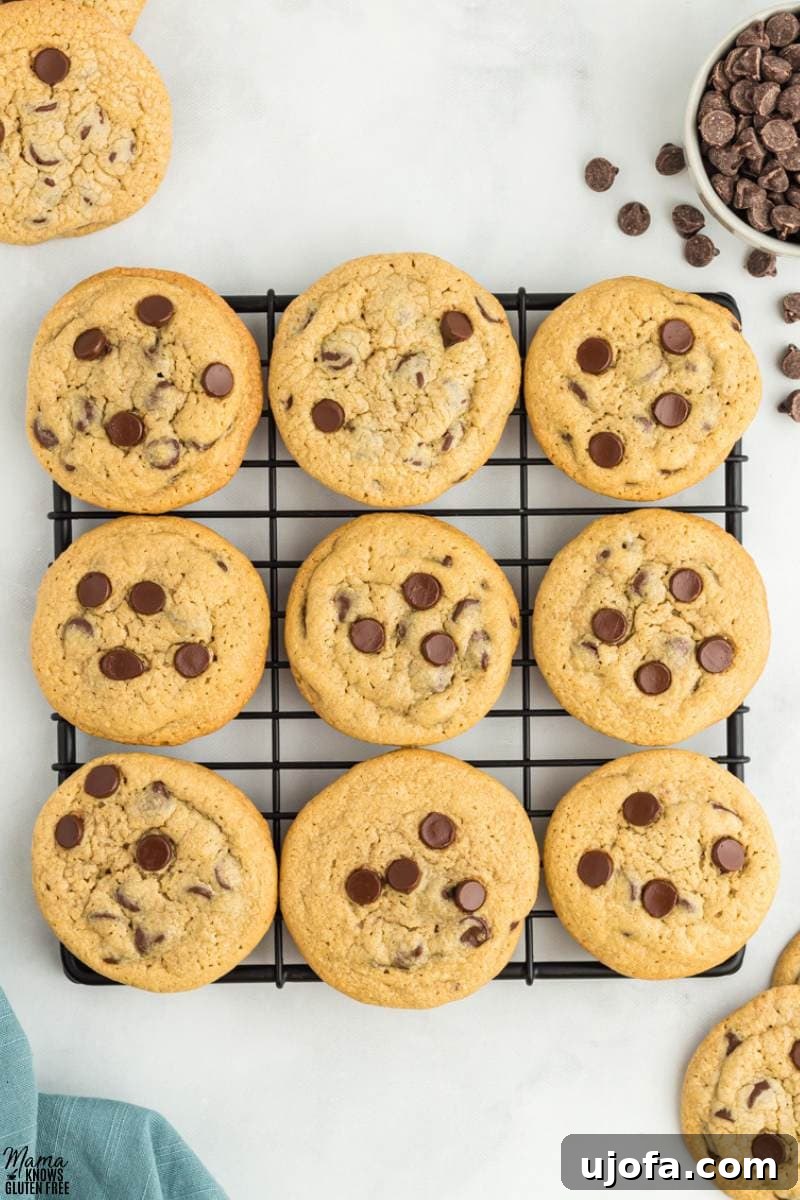
Welcome to your new favorite cookie recipe! These homemade Oat Flour Chocolate Chip Cookies are a delightful fusion of tender sweetness and irresistible chewiness, promising to become a staple in your kitchen. Crafted with a thoughtful blend of two sugar types and perfectly softened butter, they boast a texture that’s simply divine. What makes these cookies truly special is the use of oat flour, transforming a classic treat into a wonderfully gluten-free and nut-free indulgence. They’re incredibly easy to whip up, making them a go-to for busy bakers, and judging by my family’s enthusiastic reviews, they’re destined to be loved by everyone who tries them.
Why You’ll Love These Oat Flour Chocolate Chip Cookies
There’s a reason these cookies stand out in a crowd of chocolate chip recipes. Beyond their delightful taste, they offer a uniquely satisfying experience for various dietary needs and preferences. The secret lies in the humble oat flour, which imbues these cookies with an incredibly light yet wonderfully chewy texture that’s hard to achieve with conventional flours alone. This particular recipe masterfully combines light brown sugar, granulated sugar, rich butter, and a touch of cornstarch to create a dough that not only holds together beautifully but also bakes into a soft, melt-in-your-mouth cookie. Each bite is a celebration, loaded generously with semi-sweet chocolate chips, ensuring a perfect chocolatey burst in every mouthful. Whether you’re seeking a gluten-free option, a nut-free treat, or simply a remarkably delicious cookie, this recipe delivers on all fronts.
The Magic of Oat Flour in Baking
Oat flour is a fantastic ingredient that brings a unique character to baked goods, especially cookies. It imparts a delicate, subtly nutty flavor reminiscent of oatmeal, which beautifully complements the sweetness of chocolate chips. Unlike all-purpose flour, oat flour tends to be lighter in consistency, contributing to a softer crumb and a distinct chewiness that many find irresistible. It’s also packed with fiber, making these cookies a slightly more wholesome choice without compromising on flavor or texture. When substituting oat flour for wheat flour in recipes, it’s crucial to understand its absorption properties. While it creates a wonderful texture in this specifically designed recipe, direct substitutions in other recipes can be tricky due to differences in how it interacts with liquids and fats. This recipe has been perfectly balanced to harness the best qualities of oat flour, ensuring a consistently delicious result every time.
Essential Ingredients for Perfect Oat Flour Cookies
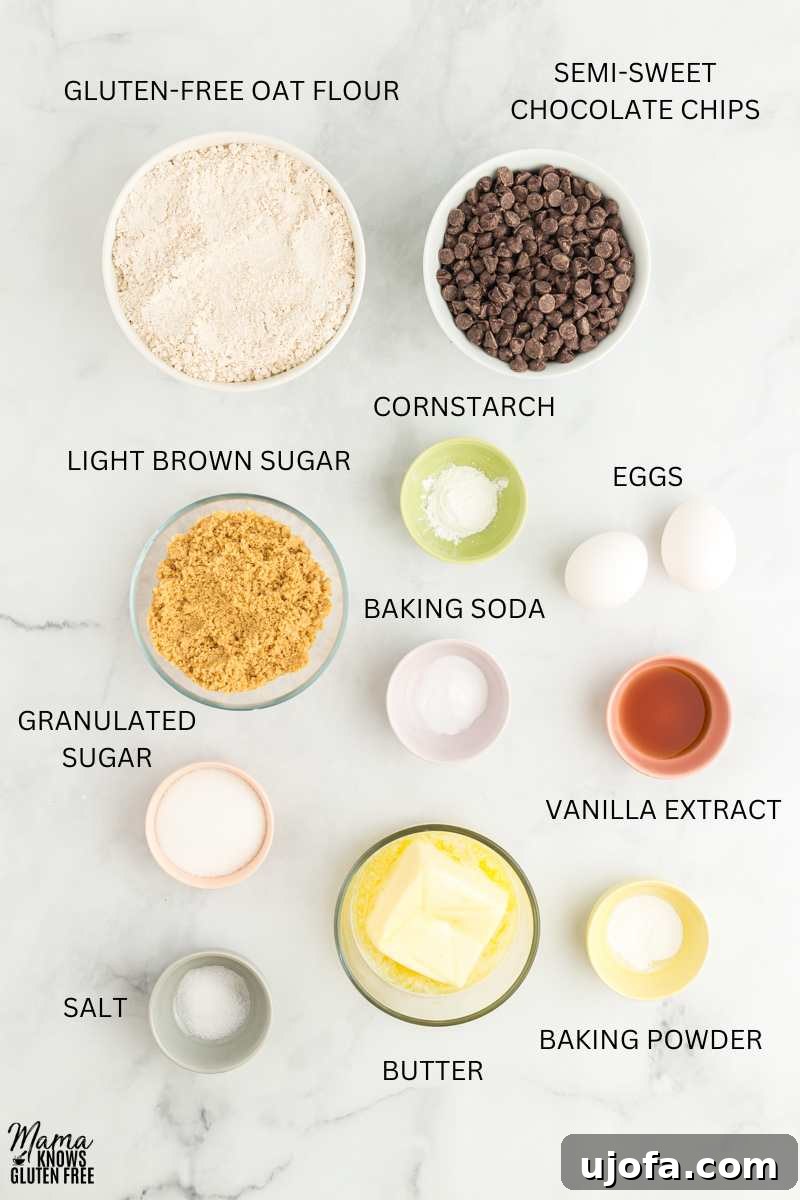
Crafting the perfect oat flour chocolate chip cookies begins with selecting the right ingredients. Each component plays a vital role in achieving that sought-after flavor and texture:
- Oat Flour: The star of our recipe! For the best results, use super fine, store-bought oat flour. Homemade oat flour can sometimes be too coarse, affecting the cookie’s texture. Crucially, always check the label to ensure it is certified gluten-free, especially if you or your guests have gluten sensitivities or celiac disease.
- Cornstarch: This seemingly small addition is key to the cookies’ soft, thick, and slightly chewy texture. It helps create a tender crumb that holds its shape beautifully.
- Baking Soda and Baking Powder: These leavening agents work in harmony to give the cookies their ideal rise, ensuring they are light and airy, not dense.
- Salt: A pinch of salt is essential. It balances the sweetness of the sugars and enhances all the other flavors, making the chocolate and oat notes pop.
- Unsalted Butter (Room Temperature): Butter is foundational for both flavor and texture. Using unsalted butter allows you to control the salt content precisely. Ensuring it’s at room temperature is crucial for proper creaming with the sugars, leading to a smooth, uniform dough and a tender cookie.
- Light Brown Sugar: This provides moisture, depth of flavor (with its molasses notes), and contributes significantly to the cookies’ characteristic chewiness and soft texture.
- Granulated Sugar: Works alongside brown sugar to add sweetness and helps with the crisp edges and spread of the cookies. The combination of both sugars creates a more complex and desirable texture.
- Eggs (Room Temperature): Eggs act as a binder, holding all the ingredients together. Using room-temperature eggs helps them emulsify better with the butter and sugar mixture, resulting in a more uniform and airy dough.
- Pure Vanilla Extract: A splash of pure vanilla extract elevates the overall flavor profile, adding warmth and depth that complements the chocolate and oat notes.
- Semi-Sweet Chocolate Chips: The ultimate indulgence! Use high-quality semi-sweet chocolate chips. Folding them in carefully ensures an even distribution, so you get a delightful burst of chocolate in every single bite.
Expert Tips for Baking the Best Oat Flour Chocolate Chip Cookies
Achieving bakery-quality oat flour chocolate chip cookies at home is entirely possible with a few key techniques and considerations:
- The Perfect Sugar Balance: The combination of both granulated and light brown sugars is non-negotiable for these cookies. Granulated sugar promotes spread and slight crispness, while light brown sugar adds moisture and that coveted chewiness. Altering this ratio will significantly change the final texture.
- Room Temperature Ingredients are Essential: This is a golden rule in baking! Softened butter creams beautifully with sugar, incorporating air for a lighter texture. Room temperature eggs emulsify much more effectively into the batter, preventing curdling and ensuring a smooth, cohesive dough. If you forget your eggs, simply place them in a bowl of warm (not hot) water for 5-10 minutes. For butter, a quick 15-30 second microwave burst (watch it carefully to avoid melting!) can do the trick.
- Do Not Overmix the Dough: Once you add the dry ingredients to the wet, mix on low speed just until everything is combined. Overmixing develops gluten (even in gluten-free flours, to some extent, or can make the flour absorb too much liquid too quickly), which can lead to tough, dry, or crumbly cookies. Stir in the chocolate chips gently by hand with a spatula.
- Chilling the Dough is Crucial: This step is vital! Chilling allows the oat flour to fully hydrate, preventing excessive spreading during baking and resulting in thicker, chewier cookies. It also gives the flavors time to meld together. Don’t skip this, even if you’re tempted!
- Bake One Tray at a Time: For consistent results, bake only one baking sheet of cookies at a time. This ensures even heat distribution, allowing each cookie to bake perfectly without hot spots or uneven cooking that can occur when multiple trays are in the oven.
- Avoid Overbaking: Oat flour cookies can trick you! They often look slightly underdone in the center when they’re actually perfectly baked. The edges should be set and lightly golden, but the centers might still appear soft. They will continue to set and firm up on the hot baking sheet after they come out of the oven. Overbaking will lead to dry, crumbly cookies.
- Even Scoops for Even Baking: Use a cookie scoop to ensure each cookie is the same size. This promotes uniform baking, so all your cookies are done at the same time and have the same delightful texture.
- The Extra Chocolate Chip Touch: For that “bakery-style” look, press a few extra chocolate chips onto the tops of the cookie dough balls before baking. This makes them look incredibly appealing right out of the oven.
Understanding Gluten-Free Oat Flour
While oats are naturally free from gluten, it’s a common misconception that all oat products are safe for a gluten-free diet. The reality is more nuanced. Many conventional oats are processed in facilities that also handle gluten-containing grains like wheat, barley, and rye. This shared processing equipment can lead to cross-contamination, making the oats unsafe for individuals with celiac disease or severe gluten sensitivity. Even in the fields, cross-contamination can occur if oats are grown near or rotated with gluten grains.
To ensure your oat flour is genuinely gluten-free, it’s paramount to look for products explicitly labeled “certified gluten-free.” This certification typically means the oats have been grown, harvested, and processed under stringent “purity protocol” standards, which are designed to prevent contamination at every stage. Opting for certified gluten-free and purity protocol oats provides the safest choice, giving you peace of mind that your delicious oat flour chocolate chip cookies are truly safe for everyone.
The Unique Flavor and Texture Profile of Oat Flour Cookies
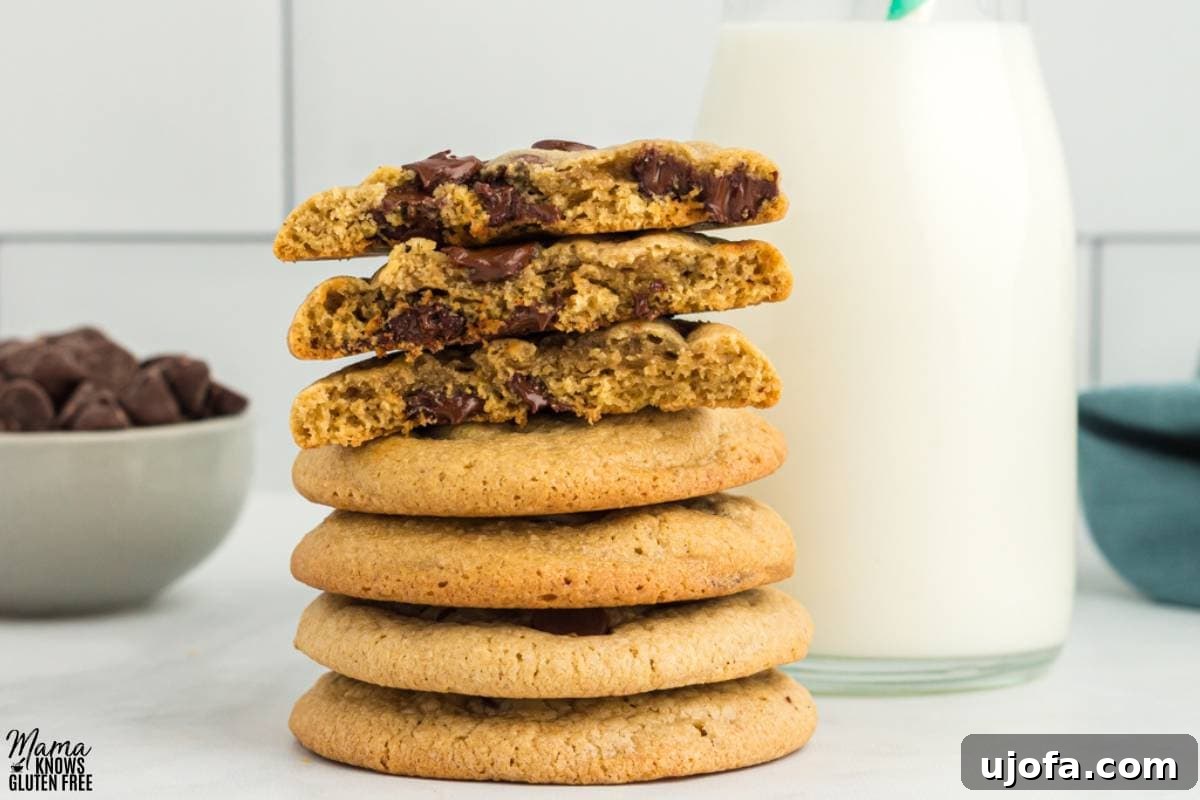
Baking with oat flour offers a distinctive sensory experience that sets these cookies apart from those made with traditional all-purpose flour. The most notable difference is the subtle yet delightful flavor profile. Oat flour imparts a gentle, earthy, and slightly sweet taste that has hints of wholesome oatmeal. This natural sweetness and nutty undertone beautifully complement the rich semi-sweet chocolate chips, creating a harmonious flavor combination that is both comforting and sophisticated.
Beyond flavor, oat flour significantly impacts the cookie’s texture. It contributes to a wonderfully chewy consistency, making each bite incredibly satisfying. The cookies are soft in the center with slightly crisp edges, a perfect balance for any cookie lover. The lighter consistency of oat flour, compared to denser wheat flours, also results in a more delicate and tender crumb. This unique blend of flavor and texture makes oat flour chocolate chip cookies a truly special treat, offering a fresh take on a beloved classic.
Can I Substitute Other Flours in This Recipe?
While it’s tempting to experiment with different flours, particularly in gluten-free baking, I strongly advise against substituting other flours in this specific oat flour recipe. Different gluten-free flours have unique properties, especially regarding their absorbency and how they interact with other ingredients. For instance, almond flour is much denser and has a higher fat content, while coconut flour is incredibly absorbent and requires significantly more liquid. Attempting a direct swap without extensive adjustments to the recipe’s ratios for liquids, fats, and binders will almost certainly lead to an undesirable outcome – think dry, crumbly, or overly dense cookies.
Instead of experimenting with substitutions here, I recommend exploring recipes specifically formulated for other gluten-free flours. For equally delicious alternatives, you might enjoy our dedicated recipes for classic gluten-free chocolate chip cookies, rich almond flour chocolate chip cookies, or uniquely textured coconut flour chocolate chip cookies. Each of these recipes is carefully balanced to bring out the best in its respective flour, ensuring a successful and tasty baking experience.
Freezing and Storing Your Oat Flour Cookie Dough and Baked Cookies
These delicious oat flour chocolate chip cookies are perfect for making ahead or enjoying over time. Proper storage ensures they retain their wonderful flavor and texture:
- To Store Baked Cookies: Allow your freshly baked oat flour chocolate chip cookies to cool completely on a wire rack before transferring them. Once fully cooled, place them in an airtight, food-safe container. They will remain wonderfully fresh and soft at room temperature for up to 5 days. For longer storage, you can freeze baked cookies for up to 2 months. To prevent them from sticking together, layer them in the container with pieces of wax paper in between. When ready to serve, simply let them thaw at room temperature.
- To Freeze Cookie Dough: Freezing cookie dough is a fantastic way to have fresh, warm cookies whenever the craving strikes! Scoop the dough into individual balls using your cookie scoop, then arrange them in a single layer on a parchment-lined baking sheet. Place the baking sheet in the freezer for about 30 minutes, or until the dough balls are firm. Once firm, transfer them to a sealed food-safe container or a freezer-safe zip-top bag. The frozen cookie dough will keep well for up to 3 months. When you’re ready to bake, you can cook them directly from frozen – just add an extra minute or two to the baking time specified in the recipe. This method is perfect for quick desserts or unexpected guests.

Frequently Asked Questions (FAQ) about Oat Flour Chocolate Chip Cookies
Here are some common questions about baking with oat flour and making these delicious chocolate chip cookies:
- Are these cookies truly gluten-free?
Yes, absolutely! As long as you use certified gluten-free oat flour. As discussed earlier, cross-contamination can be an issue with regular oats, so always look for that “certified gluten-free” label to ensure they are safe for those with celiac disease or gluten sensitivity.
- Can I use quick oats or rolled oats to make my own oat flour?
While you technically *can* make your own oat flour by blending rolled oats, for this particular recipe, we highly recommend using store-bought super fine oat flour. Homemade oat flour can often be too coarse, which might affect the delicate texture and chewiness of these cookies. The finer grind of commercial oat flour produces the best results.
- What if my dough is too sticky or too dry?
If your dough is too sticky, it might be due to variations in measuring ingredients (especially flour) or humidity. Try adding a tablespoon or two more oat flour until it reaches a manageable consistency. If it’s too dry and crumbly, it might indicate over-measuring flour or under-mixing. You can try adding a tiny bit more melted butter or a teaspoon of milk (dairy or non-dairy) to bring it together. Remember, chilling the dough also helps firm it up if it feels a little sticky.
- Can I make these dairy-free?
Yes, you can! To make these cookies dairy-free, simply substitute the unsalted butter with your favorite plant-based butter alternative. Make sure it’s a good quality, stick-style plant butter for baking, as some softer varieties can alter the cookie’s texture. The rest of the ingredients are naturally dairy-free (just double-check your chocolate chips).
- How do I get perfectly round cookies?
Using a cookie scoop is the first step for uniform size. After scooping, gently roll the dough balls between your palms to smooth them out before chilling and baking. For an extra boost after baking, if a cookie comes out with irregular edges, you can take a large, round cookie cutter (or the rim of a glass) slightly larger than the cookie and swirl it around the hot cookie on the baking sheet to gently push the edges into a perfect circle. Do this immediately after taking them out of the oven.
More Gluten-Free Cookie Recipes to Explore!
If you love these oat flour chocolate chip cookies, you’ll be thrilled to discover more delicious gluten-free options that are perfect for any occasion:
- Gluten-Free Monster Cookies
- Gluten-Free No-Bake Cookies
- Gluten-Free Snickerdoodle Cookies
- Gluten-Free Peanut Butter Oatmeal Cookies
- Gluten-Free Oatmeal Cookies
The Complete Oat Flour Chocolate Chip Cookie Recipe
Oat Flour Chocolate Chip Cookies
These homemade oat flour chocolate chip cookies offer the perfect combination of sweet and chewy textures. They’re not only incredibly easy to make but also a fantastic gluten-free and nut-free option for everyone to enjoy!
Yields: 42 cookies
Prep time: 15 minutes
Cook time: 14 minutes
Chilling time: 1 hour 15 minutes
Total time: 1 hour 44 minutes
Cuisine: American
Course: Dessert
Ingredients
- 3½ cups super fine oat flour (ensure certified gluten-free)
- 1 teaspoon cornstarch
- 1 teaspoon baking soda
- ½ teaspoon baking powder
- ½ teaspoon salt
- ¾ cup unsalted butter, room temperature
- ¾ cup light brown sugar, packed
- ¼ cup granulated sugar
- 2 large eggs, room temperature
- 2 teaspoons pure vanilla extract
- 2 cups semi-sweet chocolate chips, divided
Instructions
- Line a large baking sheet with parchment paper and set aside.
- In a medium bowl, whisk together the oat flour, cornstarch, baking soda, baking powder, and salt until well combined.
- In a separate large bowl, using an electric mixer, beat together the room temperature butter, light brown sugar, and granulated sugar on high speed for about 1 minute, until light and creamy.
- Add the room temperature eggs and pure vanilla extract to the butter mixture. Beat on high speed for another minute until the mixture is fluffy and well incorporated.
- Reduce mixer speed to low. Gradually add the dry ingredients to the wet ingredients, beating just until combined. Be careful not to overmix, as this can result in dry and flat cookies.
- Using a spatula, gently fold in 1¾ cups of the semi-sweet chocolate chips. Reserve the remaining ¼ cup for later use.
- Cover the bowl with plastic wrap and place the cookie dough in the refrigerator to chill for 1 hour. This step is essential for cookie structure and preventing excessive spreading.
- After chilling, use a 2-tablespoon sized cookie scoop to portion out cookie dough balls. Place them on the parchment-lined baking sheet, ensuring they are close but not touching.
- Gently roll each cookie dough ball with your hands until smooth. If the dough is sticky, lightly spray your hands with non-stick cooking spray.
- Press a few of the reserved ¼ cup chocolate chips onto the top of each cookie dough ball for a bakery-style finish.
- Place the tray of raw cookies into the freezer for 15 minutes before baking. This extra chill helps maintain shape and texture.
- Preheat your oven to 350°F (175°C).
- Line a second baking sheet with parchment paper. Arrange the chilled cookie dough balls at least 2 inches apart on this new baking sheet. (You will likely need to bake in batches).
- Bake the cookies for 14 minutes, baking one tray at a time for even cooking. Keep any unbaked dough in the freezer until ready for its turn.
- Upon removing from the oven, let the cookies rest on the hot baking sheet for at least 10 minutes. This allows them to finish baking and firm up. Afterward, transfer them to a wire rack to cool completely.
- Repeat the baking steps for any remaining cookie dough in the freezer.
Notes
- To store: Once completely cooled, transfer cookies to an airtight container. They will stay fresh at room temperature for up to 5 days.
- To freeze: Scoop dough into balls and freeze on a parchment-lined sheet for 30 minutes until firm. Transfer to a sealed container or zip-top bag for up to 3 months. Bake from frozen, adding an extra 1-2 minutes to cook time.
- Always double-check labels for “certified gluten-free” on oat flour and other ingredients, especially if catering to strict dietary needs.
Nutrition Information (Approximate Per Serving)
Serving Size: 1 cookie
Calories: 143 kcal
Carbohydrates: 16 g
Protein: 2 g
Fat: 8 g
Saturated Fat: 4 g
Polyunsaturated Fat: 1 g
Monounsaturated Fat: 2 g
Trans Fat: 0.1 g
Cholesterol: 18 mg
Sodium: 62 mg
Potassium: 100 mg
Fiber: 1 g
Sugar: 8 g
Vitamin A: 118 IU
Calcium: 18 mg
Iron: 1 mg
Nutrition information is automatically calculated and should be used as an approximation.
How to Make Oat Flour Chocolate Chip Cookies Step-by-Step
Follow these visual steps to effortlessly create your perfect batch of oat flour chocolate chip cookies:
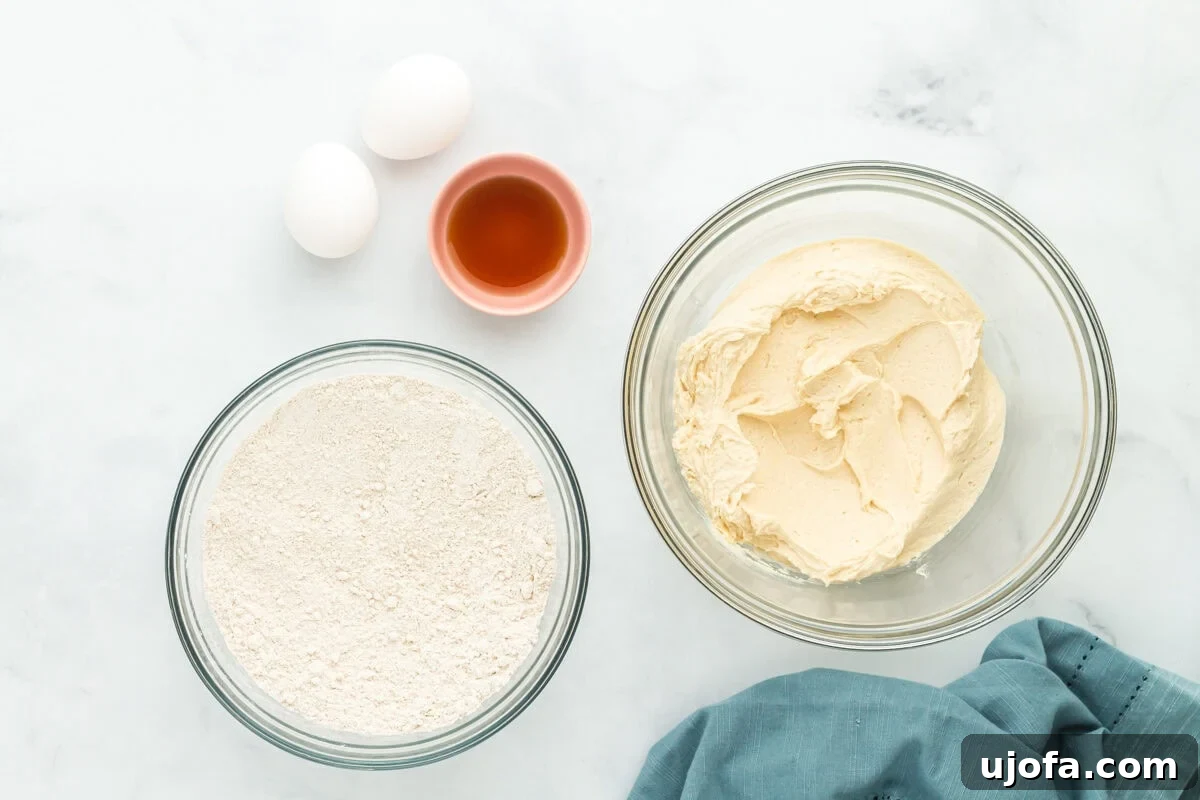
Begin by preparing your workspace. Line a large baking sheet with parchment paper and set it aside. In a medium bowl, thoroughly whisk together the dry ingredients: 3½ cups of super fine oat flour, 1 teaspoon of cornstarch, 1 teaspoon of baking soda, ½ teaspoon of baking powder, and ½ teaspoon of salt. In a separate, larger bowl, cream together ¾ cup of softened unsalted butter, ¾ cup of packed light brown sugar, and ¼ cup of granulated sugar on high speed for approximately 1 minute, until the mixture is light and fluffy.
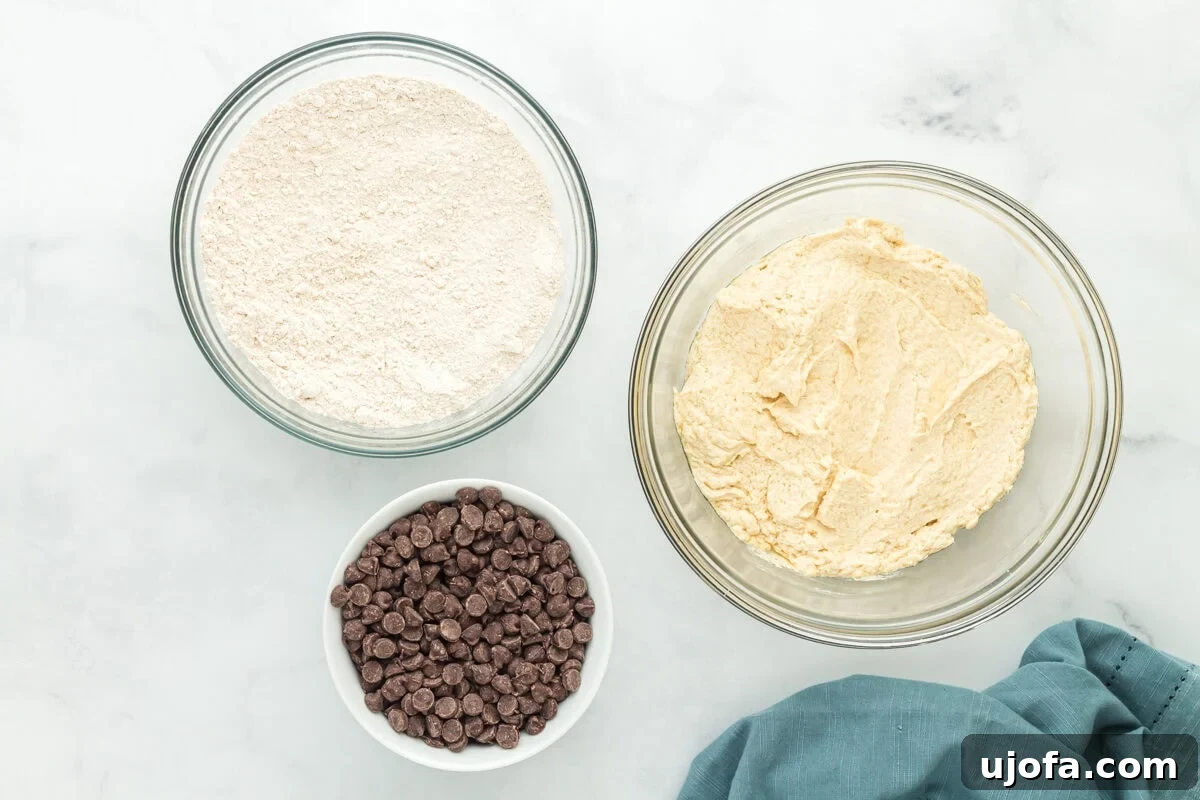
Next, introduce the binding agents and flavor enhancer. Beat 2 large room-temperature eggs and 2 teaspoons of pure vanilla extract into the creamed butter and sugar mixture. Continue beating on high speed for about 1 minute, ensuring everything is well combined and the mixture becomes notably fluffy.
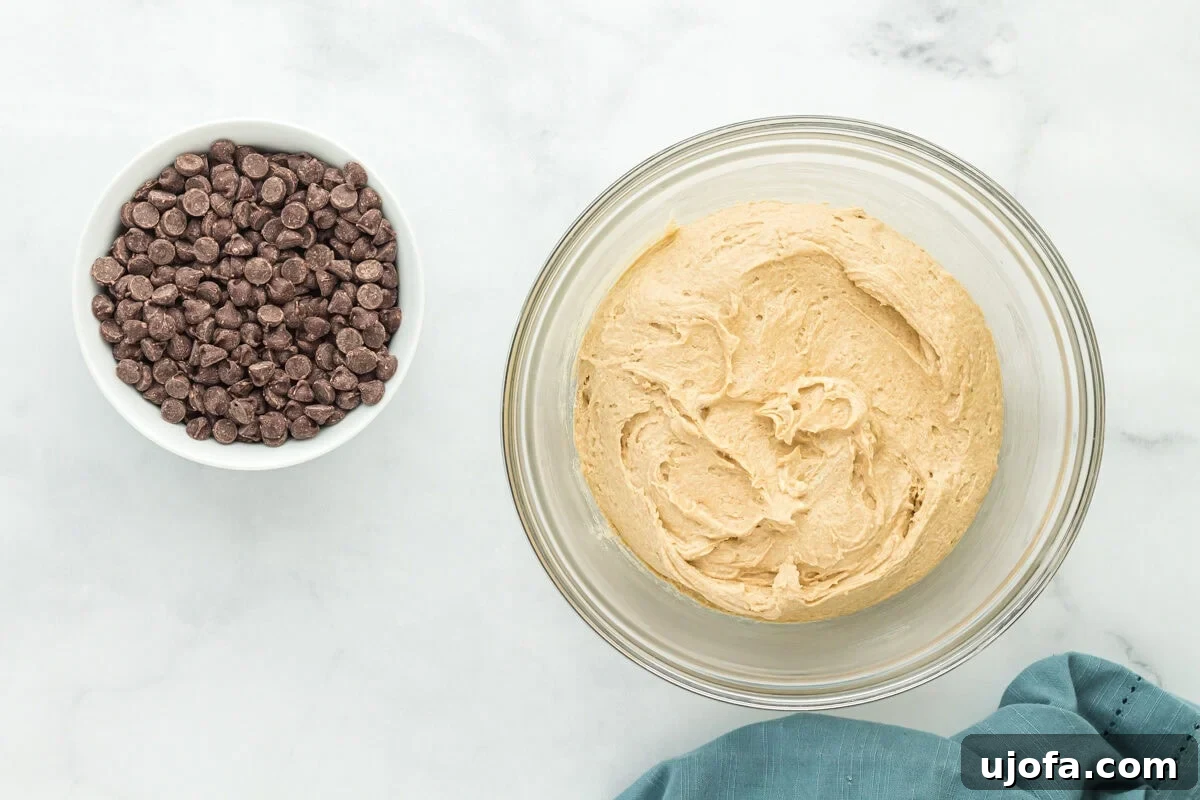
Now, it’s time to bring the wet and dry ingredients together. Reduce the mixer speed to low and gradually add the whisked dry ingredients into the wet mixture. Mix just until everything is combined and no streaks of dry flour remain. Be cautious not to overmix, as this can compromise the tender texture of your cookies, making them dry and potentially flat.
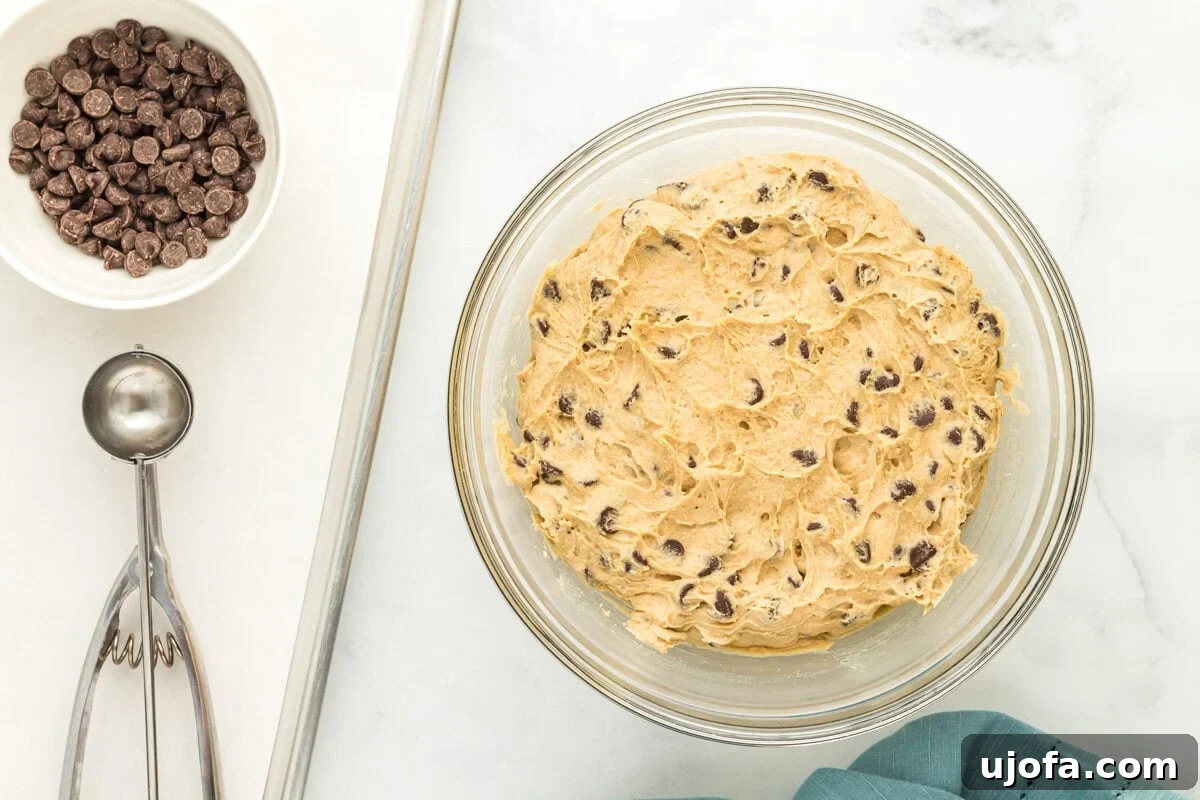
The star ingredient awaits! Use a sturdy spatula to gently stir in 1¾ cups of the semi-sweet chocolate chips into the dough. Set the remaining ¼ cup of chocolate chips aside for a finishing touch. Once the chips are evenly distributed, cover the bowl tightly with plastic wrap and place the cookie dough into the refrigerator for at least 1 hour to chill. This crucial step helps the flavors meld and the cookies hold their shape during baking.
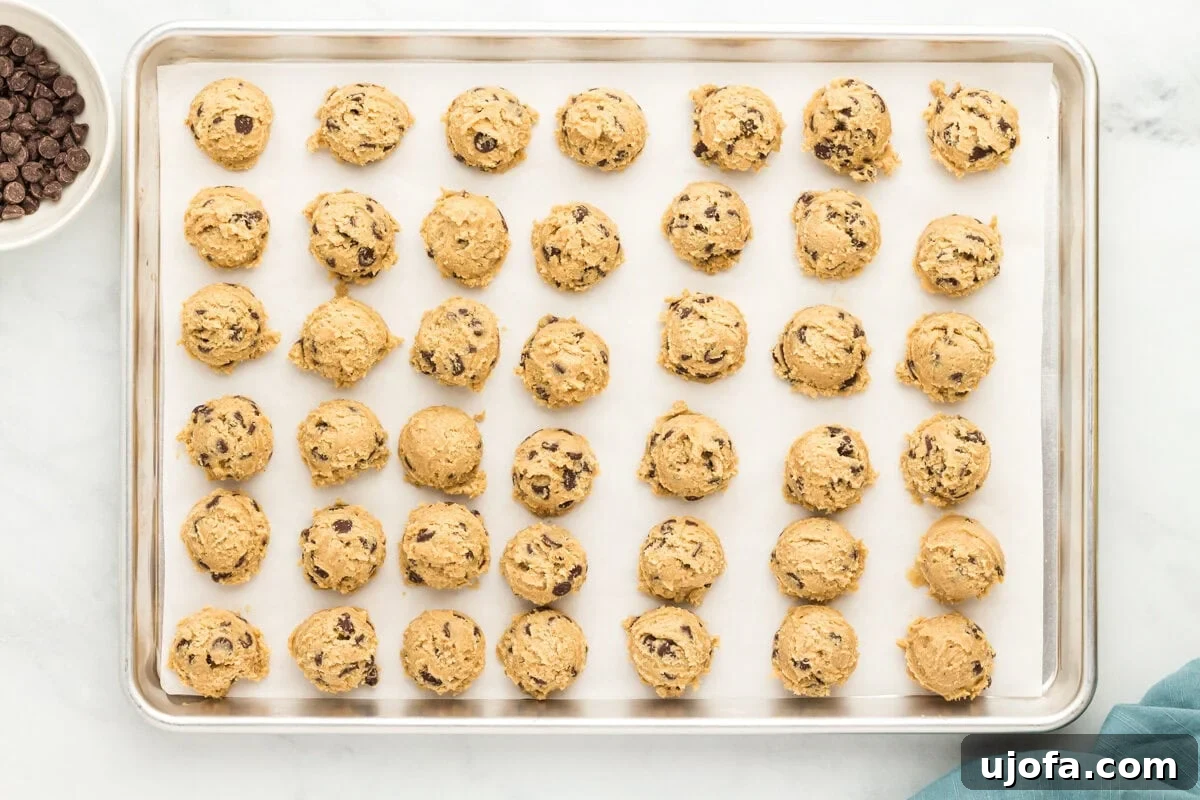
After the dough has chilled, it’s time to portion it. Use a 2-tablespoon sized cookie scoop to create uniform balls of cookie dough. Place these dough balls onto your parchment-lined baking sheet. For now, they can be placed relatively close to each other, but ensure they are not touching. This is the pre-bake chilling setup.
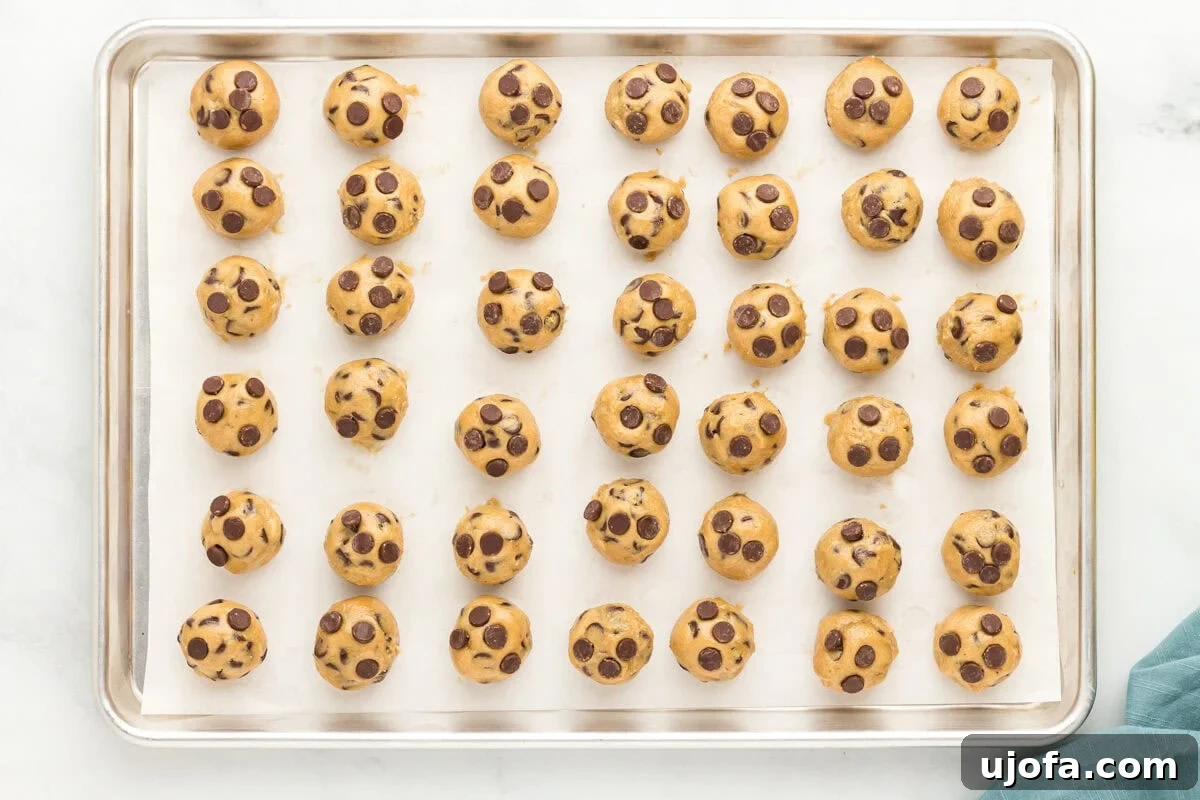
For perfectly shaped cookies, gently roll each scoop of cookie dough between your hands until it’s smooth and round. If the dough feels a bit sticky, a light spray of non-stick cooking spray on your hands can help. Then, press a few of the reserved ¼ cup of chocolate chips into the top of each dough ball. This creates that desirable bakery-style appearance. Transfer the baking sheet with these prepared raw cookies to the freezer for an additional 15 minutes before baking. This extra chill helps them hold their form even better in the oven.

While the cookies are in their final chill, preheat your oven to 350°F (175°C). Prepare a second baking sheet by lining it with fresh parchment paper. Carefully transfer the frozen cookie dough balls to this new baking sheet, ensuring they are spaced at least 2 inches apart. It’s important to give them enough room to spread without touching. You will likely not be able to bake all the cookies on one tray, so plan for multiple batches.
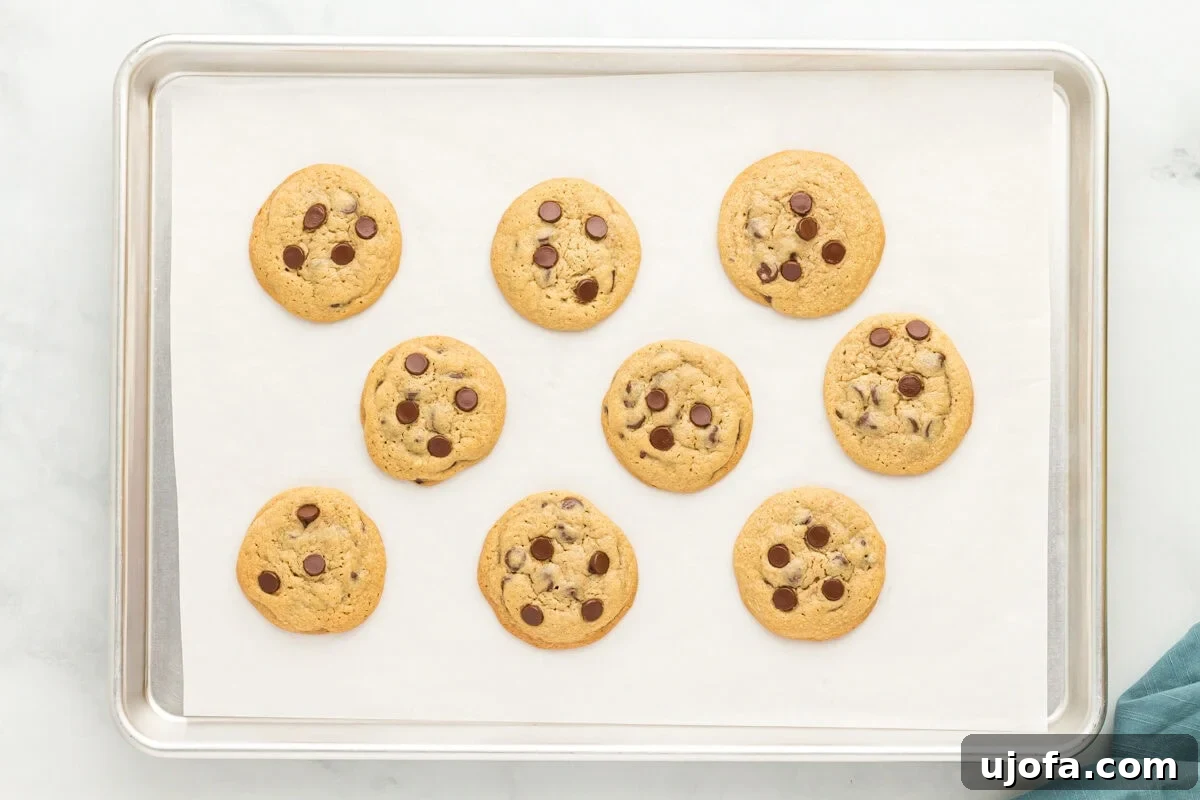
Bake the cookies for precisely 14 minutes. Remember to bake only one tray of cookies at a time to ensure even cooking. Keep any remaining unbaked cookie dough in the freezer until you are ready to bake the next batch. Once baked, let the cookies cool and set on the hot baking sheet for at least 10 minutes. This allows them to continue cooking slightly and firm up, developing that perfect chewy texture. Finally, transfer them to a wire rack to cool completely before indulging. Repeat these baking steps for all remaining cookie dough.