
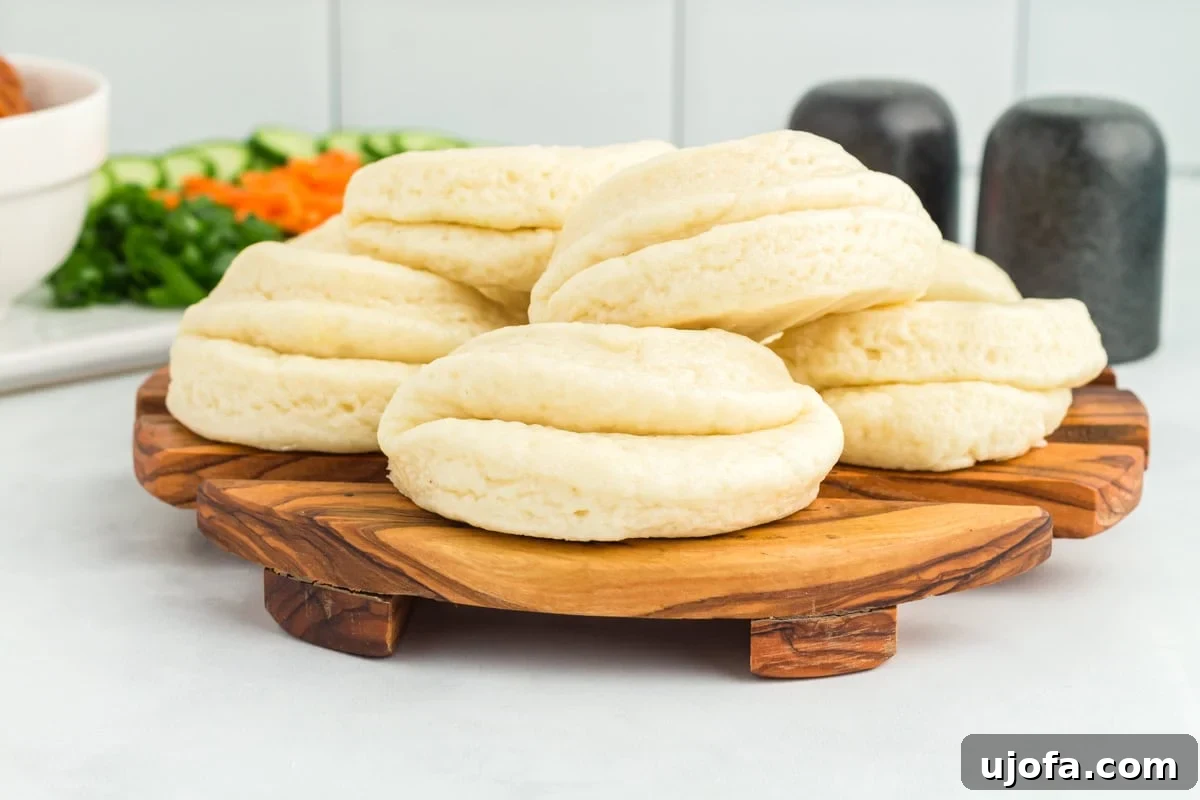
Warm, pillowy, and delicately sweet, gluten-free bao buns are a culinary delight, perfectly designed to cradle your favorite savory fillings. For anyone who cherishes the authentic taste and texture of traditional Chinese steamed buns but navigates a gluten-free lifestyle, this recipe is nothing short of a revelation. These aren’t just an alternative; they are the true essence of classic bao, reimagined without gluten, promising that unmistakable fluffy bite and comforting aroma.
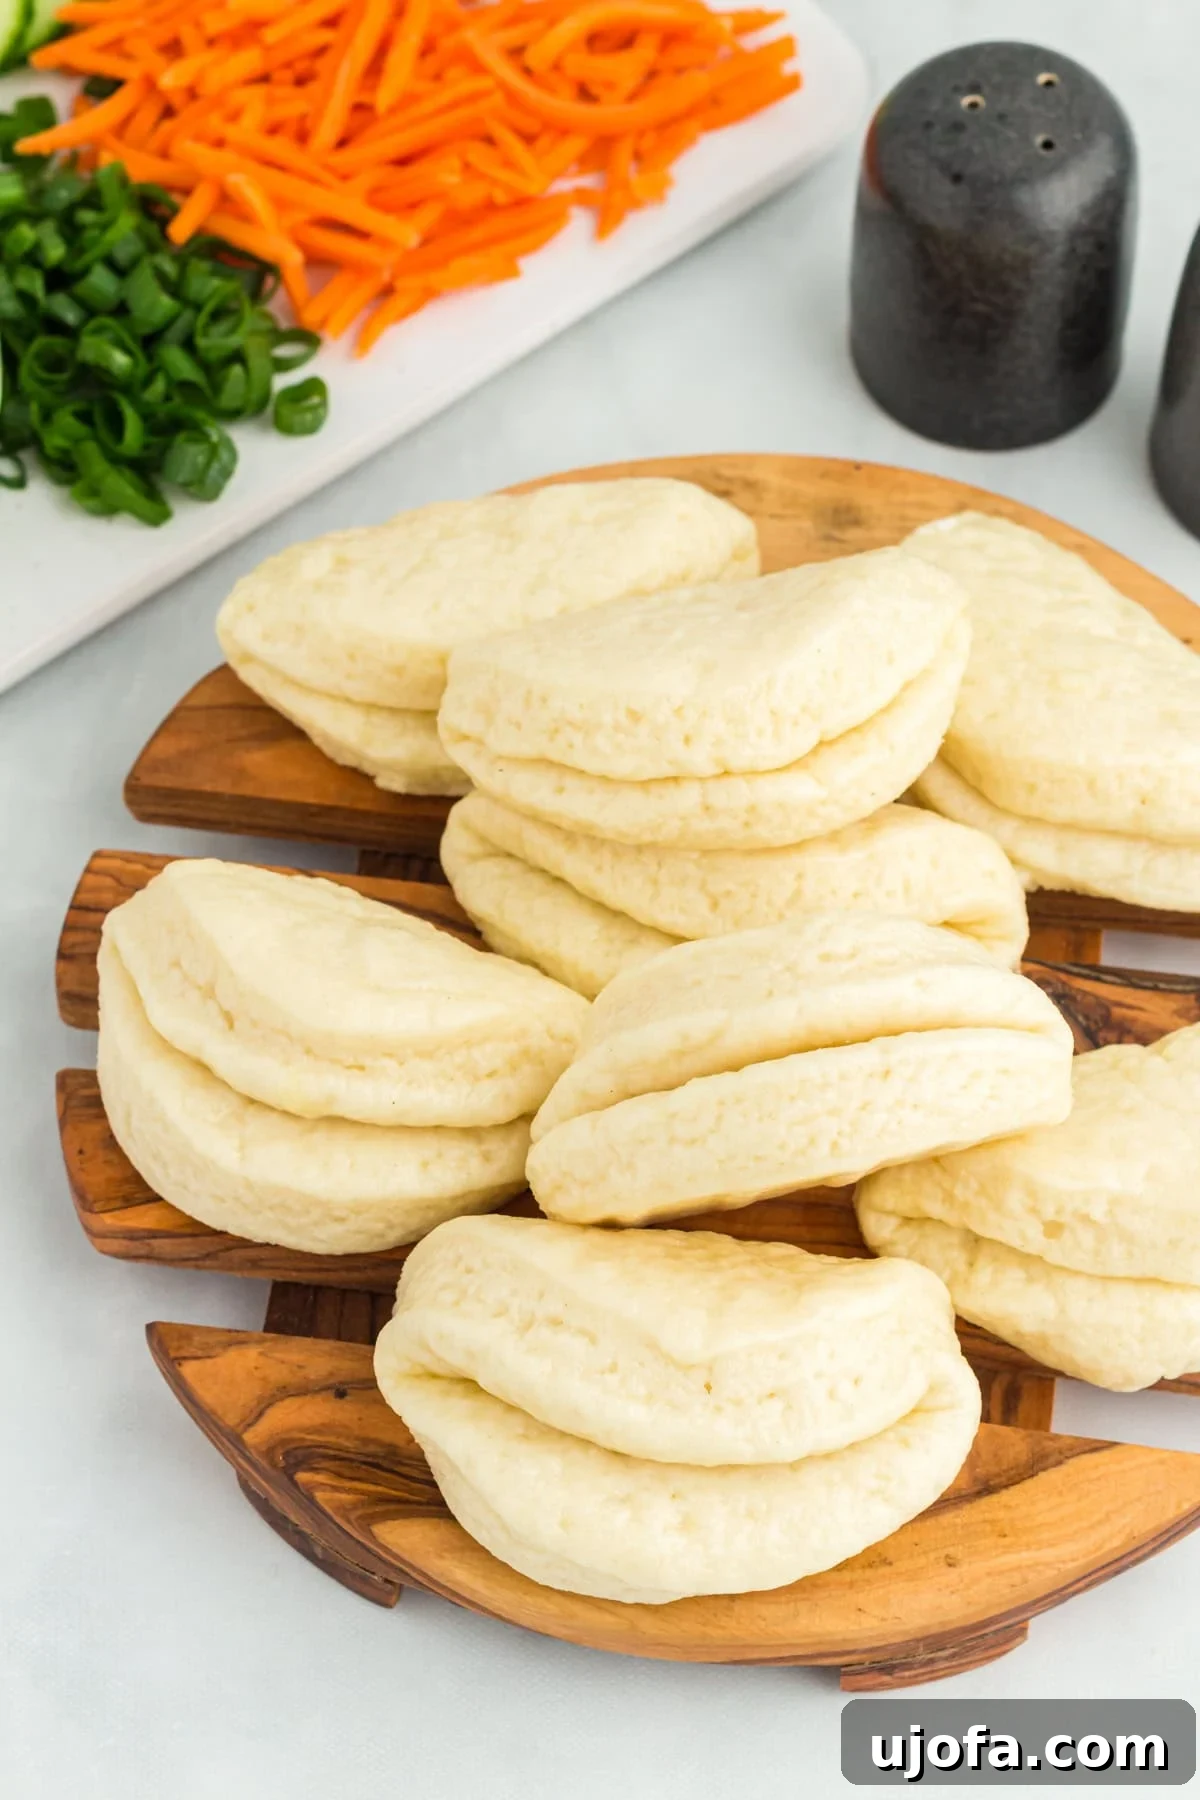
Mastering the Gluten-Free Bao Bun Recipe
Bao buns, with their distinctively sweeter dough compared to most dumpling wrappers, are the ultimate edible pouches for an array of rich, savory, and often spicy fillings. As a devoted dim sum enthusiast, embracing a gluten-free diet presented a significant challenge. The joy of indulging in beloved Asian dishes, especially those often reliant on wheat-based soy sauce, became a rare treat. This struggle sparked a mission: to create a homemade gluten-free bao bun recipe that not only met but exceeded expectations, allowing me to savor my cravings right in my own kitchen.
After a dedicated journey of experimentation, meticulous adjustments, and a few delicious trials (and errors!), I am thrilled to present a perfected recipe. This culinary achievement hinges on a precise blend of gluten-free flour and active dry yeast, working in harmony to yield that signature light, airy, and wonderfully fluffy texture essential to an authentic bao bun. The best part? This recipe is incredibly straightforward, utilizing ingredients that are likely already staples in your pantry if you’re on a similar gluten-free culinary adventure.
Beyond simply replicating the texture, this recipe also focuses on achieving the balanced flavor profile of traditional bao. The slight sweetness of the dough is crucial, providing a perfect counterpoint to the robust, umami-packed fillings it will eventually hold. Imagine biting into a cloud-like bun, giving way to succulent pork belly, tender chicken, or flavorful tofu, all encased in a homemade wrapper that rivals its gluten-containing counterparts. This recipe isn’t just about making bao; it’s about reclaiming a beloved culinary experience for the gluten-free community.
Crafting these buns at home offers not only the satisfaction of a delicious meal but also complete control over the ingredients, ensuring they are entirely safe and tailored to your dietary needs. Say goodbye to the endless search for gluten-free Asian restaurants and hello to a kitchen filled with the delightful aroma of freshly steamed bao. This recipe transforms what might seem like a daunting task into an enjoyable and rewarding baking experience, culminating in delectable buns that are sure to impress both gluten-free and gluten-loving diners alike.
Essential Ingredients for Fluffy Gluten-Free Bao Buns
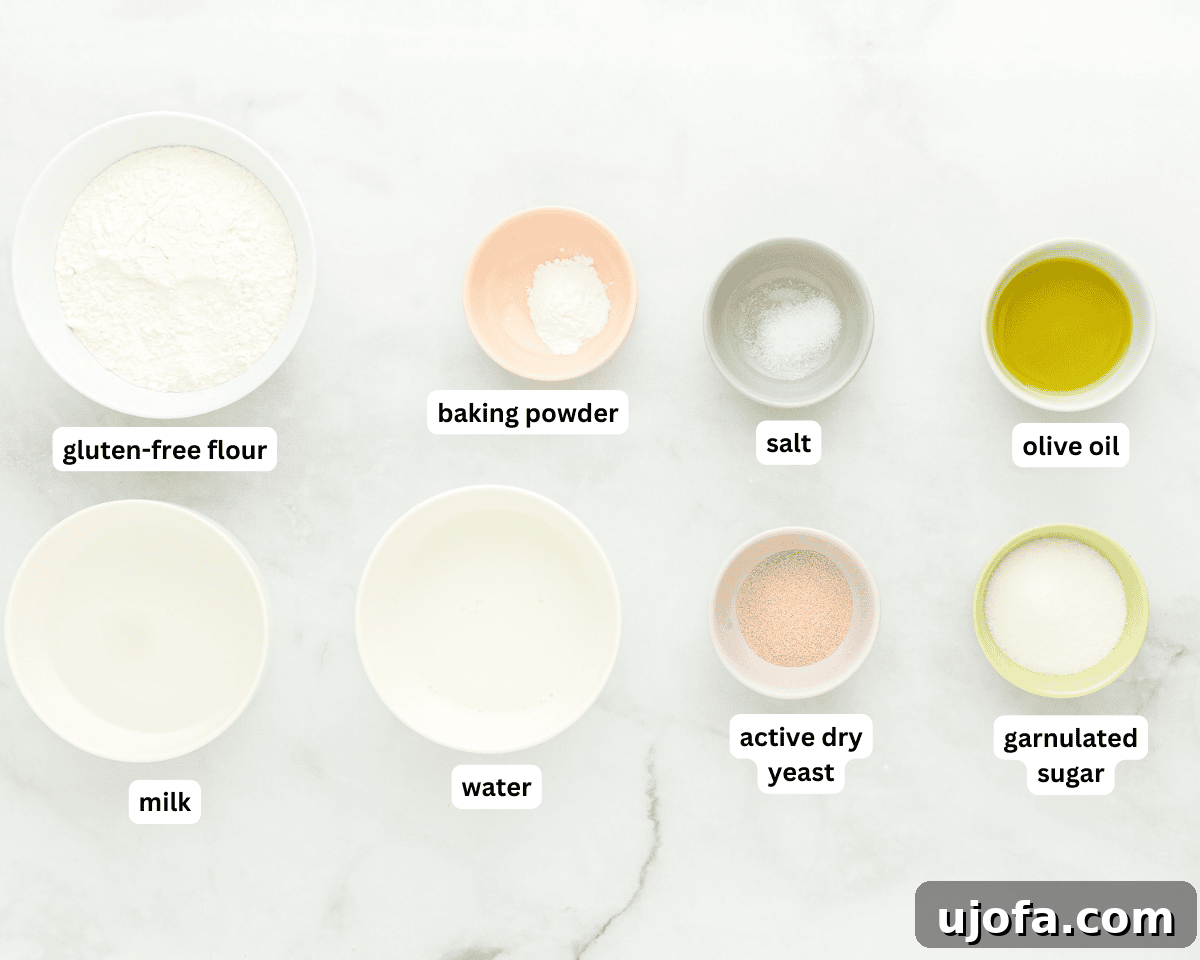
Creating perfect gluten-free bao buns starts with understanding the role of each ingredient. Here’s a breakdown of what you’ll need and why it’s crucial for achieving that authentic, fluffy texture:
- Warm Water and Milk: These liquids are the foundation for activating your active dry yeast. Maintaining the correct temperature (between 100-110°F or 38-43°C) is paramount. Water provides hydration, while milk contributes richness and helps achieve a tender crumb and a beautiful pale color in the final steamed bun. Too hot, and you risk killing the yeast; too cold, and it won’t activate properly, resulting in a dense dough.
- Granulated Sugar: More than just a sweetener, sugar serves as the primary food source for the yeast, fueling its activity and ensuring a robust rise. It also imparts the characteristic subtle sweetness to the bao dough, which beautifully balances savory fillings, and aids in creating a slightly more tender texture.
- Active Dry Yeast: This is the leavening agent responsible for the bao buns’ light and airy structure. While active dry yeast requires initial activation, you can also use fast-rising or instant yeast, which often blend directly into dry ingredients without proofing. Always double-check the expiration date to ensure your yeast is potent and active.
- Gluten-Free All-Purpose Flour: The star of our gluten-free adaptation. The quality and blend of your gluten-free all-purpose flour are critical. I’ve had excellent results with Cup4Cup, which is known for its balanced blend and inclusion of binders. Different brands can yield varying results, so consider a reputable, high-quality blend specifically designed for baking. For best results, measure your flour by weight using a food scale, as volumetric measurements can vary significantly, impacting the dough’s consistency.
- Xanthan Gum: This is a vital gluten replacement in gluten-free baking, acting as a binder and providing elasticity that gluten-free flours naturally lack. It helps prevent the dough from becoming crumbly and gives it the necessary structure to rise and hold its shape. You can omit this if your chosen gluten-free flour blend already contains xanthan gum or another similar binder.
- Baking Powder: While yeast provides the primary rise, baking powder acts as a secondary leavening agent. It provides an extra boost, helping the dough puff up even further during steaming, contributing to an incredibly light and fluffy texture, which is a hallmark of perfectly steamed bao.
- Salt: A seemingly small but mighty ingredient, salt plays several crucial roles. It enhances the natural flavors of all the other ingredients, balances the sweetness of the sugar, and most importantly, helps regulate yeast activity, preventing the dough from over-proofing too quickly. In gluten-free baking, it also contributes to the overall strength and structure of the dough.
- Olive Oil: Used to lightly brush the dough circles before folding, olive oil is essential for two reasons. Firstly, it locks in moisture, preventing the buns from drying out during proofing and steaming. Secondly, it acts as a barrier, stopping the folded sides of the bun from sticking together, ensuring they open beautifully to receive your fillings. Avocado oil is a suitable alternative for its neutral flavor and high smoke point.
Expert Tips for Perfect Gluten-Free Bao Buns
Achieving perfectly tender and fluffy gluten-free bao buns is an art, but with these expert tips, you’ll master the technique in no time. Paying attention to these details will ensure your homemade bao are a resounding success:
- Dough Shaping Technique: When you’re ready to shape your dough circles, resist the urge to simply press them flat and fold. Instead, try a gentle stretching and folding motion. Imagine gently pulling the edges of the dough outwards and then folding it over. This technique helps to create a smoother surface on your buns, reduces the likelihood of cracks, and promotes a more even, tender texture throughout the final product. It also helps align the dough’s structure for a better rise.
- Optimal Steaming Environment: The key to beautifully steamed bao is indeed *steam*, not boiling. Ensure that the water level in your wok or frying pan remains well below the bottom of your steamer basket. The buns should never be submerged or even touch the water. The gentle, consistent heat from the steam is what cooks them to perfection, giving them their signature soft and slightly moist exterior. Regularly check the water level during steaming, especially for longer cooking times, and replenish with warm water as needed to maintain a constant steam.
- Patience with the Steamer Lid: It can be tempting to peek, but avoid lifting the steamer lid before the recommended 12 minutes of steaming time has elapsed. Opening the lid prematurely causes a rapid drop in temperature and steam pressure, which can lead to the buns deflating or becoming dense. For a slightly firmer bao, if that’s your preference, simply turn off the heat after 12 minutes and allow the buns to rest, covered, for an additional 1-2 minutes before carefully removing the lid. This allows them to set fully.
- Precise Yeast Activation Temperature: The temperature of your warm water and milk mixture (100-110°F or 38-43°C) is critical for yeast activation. Water that’s too hot will kill the yeast, preventing any rise, while water that’s too cool won’t activate it sufficiently, leading to a slow or weak rise. If you don’t have a kitchen thermometer, test the temperature with your finger: it should feel pleasantly warm, like a comfortable bath, not hot or scalding. When you add the yeast, it should start to bloom and form a foamy layer on top within 5-10 minutes, indicating it’s active.
- Mindful Mixing of Gluten-Free Doughs: Gluten-free doughs inherently behave differently than their wheat-based counterparts. They are typically stickier and lack the elastic network of gluten. While you want to mix until the ingredients are well combined and the dough starts to pull away from the sides of the bowl, avoid overmixing. Excessive mixing can lead to tough, rubbery bao buns, even in gluten-free recipes. Mix just enough to achieve a uniform consistency and no longer.
- Verify Yeast Freshness: An often-overlooked step, but vital for successful baking: always check the expiration date on your yeast package before you begin. Expired or inactive yeast is the most common reason for dough failing to rise. If you’re unsure, you can perform a quick proofing test by mixing a small amount of yeast with warm water and a pinch of sugar; if it bubbles and foams, it’s good to go.
- Accurate Flour Measurement is Key: In gluten-free baking, precision is paramount, especially when it comes to flour. I cannot stress enough the importance of using a food scale to measure your gluten-free all-purpose flour by weight (grams). Measuring by volume (cups) can be highly inaccurate, as flour compacts differently. Too much flour will result in a dry, crumbly dough that’s difficult to work with and yields tough buns. Conversely, too little flour will make the dough excessively sticky and challenging to handle, leading to flat or collapsed bao. Consistent measurement ensures consistent results every time.
Delightful Serving Suggestions for Your Gluten-Free Bao Buns
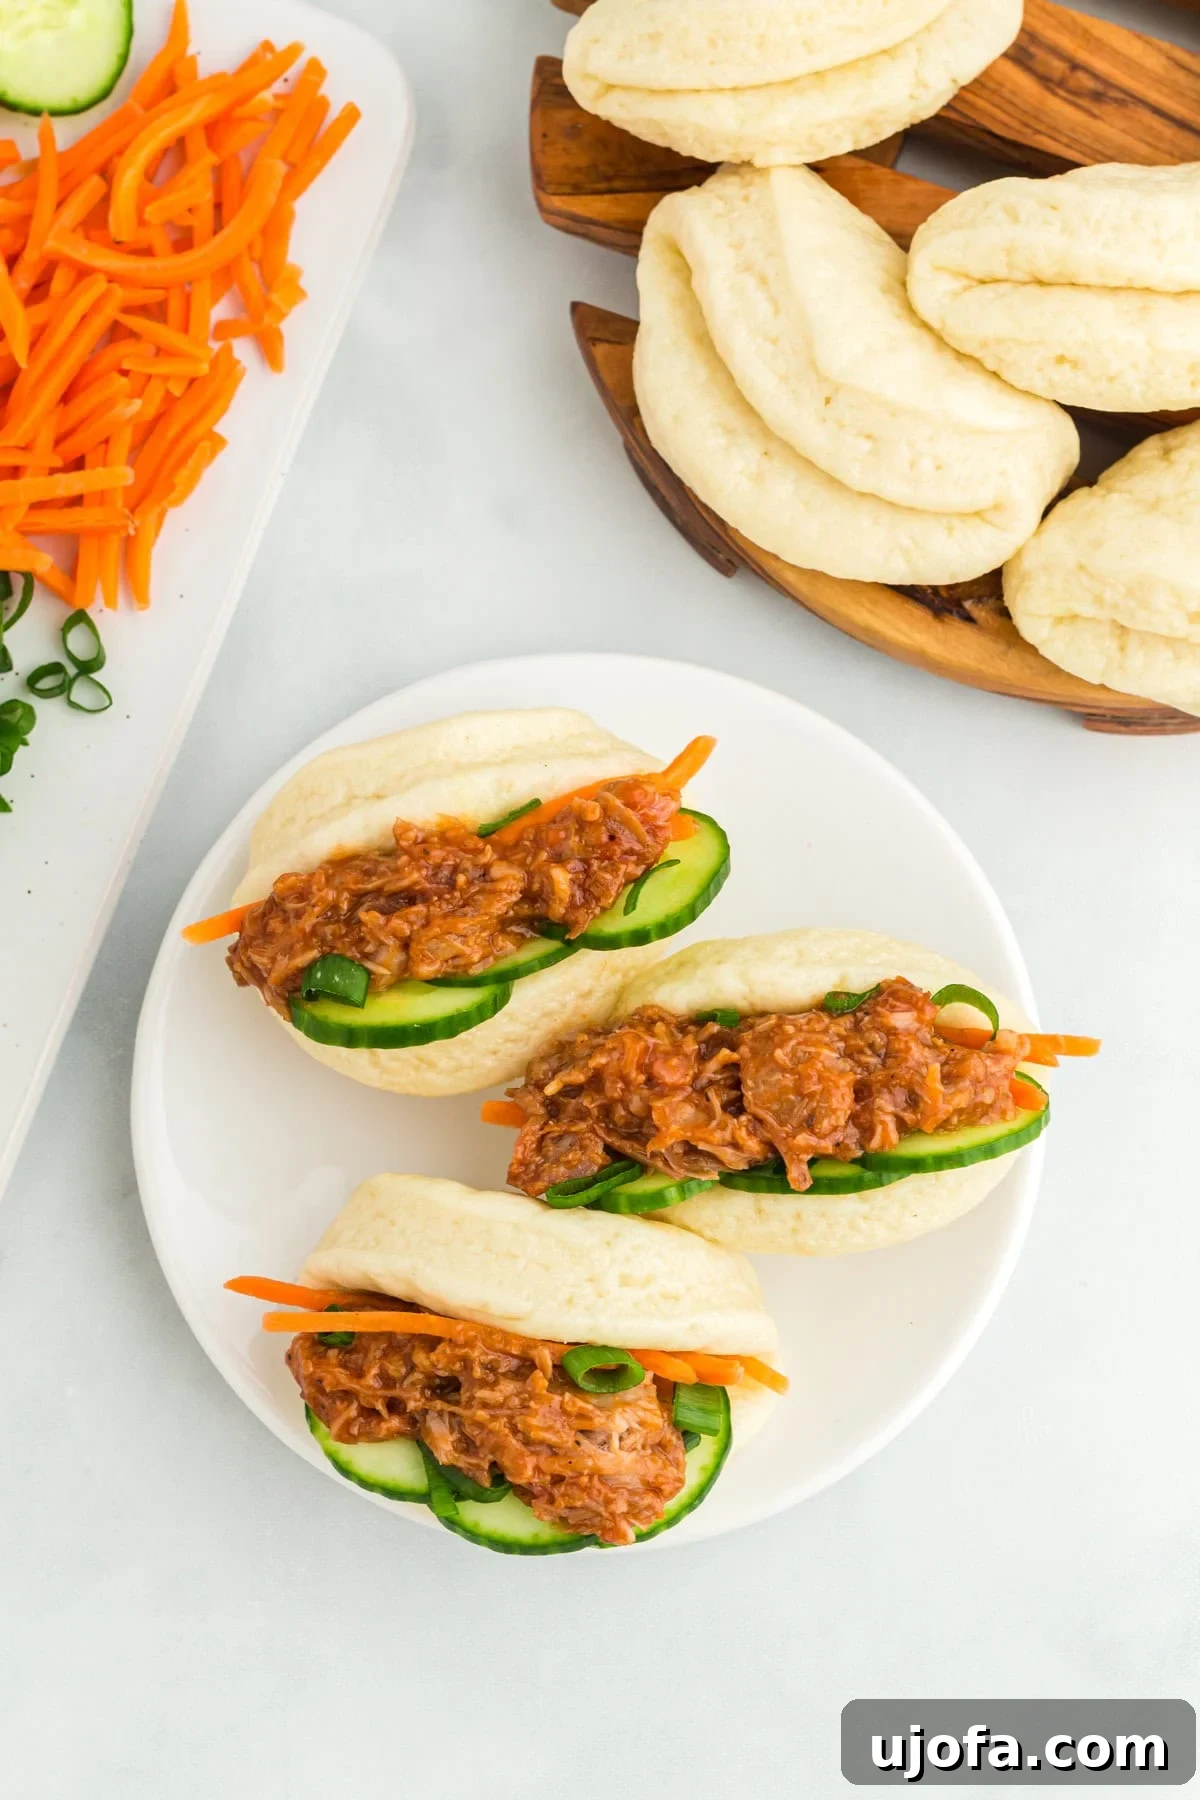
These warm, fluffy gluten-free bao buns are incredibly versatile and serve as the perfect canvas for a wide array of delicious fillings and accompaniments. Whether you’re planning a light appetizer spread or a hearty meal, there’s a serving suggestion to suit every palate.
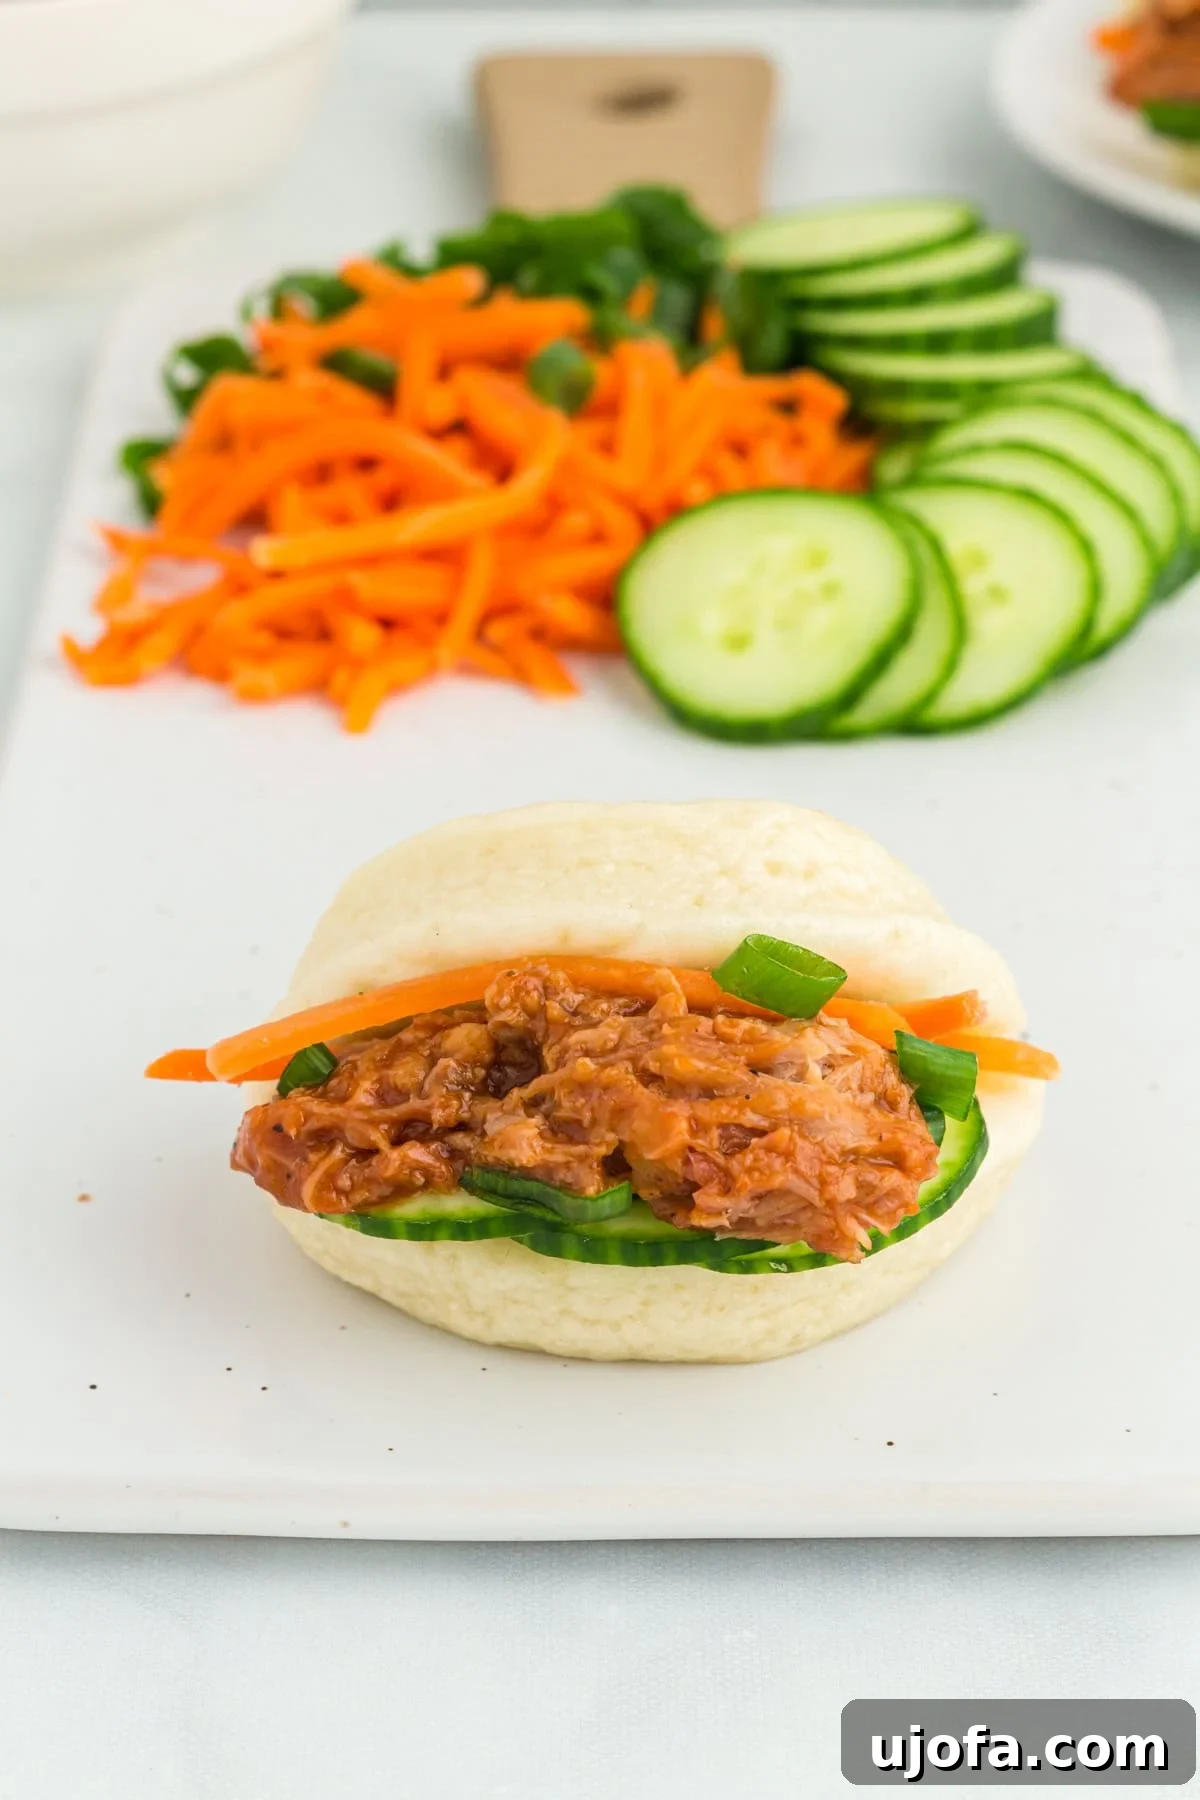
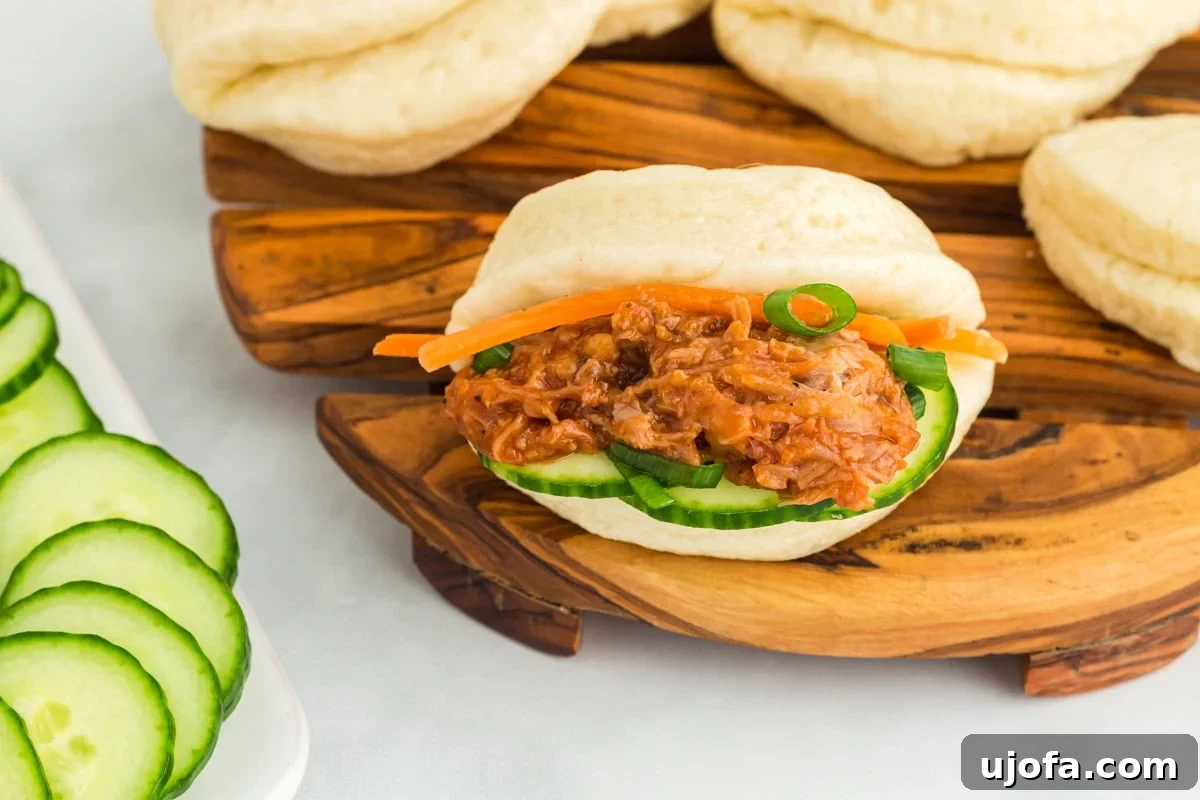
For meat lovers, these bao buns pair exquisitely with richly flavored proteins. My personal favorites include tender apricot chicken, which offers a delightful sweet and tangy contrast, or succulent chicken tossed in a homemade teriyaki sauce for an authentic Asian flair. Crispy pork belly or shredded slow-cooked pork also make phenomenal fillings, providing a satisfying texture and deep savory notes.
If you’re looking for vegetarian options, these buns are equally adaptable. Marinated and pan-seared tofu, infused with soy-free tamari and ginger, creates a protein-rich and flavorful filling. Alternatively, roasted or lightly steamed cauliflower florets, tossed in a spicy peanut sauce or a sweet chili glaze, offer a wonderful texture and absorb flavors beautifully. You could also explore mushroom-based fillings, utilizing sautéed shiitake or oyster mushrooms seasoned with garlic and a hint of sesame oil.
No bao bun experience is complete without fresh, vibrant garnishes. I always recommend adding thinly sliced cucumbers and finely shredded carrots for a refreshing crunch and a burst of color. A sprinkle of fresh cilantro not only adds a beautiful aromatic touch but also brightens the overall flavor profile. For an extra layer of flavor and a gentle kick, consider adding thinly sliced green onions or a drizzle of sriracha mayo or a sesame-ginger dressing. Don’t hesitate to get creative with your toppings – pickled daikon, crushed peanuts, or even a dash of chili oil can elevate your bao buns to gourmet status.
Serve them as a sophisticated appetizer at your next gathering, where guests can assemble their own, or create a complete meal by accompanying them with a side salad or a light soup. The possibilities are endless when it comes to enjoying these incredible gluten-free bao buns!
Storing and Reheating Your Gluten-Free Bao Buns
Proper storage is essential to maintain the delicate texture and freshness of your homemade gluten-free bao buns, ensuring you can enjoy them for days to come. Once your buns have cooled completely to room temperature, prevent them from drying out or sticking together with these simple steps:
Individually wrap each leftover bun tightly in plastic wrap. This barrier is crucial for locking in moisture and preventing the buns from becoming stale. Alternatively, if you have an airtight container, you can place parchment paper between each bun to prevent them from adhering to one another. Store these prepared buns in the refrigerator for up to 4 days, ensuring they remain fresh and ready for their next meal.
When it comes to reheating, resist the urge to use a microwave, as this can often lead to a chewy, rubbery texture. The best way to revive your bao buns and restore their original softness and fluffiness is to re-steam them. Simply place the chilled buns back into your steamer basket (still on their parchment paper if you used them) over simmering water for a few minutes, typically 3-5 minutes, until they are thoroughly heated through and regain their tender, cloud-like consistency. This method preserves their delightful chewiness and warm, comforting appeal.
Explore More Asian-Inspired Gluten-Free Recipes
If you loved making these gluten-free bao buns, you’ll be thrilled to discover more delicious Asian-inspired recipes that cater to a gluten-free diet. Expand your culinary horizons with these other fantastic options:
- Gluten-Free Wonton Wrappers
- Gluten-Free Egg Rolls
- Gluten-Free Fried Rice
- Gluten-Free Pad Thai
- Gluten-Free Naan
Gluten-Free Bao Buns
Cheryl Johnson
8 buns
15
12
1
1 27
Equipment
-
1 Stand Mixer with dough hooks
-
1 Bamboo Steamer
Ingredients
- ½ cup warm water, between 100 degrees F to 110 degrees F
- ¼ cup warm milk, between 100 degrees F to 110 degrees F
- 2 tablespoons granulated sugar
- 2 teaspoons active dry yeast, fast rising or instant yeast
- 1 ½ cups gluten-free all purpose flour, (210 grams)
- 1 teaspoon xanthan gum, only if your flour blend doesn’t already include it
- ½ teaspoon baking powder
- ¼ teaspoon salt
- ½ tablespoon olive oil
Instructions
-
In a medium bowl, gently stir together the warm water, warm milk, granulated sugar, and active dry yeast. Set this mixture aside in a warm area, ideally at room temperature (around 70-75°F or 21-24°C), and allow it to sit undisturbed for 10 minutes. During this time, the yeast will begin to activate, forming a visible layer of foam on the surface, indicating its readiness.
-
In a separate large mixing bowl, thoroughly whisk together the gluten-free all-purpose flour, xanthan gum (if your flour blend does not already contain it), baking powder, and salt. Ensure these dry ingredients are evenly distributed to allow for uniform mixing later. Set this bowl aside for now.
-
Pour the activated yeast mixture from the first bowl into the bowl with the dry ingredients. Using a stand mixer fitted with dough hooks, begin mixing on a low speed. Continue to mix for approximately 2 to 3 minutes, or until all the ingredients are well combined and the dough starts to gather into a cohesive mass, pulling cleanly away from the sides of the bowl. Be careful not to overmix, as this can make gluten-free dough tough.
-
Once mixed, lightly wet your hands if the dough feels slightly sticky. Gently form the dough into a smooth ball. Transfer this dough ball into a clean, large bowl. If you find the dough is extremely sticky, it may indicate that either insufficient flour was added during the initial mixing, or the dough simply requires a bit more mixing time to fully incorporate the ingredients.
-
Cover the bowl containing the dough ball tightly with food-safe plastic wrap. Place the covered bowl in a warm area of your kitchen (room temperature, ideally 75-80°F or 24-27°C) for its first proofing. Allow the dough to rise for 30 to 60 minutes, or until it has visibly doubled in size. This crucial step develops the flavor and creates the airy texture.
-
While the dough is proofing, prepare your work surface. Cut eight individual squares of parchment paper, each approximately 4 inches by 4 inches. These squares will prevent the bao buns from sticking to the steamer. Arrange these parchment squares onto a large baking sheet, ready for the shaped dough.
-
After the dough has doubled in size, gently remove it from the bowl. Place the dough onto a lightly floured surface. Use extra gluten-free flour for dusting to prevent sticking, as gluten-free dough can be quite tacky.
-
Using a rolling pin, carefully roll the dough out until it achieves a uniform thickness of approximately ½-inch. Aim for an even thickness across the entire surface to ensure consistent cooking and rising in the final buns.
-
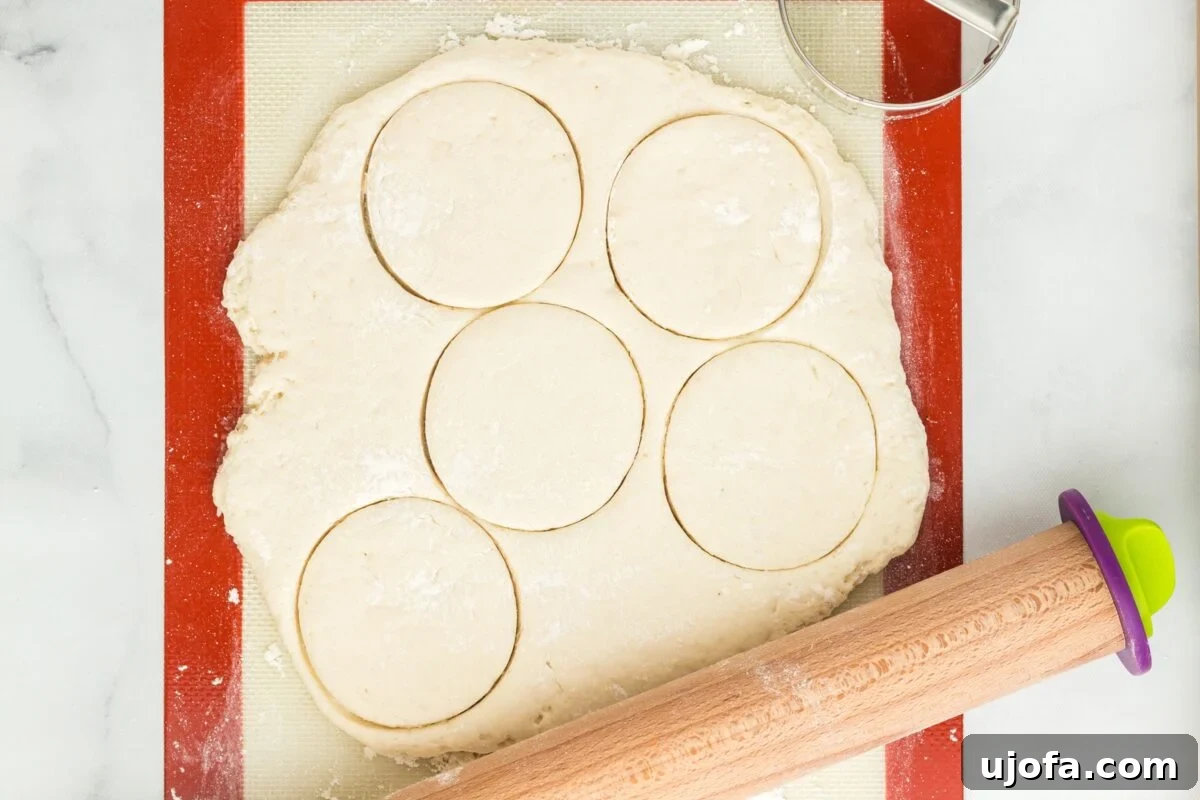
Take a 3 ½-inch round cookie cutter and use it to cut out individual circles from the rolled-out dough. Press down firmly to create clean cuts. From this recipe’s batch, you should be able to yield 8 perfectly sized dough circles.
-
Carefully transfer each cut dough circle and place it onto one of the prepared 4-inch parchment paper squares you arranged on the baking sheet. This ensures easy handling and prevents sticking later.
-
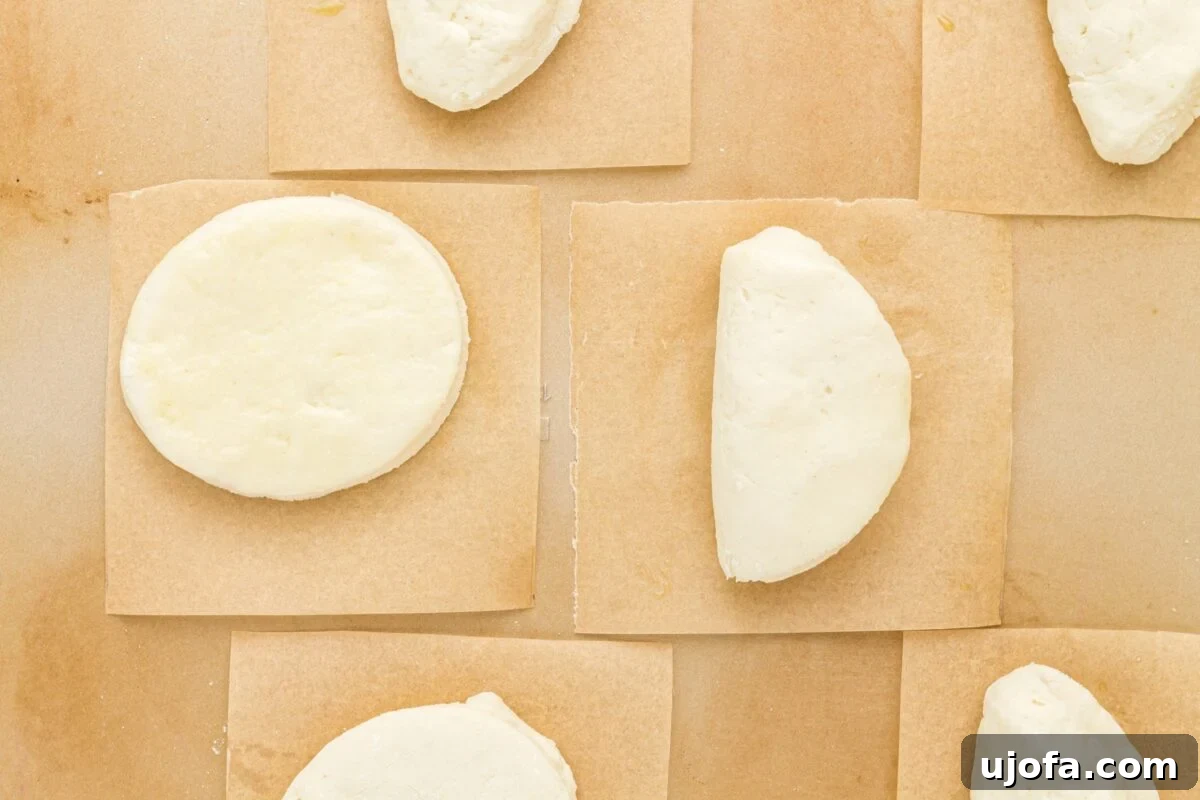
Lightly brush the top surface of each dough circle with a small amount of olive oil. This oil layer is crucial for preventing the folded bun halves from sticking together during steaming. Once oiled, gently fold each dough circle in half to create distinct half-circle shapes, forming the classic bao bun structure.
-
Cover the baking sheet, now holding the shaped bao buns on their parchment squares, with food-safe plastic wrap. Allow the buns to undergo a second proofing for another 30 minutes in a warm area at room temperature. This brief second rise helps the buns puff up a little more and become even lighter before steaming.
-
Carefully pick up each bun, still resting on its parchment paper square, and arrange them inside your bamboo steamer basket. If using a 10-inch steamer, you can typically fit 4 buns comfortably without overcrowding. It’s important that the buns do not touch each other, allowing ample space for expansion during steaming. For even cooking, only steam one layer of buns at a time, especially if your steamer has multiple levels. You will likely need to steam in two batches.
-
Prepare your steaming setup by adding approximately ½ inch of water into a deep frying pan or a wok. The pan must be large enough in diameter to accommodate your bamboo steamer and deep enough to hold the water without it touching the steamer basket or overflowing when boiling.
-
Place the frying pan or wok with water on your stovetop. Bring the water to a rapid boil over high heat, then reduce the heat to medium. You want a steady, gentle simmer that produces consistent steam without excessive bubbling.
-
Carefully place the bamboo steamer, filled with the prepared buns, into the deep frying pan or wok. Crucially, ensure that the simmering water level is not so high that it touches the bottom of the steamer basket or the buns themselves. The objective is to steam the buns purely with the vapor, not to boil them in water.
-
Place the lid securely on the bamboo steamer. Allow the buns to steam over consistent low-medium heat for exactly 12 minutes. Throughout this process, monitor the water level in the pan; if it starts to run low, carefully add more water as needed. It’s vital that the pan does not run dry while steaming. Adding room temperature water is acceptable, as it will quickly heat up and contribute to the steam.
-
Once the 12 minutes of steaming are complete, carefully and slowly remove the lid from the steamer. Exercise extreme caution during this step, as the escaping steam will be intensely hot and can cause burns.
-
Using tongs or a spatula, gently remove the perfectly steamed buns, along with their parchment paper liners, from the steamer basket. If you have more buns to cook, repeat the steaming steps for the remaining dough until all 8 steamed buns are ready.
-
Allow the freshly steamed buns to cool completely to room temperature before storing any leftovers. To store, wrap each bun individually in plastic wrap or place parchment paper between them in an airtight container to prevent sticking and maintain freshness. Refrigerate for up to 4 days.
Notes
- When shaping, try gently stretching and folding the dough over rather than just pressing it. This technique can give a slightly smoother surface and improve texture.
- When steaming, make sure the water level stays below the buns. They should be steamed, not boiled, so check that the water isn’t touching the steamer bottom.
- Avoid lifting the steam lid before the 12 minutes is up. If you prefer a slightly firmer bao, turn off the heat after 12 minutes and let them sit covered for another 1-2 minutes.
- Ensure the water and milk are at the right temperature (100-110°F). Too hot can kill the yeast, and too cool will not activate it fully. If you don’t have a thermometer, aim for a warm—not hot—temperature when touching the liquid.
- Gluten-free doughs are typically stickier than traditional doughs, but avoid overmixing; this can make them tough. Mix until just combined and the dough pulls away from the sides of the bowl.
- Check the expiration date on your yeast before starting.
- It is important to measure your flour accurately. I recommend using a food scale. Too much flour will make your dough crumbly and won’t blend together properly, while too little will make it too sticky.
- Once cooled, wrap each leftover bun individually in plastic wrap or place parchment paper between each bun in an airtight container to prevent sticking. Store in the refrigerator for up to 4 days.
- To reheat, steam the buns again for a few minutes instead of microwaving; steaming will preserve the soft texture while microwaving can make them chewy.
Nutrition
Calories: 103kcal
Carbohydrates: 20g
Protein: 3g
Fat: 2g
Saturated Fat: 0.3g
Polyunsaturated Fat: 0.2g
Monounsaturated Fat: 1g
Cholesterol: 1mg
Sodium: 114mg
Potassium: 20mg
Fiber: 3g
Sugar: 4g
Vitamin A: 12IU
Vitamin C: 0.003mg
Calcium: 40mg
Iron: 1mg
Nutrition information is automatically calculated, so should only be used as an approximation.
Additional Info
Appetizer
Chinese
How to Make Gluten-Free Bao Buns: A Step-by-Step Visual Guide
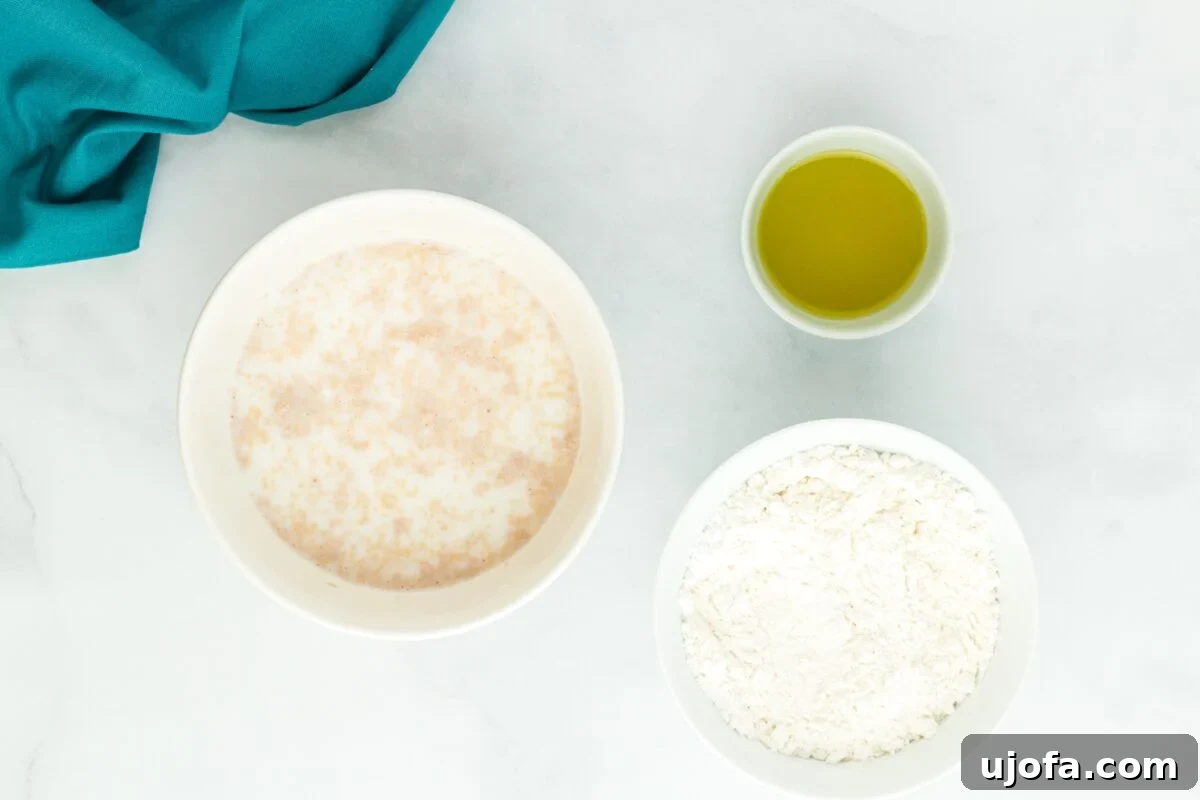
Begin by activating your yeast. In a medium-sized bowl, gently combine ½ cup of warm water, ¼ cup of warm milk, 2 tablespoons of granulated sugar, and 2 teaspoons of active dry yeast. Give it a light stir until everything is just mixed. Then, set the bowl aside in a warm spot, ideally at room temperature (around 70-75°F), for about 10 minutes. This period allows the yeast to awaken and begin working. You’ll know it’s active when a distinct foamy layer starts to form on the surface, indicating its readiness to leaven your dough.
While your yeast is activating, prepare your dry ingredients. In the bowl of your stand mixer, measure out and combine 1 ½ cups of gluten-free all-purpose flour. If your chosen flour blend doesn’t already include it, add 1 teaspoon of xanthan gum. Finish by incorporating ½ teaspoon of baking powder and ¼ teaspoon of salt. Use a whisk to thoroughly combine these dry ingredients, ensuring they are evenly distributed before adding the wet components.
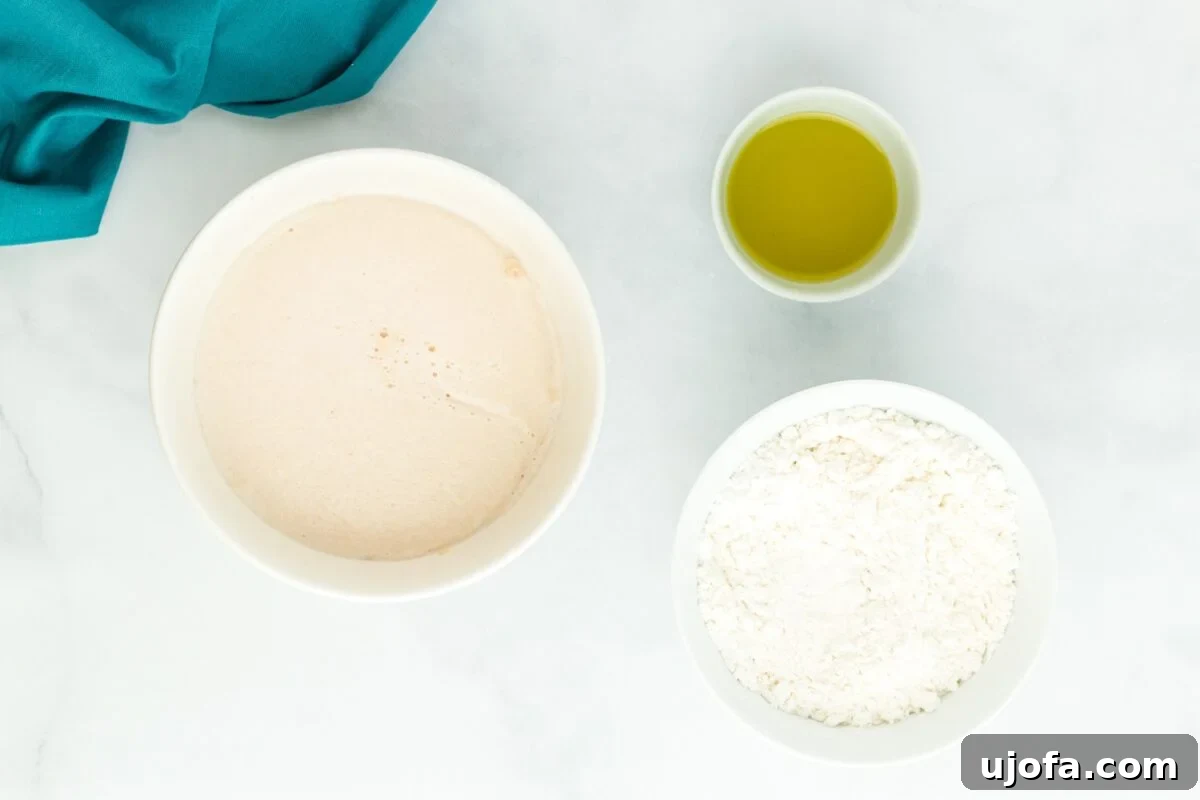
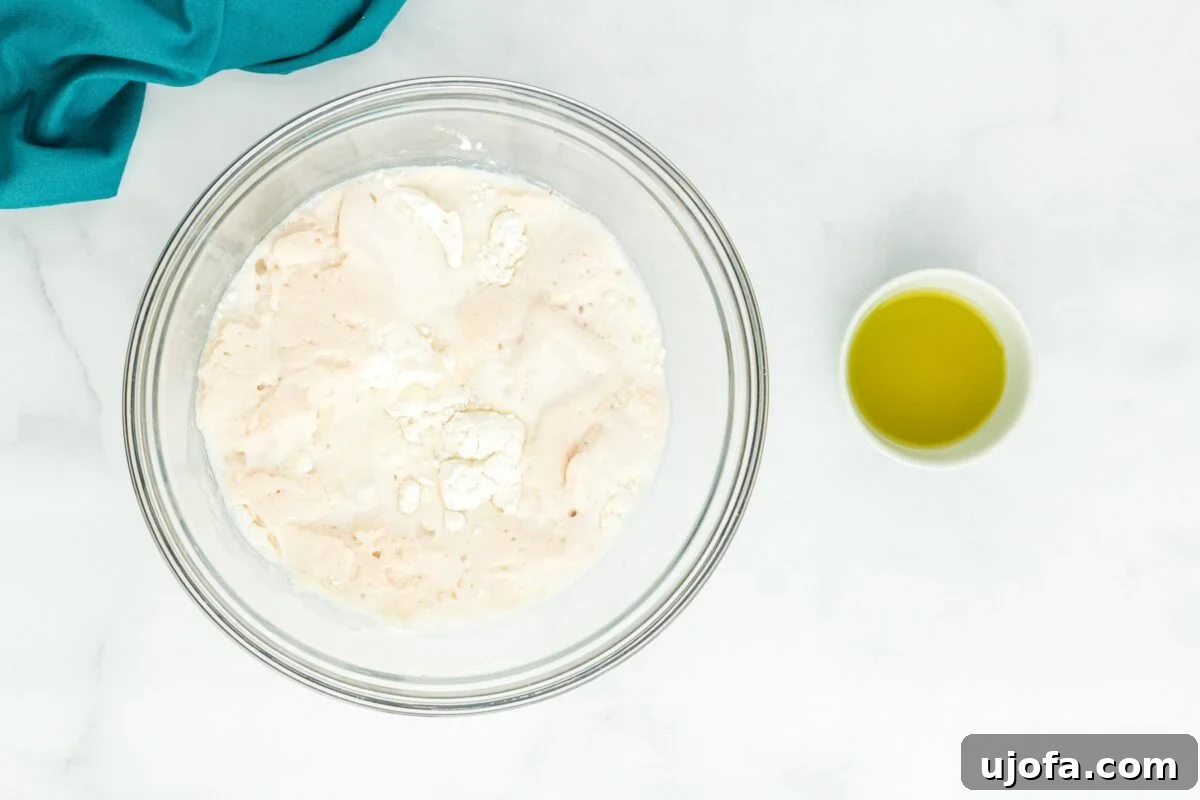
Once your yeast mixture is foamy and active, pour it directly into the stand mixer bowl containing your dry ingredients. Attach the dough hooks to your stand mixer and begin mixing on a low speed. Continue mixing until the dough starts to come together into a cohesive mass. You’ll know it’s adequately mixed when the dough no longer sticks excessively to the sides of the bowl and forms a soft ball, typically taking about 2 to 3 minutes. Be mindful not to overmix, as this can lead to a tougher gluten-free dough.
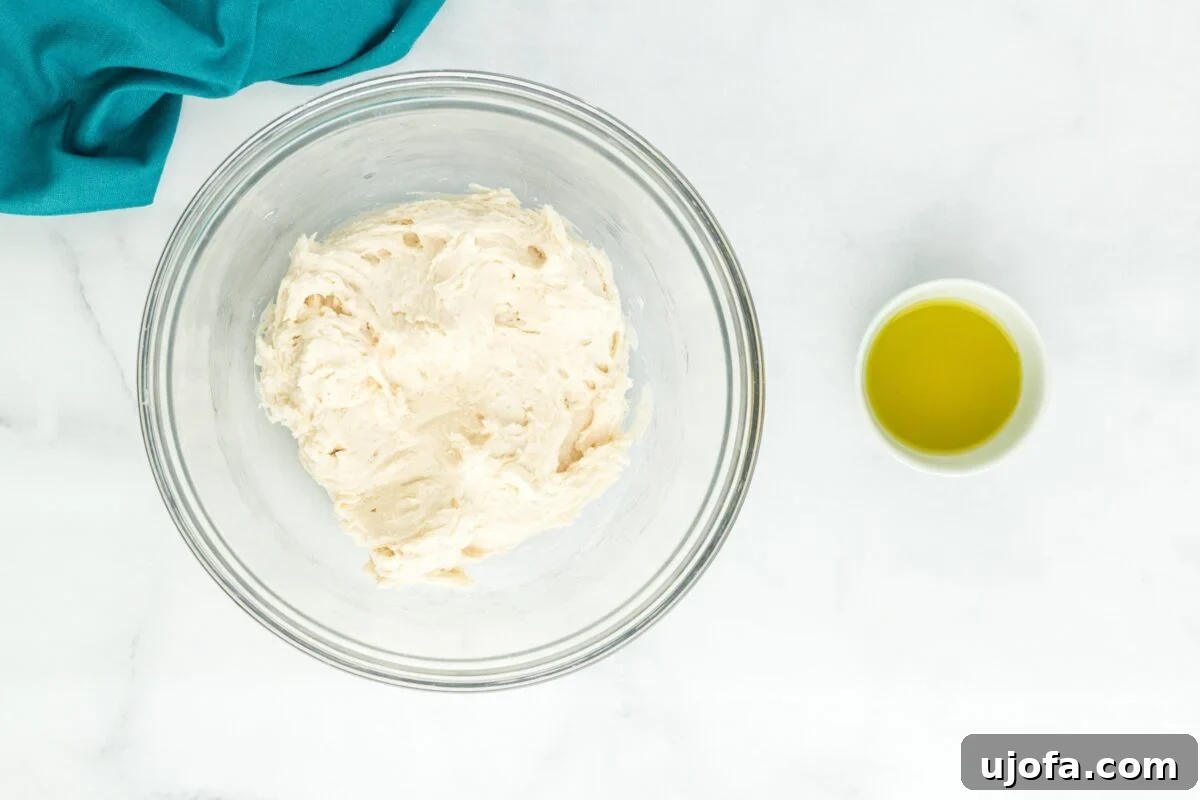
After mixing, gently remove the dough from the mixer bowl. If it feels a bit sticky, lightly wet your hands with water, which will make it easier to handle without adding more flour to the dough itself. Form the dough into a smooth ball with your hands. Transfer this dough ball into a clean, large bowl. Should the dough feel exceptionally sticky and unmanageable, it might indicate that either slightly more flour was needed, or the dough simply requires a bit more mixing time to develop properly.
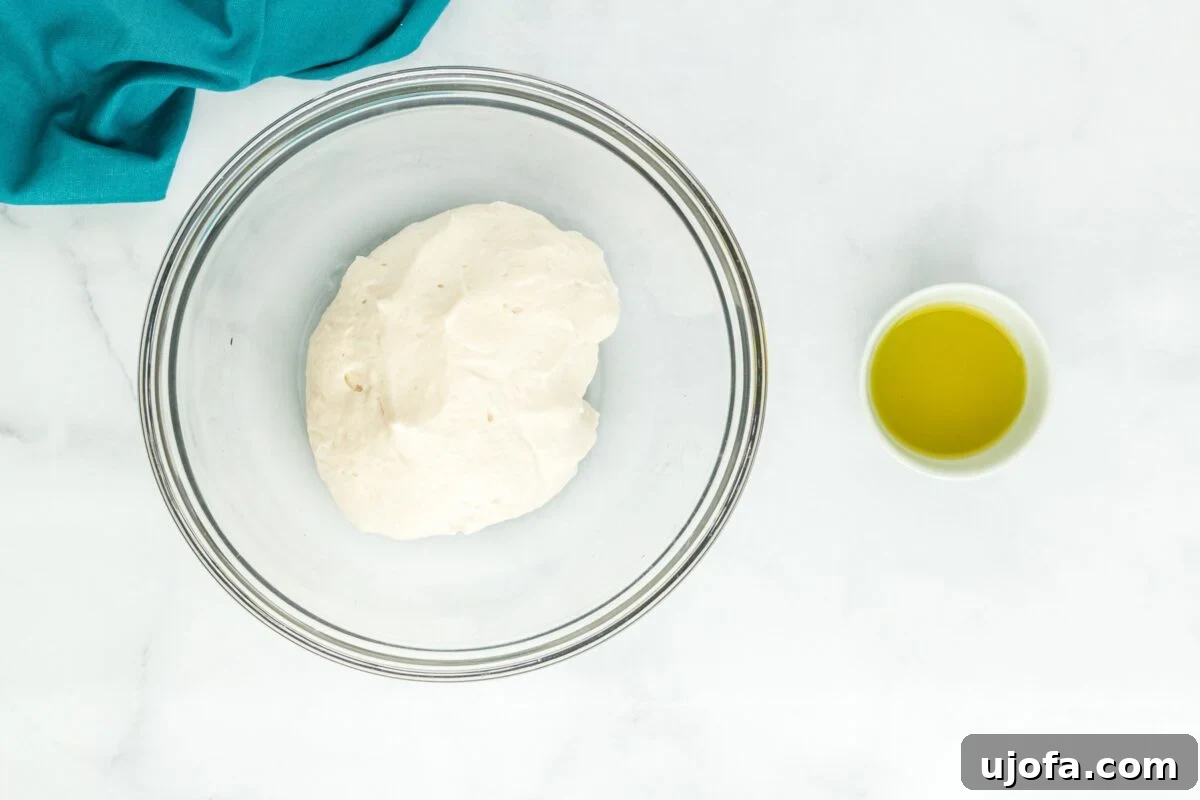
Cover the bowl containing your dough ball tightly with food-safe plastic wrap to create a sealed environment. Place the covered bowl in a warm area of your kitchen – an ideal room temperature for proofing is between 75°F and 80°F (24°C and 27°C). Allow the dough to proof for a period of 30 to 60 minutes. This first rise is complete when the dough has visibly expanded and doubled in size, indicating the yeast has been active and has created a light, airy structure.
While your dough is proofing, prepare your work surface for shaping. Cut eight individual squares of parchment paper, each measuring about 4 inches by 4 inches, and arrange them on a large baking sheet. Once the dough has finished its first rise and doubled in size, gently transfer it from the bowl onto a lightly floured surface. Use additional gluten-free flour for dusting to prevent any sticking. With a rolling pin, roll the dough out evenly until it reaches a thickness of approximately ½ inch. Aim for consistent thickness across the entire dough to ensure uniform bao.
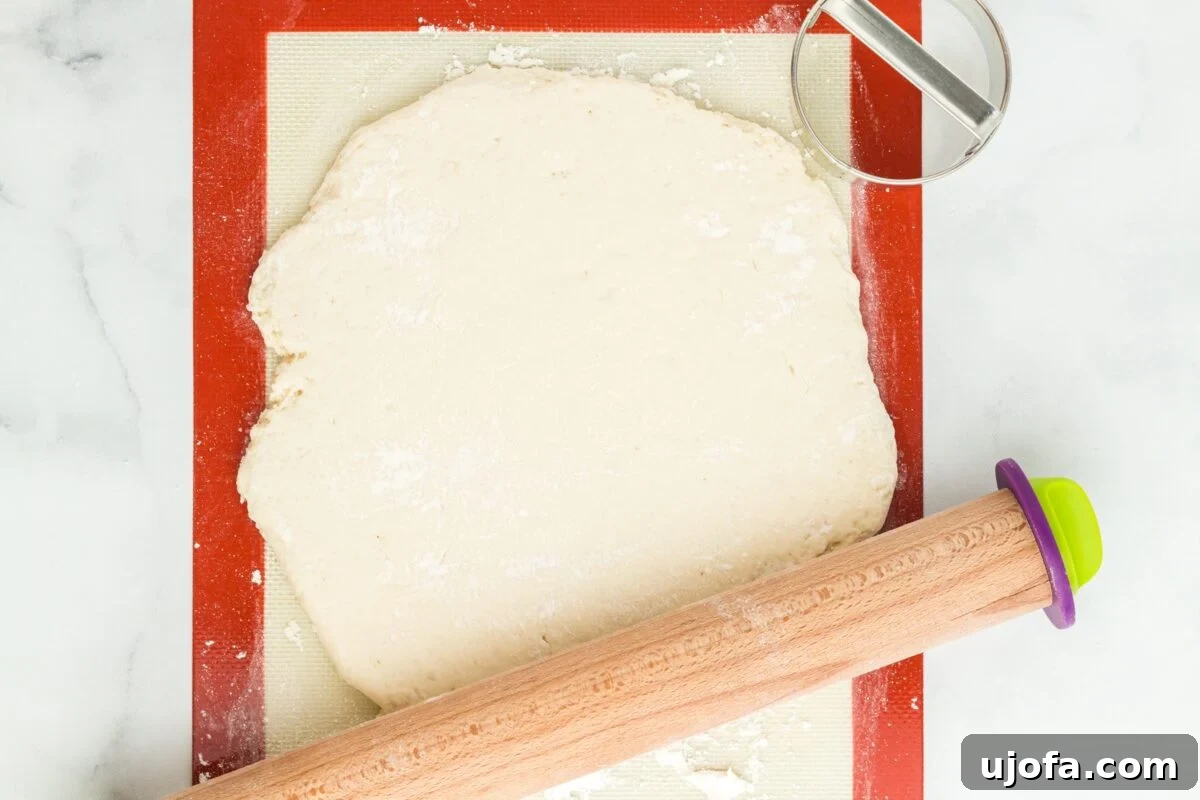
Now it’s time to create your bao bun shapes. Take a 3 ½-inch round cookie cutter and press it firmly into the rolled-out dough to cut out individual circles. With careful placement, this recipe should consistently yield 8 perfect dough circles from the entire batch. Gently lift the cut circles and place them onto the prepared parchment paper squares on your baking sheet.
With your dough circles placed on their parchment squares on the baking sheet, lightly brush the top surface of each circle with a small amount of olive oil. This subtle layer of oil is key to preventing the buns from sticking together when folded. Once oiled, carefully fold each dough circle in half, creating distinct half-moon shapes. These folded buns are now ready for their final proofing.
Cover the baking sheet, now holding your folded bao buns, tightly with food-safe plastic wrap. Return the sheet to a warm area of your kitchen for a second proofing, allowing the buns to rest for another 30 minutes. During this final rise, the dough will gently puff up just a little more, developing an even lighter and airier texture that will be perfected during the steaming process.
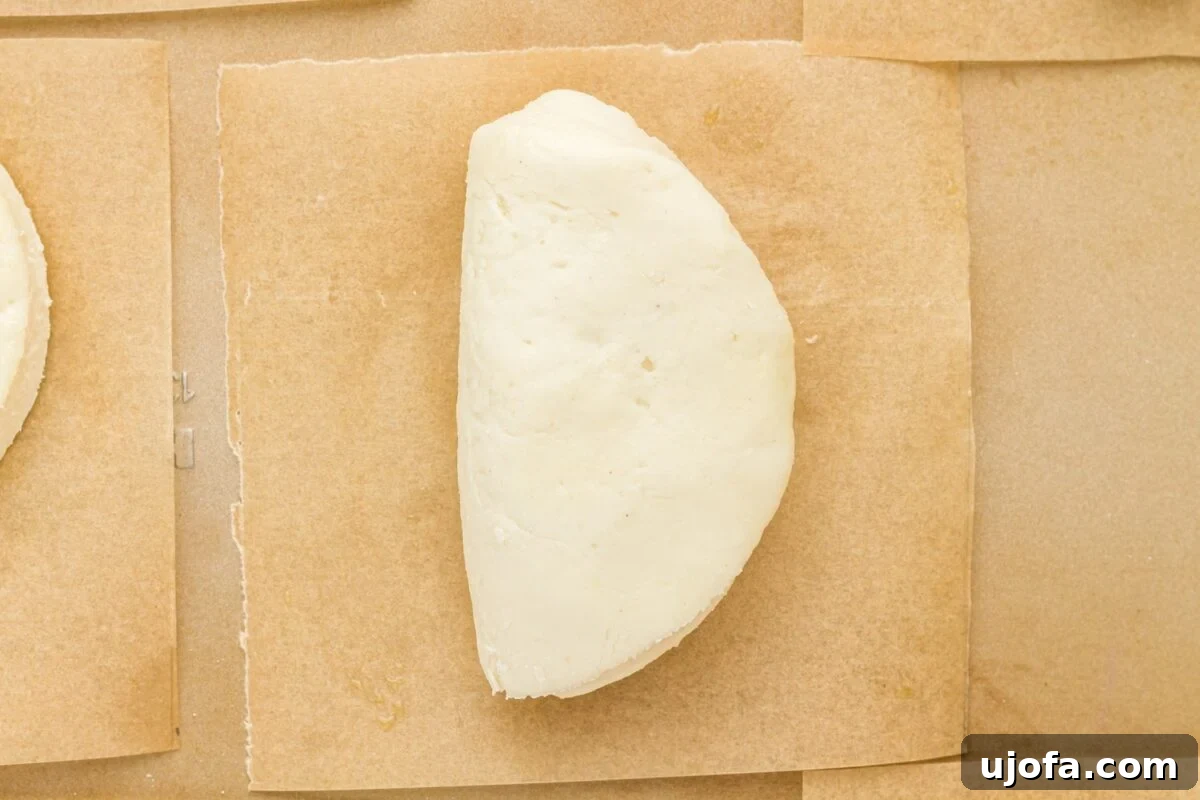
Carefully transfer each folded bun, still resting on its parchment paper square, into your bamboo steamer basket. If you’re using a 10-inch steamer, you can typically fit about 4 buns without overcrowding them. It is crucial that the buns do not touch each other, as they will expand during steaming. For optimal and even cooking, only steam one level (layer) of buns at a time, even if your steamer has multiple tiers. This means you will likely cook your buns in a couple of batches.
Next, prepare your steaming pan. Add approximately ½ inch of water to a deep frying pan or wok. Ensure this pan is wide enough to comfortably fit your bamboo steamer and deep enough to hold the water without it touching the bottom of the steamer basket. Place the pan on your stovetop and bring the water to a rolling boil over high heat, then reduce the heat to medium for a steady simmer.
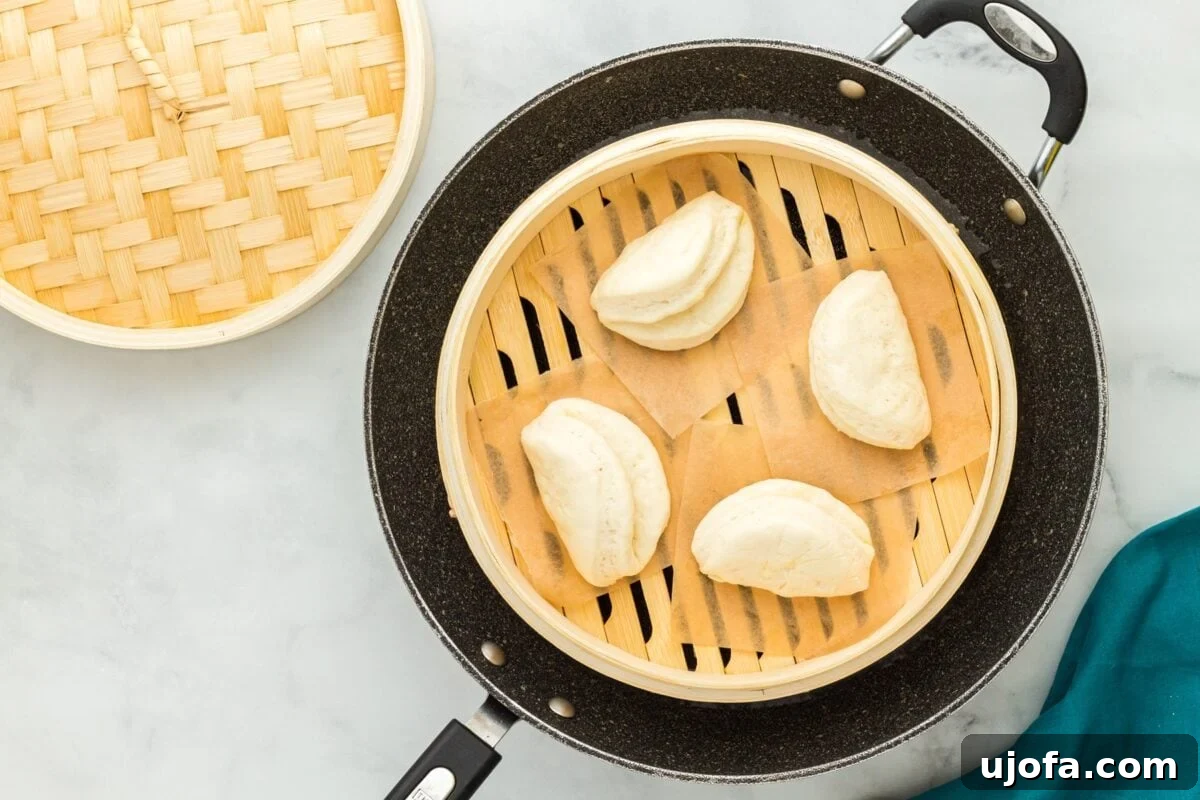
Gently place the bamboo steamer, filled with your prepared buns, into the deep frying pan or wok. Double-check that the simmering water is not touching the buns. The goal is to steam the buns with the rising vapor, not to boil them directly in the water. Once the steamer is in place, securely put the lid on the steamer and allow the buns to steam over low-medium heat for precisely 12 minutes. Throughout this steaming process, keep a watchful eye on the water level in the pan; if it starts to deplete, add more water as needed. It’s imperative that the pan never runs out of water. Adding room temperature water is perfectly fine, as it will quickly heat up and continue to produce steam. Alternatively, you can keep an electric kettle filled with hot water nearby for quick refills.
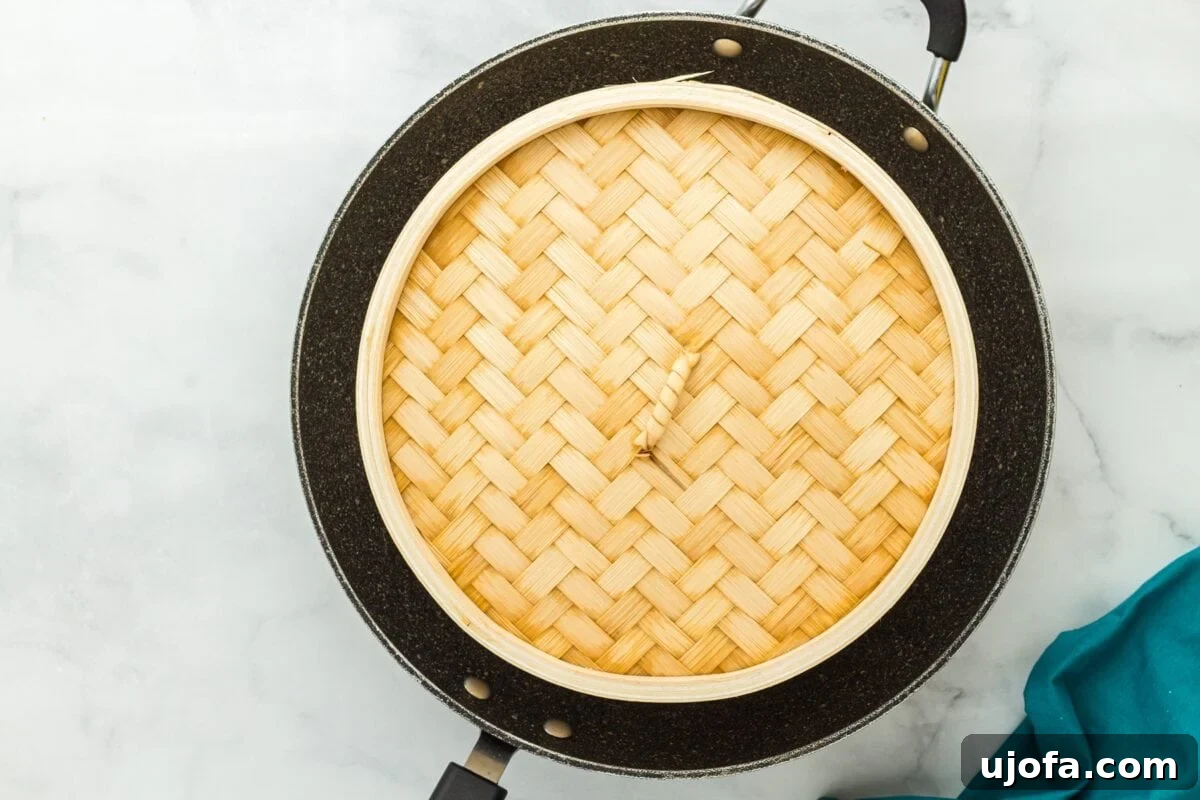
After the full 12 minutes of steaming, it’s time to reveal your beautifully cooked bao buns. Very carefully and slowly remove the lid from the bamboo steamer. It is essential to exercise extreme caution at this stage, as a significant amount of incredibly hot steam will escape. I find it helpful to use a kitchen towel or a pair of long tongs to protect my hands from the intense heat.
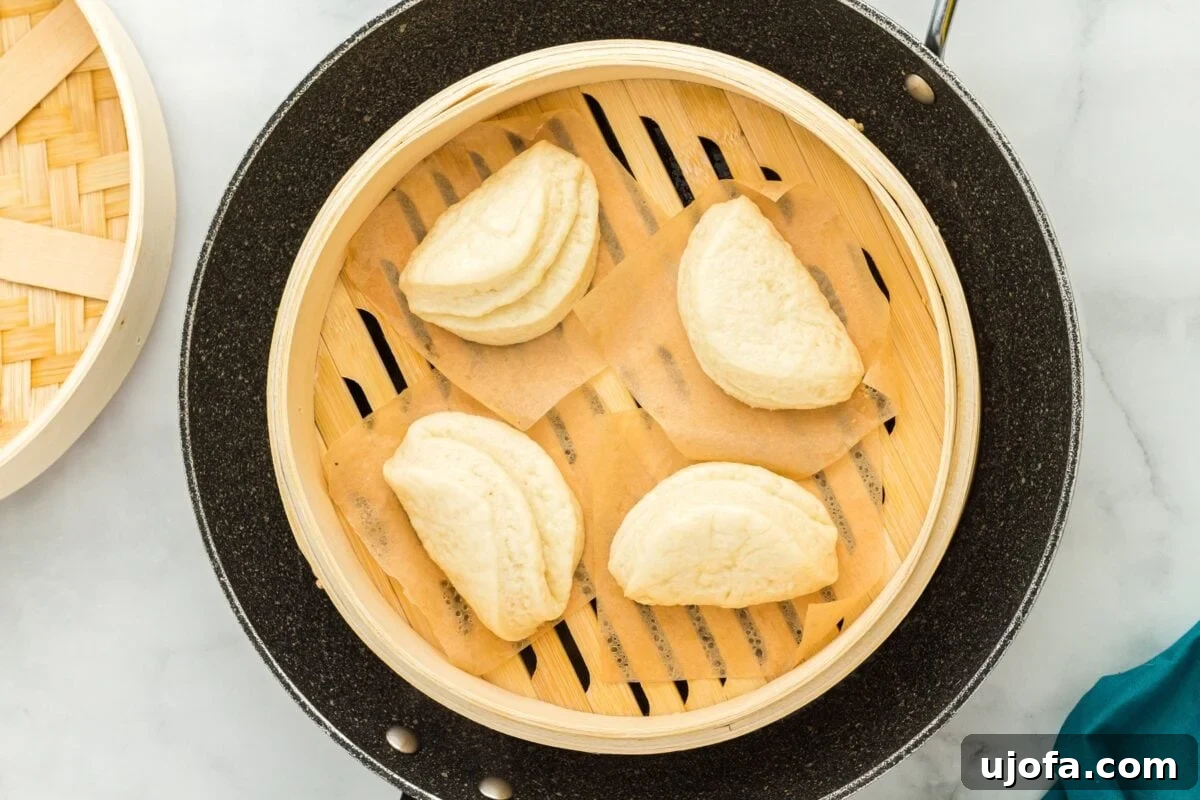
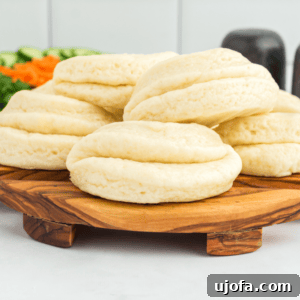
Once the lid is safely removed, gently take each perfectly steamed gluten-free bao bun from the steamer, ensuring you also retrieve its accompanying parchment paper liner. If you have remaining uncooked buns, repeat the entire steaming process from step 12 until all 8 of your delicious, fluffy steamed buns are cooked to perfection. Serve them warm with your favorite fillings and garnishes.
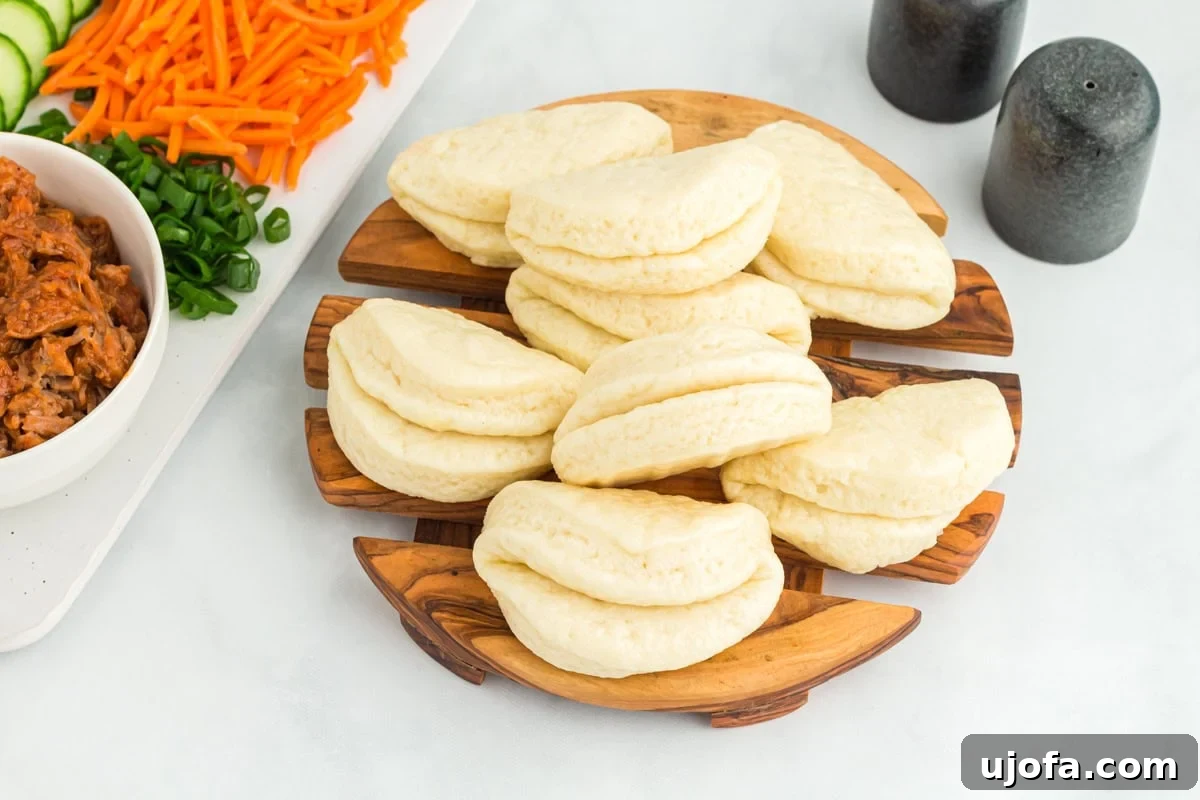
There you have it – a comprehensive guide to crafting exquisite gluten-free bao buns right in your own kitchen! These warm, fluffy, and subtly sweet steamed buns are a testament to the fact that a gluten-free diet doesn’t mean sacrificing flavor or culinary adventure. With this recipe, you can confidently enjoy the authentic taste and delightful texture of Chinese bao, perfectly suited for all your favorite savory fillings. Whether you’re a seasoned gluten-free baker or just starting out, the satisfaction of making these at home is truly rewarding. So, gather your ingredients, follow these steps, and prepare to impress yourself and your loved ones with these incredible, homemade gluten-free bao buns!