
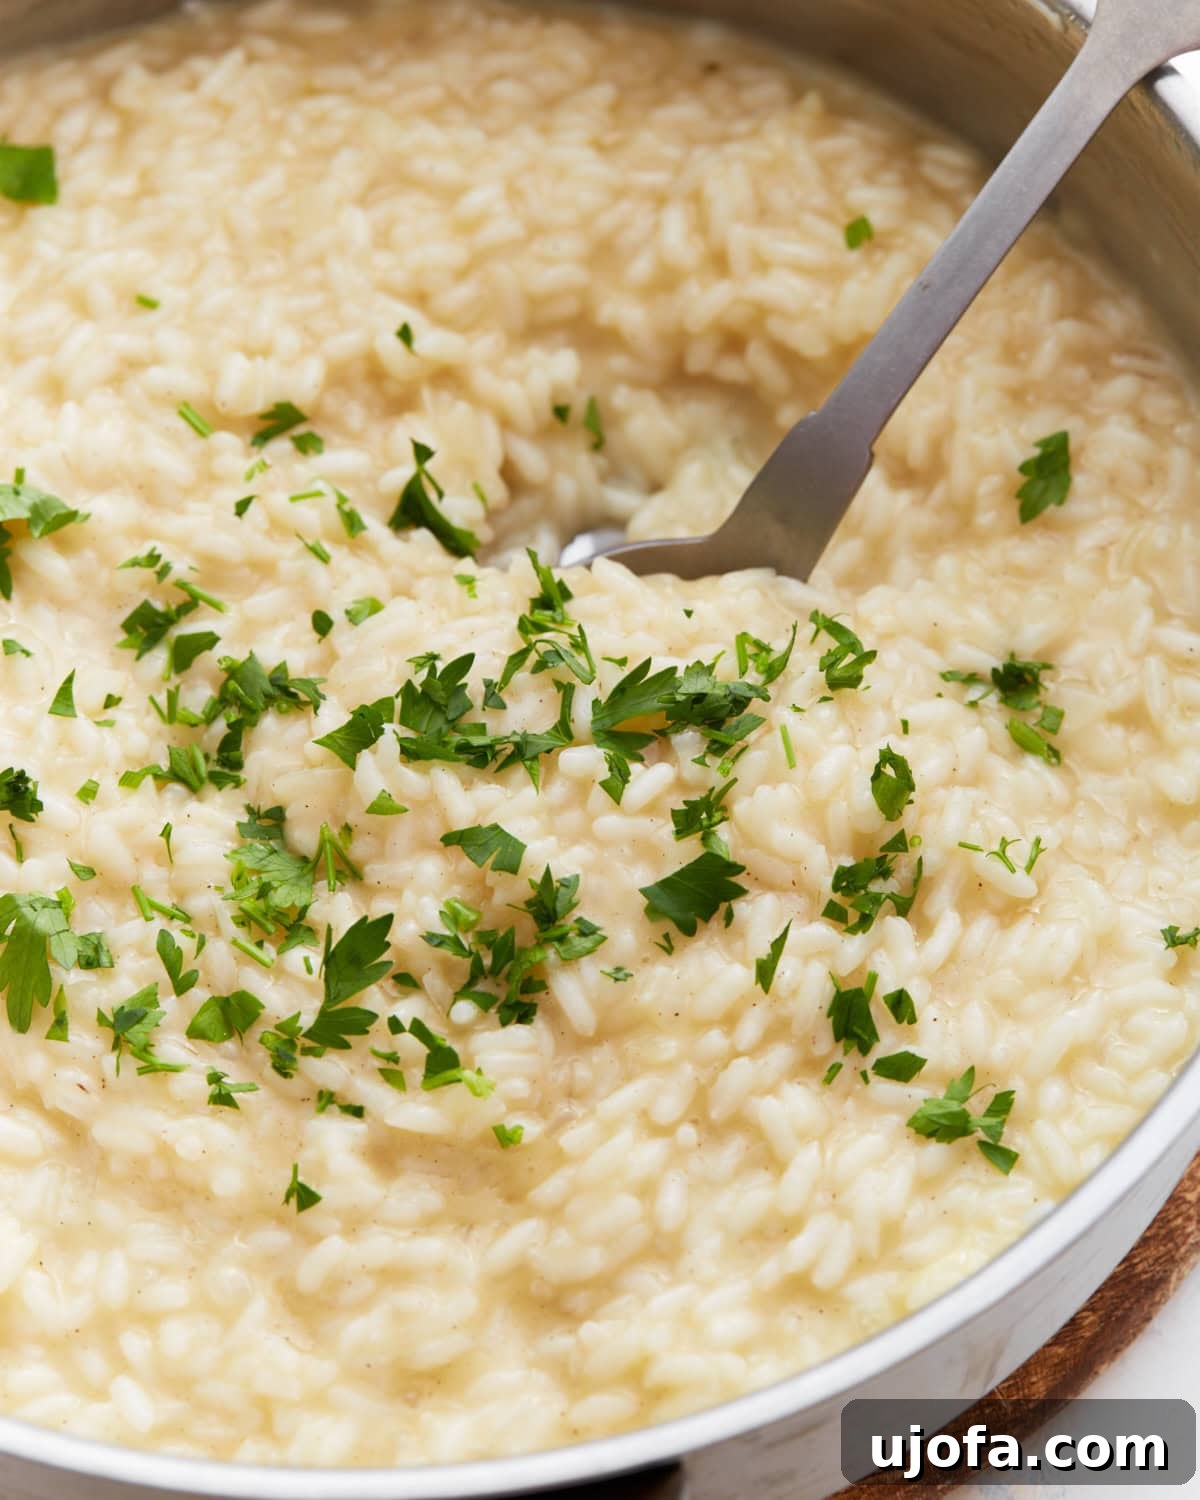
There are few dishes that instantly transport you to a cozy Italian trattoria quite like a perfectly crafted risotto. Its unparalleled creaminess, rich flavor, and satisfying texture make it a beloved classic. What if we told you that achieving this restaurant-quality dish at home is not only possible but surprisingly easy, even if you’re looking for a gluten-free option? This creamy gluten-free risotto recipe is designed to hit all the right notes: it’s indulgent, incredibly flavorful, and can be whipped up in a single pan in approximately 30-35 minutes. Starting with humble pantry staples like Arborio rice, quality broth, and a generous sprinkle of Parmesan, this dish transforms into a luxurious meal that feels both special and comforting. Plus, it’s naturally gluten-free, making it a fantastic choice for those with dietary restrictions without compromising on taste or texture. Its versatility allows for endless customization, whether you prefer to keep it simple and classic or load it with fresh vegetables and herbs. This recipe is destined to become a staple in your home.
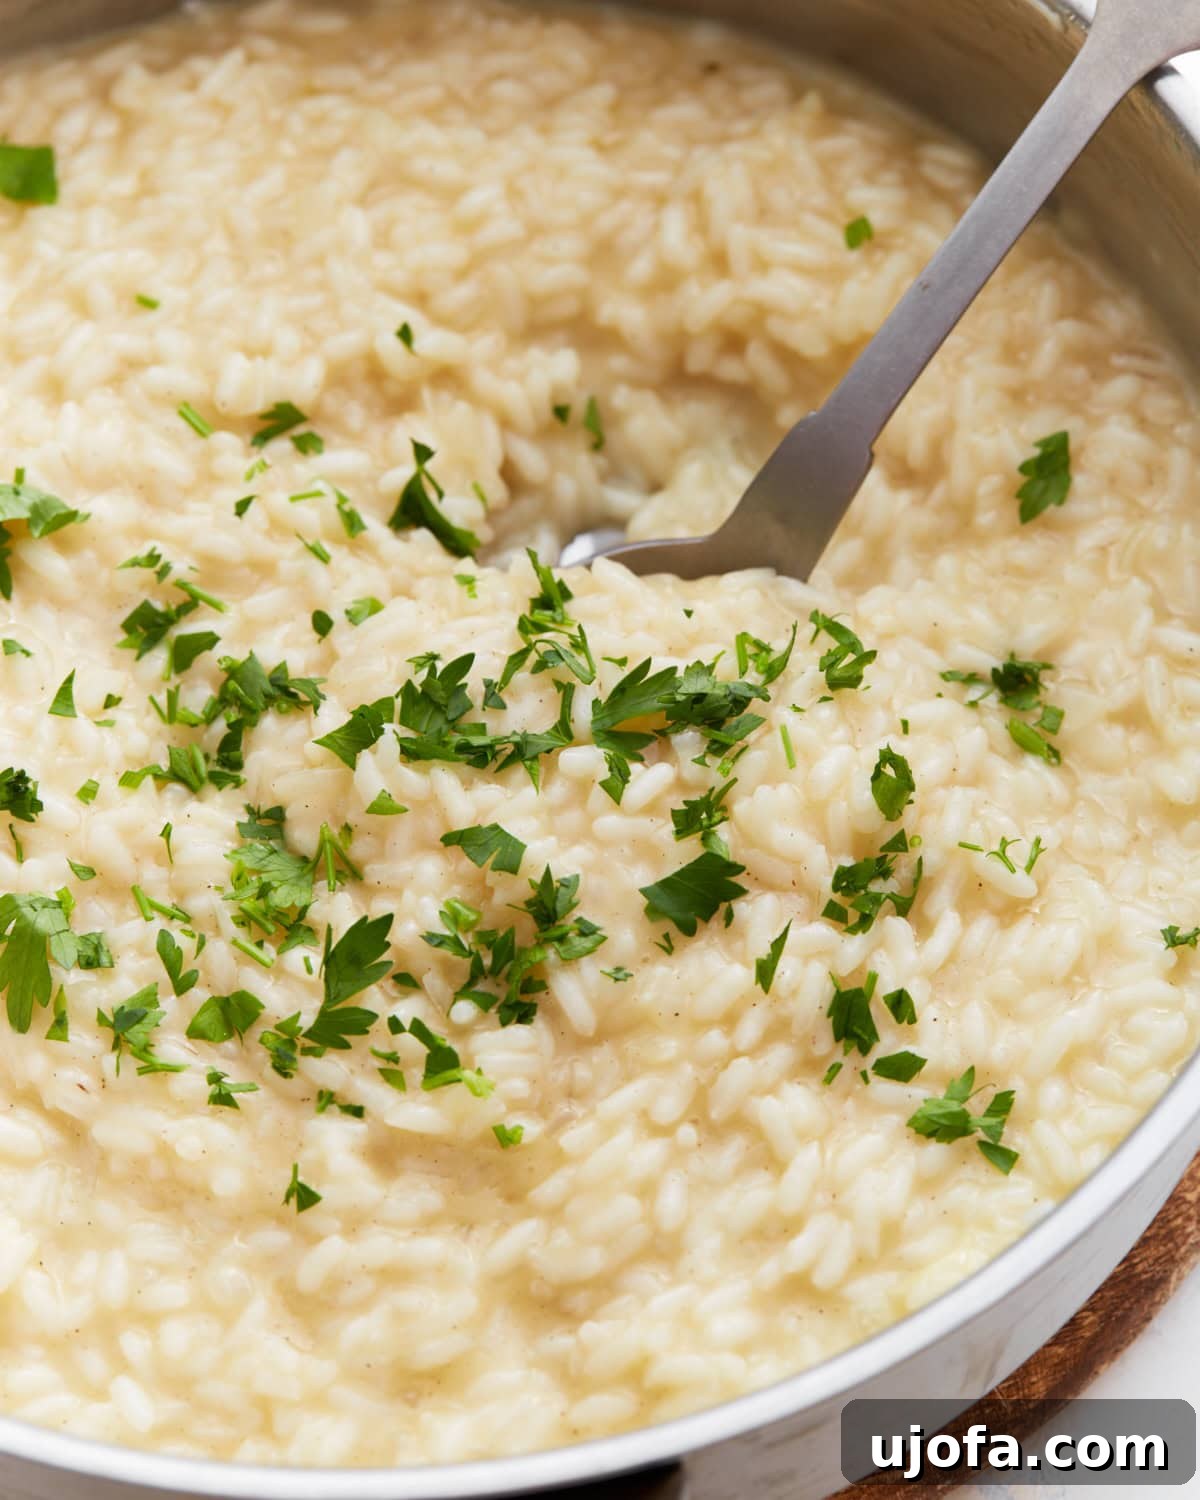
Mastering the Easy Gluten-Free Risotto Recipe at Home
For years, whenever I dined out, risotto was my go-to order. Not just because it’s inherently delicious, but also because it’s typically one of the safest bets for a gluten-free meal. The creamy, comforting texture and the ability to pair it with various ingredients made it an irresistible choice. However, the revelation that easy gluten-free risotto could be prepared in my own kitchen, without specialized equipment or advanced culinary skills, completely changed my cooking repertoire. This simple yet elegant dish quickly ascended to the top of my favorite homemade risotto recipes.
Whether you’re planning an intimate date night, preparing a wholesome family dinner, or aiming to impress guests during a holiday gathering, risotto fits perfectly into any occasion. The technique, while straightforward, does require a touch of mindfulness. The magic truly happens as you patiently and slowly incorporate warm broth, stirring continuously. This gentle agitation coaxes the starches from the Arborio rice, creating that signature velvety consistency. The goal is to achieve a tender grain that still offers a slight resistance to the bite—what Italians call “al dente.”
One of the many beauties of this gluten-free risotto recipe is its incredible adaptability. While it stands beautifully on its own as a hearty meal, it also serves as an exceptional canvas for various additions. Imagine stirring in earthy sautéed mushrooms, vibrant green peas or asparagus tips, or succulent cooked shrimp to elevate it into a complete and satisfying main course. Alternatively, keep it classic and serve this luscious risotto as an elegant side dish alongside a perfectly roasted chicken, pan-seared scallops, or a medley of grilled seasonal vegetables. No matter how you choose to serve it, this creamy risotto always delivers a feeling of warmth and sophistication.
Beyond its delicious taste, this gluten-free risotto is naturally free from common allergens found in many grain-based dishes. This makes it an ideal option for those managing celiac disease or gluten sensitivities, allowing everyone at the table to enjoy a truly authentic and satisfying Italian experience without worry. It’s a testament to how simple, wholesome ingredients can come together to create something truly extraordinary.
Gluten-Free Risotto
By: Sabine Venier
Servings: 4 servings
Prep Time: 10 mins
Cook Time: 25 mins
Total Time: 35 mins
When you crave something warm and restaurant-quality, this gluten-free risotto always hits the spot. It’s rich, creamy, and surprisingly easy to make at home with just one pan and about 30 minutes. It uses simple pantry staples like Arborio rice, broth, and Parmesan, yet feels incredibly indulgent.
Step-by-step photos can be seen below the recipe card.
Enjoyed this recipe? Share it with friends or save it for later!
Pin Recipe
Share by Email
Print Recipe
Ingredients
- 2 tbsp olive oil
- 2 tbsp butter, divided
- 1 cup yellow onion, finely diced
- 1 tbsp garlic, minced
- 1½ cups Arborio rice
- ½ cup dry white wine (or substitute with more broth and a splash of white wine vinegar for an alcohol-free version)
- 4-5 cups gluten-free chicken broth, hot (for a vegetarian option, use vegetable broth)
- ½ cup Parmesan cheese, freshly grated
- ½ tsp salt
- ¼ tsp black pepper
- 2 tbsp fresh parsley, chopped, for garnish
Instructions
- In a large, heavy-bottomed pan, heat the olive oil and 1 tbsp of the butter over medium heat. Add the finely diced onion and sauté for 3-4 minutes until it becomes soft and translucent.
- Add the minced garlic to the pan and cook for another 30 seconds, stirring constantly, until it releases its fragrant aroma. Be careful not to burn the garlic.
- Stir in the Arborio rice, ensuring each grain is thoroughly coated with the oil and butter mixture. Toast the rice for 1-2 minutes until the edges appear slightly translucent, but the center remains opaque.
- Pour in the dry white wine (or broth/vinegar substitute) and stir continuously until the liquid is almost completely absorbed by the rice. This step deglazes the pan and adds depth of flavor.
- Begin adding the hot gluten-free broth, one cup at a time. Stir frequently, allowing each addition of broth to be nearly completely absorbed by the rice before adding the next cup.
- Continue this process for approximately 18-20 minutes. The rice should gradually become creamy and tender, yet still retain a slight chewiness, known as “al dente.”
- Remove the pan from the heat. Stir in the remaining 1 tbsp of butter, the freshly grated Parmesan cheese, salt, and black pepper until everything is well combined and the risotto is smooth.
- Allow the risotto to rest for 2 minutes off the heat. This allows the starches to settle and the dish to achieve its optimal creamy consistency.
- Serve immediately, garnished with fresh chopped parsley and additional grated Parmesan cheese, if desired.
Notes
- Always ensure your broth is certified gluten-free, especially if catering to strict dietary needs. Many brands offer clear labeling.
- For an extra layer of flavor, consider using homemade gluten-free chicken broth or a high-quality vegetable broth.
- Keeping the broth warm is crucial; cold broth will shock the rice, extending cooking time and potentially affecting the final texture.
- Don’t overcook the rice. That “al dente” bite is key to authentic Italian risotto.
- While continuous stirring is important for creaminess, avoid aggressive stirring, which can break the rice grains. Gentle, frequent stirs are best.
Nutrition
Serving: 1 serving
Calories: 491 kcal
Carbohydrates: 67g
Protein: 11g
Fat: 17g
Saturated Fat: 7g
Polyunsaturated Fat: 1g
Monounsaturated Fat: 8g
Trans Fat: 0.2g
Cholesterol: 31mg
Sodium: 1431mg
Potassium: 213mg
Fiber: 3g
Sugar: 3g
Vitamin A: 289IU
Vitamin C: 4mg
Calcium: 140mg
Iron: 4mg
Nutrition information is automatically calculated, so should only be used as an approximation.
Additional Info
Course: Dinner, Side Dish
Cuisine: Italian
Making a truly exceptional gluten-free risotto is a delightful culinary journey. The process might seem intimidating at first, but with attention to a few key steps, you’ll be rewarded with a dish that rivals any restaurant creation. Let’s walk through the transformation of simple ingredients into a luxurious meal.
How to Make Gluten-Free Risotto Step by Step
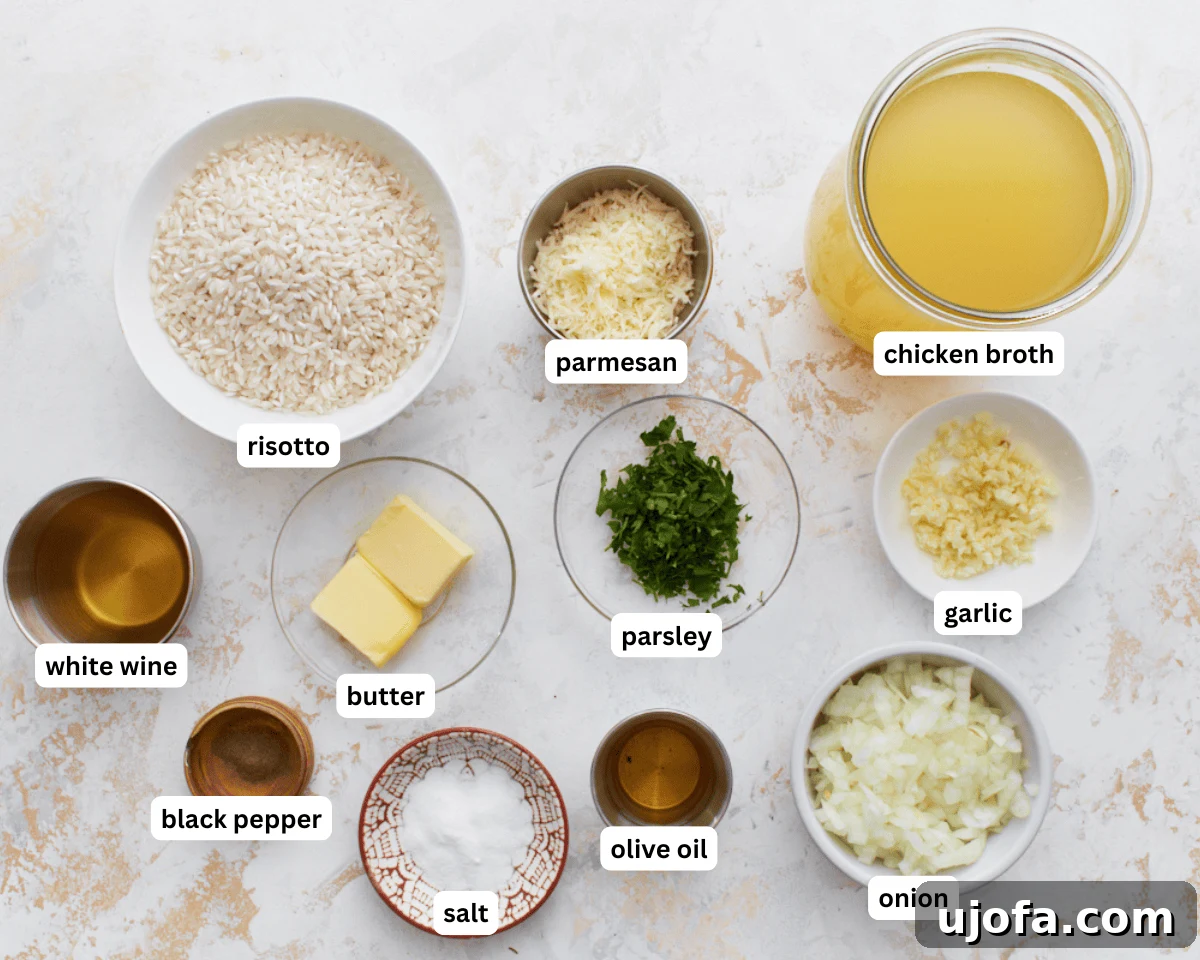
Preparation is Key: Before you even turn on the stove, gather all your ingredients. This practice, known as “mise en place,” is particularly helpful for risotto, as the cooking process requires continuous attention and quick additions. Ensure your chicken or vegetable broth is hot – simmering gently in a separate pot – as adding cold broth can significantly cool down the pan and disrupt the cooking process of the rice, affecting the final texture.
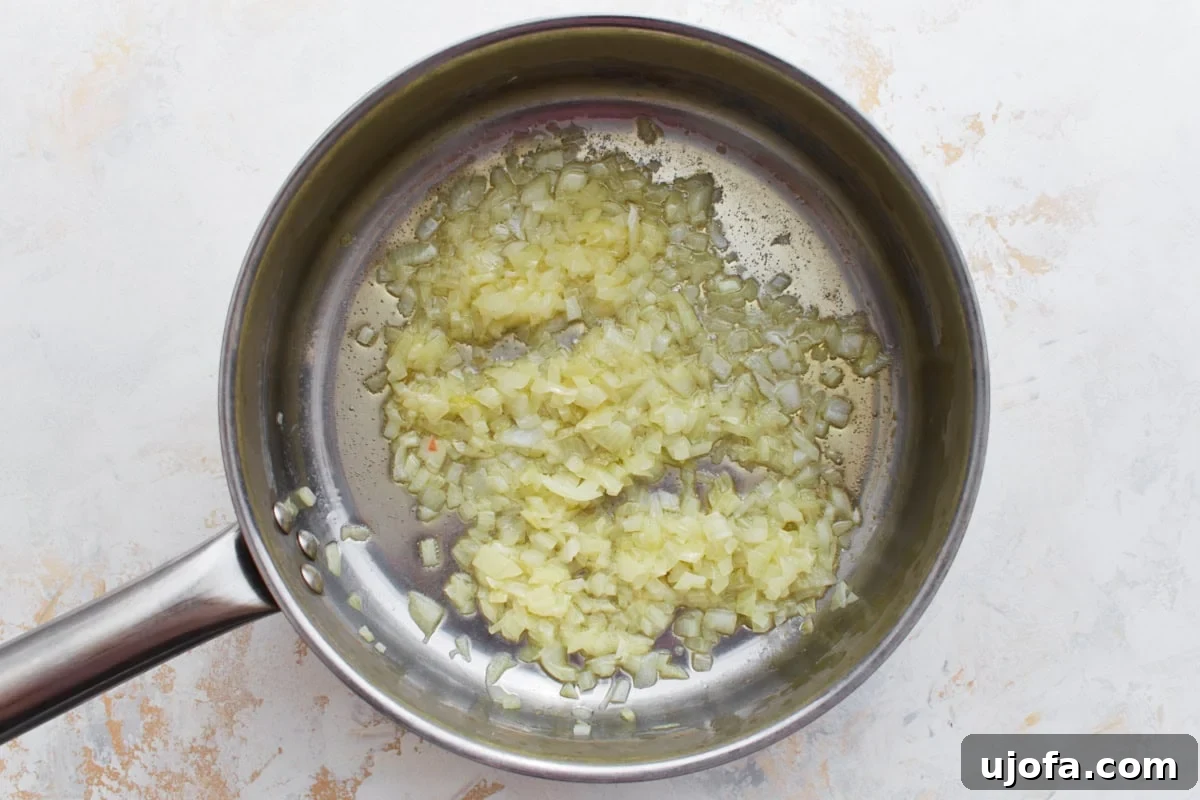
1. Sauté the Aromatics: In a spacious, heavy-bottomed pan or Dutch oven, heat 2 tablespoons of olive oil and 1 tablespoon of butter over medium heat. Once the butter is melted and shimmering, add 1 cup of finely diced yellow onion. Sauté the onion for about 3-4 minutes, stirring occasionally, until it becomes soft, sweet, and translucent. Avoid browning, as this can impart a bitter flavor to your delicate risotto.
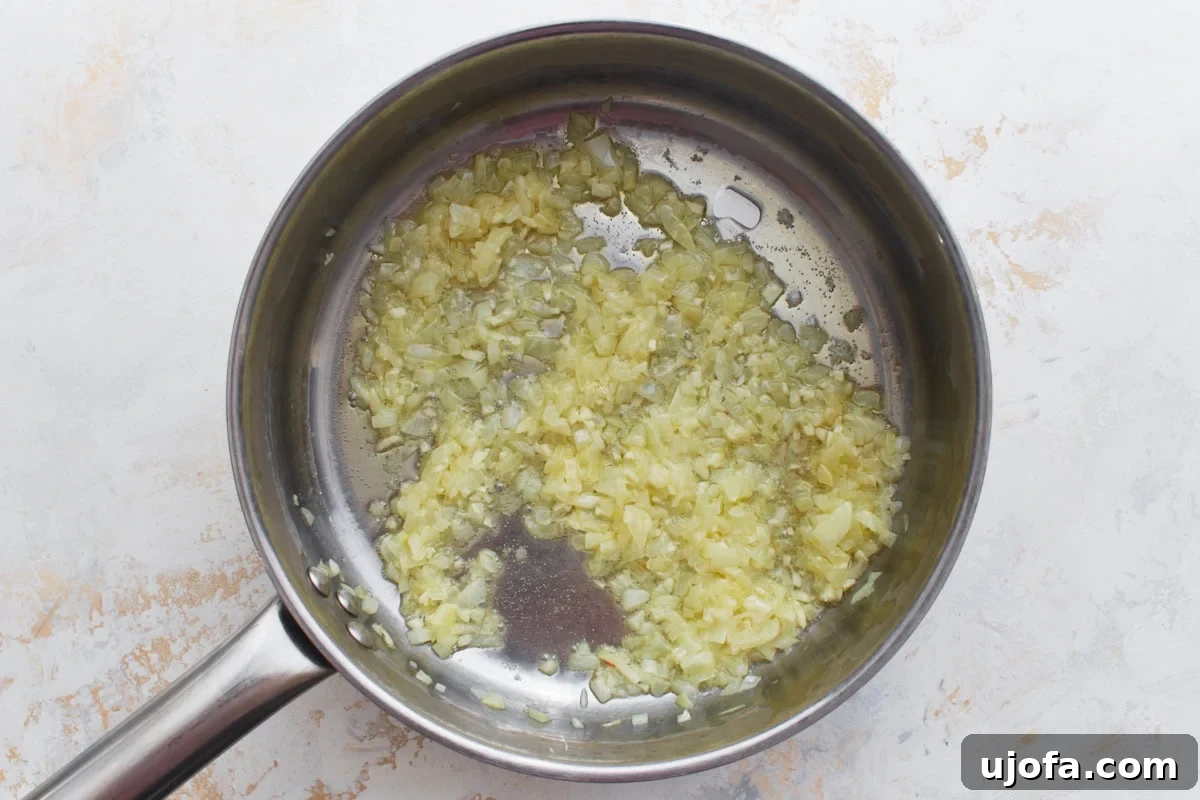
2. Infuse with Garlic: Stir in 1 tablespoon of minced garlic. Cook for just 30 seconds, continuously stirring, until the garlic becomes fragrant. Garlic burns quickly, so keep a close eye on it to prevent any bitterness from developing, which would permeate the entire dish.
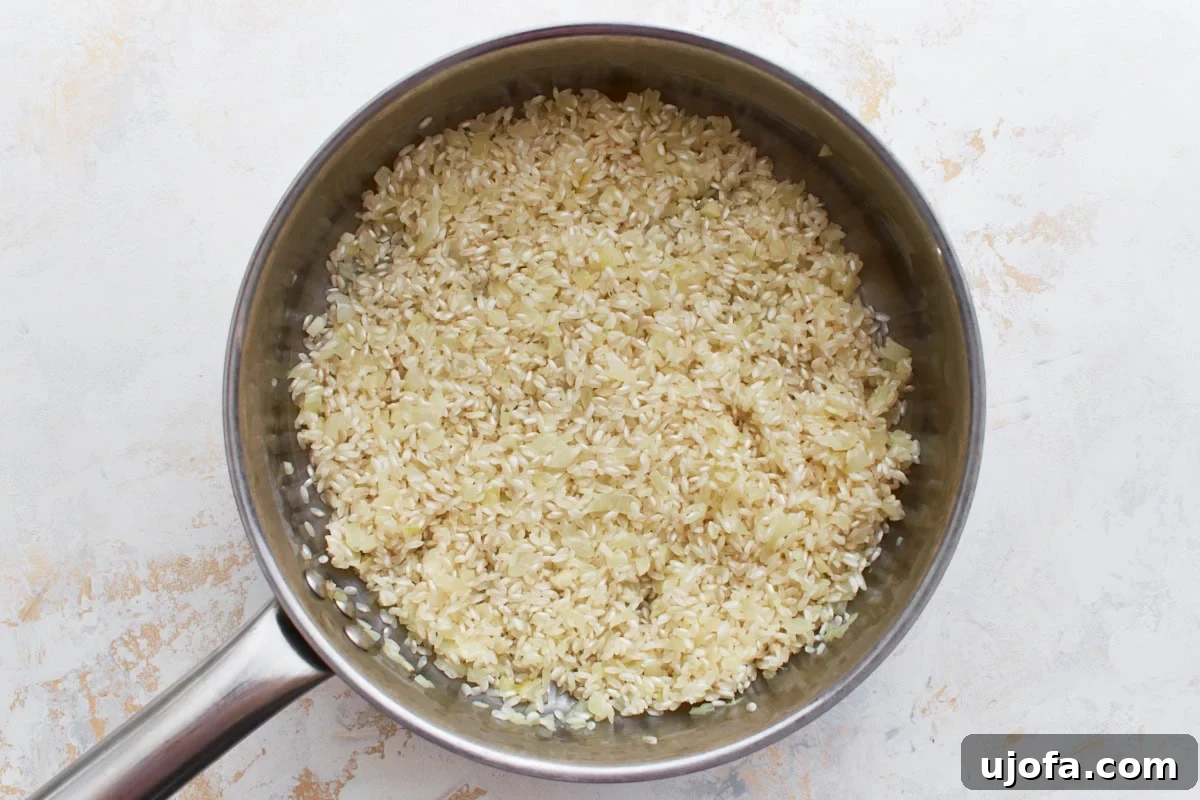
3. Toast the Arborio Rice: Add 1½ cups of Arborio rice to the pan. This special short-grain rice is crucial for risotto due to its high starch content, which is released during cooking to create creaminess. Stir the rice well to ensure every grain is coated in the olive oil and butter mixture. Toast the rice for 1-2 minutes until the edges of the grains start to look slightly translucent, but the center remains white and opaque. This toasting step, known as “tostatura,” helps the rice absorb liquid more evenly and prevents it from becoming mushy.
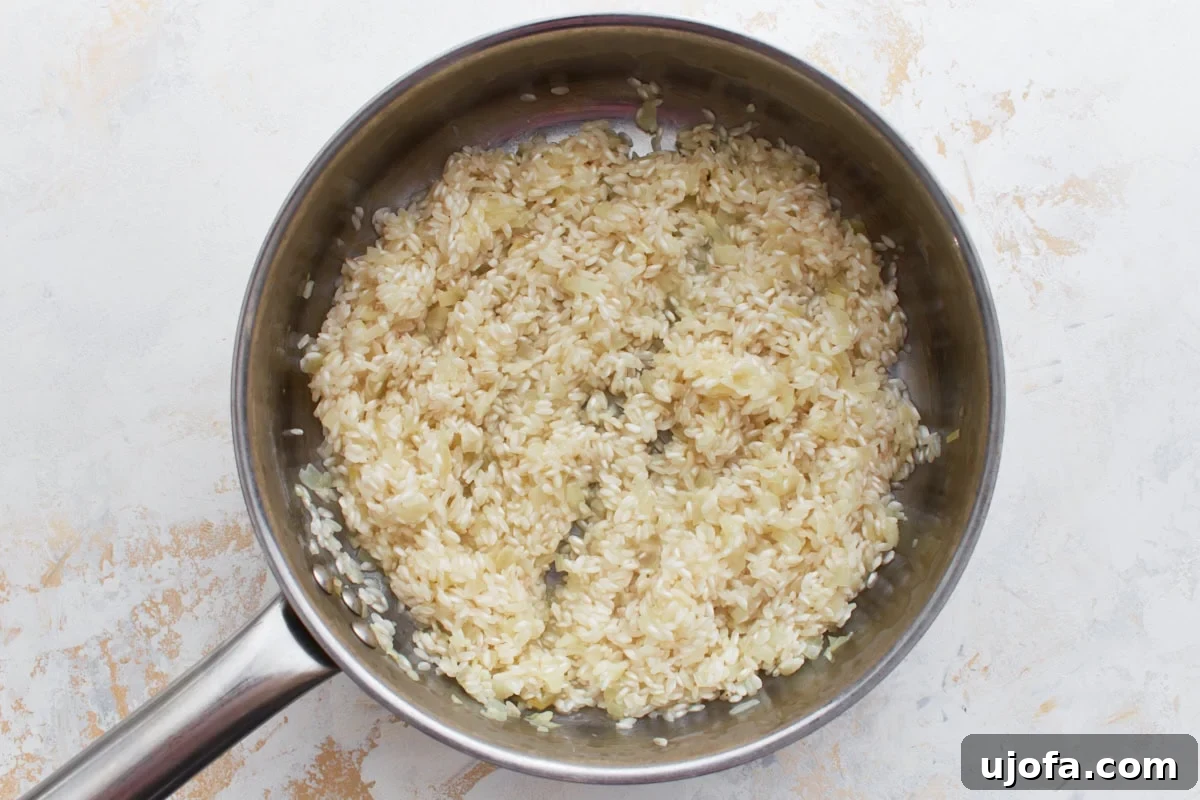
4. Deglaze with Wine: Pour in ½ cup of dry white wine. The alcohol will quickly evaporate, leaving behind a subtle acidity and complex flavor that brightens the risotto. Stir continuously until the wine is almost fully absorbed by the rice. If you prefer to avoid alcohol, you can substitute with an equal amount of additional gluten-free broth and a splash of white wine vinegar for a similar acidic kick.
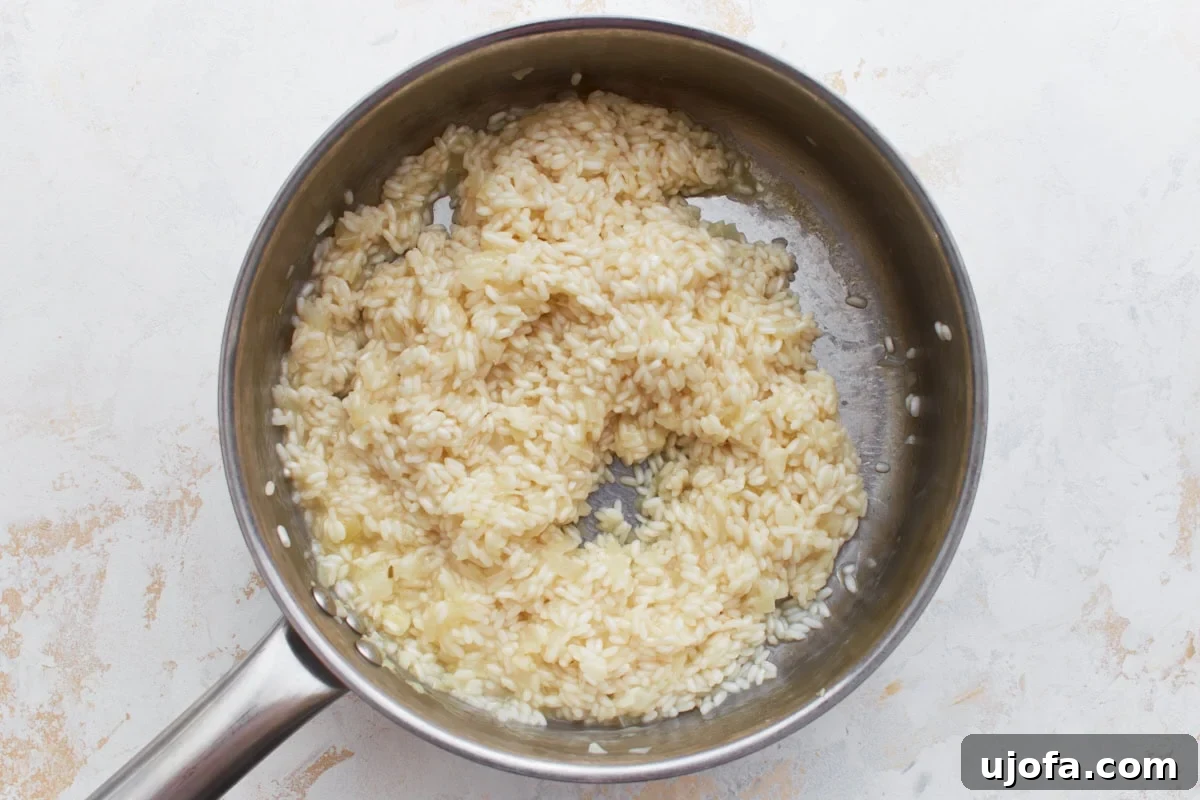
5. The Gradual Broth Addition (The Heart of Risotto): Now begins the most crucial part of making creamy risotto. Begin adding the hot gluten-free broth, about one cup at a time. After each addition, stir frequently. The constant stirring helps to release the starches from the Arborio rice, creating that characteristic creamy, luscious texture. Wait until each cup of broth is almost completely absorbed by the rice before adding the next. This slow and steady process ensures the rice cooks evenly and develops its full potential creaminess. Resist the urge to add all the broth at once, as this will result in boiled rice, not risotto.
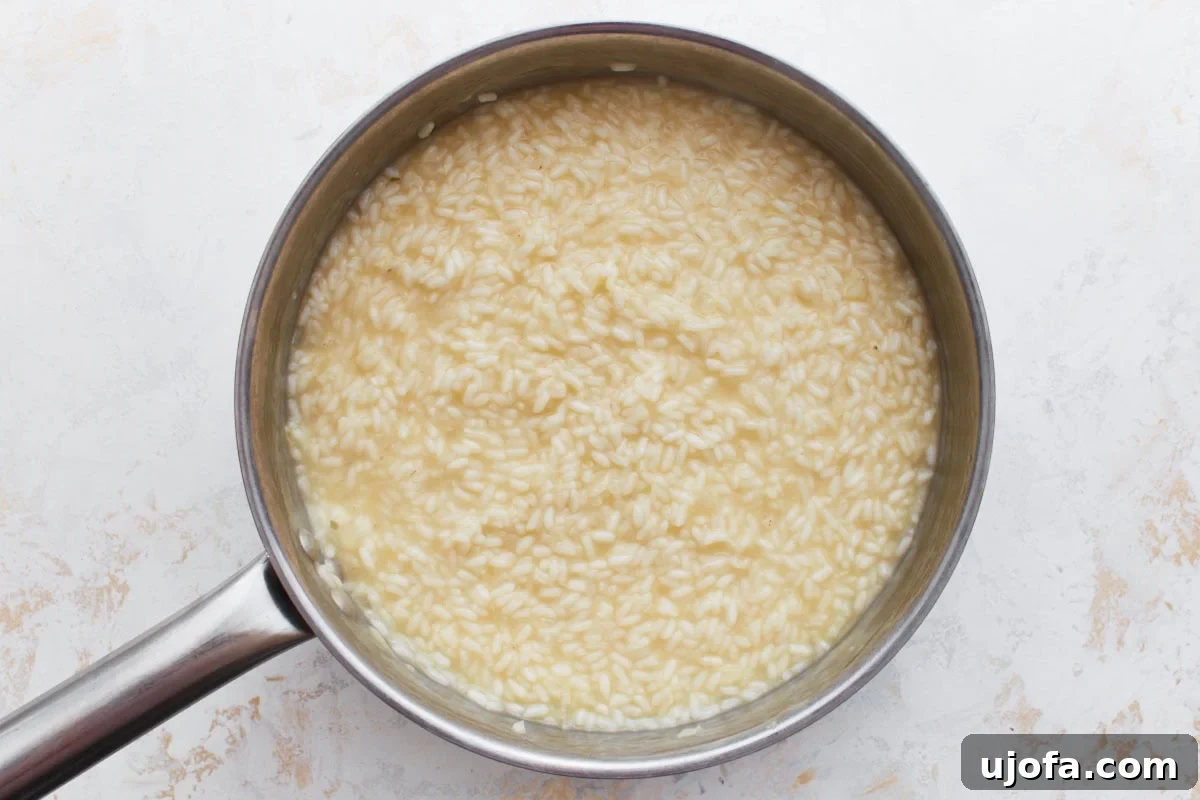
6. Achieve Al Dente Perfection: Continue the broth addition and stirring process for approximately 18-20 minutes. The cooking time can vary slightly depending on your stove and pan, so taste the rice periodically. You’re looking for a texture that is creamy and tender, yet still has a slight bite or “snap” in the center—this is the coveted “al dente” stage. The risotto should be fluid, not stiff, and spread slightly when scooped onto a plate.
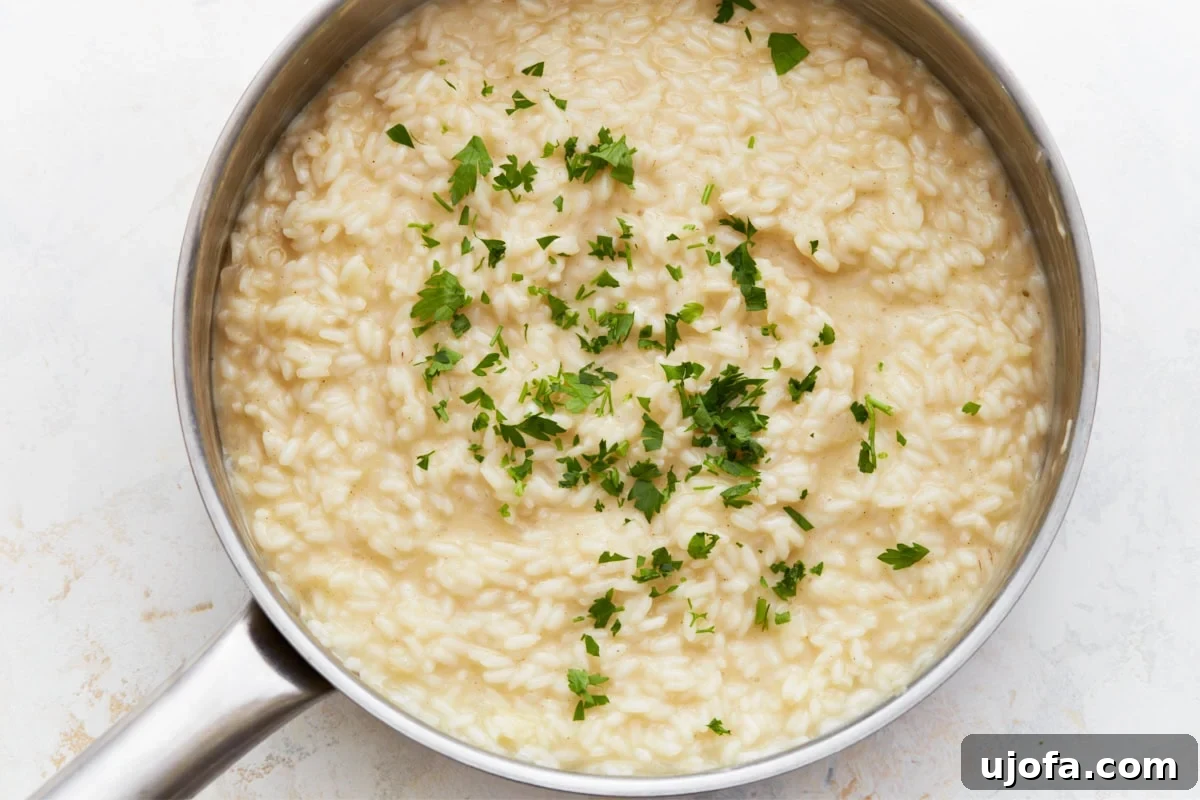
7. Finish and Rest for Manteccare: Once the rice reaches the perfect al dente consistency, remove the pan from the heat. This is the “manteccare” stage, where the final richness is added. Stir in the remaining 1 tablespoon of butter, ½ cup of freshly grated Parmesan cheese, ½ teaspoon of salt, and ¼ teaspoon of black pepper. The butter and cheese emulsify with the rice’s starches, enhancing the creaminess and adding incredible depth of flavor. Let the risotto rest, covered, for 2 minutes before serving. This brief rest allows the flavors to meld and the risotto to thicken slightly to its ideal consistency.
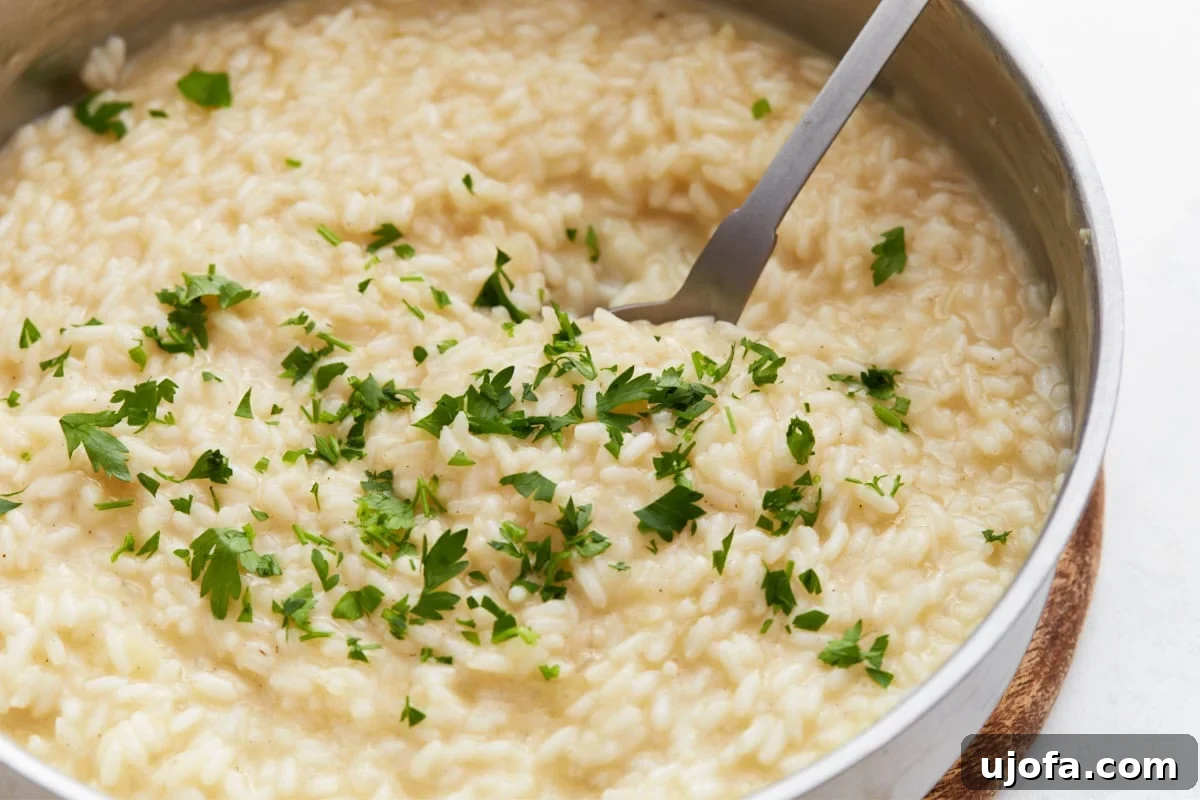
8. Serve and Savor: Serve your homemade gluten-free risotto immediately. Garnish each serving with 2 tablespoons of freshly chopped parsley for a pop of color and freshness, and offer additional grated Parmesan cheese at the table for those who desire more cheesy goodness. Enjoy this truly delicious and comforting Italian masterpiece!
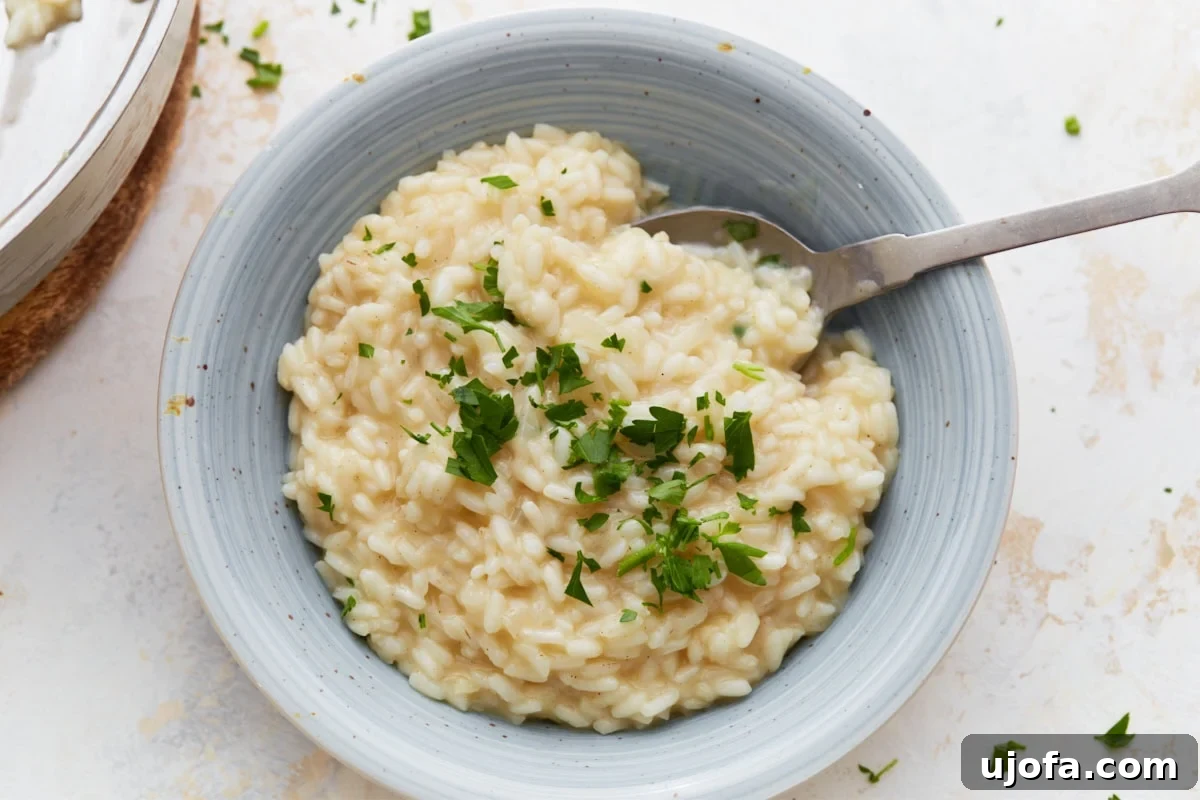
Elevating Your Gluten-Free Risotto: Creative Serving Suggestions
This creamy gluten-free risotto is incredibly versatile, shining brightly whether served as a comforting main course or a sophisticated side dish. Its rich, velvety texture and deep flavors make it an ideal companion to a variety of proteins and vegetables. Here are some enhanced ideas to inspire your next meal:
- Classic Pairings: For a simple yet elegant dinner, serve it alongside perfectly grilled chicken breasts or succulent pan-seared shrimp. The mild flavors of these proteins allow the risotto to truly shine. For meat lovers, a perfectly grilled steak or tender roasted pork tenderloin creates a robust and satisfying meal.
- Family Favorites: My children adore the creamy texture of this risotto, especially when paired with their favorite crispy gluten-free chicken parmesan. The combination of cheesy, crispy chicken and smooth, comforting rice is a guaranteed winner at the dinner table.
- Gourmet Touches: To add a touch of luxury, a delicate drizzle of high-quality truffle oil just before serving can elevate the dish to a whole new level of gourmet sophistication. Or, consider shaving fresh black truffles over the top if you’re feeling particularly indulgent.
- Seasonal Freshness: Embrace the seasons by incorporating fresh, vibrant vegetables. In spring, stirring in blanched spring peas or tender asparagus tips at the end of cooking adds a burst of color and delicate flavor. A handful of fresh arugula stirred in just before serving adds a peppery bite and a lovely green hue.
- Herbaceous Accents: Fresh herbs are a risotto’s best friend. Beyond parsley, consider fresh thyme, chives, or basil scattered over the top for an aromatic finish.
- Seafood Sensation: Transform it into a decadent seafood risotto by folding in sautéed scallops, mussels, or even a mix of seafood for a coastal-inspired dish.
What Else to Add to Your Gluten-Free Risotto
The beauty of risotto lies in its inherent flexibility. It’s a wonderful foundation for incorporating a wide array of ingredients, allowing you to tailor it to your personal taste, seasonal availability, or what you simply have on hand. Here are some ideas to spark your creativity and personalize your gluten-free risotto:
- Earthy Mushrooms: Sautéed mixed mushrooms (cremini, shiitake, or wild mushrooms) add a wonderful umami depth and texture. Cook them separately until golden brown before stirring into the finished risotto.
- Sweet Spring Vegetables: Bright green peas, chopped asparagus, or tender broad beans bring a fresh, slightly sweet flavor. Add them during the last few minutes of cooking so they remain vibrant and crisp-tender.
- Hearty Proteins: Pre-cooked shrimp, shredded roasted chicken, crispy pancetta, or crumbled Italian sausage can turn this side dish into a substantial main course. Add these towards the end to simply warm through.
- Sweet & Savory Squash: Roasted butternut squash, pumpkin, or sweet potato cubes add a delightful sweetness and creamy texture that pairs beautifully with the rich rice. Roast them until tender before stirring into the risotto.
- Aromatic Spices & Herbs: A pinch of saffron threads (steeped in a little warm broth) will give your risotto a beautiful golden hue and distinctive flavor. Fresh herbs like thyme, rosemary, or sage can be added during the broth-adding stage for deeper infusion, or as a garnish.
- Tangy & Leafy Additions: Sun-dried tomatoes (chopped) offer a concentrated burst of sweet-tart flavor. Fresh spinach or arugula can be stirred in at the very end; their residual heat will wilt them perfectly, adding both color and nutrients.
- Citrus Brightness: A squeeze of fresh lemon juice and a grating of lemon zest at the end can cut through the richness and add a refreshing zing.
- Spicy Kick: A pinch of red pepper flakes can introduce a subtle warmth, particularly if you’re pairing your risotto with robust flavors.
Storage and Reheating Instructions for Gluten-Free Risotto
While risotto is best enjoyed immediately after it’s prepared, you can certainly store leftovers and reheat them. The texture will change slightly, but with a few tips, you can still enjoy a delicious meal.
- Refrigeration: Once your risotto has cooled completely to room temperature, transfer it to an airtight container. It will keep well in the refrigerator for up to 2 days. The rice will continue to absorb liquid and firm up significantly, so expect it to be much thicker than when freshly made.
- Freezing for Longer Storage: For extended storage, portion the cooled risotto into freezer-safe zip-top bags or airtight containers. If using bags, flatten them to save space and allow for quicker thawing. Risotto can be stored in the freezer for up to 2 months. Label with the date to keep track of freshness.
- Reheating on the Stovetop: This is the preferred method for reheating risotto to best restore its creamy texture.
- Transfer the desired portion of cold or thawed risotto to a saucepan over medium-low heat.
- Add a splash (about ¼ to ½ cup per serving) of hot gluten-free broth or water.
- Stir gently and continuously, slowly incorporating the liquid, until the risotto becomes warm and creamy again. You may need to add a bit more liquid as it heats up.
- Adjust seasoning with salt and pepper as needed. You can also stir in a tiny knob of fresh butter or a sprinkle of Parmesan to enhance the creaminess and flavor.
- Reheating in the Microwave: While not ideal for optimal texture, the microwave can be used in a pinch. Place risotto in a microwave-safe bowl, add a tablespoon or two of broth or water, and cover loosely. Heat in short bursts (30-60 seconds), stirring well between each, until heated through and somewhat creamy. You may need to add more liquid and stir vigorously to break up any clumps.
More Gluten-Free Italian Recipes You’ll Love
- Gluten-Free Creamy Italian Pasta Salad: A refreshing and flavorful side dish perfect for any gathering.
- Gluten-Free Lasagna: Layers of rich sauce, cheese, and gluten-free pasta make for the ultimate comfort food.
- Gluten-Free Baked Ziti: A hearty, cheesy casserole that’s always a crowd-pleaser.
- Homemade Gluten-Free Pasta: Learn how to make fresh, tender pasta from scratch for an authentic Italian experience.
We hope this comprehensive guide inspires you to create your own perfect bowl of creamy gluten-free risotto. It’s a dish that embodies comfort, elegance, and the joy of simple, quality ingredients. Happy cooking!
Tried this recipe? Mention @mamaknowsglutenfree or tag #mamaknowsglutenfree! We love seeing your creations!