
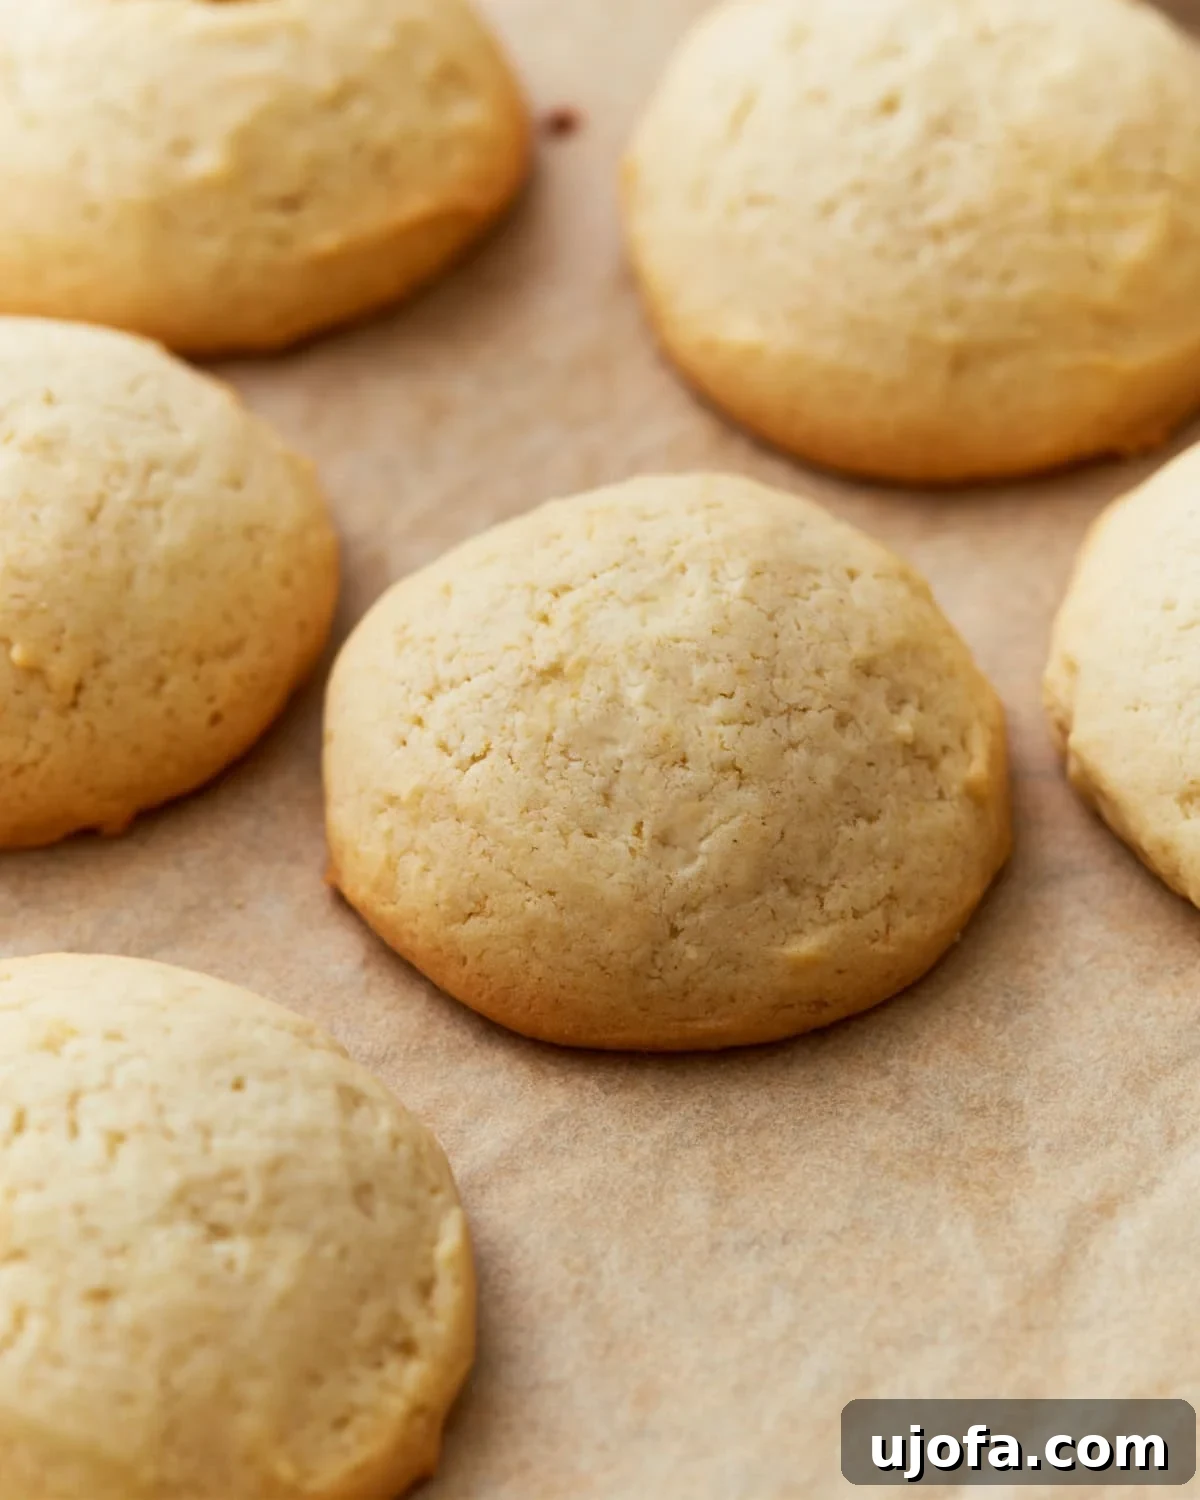
There’s a special kind of nostalgia that comes with classic vanilla wafers. For many, including myself, these delicate, golden cookies were a staple throughout childhood—the perfect companion to a glass of milk, an essential layer in beloved family desserts, or simply a sweet bite enjoyed on their own. However, the journey to a gluten-free lifestyle often means bidding farewell to such cherished treats. That’s precisely why I embarked on a mission to recreate these iconic cookies, ensuring that the joy of a perfect vanilla wafer could still be a part of my gluten-free world. And let me tell you, these homemade gluten-free vanilla wafers aren’t just a substitute; they’re a revelation. They capture everything we love about the original: the soft, buttery texture, the subtle yet rich vanilla flavor, and that irresistible sweetness that makes them utterly delightful.
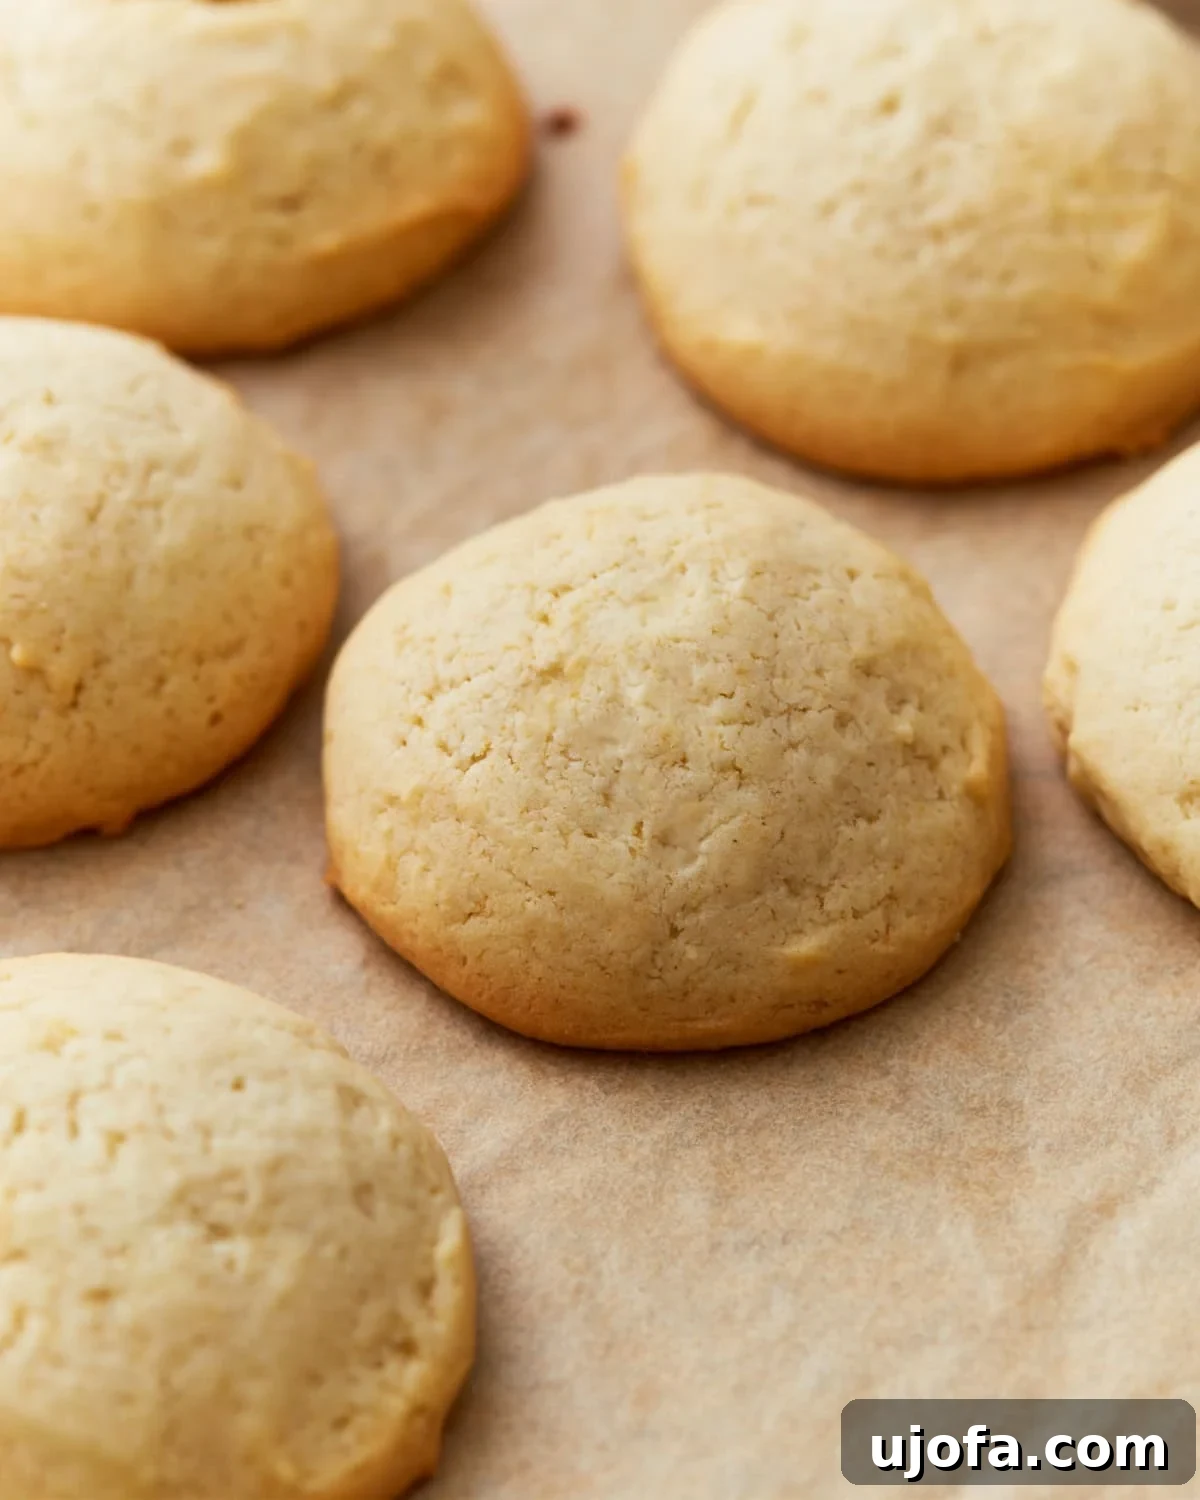
What truly sets this gluten-free vanilla wafer recipe apart is its sheer simplicity. You won’t find any exotic or hard-to-find ingredients here. Just common pantry staples like unsalted butter, granulated sugar, fresh eggs, and a reliable gluten-free all-purpose flour blend are all you need. Forget about lengthy chilling times; this dough comes together quickly and effortlessly in a single bowl with a hand or stand mixer. It’s a fuss-free baking experience that yields incredibly rewarding results every time. While these vanilla wafers are undeniably delicious on their own, perfect for dunking in your morning coffee or secretly snatching straight from the cookie jar, their true magic often shines in classic desserts. I particularly love using them in homemade gluten-free banana pudding. Their tender crumb gracefully absorbs the creamy layers of pudding and sliced bananas, holding their shape beautifully without becoming mushy. It transforms a simple dessert into a comforting, nostalgic masterpiece that always has everyone asking for seconds. These wafers are not just cookies; they are an invitation to rediscover beloved flavors, gluten-free style.
Why This Gluten-Free Vanilla Wafer Recipe Is a Must-Try
If you’re searching for an authentic gluten-free cookie experience that rivals its traditional counterpart, look no further. This recipe for homemade gluten-free vanilla wafers is a game-changer for several compelling reasons:
- Uncomplicated Ingredients: The beauty of these wafers lies in their simplicity. Using everyday kitchen staples means you can whip up a batch whenever the craving strikes, without a special grocery run. You likely have most of these ingredients on hand already.
- Effortless Preparation: This is a no-fuss recipe. There’s no elaborate dough handling, no complex steps, and crucially, no need for the dough to chill. This means less waiting time and more immediate cookie gratification! The dough mixes quickly and easily, making it perfect for novice bakers or those short on time.
- Perfect Texture Every Time: Achieving the ideal texture in gluten-free baking can be a challenge, but this recipe consistently delivers wafers that are soft, tender, and melt-in-your-mouth buttery. They have just the right amount of sweetness to satisfy your dessert cravings without being overly rich.
- Incredible Versatility: These wafers are not just for snacking. They are incredibly versatile and can elevate a variety of desserts. From classic banana puddings and trifles to delightful parfaits and even as a base for mini cheesecakes, their delicate structure and flavor make them an ideal component. They hold their shape and absorb flavors beautifully, making them a staple for any gluten-free dessert enthusiast.
- A Taste of Nostalgia, Gluten-Free: For many, vanilla wafers are synonymous with childhood memories. This recipe allows those on a gluten-free diet to reconnect with those cherished flavors and traditions, proving that going gluten-free doesn’t mean sacrificing comfort or taste.
Essential Gluten-Free Baking Tips for Perfect Wafers
Baking gluten-free requires a little extra attention to detail, but with these tips, you’ll achieve perfect gluten-free vanilla wafers every single time:
- Room Temperature Ingredients Are Key: This might seem like a small detail, but it makes a huge difference. Allowing cold ingredients like butter, eggs, and milk to come to room temperature (usually 20-30 minutes on the counter) ensures they cream together smoothly and evenly. This creates a more consistent dough, which leads to a superior texture in your finished wafers. Cold ingredients don’t emulsify as well, resulting in a lumpy batter and potentially dense, unevenly baked cookies.
- Gentle Flattening for Classic Shape: Before baking, I recommend gently flattening each dough round with damp fingers. This isn’t just for aesthetics; it helps the cookies bake more evenly and encourages that classic, slightly crisp edge and soft center characteristic of traditional vanilla wafers. Without this step, they might bake into more rounded, dome-like cookies.
- Watch the Bake Time Closely: Gluten-free baked goods can go from perfectly golden to overdone very quickly. Keep a keen eye on your wafers as they bake. Once the edges turn a light golden brown, they are ready to come out of the oven. Overbaking can lead to a dry, overly crisp texture, sacrificing that desirable soft, buttery interior. Remember that cookies continue to cook slightly on the hot baking sheet even after being removed from the oven.
- Understanding Your Gluten-Free Flour Blend: The quality and type of gluten-free all-purpose flour blend you use are critical. Not all blends are created equal. This recipe calls for a blend that includes xanthan gum. Xanthan gum is a crucial ingredient in gluten-free baking as it provides structure and elasticity that gluten would normally offer. If your chosen blend does not contain xanthan gum, refer to the recipe notes for guidance on how much to add. Using a reliable, high-quality blend designed for baking will yield the best results.
- Accurate Measuring for Consistency: While measuring cups are convenient, for gluten-free baking, precision is paramount. If possible, use a kitchen scale to measure your dry ingredients, especially flour. This eliminates variations that can occur from packing flour too tightly or too loosely, ensuring consistent results in every batch of your homemade vanilla wafers.
Homemade Gluten-Free Vanilla Wafers
By: Sabine Venier
Cook: 12 mins
Total: 22 mins
Share by Email
Print Recipe
These homemade gluten-free vanilla wafers seriously deliver. They’re soft, buttery, and just the right amount of sweet—great for layering into desserts, dipping in coffee, or sneaking straight from the cookie jar.
Step-by-step photos can be seen below the recipe card.
Equipment
- 1 baking sheet
Ingredients
- 1/2 cup unsalted butter, softened
- 1/2 cup sugar
- 1 large egg, room temperature
- 2 tablespoons milk, room temperature
- 1 tablespoon vanilla extract
- 1 1/2 cups gluten-free all-purpose flour blend with xanthan gum
- 3/4 teaspoon baking powder
- 1/4 teaspoon salt
Instructions
- Preheat oven to 350°F (177°C) and line a baking sheet with parchment paper. This prevents sticking and ensures easy cleanup.
- In a large mixing bowl, using a stand mixer fitted with the paddle attachment or a hand mixer, cream together the softened butter and sugar until the mixture is light, fluffy, and pale yellow. This usually takes about 2–3 minutes, scraping down the sides of the bowl as needed.
- Beat in the room temperature egg, milk, and vanilla extract. Continue mixing until all ingredients are well combined and the mixture is smooth.
- Gradually add the gluten-free all-purpose flour blend, baking powder, and salt to the wet ingredients. Mix on low speed until a smooth dough forms. Be careful not to overmix, as this can lead to a tougher cookie.
- Drop rounded teaspoons of dough onto the prepared baking sheet, leaving approximately 2 inches of space between each cookie to allow for spreading during baking.
- Gently flatten each dough mound slightly with wet fingertips. This helps achieve the classic wafer shape and promotes even baking.
- Bake for 12-14 minutes in the preheated oven, or until the edges of the wafers are lightly golden brown and the centers are set. The cookies should still be slightly soft to the touch.
- Allow the cookies to cool on the baking sheet for 5 minutes. This crucial step allows them to firm up before being moved. Then, carefully transfer them to a wire rack to cool completely.
Notes
- If you prefer a crispier wafer, extend the baking time by an additional 1-2 minutes, watching carefully to prevent burning.
- If your gluten-free flour blend does not contain xanthan gum, you’ll need to add it separately. A good rule of thumb for cookies is to add ¼ teaspoon of xanthan gum per cup of flour. For this recipe, that would be approximately ¾ to 1 teaspoon of xanthan gum.
- For an extra layer of flavor, consider adding a pinch of lemon zest, orange zest, cinnamon, or nutmeg to the dough along with the dry ingredients.
Nutrition
Calories: 107kcal
Carbohydrates: 13g
Protein: 1g
Fat: 6g
Saturated Fat: 3g
Polyunsaturated Fat: 0.3g
Monounsaturated Fat: 1g
Trans Fat: 0.2g
Cholesterol: 24mg
Sodium: 55mg
Potassium: 9mg
Fiber: 1g
Sugar: 6g
Vitamin A: 175IU
Calcium: 22mg
Iron: 0.4mg
Nutrition information is automatically calculated, so should only be used as an approximation.
Additional Info
Cuisine: American
How to Make Gluten-Free Vanilla Wafers Step by Step
Crafting these delightful gluten-free vanilla wafers is a straightforward process. Follow these step-by-step instructions, complete with visual cues, to ensure your homemade batch turns out perfectly every time.
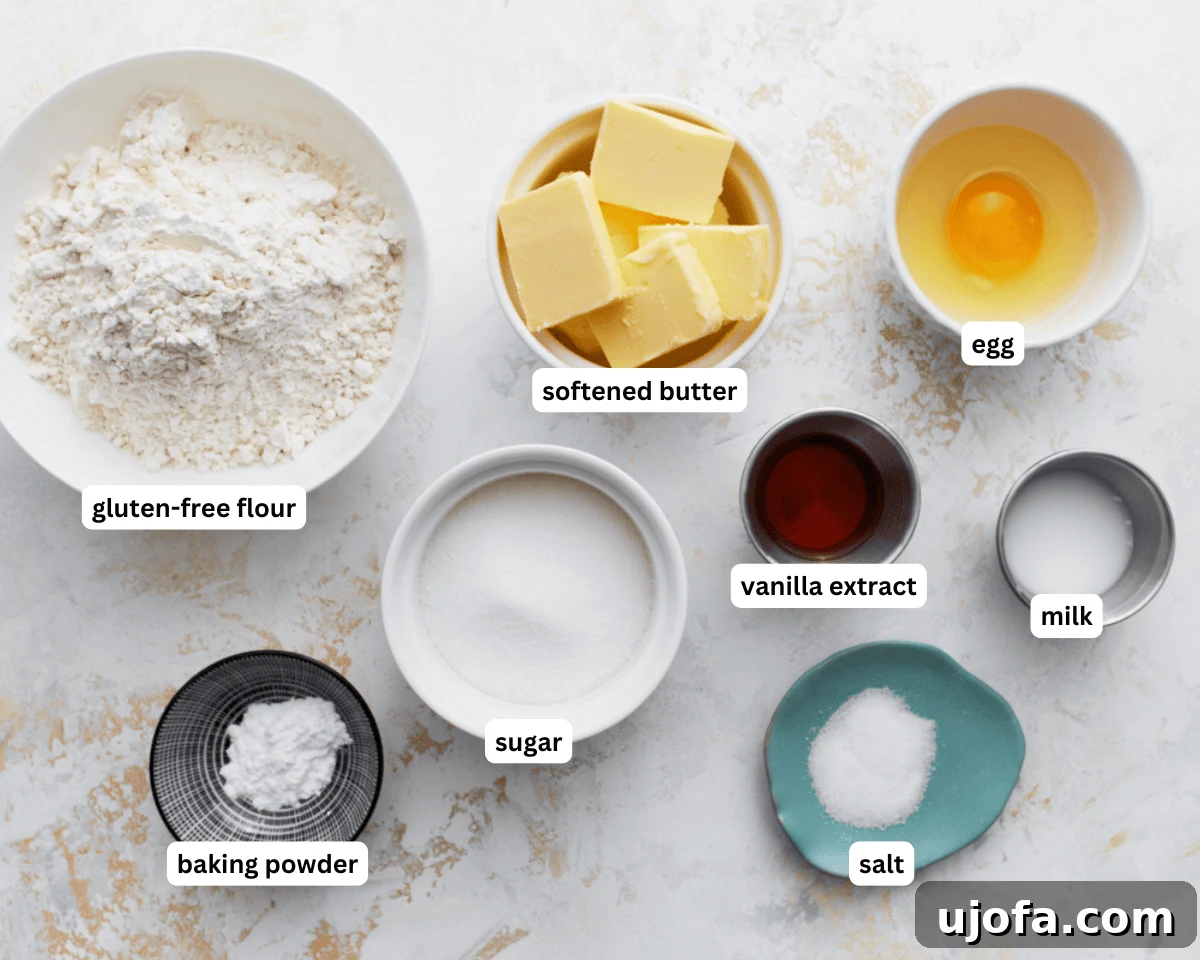
Step 1: Gather Your Ingredients and Prepare Your Oven. Begin by assembling all the necessary ingredients, ensuring your butter, egg, and milk are at room temperature. Preheat your oven to 350°F (177°C). Line a baking sheet with parchment paper; this simple step will prevent your cookies from sticking and makes cleanup a breeze.
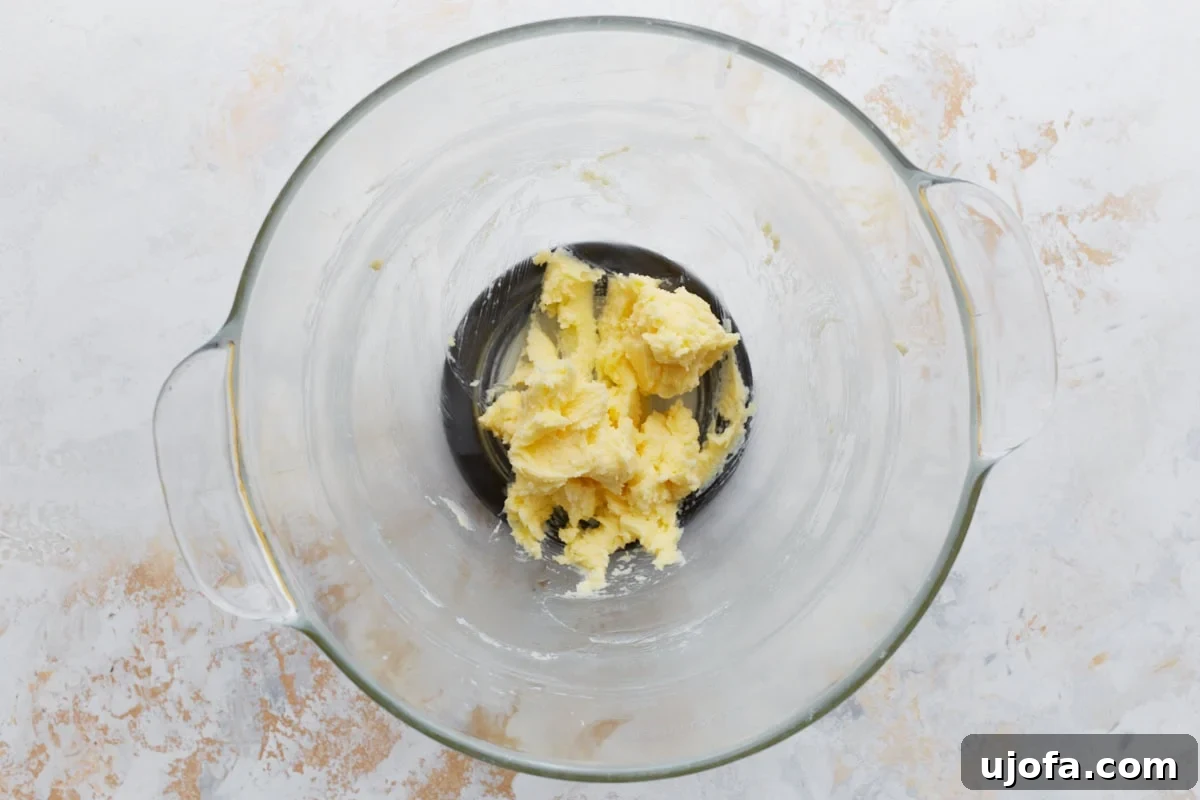
Step 2: Cream Butter and Sugar Until Light and Fluffy. In a large mixing bowl, combine ½ cup of softened unsalted butter with ½ cup of granulated sugar. Using either a stand mixer with a paddle attachment or a hand mixer, cream these two ingredients together on medium speed for about 2-3 minutes. You’re looking for a mixture that becomes noticeably lighter in color, pale yellow, and takes on a fluffy, airy texture. This aeration is crucial for a tender wafer.
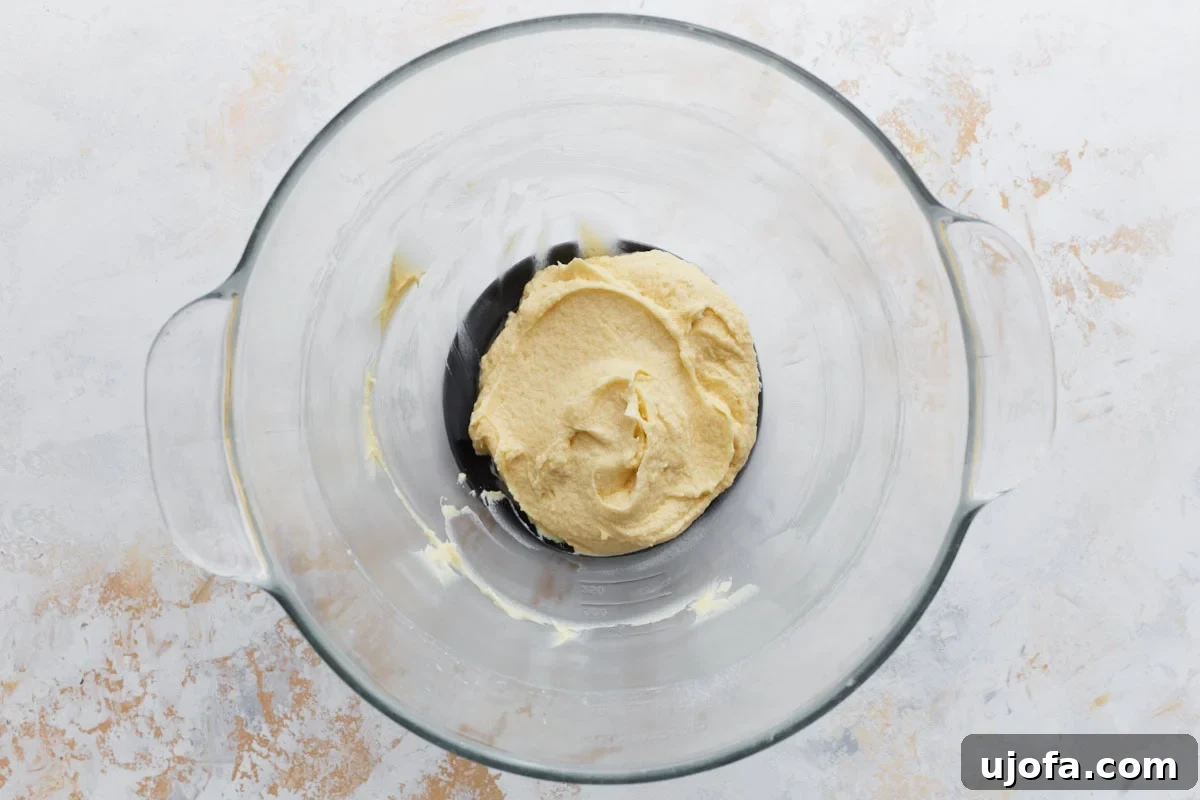
Step 3: Incorporate the Wet Ingredients. With the mixer still running on low speed, add 1 large room temperature egg, 2 tablespoons of room temperature milk, and 1 tablespoon of pure vanilla extract to the creamed butter and sugar. Continue to beat until all the wet ingredients are thoroughly combined and the mixture forms a smooth, uniform batter. Scrape down the sides of the bowl to ensure everything is incorporated.
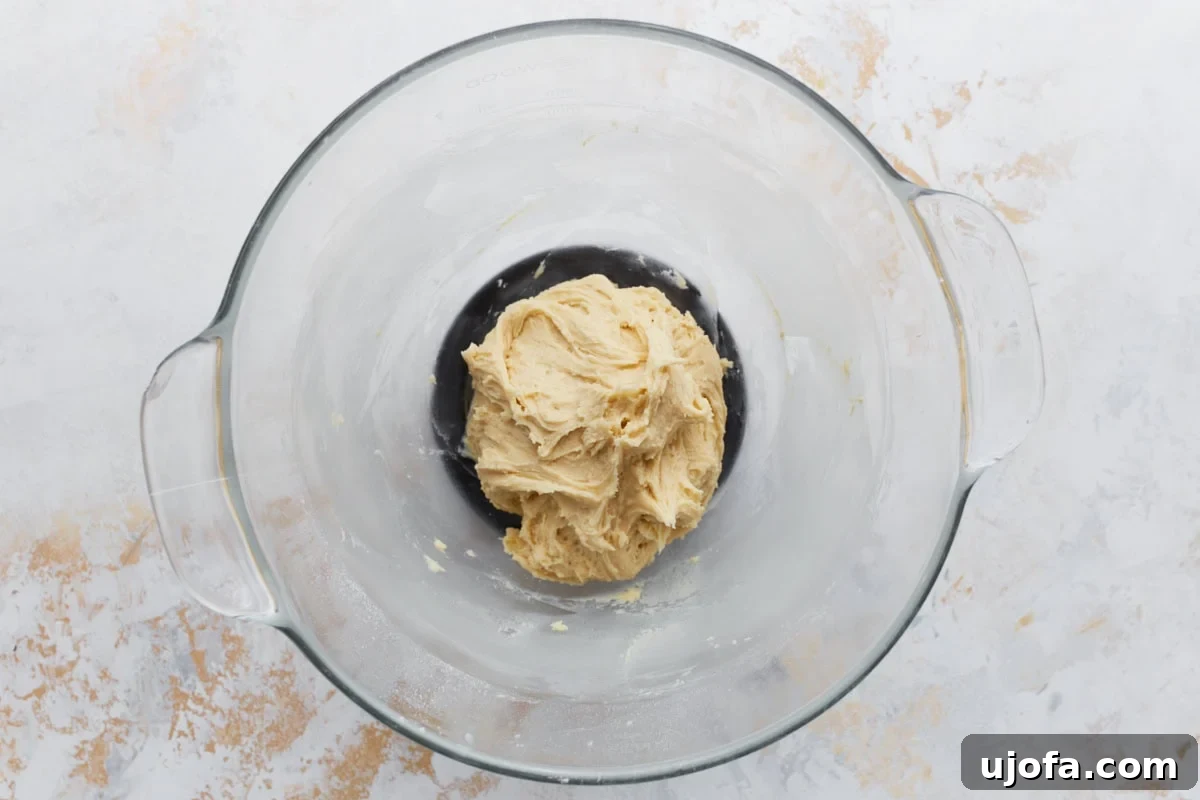
Step 4: Add the Dry Ingredients to Form the Dough. Now, it’s time to introduce the dry components. Add 1 ½ cups of your preferred gluten-free all-purpose flour blend (one that contains xanthan gum, or add it separately as per notes), ¾ teaspoon of baking powder, and ¼ teaspoon of salt to the wet mixture. Mix on low speed until a smooth, cohesive dough forms. The dough should be thick and pliable, not overly sticky. Avoid overmixing once the flour is added, as this can lead to a less tender cookie.
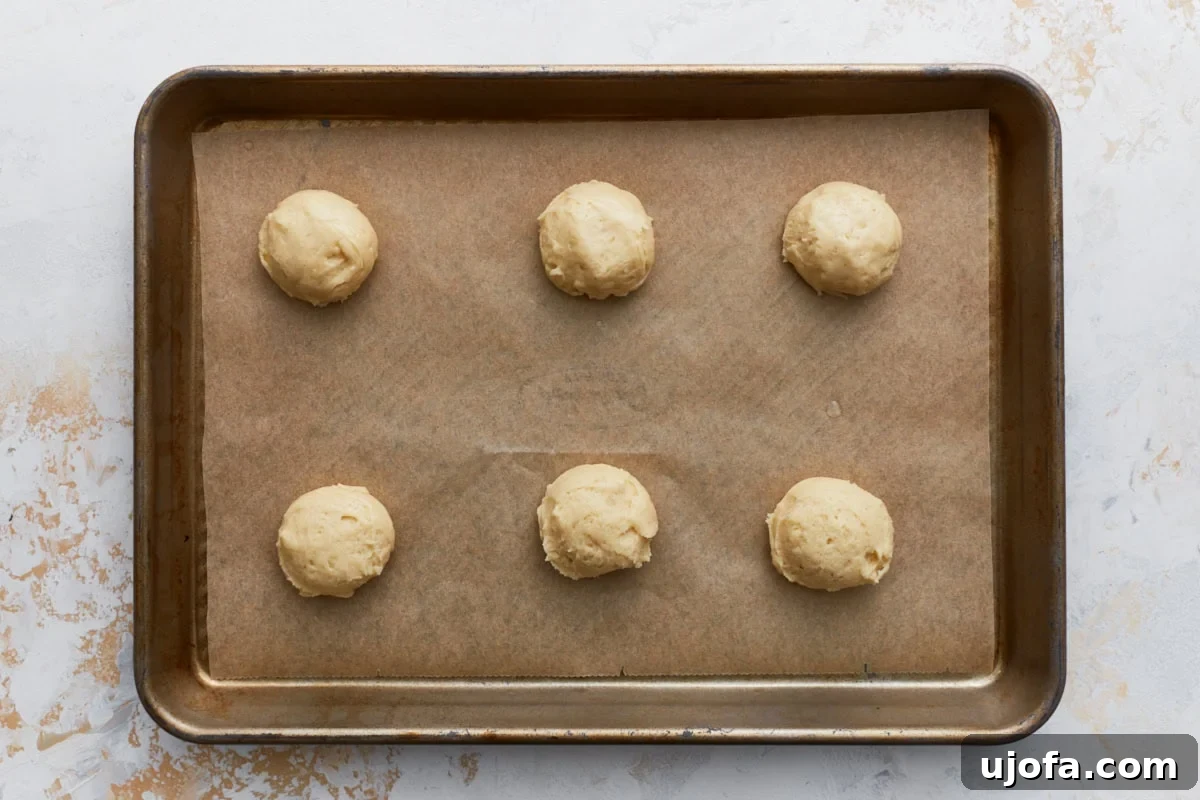
Step 5: Portion and Shape the Dough. Using a small spoon or a cookie scoop, drop rounded teaspoons of dough onto your prepared baking sheet. Ensure you leave approximately 2 inches of space between each portion, as the cookies will spread slightly during baking. Next, lightly dampen your fingertips and gently press down on each mound of dough to slightly flatten it. This helps them achieve that signature flat wafer shape and ensures they bake evenly.
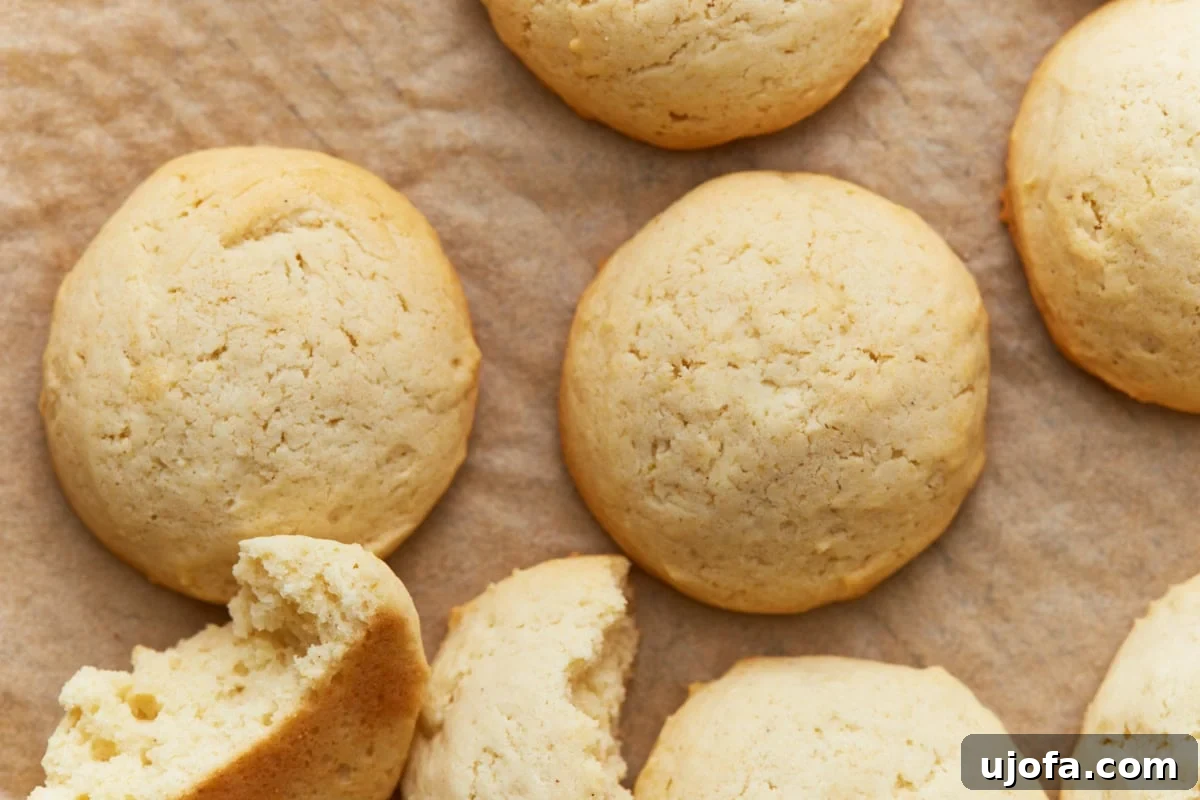
Step 6: Bake Until Golden. Place the baking sheet into your preheated oven and bake for 12–14 minutes. The key here is to watch for visual cues: the edges of the wafers should just begin to turn a light golden brown, and the centers should appear set but still slightly soft. Overbaking can lead to a harder, less tender cookie, so pull them out as soon as they reach this perfect stage.
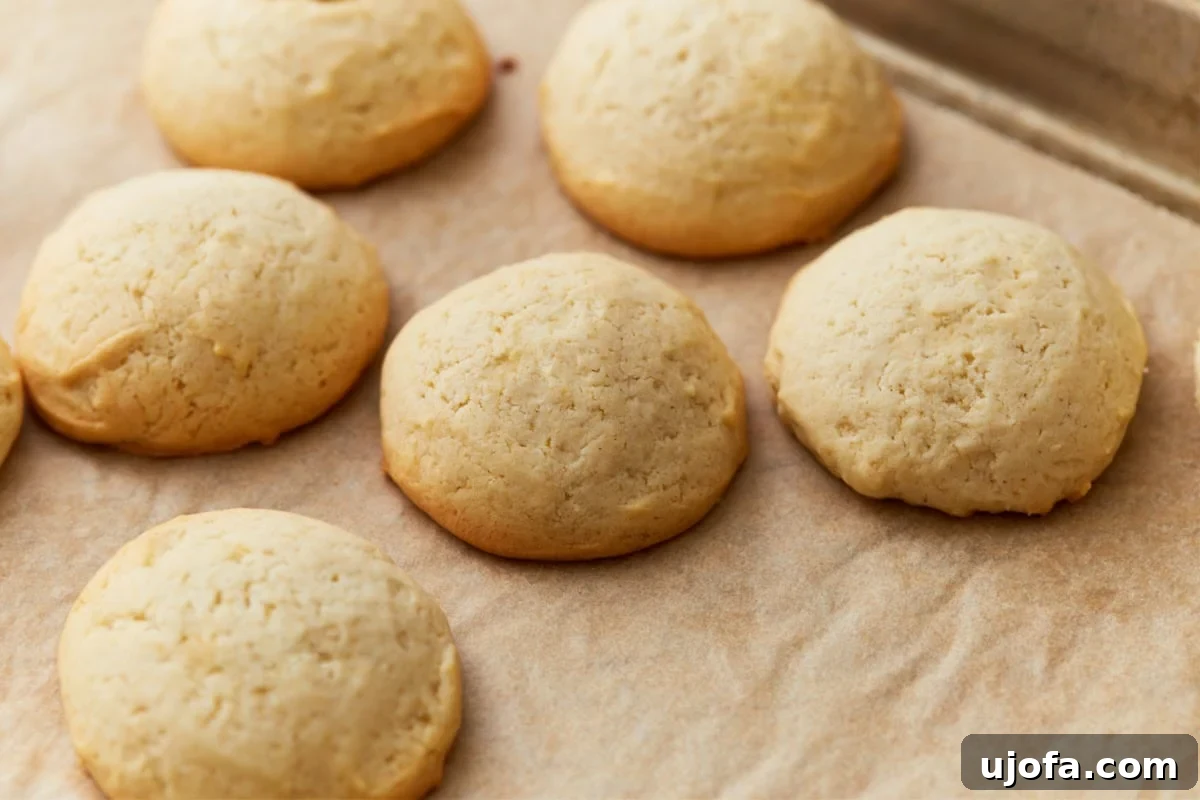
Step 7: Cool and Enjoy Your Delicious Wafers. Once baked, remove the baking sheet from the oven. Allow the gluten-free vanilla wafers to cool directly on the hot baking sheet for about 5 minutes. This cooling period is essential as it allows them to set and firm up properly, preventing them from breaking when you move them. After 5 minutes, carefully transfer the wafers to a wire rack to cool completely. Once cooled, they are ready to be served and savored!
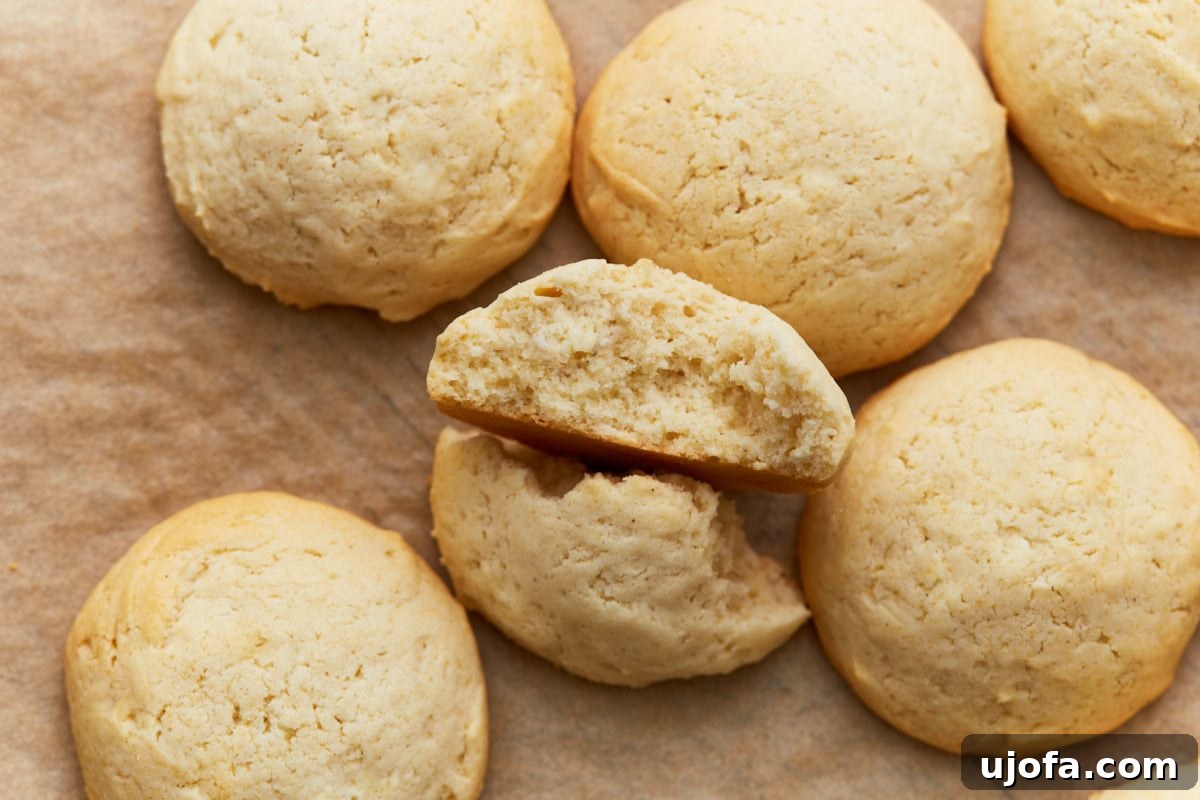
Creative Ways to Enjoy Your Gluten-Free Vanilla Wafers
These gluten-free vanilla wafers are so wonderfully versatile, they open up a world of possibilities beyond just a simple snack. Here are some of my favorite ways to enjoy them:
- The Ultimate Banana Pudding: This is arguably their most iconic use. Layer them generously into a homemade gluten-free banana pudding or banana cream pie. Their tender crumb is perfect for soaking up the creamy pudding and sweet banana flavors, while still maintaining enough structure to add a delightful texture to each spoonful.
- A Perfect Companion to Coffee or Tea: For a simple yet satisfying treat, serve these wafers alongside your afternoon cup of coffee or tea. Their buttery sweetness pairs beautifully with warm beverages, offering a comforting moment of indulgence.
- Dipped in Dairy-Free Hot Chocolate: Elevate your hot chocolate experience! These wafers are fantastic for dipping into a rich cup of dairy-free hot chocolate. The warmth and chocolate coating create an irresistible combination that’s incredibly easy to prepare.
- Layered in Dessert Parfaits or Trifles: Crumble them into individual dessert parfaits or a grand trifle. Alternate layers of crushed wafers with fresh fruit, whipped cream (dairy-free if needed), and a gluten-free pudding or custard for an elegant and delicious presentation.
- Crumbled Topping for Ice Cream or Yogurt: For a quick textural boost, crumble a few wafers over a scoop of your favorite ice cream or a bowl of creamy yogurt. They add a lovely vanilla crunch and extra sweetness.
- Base for Mini Cheesecakes: Get creative and use crushed wafers mixed with a little melted butter as a simple, no-bake crust for mini gluten-free cheesecakes in cupcake liners.
- On Their Own: Sometimes, the simplest pleasures are the best. Enjoy a handful of these wafers straight from the cookie jar for a delightful, satisfying snack whenever a sweet craving hits.
Storing Your Homemade Gluten-Free Wafers
To ensure your homemade gluten-free vanilla wafers stay fresh and delicious for as long as possible, proper storage is key. Here are my best tips for keeping them perfectly soft and ready to enjoy:
- Countertop Storage: Once completely cooled, store your baked vanilla wafers in an airtight container at room temperature. Placed on the kitchen counter, they will maintain their wonderful soft texture and fresh flavor for up to one week. Be sure the container is truly airtight to prevent them from drying out or becoming stale.
- Freezing Dough for Future Cravings: For ultimate convenience, you can easily freeze portions of the raw dough. Simply shape the dough into small, rounded balls, similar to how you would portion them for baking. Place these dough balls on a baking sheet lined with parchment paper and freeze until they are solid. Once firm, transfer the frozen dough balls to a freezer-safe zip-top bag or an airtight container. They will keep beautifully in the freezer for up to 3 months. When you’re ready for freshly baked cookies, there’s no need to thaw! Just place the frozen dough balls on a prepared baking sheet and bake straight from the freezer, adding a couple of extra minutes to the usual baking time (approximately 14-16 minutes total). This method is fantastic for having warm, homemade cookies on demand.
- Freezing Baked Wafers: If you’ve baked a large batch and want to save some for later, you can also freeze the finished cookies. Allow them to cool completely. Then, arrange them in a single layer on a baking sheet and freeze until solid. Once frozen, transfer the wafers to an airtight freezer-safe container or a zip-top bag, separating layers with parchment paper to prevent sticking. They can be stored in the freezer for up to 2-3 months. To enjoy, simply thaw them at room temperature for an hour or two, or gently warm them in a low oven for a few minutes to restore some of their original freshness.
Frequently Asked Questions (FAQ)
Navigating gluten-free baking can sometimes bring up questions. Here are some common queries about making these delicious gluten-free vanilla wafers:
Q: Can I make these vanilla wafers dairy-free?
A: Yes, absolutely! This recipe can easily be adapted to be dairy-free. Simply substitute the unsalted butter with a high-quality dairy-free butter alternative (stick form works best), and use your preferred dairy-free milk (such as almond milk, soy milk, or oat milk) in place of regular milk. Ensure both are at room temperature for best results.
Q: My gluten-free flour blend doesn’t contain xanthan gum. What should I do?
A: Xanthan gum is crucial for providing structure and preventing crumbling in gluten-free baked goods. If your blend doesn’t include it, you’ll need to add it separately. A general guideline for cookies is to add ¼ teaspoon of xanthan gum per cup of gluten-free flour. For this recipe, which uses 1 ½ cups of flour, you would add approximately ¾ to 1 teaspoon of xanthan gum along with the dry ingredients.
Q: How can I make these wafers crispier?
A: If you prefer a crispier vanilla wafer, simply extend the baking time by an additional 1-2 minutes. Keep a close watch on them to prevent burning; you want them golden brown, not dark. The longer bake time will remove more moisture, resulting in a snappier texture.
Q: Can I use different extracts for flavor variations?
A: Absolutely! While vanilla extract is classic, feel free to experiment. Almond extract, lemon extract, or even a touch of peppermint extract (for a festive twist) can be used to replace or complement the vanilla. Start with ½ teaspoon of any new extract and adjust to taste.
Q: Why are room temperature ingredients so important for this recipe?
A: Using room temperature butter, eggs, and milk allows them to emulsify and combine much more smoothly with the sugar. This creates a light, airy, and uniform batter, which in turn leads to a more consistent texture in your baked wafers. Cold ingredients will result in a lumpy batter and can yield dense, uneven cookies.
Q: How long do these gluten-free vanilla wafers last?
A: When stored in an airtight container at room temperature, these wafers will remain fresh and delicious for up to 5-7 days. If you freeze the baked wafers, they can last for up to 2-3 months.
Flavor Variations for Your Gluten-Free Wafers
While the classic vanilla flavor is undeniably delicious, these homemade gluten-free vanilla wafers serve as a fantastic canvas for various flavor experiments. Don’t hesitate to get creative and personalize your batch:
- Citrus Zest Infusion: Add 1-2 teaspoons of finely grated lemon zest or orange zest to the dough along with the wet ingredients. The citrus brightens the vanilla flavor and adds a refreshing tang.
- Warm Spice Blend: For a cozy twist, mix in ¼ teaspoon of ground cinnamon, nutmeg, or cardamom with your dry ingredients. These warm spices complement the vanilla beautifully, making them perfect for autumn or holiday baking.
- Almond or Coconut Extract: Substitute half of the vanilla extract with almond extract for a delicate nutty flavor, or coconut extract for a tropical hint. Always start with a small amount of stronger extracts and adjust to your preference.
- Mini Chocolate Chip Wafers: Fold in about ½ cup of mini chocolate chips (dairy-free if preferred) into the dough during the final mixing stage. The small chips melt slightly, creating pockets of chocolatey goodness within the tender wafer.
- Dipped in Chocolate: Once cooled, dip half of each wafer into melted chocolate (dark, milk, or white chocolate chips work well). Place them on parchment paper until the chocolate sets for an elegant and extra decadent treat. Sprinkle with sea salt or sprinkles before the chocolate hardens for added flair.
- Espresso Kick: For coffee lovers, add ½ teaspoon of instant espresso powder (dissolved in a tiny amount of hot water, then cooled) to the wet ingredients. This enhances the vanilla and adds a subtle coffee note without making the wafers taste distinctly like coffee.
More Delicious Gluten-Free Cookie Recipes to Explore
If you’ve enjoyed making these gluten-free vanilla wafers, you’ll be thrilled to discover other delightful gluten-free cookie recipes that are just as easy and satisfying. Expand your baking repertoire with these fantastic options:
- Gluten-Free Ladyfingers
- Gluten-Free Biscotti
- Gluten-Free Shortbread Cookies
- Almond Flour Biscuits
Final Thoughts on These Irresistible Wafers
Recreating classic favorites in a gluten-free format can be incredibly rewarding, and these homemade gluten-free vanilla wafers are a testament to that joy. They prove that you don’t have to compromise on taste or texture when embracing a gluten-free lifestyle. With their soft, buttery crumb and delightful vanilla flavor, they are truly a versatile addition to your baking arsenal, perfect for simple snacking or starring in elaborate desserts. So go ahead, whip up a batch, and rediscover the simple pleasure of a perfectly baked vanilla wafer!