
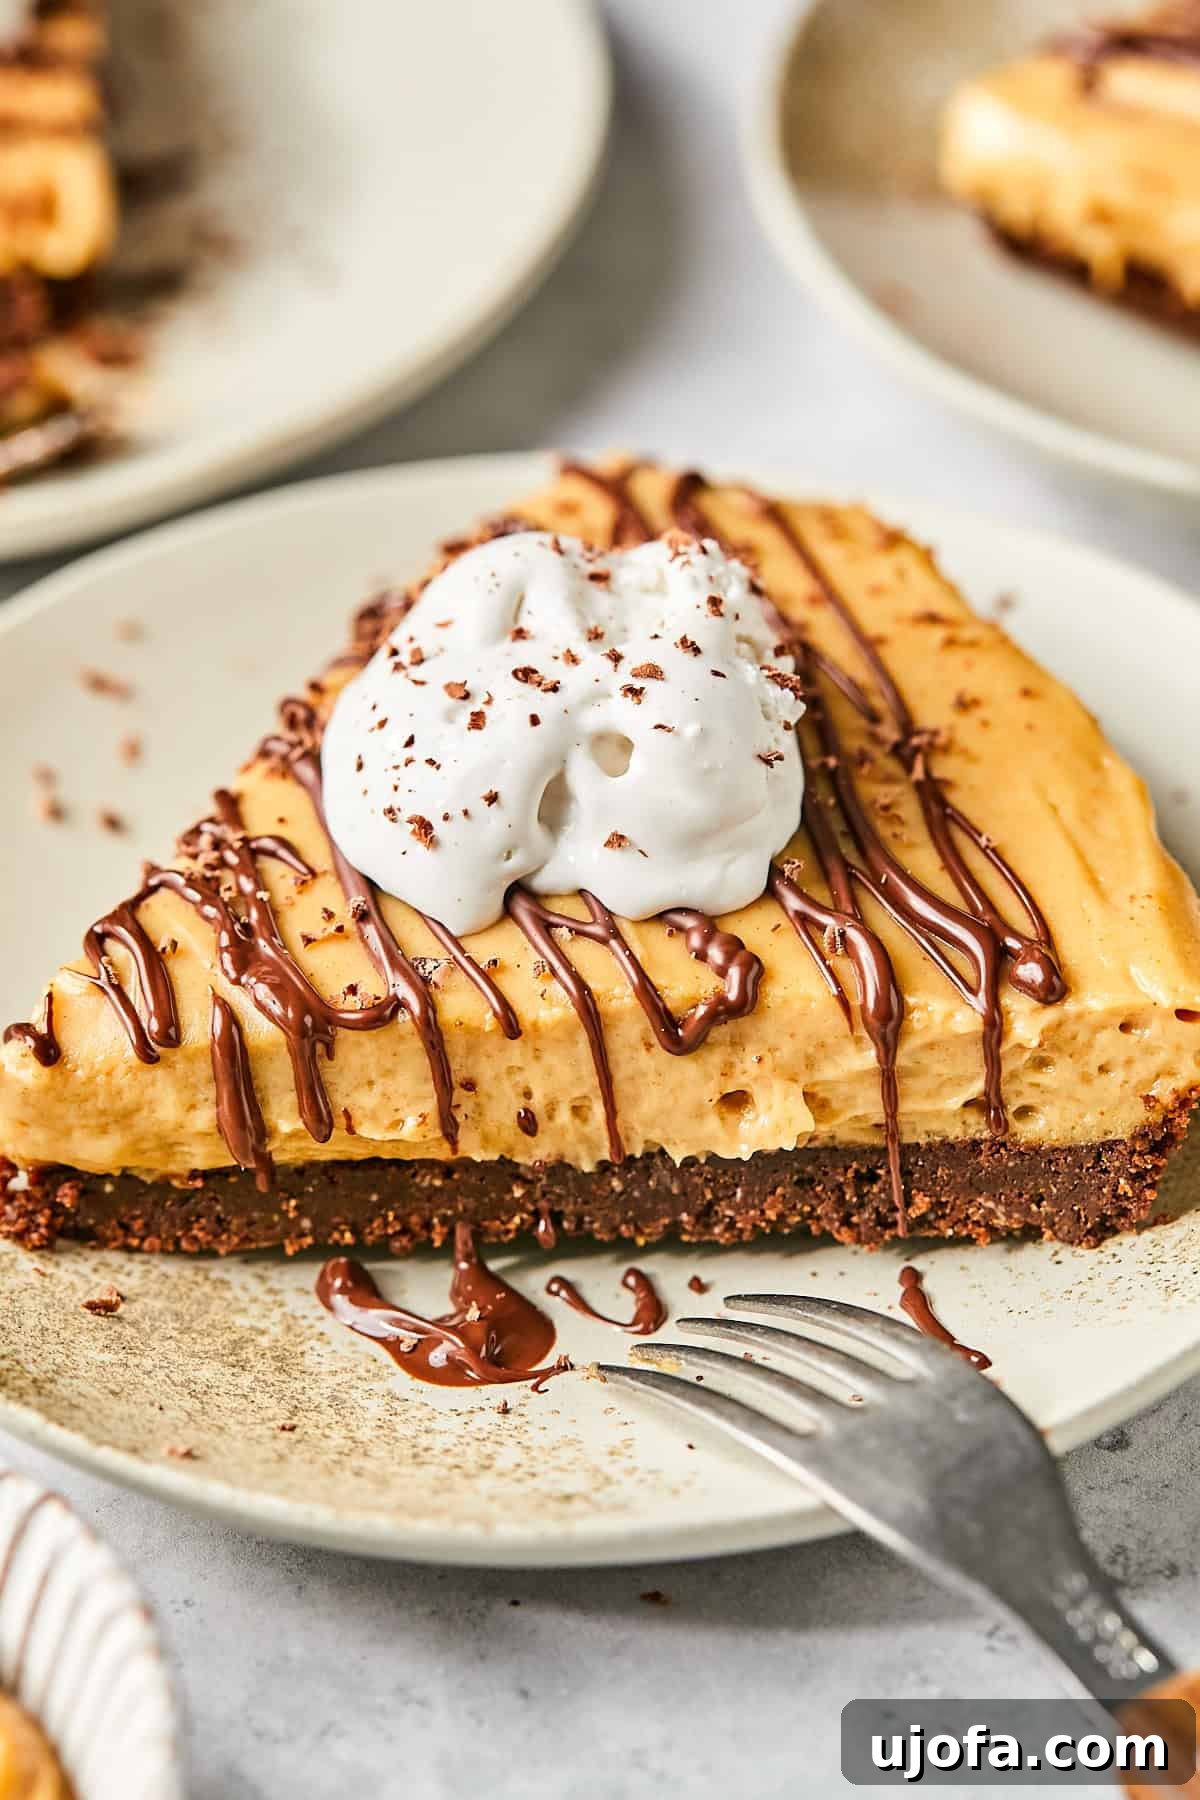
Welcome to the ultimate indulgence! This effortlessly delicious dairy-free peanut butter pie is a true game-changer for anyone craving a rich, creamy, and undeniably decadent dessert. Bursting with intense peanut butter flavor and nestled within a perfectly crunchy chocolate crust, this pie is completely gluten-free and dairy-free, making it a fantastic choice for a variety of dietary needs. Crafted with simple, readily available ingredients, this no-fail recipe promises a show-stopping treat that’s surprisingly easy to assemble. Whether you’re preparing it for a festive holiday gathering, a special family meal, or simply to satisfy a sweet craving, this classic peanut butter pie is guaranteed to impress every single time, leaving everyone asking for the recipe!
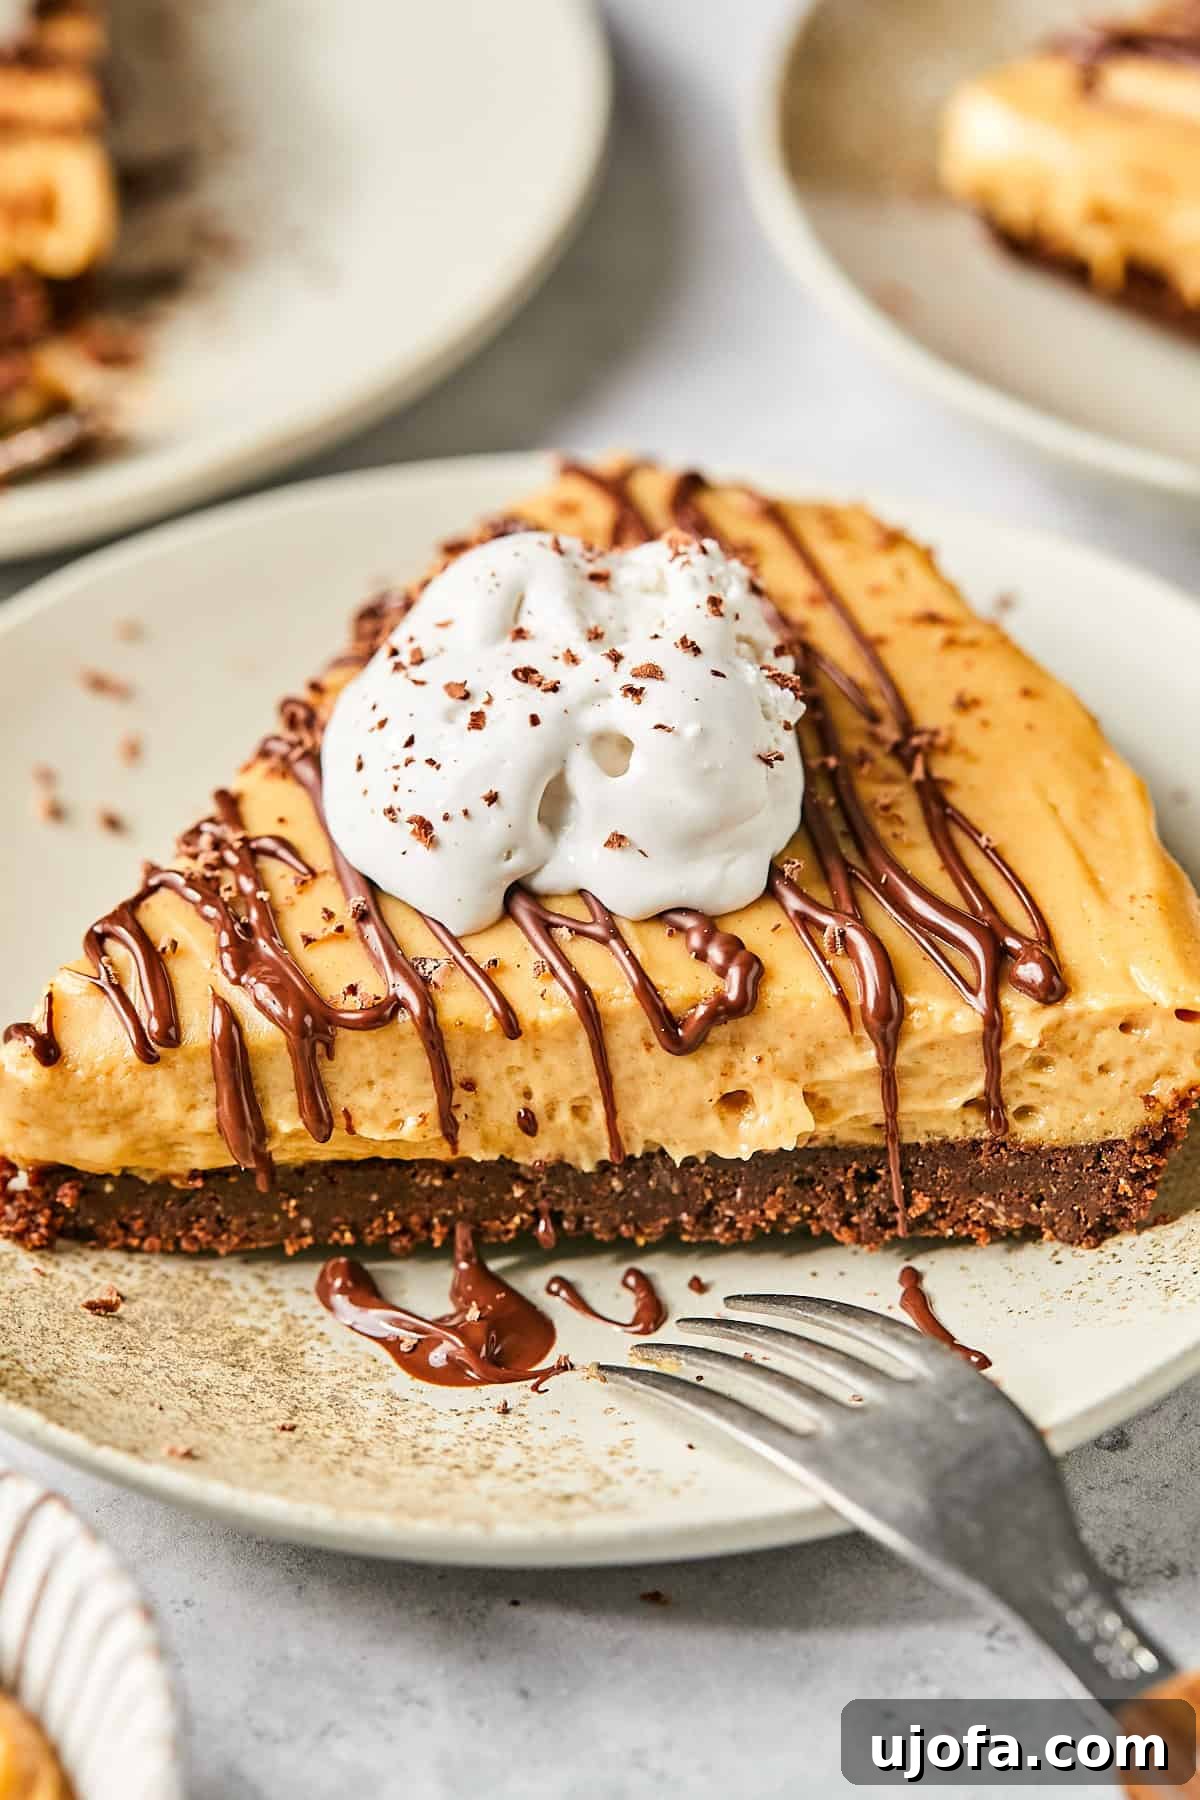
Why You’ll Adore This Easy Dairy-Free Peanut Butter Pie
There’s an undeniable magic in the combination of chocolate and peanut butter that few can resist. If you’re anything like me, you’re constantly seeking out desserts that celebrate this classic pairing, like my beloved gluten-free peanut butter blossoms or the irresistible chocolate peanut butter rice krispie treats. This dairy-free peanut butter pie perfectly captures that delightful harmony, offering a dessert experience that is both familiar and excitingly new.
What makes this pie truly special is its incredible accessibility and ease. It’s made with everyday ingredients that you likely already have stashed in your pantry, making it the ideal candidate for a spontaneous craving or a last-minute dessert emergency. Beyond its simplicity, this recipe shines in its adaptability. Don’t eat peanuts? No problem! You can effortlessly swap out the creamy peanut butter for almond butter or sunflower seed butter to suit your preferences or manage allergies. The market is also brimming with fantastic non-dairy substitutions for other ingredients, allowing you to tailor this pie to your exact needs without compromising on flavor or texture.
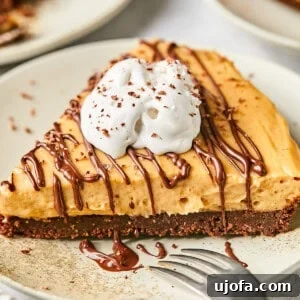
The resulting texture is nothing short of heavenly. Imagine a lush, unbelievably creamy peanut butter filling that melts in your mouth, perfectly complemented by a rich, crisp chocolate crust that adds a satisfying crunch with every bite. This isn’t just another dessert recipe; it’s a delightful creation you’ll want to revisit and share over and over again. Get ready to discover your new favorite dairy-free dessert!
Essential Ingredients for Your Dairy-Free Peanut Butter Pie
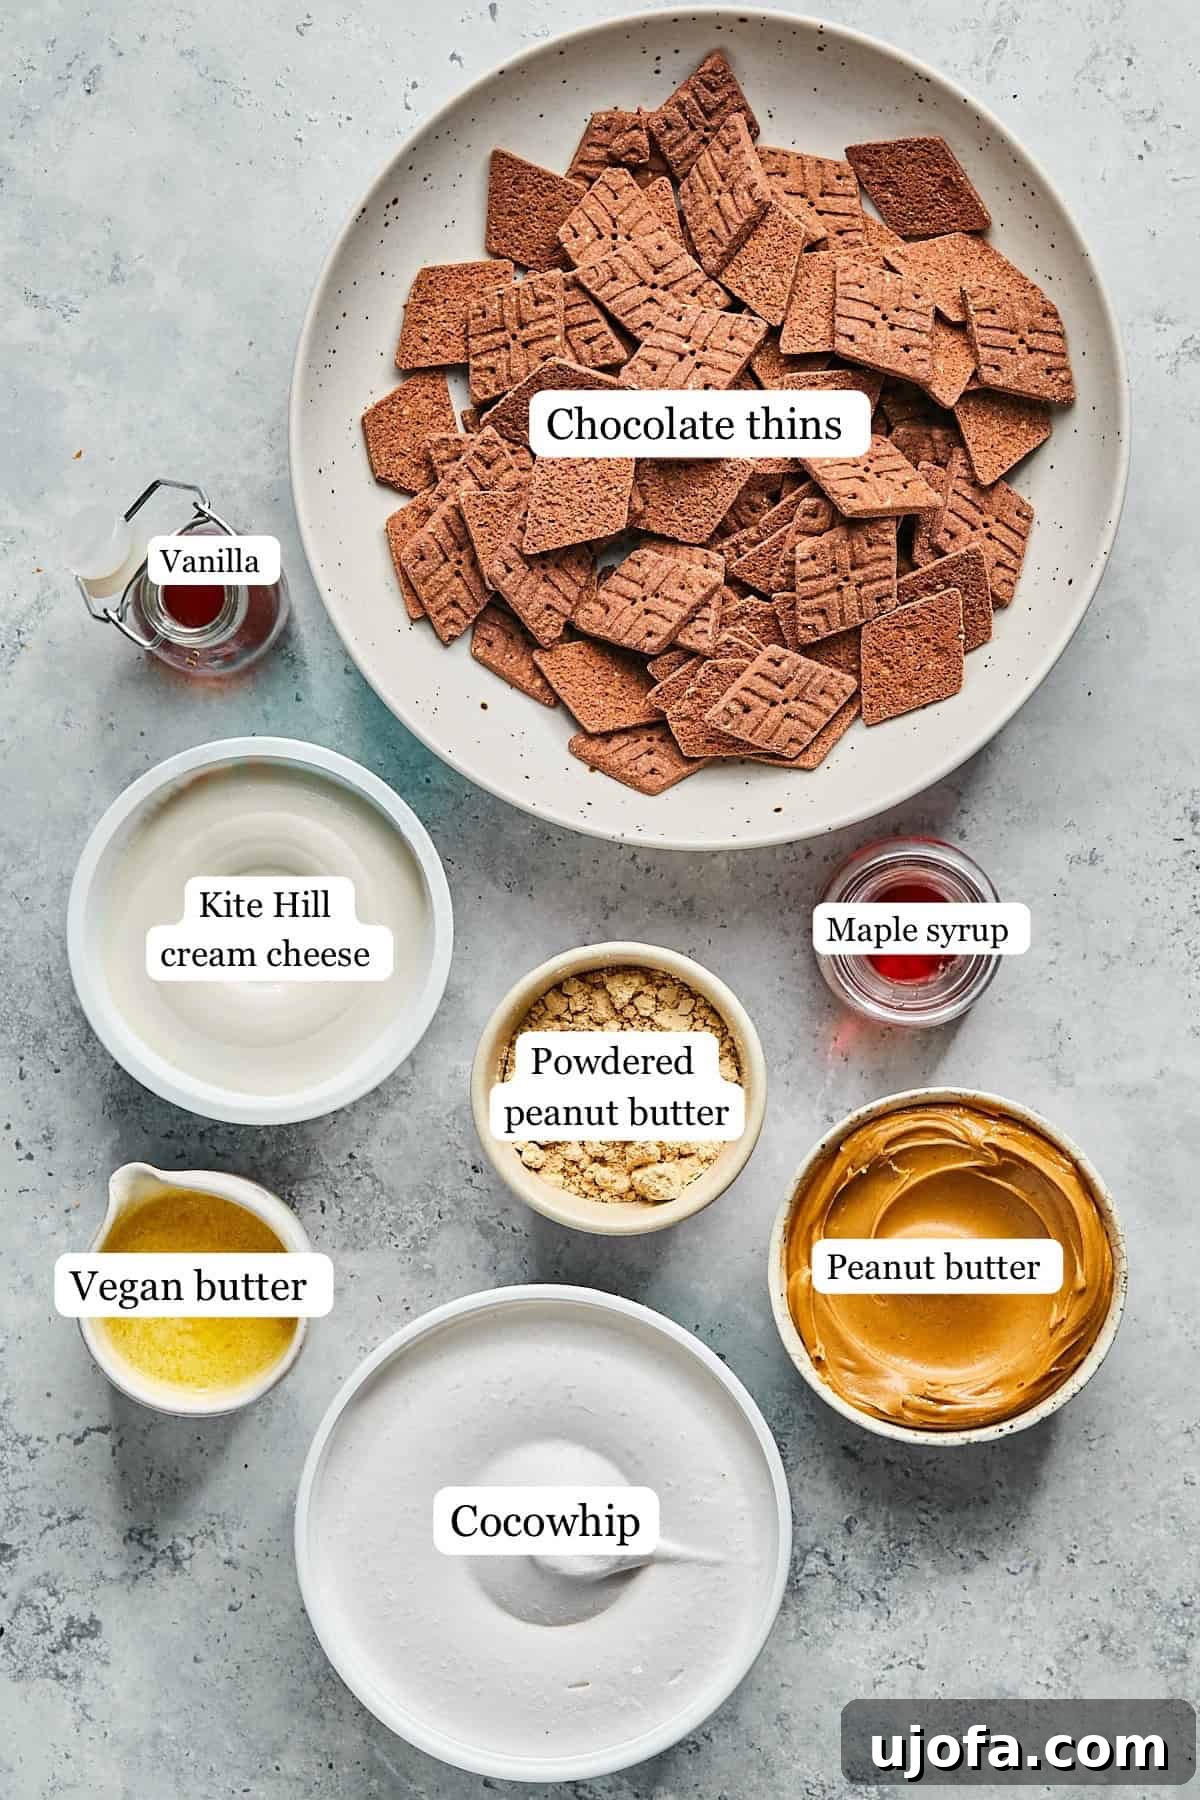
Crafting this incredible dairy-free peanut butter pie relies on a few key components, each playing a vital role in achieving its perfect balance of flavor and texture. Here’s a closer look at the simple ingredients you’ll need:
For the Decadent Chocolate Crust
- Gluten-Free Chocolate Cookies: The foundation of our pie! Two boxes of Simple Mills Chocolate Thins or approximately 9 ounces of your preferred gluten-free chocolate cookies provide a deeply rich, chocolatey base. These cookies not only offer structure but also a wonderful flavor contrast to the creamy peanut butter filling. If chocolate isn’t your preference, gluten-free graham crackers or even vanilla wafers can be used, though the chocolate is highly recommended for that classic pairing.
- Vegan Butter: Essential for binding the crushed cookies together, creating a firm and flavorful crust. Choose a high-quality vegan butter that melts well. For an alternative, coconut oil can be used, but ensure it’s melted before mixing with the crumbs.
For the Irresistibly Creamy Filling
- Creamy Peanut Butter: The undisputed star of this show! We recommend about ⅔ cup of creamy peanut butter for its signature nutty flavor and smooth, luscious texture. The consistency of your peanut butter is crucial here; avoid overly runny or oily natural peanut butters. Brands like Justin’s are excellent choices because they offer a thicker, more stable texture that works beautifully in this pie, ensuring the filling sets perfectly. For a peanut-free version, feel free to substitute with creamy almond butter or sunflower seed butter.
- Vegan Cream Cheese: About 8 ounces of Kite Hill plain cream cheese or your favorite dairy-free cream cheese adds a delightful tang and a cheesecake-like richness to the filling, balancing the sweetness and creating a truly luxurious mouthfeel. Ensure it’s softened to room temperature for easier blending. If dairy isn’t an issue for you, regular cream cheese can be used.
- Powdered Peanut Butter (like PB2): A fantastic secret ingredient! Approximately ⅓ cup of powdered peanut butter intensifies the peanut flavor without adding excess fat or liquid, contributing to a lighter yet profoundly nutty filling. If you don’t have it, you can omit it or increase the regular peanut butter slightly, though it will alter the texture marginally.
- Pure Maple Syrup: This natural sweetener, about ¼ cup, provides the perfect amount of sweetness and a hint of caramel-like depth, harmonizing with the nutty and tangy elements of the pie. Honey or agave syrup are also suitable substitutes.
- Vanilla Extract: Just 1.5 teaspoons of pure vanilla extract elevates all the other flavors, adding warmth and complexity that makes the pie truly shine.
- Cocowhip Dairy-Free Whipped Topping: Roughly 9 ounces of Cocowhip (or another non-dairy whipped topping) is folded into the mixture to give the filling its wonderfully airy, mousse-like texture, making it light yet incredibly satisfying. Make sure it’s thawed but still cold.
- Chocolate Drizzle or Chocolate Shavings: These optional garnishes transform the pie into an extra-fancy dessert, adding a beautiful visual appeal and another layer of rich chocolate flavor. For a simpler touch, a dusting of cocoa powder works wonderfully.
Refer to the comprehensive recipe card below for precise ingredient measurements and detailed preparation instructions.
Step-by-Step Guide: How to Craft This Dreamy Dairy-Free Peanut Butter Pie
Creating this decadent dairy-free peanut butter pie is a straightforward and enjoyable process. Follow these simple steps to bring this crowd-plepleaser to life:
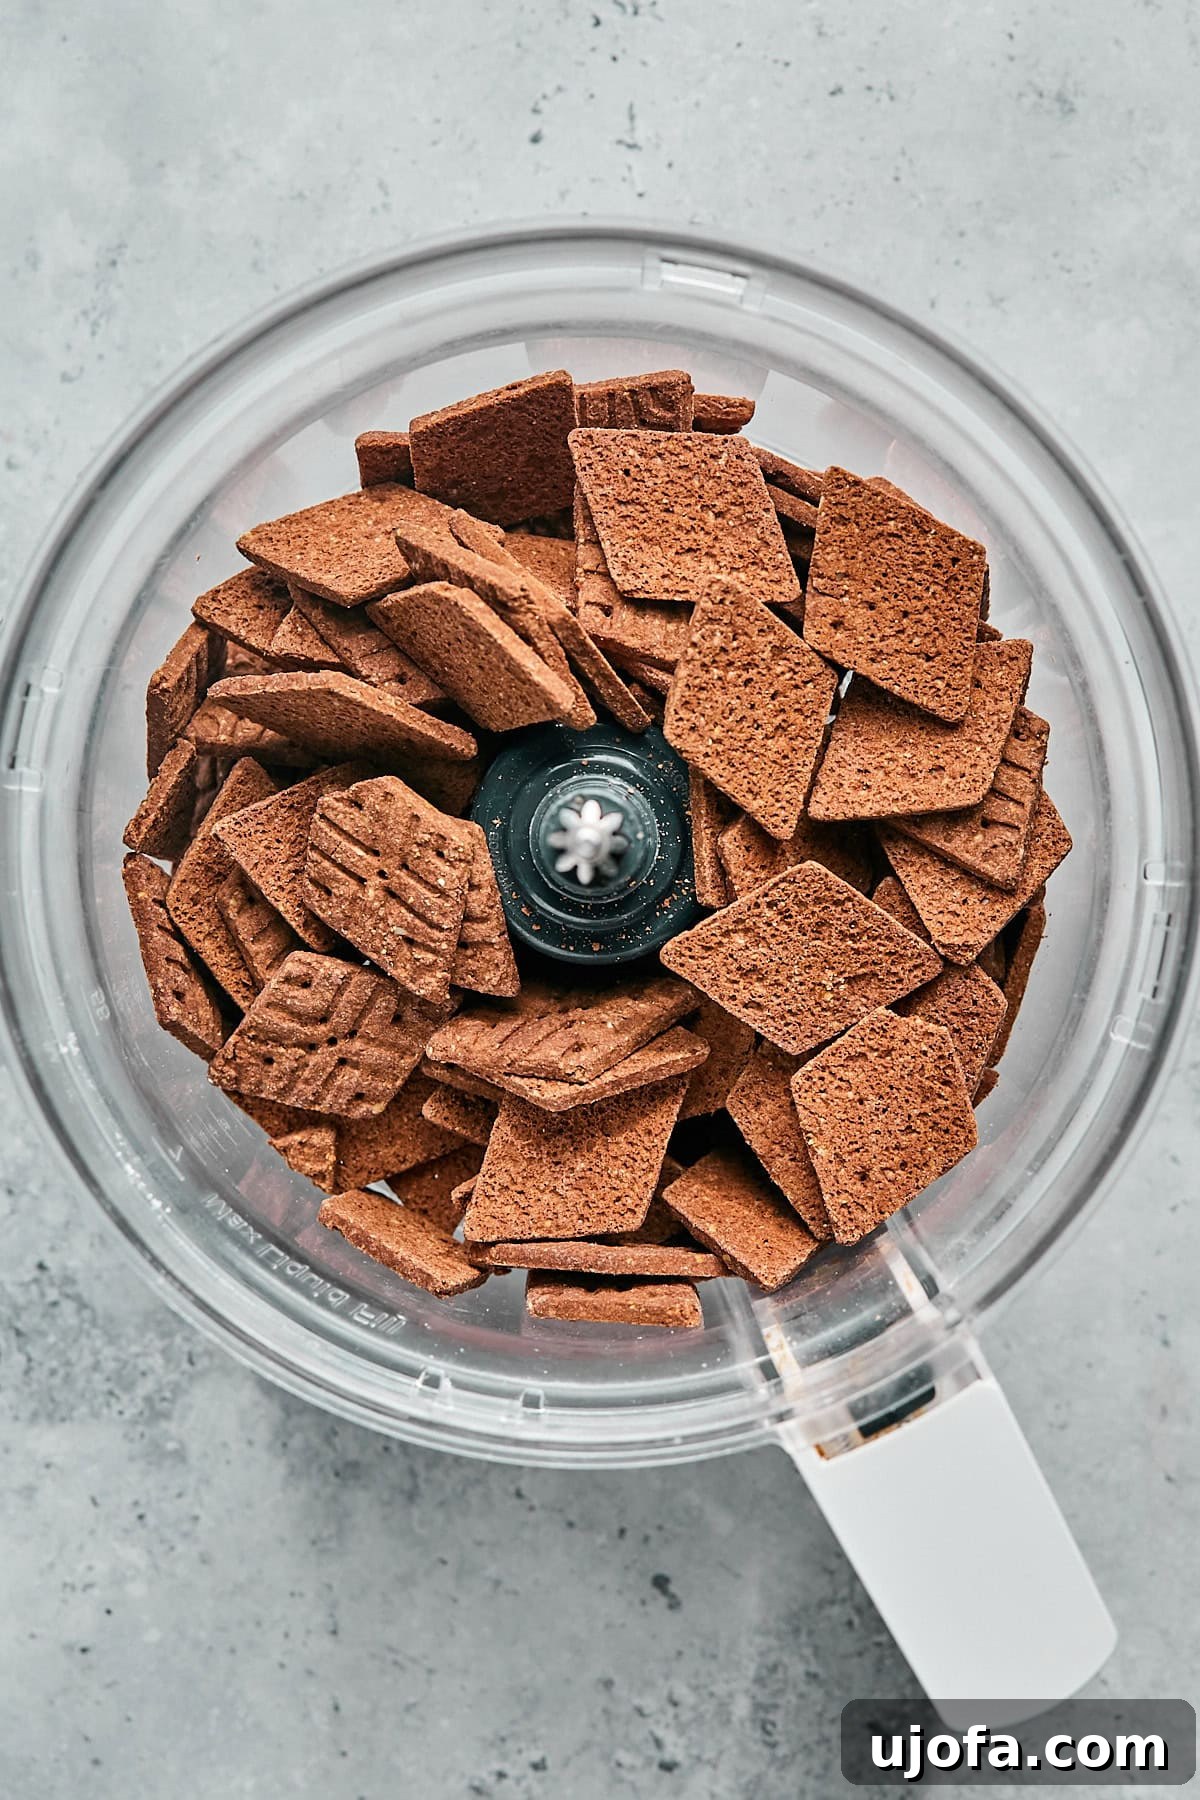
Step 1: Prepare the Chocolate Cookie Crust. Begin by preheating your oven to 375 degrees F (190 degrees C). Place your chosen gluten-free chocolate cookies into a food processor or a high-speed blender.
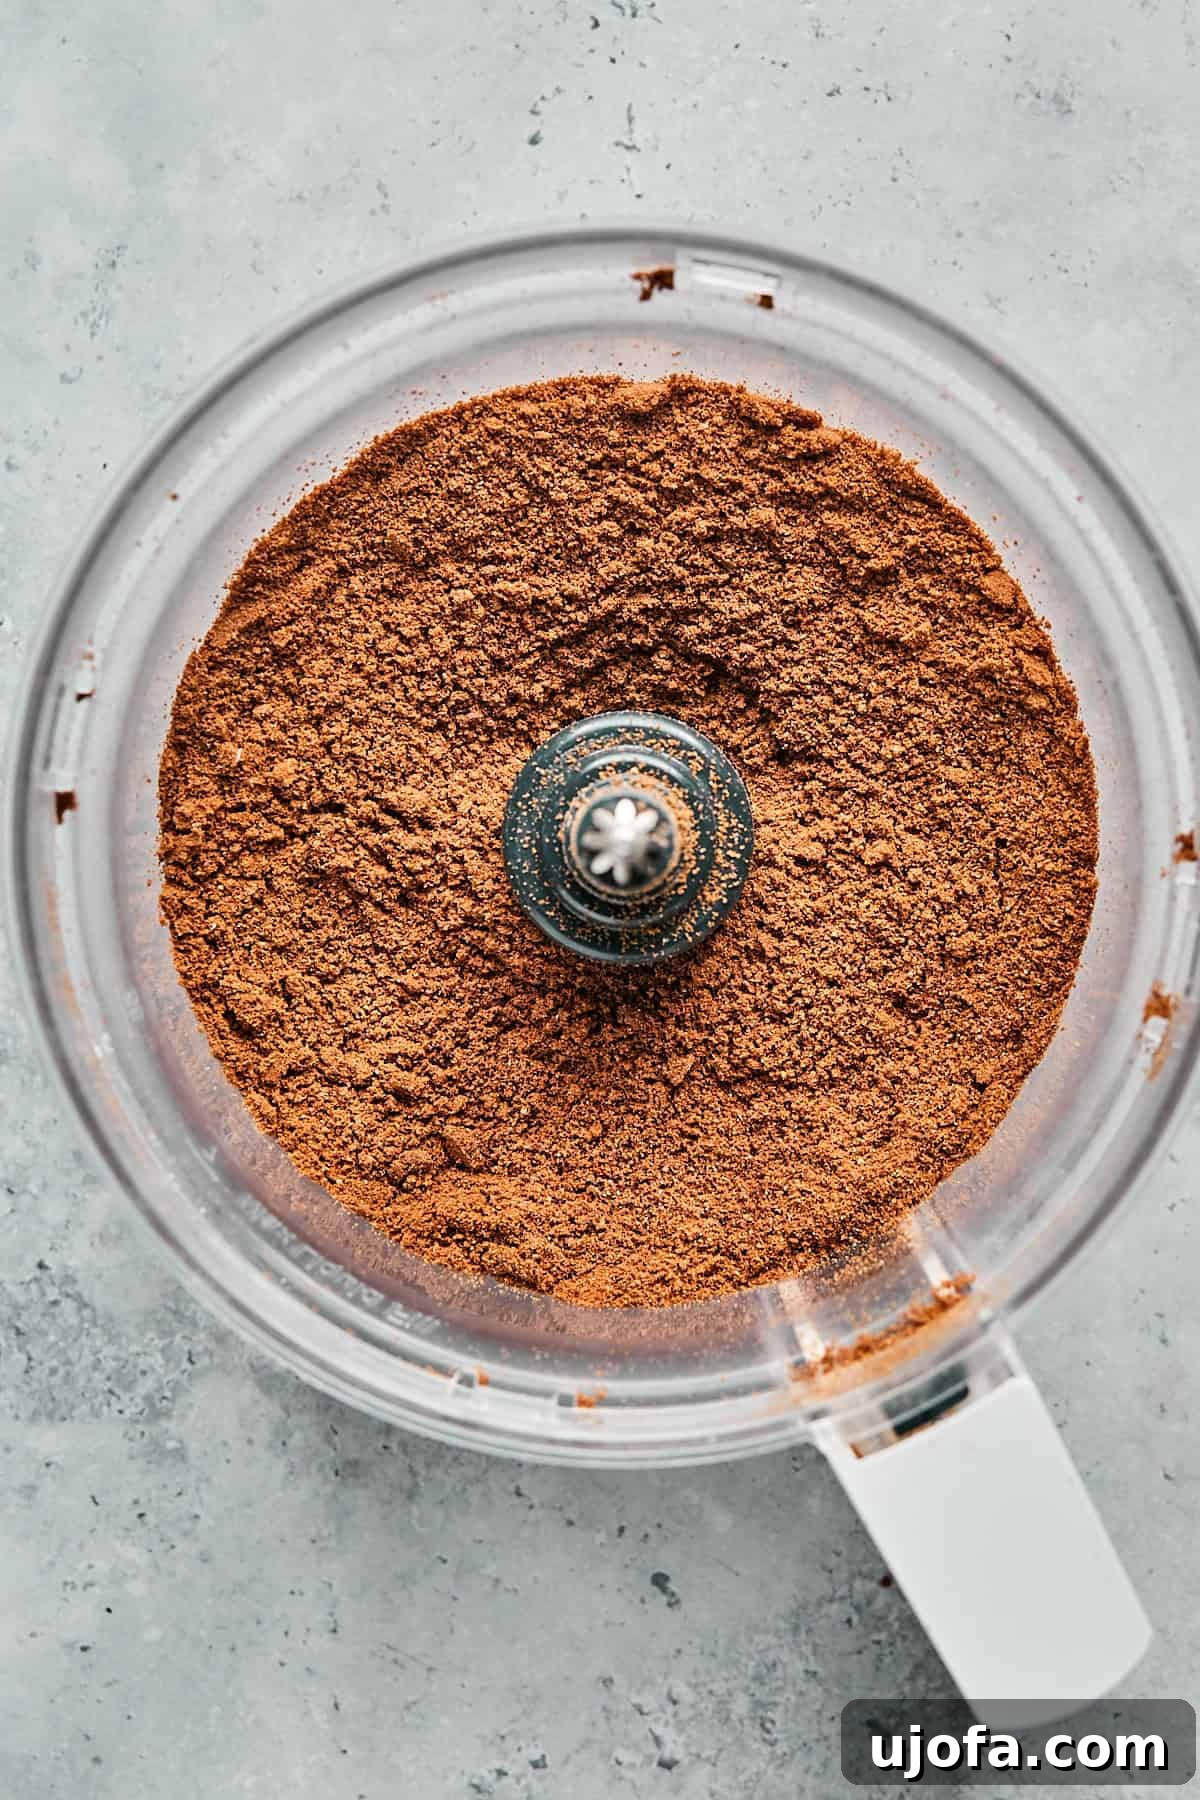
Step 2: Pulse Until Finely Ground. Pulse the cookies several times until they are finely ground and resemble coarse sand. Ensure there are no large chunks remaining for an even crust.
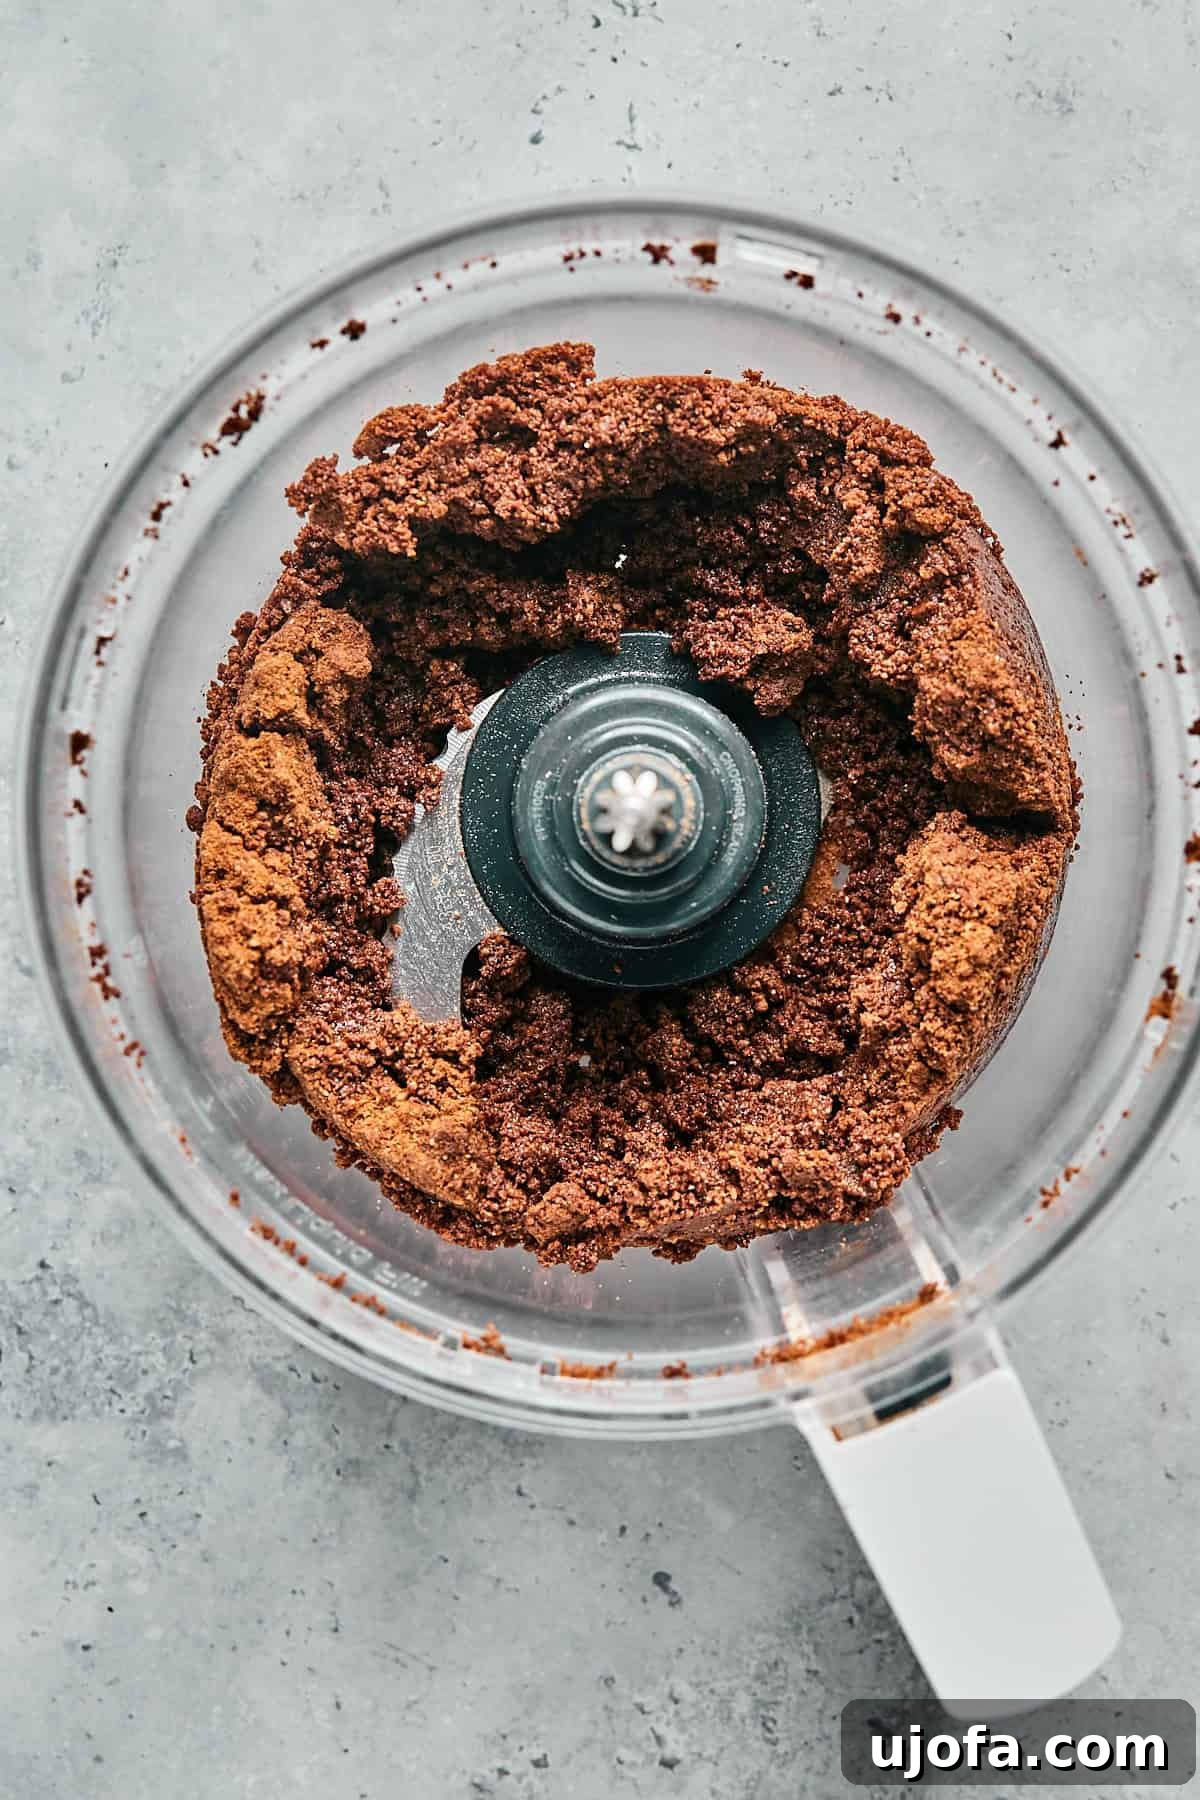
Step 3: Combine with Vegan Butter. Add the melted vegan butter to the food processor with the cookie crumbs. Pulse again until the mixture is well combined and holds together when pressed.
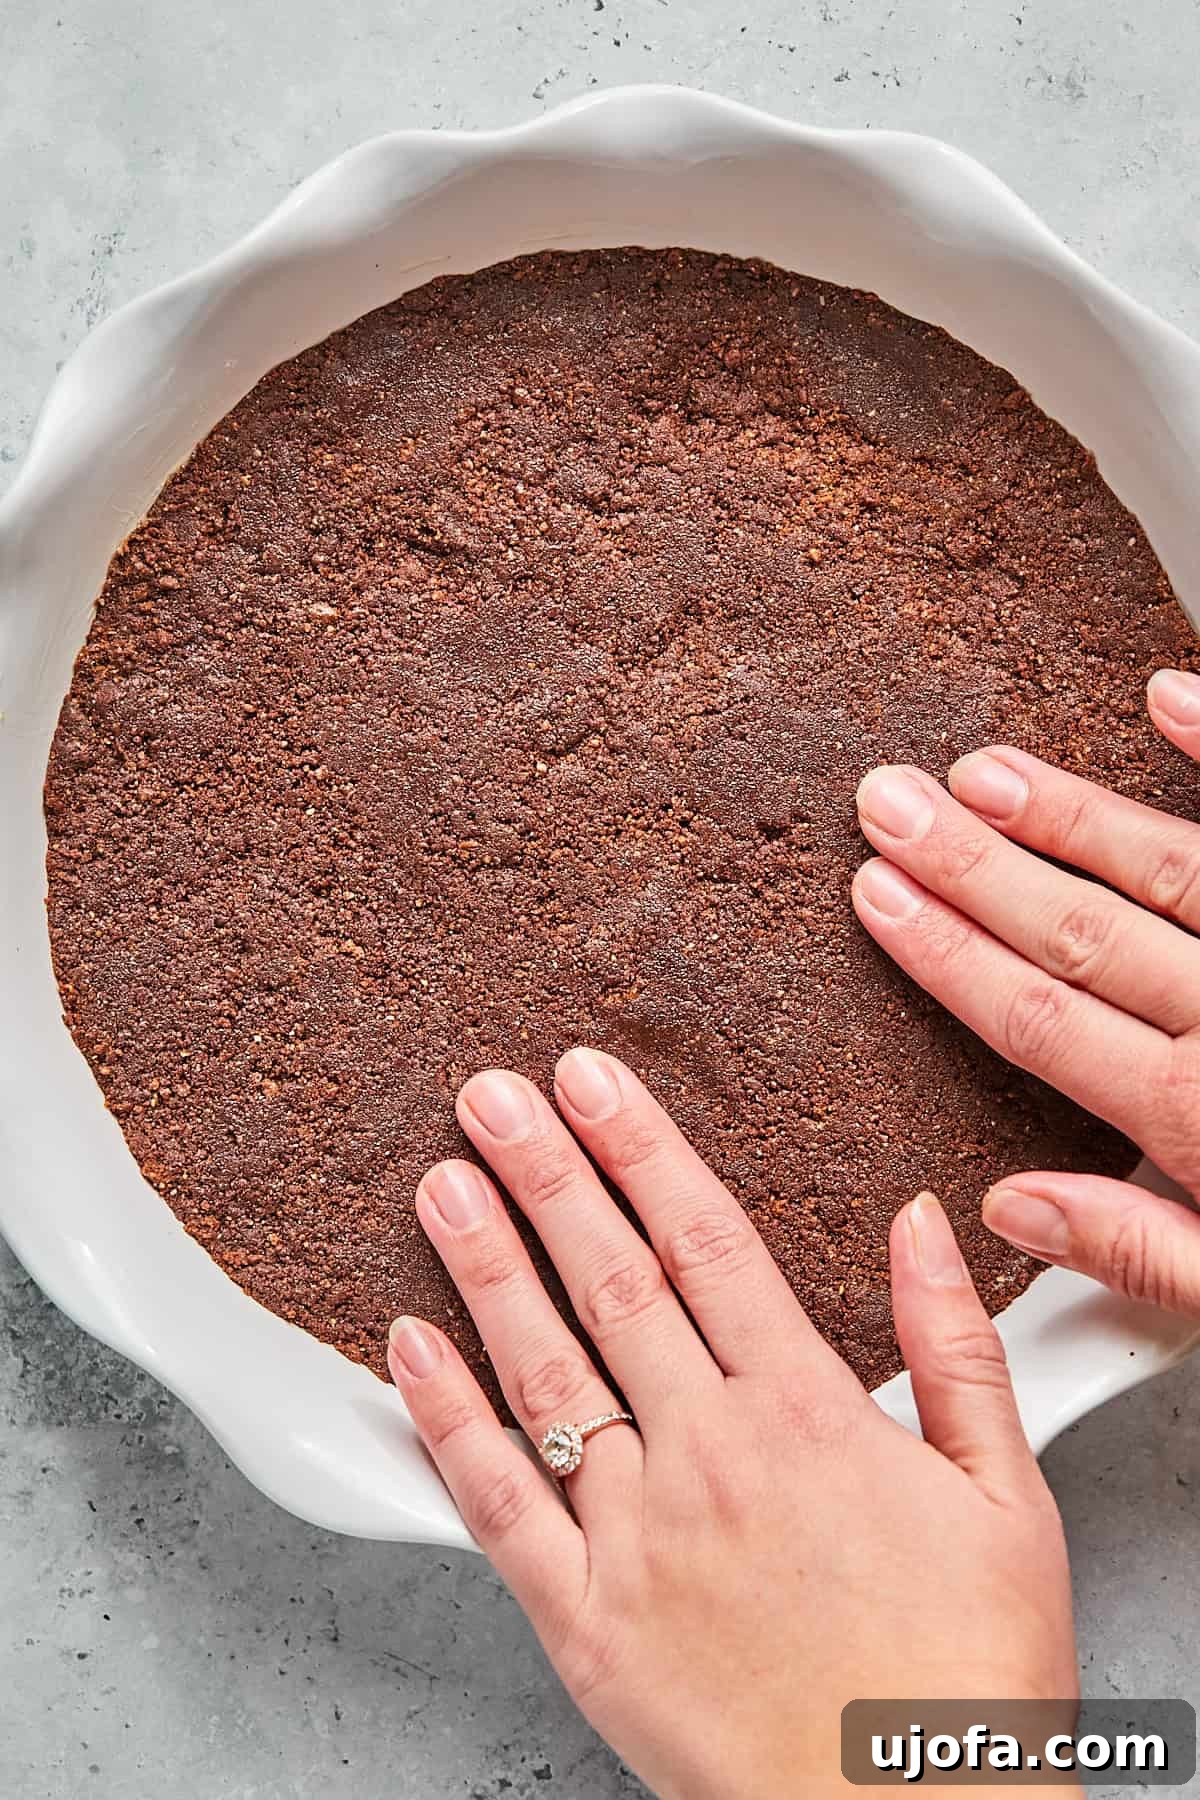
Step 4: Press and Bake the Crust. Transfer the crumb mixture into a lightly greased 9-inch pie pan. Using your hands or the bottom of a flat cup, firmly press the mixture down onto the bottom and up the sides of the pan to form a compact crust. Bake this crust for 10 minutes. Once baked, allow it to cool completely on a wire rack before proceeding.
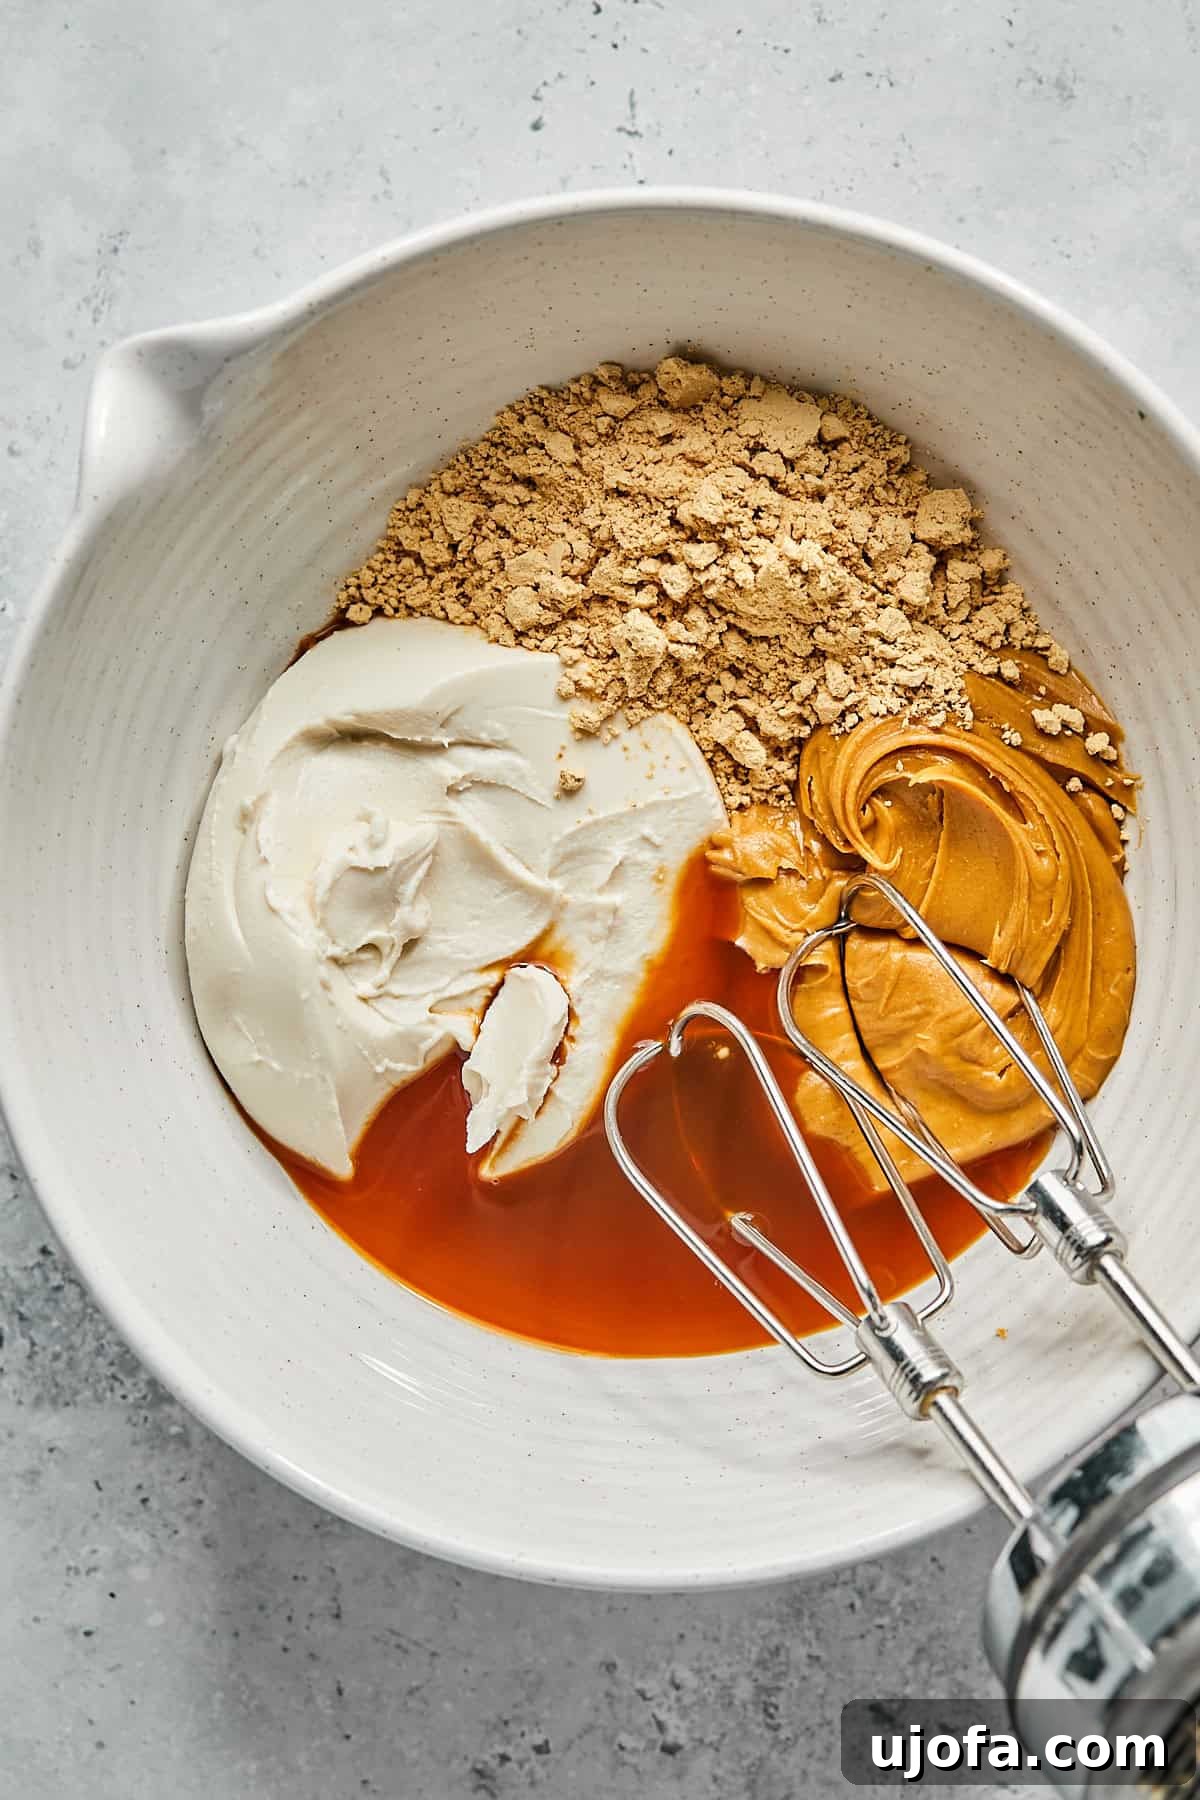
Step 5: Begin the Filling Preparation. While your pie crust is cooling, start on the irresistible filling. In a large mixing bowl, combine the creamy peanut butter, softened vegan cream cheese, powdered peanut butter, pure maple syrup (or honey), and vanilla extract.
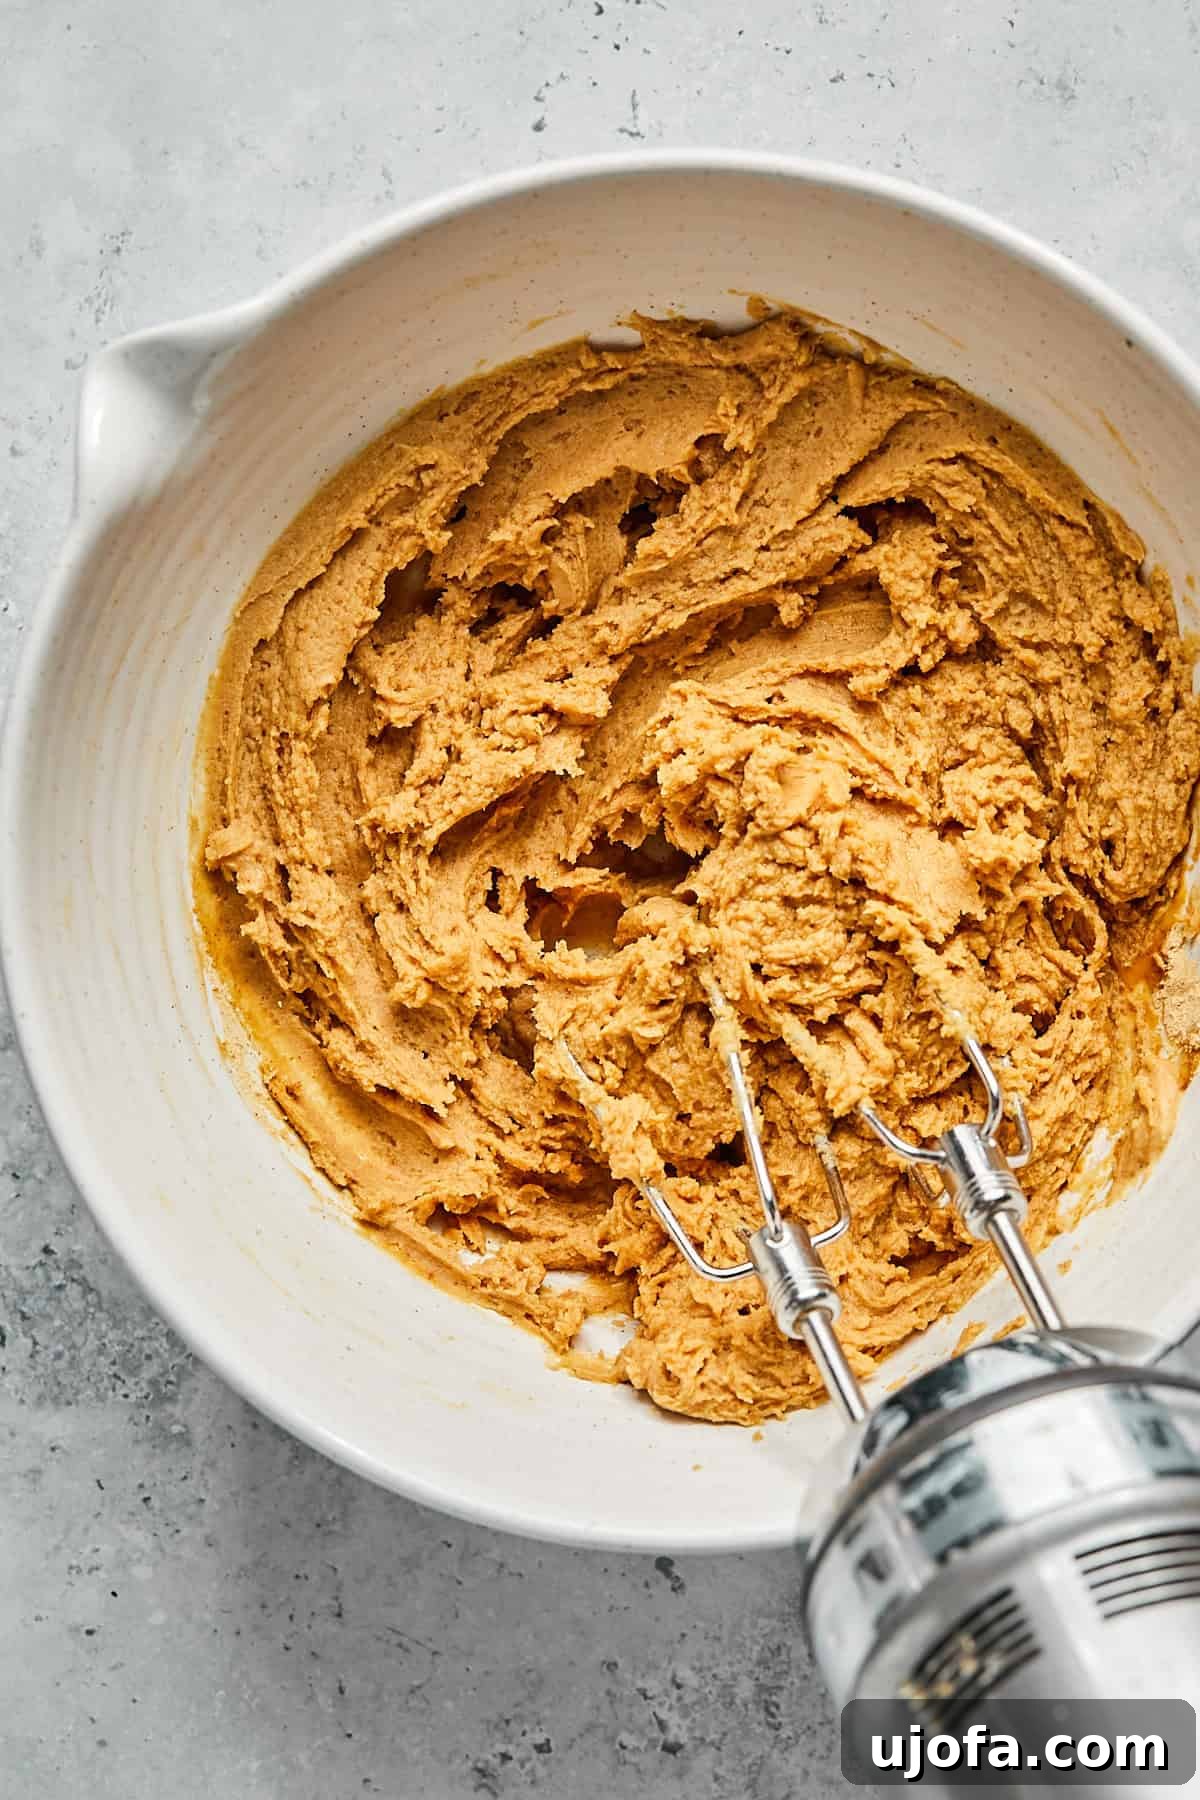
Step 6: Beat Until Smooth and Combined. Using a hand mixer on high speed, or a stand mixer with the paddle attachment, beat the ingredients for 1-2 minutes until they are thoroughly combined, smooth, and lump-free. Alternatively, you can mix vigorously by hand for a slightly denser texture.
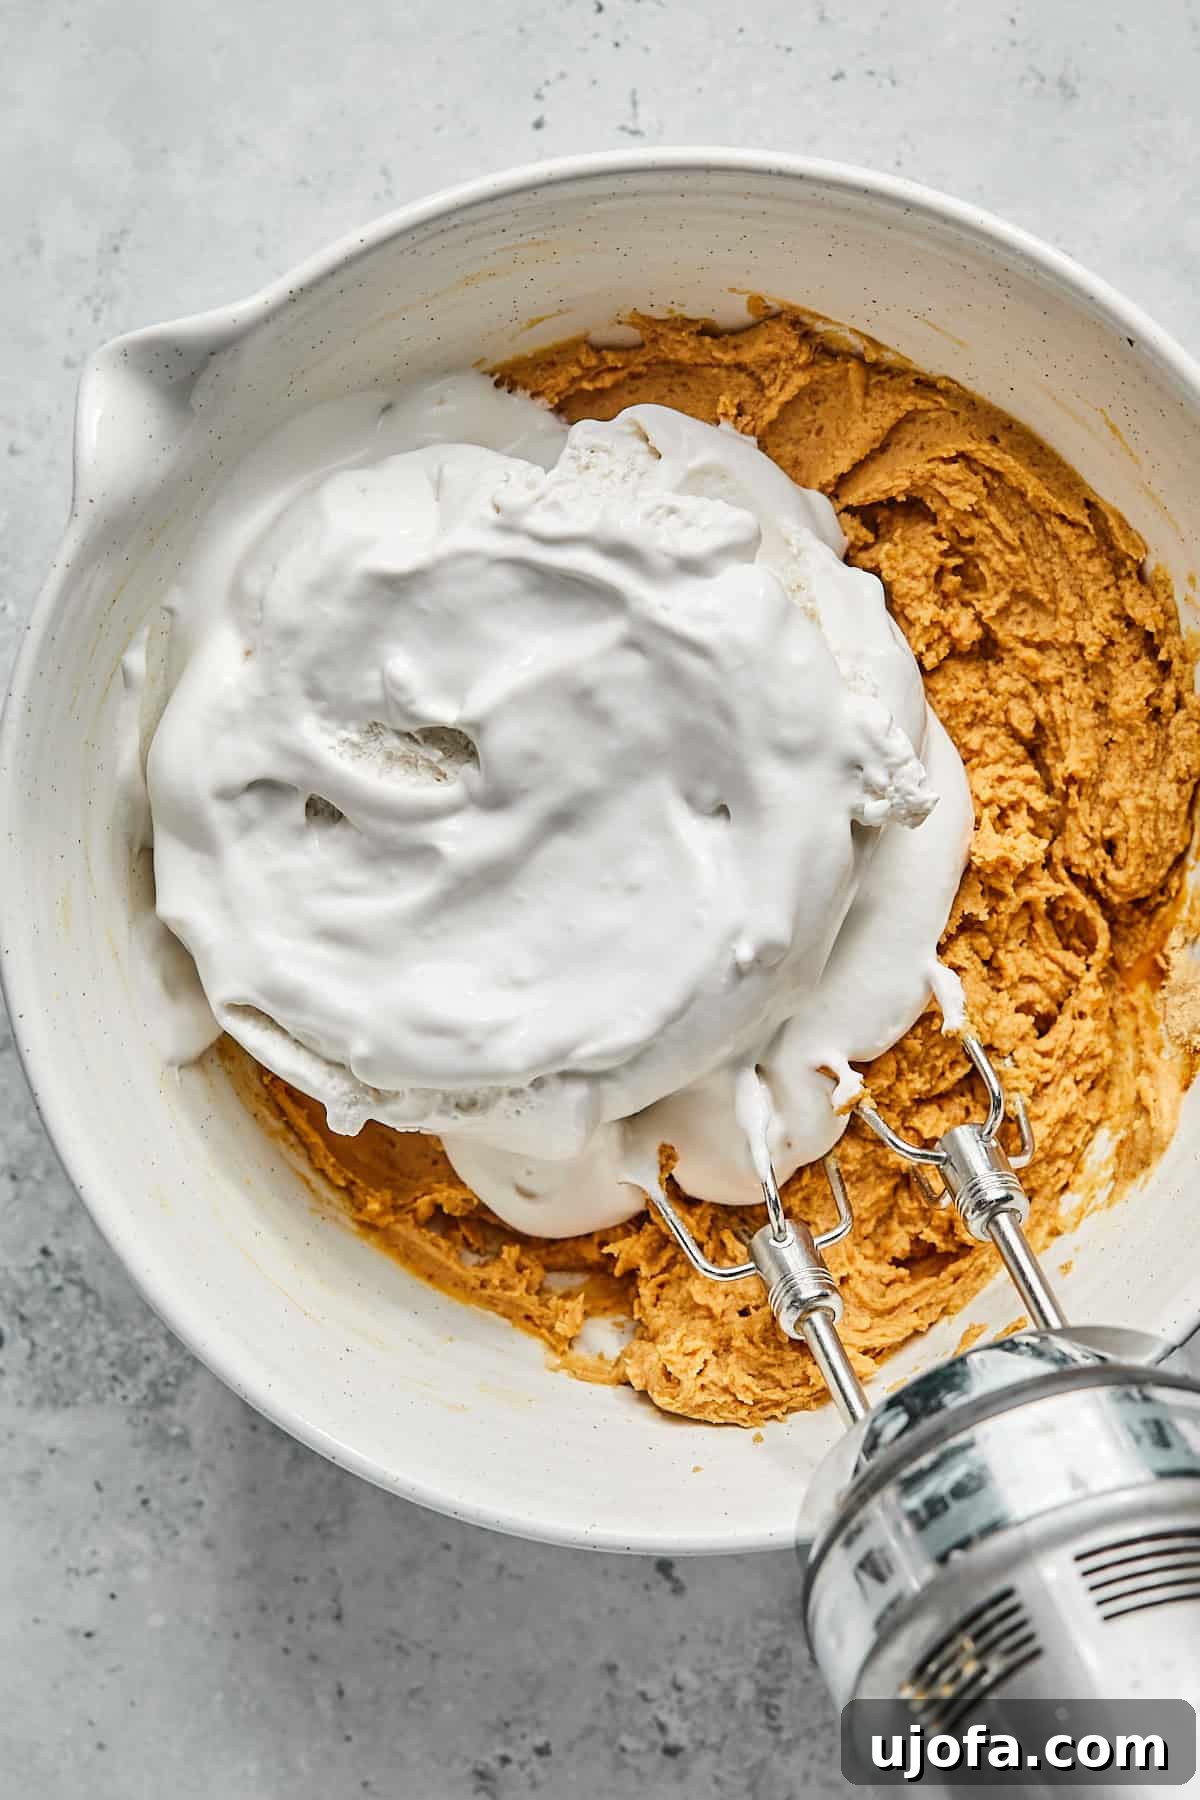
Step 7: Fold in Whipped Topping. Gently add the thawed Cocowhip dairy-free whipped topping to the peanut butter mixture. Be careful not to deflate the whipped topping too much.
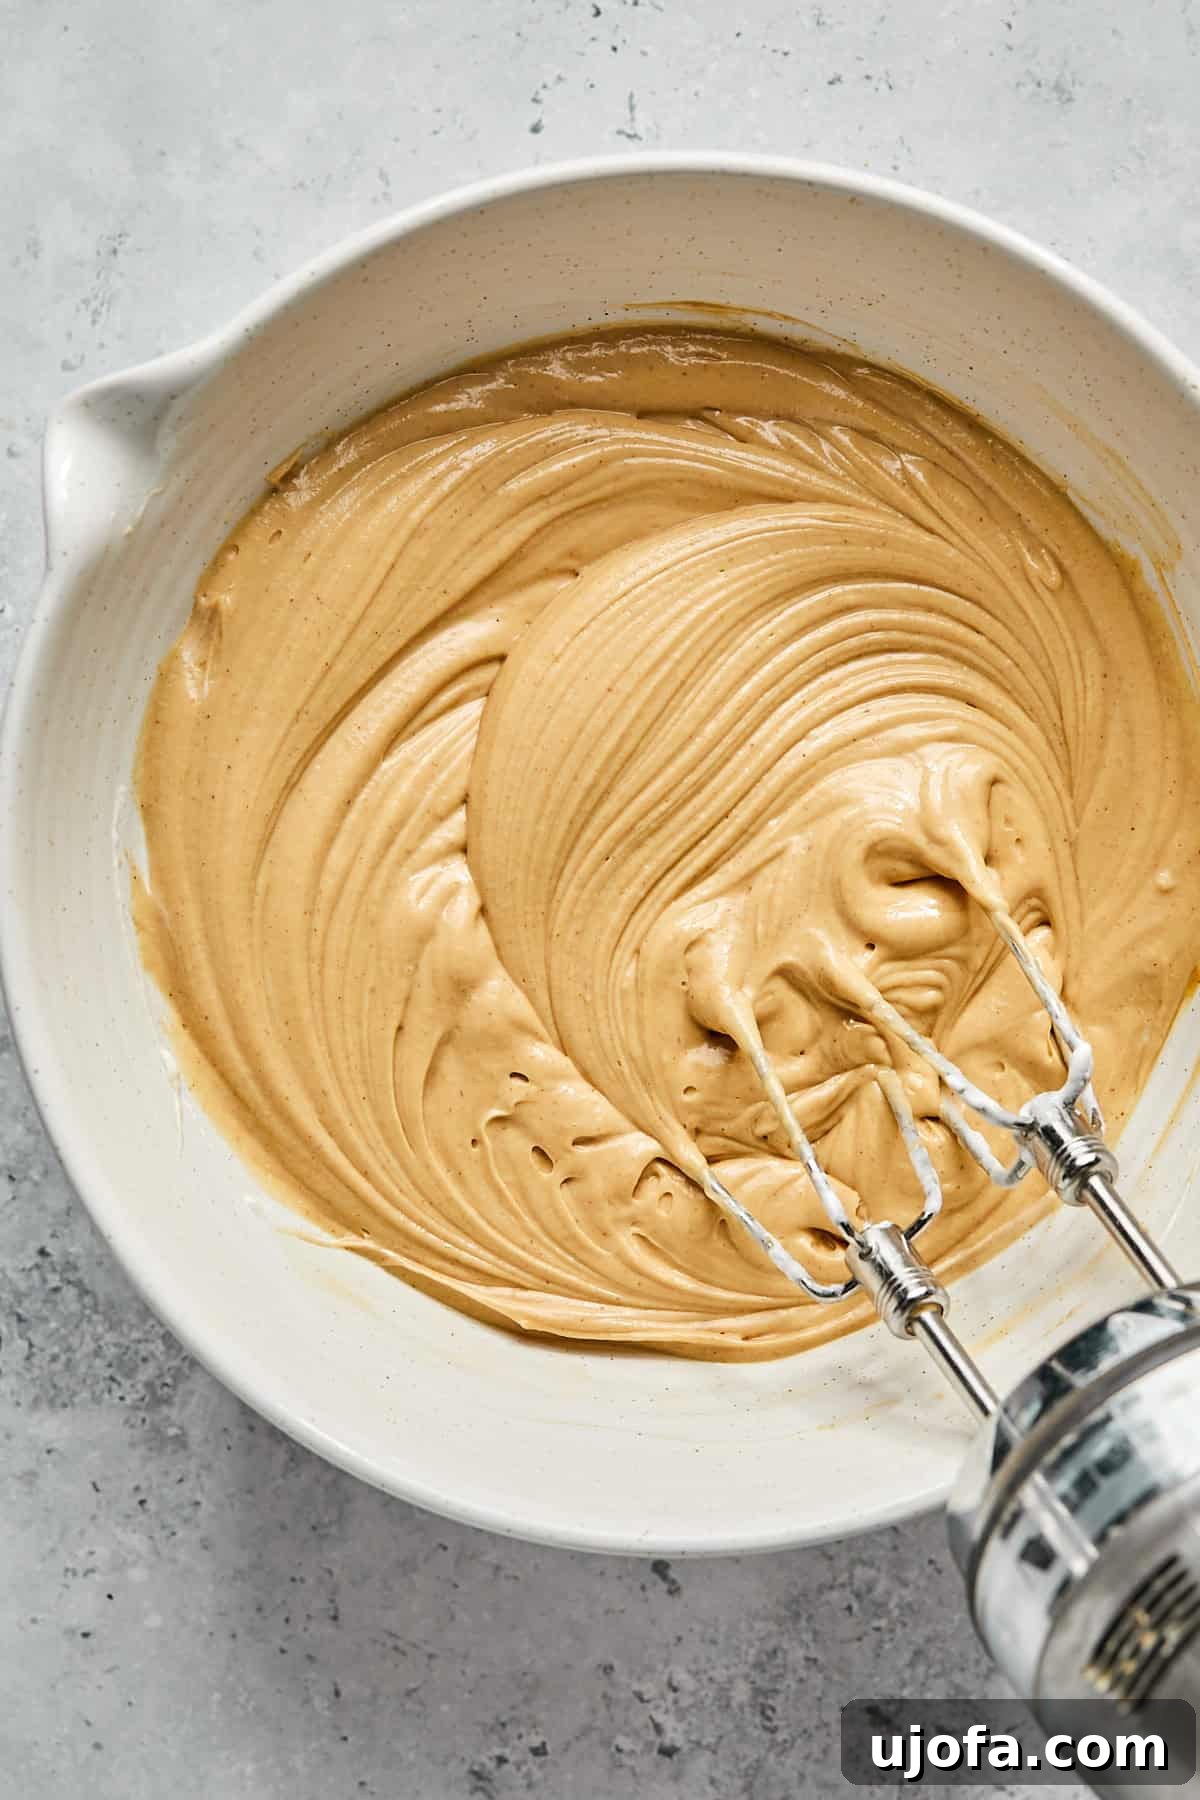
Step 8: Mix Until Fluffy. Continue mixing with your hand mixer on low speed or by hand, folding gently until the filling is light, airy, and fluffy, and the Cocowhip is fully incorporated without overmixing.
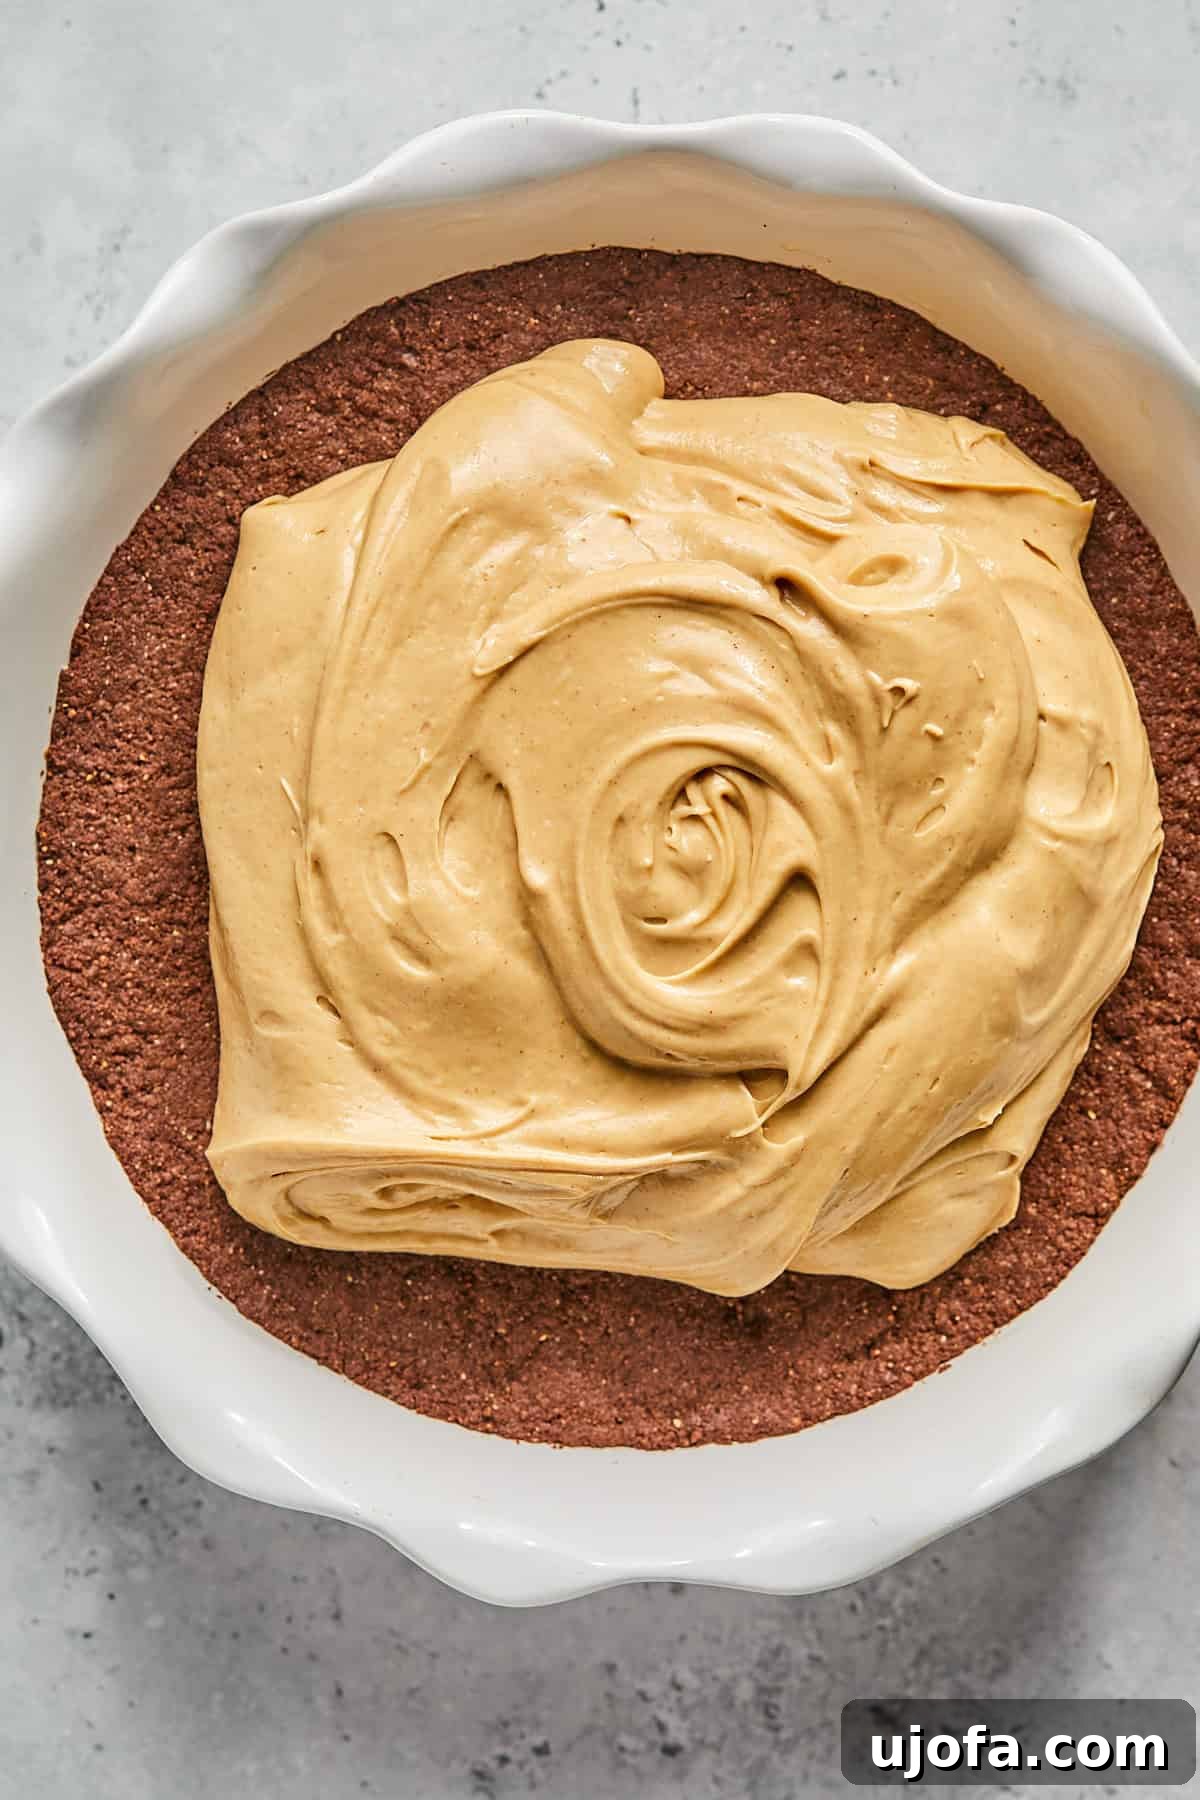
Step 9: Fill the Crust. Spoon the delightful peanut butter filling into the completely cooled, prepared pie crust. Use a spatula to gently smooth the top, creating an even and inviting surface.
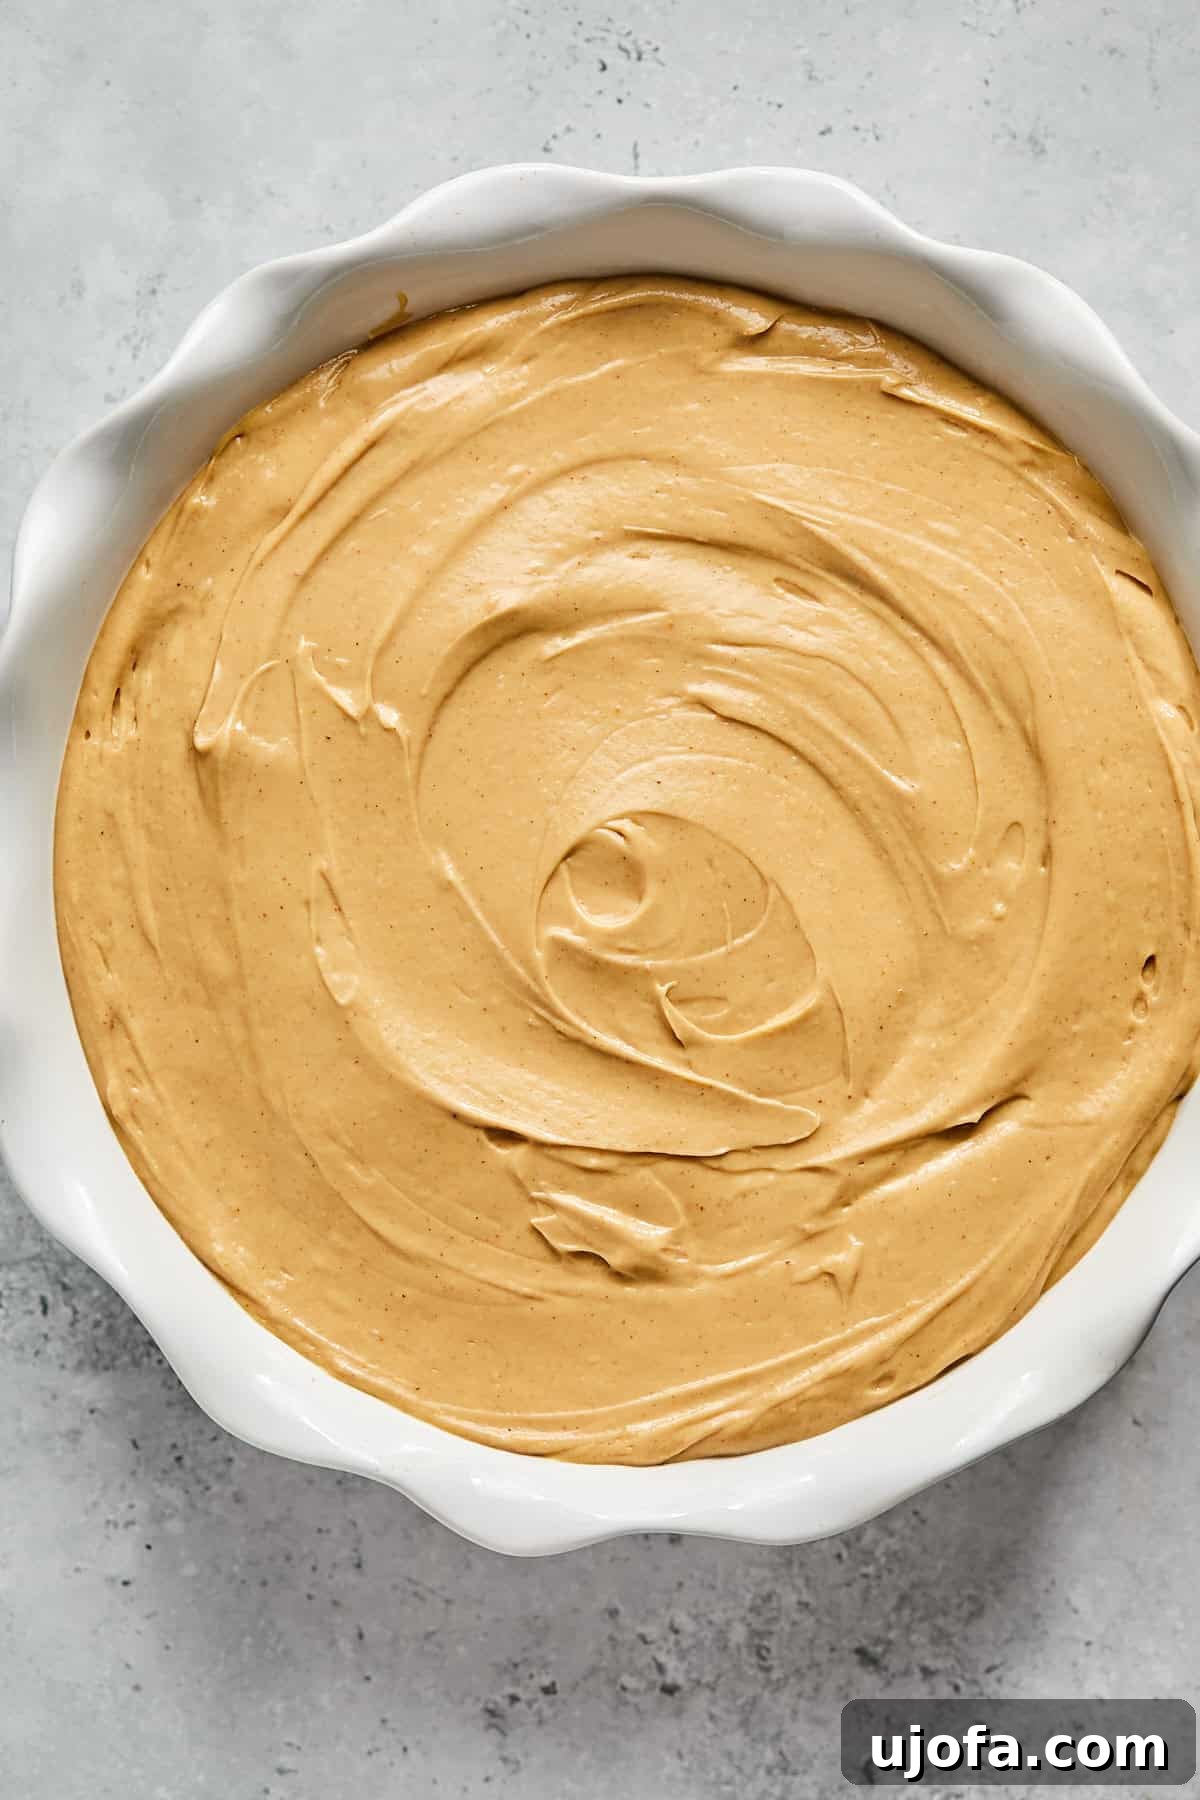
Step 10: Chill and Serve. Place the filled pie into the freezer for 2-3 hours to firm up, or alternatively, refrigerate it overnight for a perfectly set pie. When you’re ready to serve, enhance its beauty and flavor with an optional drizzle of melted chocolate and a dollop of extra Cocowhip. A sprinkle of sea salt can also elevate the flavors. Slice and enjoy this incredible dairy-free peanut butter pie!
Expert Tips for the Perfect Pie
- Achieve Clean Slices: For the most aesthetically pleasing slices, dip your knife in warm water and wipe it clean between each cut. This technique helps prevent the filling from sticking and ensures neat, uniform pieces that look as good as they taste.
- Peanut Butter Consistency Matters: The type of peanut butter you use greatly impacts the final texture of your filling. Opt for a creamy, thicker peanut butter rather than a very runny or oily natural variety. Brands like Justin’s are fantastic for this recipe due to their ideal consistency, which helps the pie set beautifully. Runny peanut butter can lead to a softer, less stable filling.
- Dairy Alternatives (or Not!): This recipe is specifically designed to be dairy-free, using vegan butter, dairy-free cream cheese, and non-dairy whipped topping. However, if you tolerate dairy or prefer traditional ingredients, you can easily substitute regular butter, cream cheese, and whipped toppings like Cool Whip or Tru Whip without altering the preparation method.
- Freezing for Longer Periods: If you plan to freeze the pie for more than 3 hours, allow it to sit at room temperature for about 15 minutes before attempting to slice it. This brief thaw time will ensure a smooth cut and a perfectly creamy texture that isn’t too hard.
- Don’t Overmix the Filling: When incorporating the non-dairy whipped topping, mix just until combined and fluffy. Overmixing can deflate the topping, leading to a denser filling rather than the desired light and airy mousse-like consistency.
- Chill Time is Key: The recommended chilling time, whether in the freezer or refrigerator, is crucial for the pie to set properly. Resist the urge to cut into it too soon, as a well-chilled pie holds its shape and offers the best texture.
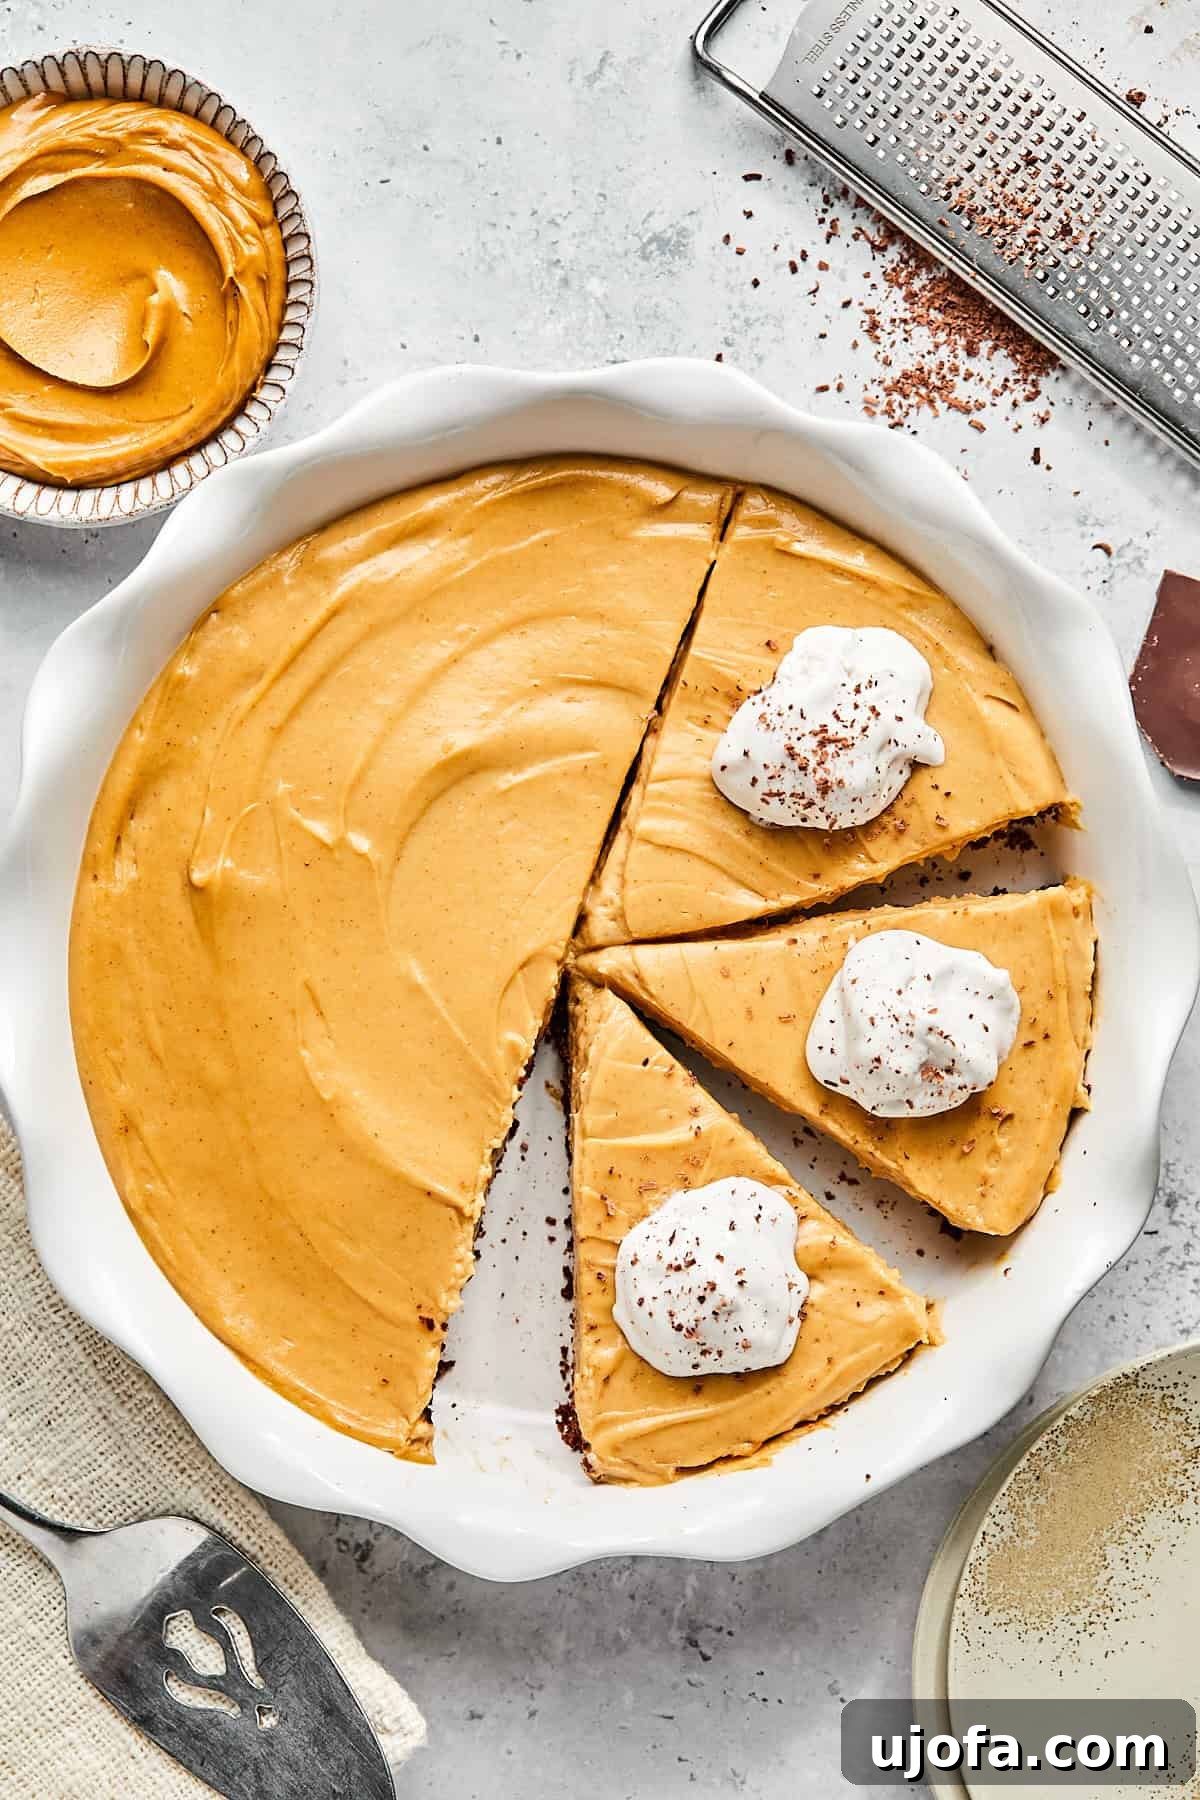
Serving Suggestions for an Unforgettable Dessert
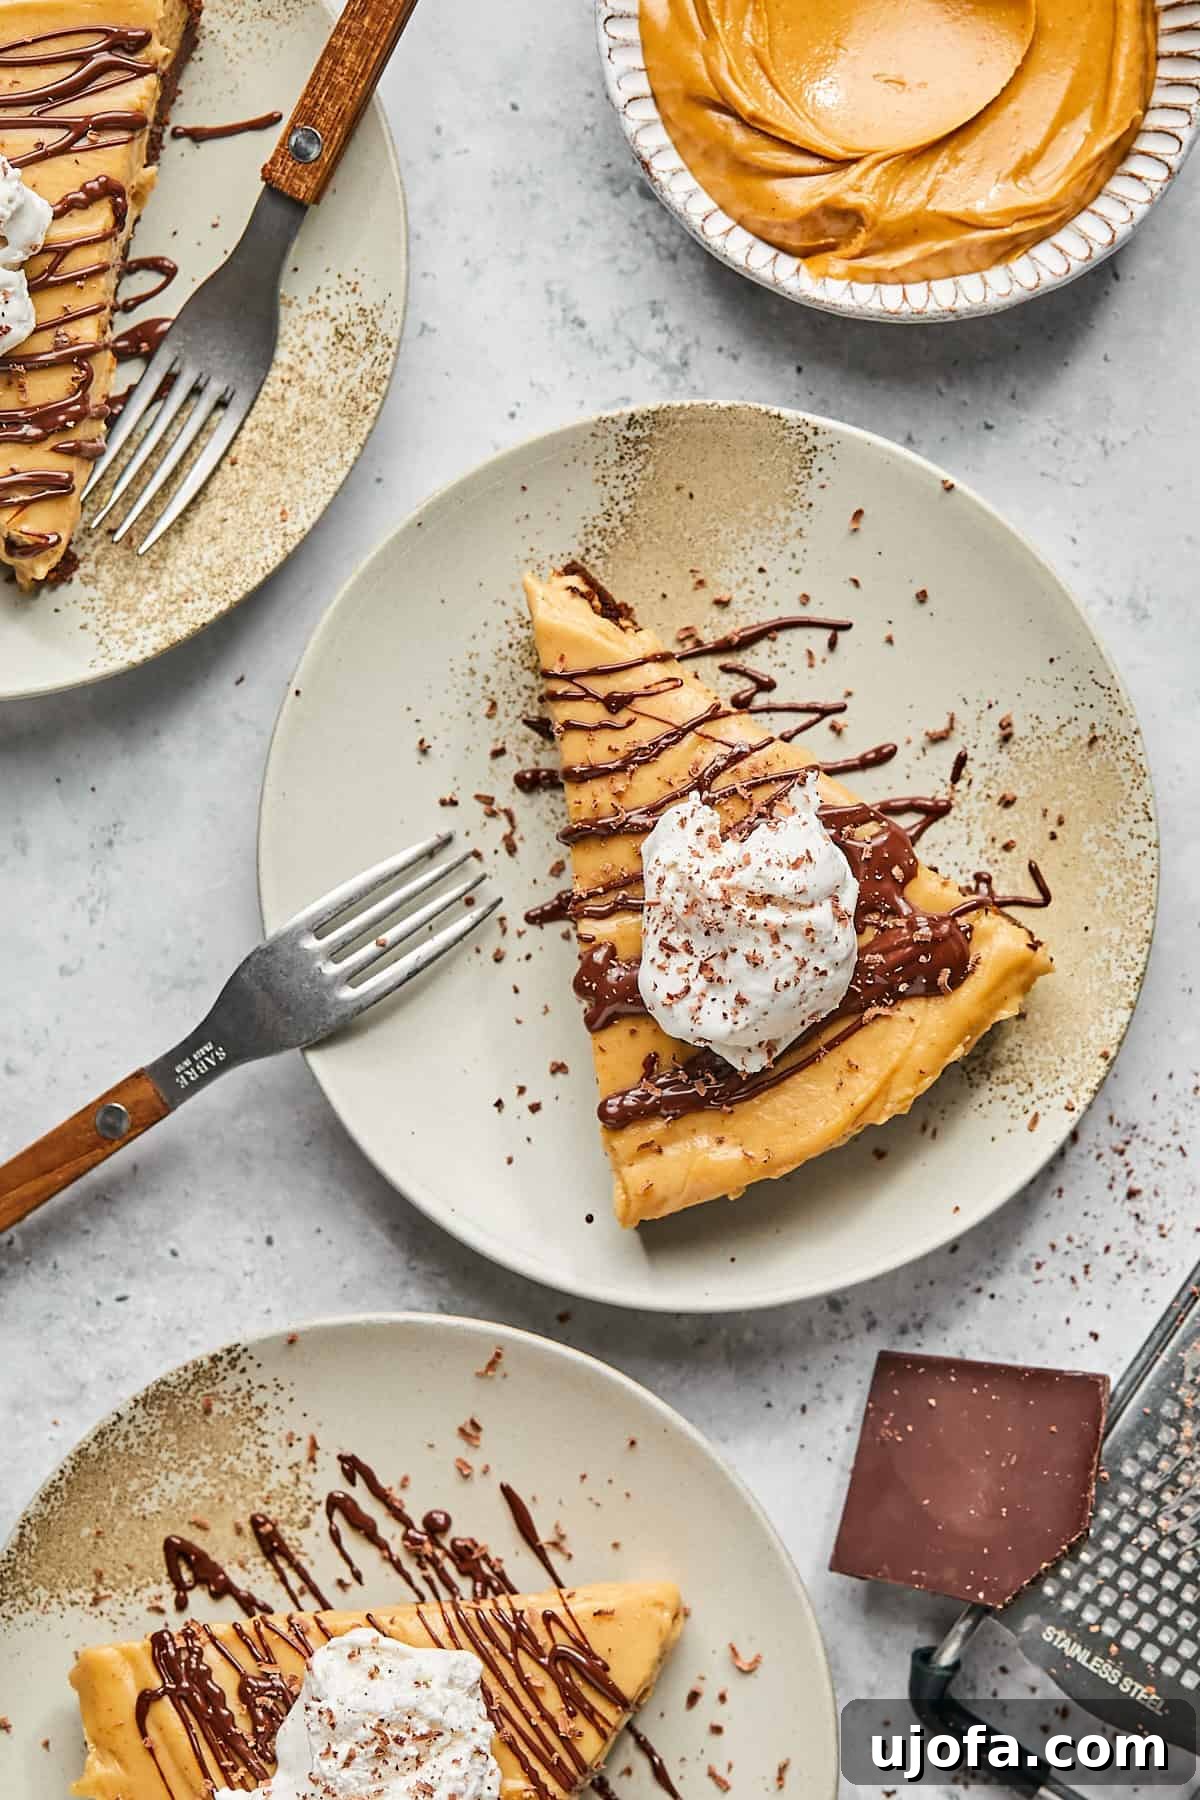
- Garnish with Flair: Elevate the visual appeal and taste of your dairy-free peanut butter pie by topping each slice with a scattering of mini chocolate chips, a luxurious drizzle of melted chocolate, or a delicate dollop of coconut cream or extra non-dairy whipped cream. These small additions make a big difference!
- Flavor Boosters: For an extra layer of gourmet flavor, consider sprinkling a tiny pinch of flaky sea salt over the top of your pie – it beautifully enhances the chocolate and peanut butter notes. Alternatively, a light dusting of powdered sugar can add a touch of elegance and sweetness. Serve this pie chilled or allow it to soften slightly at room temperature for about 10-15 minutes for the most optimal, creamy texture.
- Create a Pie Extravaganza: Hosting a gathering? Turn it into a memorable “pie night” by serving this dairy-free peanut butter pie alongside other crowd-pleasing options like a classic gluten-free pecan pie without corn syrup, a refreshing gluten-free key lime pie, and a comforting pumpkin pie with a graham cracker crust. Variety is the spice of life, and pie!
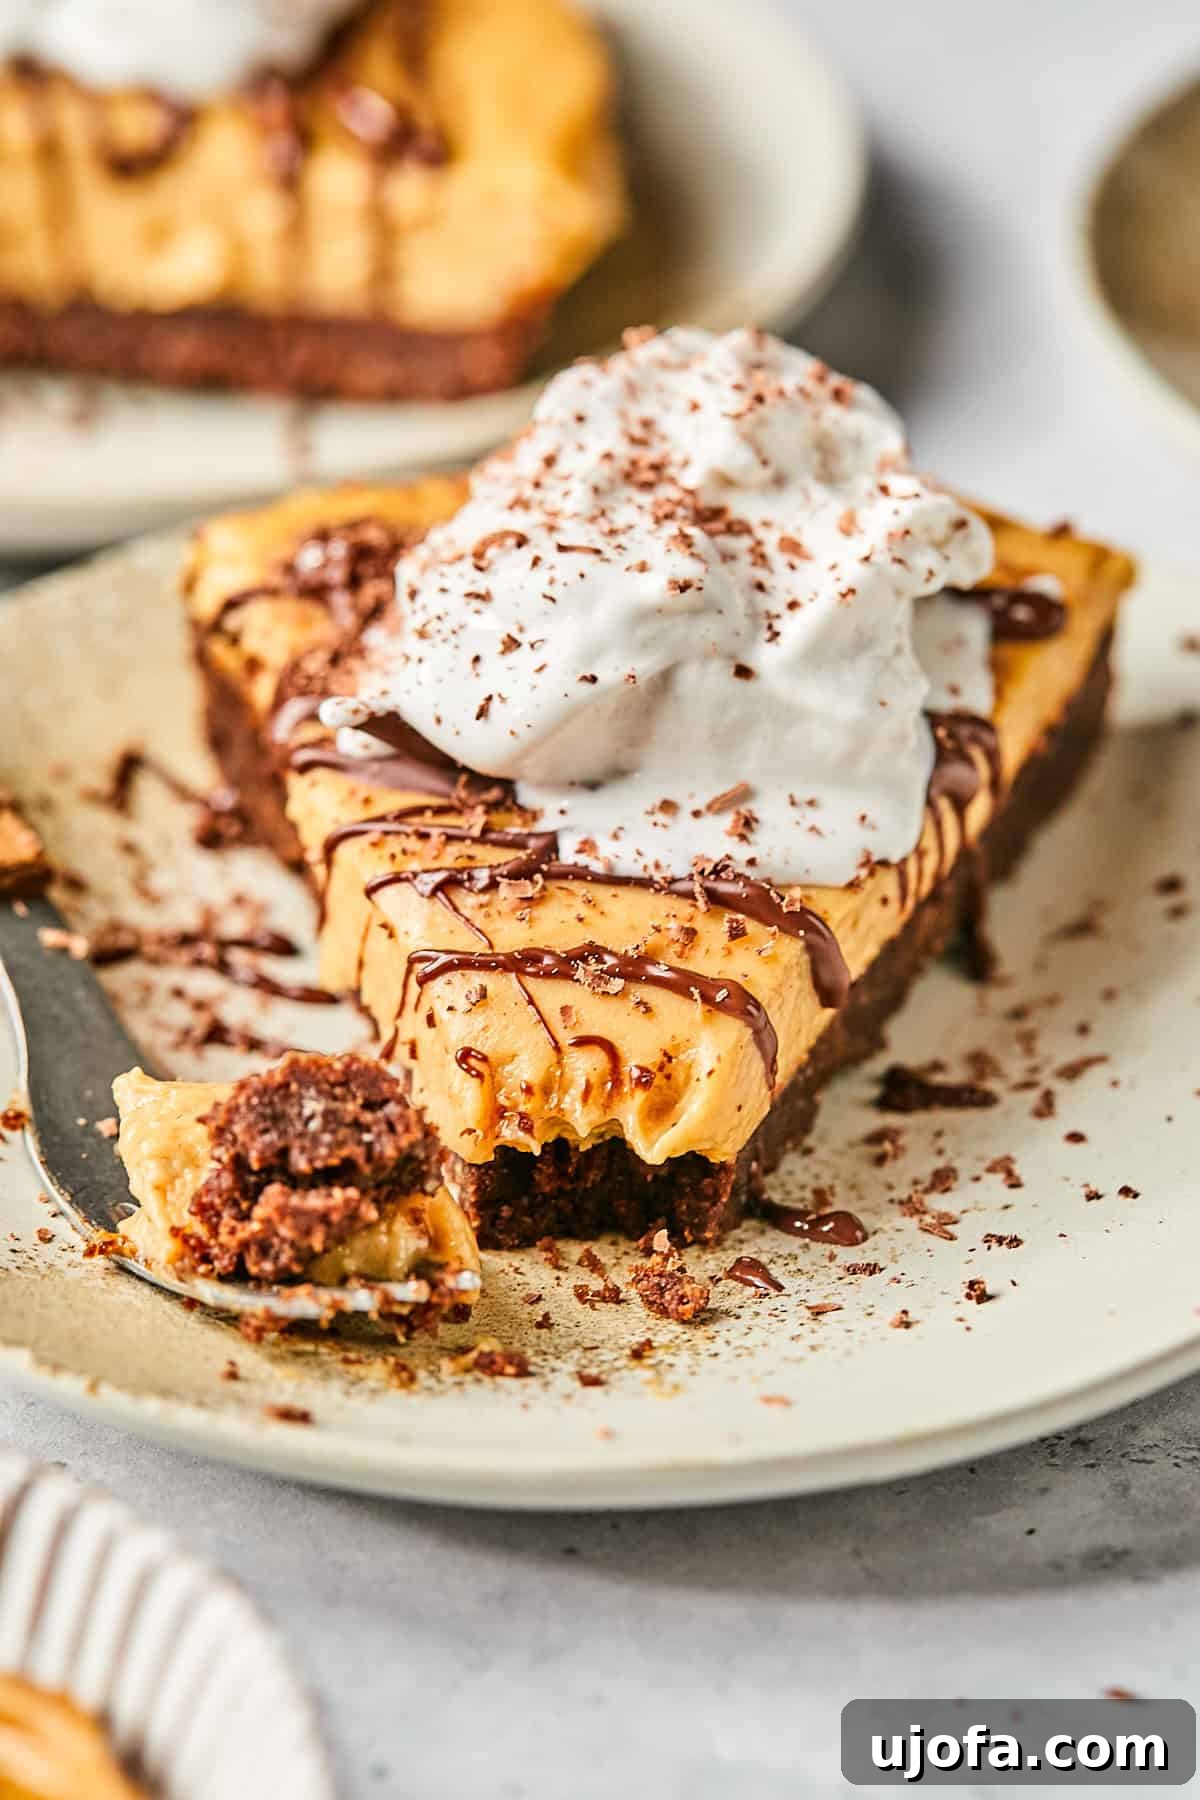
Smart Storage Solutions
To keep any leftover dairy-free peanut butter pie fresh and delicious, store it in an airtight container in the refrigerator for up to 5 days. For longer preservation, this pie freezes beautifully! Simply cover the entire pie or individual slices tightly with plastic wrap and then with aluminum foil. It can be frozen for up to 2 months. When ready to enjoy, thaw in the refrigerator overnight or at room temperature for about 15-20 minutes until it reaches your desired consistency.
Common Questions About This Dairy-Free Peanut Butter Pie
For neat, uniform pieces that look professionally made, dip your knife in warm water and wipe it clean between each slice. This simple trick prevents the creamy filling from sticking to the knife, ensuring a smooth cut every time.
Absolutely! This recipe is incredibly versatile. If you tolerate dairy or prefer to use traditional ingredients, you can easily substitute regular butter for vegan butter, conventional cream cheese for dairy-free cream cheese, and Cool Whip or Tru Whip for Cocowhip. The pie will turn out just as delicious and creamy!
While the filling for this pie is no-bake, the crust benefits greatly from a quick 10-minute bake to achieve its perfect crispness and to help it set firmly. If you absolutely need a no-bake crust, you can skip baking it, but be aware it might be slightly softer and more crumbly. Ensure to chill it thoroughly before adding the filling.
The most common reason for a runny filling is using a natural peanut butter that separates easily and has an oily consistency. Ensure you’re using a creamy, thicker peanut butter. If your filling seems too soft after mixing, you can try adding a tablespoon or two of powdered sugar or even a bit more powdered peanut butter to thicken it slightly before chilling.
Yes, this pie is an excellent make-ahead dessert! You can prepare the entire pie up to 2-3 days in advance and keep it stored in an airtight container in the refrigerator. This allows the flavors to meld beautifully and ensures it’s perfectly chilled and set for serving.
More Favorite Dairy-Free & Gluten-Free Desserts
Best Gluten-Free Protein Banana Bread with Chocolate Chips
Healthy Apple Crumble (Gluten-Free & Vegan)
Dairy-Free Key Lime Pie Bars (No Bake & Paleo)
Paleo No Bake Strawberry Cheesecake Bars
Loved this recipe? Please leave a 5-star 🌟🌟🌟🌟🌟 rating in the recipe card below & a review in the comment section. Or, follow me on Facebook, Pinterest or Instagram today for more delicious recipes!
Print Recipe
Easy Dairy-Free Peanut Butter Pie
By: Mary Smith
Prep Time: 10 mins
Cook Time: 10 mins
Total Time: 3 hrs 20 mins
Yield: 8 slices
This easy dairy-free peanut butter pie is rich, creamy, and bursting with peanut butter flavor, made completely gluten-free and dairy-free. Using simple ingredients, this no-fail recipe is perfect for peanut butter lovers looking for a decadent dessert that’s easy to whip up. Whether you’re making it for a family gathering, a holiday celebration, or just because, this classic recipe is sure to impress!
Equipment
-
Food Processor
-
9-inch Pie Plate
Ingredients
Crust
- 2 boxes Simple Mills Chocolate Thins, or 9 oz gluten-free chocolate cookies of choice
- 6 tbsp vegan butter
Filling
- ⅔ cup creamy peanut butter, I like the consistency of Justin’s peanut butter
- 8 oz Kite Hill plain cream cheese, or vegan cream cheese of choice
- ⅓ cup powdered peanut butter, I like PB2 brand
- ¼ cup pure maple syrup
- 1.5 tsp vanilla extract
- 9 oz Cocowhip dairy-free whipped topping, + more for topping, if desired
- chocolate drizzle or chocolate shavings, for topping, if desired
Instructions
-
Make the crust: Preheat oven to 375°F (190°C). Add the chocolate cookies into a food processor and pulse until they resemble fine sand.
-
Add in the melted vegan butter and pulse until well combined. Add the mixture to a greased 9-inch pie dish and press down firmly on the bottom and up the sides of the pie dish using your hands or the bottom of a flat cup. Bake for 10 minutes. Let it cool completely.
-
Make the filling: While the crust is cooling, make the filling. Add the creamy peanut butter, vegan cream cheese, powdered peanut butter, maple syrup (or honey), and vanilla extract into a large mixing bowl. Beat with a hand mixer on high speed or by hand for about 1-2 minutes until well combined and smooth.
-
Add the Cocowhip dairy-free topping to the peanut butter mixture and continue mixing on low speed or folding gently until fluffy and fully incorporated.
-
Add the filling to the prepared and cooled pie crust and smooth it over with a spatula. Pop the pie in the freezer for 2-3 hours to set, or refrigerate overnight. When ready to serve, drizzle with some melted chocolate and a dollop of Cocowhip, if desired. Enjoy your delicious dairy-free peanut butter pie!
Notes
If you tolerate dairy, you can use regular butter, regular cream cheese, and Cool Whip or Tru Whip for this recipe.
If you freeze for more than 3 hours, let it come to room temperature for 15 minutes before slicing for the best texture.
Slice with a wet knife for best results to achieve clean cuts.
Nutrition
All nutrition facts are an estimate and automatically calculated. While I fact-check them using My Fitness Pal, please note that they may not always be 100% accurate and depend on ingredients used. For the most accurate grams per serving size, weigh your total pie and divide by the number of servings.