
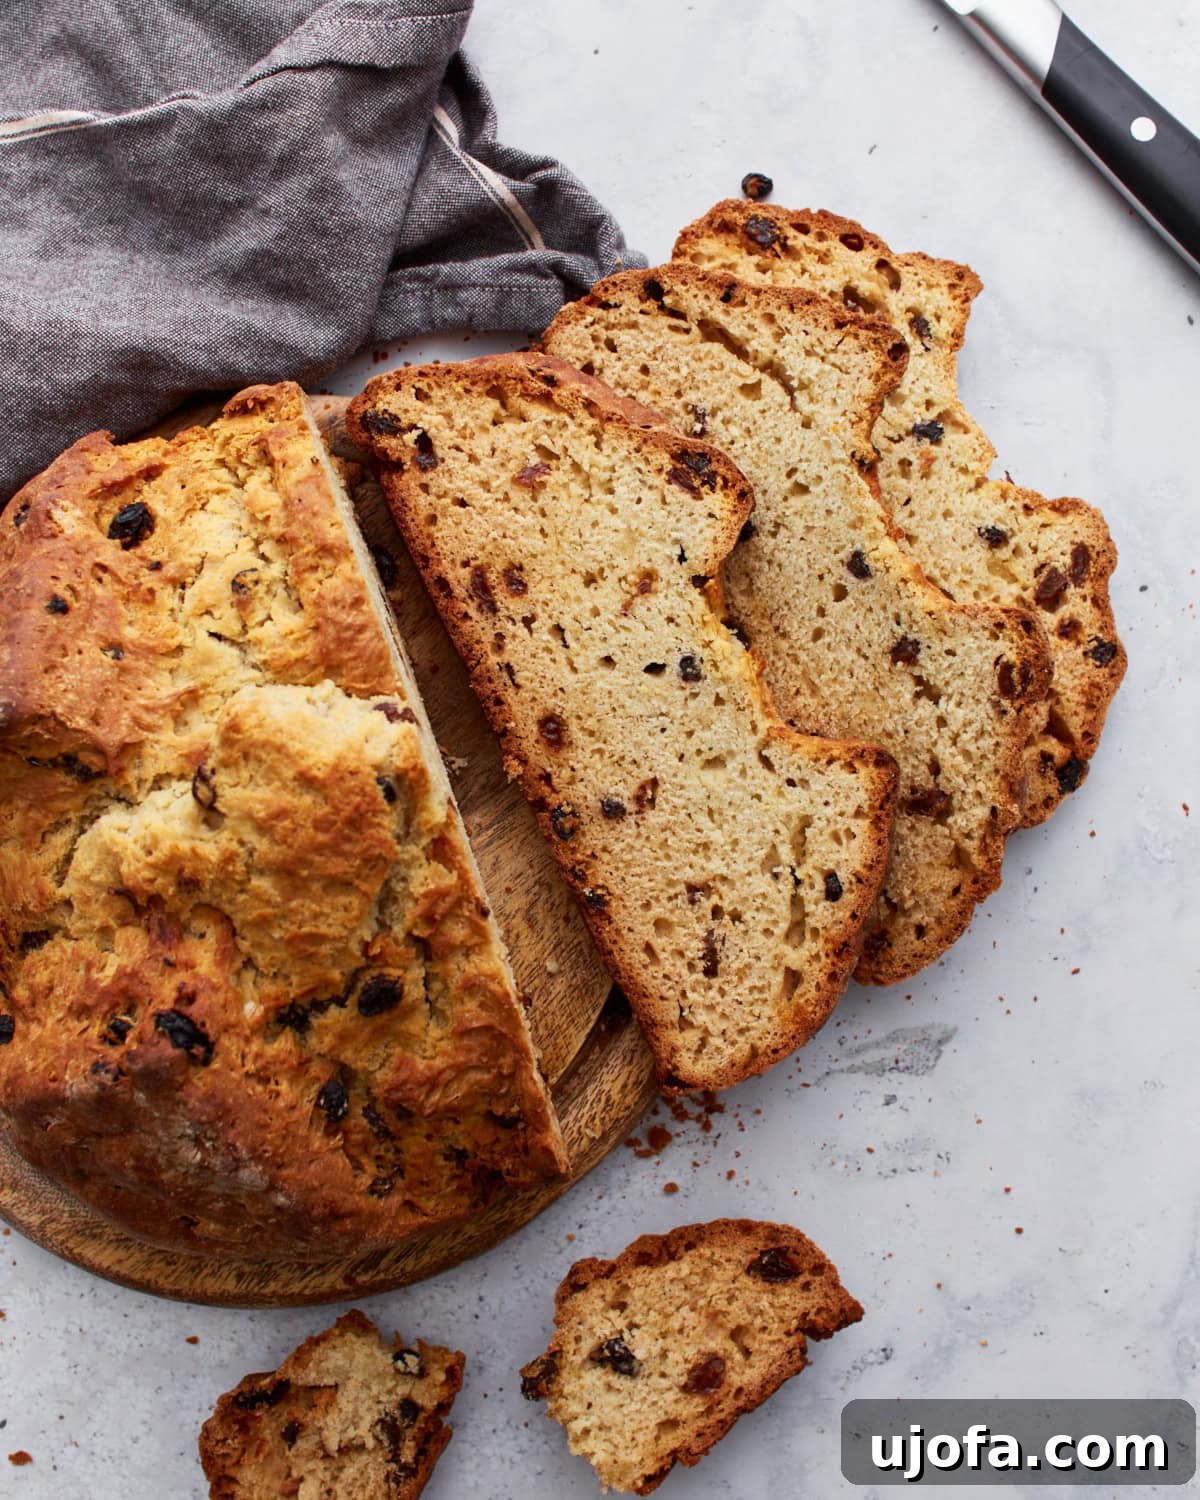
Perfect Gluten-Free Irish Soda Bread: An Easy & Delicious Recipe for Everyone
Experience the warmth and tradition of authentic Irish soda bread, now perfectly crafted for a gluten-free diet. This incredibly simple, no-yeast quick bread boasts a golden-brown crust and a delightfully dense yet tender crumb, making it an ideal companion for your morning coffee, afternoon tea, or as a hearty side to any meal. Whether you’re celebrating St. Patrick’s Day or simply seeking a comforting bake, this recipe ensures everyone can enjoy a slice of Irish heritage.
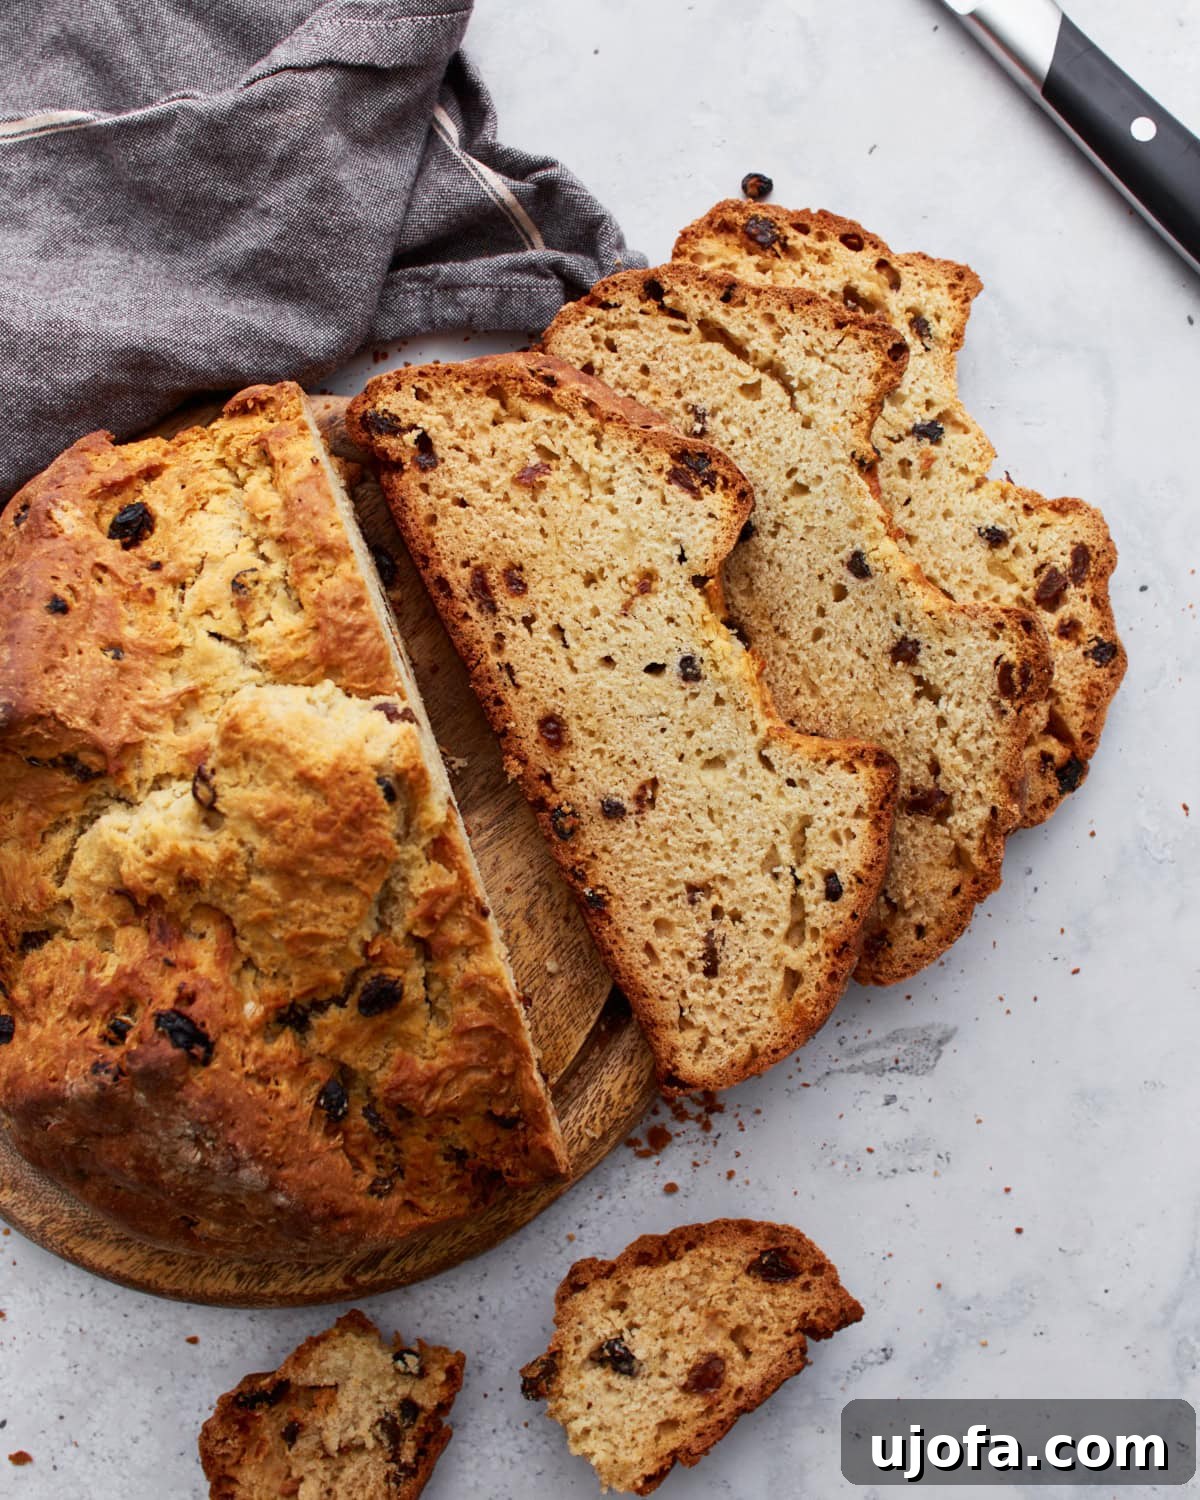
Authentic Taste, Gluten-Free Comfort: Your Go-To Irish Soda Bread Recipe
My gluten-free Irish soda bread recipe faithfully replicates the rustic charm and comforting flavors of its traditional counterpart, without a trace of gluten. This quick bread, requiring no yeast, is remarkably easy to prepare, making it a fantastic choice for bakers of all skill levels. The result is a loaf with an inviting golden-brown crust that yields to a dense, yet wonderfully tight and soft interior. Its texture is often compared to my popular Gluten-Free Biscuits or light and airy Gluten-Free Scones. My children, notoriously discerning taste testers, even exclaimed it tasted like a “giant biscuit” – a high compliment indeed!
What sets this recipe apart is not only its incredible taste but also its versatility. I’ve included simple modifications for those following dairy-free or vegan diets, ensuring that every guest at your table can indulge in this delightful bread. Serve it warm with a pat of butter, alongside a hearty bowl of soup, or slathered with your favorite jam. This bread is more than just a recipe; it’s a versatile staple for any occasion, especially cherished during St. Patrick’s Day celebrations, but equally enjoyed throughout the year.
Why Choose Gluten-Free Irish Soda Bread?
For individuals managing celiac disease, gluten sensitivity, or simply opting for a gluten-free lifestyle, traditional Irish soda bread is typically off-limits due to its wheat flour base. This recipe offers a fantastic solution, allowing everyone to enjoy this classic without compromise. By using a high-quality gluten-free all-purpose flour blend, we achieve a texture and flavor profile that closely mirrors the original, ensuring that no one feels left out during festive gatherings or daily meals. The convenience of a quick bread, meaning no proofing time required, adds to its appeal, making it a perfect last-minute addition to your menu.
Beyond dietary considerations, this bread is a testament to simple, wholesome baking. It’s made with basic pantry staples and comes together quickly, offering a homemade alternative to store-bought options. The joy of baking and sharing a warm, fragrant loaf straight from your oven is unparalleled, and this gluten-free version brings that joy to even more homes.
Essential Gluten-Free Baking Tips for Success
Baking with gluten-free flours can sometimes present unique challenges, but with a few key techniques, you can achieve perfect results every time. Follow these tips to ensure your gluten-free Irish soda bread turns out beautifully golden, tender, and absolutely delicious:
- Do Not Over-mix the Dough: This is perhaps the most crucial tip for any quick bread, especially gluten-free ones. Over-mixing develops gluten (even in gluten-free flours, over-agitation can lead to a gummy or tough texture from starches), resulting in a dense and heavy loaf. The dough should be “shaggy” and just combined, not perfectly smooth. Embrace the rustic nature!
- Handle Sticky Dough with Care: Gluten-free doughs can sometimes be stickier than their wheat-based counterparts. If you find the dough clinging to your hands while shaping, lightly moisten your hands with water. This slight dampness will prevent sticking without adding excess flour, which could dry out the bread.
- Keep Your Butter Cold: Cold butter is essential for achieving a tender, flaky crumb. When cut into the flour, cold butter creates pockets that release steam during baking, contributing to the bread’s delightful texture. Chop your butter into small pieces and return it to the refrigerator until you are ready to incorporate it into the dry ingredients. This prevents it from melting too early.
- Choose the Right Baking Vessel for a Crispy Crust: I highly recommend baking your Irish soda bread in a cast-iron skillet. The skillet’s ability to retain and distribute heat evenly contributes significantly to a wonderfully crispy crust, a hallmark of traditional soda bread. If a cast-iron skillet isn’t available, a heavy-bottomed baking sheet or a round baking pan will also work well, though the crust might be slightly less crisp.
- Maintain Oven Temperature for Optimal Crust Development: Resist the urge to open the oven door during baking, especially in the initial stages. Fluctuations in oven temperature can negatively impact the bread’s rise and the formation of that desirable crispy crust. Trust your oven and let the bread bake undisturbed until the recommended time.
- Proper Flour Blend is Key: Not all gluten-free flour blends are created equal. For best results, I recommend using a high-quality gluten-free all-purpose flour blend that already contains xanthan gum. If your chosen blend does not include xanthan gum, you may need to add about 1/2 teaspoon per cup of flour to provide structure and prevent crumbling. My personal favorite is Pillsbury gluten-free flour for its consistent results in this recipe.
Gluten-Free Irish Soda Bread
Audrey Roberts
10 servings
10 mins
45 mins
Email Recipe
Print Recipe
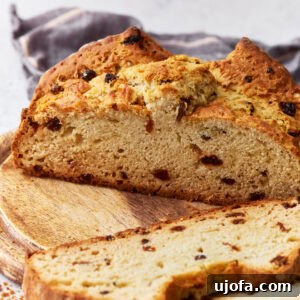
This gluten-free Irish soda bread mirrors the rustic charm of its traditional counterpart. A quick bread that doesn’t require yeast, it’s ideal for snacking or serving alongside tea and coffee for a delightful pick-me-up. While enjoyed all year, it’s an essential treat for St. Patrick’s Day celebrations.
Ingredients
- 4 cups gluten-free all-purpose flour with xanthan gum (Pillsbury gluten-free flour recommended; note that baking results may vary with different GF flour blends)
- 1/2 cup granulated sugar
- 1 tablespoon baking powder
- 1 teaspoon baking soda
- 1 teaspoon salt
- 4 tablespoons unsalted butter, cold and chopped (for dairy-free, use Smart Balance butter or another dairy-free butter alternative)
- 1 cup raisins, currants, or dried cranberries (optional, can be omitted)
- 1 3/4 cups milk (for dairy-free, use unsweetened almond milk or other plant-based milk)
- 1 1/2 tablespoons white vinegar (lemon juice can be substituted)
- 1 large egg (for egg-free, use Bob’s Red Mill gluten-free egg replacer or a flax egg)
Instructions
- Preheat your oven to 425°F (220°C). Prepare your baking vessel, whether it’s a greased cast iron skillet, baking sheet, or baking pan.
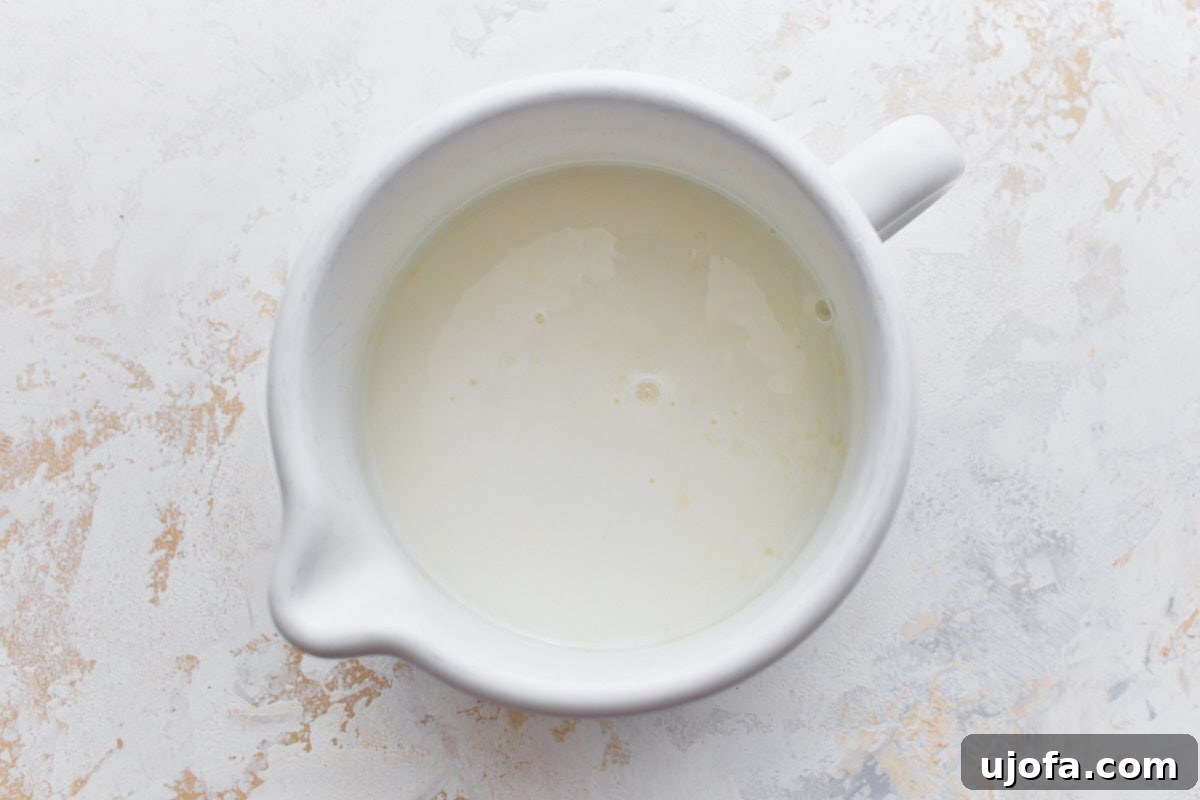
- In a large measuring cup, combine the white vinegar with the milk. Stir well and let it sit in the refrigerator for about 5 minutes to allow it to curdle, creating a homemade buttermilk substitute. Keeping it cold is key.
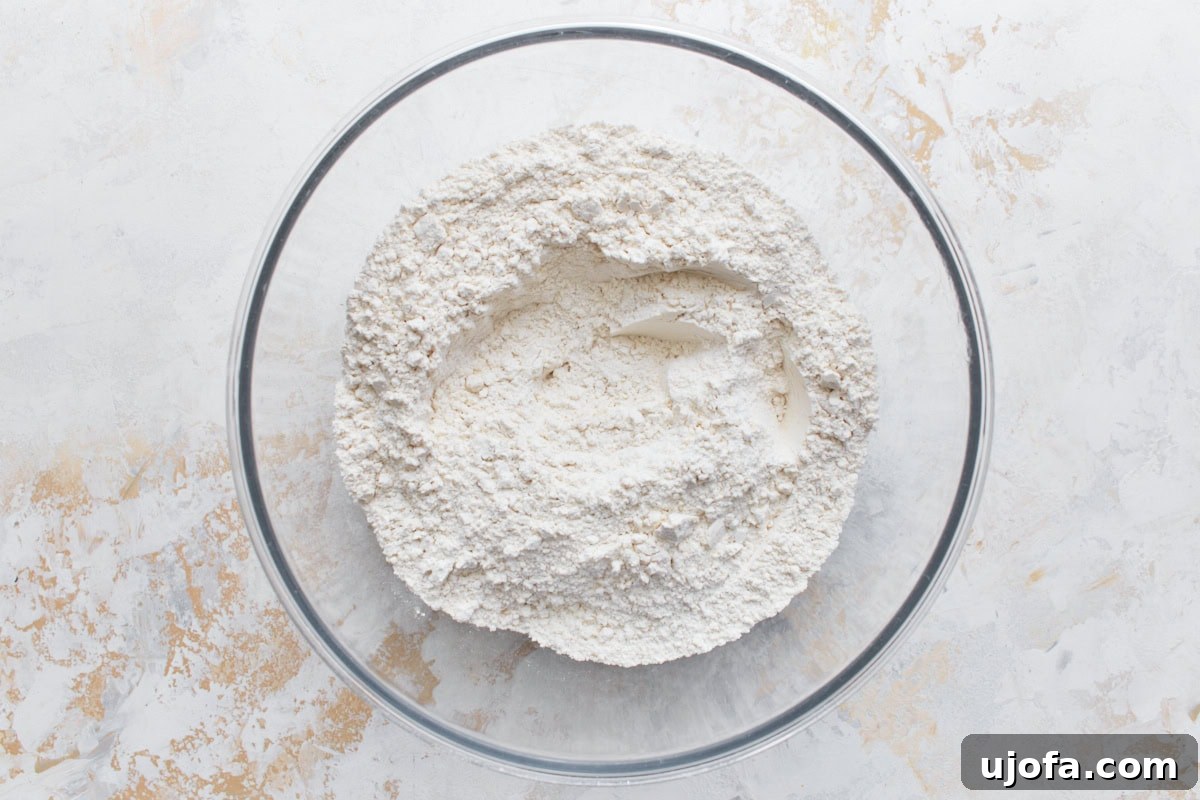
- In a separate large mixing bowl, whisk together the dry ingredients: gluten-free all-purpose flour, granulated sugar, baking powder, baking soda, and salt. Ensure they are thoroughly combined.
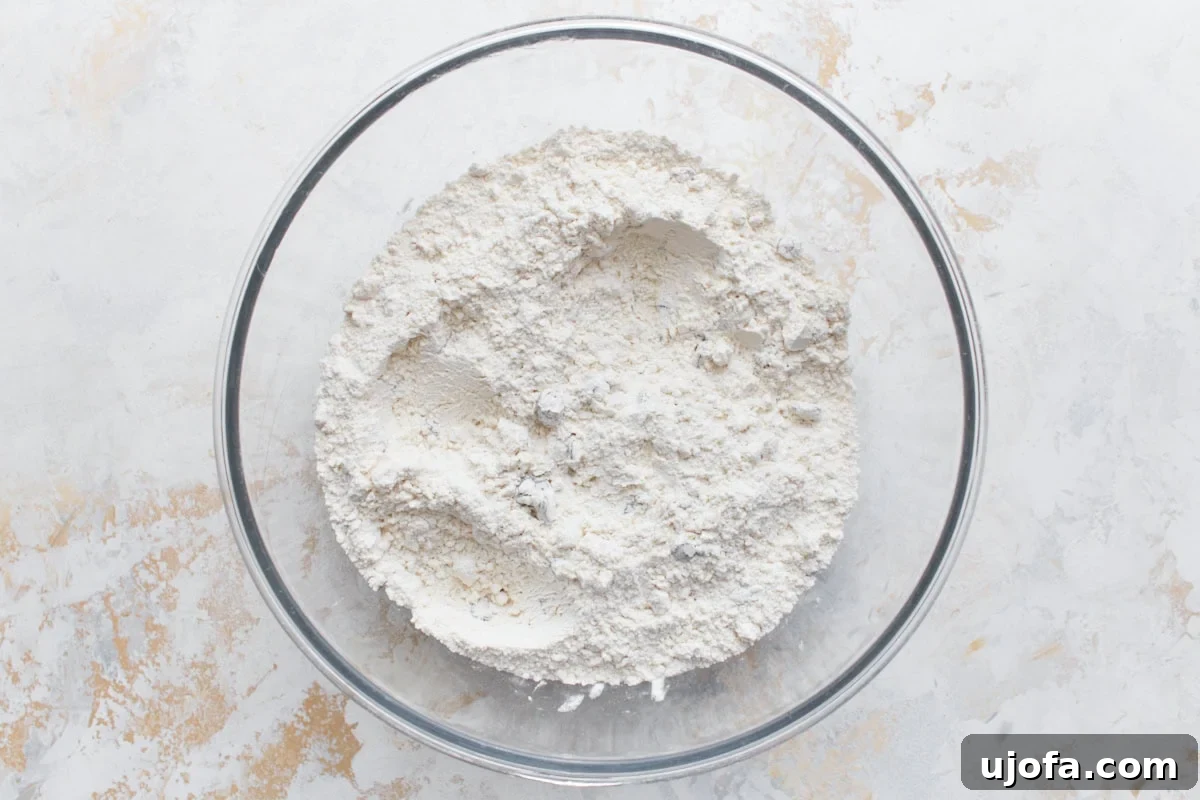
- Add the cold, chopped butter to the dry ingredients. Using a pastry cutter, a fork, or your fingertips, cut the butter into the flour mixture until it resembles small, coarse crumbs or peas.
- Gently stir in the raisins (or currants/dried cranberries) if you’re using them. If you prefer plain soda bread, feel free to skip this step.
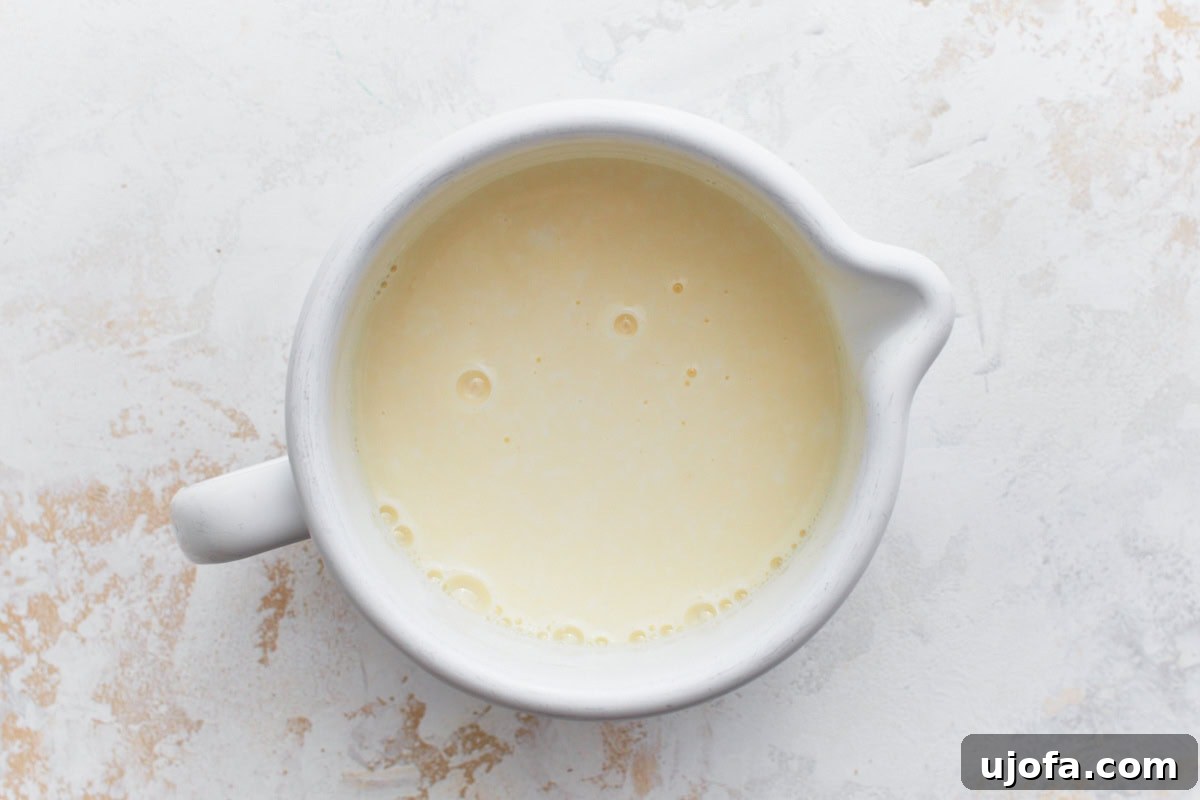
- In the measuring cup with your homemade buttermilk, whisk in the large egg until well combined.
- Create a well in the center of your dry ingredients in the large bowl. Pour the entire wet mixture (egg and buttermilk) into this well.
- Using a large spoon or spatula, mix the wet and dry ingredients together until a shaggy, cohesive dough forms. It should be soft but not excessively sticky. Remember, it’s crucial not to over-mix, as this can lead to tough bread.
- Lightly sprinkle about 1 tablespoon of gluten-free flour onto a piece of parchment paper. Turn the dough out onto the floured parchment paper and gently shape it into an 8-inch round. If the dough feels too sticky, slightly dampen your hands with water to make it easier to handle.
- Gently fold the dough over on itself two times. This means folding the dough in half once, then rotating it and folding it in half again. This technique helps create layers and improves the texture of the bread.
- Reshape the folded dough back into an 8-inch round.
- Carefully transfer the round dough to your prepared baking vessel (greased cast iron skillet, baking sheet, or baking pan).
- Using a sharp knife, score a deep cross into the top of the bread. This traditional step is not just for aesthetics; it helps the bread bake more evenly by allowing heat to penetrate the center and steam to escape, preventing a dense, unbaked middle.
- Bake for 15 minutes at 425°F (220°C). Then, reduce the oven temperature to 400°F (200°C) and continue to bake for an additional 30 minutes, or until the loaf is beautifully golden brown and sounds slightly hollow when tapped on the bottom.
- Once baked, remove the bread from the oven and allow it to cool in the pan for a few minutes before carefully transferring it to a wire rack to cool completely. This helps prevent the bottom from getting soggy.
Recipe Notes & Expert Tips
- For a Deeper Golden Crust: For an even more golden and rustic crust, you can brush the top of the dough with an egg wash (one egg whisked with a tablespoon of water or milk) or a simple milk wash just before placing it in the oven.
- Enhanced Flavor After Baking: After the bread is done baking and still warm, brush the top generously with a little melted butter. This adds a lovely sheen, extra richness, and a soft finish to the crust.
- Flavor Variations: Don’t limit yourself to raisins! Consider adding other delicious components like orange zest for a bright citrus note, caraway seeds for a classic Irish flavor, or even savory additions like shredded cheddar cheese and chives for a unique twist.
- Make Your Own Buttermilk: If you don’t have buttermilk on hand, the method used in this recipe (milk + vinegar/lemon juice) is a fantastic substitute. The acidity reacts with the baking soda to help the bread rise.
Nutrition Information (Approximate Per Serving)
Serving Size: 1 serving
Calories: 317 kcal
Carbohydrates: 59g
Protein: 7g
Fat: 8g
Saturated Fat: 4g
Polyunsaturated Fat: 1g
Monounsaturated Fat: 2g
Trans Fat: 1g
Cholesterol: 35mg
Sodium: 373mg
Potassium: 306mg
Fiber: 6g
Sugar: 14g
Vitamin A: 236 IU
Vitamin C: 1mg
Calcium: 141mg
Iron: 2mg
Nutrition information is automatically calculated and should be used as an approximation. Actual values may vary based on specific ingredients and preparation methods.
Additional Recipe Information
Side Dish, Bread, Breakfast
American, Irish
Tried this recipe?
Share your delicious creations! Mention @mamaknowsglutenfree or tag #mamaknowsglutenfree on Instagram!
Step-by-Step Guide: Crafting Your Gluten-Free Irish Soda Bread
Follow these detailed steps, accompanied by visual cues, to confidently bake your perfect loaf of gluten-free Irish soda bread. Each step is designed to guide you through the process, ensuring a smooth and enjoyable baking experience.
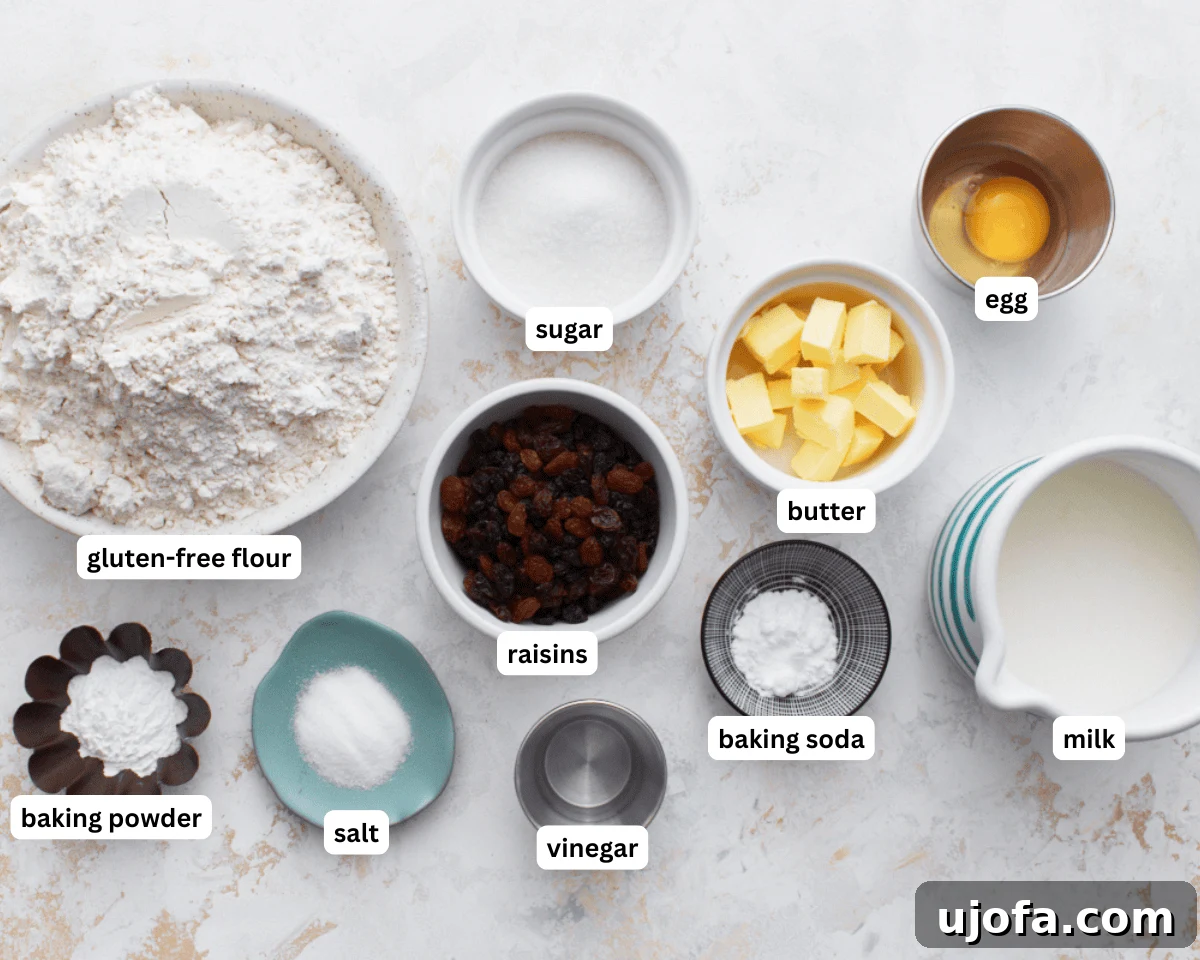
1. Gather Your Ingredients and Tools
Before you begin, ensure all your ingredients are measured out and ready, and your baking tools are at hand. This mise en place helps streamline the baking process. Cold butter and milk are particularly important for the best texture.
2. Prepare Your Homemade Buttermilk
Preheat your oven to 425°F (220°C). In a large measuring cup, combine 1 ½ tablespoons of white vinegar with 1 ¾ cups of milk (or your chosen dairy-free alternative). Give it a good stir and then place the mixture in the refrigerator for 5 minutes. This brief chilling period helps the “buttermilk” thicken and ensures it stays cold when you add it to the dry ingredients, which is beneficial for the bread’s texture.
3. Combine Dry Ingredients
In a spacious mixing bowl, thoroughly combine 4 cups of gluten-free all-purpose flour (ideally with xanthan gum included), ½ cup of granulated sugar, 1 tablespoon of baking powder, 1 teaspoon of baking soda, and 1 teaspoon of salt. Whisk these dry ingredients well to ensure even distribution of the leavening agents.
4. Incorporate Cold Butter and Raisins
Introduce 4 tablespoons of cold, chopped unsalted butter into your dry mixture. Use a pastry cutter, a fork, or your fingertips to work the butter into the flour until the mixture resembles small peas or coarse crumbs. This method helps create a tender, flaky crumb in the final bread. If using, fold in 1 cup of raisins, currants, or dried cranberries now. If you’re not a fan of dried fruit, simply omit this step.
5. Whisk Egg into Buttermilk
Retrieve your homemade buttermilk from the refrigerator. Add 1 large egg to the buttermilk mixture and whisk vigorously until both are fully incorporated. This liquid mixture will bind your dry ingredients.
6. Form the Dough (No Over-mixing!)
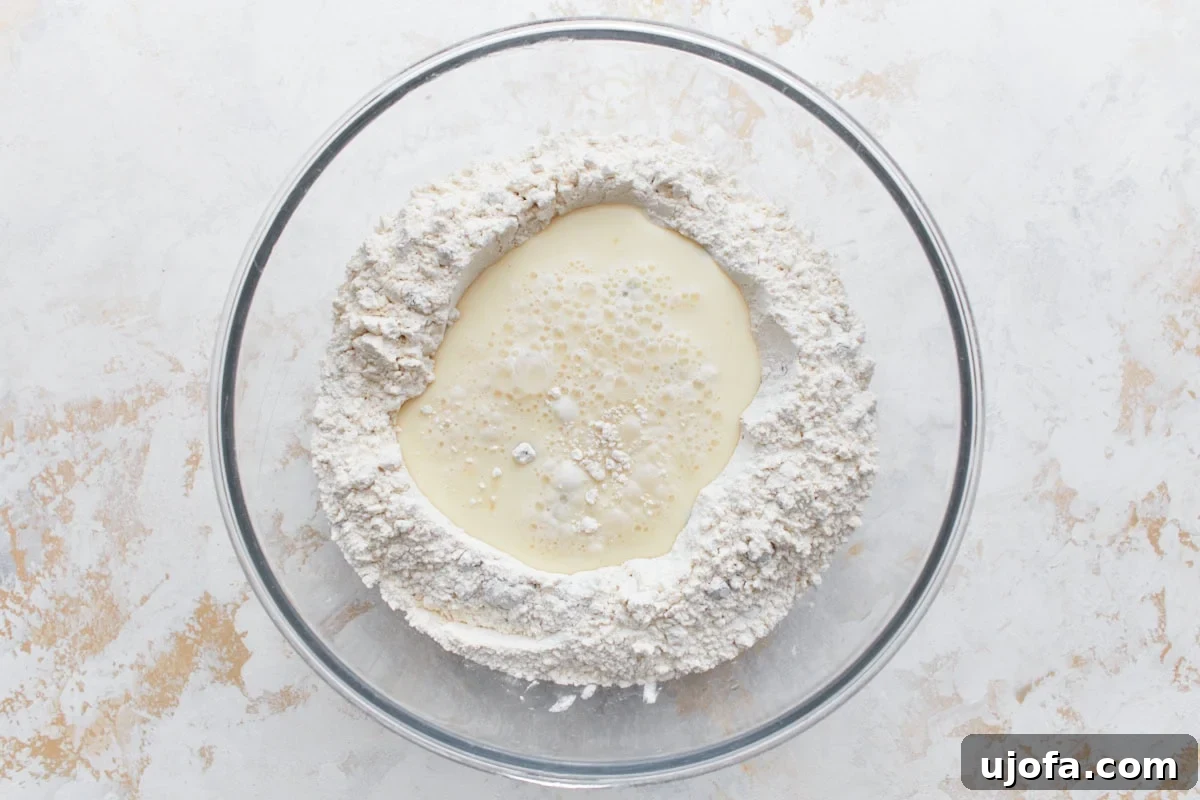
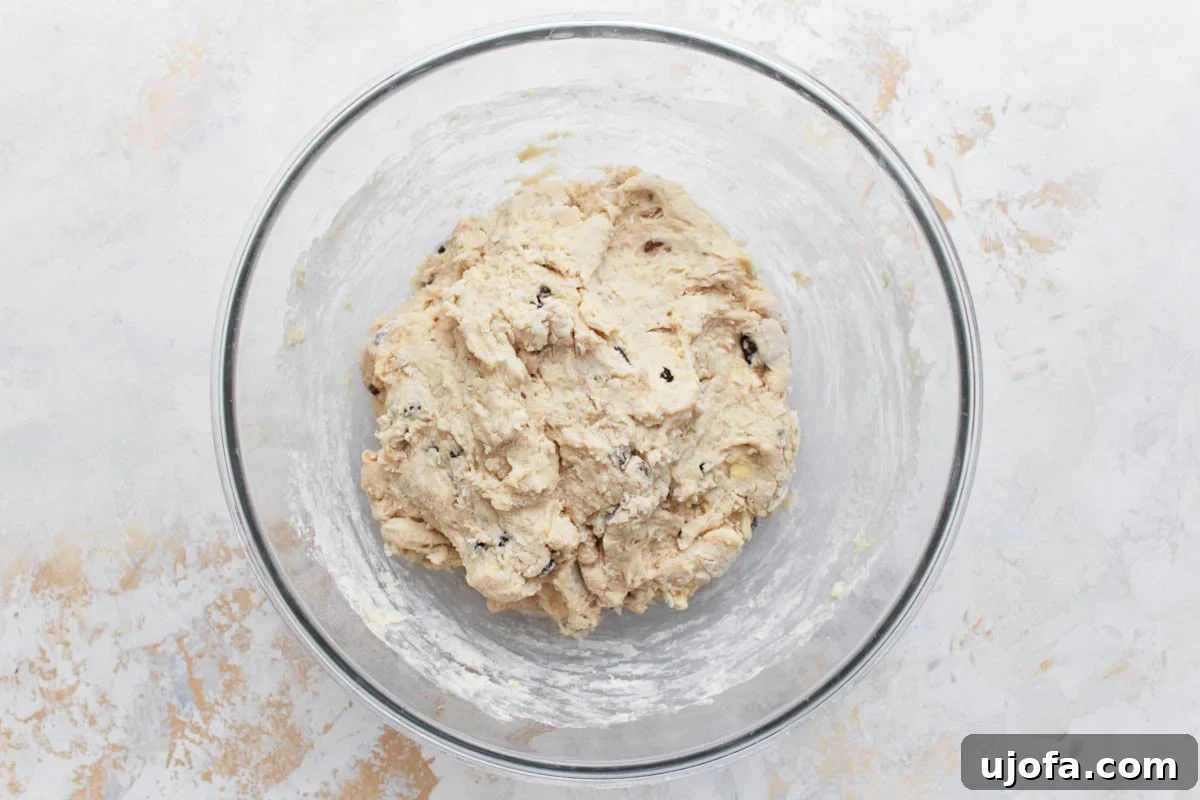
Make a generous well in the center of your dry ingredients in the large bowl. Pour the entire egg and buttermilk mixture into this well. Using a large spoon or spatula, gently mix the ingredients. Stir just until the gluten-free flour mixture and milk mixture come together to form a “shaggy” dough. The dough should be soft and slightly sticky to the touch. It is critically important to avoid over-mixing, as this can lead to a tough and undesirable texture in quick breads.
7. Shape the Loaf and Fold
Dust a piece of parchment paper generously with 1 tablespoon of gluten-free flour. Turn your shaggy dough out onto this floured parchment paper. With lightly wet hands (to prevent sticking), gently bring the dough together and form it into a round, approximately 8 inches in diameter. The goal is to shape it with minimal handling.
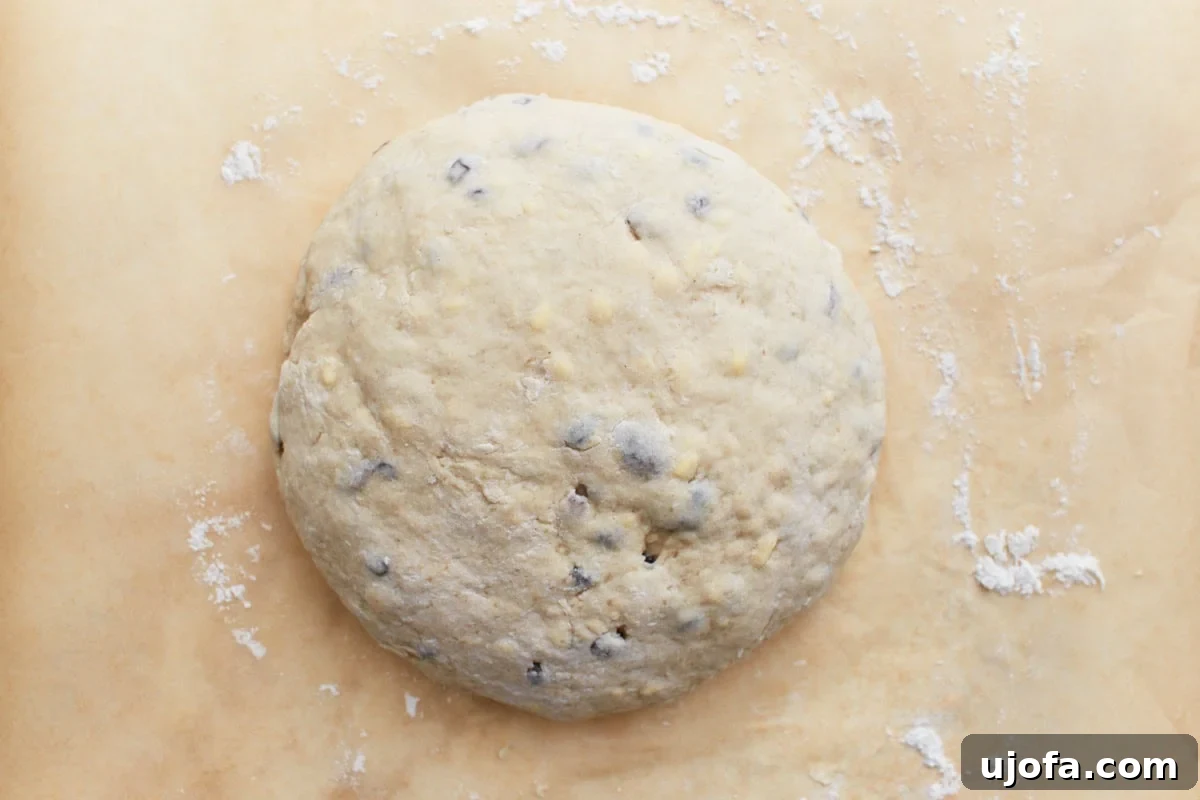
Next, gently fold the dough over on itself two times. This technique involves folding the dough in half once, then rotating it and folding it in half again. This layering helps to create a better texture and rise in your soda bread.
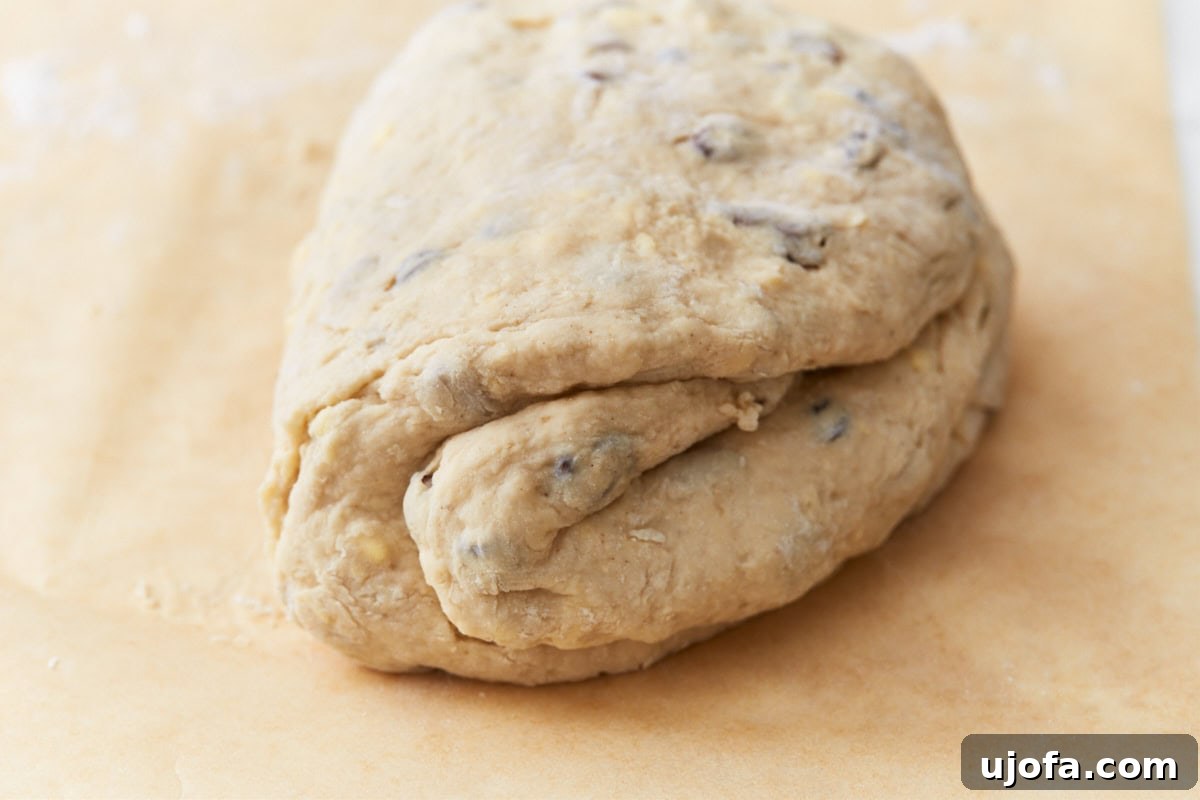
After folding, gently reshape the dough back into an 8-inch round. Maintain a light touch to keep the dough tender.
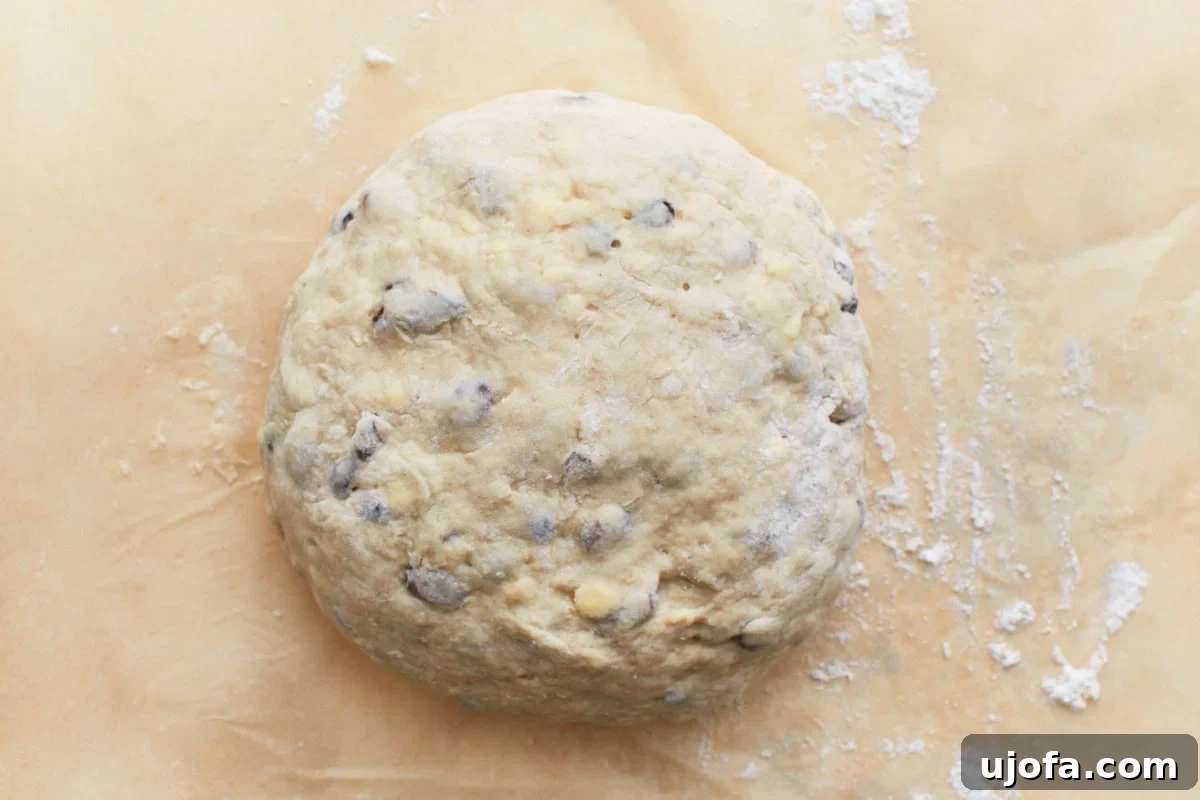
8. Prepare for Baking: Transfer and Score
Carefully transfer your beautifully shaped round dough to a greased cast iron skillet, a baking sheet lined with parchment paper, or your chosen baking pan. Ensure the surface is adequately greased to prevent sticking.
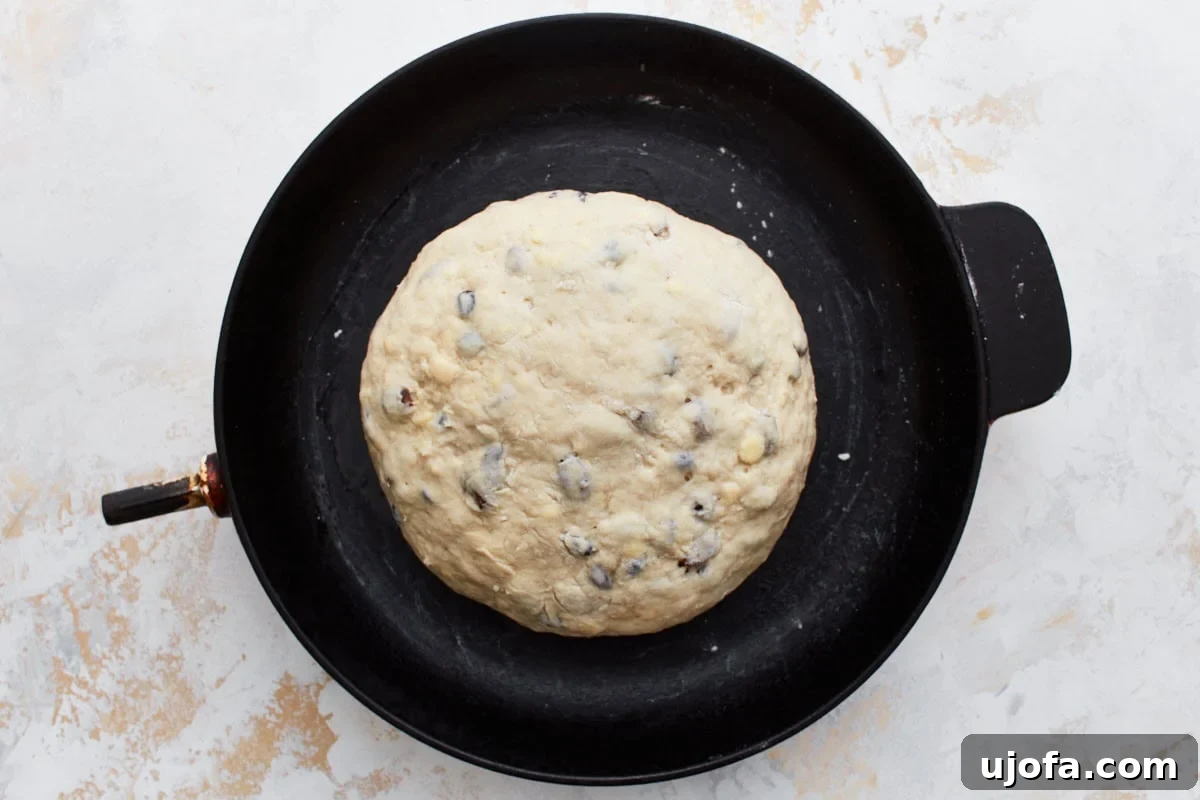
Now, take a sharp knife and score a deep cross into the top of the bread. This isn’t just a traditional decorative element; it’s a functional step that allows the center of the bread to bake thoroughly and evenly, preventing a raw or overly dense middle. The score should penetrate at least halfway through the dough.
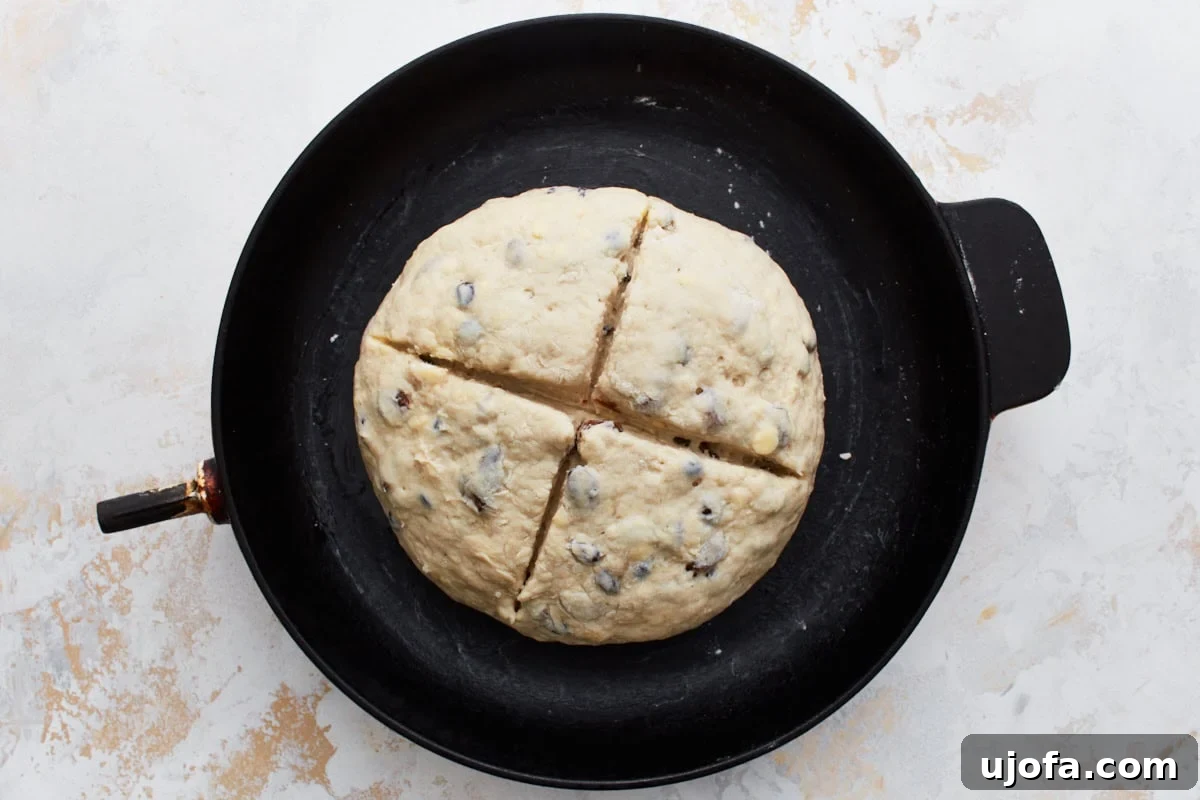
9. Bake to Golden Perfection
Place your soda bread into the preheated 425°F (220°C) oven and bake for 15 minutes. After this initial bake, reduce the oven temperature to 400°F (200°C) and continue baking for an additional 30 minutes. The bread is done when its crust is a beautiful golden brown and, when tapped on the bottom, it produces a slightly hollow sound, indicating it’s cooked through. Avoid opening the oven door frequently to maintain consistent heat.
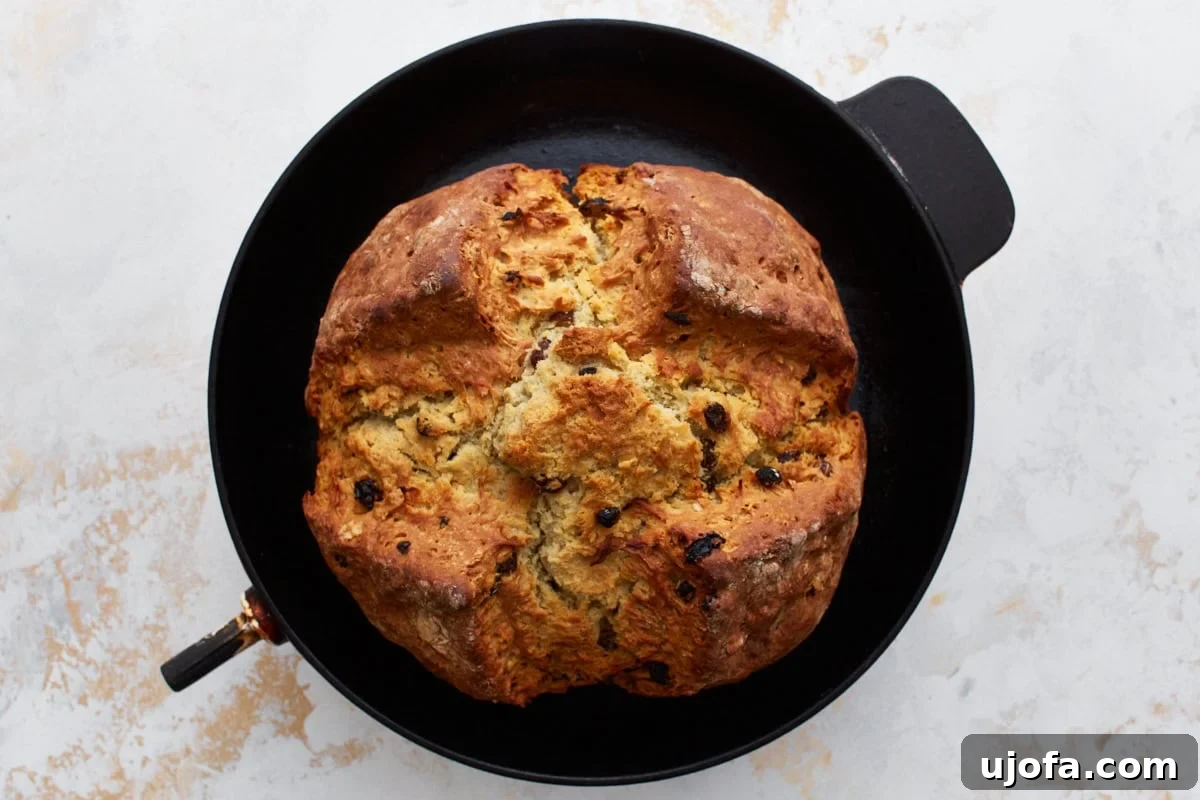
10. Cool and Enjoy!
Once baked, carefully remove the loaf from the oven. Allow it to cool in the skillet or on the baking sheet for a few minutes before transferring it to a wire rack to cool completely. Cooling on a wire rack ensures air circulation around the entire loaf, preventing the bottom from becoming soggy. This bread is best enjoyed warm, ideally within a day or two of baking.
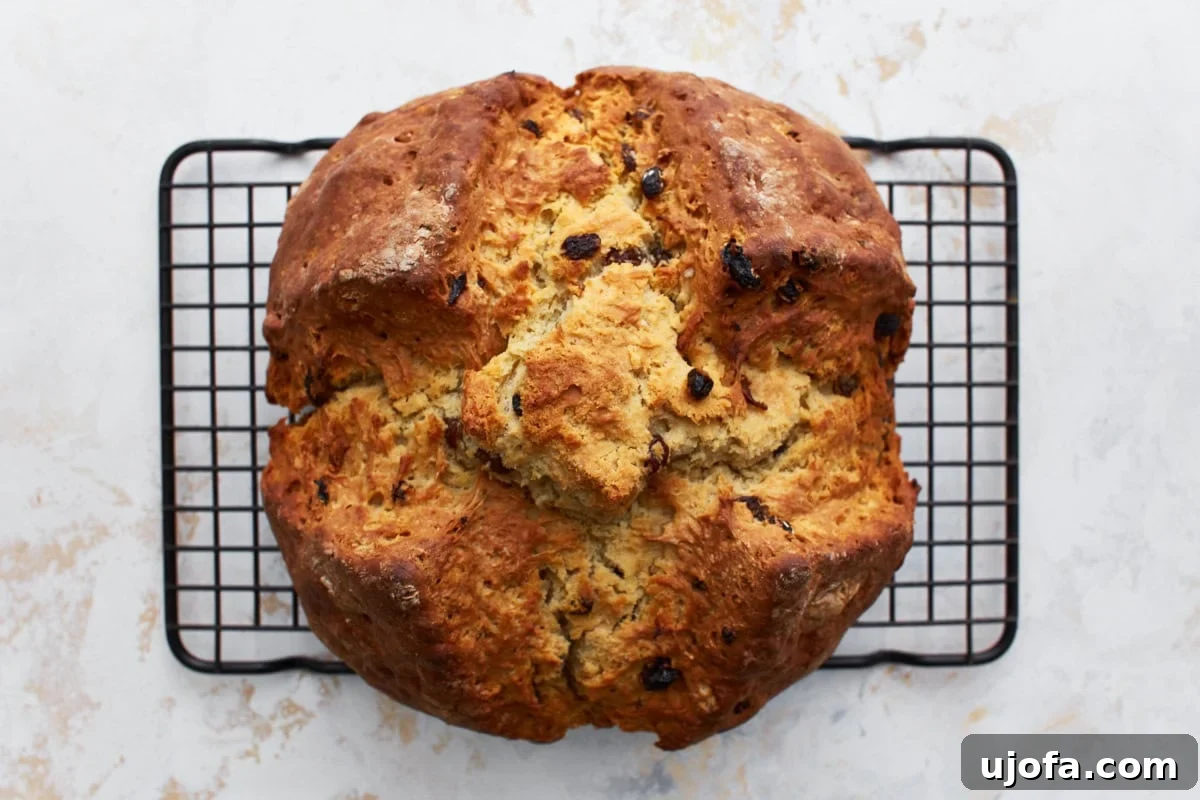
Slice, serve, and savor the rich, comforting flavors of your homemade gluten-free Irish soda bread!
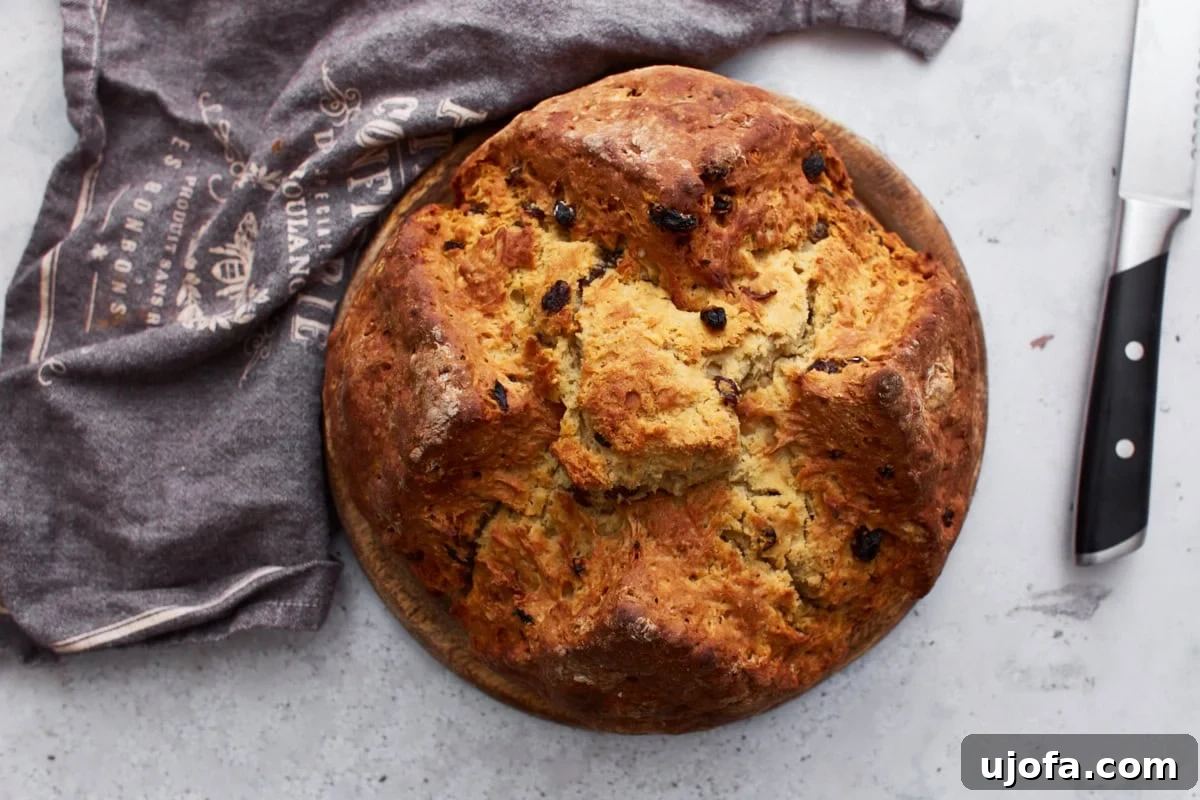
Delightful Serving Suggestions for Your Irish Soda Bread
This versatile gluten-free Irish soda bread is truly a chameleon on the table, adapting wonderfully to various meals and occasions. While delicious on its own, here are some ways to elevate your experience:
- Classic with Butter and Jam: The simplest and often the best way to enjoy it! A generous smear of dairy-free butter (or regular butter) and your favorite fruit jam or marmalade instantly transforms a slice into a comforting treat. Honey or molasses also make excellent accompaniments.
- Alongside Hearty Soups and Stews: Its dense, rustic crumb makes it perfect for soaking up rich broths. Serve it as a side to a traditional Irish stew, a robust beef and vegetable soup, or a creamy potato soup.
- Breakfast or Brunch Staple: Enjoy it toasted with scrambled eggs and bacon, or as part of a larger brunch spread. Its subtle sweetness makes it a wonderful alternative to toast or bagels.
- With Cheese and Chutney: For an appetizer or light lunch, pair slices with your favorite cheeses – a sharp cheddar, creamy brie, or even a tangy goat cheese – and a dollop of sweet or savory chutney.
- Afternoon Tea Companion: A warm slice of soda bread with a cup of Irish breakfast tea or strong coffee is the ultimate pick-me-up. The raisins add a delightful sweetness that complements hot beverages beautifully.
- Savory Enhancements: If you made a plain loaf (without raisins), consider serving it with savory toppings like cream cheese and smoked salmon, or even a slice of ham and mustard for a mini-sandwich.
Storing Your Gluten-Free Irish Soda Bread to Maintain Freshness
To ensure your delicious gluten-free Irish soda bread stays fresh and enjoyable for as long as possible, proper storage is key. While it’s always best enjoyed fresh, you can certainly keep leftovers or prepare it in advance:
- Countertop Storage: For short-term storage (2-3 days), allow the bread to cool completely. Tightly wrap the entire loaf or individual slices in plastic wrap, then an additional layer of aluminum foil. Place it in an airtight container or a bread box on your counter. This double-layer method helps prevent it from drying out.
- Refrigeration: While not typically recommended for bread as it can dry it out faster, if your kitchen is particularly warm or humid, or if you prefer a slightly firmer texture, you can refrigerate it using the same double-wrapping method. It will keep for up to 5 days.
- Freezing for Longer Freshness: Irish soda bread freezes exceptionally well, making it perfect for meal prep or enjoying a fresh slice whenever a craving strikes.
- Whole Loaf: Once completely cooled, wrap the entire loaf tightly in plastic wrap, followed by a layer of aluminum foil, and then place it in a freezer-safe bag. It can be frozen for 3-4 months.
- Individual Slices: For convenience, slice the cooled bread and layer the slices with parchment paper between them before wrapping them tightly and placing them in a freezer-safe bag. This allows you to grab just a slice or two as needed.
- Thawing and Reheating:
- Thawing: To thaw, simply transfer the frozen bread (whole or slices) to the countertop and let it come to room temperature overnight.
- Reheating: For best results, gently reheat slices in a toaster, toaster oven, or a warm oven (around 300°F/150°C) for a few minutes until warmed through and the crust is slightly crispy again. This revitalizes the texture and aroma.
Always ensure the bread is completely cool before wrapping and storing to prevent condensation, which can lead to sogginess.
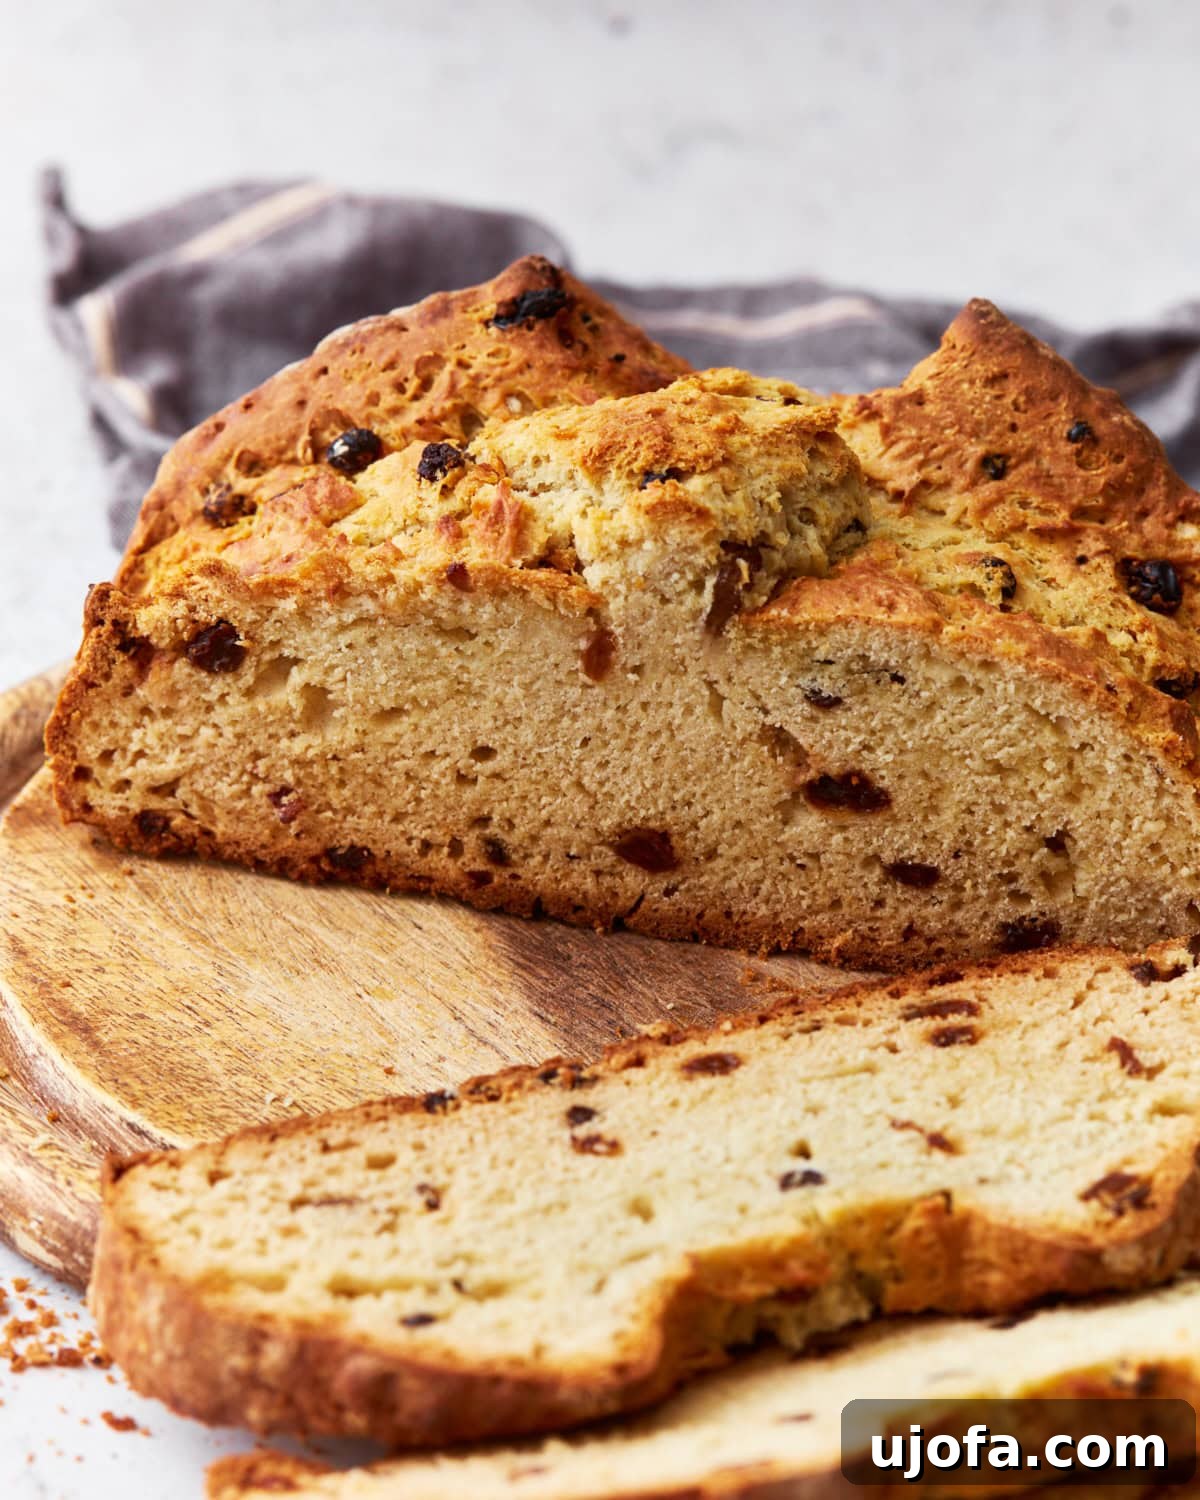
Explore More Delicious Gluten-Free Quick Breads
If you enjoyed the simplicity and delightful taste of this gluten-free Irish soda bread, you’ll love exploring other quick bread recipes that offer similar ease and satisfaction. Quick breads are fantastic for busy schedules, requiring no yeast or lengthy proofing times. Here are some more of my favorite gluten-free quick bread recipes to inspire your next baking adventure:
- Cloud Bread: A unique, low-carb, and incredibly light bread alternative.
- Gluten-Free Banana Bread: A classic comfort food, moist and perfectly sweet.
- Gluten-Free Cranberry Bread: Bursting with tangy cranberries, a festive treat perfect for holidays.
- Gluten-Free Zucchini Bread: A great way to use up garden zucchini, resulting in a wonderfully moist loaf.
- Gluten-Free Brioche: While technically a yeast bread, this recipe offers a simplified approach to achieve a rich, buttery, gluten-free brioche-like texture.