
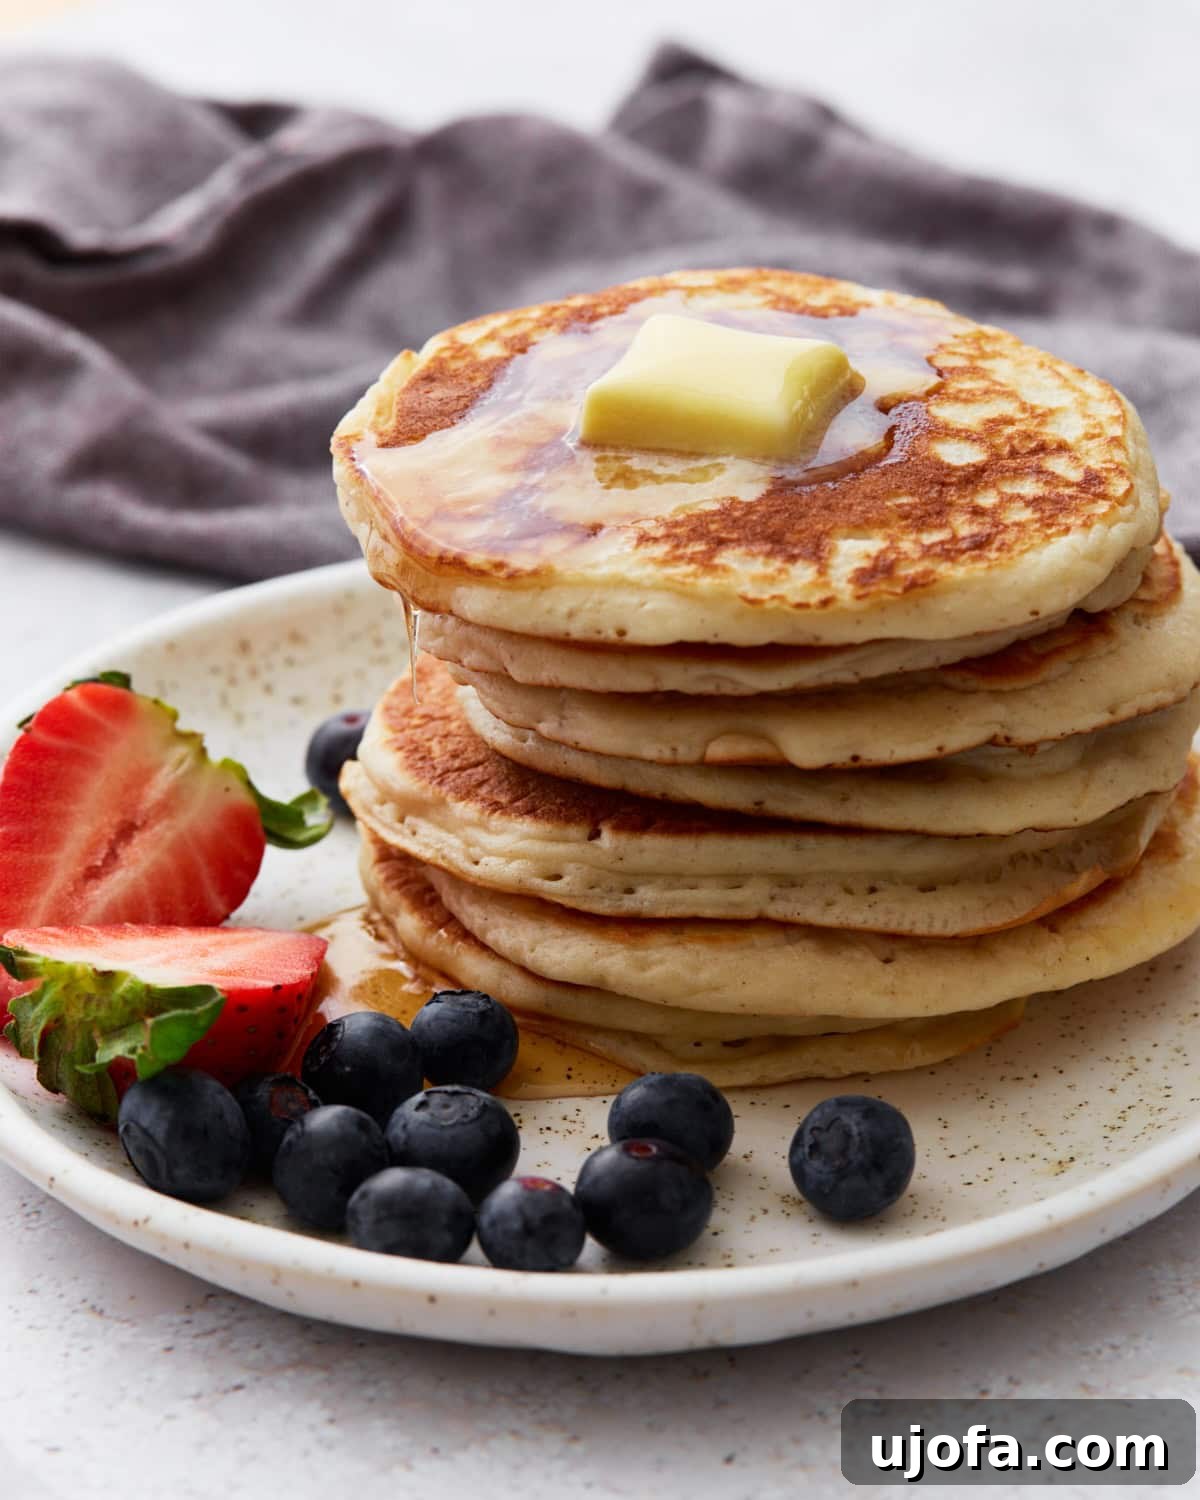
Effortlessly Delicious: Your Guide to Perfect Fluffy Gluten-Free Pancakes
Imagine waking up to the aroma of freshly cooked pancakes, golden and fluffy, ready to be drizzled with your favorite syrup. For anyone navigating a gluten-free lifestyle, this dream is now a delicious reality with our incredibly easy gluten-free pancake recipe. Crafted from simple pantry staples, this recipe allows you to whip up a delightful breakfast in minutes, proving that gluten-free doesn’t mean compromising on taste or convenience. Forget expensive boxed mixes; our homemade version is not only more economical for families but also boasts a superior flavor and texture that will make it your new breakfast staple.
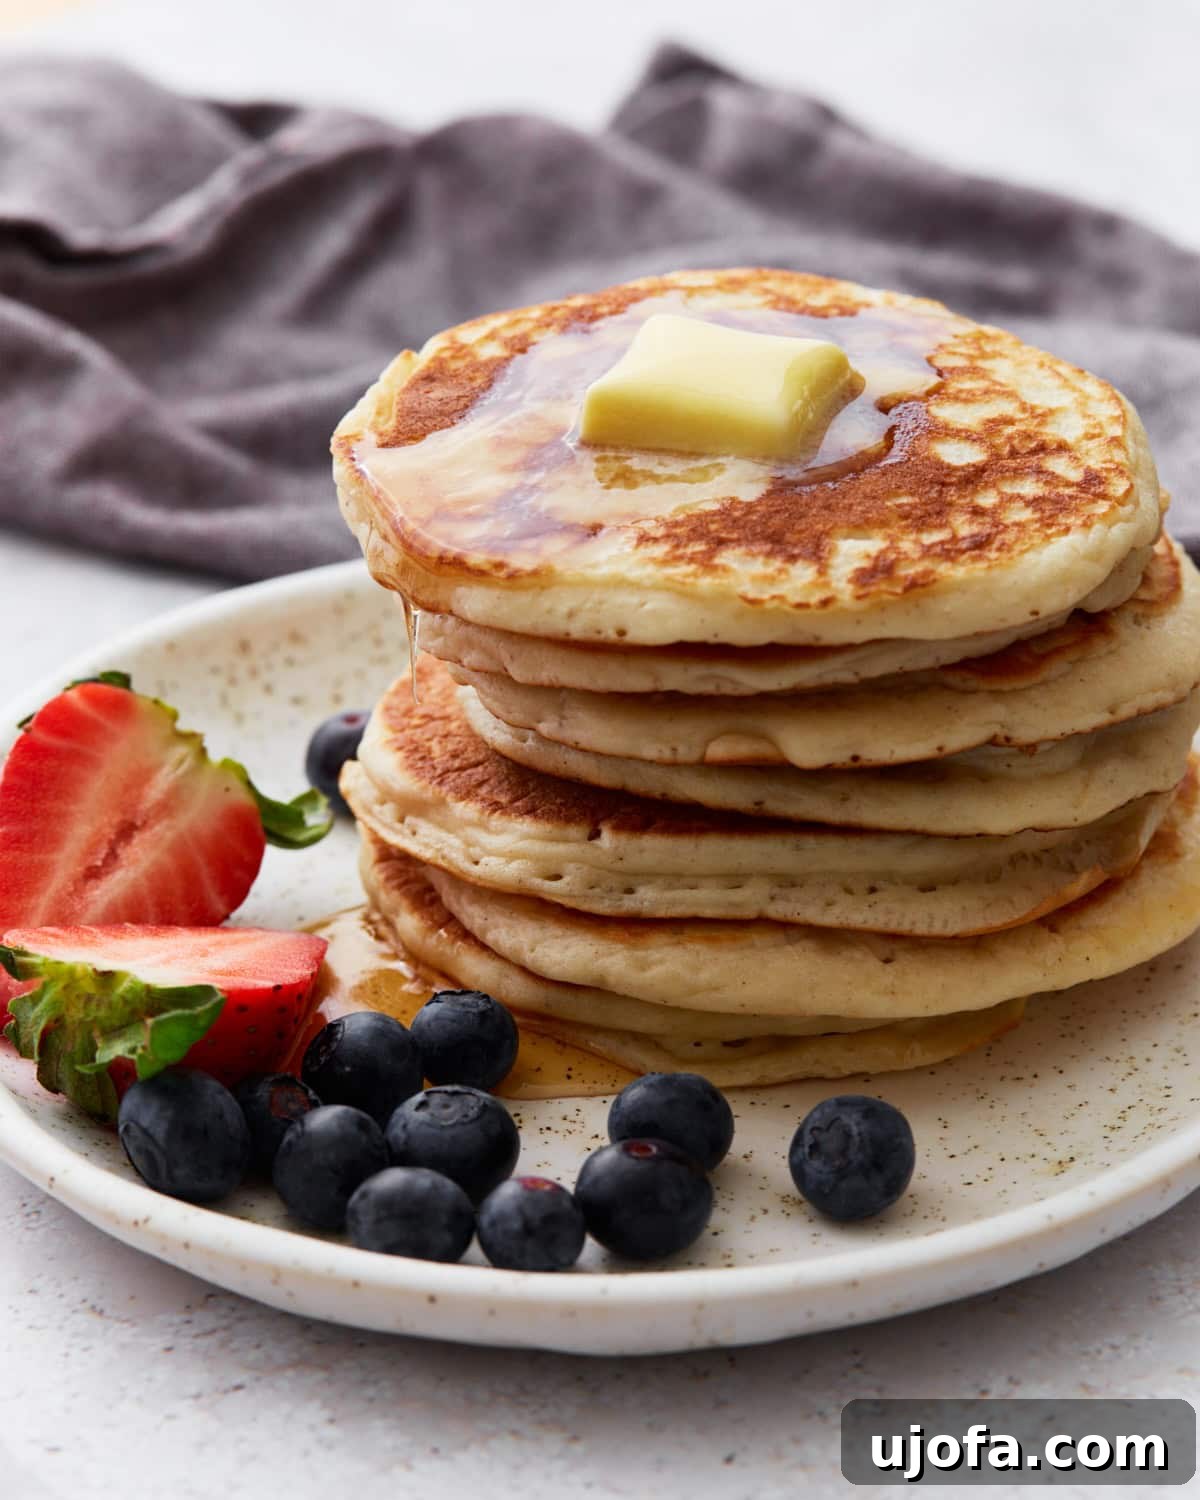
My Journey to the Perfect Gluten-Free Pancake Recipe
For many years, like countless others, I relied on readily available gluten-free pancake mixes. While convenient, the cost quickly added up, especially with a large, hungry family. It got me thinking about the classic pancake breakfasts my mom used to make when I was a kid, always using her trusted Betty Crocker recipe. I realized I could adapt those foundational principles to fit our gluten-free dietary needs. After some experimentation, making small but significant adjustments, this recipe was born!
This recipe isn’t just a crowd-pleaser on its own; it also paved the way for other family favorites, like our gluten-free banana pancakes, which are always a hit. What makes this recipe truly special is its adaptability. I often double the batch to ensure there are plenty for my family, and any extras freeze beautifully, providing a quick and easy breakfast solution for busy mornings. You can also customize them with your favorite mix-ins – think juicy blueberries, decadent chocolate chips, or a sprinkle of warming cinnamon. No matter if you’re making a small batch for yourself or enough to feed a crowd, these pancakes consistently turn out perfectly light, irresistibly fluffy, and utterly delicious every single time!
Easy Gluten-Free Pancakes
Audrey Roberts
8 pancakes
5 mins
10 mins
15 mins
Share by Email
Print Recipe
This easy gluten-free pancake recipe is a lifesaver for busy mornings! Made with common pantry ingredients, you can quickly whip up a batch or keep the dry mix on hand for future use. It’s truly as convenient as a store-bought mix, but with a homemade taste that’s simply unbeatable.
Ingredients
- 2 tablespoons granulated sugar
- 2 tablespoons vegetable oil
- 1 egg, Vegan option: use Bob’s Red Mill gluten-free egg replacer
- 1 teaspoon pure vanilla extract
- 1 cup all-purpose gluten-free flour*, I like Pillsbury gluten-free flour. Please note that not all gluten-free flours are created equal. You may experience different baking results depending on the specific gluten-free flour blend you choose.
- 1/4 teaspoon xanthan gum, (leave out if your gluten-free flour blend already contains it)
- 1 tablespoon gluten-free baking powder
- 1/4 teaspoon salt
- 3/4 cup milk, For dairy-free or Vegan options, use almond, cashew, or coconut milk
Instructions
-
In a large mixing bowl, thoroughly whisk together the egg (or chosen egg replacer), granulated sugar, pure vanilla extract, and vegetable oil until well combined and slightly frothy. This forms the wet base of your delicious pancake batter.
-
To the wet mixture, add your dry ingredients: the all-purpose gluten-free flour, xanthan gum (remember to omit this if your specific flour blend already includes it), gluten-free baking powder, and salt. Mix gently until all the ingredients are just combined. Be careful not to overmix, as this can lead to tougher pancakes. A few small lumps are perfectly fine!
-
Gradually stir in the milk (or your preferred dairy-free alternative) until the batter is smooth and pourable. If you prefer a thinner consistency for your pancakes, feel free to add an extra 1 to 2 tablespoons of milk, stirring until the desired consistency is reached.
-
Heat a lightly greased griddle or large pan over medium heat. For perfect, evenly cooked pancakes every time, I highly recommend using an electric griddle set to a consistent 350°F (175°C). Once hot, use a 1/4 cup measuring cup to scoop and pour the batter onto the griddle for each pancake.
-
Cook the pancakes for 2-3 minutes on the first side, or until you start to see bubbles forming on the surface and the edges appear set. The pancakes should also begin to puff up slightly. Carefully flip each pancake with a spatula and cook for another 1-2 minutes, or until they turn a beautiful golden brown on both sides and are cooked through.
-
Transfer the cooked pancakes to a plate. Serve immediately, topped with a pat of butter, a generous drizzle of your favorite syrup, or any other beloved pancake toppings. Enjoy your homemade, fluffy gluten-free pancakes!
Notes
*For accurate results, measure your gluten-free flour using the “spoon & level” method. Gently scoop the flour into your measuring cup until it overflows, then use the back of a knife or a straight edge to level it off. Avoid scooping directly from the bag or container, as this can compact the flour and result in using too much, leading to dense pancakes.
For the best rise and fluffiness, ensure your baking powder is fresh. Old baking powder loses its potency and can result in flat pancakes.
Nutrition
Calories: 151 kcal
Carbohydrates: 16 g
Protein: 6 g
Fat: 7 g
Saturated Fat: 4 g
Cholesterol: 115 mg
Sodium: 129 mg
Potassium: 223 mg
Fiber: 1 g
Sugar: 4 g
Vitamin A: 200 IU
Calcium: 118 mg
Iron: 1.2 mg
Nutrition information is automatically calculated and should only be used as an approximation.
Additional Info
Tried this recipe?
Mention @mamaknowsglutenfree or tag #mamaknowsglutenfree!
How to Master Easy Gluten-Free Pancakes: A Step-by-Step Visual Guide
Making light and fluffy gluten-free pancakes is simpler than you might think. Follow these detailed steps, accompanied by visual cues, to ensure perfect results every time.
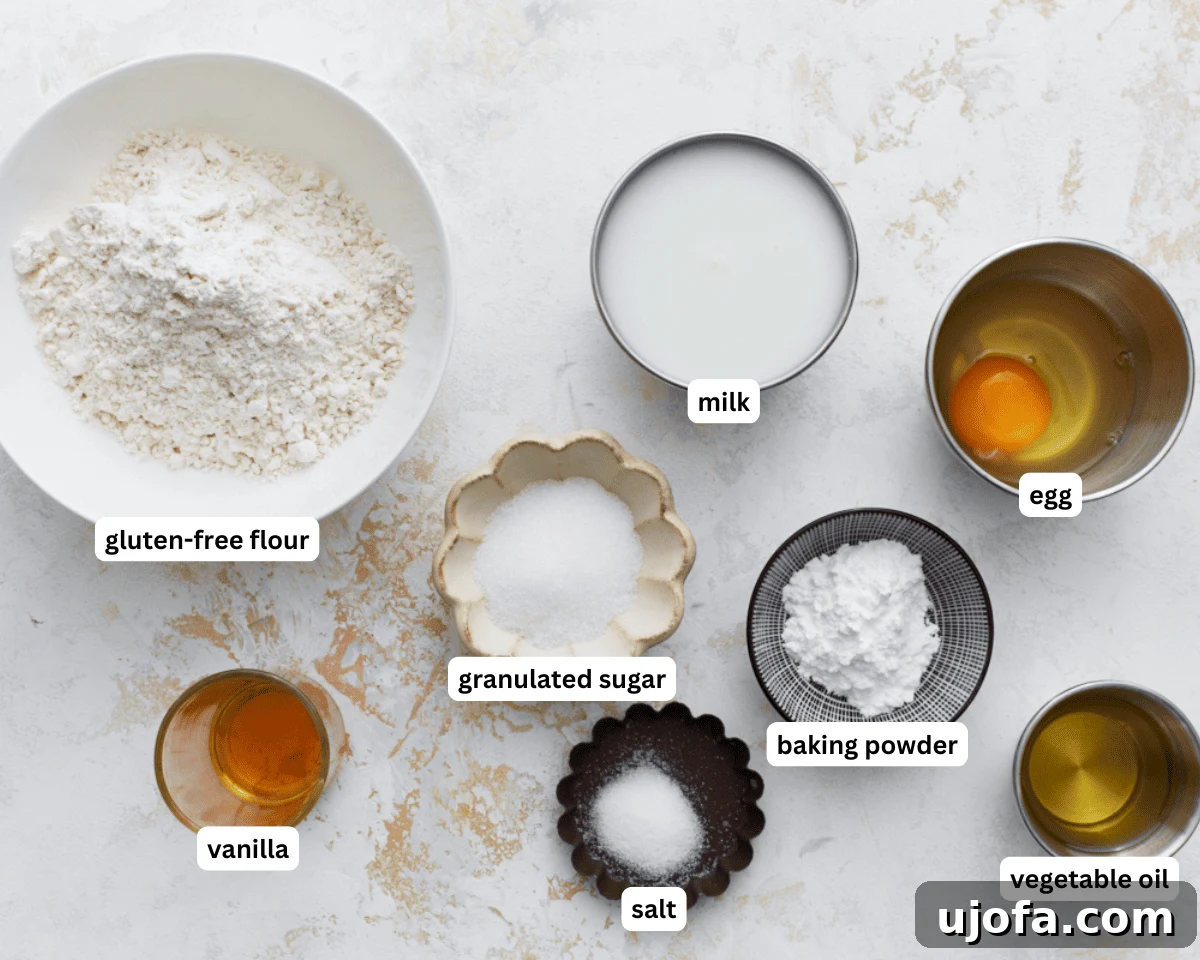
Step 1: Gather Your Ingredients. Before you begin, take a moment to collect all the necessary ingredients. Having everything measured and ready to go (this is called “mise en place”) makes the cooking process smooth and enjoyable. Ensure your gluten-free flour blend is fresh, and check the expiration date on your baking powder for optimal leavening.
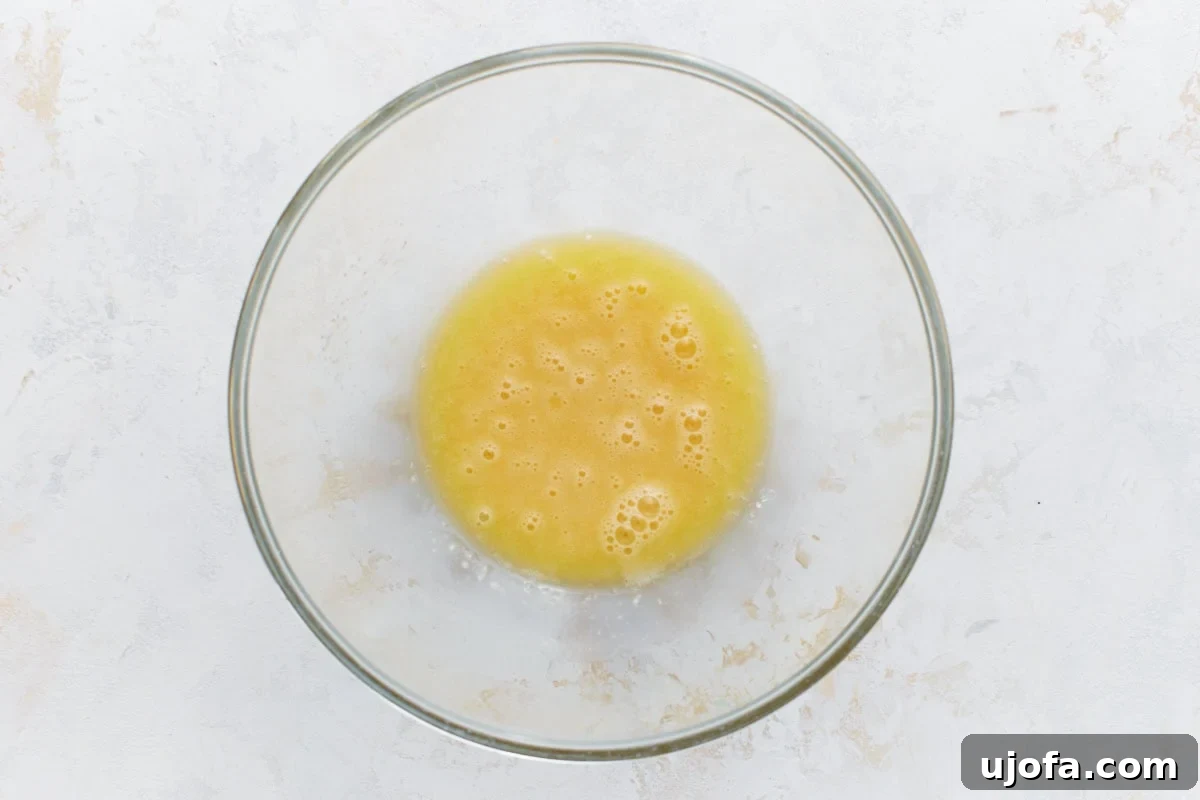
Step 2: Combine the Wet Ingredients. In a spacious mixing bowl, gently whisk together the granulated sugar, vegetable oil, your chosen egg (or Bob’s Red Mill gluten-free egg replacer for a vegan option), and the pure vanilla extract. Whisk until the mixture is uniform and slightly airy. This ensures the sugar dissolves properly and integrates all the liquids before the dry ingredients are introduced.
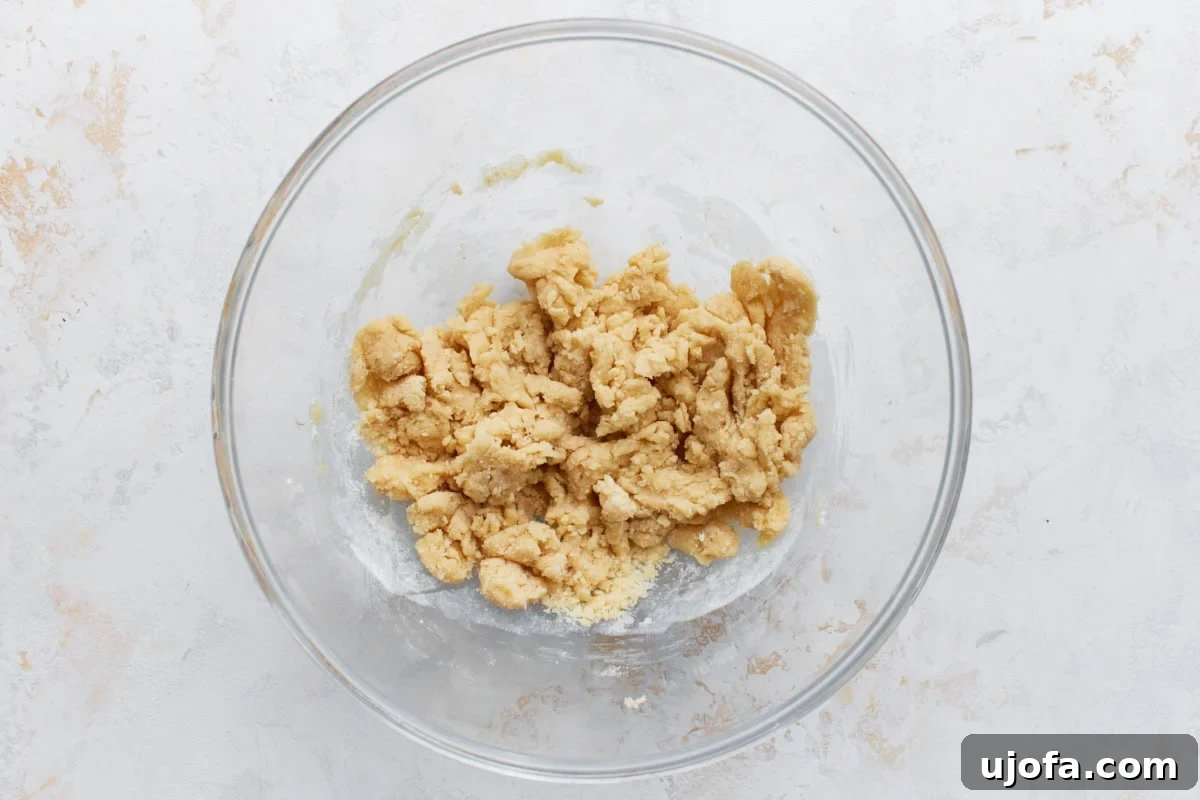
Step 3: Incorporate the Dry Ingredients. Carefully add the measured gluten-free flour, ¼ teaspoon of xanthan gum (only if your flour blend does not already contain it), 1 tablespoon of gluten-free baking powder, and ¼ teaspoon of salt into the wet mixture. Mix these ingredients until they are just combined. It’s crucial not to overmix the batter; overmixing can develop gluten-free flours in a way that makes pancakes tough rather than tender. A few small lumps are perfectly acceptable and often indicate a perfectly mixed batter.
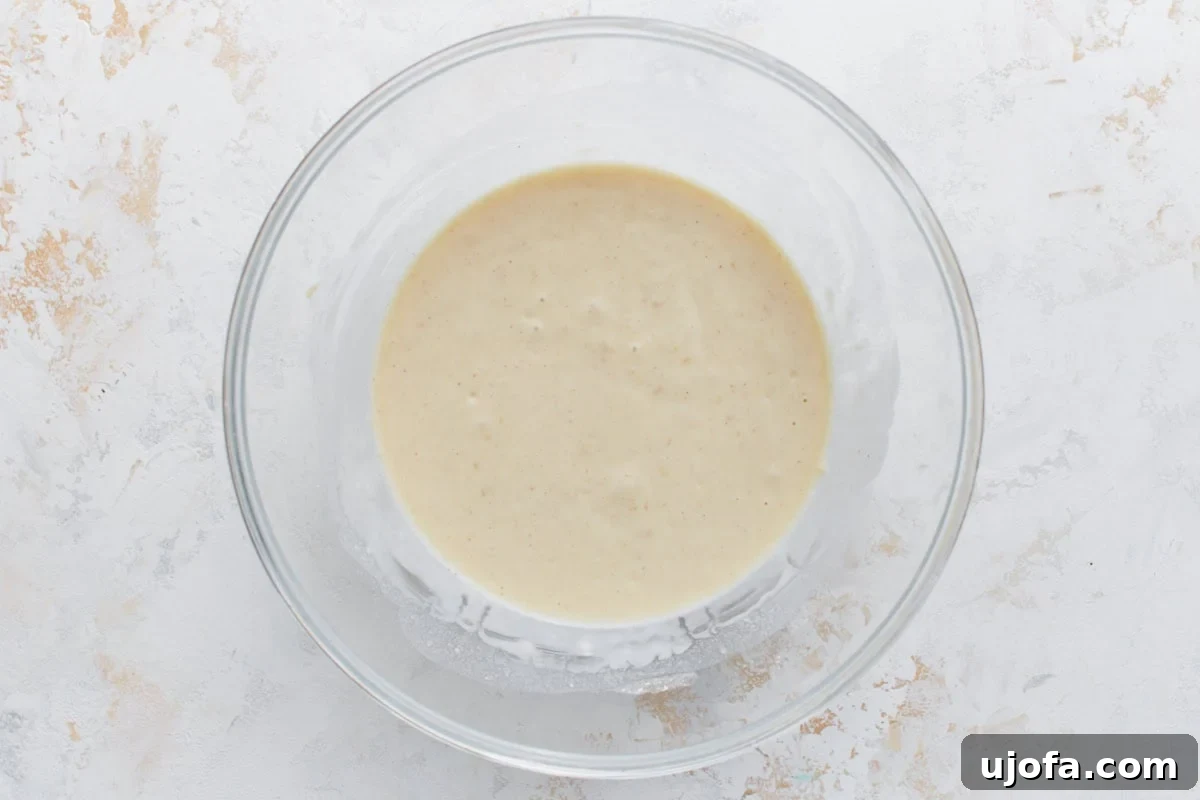
Step 4: Add the Milk for Perfect Consistency. Now, pour in the ¾ cup of milk (or your preferred dairy-free alternative like almond, cashew, or coconut milk). Stir until the batter achieves a smooth, consistent texture. If you have a preference for thinner pancakes that spread a bit more on the griddle, simply stir in an additional 1 to 2 tablespoons of milk until the desired consistency is achieved. Remember, the consistency impacts the final pancake texture.
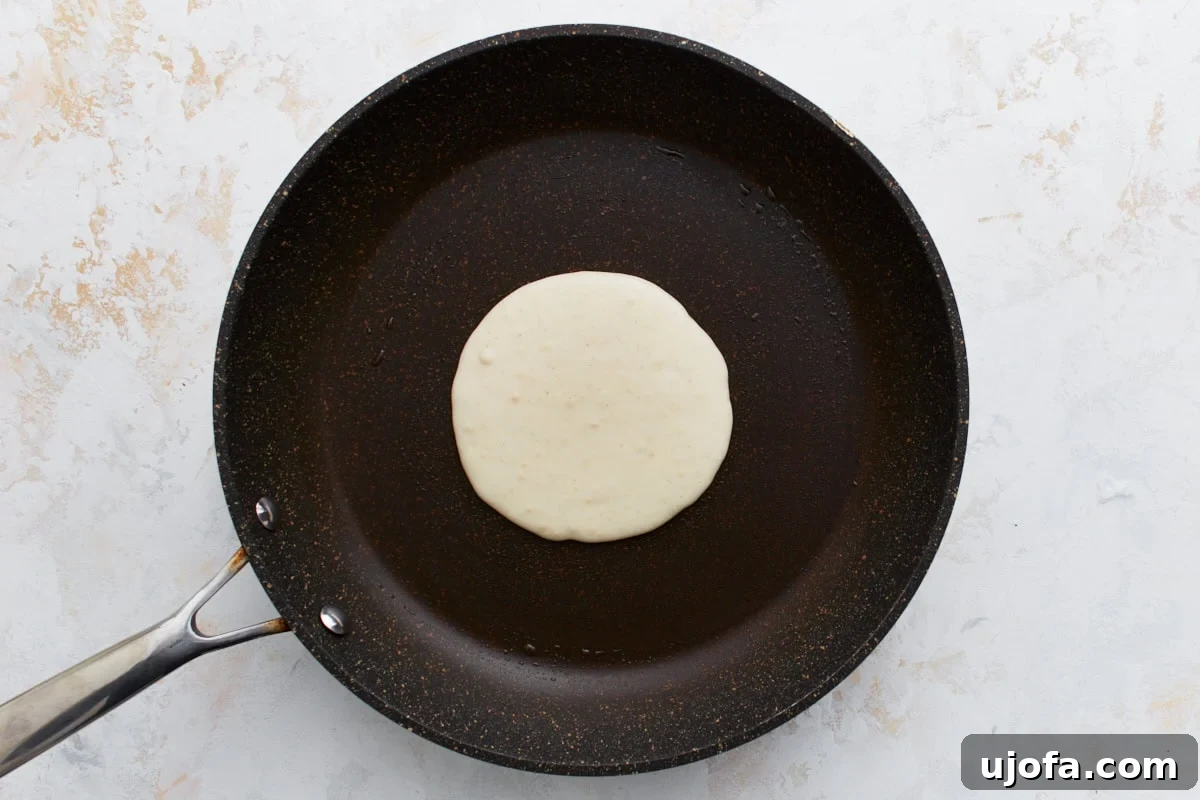
Step 5: Scoop and Cook the Batter. Heat your griddle or pan and lightly grease it. For consistently even cooking and perfectly golden pancakes, an electric griddle set to 350°F (175°C) is ideal. Using a ¼ cup measuring cup, scoop out the batter and pour it onto the hot, greased surface for each pancake. This method helps in creating uniform pancakes.
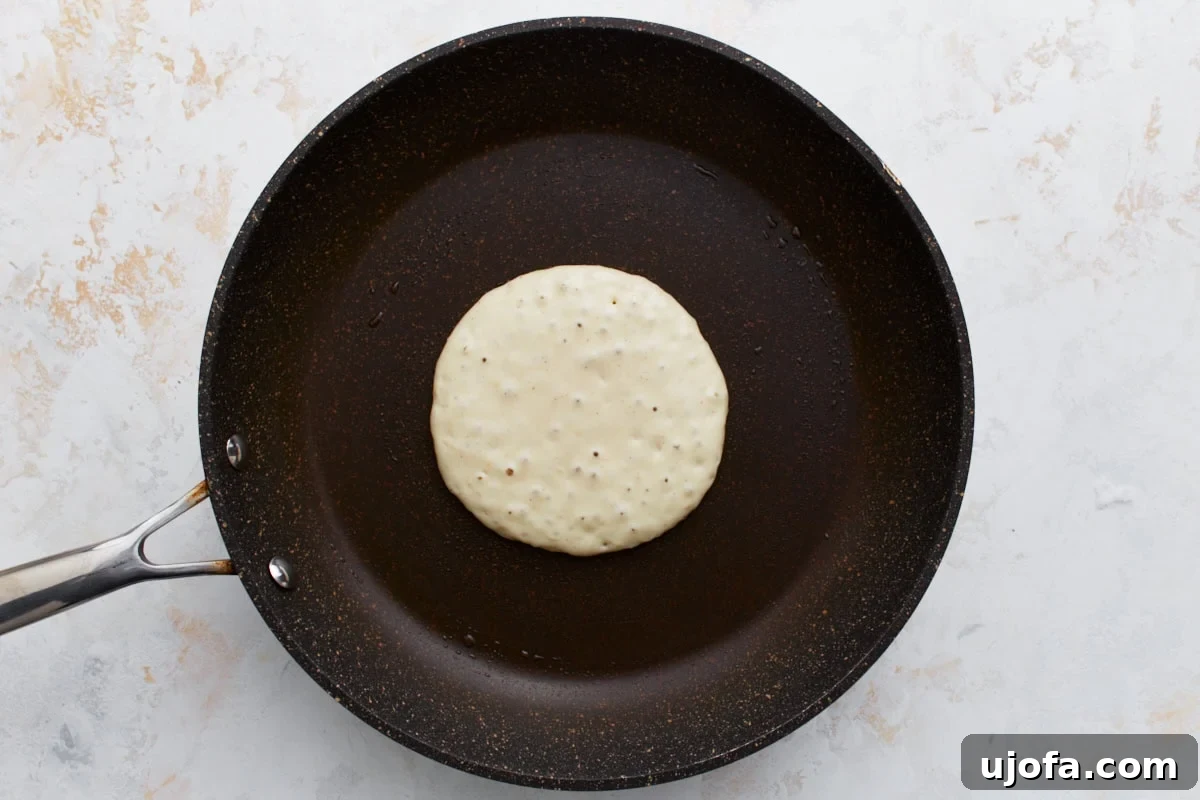
Step 6: Observe for Bubbles and Flip. Cook the pancakes on the first side until you see small bubbles beginning to form and pop on the surface, and the edges appear slightly dry and set. This is your cue! The pancakes should also start to puff up, indicating the baking powder is activating. Carefully slide your spatula underneath and flip the pancakes to cook the other side.
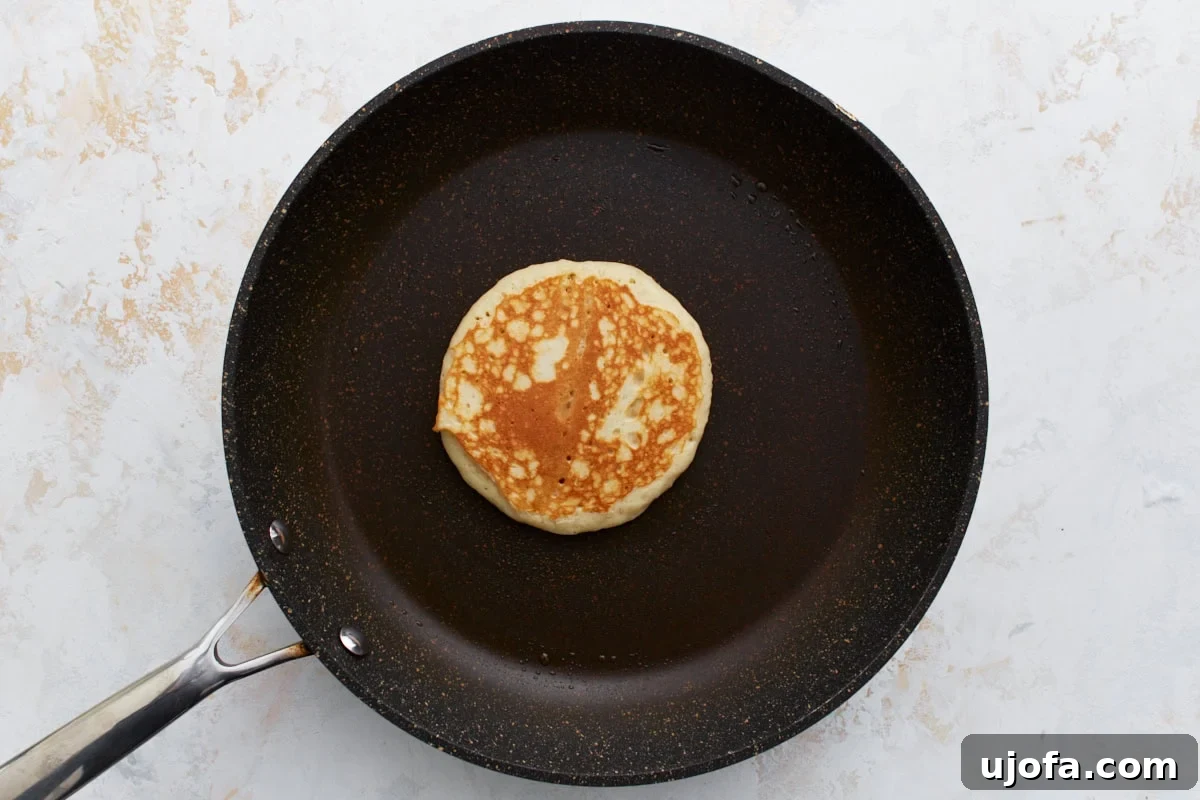
Step 7: Cook Until Golden Brown. Continue to cook the pancakes on the second side for another 1-2 minutes, or until they achieve a beautiful golden-brown color and are cooked through in the center. Gently press down on the center of the pancake; if it springs back, it’s ready. Avoid pressing too hard, as this can deflate them.
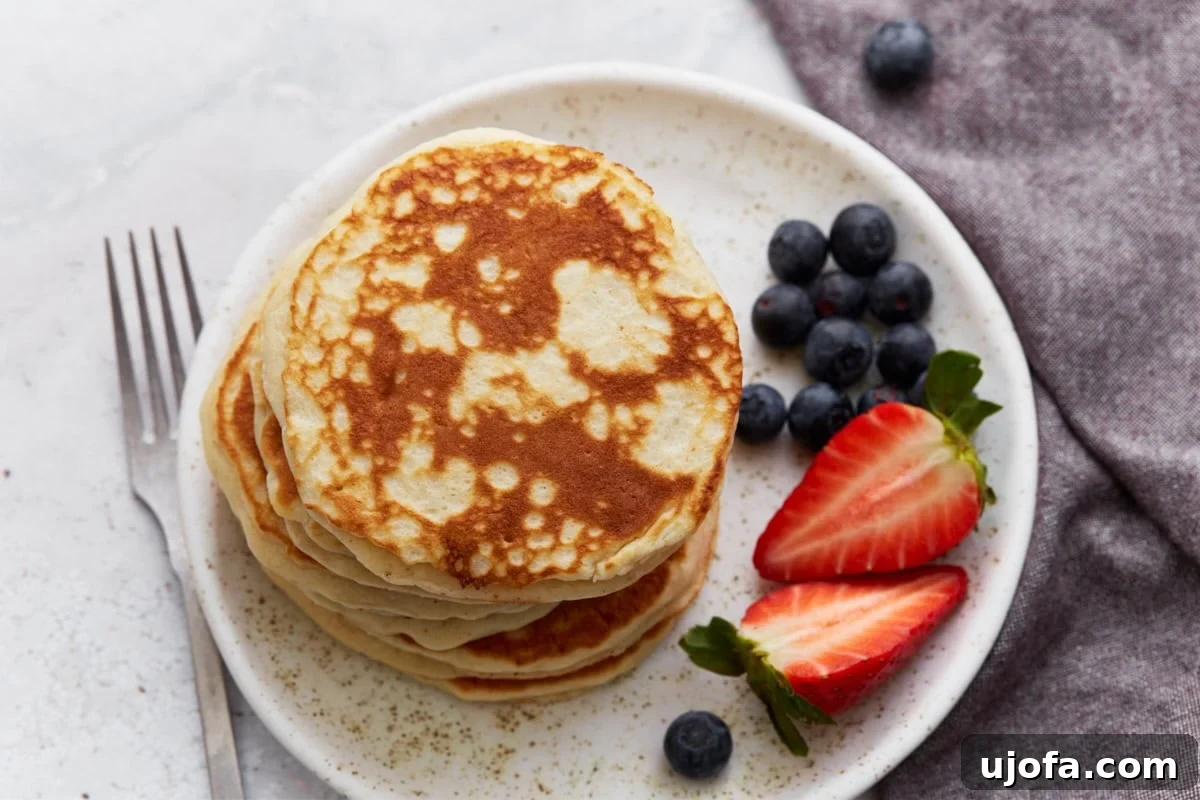
Step 8: Top and Serve. Once cooked, immediately transfer the pancakes to a warm plate. Top them with a melting pat of butter and a generous drizzle of pure maple syrup. Always double-check your syrup label, as not all brands are certified gluten-free. Pure maple syrup is always a safe and delicious choice. Serve them warm and enjoy your delightful, homemade gluten-free breakfast!
Expert Tips for Fluffy Gluten-Free Pancakes
Achieving perfectly fluffy gluten-free pancakes is an art, but one that’s easily mastered with a few key techniques. Here are some expert tips to ensure your pancakes rise to the occasion every time:
- Choose the Right Gluten-Free Flour Blend: The type of gluten-free flour blend you use makes a significant difference. Different blends have varying compositions of rice flour, tapioca starch, potato starch, etc., which affect texture and absorption. I recommend using a good quality all-purpose gluten-free flour blend, like Pillsbury, as it tends to yield consistent results. If your blend doesn’t contain xanthan gum, remember to add the recommended amount to prevent your pancakes from falling apart.
- Don’t Overmix the Batter: This is a golden rule for all pancakes, not just gluten-free ones. Overmixing develops gluten (even in gluten-free flours to a lesser extent, but it still leads to dense results) and activates starches too much, resulting in tough, chewy pancakes. Mix until the ingredients are just combined; a few small lumps are perfectly fine and often indicate a tender crumb.
- Let the Batter Rest: For even fluffier pancakes, let your batter rest for 5-10 minutes after mixing. This allows the flours to fully hydrate and the baking powder to start activating, leading to a lighter texture.
- Achieve the Ideal Griddle Temperature: Too hot, and your pancakes will burn on the outside before cooking through; too cool, and they’ll be pale and dry. Medium heat is usually perfect. If using a stovetop, test with a small drop of water – it should sizzle immediately and evaporate. An electric griddle set to 350°F (175°C) offers consistent heat for the best results.
- Know When to Flip: Patience is key! Wait until you see plenty of bubbles forming on the surface of the pancake and the edges begin to look set and dry. The bubbles are a sign that the leavening agents are doing their job, and the pancake is cooking from the inside out. Flipping too early can cause them to deflate.
- Avoid Pressing Down on Pancakes: Once flipped, resist the urge to press down on the pancakes with your spatula. This deflates them, pressing out all the air pockets that contribute to their fluffiness. Let them cook undisturbed on the second side.
Endless Possibilities: Creative Serving Suggestions
These easy gluten-free pancakes are a versatile canvas for a variety of delicious toppings and pairings. While a classic stack with butter and maple syrup is always a winner, don’t hesitate to get creative and customize your breakfast experience. Here are some ideas to inspire you:
Sweet & Fruity Toppings:
- Fresh Berries and Cream: Top with a vibrant medley of fresh strawberries, blueberries, raspberries, and a dollop of whipped cream or coconut cream for a dairy-free option.
- Fruit Compotes: A warm homemade berry or apple compote adds a burst of flavor and a comforting touch.
- Caramelized Bananas: Sauté banana slices in a little butter (or vegan butter) and brown sugar until golden and soft.
- Nut Butters and Fruit: Spread a generous layer of peanut butter, almond butter, or hazelnut spread, then top with sliced bananas or apples.
- Chocolate Drizzle: For a decadent treat, melt some dairy-free chocolate chips and drizzle them over your pancakes.
Savory Pairings:
Pancakes don’t always have to be sweet! Balance the sweetness with savory sides for a complete and satisfying meal:
- Crispy Bacon or Sausage: The salty crunch of bacon or savory breakfast sausage pairs perfectly with the fluffy texture of pancakes.
- Eggs Your Way: Serve alongside scrambled, fried, or poached eggs for a protein-packed breakfast.
- Breakfast Frittata: A light and airy gluten-free frittata with vegetables and cheese offers a delightful contrast.
- Ham or Turkey Slices: A few slices of lean ham or turkey can add a light savory element.
Mix-Ins for Extra Flavor:
Add these directly to the batter before cooking:
- Chocolate Chips: A timeless favorite that melts into gooey pockets.
- Fresh Berries: Gently fold in blueberries, chopped strawberries, or raspberries.
- Chopped Nuts: Pecans, walnuts, or almonds add a lovely crunch.
- Spices: A pinch of cinnamon, nutmeg, or pumpkin pie spice can transform the flavor profile, especially for a seasonal twist.
- Lemon Zest: A touch of lemon zest adds a bright, fresh note.
Experiment with these suggestions or create your own unique combinations. These gluten-free pancakes are so versatile, they’re sure to become a beloved tradition in your home.
Make Ahead & Freeze: Gluten-Free Pancakes for Busy Mornings
One of the greatest advantages of this easy gluten-free pancake recipe is how wonderfully it adapts to meal prepping. Preparing a larger batch and freezing the leftovers is an absolute game-changer for hectic mornings, ensuring you always have a wholesome, homemade breakfast option readily available.
How to Freeze Gluten-Free Pancakes:
- Cool Completely: After cooking, immediately transfer your pancakes to a wire cooling rack. It is crucial for them to cool down entirely to room temperature before freezing. Stacking or freezing warm pancakes will result in condensation, leading to soggy, icy pancakes.
- Flash Freeze: Once completely cool, arrange the pancakes in a single layer on a parchment paper-lined baking sheet. Place the baking sheet in the freezer for about 10-15 minutes, or until the pancakes are firm enough that they won’t stick together. This “flash freezing” step prevents them from clumping into a single block when stored.
- Store Properly: Transfer the flash-frozen pancakes to a freezer-safe zip-top bag or an airtight container. If you’re using a bag, try to press out as much air as possible before sealing to prevent freezer burn. For added protection and to avoid sticking, you can place small squares of parchment paper between individual pancakes. Properly stored, they will maintain their quality for up to 2-3 months.
How to Reheat Frozen Gluten-Free Pancakes:
Reheating these frozen pancakes is incredibly simple and quick, making them perfect for those grab-and-go mornings:
- Microwave: Place 1-2 frozen pancakes on a microwave-safe plate. Microwave on high for 20-30 seconds per pancake, or until heated through. Adjust cooking time for more pancakes. This method results in soft, warm pancakes.
- Toaster: For a slightly crispier exterior, pop individual frozen pancakes directly into your toaster on a medium setting. Toast for 1-2 cycles, or until hot and lightly browned. Keep an eye on them to prevent burning.
- Oven/Toaster Oven: Preheat your oven or toaster oven to 350°F (175°C). Arrange frozen pancakes in a single layer on a baking sheet. Heat for about 5-10 minutes, or until warmed through. This method is great for reheating several pancakes at once.
With these simple storage and reheating tips, you can enjoy delicious, homemade gluten-free pancakes any day of the week, even on your busiest mornings!
Frequently Asked Questions (FAQ) about Gluten-Free Pancakes
Here are answers to some common questions you might have about making and enjoying gluten-free pancakes:
What is the best type of gluten-free flour to use for pancakes?
For this recipe, an all-purpose gluten-free flour blend works best. Brands like Pillsbury, Bob’s Red Mill 1-to-1 Baking Flour, or King Arthur Gluten-Free Measure for Measure Flour are generally reliable. These blends are formulated to mimic wheat flour and often contain a mix of different gluten-free flours (like rice flour, tapioca starch, and potato starch) along with xanthan gum. If your chosen blend doesn’t include xanthan gum, remember to add it as specified in the recipe to help with structure and elasticity.
Can I make these pancakes dairy-free and/or vegan?
Absolutely! This recipe is incredibly adaptable. For dairy-free pancakes, simply substitute regular milk with your favorite unsweetened dairy-free alternative such as almond milk, cashew milk, or coconut milk (the kind in a carton, not canned). For vegan pancakes, in addition to using dairy-free milk, replace the egg with an egg replacer like Bob’s Red Mill Gluten-Free Egg Replacer or a “flax egg” (1 tablespoon ground flaxseed meal mixed with 3 tablespoons water, let sit for 5 minutes). Ensure your baking powder is also gluten-free and vegan, as some brands may contain animal-derived ingredients.
Why are my gluten-free pancakes flat or gummy?
Several factors can contribute to flat or gummy gluten-free pancakes:
- Old Baking Powder: Baking powder loses its potency over time. Ensure yours is fresh for maximum lift.
- Overmixing: Even with gluten-free flour, overmixing can develop starches too much, leading to a denser, gummier texture. Mix until just combined.
- Incorrect Flour Measurement: Too much flour, especially when compacted by scooping directly from the bag, can make pancakes heavy. Always use the “spoon & level” method for measuring flour.
- Insufficient Resting Time: A short rest (5-10 minutes) allows the flour to hydrate and the leavening agents to begin working, contributing to fluffiness.
- Griddle Temperature: A griddle that isn’t hot enough won’t give the pancakes the initial “spring” they need to puff up.
Can I store the dry pancake mix for later?
Yes, you can easily prepare the dry mix in advance! In an airtight container, combine the gluten-free flour, xanthan gum (if needed), granulated sugar, gluten-free baking powder, and salt. Store it in a cool, dry pantry for up to 3 months. When ready to use, simply measure out the desired amount of dry mix and add the wet ingredients (egg, oil, vanilla, milk) as per the recipe instructions. This is a fantastic way to have homemade gluten-free pancakes on demand!
Explore More Gluten-Free Breakfast Delights
If you’ve enjoyed these easy gluten-free pancakes, you’ll love exploring other delicious breakfast and brunch recipes that cater to a gluten-free lifestyle. From hearty options to lighter fare, there’s something for everyone to enjoy.
- Almond Flour Pancakes
- Gluten-Free Protein Pancakes
- Coconut Flour Pancakes
- Buckwheat Pancakes
- Gluten-Free Crepes
- Oatmeal Pancakes
- Banana Oatmeal Pancakes
- Gluten-Free Dutch Baby
- Gluten-Free Pumpkin Pancakes