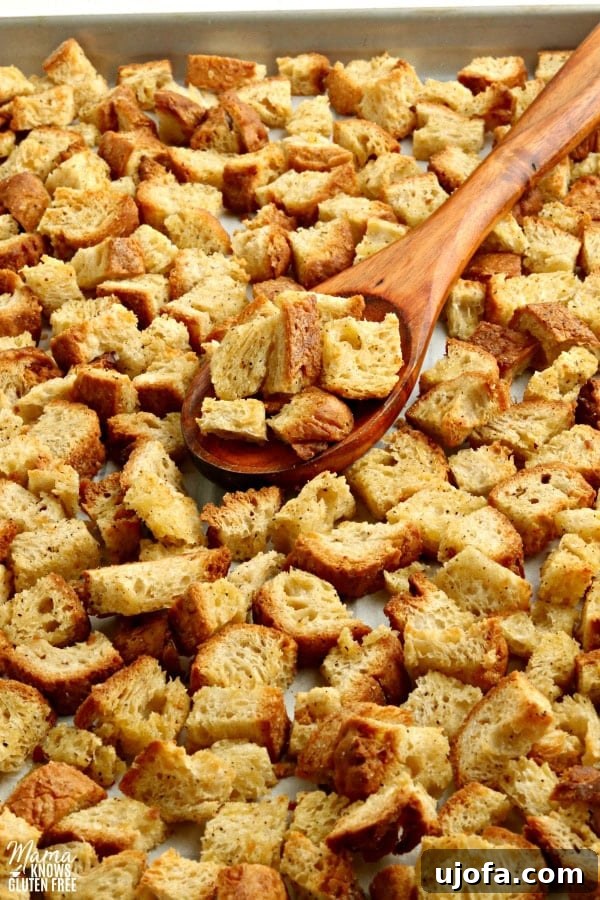
Unlock the secret to perfectly crisp, unbelievably flavorful homemade gluten-free croutons! Forget about spending a fortune on mediocre store-bought options that are hard to find and often lack that authentic texture. This comprehensive guide will show you exactly how to transform simple gluten-free bread into golden, crunchy croutons ideal for elevating your salads, enriching hearty soups, creating delectable stuffing, or simply enjoying as a savory snack. Our easy-to-follow recipe yields a generous batch, perfect for meal prepping and conveniently freezing for future use. Plus, it’s naturally dairy-free and vegan, making it suitable for a wide range of dietary needs. Whether you prefer to use store-bought gluten-free bread or master your own homemade gluten-free loaf, get ready to experience a whole new level of culinary delight with these versatile, irresistible croutons.
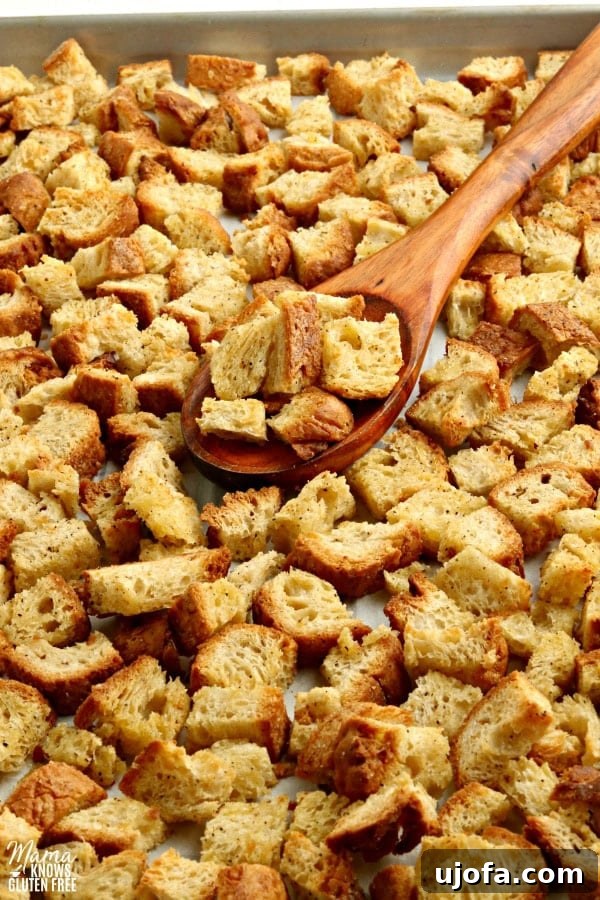
Crafting the Perfect Easy Gluten-Free Croutons at Home
For those navigating a gluten-free lifestyle, finding high-quality, flavorful croutons in conventional grocery stores can feel like a mission impossible. Many brands simply don’t offer gluten-free versions, and those that do can often be expensive and limited in availability. That’s precisely why I’ve always taken immense pride in making my own – and once you try this recipe, you’ll quickly understand why it’s so incredibly rewarding and a staple in my kitchen. With just a few minutes of active preparation and a handful of common pantry staples, you can effortlessly create a batch of superior homemade gluten-free croutons that not only surpass any store-bought variety in taste and texture but also give you complete control over the ingredients. This recipe isn’t just easy; it’s a culinary game-changer for anyone seeking to enhance their gluten-free repertoire with a simple yet impactful addition.
While our foundational recipe focuses on classic garlic-flavored croutons, reminiscent of those beloved in traditional Caesar salads, the true beauty of making them homemade lies in its unparalleled flexibility. You are absolutely encouraged to unleash your creativity with a myriad of seasonings to match any specific dish, dietary preference, or personal craving you might have. I personally advocate for making a large batch whenever you’re in the kitchen; it’s astonishingly convenient to have them ready to grab and go, and they freeze beautifully for extended periods. This ensures you’re always prepared to add that perfect crunch to any meal. If you’re new to making croutons, prefer a smaller quantity, or just want to test the waters, feel free to halve the recipe without any compromise on the delicious taste or desired crispy texture. Prepare to experience the simplicity firsthand and witness how effortlessly these golden, crunchy nuggets come to life in your own kitchen, ready to elevate countless dishes.
Essential Ingredients for Irresistible Gluten-Free Croutons
Creating spectacular gluten-free croutons starts with understanding the role of each ingredient. Each component contributes significantly to the final texture and flavor profile. Here’s a closer look at what you’ll need and why it matters:
- Gluten-Free Bread: This is, without a doubt, the foundation of your delectable croutons. The quality, type, and even the freshness of the gluten-free bread you choose will significantly impact the final texture and outcome. I’ve personally found great success with Schar Artisan Baker White gluten-free bread, which is also conveniently dairy and egg-free, making it an excellent choice that aligns perfectly with both vegan and dairy-free diets. However, please don’t limit yourself to just one brand or type; any sturdy gluten-free bread will work wonderfully. Slightly stale bread often yields the crispest results, as it naturally has less moisture content, requiring less baking time to dry out. But rest assured, fresh bread is perfectly fine to use; it just might require a few extra minutes in the oven to achieve that desired golden crunch. For those who enjoy baking, my homemade gluten-free bread machine bread also produces exceptionally good croutons, giving you another fantastic, cost-effective option. Don’t hesitate to experiment with different brands or even your own homemade recipes to discover which gluten-free bread makes your ultimate favorite croutons!
- Olive Oil: This ingredient is absolutely essential for achieving that coveted golden-brown crispness and infusing your croutons with a rich, savory flavor. Olive oil plays a dual role: it helps conduct heat evenly across the bread cubes, allowing them to toast uniformly from the outside in, and it prevents them from drying out excessively while baking. Crucially, olive oil also ensures this recipe remains wonderfully dairy-free and vegan. For those looking for a slightly different flavor profile or richness, you could consider using avocado oil, which has a neutral taste and high smoke point, or even melted vegan butter (just be sure it’s certified dairy-free) for an extra luxurious, buttery taste. However, for a classic, wholesome flavor, good quality extra virgin olive oil is generally preferred for its nuanced notes and health benefits.
- Seasonings: Our carefully selected trio of seasonings forms the base for a classic, universally loved garlic crouton that complements almost any dish. This blend includes garlic powder, salt, and black pepper. Garlic powder is a staple here, offering a foundational savory kick and robust garlic flavor without the risk of fresh minced garlic burning and becoming bitter in the oven. Salt is indispensable; it enhances all the other flavors and draws out the natural goodness of the bread. Freshly ground black pepper adds a subtle yet noticeable zest and a hint of warmth. This trio creates an incredibly versatile crouton that can stand alone or pair beautifully with a myriad of culinary creations. But remember, the world of seasonings is vast and inviting! Don’t hesitate to venture beyond this classic blend. Consider adding a tablespoon of Italian seasoning for a delightful Mediterranean twist, a sprinkle of dried herbs like oregano, basil, or thyme for aromatic complexity, a pinch of smoked paprika for a hint of smoky depth, or even a dash of onion powder for more savory layers. For a “cheesy” flavor that remains vegan, nutritional yeast works absolute wonders. The possibilities are truly endless, allowing you to tailor your croutons to perfectly suit your meal or mood!
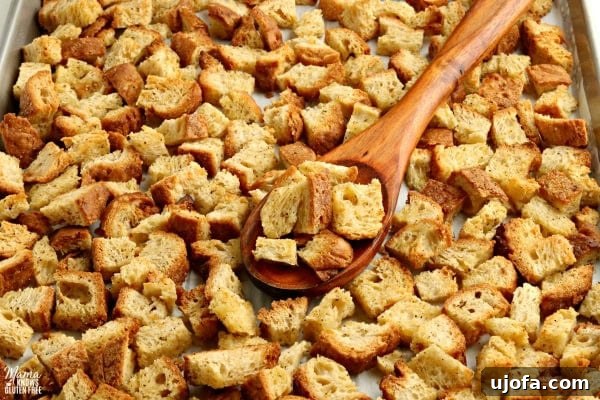
Expert Tips for the Crispiest, Most Flavorful Gluten-Free Croutons Every Time
Achieving bakery-quality, delightfully crispy gluten-free croutons is simpler than you might imagine, especially when you follow these insider tips and suggestions. These small adjustments can make a world of difference in your final product:
- Monitor Baking Time Carefully and Trust Your Senses: The moisture content of your gluten-free bread is the primary factor influencing its baking time. Fresh bread, with its higher natural moisture, will naturally take slightly longer to bake and crisp up compared to stale or dried-out bread. Regardless of the bread’s initial freshness, it is absolutely crucial to keep a very close eye on your bread cubes, especially after the initial 10-minute mark in the oven. Ovens can have significant temperature variances, and what might be perfect in one oven could lead to unfortunately burnt croutons in another. Rather than strictly adhering to a timer, look for a uniform, rich golden-brown color and a firm, dry feel as your ultimate indicator of perfection. If they still feel soft in the middle, they need more time.
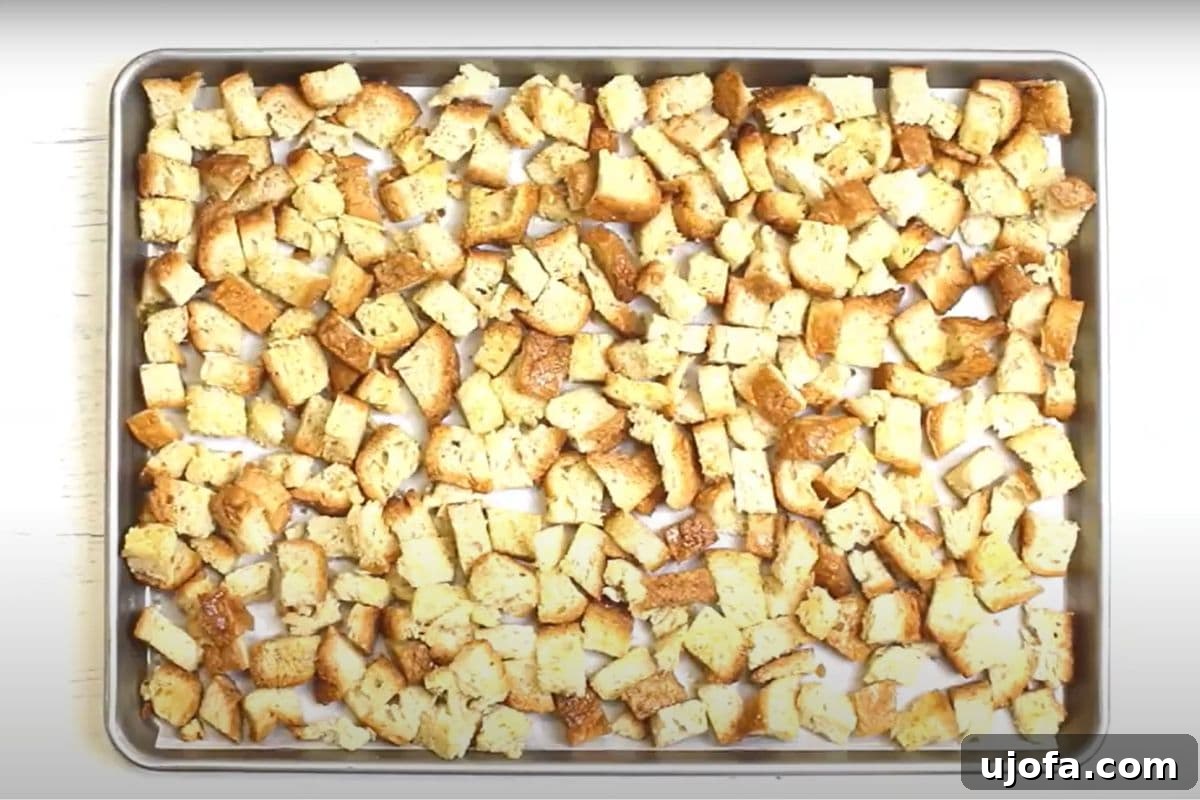
- Ensure a Single, Uncrowded Layer on the Baking Sheet: This is arguably one of the most critical steps for achieving evenly cooked and wonderfully crispy gluten-free croutons. When bread cubes are crowded together or stacked on the baking sheet, they prevent proper air circulation around each individual piece. In such conditions, the cubes tend to steam rather than toast, which inevitably results in soft, chewy, or even soggy spots instead of uniform, delightful crispness. To avoid this common pitfall, use a large baking sheet, or multiple sheets if necessary, to ensure every single cube has ample space to breathe, allowing the heat to penetrate and toast them perfectly.
- Experiment with Diverse Seasonings Beyond the Basic: While our recipe provides a fantastic classic garlic and herb base that’s loved by many, please don’t shy away from customizing the flavor profile to perfectly suit your taste preferences or the specific dish you’re planning to serve. Italian seasoning is a perennial favorite, offering a fragrant blend of herbs that pairs beautifully with almost any salad or soup. Consider adding individual dried herbs like oregano, basil, thyme, or rosemary for a more pronounced aromatic experience. For those who enjoy a little heat, a pinch of red pepper flakes can add a subtle, exciting kick. If you’re aiming for a “cheesy” flavor without dairy, nutritional yeast works absolute wonders, especially for vegan croutons. You can also explore using specialty flavored olive oils, such as a robust garlic-infused oil, a spicy chili oil, or a fragrant herb-infused oil, to add an extra layer of complexity and depth to your croutons. Just remember to always double-check that any new seasonings or flavored oils you introduce are certified gluten-free and dairy-free if these dietary requirements are important to your household.
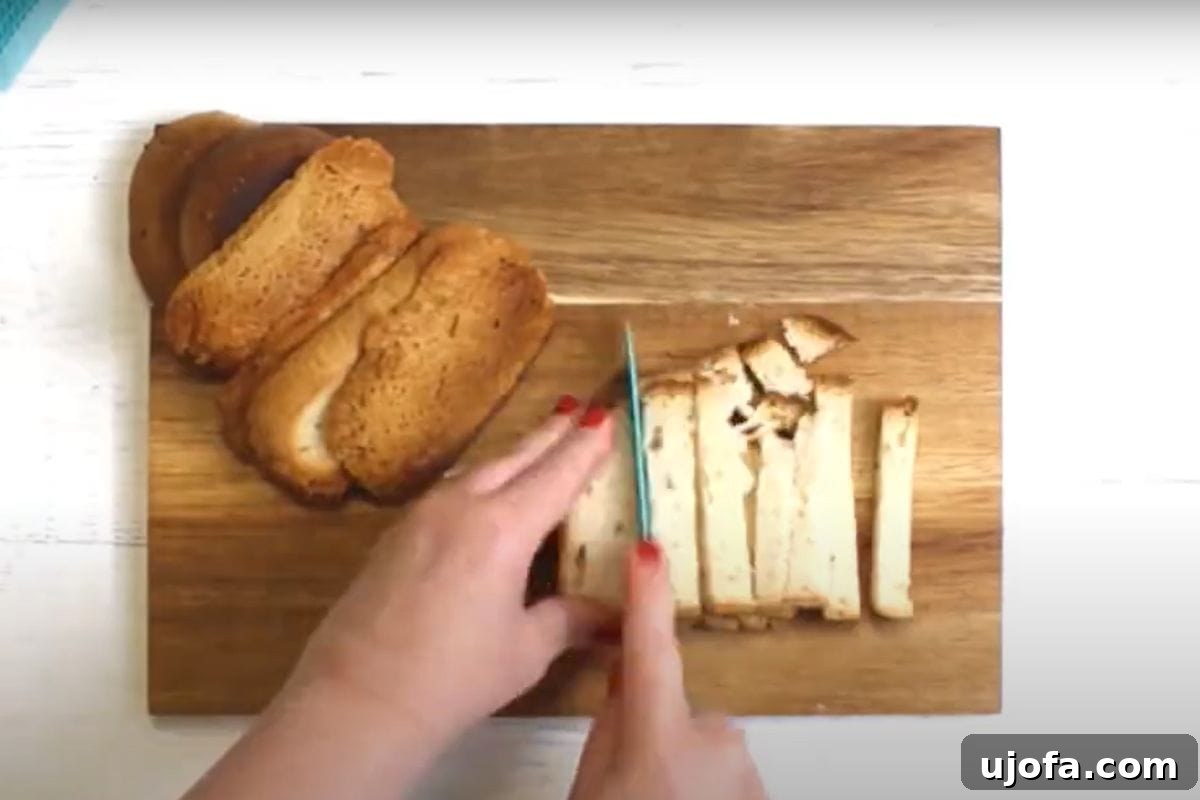
- Achieve Uniform Cubes for Consistent Results: For the most consistent baking and optimal crispness, it is highly recommended to aim for relatively uniform ¾-inch cubes when cutting your bread. Irregularly sized pieces will bake unevenly; smaller pieces are likely to burn before larger ones are fully crisp and dried out. A sharp serrated knife is your best friend here, making the task of cutting much easier and more precise.
- Embrace the “Stale Bread” Advantage: If you happen to have slightly stale gluten-free bread lying around, rejoice! It’s actually an ideal candidate for making croutons. Stale bread contains less moisture than fresh bread, which significantly reduces the baking time and often results in a superior, more consistently crisp texture. This is a fantastic way to minimize food waste and transform leftover bread into a delicious, usable ingredient!
Can You Freeze Homemade Gluten-Free Croutons? Absolutely Yes!
Yes, absolutely you can! Freezing homemade gluten-free croutons is genuinely one of my most cherished meal-prepping hacks, and I incorporate it into my routine all the time. This simple trick ensures that I always have a readily available supply of fresh, crunchy croutons on hand, eliminating any last-minute scramble. The key to successful freezing lies in ensuring your delicious croutons are completely cooled after baking – this step is absolutely critical to prevent the formation of ice crystals and subsequent sogginess when they thaw. Once cooled, simply transfer them to a freezer-safe bag or an airtight freezer-friendly container. Properly stored, they will maintain their excellent quality, flavor, and texture in the freezer for up to one month. This method makes batch cooking incredibly efficient and ensures you’re always prepared to add a delightful, crunchy topping to any meal, no matter how busy your schedule.
When you’re ready to enjoy your frozen croutons, the thawing process is remarkably simple and straightforward. You can take out the desired amount you need and let them thaw gracefully on the kitchen counter for approximately 10-15 minutes. Alternatively, for a more gradual and hands-off approach, you can place them in the refrigerator overnight. While they will be ready to eat after thawing, for that ultimate, fresh-baked crispness and warmth, I highly recommend giving them a quick refresh. You can easily pop them back into a preheated oven under the broiler for just a minute or two (be sure to watch them extremely carefully to prevent burning, as they can brown quickly!) or bake them at a low temperature of 250°F (120°C) for a few minutes until they’re perfectly re-crisped and pleasantly warm. This simple revival step works wonders, beautifully restoring their texture and making them taste as if they were just baked moments ago.
Versatile Serving Suggestions for Your Irresistible Homemade Croutons
These homemade gluten-free croutons are incredibly versatile and possess the power to elevate a wide array of dishes, extending far beyond the traditional role in just salads. Get ready to discover new and exciting ways to incorporate these crunchy delights into your culinary creations:
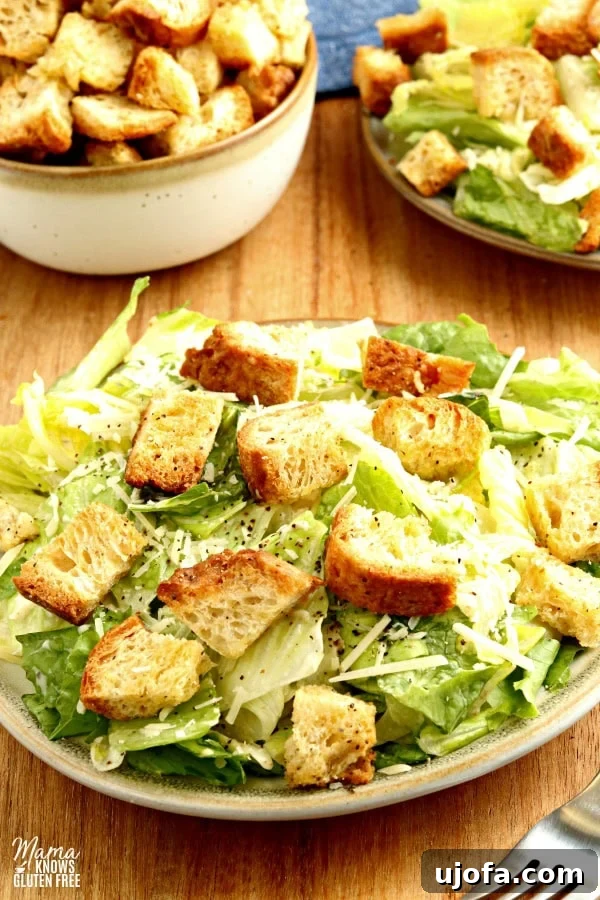
- Elevate Your Salads to New Heights: This is, of course, the classic and most popular choice! Homemade croutons add a much-needed textural contrast and a delightful burst of savory flavor to virtually any salad. They are particularly fantastic on a crisp Caesar salad, especially when paired with a rich and tangy dairy-free Caesar dressing. But don’t limit yourself there – sprinkle them generously over a fresh garden salad, a vibrant Mediterranean-inspired salad, a hearty Cobb salad, or even a simple side salad for an added layer of exciting crunch and flavor.
- Transform Your Soups into Culinary Masterpieces: Few things are as inherently comforting and satisfying as a warm, steaming bowl of soup, especially when it’s generously topped with crunchy, flavorful croutons. They’re exceptionally good in creamy varieties like a rich gluten-free tomato soup, a decadent gluten-free cream of mushroom soup, or a savory gluten-free onion soup. For best results and to maintain their delightful crispness, add them just before serving, allowing them to gently warm without becoming soggy. They provide a wonderful textural counterpoint to the smoothness of the soup.
- The Perfect Base for Stuffing and Casseroles: Homemade gluten-free croutons are the absolute ideal base for your holiday gluten-free stuffing, offering a robust texture that absorbs flavors beautifully and holds up well during baking. They also make an excellent crunchy topping or a key ingredient in various savory casseroles, adding depth, a pleasant chewiness, and an inviting golden crust.
- Quick and Easy Gluten-Free Breadcrumbs: Found yourself without breadcrumbs on hand? No problem! You can easily transform your leftover croutons into versatile gluten-free breadcrumbs! Simply pulse them in a food processor until they reach your desired fine consistency. This is a fantastic, resourceful way to minimize waste and maximize flavor, perfect for coating chicken or fish, or using as a binder in meatballs or meatloaves.
- A Delicious Snack or Simple Appetizer: Who says croutons are exclusively for toppings? Enjoy them entirely on their own as a savory, satisfying, and crunchy snack throughout the day. They’re also great served alongside your favorite dips or spreads for a simple yet impressive appetizer at gatherings.
- Crunchy Topping for Roasted Vegetables: Elevate your roasted vegetables by sprinkling either crushed or whole croutons over roasted broccoli, asparagus, Brussels sprouts, or green beans during the last few minutes of cooking. This adds an incredible layer of texture, flavor, and visual appeal.
Optimal Storage Instructions for Maximum Freshness and Crispness
To ensure your homemade gluten-free croutons retain their peak crispness and delightful flavor for as long as possible, proper storage is absolutely essential. Once they’re completely cooled after baking – and I cannot emphasize this step enough, as it’s non-negotiable for preventing any moisture buildup and subsequent sogginess – transfer them immediately into an airtight container. You can comfortably store these croutons at room temperature for up to a week. However, in environments with higher humidity, they might retain their crispness better for a slightly shorter period, or if stored in the refrigerator. The key is to ensure the container is genuinely airtight to protect them from environmental moisture, which is the ultimate enemy of crispy croutons. Avoid storing them in flimsy plastic bags unless they are specifically designed as freezer-grade bags and you intend to freeze them, as even a small amount of residual air and moisture can quickly turn your perfectly crispy croutons soft and undesirable.
Expand Your Gluten-Free Baking Skills with More Delicious Recipes!
If you’ve enjoyed the simplicity and delicious results of making these homemade gluten-free croutons, you’ll undoubtedly love exploring other fantastic bread recipes that are equally simple to prepare and incredibly rewarding to bake. Dive into more gluten-free baking adventures with these favorites:
- Fluffy Gluten-Free Dinner Rolls
- Sweet and Savory Gluten-Free Cornbread
- Artisan Gluten-Free Sourdough Bread
- Delicious Almond Flour Bread
- Crusty Gluten-Free Baguette
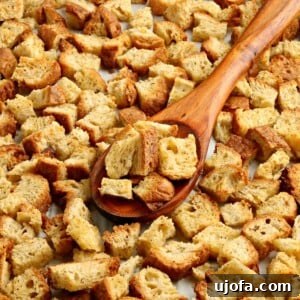
Gluten-Free Croutons Recipe
Ingredients
- 1 loaf gluten-free bread, about 14 ounces, cut into ¾-inch cubes. (Schar gluten-free bread is recommended for best results.)
- ⅓ cup olive oil
- 1 teaspoon garlic powder
- ¾ teaspoon salt
- ¼ teaspoon black pepper
Instructions
-
Preheat your oven to 375°F (190°C). Line a large baking sheet with parchment paper to prevent sticking and ensure easy cleanup.
-
Carefully cut the entire loaf of gluten-free bread into uniform ¾-inch cubes. Transfer these bread cubes into a large mixing bowl, ensuring there’s enough room to toss them thoroughly.
-
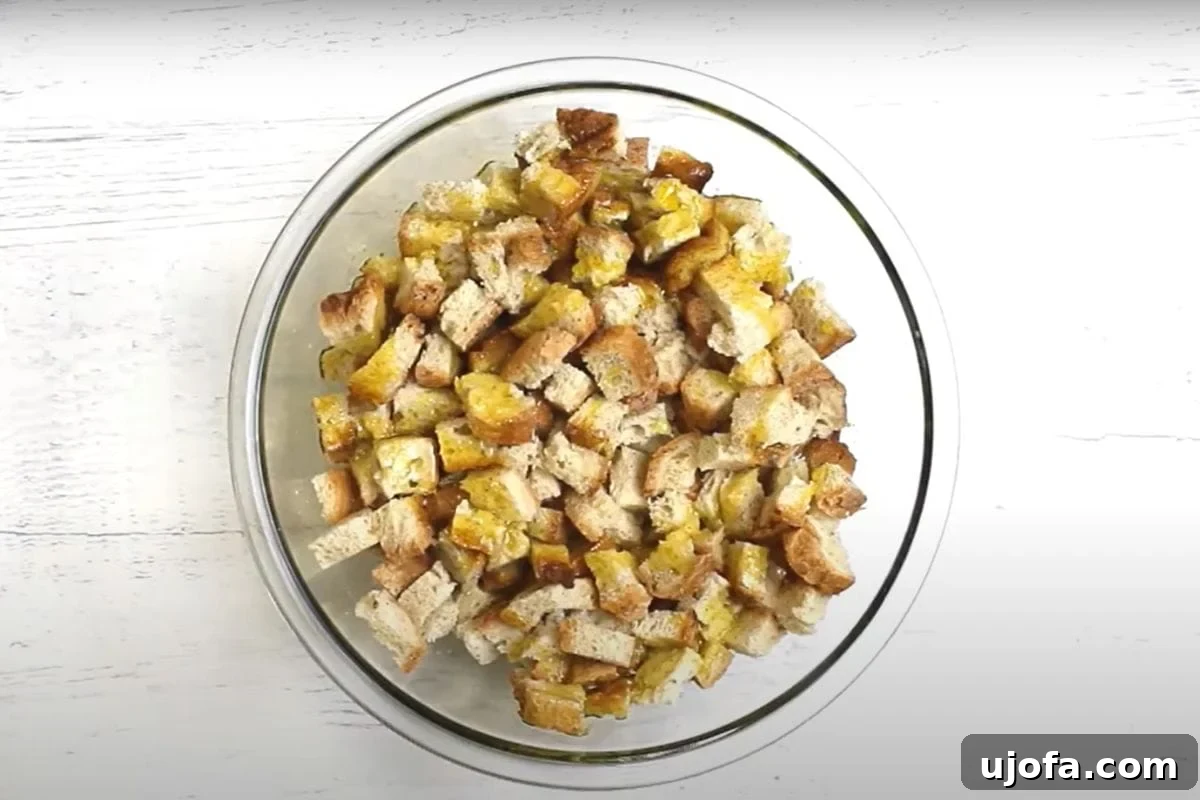
Evenly sprinkle the garlic powder, salt, and black pepper over the bread cubes in the bowl. Drizzle with the olive oil. Using your hands or a spatula, gently toss until all the bread cubes are thoroughly coated with the oil and seasonings.
-
Spread the seasoned bread cubes onto the prepared baking sheet in a single, even layer. It’s crucial that the cubes are not touching too much, allowing air to circulate and ensuring they crisp up rather than steam. Use multiple baking sheets if necessary.
-
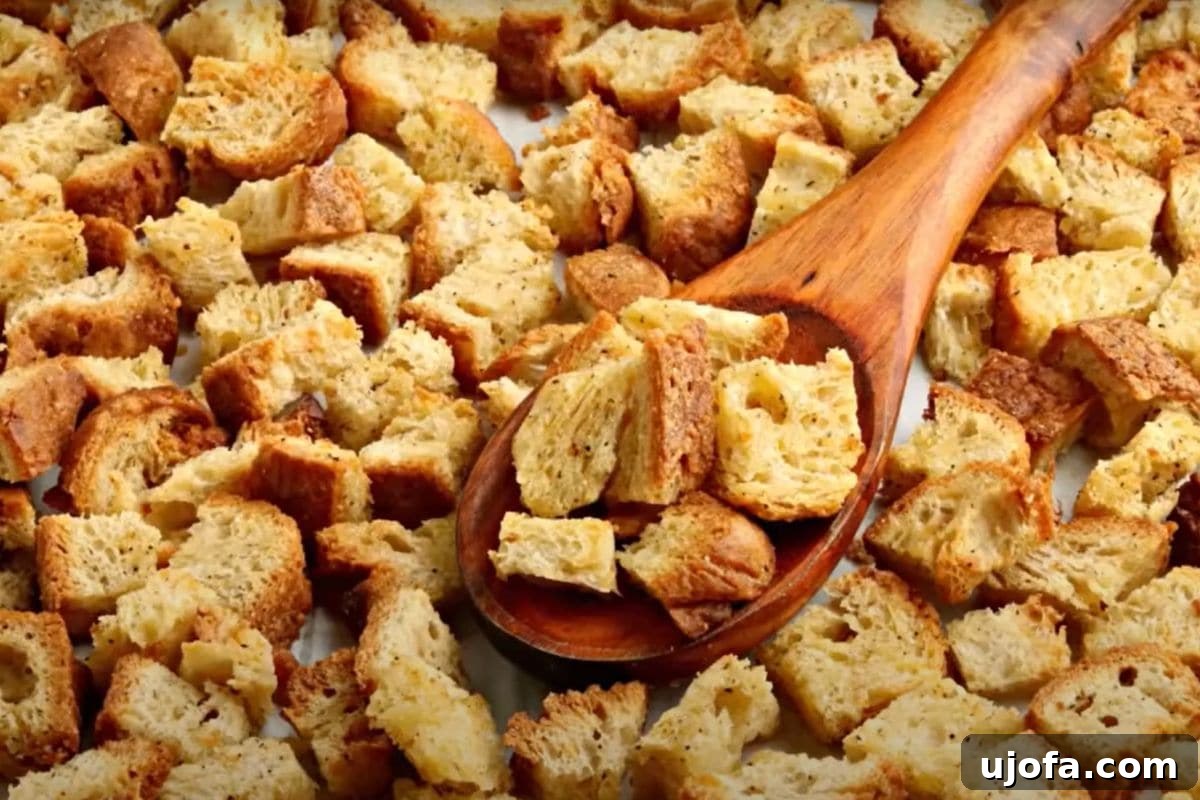
Bake for 10 to 20 minutes. Baking time will vary based on your oven and the freshness of your bread. If using fresh bread, it will likely take closer to 20 minutes to achieve a deep golden-brown color and desired crispness. Stale or dry bread will brown faster, potentially in 10-15 minutes. Begin checking your oven around the 10-minute mark to prevent burning. The croutons should be golden brown and feel firm to the touch.
-
Once baked to perfection, remove the croutons from the oven and let them cool completely on the baking sheet. They will crisp up further as they cool. Store any leftovers in an airtight container at room temperature or in the refrigerator. For longer storage, they can also be frozen (see notes below).
Notes
- For Dairy-Free and Vegan: Always ensure you use a gluten-free bread that is also dairy and egg-free. Brands like Schar gluten-free bread are often suitable options.
- Storage: Store cooled leftovers in an airtight container at room temperature for up to a week, or in the refrigerator to extend freshness.
- Freezing: Croutons can be frozen for up to one month. Defrost on the countertop for 10-15 minutes or in the refrigerator overnight. To re-crisp, you can briefly broil them or bake at 250°F (120°C) for a few minutes until crunchy again.
- Always Check Labels: “Mama says, check all of your labels!” This is crucial for maintaining gluten-free, dairy-free, and vegan integrity.
Nutrition
Calories: 81 kcal
Carbohydrates: 1g
Protein: 1g
Fat: 9g
Saturated Fat: 1g
Sodium: 218mg
Potassium: 4mg
Fiber: 1g
Sugar: 1g
Iron: 1mg
Nutrition information is an approximation and should be used as a general guide.
Additional Info
How to Make Gluten-Free Croutons: A Detailed Step-by-Step Visual Guide
Follow these detailed steps, accompanied by helpful visuals, to create your perfect batch of crispy gluten-free croutons with ease and confidence.