
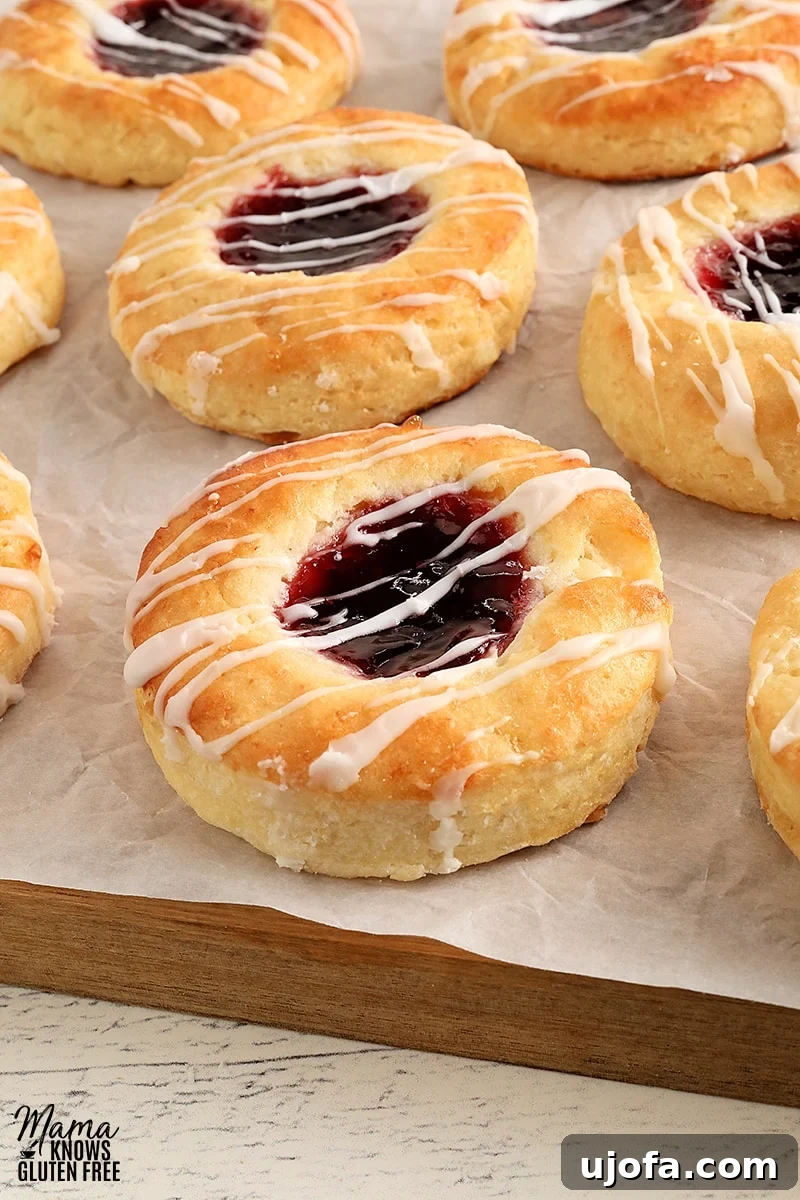
Easy Gluten-Free Danish Pastries: A Homemade Bakery Treat
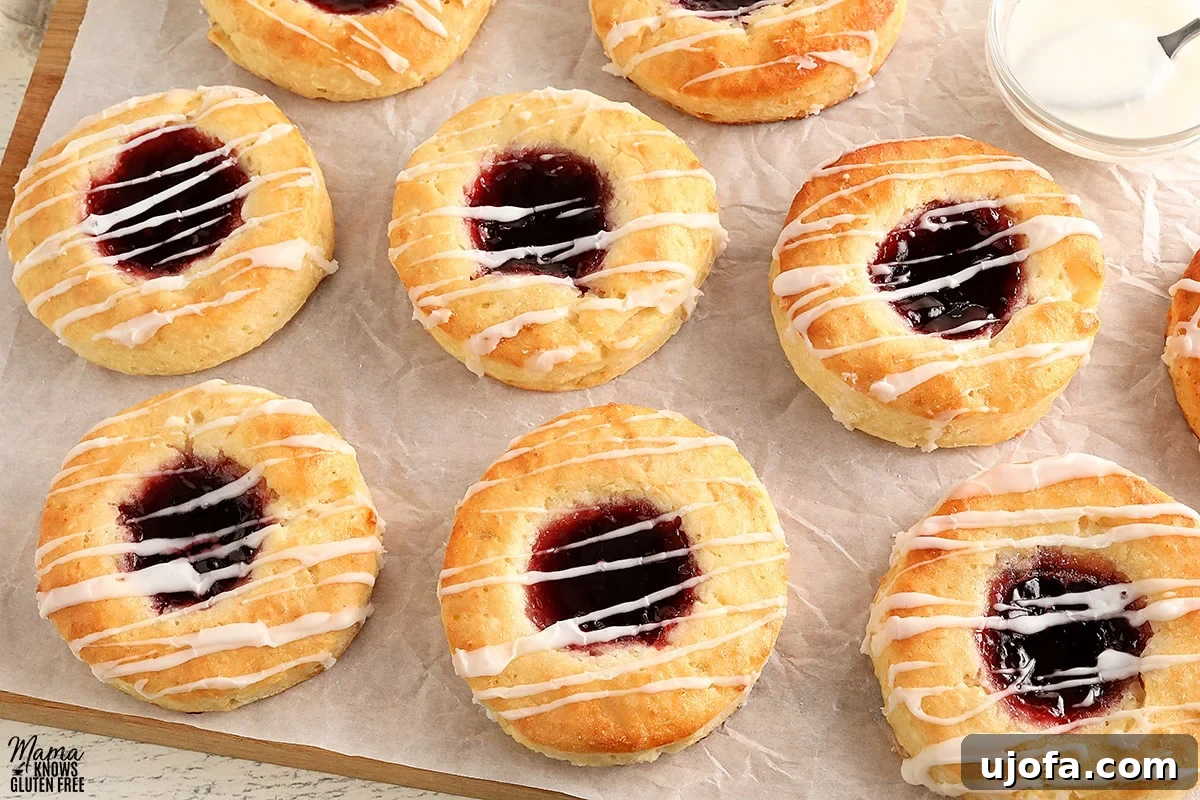
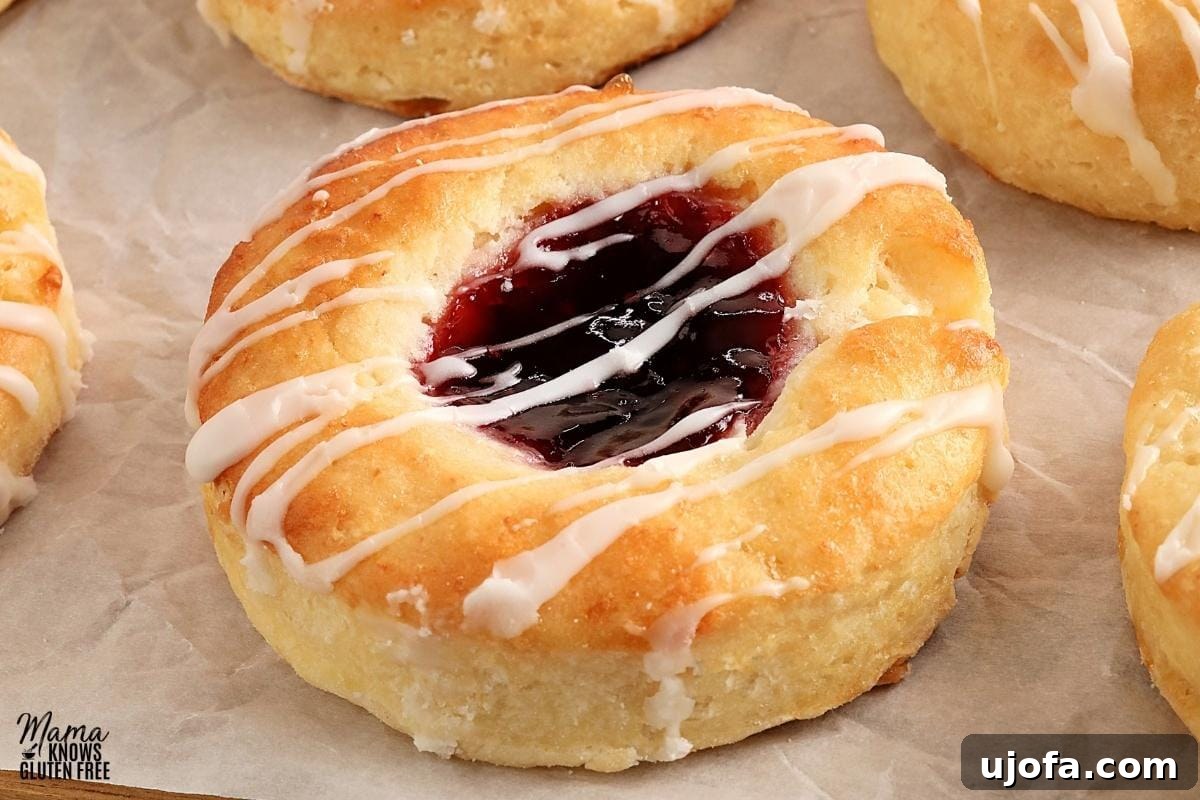
Indulge in the simple pleasure of homemade bakery-style pastries with this incredible recipe for gluten-free Danish. These delightful treats are a true labor of love, perfected over time to achieve that irresistible combination of a soft, buttery gluten-free pastry, a luscious jam filling, and a delicate sweet glaze. They taste every bit as luxurious as anything you’d find in a high-end bakery case, making them one of my absolute favorite weekend bakes. Whether it’s for a festive holiday brunch, a special gathering, or simply a moment of pure bliss with your morning coffee, these pastries are designed to impress and satisfy, without any gluten. My goal was to create a recipe that delivers a perfectly flaky, tender, and not-overly-sweet Danish, and I’m thrilled to share a version I return to again and again.
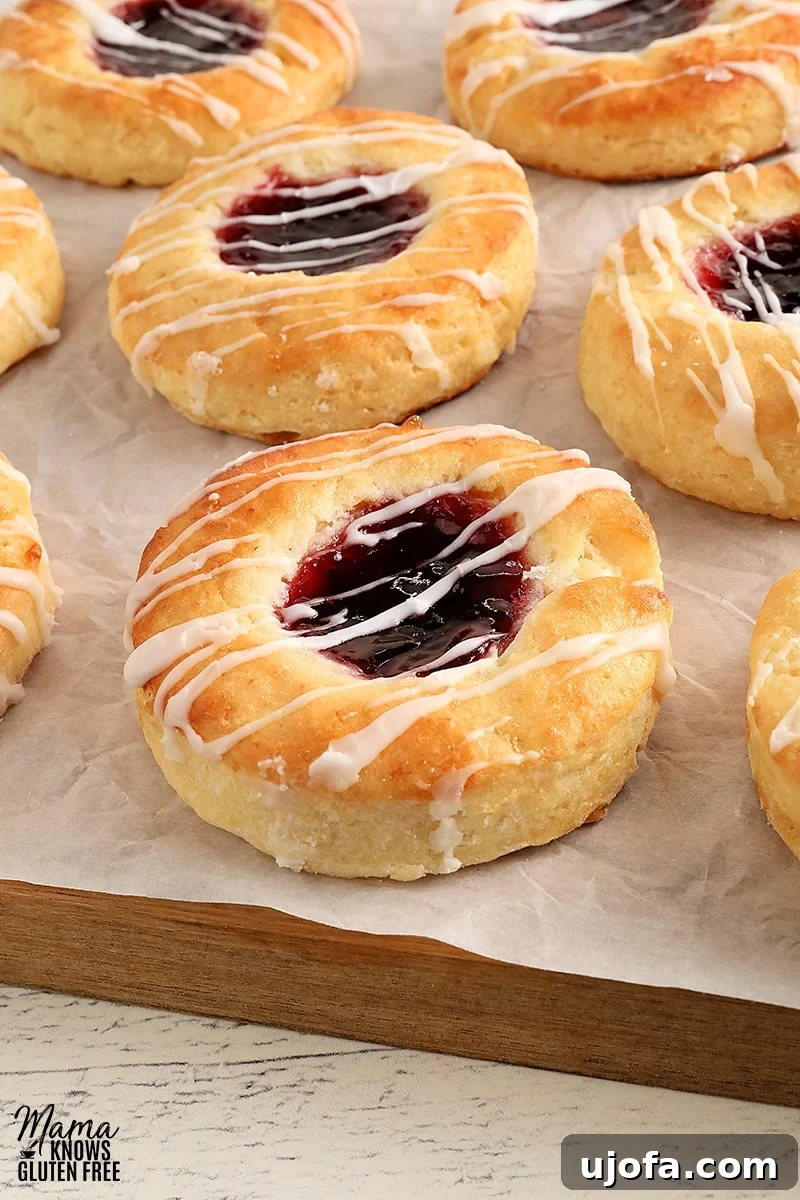
The thought of making gluten-free Danish at home might seem daunting, especially if you’re new to yeast dough or gluten-free baking. However, I assure you, this recipe is incredibly approachable and entirely doable! You don’t need to be a seasoned baker to achieve fantastic results. I’ve thoughtfully streamlined the traditional Danish-making process, taking clever shortcuts that eliminate the intimidating steps of classic laminated dough. Traditional lamination involves countless repetitions of rolling, folding, and chilling butter into the dough, a technique that can be particularly tricky with gluten-free flours due to their different elasticity and structure.
Instead, this recipe adopts a method similar to making pie crust: the butter is cut directly into the gluten-free flour mix. This simpler approach helps create pockets of butter that melt during baking, contributing to that characteristic tender, flaky texture. Following this, the dough receives a few quick, easy folds to further mimic those desirable layers without the lengthy, complex steps of traditional lamination. The entire dough comes together effortlessly, whether you use a simple spoon or a stand mixer. One of the best parts? It only requires a minimal 30-minute chill time, meaning you can enjoy these warm, fresh pastries much sooner than you might expect from a typical Danish recipe. Prepare to be amazed at how simple it is to bring this bakery-quality delight into your gluten-free kitchen!
Essential Tips for Gluten-Free Danish Success
Achieving bakery-quality gluten-free Danish pastries at home is entirely possible when you pay attention to a few crucial details. These tips are designed to help you navigate the nuances of gluten-free yeast baking and ensure your Danish turn out perfectly every time.
-
Selecting the Right Gluten-Free Flour Blend
The choice of gluten-free flour is paramount for yeast baking. Not all gluten-free flour blends are created equal, and their compositions vary widely. For yeast-based recipes, you need a blend specifically designed to mimic the properties of wheat flour, often containing a balance of starches and gums (like xanthan gum) that provide structure and elasticity. I highly recommend using a brand explicitly recommended for yeast baking. Always check the brand’s website or the package label to confirm its suitability. For this particular recipe, I’ve had consistent success with Better Batter (both Original and Artisan blends) and Pillsbury gluten-free flour. Avoid blends that prominently feature almond, coconut, oat, or bean flours, as these can significantly alter the dough’s texture and rising capability in yeast recipes. Similarly, steer clear of any blends labeled as “not ideal for yeast recipes,” as they will likely lead to dense or crumbly results.
-
Butter Temperature Matters
The temperature of your butter plays a critical role in achieving a flaky pastry. For this recipe, the butter should be cool but slightly softened. This means it should be firm enough to hold its shape when cubed, but soft enough to be easily cut into the flour mixture with a pastry cutter or a fork. If the butter is too warm or melty, it will integrate too quickly into the flour, resulting in a dense, bread-like dough rather than a light, flaky pastry. Cold, firm butter will be too difficult to work with. Aim for that sweet spot where it’s pliable but still cool to the touch.
-
Fresh Yeast for Optimal Rise
Yeast is a living organism, and its freshness directly impacts the rise of your Danish. Always use fresh instant yeast and double-check the expiration date on the packet. Old or expired yeast will lead to a flat, heavy pastry. Instant yeast is preferred for its convenience as it doesn’t require proofing before being mixed with dry ingredients, making the process even simpler.
-
The Importance of Egg Wash
Do not skip the egg wash step! This simple mixture of egg whites and water makes a remarkable difference in the final appearance of your Danish. Brushing it over the pastry before baking contributes to a beautiful, golden-brown crust and a lovely, glossy finish, enhancing that irresistible bakery-fresh appeal.
-
Choosing Your Jam Filling
While this recipe calls for seedless raspberry jam, you can certainly experiment with other flavors. However, I find seedless jam ideal for Danish pastries as it provides a smooth, elegant texture without any distracting bits. Strawberry, apricot, or even a citrus marmalade can be wonderful alternatives, depending on your preference. Ensure your jam is of good quality for the best flavor experience.
Gluten-Free Danish
An easy recipe for gluten-free Danish pastries. This delightful treat features a soft and buttery gluten-free pastry, generously filled with sweet jam and topped with a delicate glaze. A perfect homemade indulgence, this gluten-free Danish recipe also includes a dairy-free option for those with dietary restrictions.
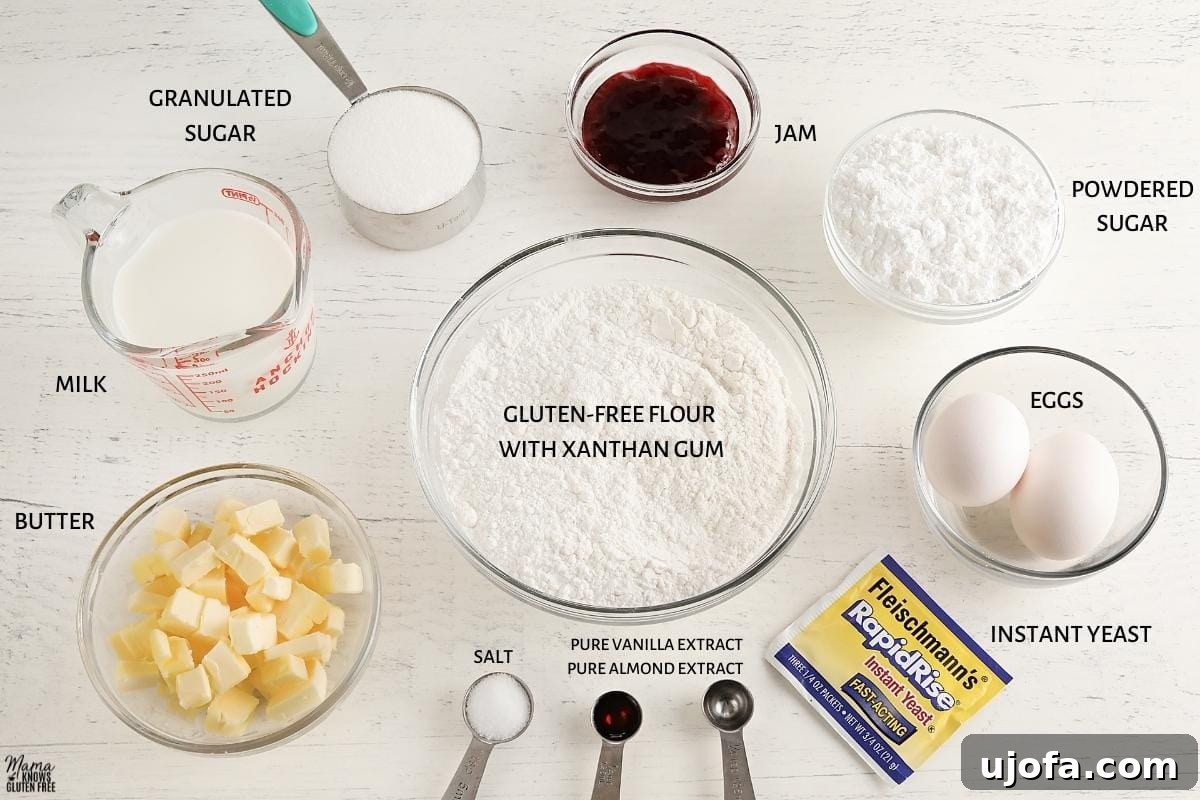
Ingredients
Gluten-Free Danish Dough
- 2 cups all-purpose gluten-free flour with xanthan gum: I test baked with Better Batter (original), Better Batter Artisan, and Pillsbury gluten-free flour. Please note that not all gluten-free flours are created equal, and results may vary. Ensure your chosen blend is recommended for yeast baking.
- 1/2 cup granulated sugar
- 1 packet instant yeast: Approximately 2 1/4 teaspoons of instant/rapid yeast.
- 1/2 cup butter, softened and cubed: The butter should be cool but slightly softened—firm enough to hold its shape when cubed, but soft enough to be cut into the flour. It should not be warm or melted. For a dairy-free option, use Smart Balance buttery spread.
- 3/4 cup milk: For a dairy-free version, unsweetened almond milk works wonderfully.
- 1/4 teaspoon pure vanilla extract
- 1/4 teaspoon pure almond extract
- 1 teaspoon salt
- 2 large egg yolks
- 1/3 cup seedless raspberry jam: This amounts to about 2 teaspoons of jam per Danish pastry.
Egg Wash
- 2 large egg whites
- 1 tablespoon water
Glaze
- 1/2 cup powdered sugar
- 2 teaspoons water
Note: You can convert measurements between US Customary and Metric if needed, but the recipe is written for US Customary.
Instructions
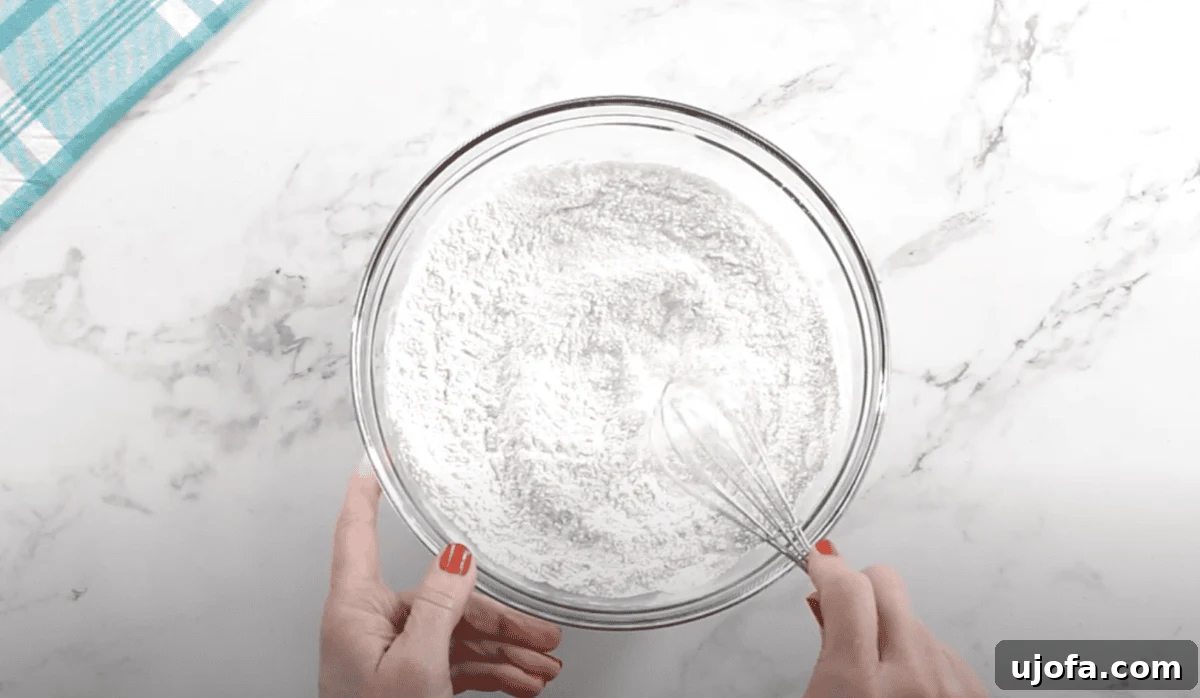
- In a large, freezer-safe bowl, combine the gluten-free flour, granulated sugar, and instant yeast. Stir these dry ingredients together thoroughly to ensure they are well mixed.
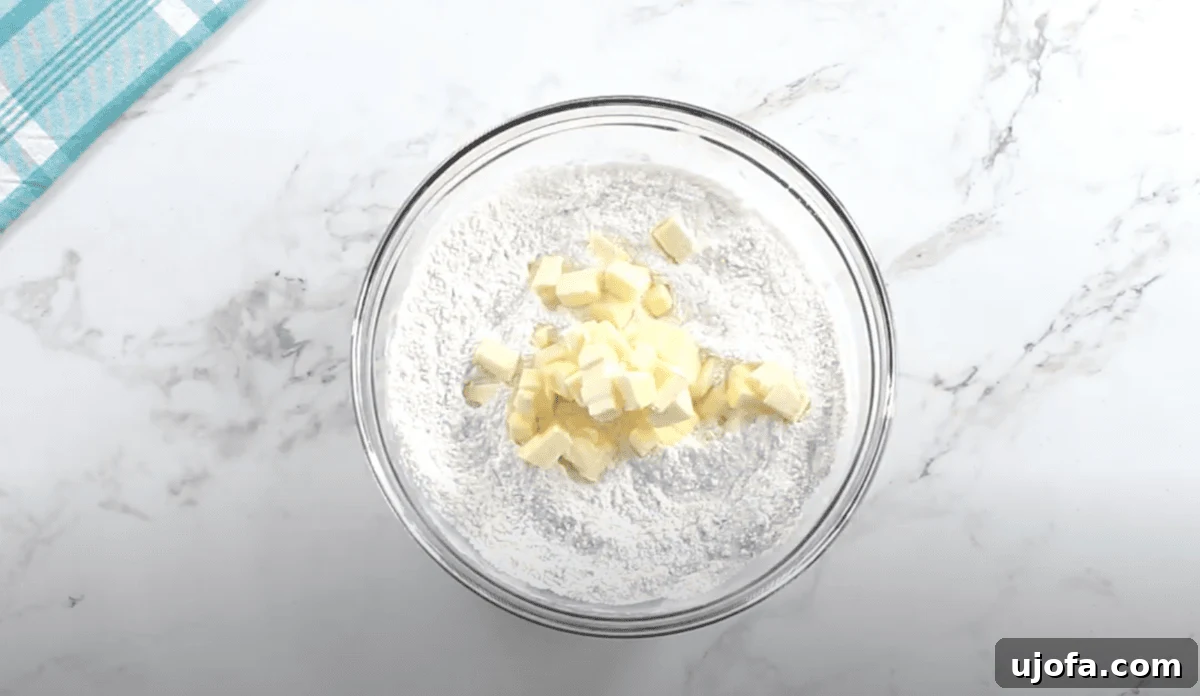
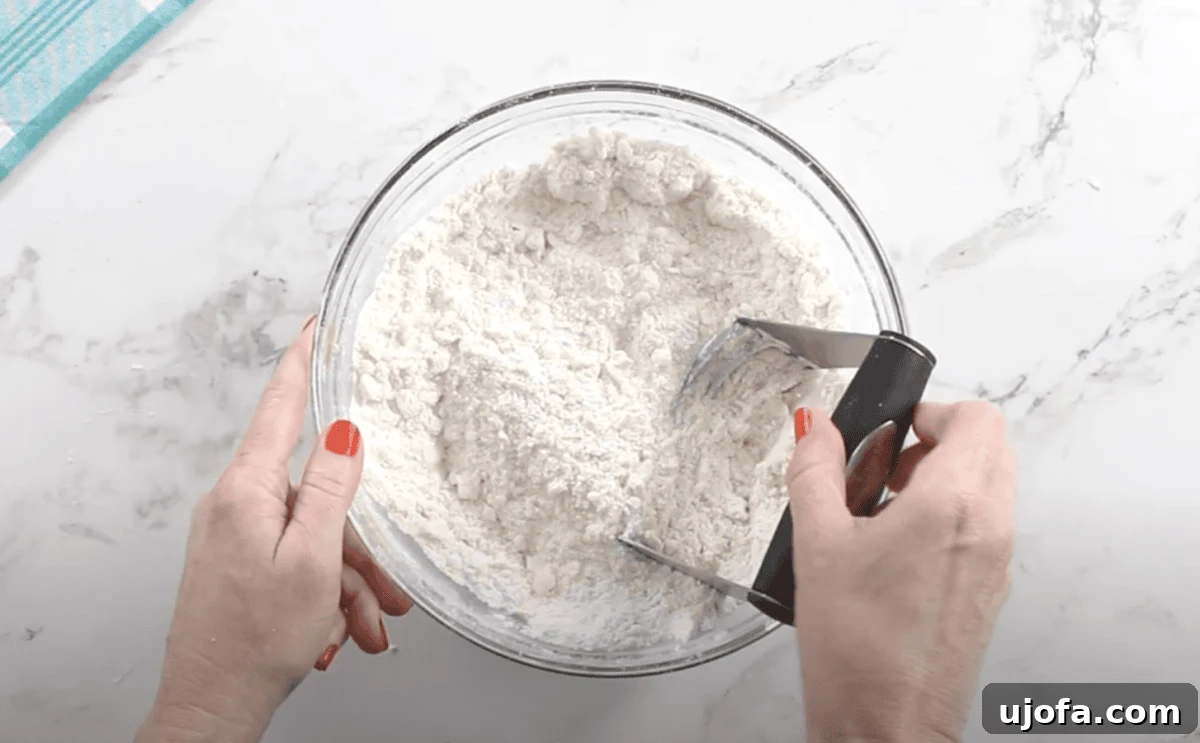
- Add the softened, cubed butter to the flour mixture. Using a pastry cutter or a fork, cut the butter into the dry ingredients until the mixture resembles small peas. This step helps create pockets of butter essential for a flaky pastry.
- Carefully separate the egg yolks from the whites. Place the two egg whites in a small bowl, cover tightly with plastic wrap, and refrigerate; these will be used for the egg wash later. Set the two egg yolks aside for the dough.
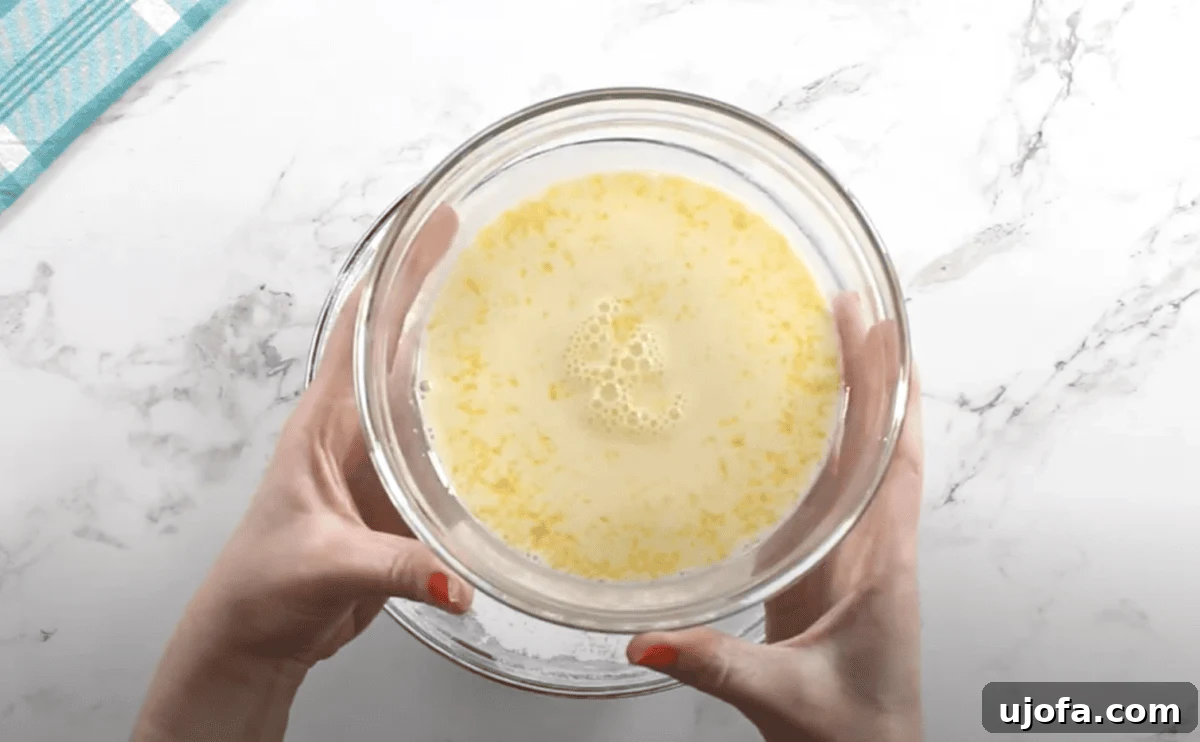
- In a separate medium-sized bowl, whisk together the milk, pure vanilla extract, pure almond extract, the two egg yolks, and salt until all ingredients are fully combined and smooth.
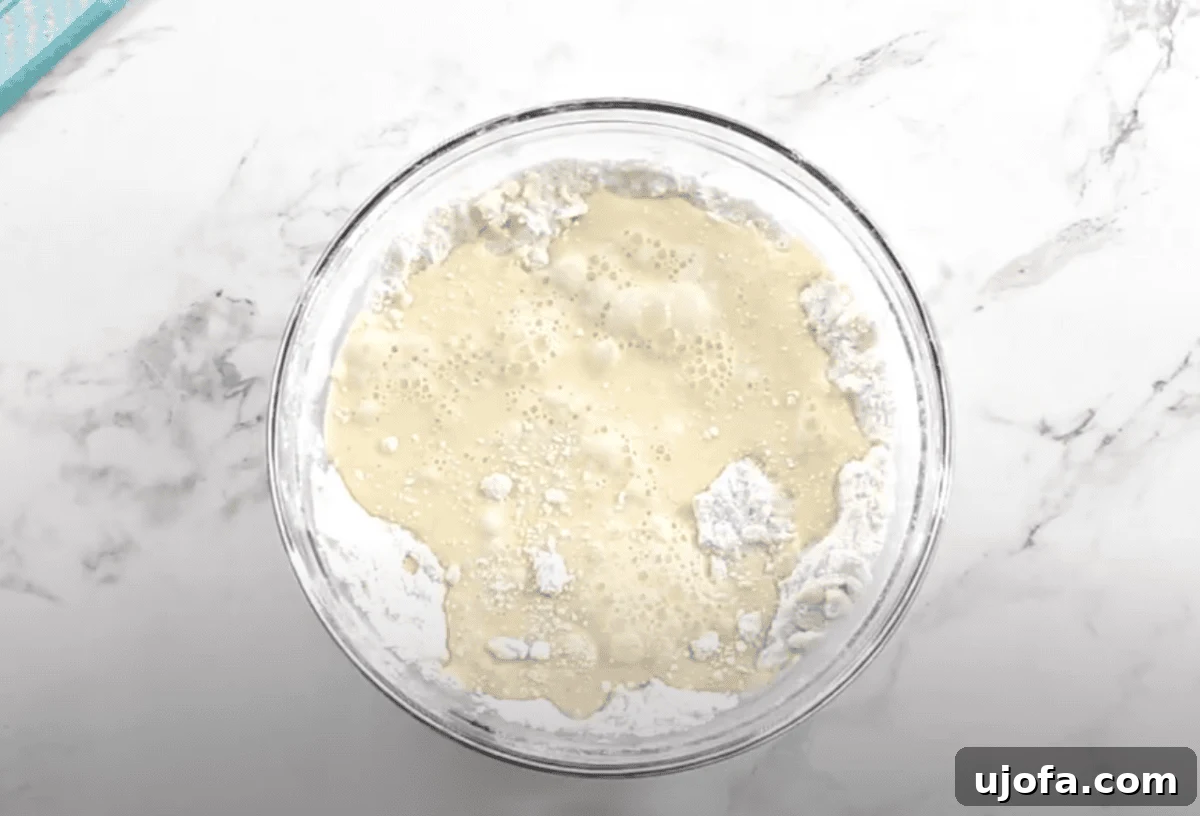
- Pour the wet milk and egg mixture into the dry flour mixture. Stir everything together until a cohesive, sticky dough forms. Do not be alarmed by the stickiness; this is typical for gluten-free yeast doughs.
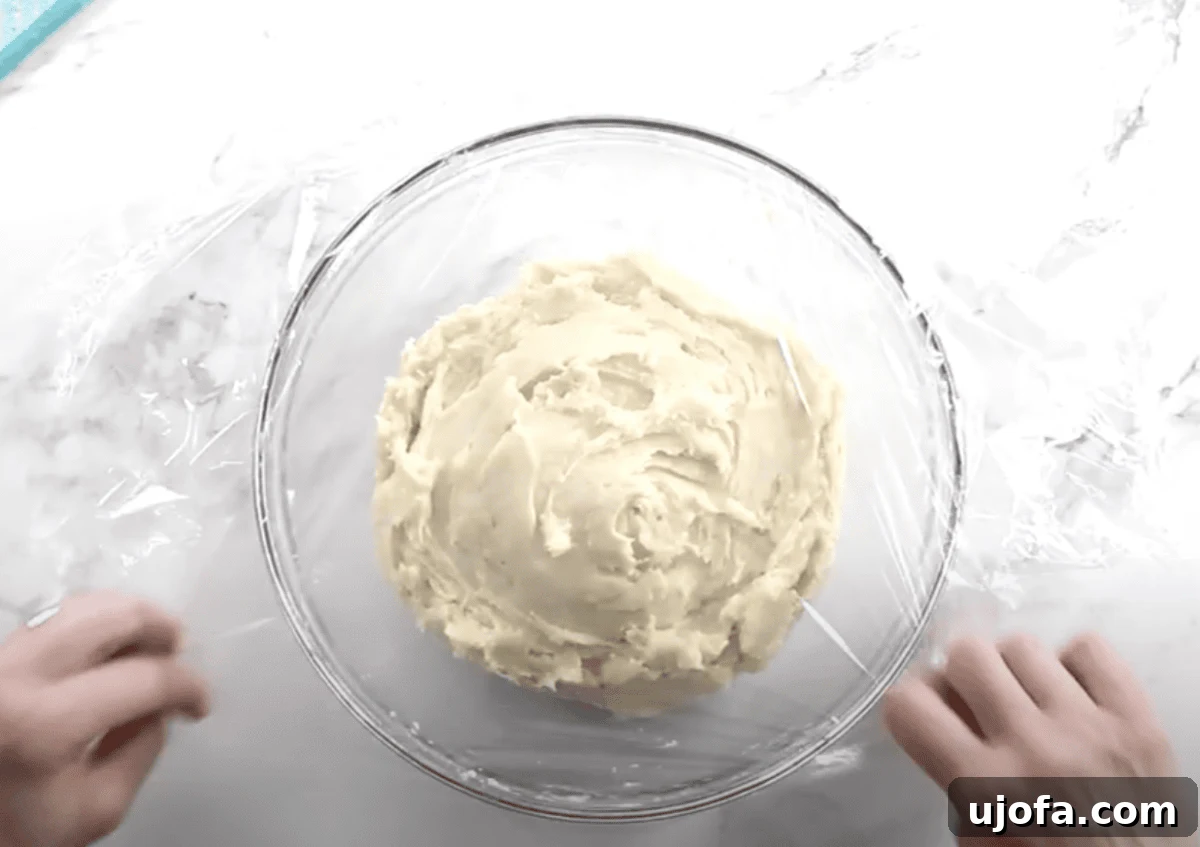
- Cover the bowl containing the sticky dough securely with plastic wrap. Place the freezer-safe bowl in the freezer for a precise 30 minutes. This chilling period is crucial for firming up the dough, making it easier to handle and contributing to the pastry’s structure.
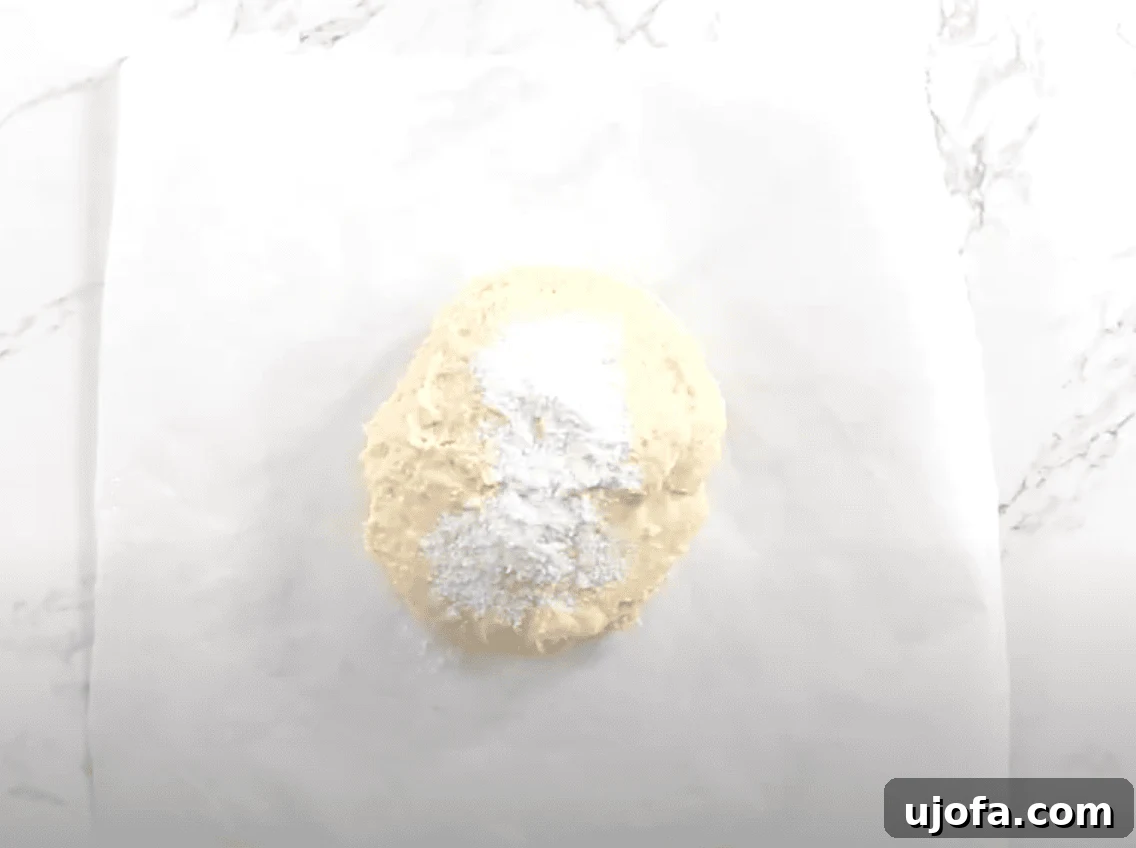
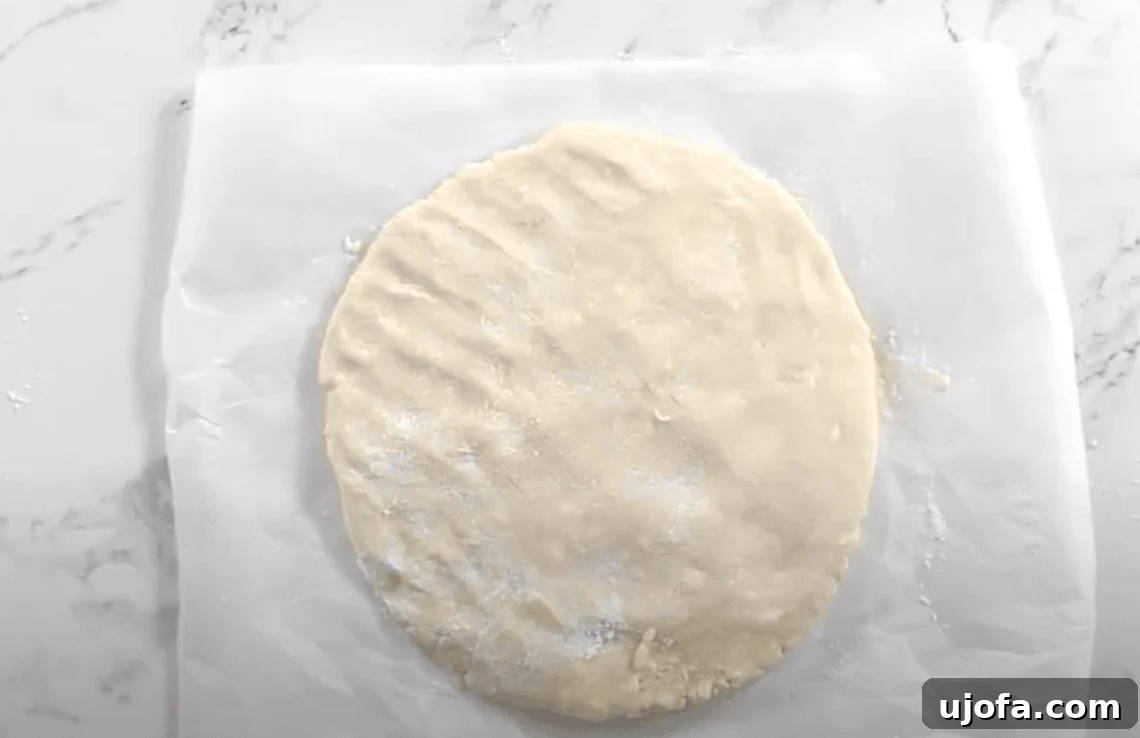
- After chilling, take a large piece of parchment paper and sprinkle it with 1 tablespoon of gluten-free flour. Turn the chilled dough out onto this floured parchment paper. Dust the top of the dough with another 1 tablespoon of flour.
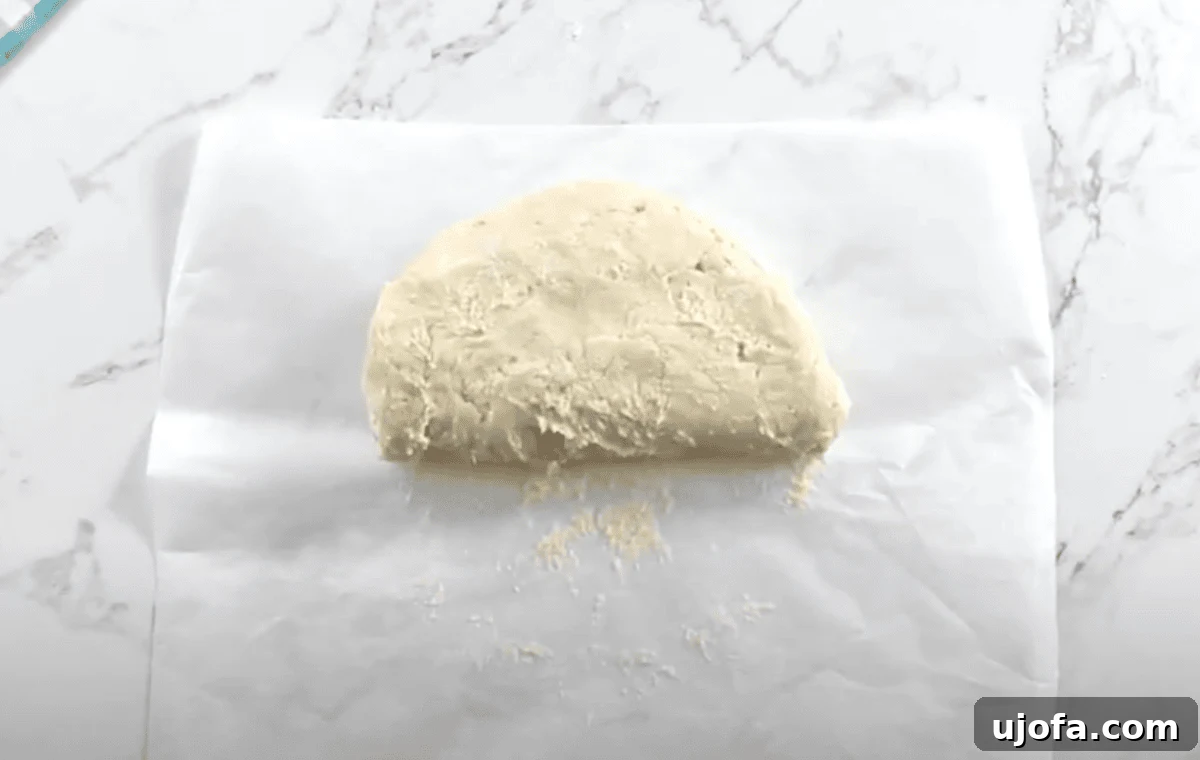
- Gently fold the dough over on itself three times. To do this, fold the dough in half, then fold it in half again, and a third time. This technique mimics the layering of traditional laminated dough, creating delicate flakes in the finished pastry.
- With your hands, carefully form the folded dough into a round shape that is approximately 7 inches in diameter and about 1 inch thick. This uniform shape will ensure even cutting and baking.
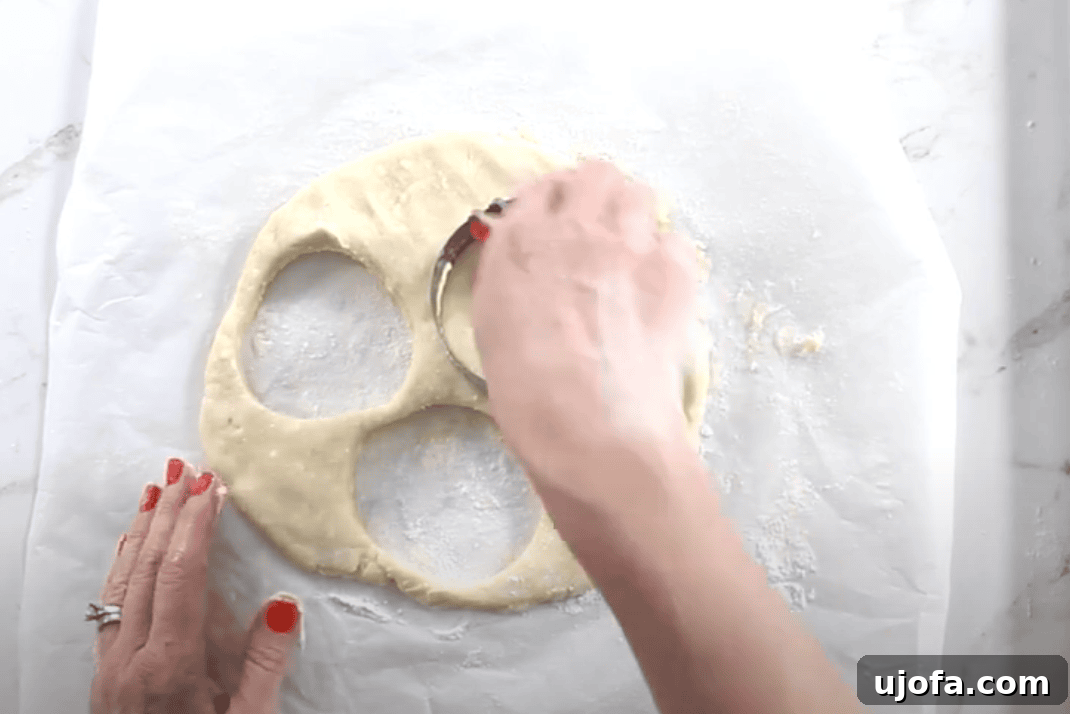
- Using a greased 3-inch biscuit cutter, the mouth of a large glass, or a mason jar lid, cut out individual dough rounds. Important: Press straight down with the cutter; do not twist it. Twisting can crimp the edges of the dough, which will prevent them from rising properly during proofing and baking.
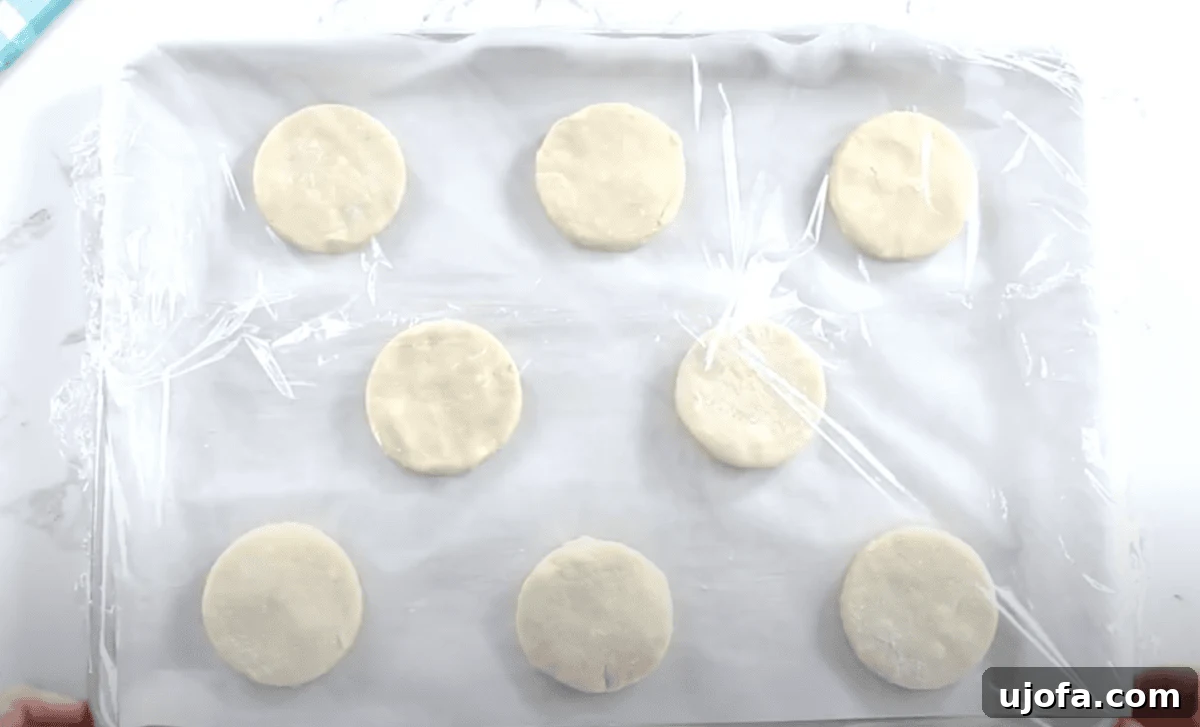
- Place the cut dough rounds onto a baking sheet lined with parchment paper. Cover the baking sheet with plastic wrap, then drape a clean kitchen towel over it. Allow the dough rounds to rise in a warm place for 30 minutes. If your oven has a “proof” setting, use it. Alternatively, you can preheat your oven to 200°F (93°C), turn it off, and place the covered dough inside. Remember to remove the dough before pre-heating the oven to 400°F (200°C) for baking.
- While the dough is rising, preheat your oven to 400°F (200°C).
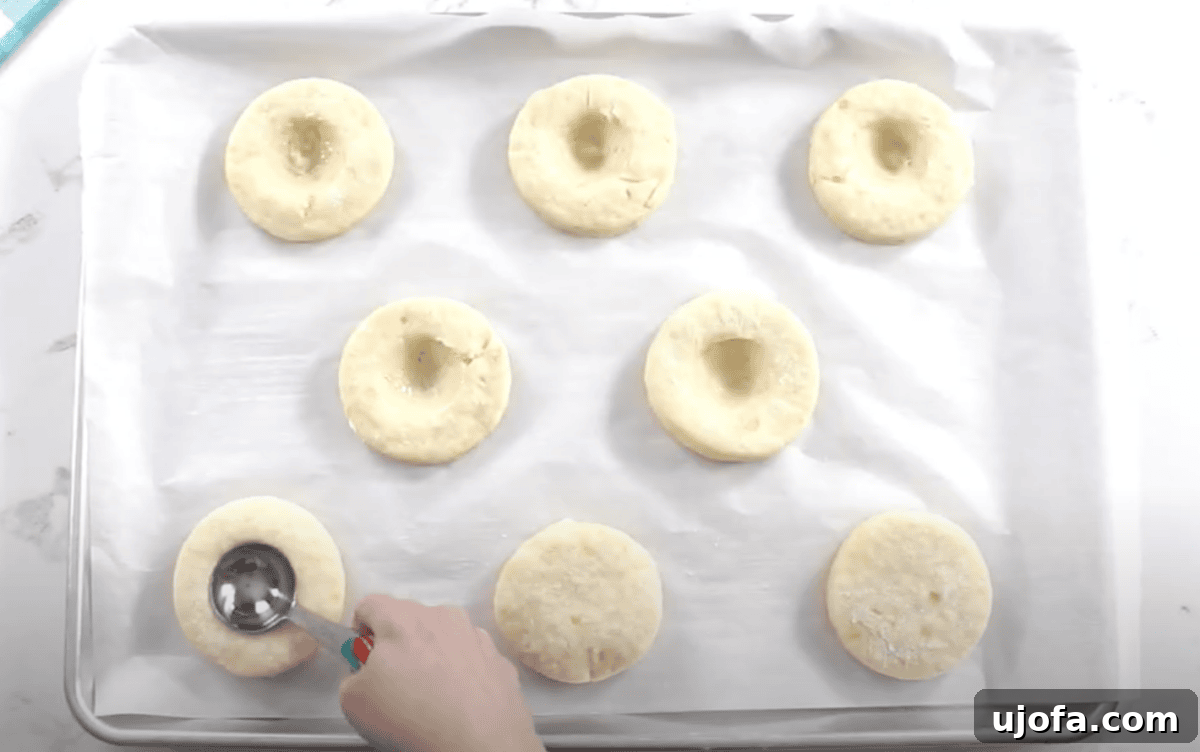
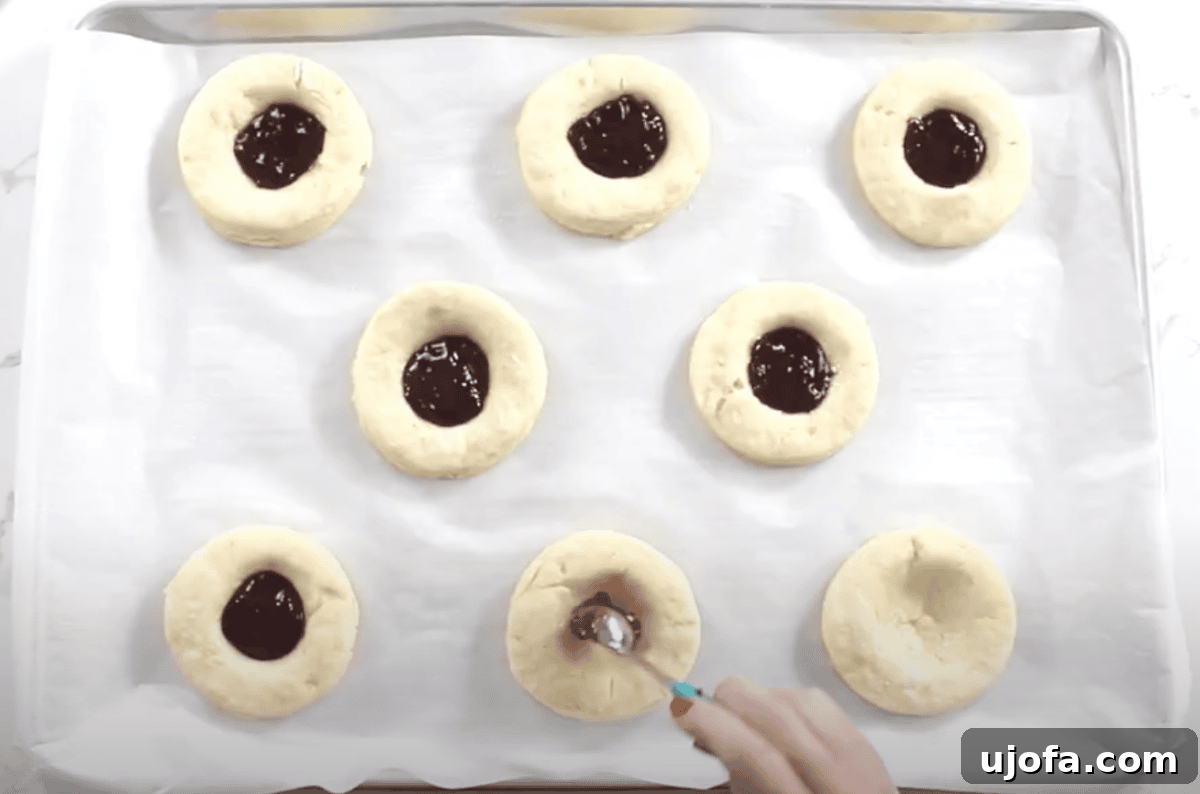
- Once the dough has risen, use the back of a greased rounded tablespoon to gently press down on the center of each dough round. This creates a small well for the jam filling. I recommend using a gluten-free coconut oil spray to grease the back of the spoon to prevent sticking.
- Stir the seedless raspberry jam until it is smooth and easily spoonable. Place approximately 2 teaspoons of jam into the center of each indentation on the dough rounds.
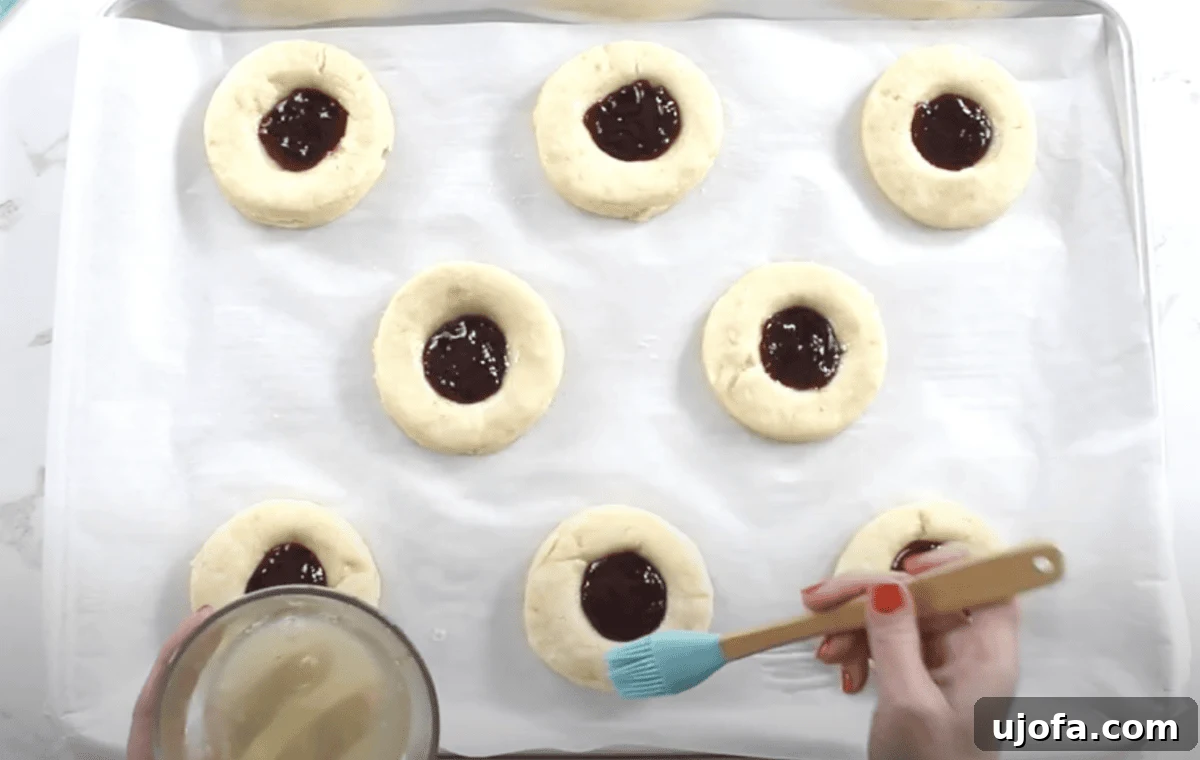
- In a small bowl, whisk together the refrigerated egg whites with 1 tablespoon of water. Using a pastry brush, lightly brush the tops and edges of the dough with this egg white mixture. This egg wash will help achieve a beautiful golden-brown color and a lovely sheen.
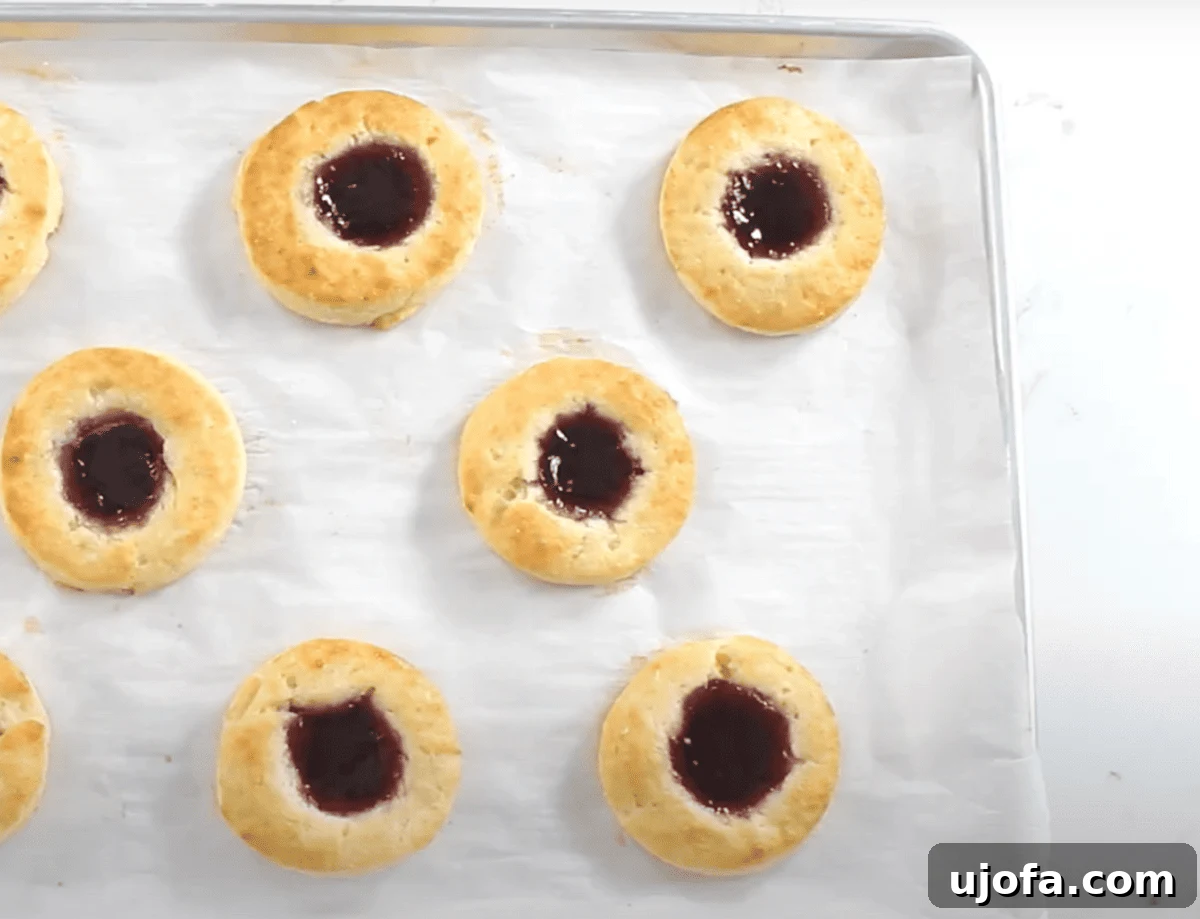
- Bake the Danish pastries in the preheated oven for 18-20 minutes, or until their tops turn a beautiful golden brown. Keep a close watch on them, as oven temperatures can vary.
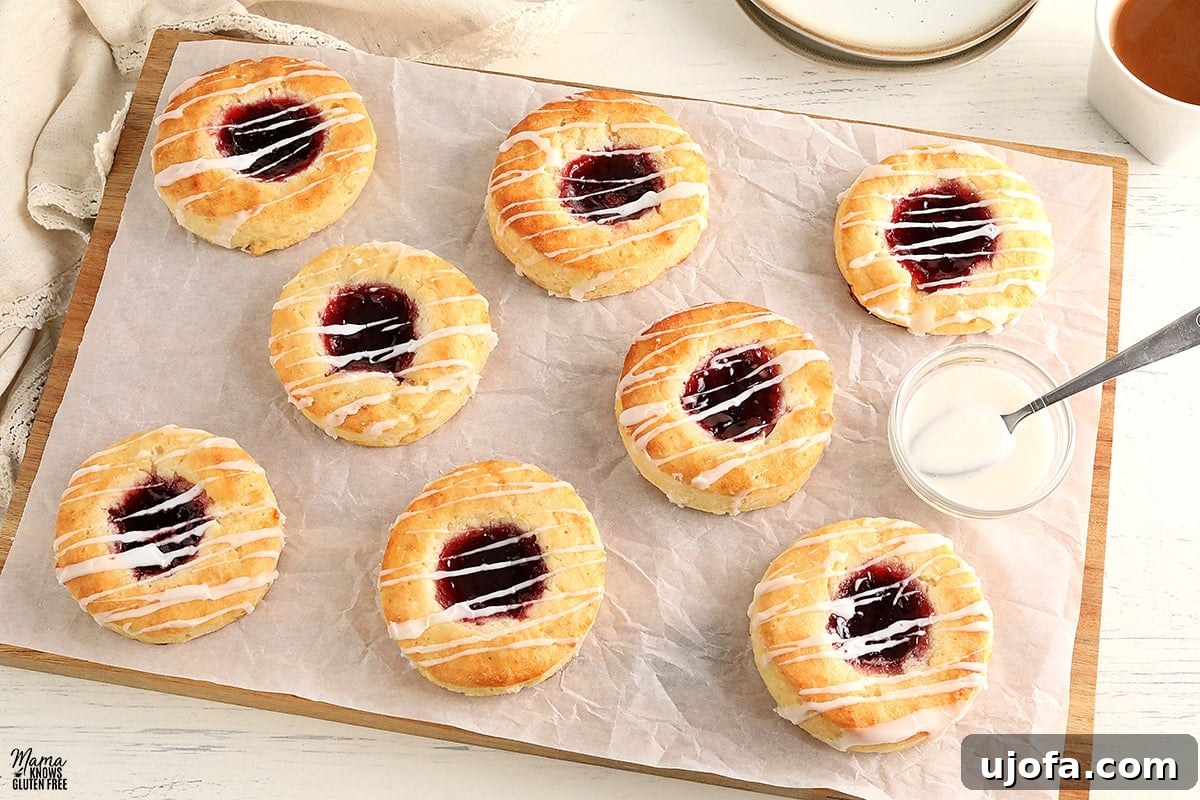
- While the Danish pastries are baking or cooling, prepare the glaze. In a small bowl, whisk together the powdered sugar and 2 teaspoons of water until a smooth, pourable glaze forms.
- Once baked, remove the Danish from the oven and allow them to cool on the baking sheet for at least 20 minutes. This cooling period is essential for the jam to set and to prevent burns from the hot filling.
- After cooling, generously drizzle the prepared glaze over the tops of the Danish pastries. Serve them warm or at room temperature and savor every bite!
- Store any leftover Danish pastries in an airtight container to maintain their freshness.
Notes
- The quality and type of gluten-free flour blend significantly impact the outcome of yeast baking. As mentioned, I’ve had great results with Pillsbury gluten-free, Better Batter Original, and Better Batter Artisan. Always verify that your chosen blend is suitable for yeast recipes to ensure proper rising and texture.
- For a completely dairy-free option, ensure you use a dairy-free buttery spread (like Smart Balance) in place of butter and unsweetened almond milk (or another dairy-free milk alternative) instead of regular milk.
- As a general rule for gluten-free baking, always double-check all your ingredient labels to confirm they are certified gluten-free, especially for items like yeast or extracts, which can sometimes contain hidden gluten.
Nutrition
Serving: 1 Danish
Calories: 354 kcal
Carbohydrates: 53 g
Protein: 6 g
Fat: 15 g
Saturated Fat: 8 g
Polyunsaturated Fat: 1 g
Monounsaturated Fat: 4 g
Trans Fat: 1 g
Cholesterol: 79 mg
Sodium: 412 mg
Potassium: 76 mg
Fiber: 3 g
Sugar: 29 g
Vitamin A: 453 IU
Vitamin C: 1 mg
Calcium: 61 mg
Iron: 1 mg
Nutrition information is an approximation calculated automatically and should be used as a general guide only.
Additional Info
Course: Breakfast
Cuisine: American
A Visual Guide to Making Gluten-Free Danish
Sometimes, seeing is believing, especially when it comes to baking. This visual guide complements the detailed instructions in the recipe card above, offering a glimpse into each key stage of creating your homemade gluten-free Danish pastries. Follow along with these images to confidently craft your delicious treats.
Creative Serving Suggestions for Your Gluten-Free Danish
These gluten-free Danish pastries are versatile and can elevate any meal or snacktime. While they are undoubtedly delicious on their own, here are some ideas to make them even more special:
- Classic Breakfast or Brunch: Serve them fresh and warm for a delightful weekend brunch or a cozy breakfast treat. They pair wonderfully with a hot cup of coffee, a frothy latte, or a refreshing glass of milk (dairy or non-dairy).
- Pair with Fruit: To balance the sweetness, serve your Danish alongside a simple, vibrant fruit salad. Berries, sliced peaches, or melon complement the rich pastry beautifully.
- Elegant Platter Presentation: If you’re hosting, arrange the Danish on a beautiful serving platter. For an extra touch of elegance, drizzle a little extra glaze over them just before serving, or sprinkle with a dusting of powdered sugar.
- Add a Side of Cream: A dollop of whipped cream (dairy or coconut-based) or a spoonful of crème fraîche can add another layer of indulgence.
- Special Occasion Treat: These pastries are perfect for holidays, birthdays, or any special occasion where you want to offer a gluten-free option that doesn’t compromise on taste or texture.
- Afternoon Tea Delight: Cut them into smaller pieces and serve them as part of an afternoon tea spread, alongside other gluten-free sweets and savories.
Comprehensive Storage Instructions for Danish Pastries
Proper storage is key to keeping your delicious gluten-free Danish pastries fresh and enjoyable for as long as possible. Here’s how to store them, whether baked or unbaked, and even how to prepare them in advance by freezing.
Storing Baked Danish
Once your Danish pastries have cooled completely to room temperature, they can be stored in an airtight container. At room temperature, they will remain fresh for up to 2 days. If you need to store them for a longer period, transfer them to the refrigerator, where they will keep well for up to 5 days. To refresh refrigerated Danish, you can warm them briefly in a microwave for 10-15 seconds or in a preheated oven at 300°F (150°C) for about 5-7 minutes until just warmed through.
Freezing the Dough for Make-Ahead Convenience
Preparing the dough in advance is a fantastic way to enjoy fresh Danish with minimal effort on a busy day. The gluten-free Danish pastry dough can be frozen for up to 3 months. After the initial 30-minute freezer chill (step 6 in the instructions), shape the dough into a disk. Wrap this disk tightly in several layers of plastic wrap, ensuring no air can get in. Then, place the wrapped dough disk into a freezer-safe plastic bag. Label with the date and freeze. When you’re ready to bake, thaw the dough overnight in the refrigerator. Once thawed, you can proceed with the recipe as written from step 7 onwards.
Freezing Assembled (Unbaked) Pastries
For ultimate convenience, you can freeze the Danish after they’ve been assembled but before baking. Complete the recipe up to the point of filling the pastries with jam (step 14). Place the baking sheet with the filled Danish pastries directly into the freezer. Flash-freeze them for at least 2 hours, or until they are solid. Once frozen, transfer the individual pastries to an airtight freezer-safe container or a heavy-duty plastic freezer bag. They can be stored in the freezer for up to 1 month. When you’re ready to bake, there’s no need to defrost them! Simply place the frozen pastries on a parchment-lined baking sheet, brush them with the egg wash, and bake for an extra 10 to 15 minutes compared to the original baking time, or until golden brown and cooked through.
Freezing Baked Danish
If you have leftover baked Danish or want to prepare a large batch, you can freeze them after baking. Allow the Danish to cool completely to room temperature. Once thoroughly cooled, wrap each Danish tightly in plastic wrap to prevent freezer burn. Then, place the wrapped pastries in an airtight freezer-safe container or a plastic freezer bag. They can be frozen for up to 3 months. To enjoy, thaw the Danish overnight in the refrigerator. Reheat them in the oven at 350°F (175°C) for 8 to 10 minutes, or warm gently in the microwave until heated through. Reheating in the oven will help restore some of their crispness.
Discover More Delicious Gluten-Free Pastries
If you’ve enjoyed making these delightful gluten-free Danish pastries, you’re in for a treat! The world of gluten-free baking offers an abundance of delectable options. Explore these other fantastic gluten-free pastry recipes that are sure to satisfy your cravings and expand your baking repertoire:
- Gluten-Free Lemon Bars: Bright, tangy, and refreshingly sweet, these lemon bars are a perfect dessert for any season.
- Gluten-Free Cannolis: Indulge in crispy shells filled with creamy, sweet ricotta cheese, a classic Italian delight made safe for gluten-free diets.
- Gluten-Free Tiramisu: Experience the rich, coffee-infused layers of this beloved Italian dessert, meticulously crafted to be gluten-free.
- Gluten-Free Mini Cheesecakes: Perfectly portioned and incredibly creamy, these mini cheesecakes are a delightful treat for any gathering.
- Gluten-Free Vanilla Cupcakes: Fluffy, moist, and topped with a luscious frosting, these vanilla cupcakes are a timeless favorite for all.