
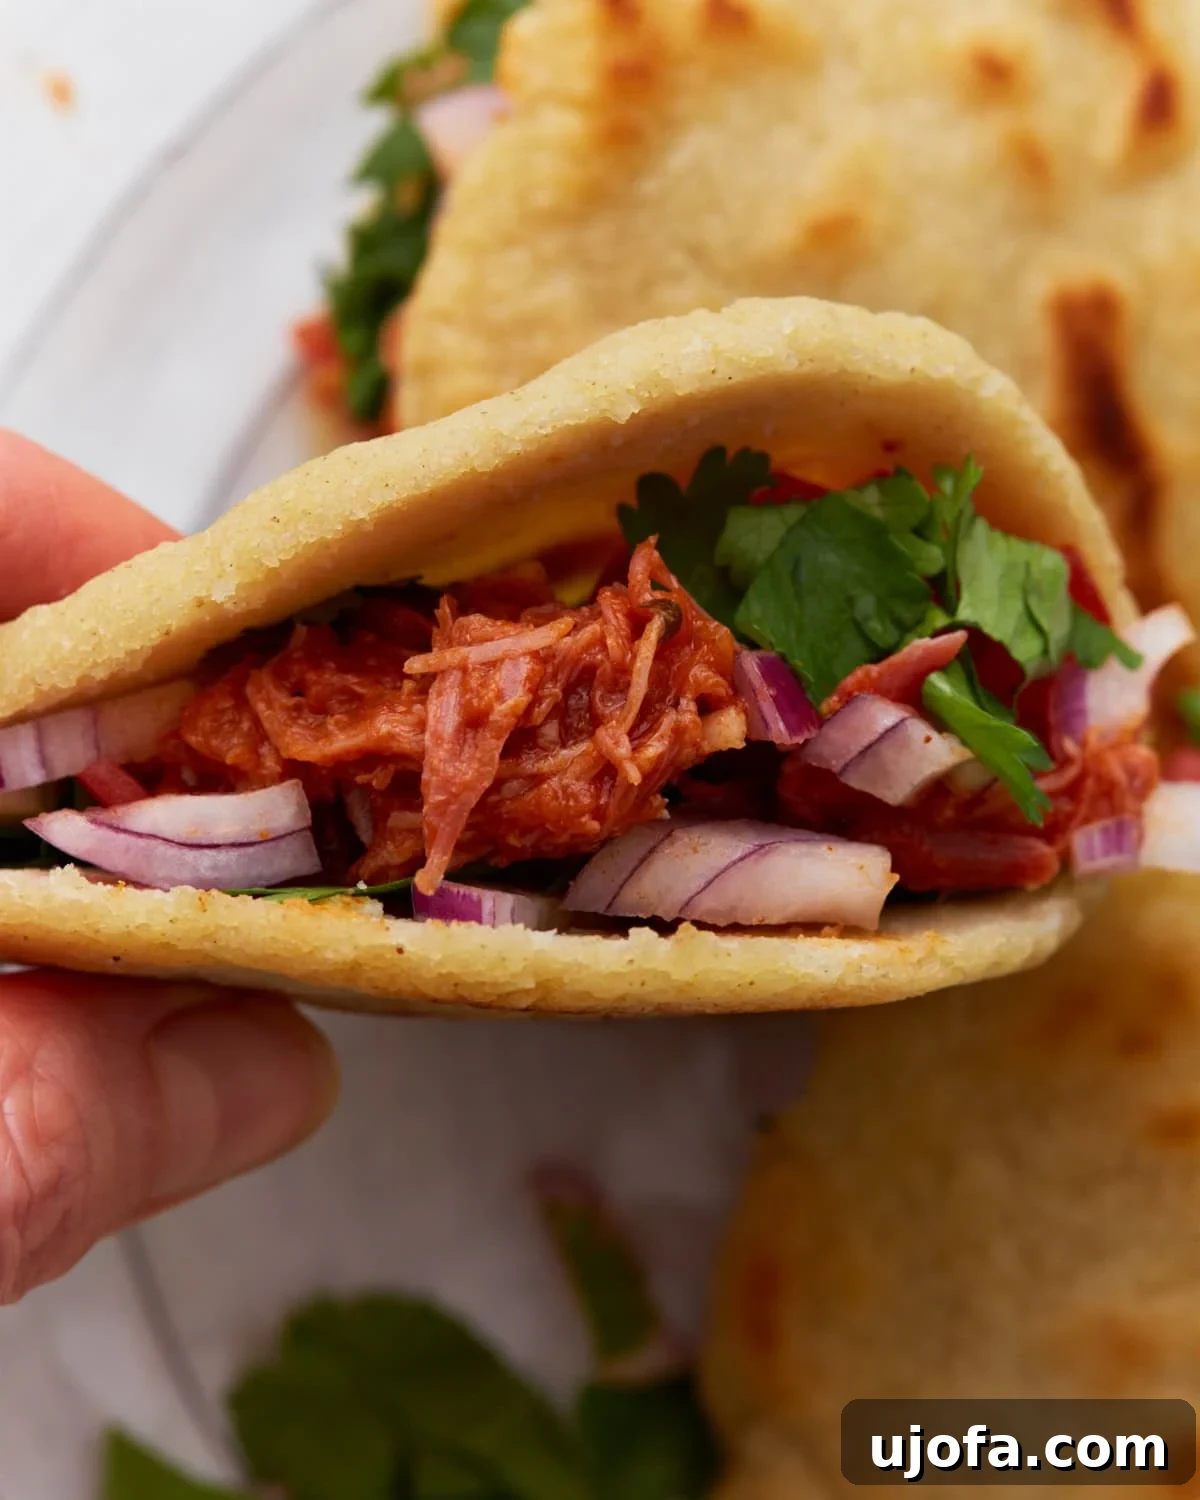
When the craving hits for the comforting, pillowy embrace of authentic street-style Mexican cuisine, my mind invariably drifts to gorditas. There’s an undeniable satisfaction in gently tearing open a perfectly golden, corn-based pocket, ready to be generously filled with a medley of savory beans, vibrant vegetables, or tender meats. These delectable gorditas stand out for their delightful softness, a subtle chewiness, and the wonderful fact that they are naturally gluten-free, thanks to the magic of masa harina.
Discovering the World of Gorditas: A Culinary Journey
This particular recipe holds a special place in my heart, primarily because it’s virtually foolproof. My culinary adventures with masa harina span years, having crafted countless arepas, a beloved Venezuelan staple. Gorditas, often described as their delightful Mexican cousins, quickly became another obsession. While both are corn-based wonders, gorditas typically boast a thicker profile, with a distinct, soft, pocket-like center that’s just begging to be stuffed with an array of savory fillings. With a minimal list of simple ingredients, a brief rest period, and straightforward steps, you’ll consistently achieve warm, soft, and utterly delicious gorditas every single time.
What Exactly is a Gordita?
The word “gordita” charmingly translates to “little fat one” in Spanish, a nod to their characteristic plumpness compared to their thinner tortilla counterparts. Unlike a flat tortilla, a gordita is a thick, handmade corn cake that, once cooked, puffs up slightly, allowing it to be carefully split open to create a natural pocket. This ingenious design makes them the perfect vessel for an endless variety of fillings, transforming a simple corn dough into a complete, satisfying meal. They offer a more substantial bite and a wonderfully satisfying texture that sets them apart from other Mexican antojitos.
Why Make Gorditas at Home?
There’s an unparalleled joy and benefit to preparing gorditas from scratch in your own kitchen. First and foremost, you gain complete control over the ingredients, ensuring they are not only fresh but also cater to any dietary needs, especially if you’re looking for genuinely gluten-free options. Opting for homemade means you avoid any hidden additives or preservatives often found in store-bought alternatives. Beyond dietary considerations, the aroma of masa harina cooking fills your home with an inviting warmth, creating a truly authentic Mexican culinary experience. It’s a fantastic way to bring the vibrant flavors of Mexican street food directly to your dinner table, customize fillings to your family’s preferences, and perhaps even save a few dollars in the process.
The Magic Ingredient: Masa Harina
At the heart of every great gordita lies masa harina. This isn’t just any corn flour; it’s a specialty flour made from corn that has undergone a traditional process called nixtamalization. This ancient Mesoamerican technique involves soaking and cooking corn in an alkaline solution (usually limewater), then grinding it. This process not only enhances the corn’s nutritional value, making niacin more bioavailable, but it also dramatically improves the flavor and workability of the dough. Nixtamalized corn flour develops a distinct earthy aroma and a unique elasticity that is crucial for creating the perfect pliable dough that holds its shape and puffs up beautifully when cooked.
When purchasing masa harina, always look for high-quality brands that specifically label their product as “corn flour for tortillas” or “masa harina de maíz nixtamalizado.” Brands like Maseca are widely available and reliable for achieving authentic results. Store masa harina in a cool, dry place in an airtight container to maintain its freshness. Do not substitute masa harina with regular cornmeal or other gluten-free grain flours, as they will not yield the same texture, flavor, or structural integrity essential for gorditas.
Expert Tips for Perfect Gorditas Every Time
- Achieving the Right Dough Consistency: The secret to excellent gorditas starts with the dough. It needs to be soft, pliable, and smooth.
- If your dough cracks or falls apart: This is a clear sign it’s too dry and needs more moisture. Add warm water one tablespoon at a time, kneading thoroughly after each addition, until the dough comes together without cracking. The warmth of the water also helps activate the masa harina, making it more flexible.
- If your dough is too soft or sticky: Overly wet dough can be challenging to handle and shape. If it feels too tacky, try adding a small amount (a teaspoon at a time) of masa harina until it reaches the desired consistency. Lightly oiling your hands can also help manage a slightly sticky dough. The dough should feel like soft play-doh, not clinging excessively to your hands.
- The Importance of Resting Time: Don’t skip the 10-minute rest. This crucial step allows the masa harina to fully hydrate, absorbing the water and becoming more cohesive and easier to work with. It prevents the dough from cracking during shaping and contributes to a smoother final product.
- Mastering the Thickness: The ideal thickness for a gordita is about ⅓ inch. If they are too thin, they might not puff up and create a pocket. If they are too thick, they can be dense and take too long to cook through, potentially burning on the outside. A tortilla press, lined with plastic wrap, is highly recommended for consistent thickness and shape. If pressing by hand, aim for even pressure across the disk.
- Optimal Cooking Temperature and Time: Cooking temperature is paramount. Cook gorditas over medium heat. This allows the exterior to develop a beautiful golden crust without burning, while giving the interior enough time to steam and cook through, creating that characteristic pocket.
- Burning before cooking through: If you notice the outside browning too quickly, slightly reduce the heat. A little less oil can also help. Remember that every stove and skillet varies, so a test run with the first gordita will help you find the “sweet spot.”
- Ensuring an even cook: Gently pressing the gordita with a spatula during cooking helps ensure even contact with the hot surface, promoting uniform browning and proper puffing. Rotating them halfway through each side also contributes to an even golden finish.
- The Perfect Pocket Creation: Once cooked, allow the gorditas to cool for a minute or two. This prevents burning your fingers and helps the structure firm up slightly, making them easier to slice without tearing. Use a small, sharp paring knife to carefully cut a pocket halfway through the side. Avoid cutting all the way through, as you want to create a pouch, not two separate halves.
Homemade Gluten-Free Gorditas
Step-by-step photos and additional insights can be found further down the page.
Ingredients
- 2 cups masa harina, gluten-free corn flour, such as Maseca
- ¾ tsp salt
- 1½ cups warm water, may need an extra ¼ cup if dough is crumbly
- 2-3 tbsp avocado oil, or other neutral oil
Instructions
-
In a large bowl, thoroughly mix the masa harina and salt. Gradually add 1½ cups of warm water, mixing with your hands until a soft, pliable dough forms. If the dough feels dry or cracks when you try to shape it, add an additional 1 to 4 tablespoons of warm water, one at a time, until it achieves a smooth, flexible consistency.
-
Add 1 tablespoon of avocado oil (or your preferred neutral oil) and gently knead it into the dough until it’s fully incorporated. Cover the bowl with a damp towel and allow the dough to rest for 10 minutes. This resting period is crucial for the masa harina to fully hydrate, resulting in a more workable and tender dough.
-
Divide the rested dough into 8 equal portions. Roll each portion into a smooth, even ball.
-
Flatten each dough ball into a disk, aiming for approximately 4 to 5 inches in diameter and about ⅓ inch thick. You can use a tortilla press (lined with plastic wrap for easy removal) or the palms of your hands. Ensure the edges are smooth to prevent cracking during cooking.
-
Heat 1 tablespoon of avocado oil in a large skillet or on a griddle over medium heat. Place each gordita onto the hot surface and cook for 4 to 5 minutes per side, or until they are lightly golden brown and cooked through. You may see them puff up slightly, which is a good sign for pocket formation. Add more oil as needed, up to a total of 2–3 tablespoons, for cooking the remaining gorditas, ensuring they don’t stick or dry out.
-
Once all the gorditas are cooked, remove them from the heat and let them cool for a minute or two on a wire rack. This helps them firm up slightly. Using a small, sharp knife, carefully slice a pocket halfway through the side of each gordita. Be gentle to avoid tearing. Fill your warm gorditas with your favorite fillings and serve immediately.
Notes
- Nutrition facts provided are exclusively for the gorditas themselves and do not account for any added fillings.
- Do not attempt to substitute masa harina with general gluten-free grain flours (such as all-purpose gluten-free flour blends, rice flour, or cornmeal), as they will not yield the authentic texture, pliability, or flavor profile essential for these gorditas. Masa harina is a unique product.
Nutrition
Nutrition information is automatically calculated, so should only be used as an approximation.
Additional Info
How to Make Gluten-Free Gorditas: A Step-by-Step Visual Guide
Creating delicious gorditas at home is a rewarding process, and with these detailed steps and accompanying images, you’ll be a pro in no time. Let’s gather our ingredients and begin!
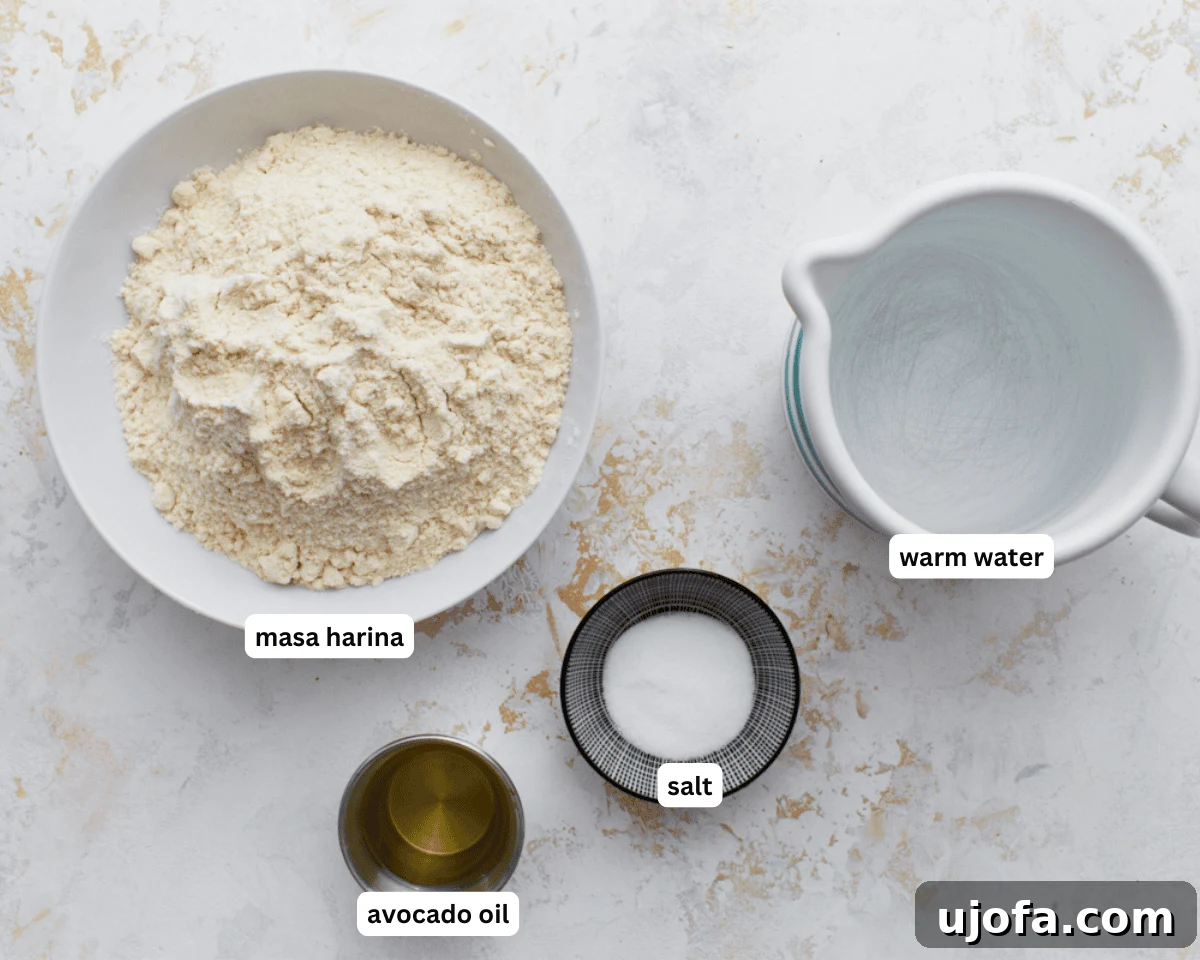
Step 1: Gather Your Ingredients. Begin by laying out all your necessary ingredients: masa harina, salt, warm water, and avocado oil. Having everything ready before you start ensures a smooth and enjoyable cooking process.
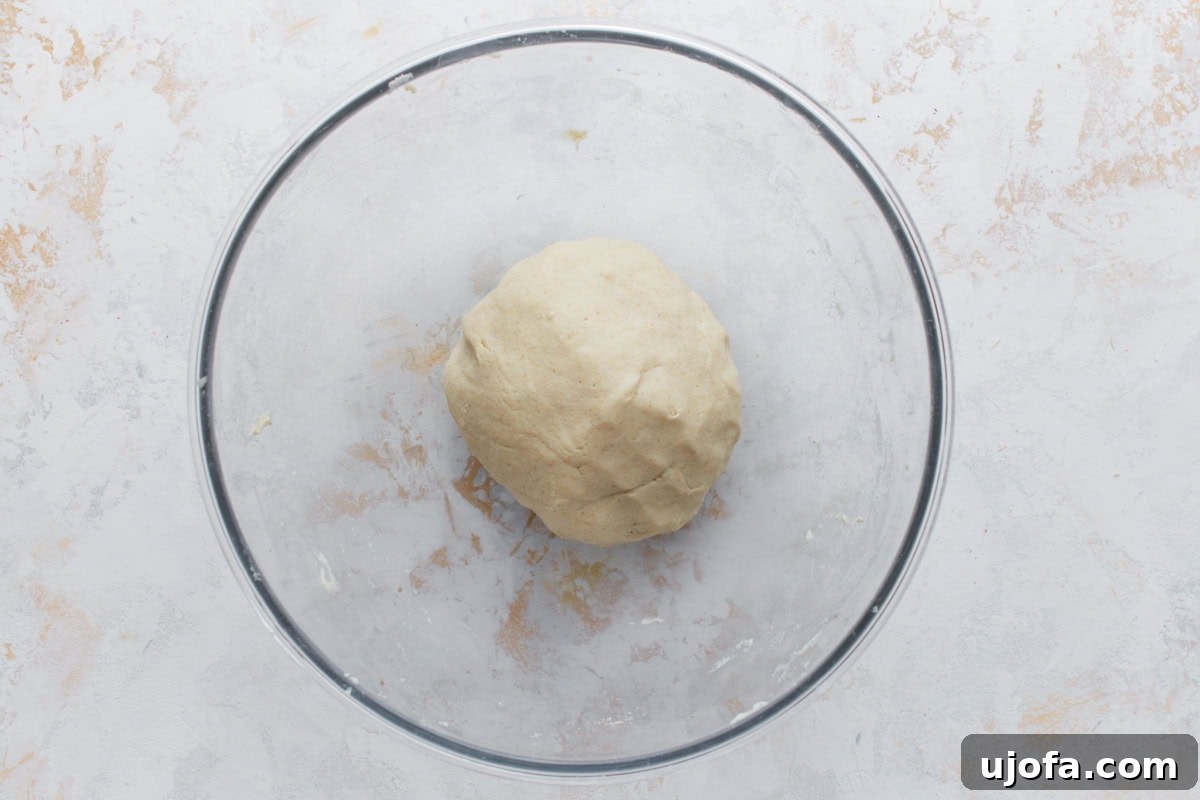
Step 2: Prepare the Masa Dough. In a spacious mixing bowl, combine 2 cups of masa harina (ensuring it’s a good quality, gluten-free corn flour like Maseca) with ¾ teaspoon of salt. Gradually incorporate 1½ cups of warm water into the mixture. Use your hands to thoroughly mix and knead the ingredients until a soft, uniform, and pliable dough forms. The dough should feel like soft play-doh. If you notice the dough cracking or feeling too dry when you attempt to shape it, add a little more warm water, 1 tablespoon at a time, kneading well after each addition until the desired smooth and flexible texture is achieved. This ensures your gorditas won’t fall apart and will have a tender crumb.
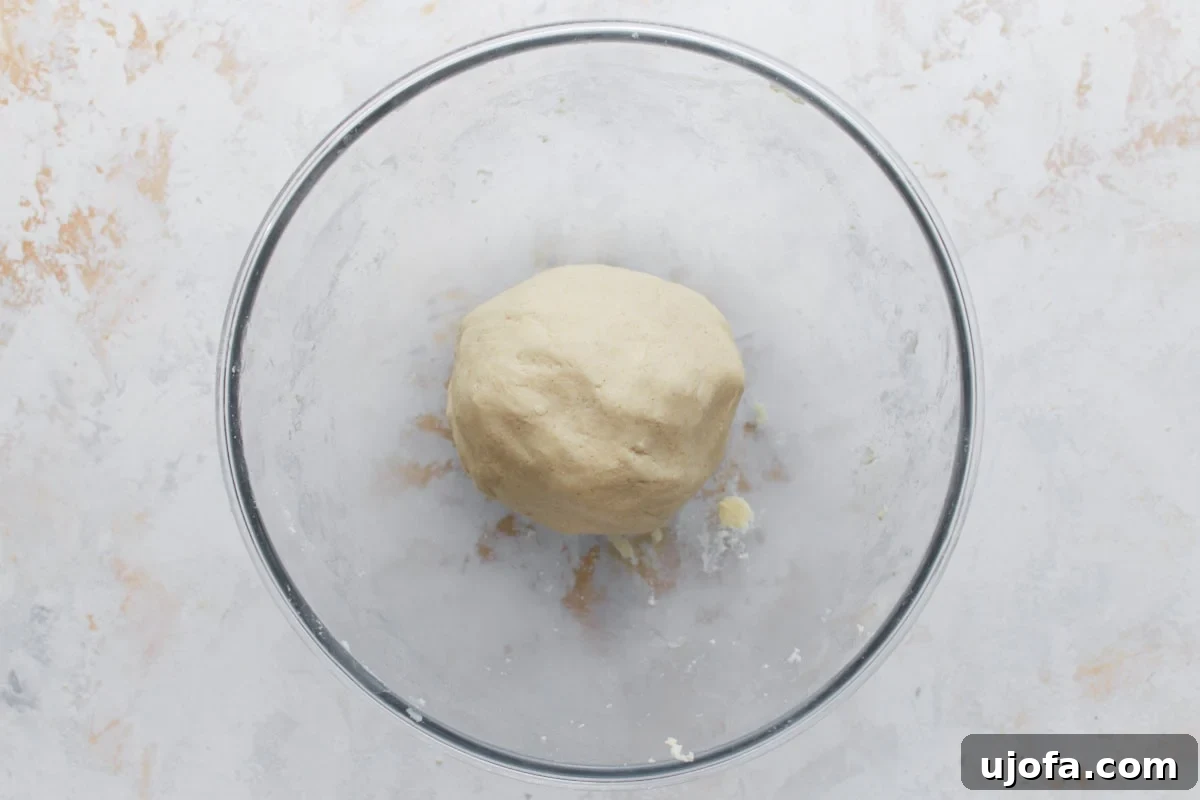
Step 3: Add Oil and Rest the Dough. Introduce 1 tablespoon of avocado oil (or any other neutral-flavored oil with a high smoke point) to the dough. Gently knead the oil into the dough until it’s completely absorbed and the dough feels even smoother. This extra oil adds richness and helps with flexibility. Once the oil is incorporated, cover the bowl with a damp towel. This prevents the dough from drying out while it rests for 10 minutes. The resting period is essential as it allows the masa harina to fully hydrate, which makes the dough much easier to handle and less prone to cracking during shaping and cooking.
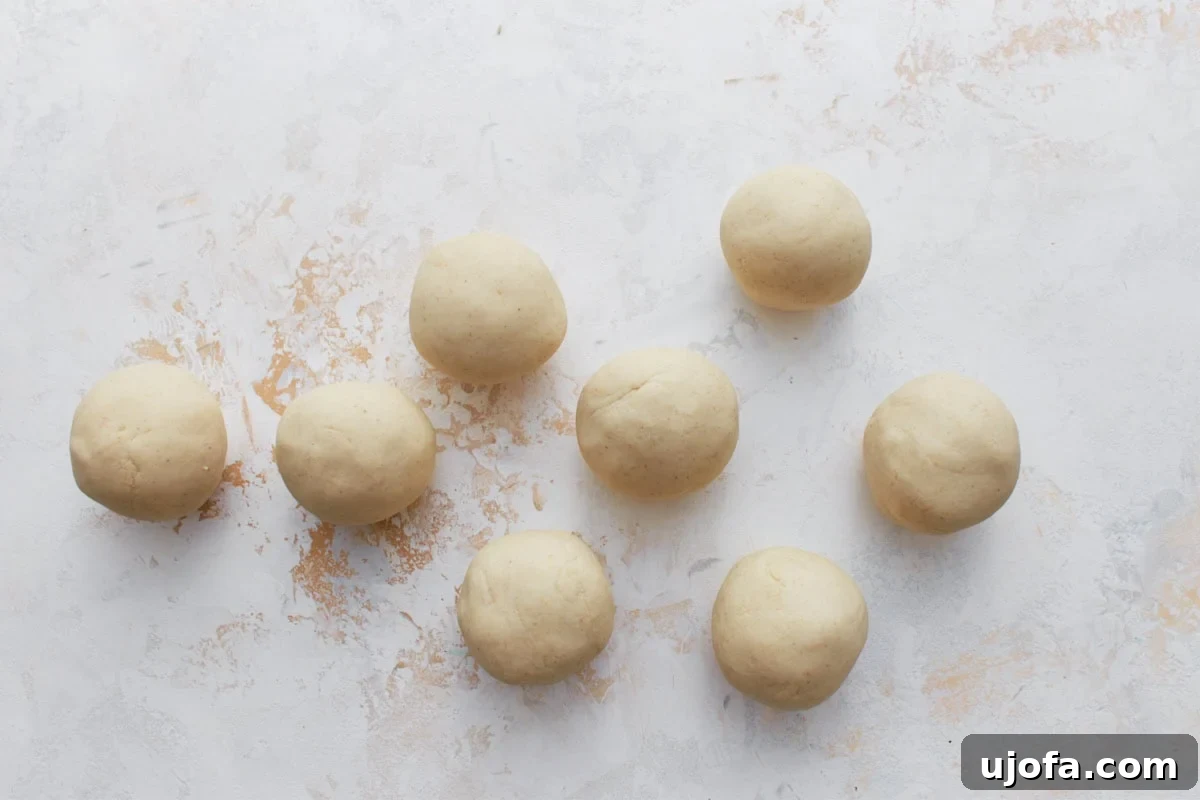
Step 4: Form Dough Balls. After the dough has rested, uncover it. Divide the entire batch of dough into 8 equal portions. A kitchen scale can help ensure even sizes for consistent cooking. Roll each portion into a smooth, compact ball between your palms. This step ensures that each gordita will be uniform in size and will cook evenly.
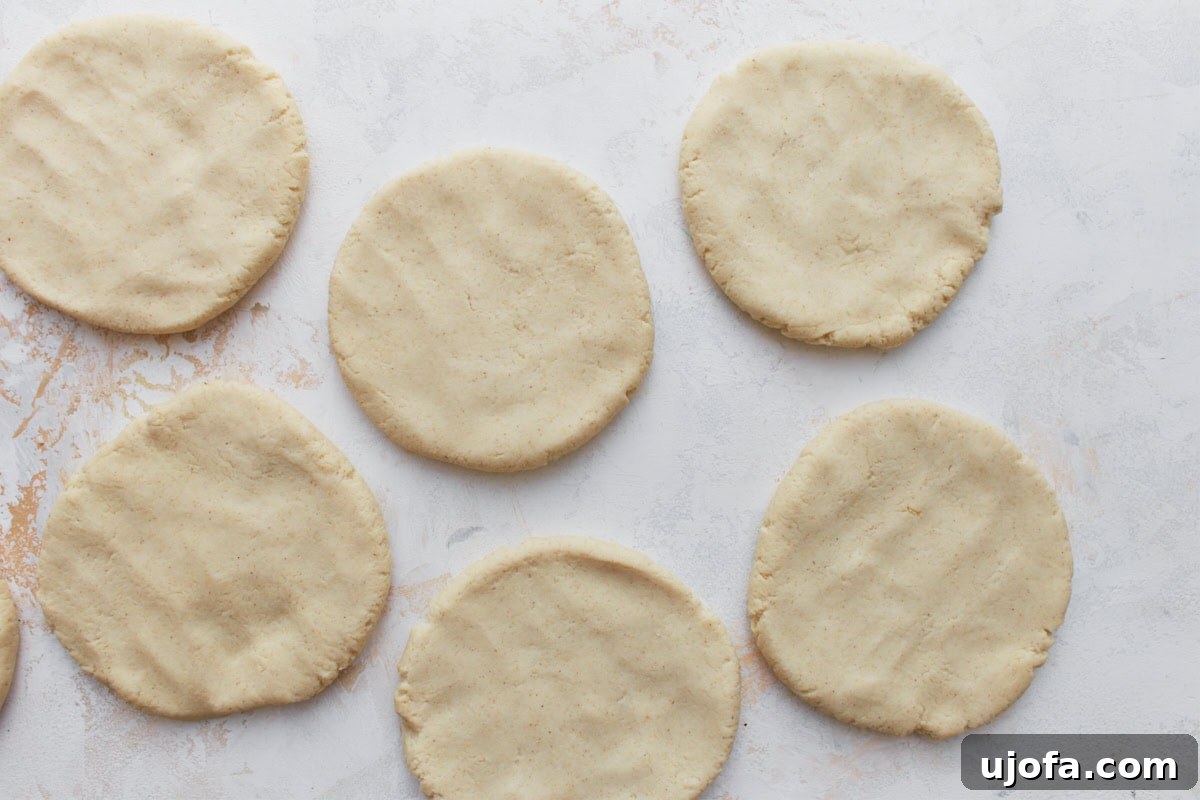
Step 5: Shape the Gordita Disks. Take each dough ball and flatten it into a disk. Aim for a diameter of about 4 to 5 inches and a thickness of approximately ⅓ inch. You can achieve this using a tortilla press (lined with two pieces of plastic wrap to prevent sticking and aid removal) or by pressing and flattening each ball by hand, gently working from the center outwards. The uniform thickness is important for the gorditas to puff up properly and cook evenly. Smooth out any cracks on the edges by pressing them with your fingers.
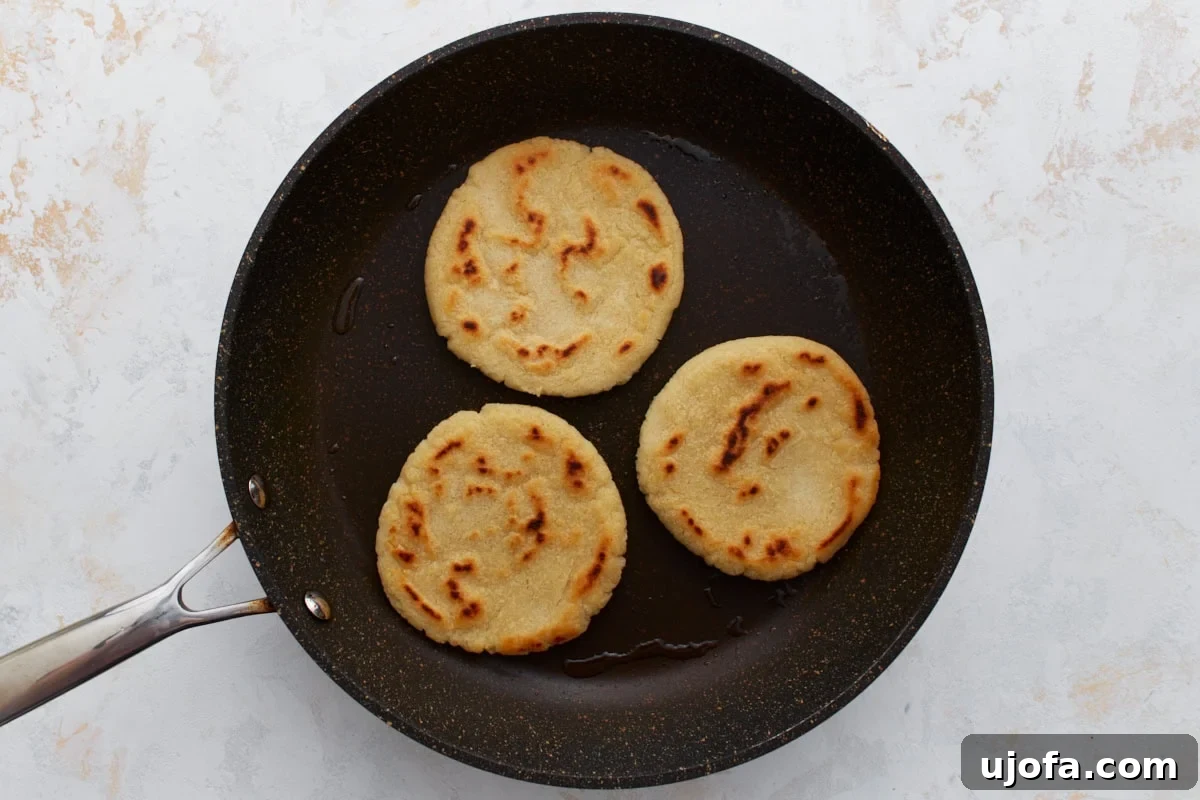
Step 6: Cook the Gorditas. Heat 1 tablespoon of avocado oil in a large skillet or on a griddle over medium heat. Once the oil is shimmering (but not smoking), carefully place one or more gordita disks into the pan, ensuring not to overcrowd it. Cook each gordita for 4 to 5 minutes per side. During cooking, you’ll observe them turn a beautiful golden brown and potentially puff up slightly in the center, which is precisely what you want for forming a pocket. Midway through cooking each side, you can gently press them with a spatula to ensure even contact with the pan, helping to achieve that perfect golden crust. As you progress, add more oil to the skillet as needed, up to a total of 2–3 tablespoons, to continue cooking the remaining gorditas without them sticking or becoming too dry.
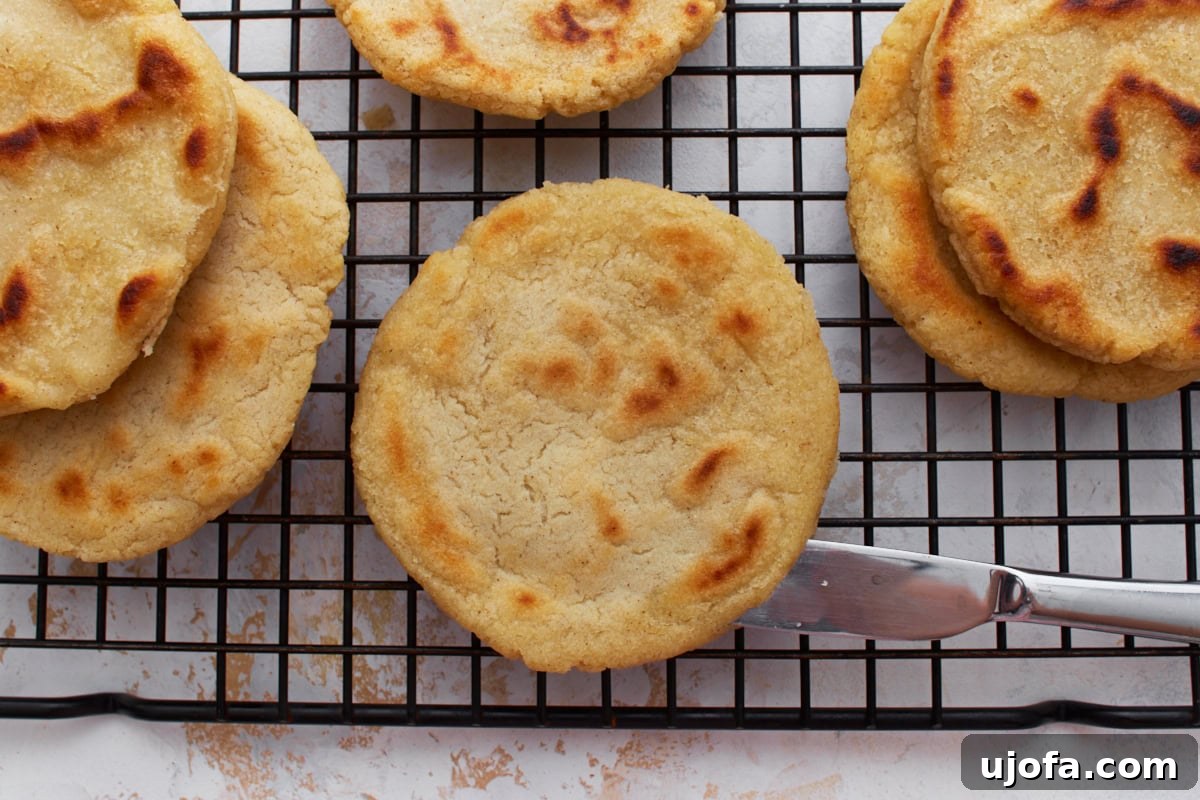
Step 7: Cool, Slice, Fill, and Serve. Once all your gorditas are cooked to a lovely golden perfection, transfer them to a wire rack and allow them to cool for a minute or two. This brief cooling period helps the gorditas set and makes them easier to handle for slicing. Using a small, sharp knife, carefully slice a pocket halfway through the side of each gordita. Be gentle to prevent tearing the delicate corn pocket. With your pockets created, generously fill each gordita with your favorite savory ingredients. Serve them warm immediately and enjoy the delightful flavors of your homemade gluten-free Mexican feast!
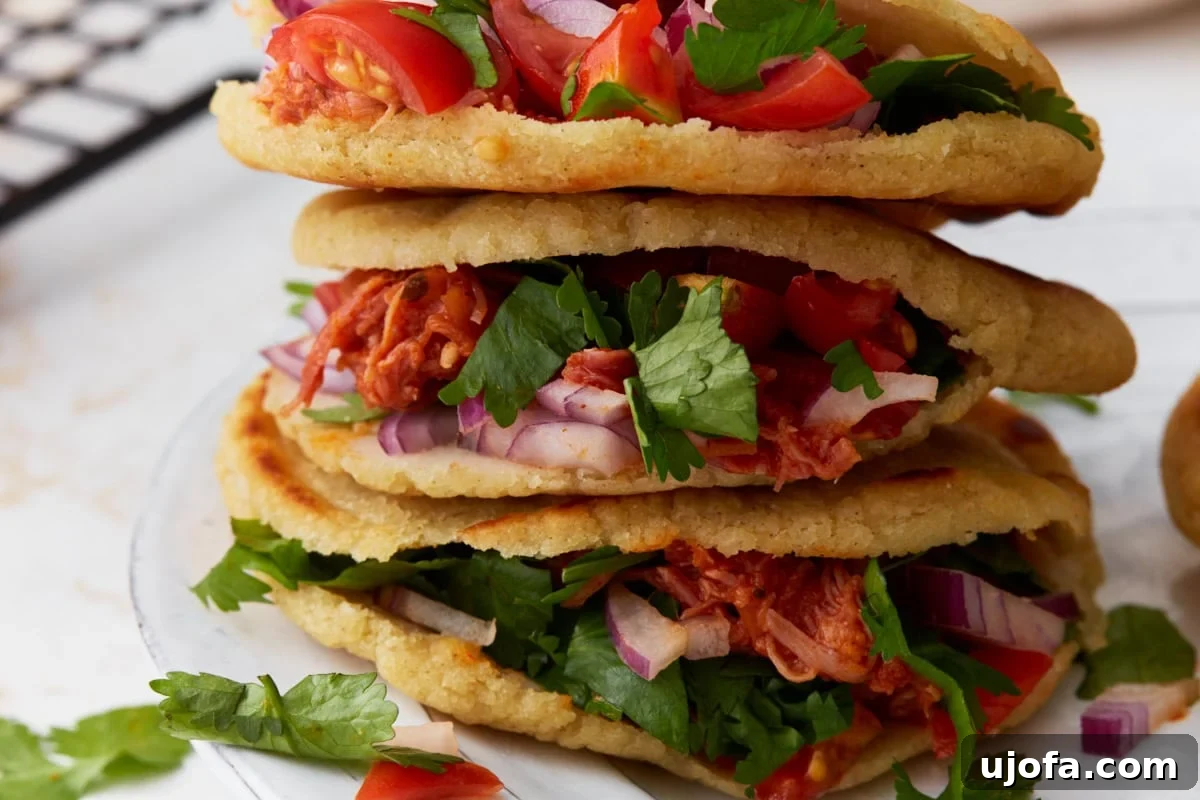
Delicious Filling Ideas for Your Gorditas
The beauty of gorditas lies in their incredible versatility. Once you have your perfectly cooked corn pockets, the possibilities for fillings are endless. Here are some ideas to inspire your culinary creativity:
- Classic Mexican Staples: Dive into traditional flavors with rich refried beans and melted cheese, tender shredded chicken tinga simmered in a smoky chipotle sauce, savory pork carnitas, or a hearty mixture of spicy chorizo with potatoes. These classic options are always a crowd-pleaser.
- Vibrant Vegetarian Options: For a meat-free feast, consider grilled peppers and onions, a hearty combination of black beans paired with creamy avocado, or sautéed mushrooms and corn seasoned with a touch of cumin. These fillings are packed with flavor and texture.
- Fresh and Light Toppings: Complement your rich fillings with fresh, crisp toppings. Think shredded lettuce or cabbage for crunch, a zesty pico de gallo, a bright salsa verde, or a dollop of homemade guacamole. These additions provide a refreshing contrast.
- Cheesy and Creamy Indulgences: Elevate your gorditas with a sprinkle of crumbled queso fresco, the salty goodness of cotija cheese, or a generous drizzle of Mexican crema (or readily available dairy-free sour cream alternatives). These add a luxurious, creamy texture.
- Creative Vegan Alternatives: If you’re opting for a fully vegan meal, seasoned lentils offer a fantastic protein-rich filling. Roasted sweet potatoes provide a touch of sweetness and earthiness, while vegan cheese and various salsas can complete the experience.
- Unique and Creative Twists: Don’t shy away from experimenting! Try breakfast-inspired gorditas filled with fluffy scrambled eggs and your favorite salsa for a morning treat. Or explore fusion flavors like smoky BBQ chicken or spicy pan-fried tofu for an unexpected and delightful meal.
Serving Suggestions for a Complete Mexican Feast
Gorditas are incredibly versatile and can be served as a delightful appetizer, a hearty main course, or a flavorful side dish. They make an excellent addition to any Mexican-inspired meal spread. Arrange them beautifully on a platter with an assortment of fillings and toppings, allowing everyone to customize their own. For a truly extensive spread, consider pairing your homemade gorditas with other favorites such as crispy gluten-free empanadas. You could also offer a variety of tacos made with soft gluten-free tortillas, or even surprise your guests with a fun and interactive walking taco casserole for something a little different and exciting. Don’t forget fresh lime wedges, extra salsa, and perhaps a side of Mexican rice and beans to round out your meal.
Storage and Reheating Instructions
Proper storage is key to enjoying your homemade gorditas for days to come. I recommend storing any leftover gorditas in an airtight container at room temperature for up to 2 days, or in the refrigerator for up to 5 days. Ensure they are completely cool before storing to prevent condensation, which can make them soggy.
If you’re planning ahead or have a larger batch, gorditas freeze beautifully. Place parchment paper between each gordita to prevent them from sticking together, then transfer them to a freezer-safe bag or container. They can be frozen for up to 2 months. When you’re ready to enjoy them again, there are several easy reheating methods:
- Skillet: For a crispy exterior, reheat gorditas in a lightly oiled skillet over medium heat for 2-3 minutes per side, until warmed through and slightly crisp.
- Oven: Preheat your oven to 350°F (177°C). Place frozen or refrigerated gorditas directly on a baking sheet and heat for 10-15 minutes (longer if frozen), or until they are soft and heated thoroughly. This method works well for larger quantities.
- Microwave: While not ideal for crispness, the microwave can quickly warm a single gordita. Heat on high for 30-60 seconds, or until soft and warm. This is best if you’re in a hurry.
Reheating them makes them just as delicious as when they were freshly made, ready to be filled with your favorite toppings!
More Irresistible Gluten-Free Mexican Recipes to Try
If you’ve enjoyed making these gluten-free gorditas, you’ll love exploring more authentic and delicious Mexican dishes that cater to a gluten-free lifestyle. Here are some other favorites to add to your culinary repertoire:
- Authentic Gluten-Free Tamales
- Hearty Gluten-Free Beef and Cheese Enchiladas
- Homemade Gluten-Free Enchilada Sauce
- Easy Homemade Taco Seasoning
- Classic Gluten-Free Tacos with Your Favorite Fillings