
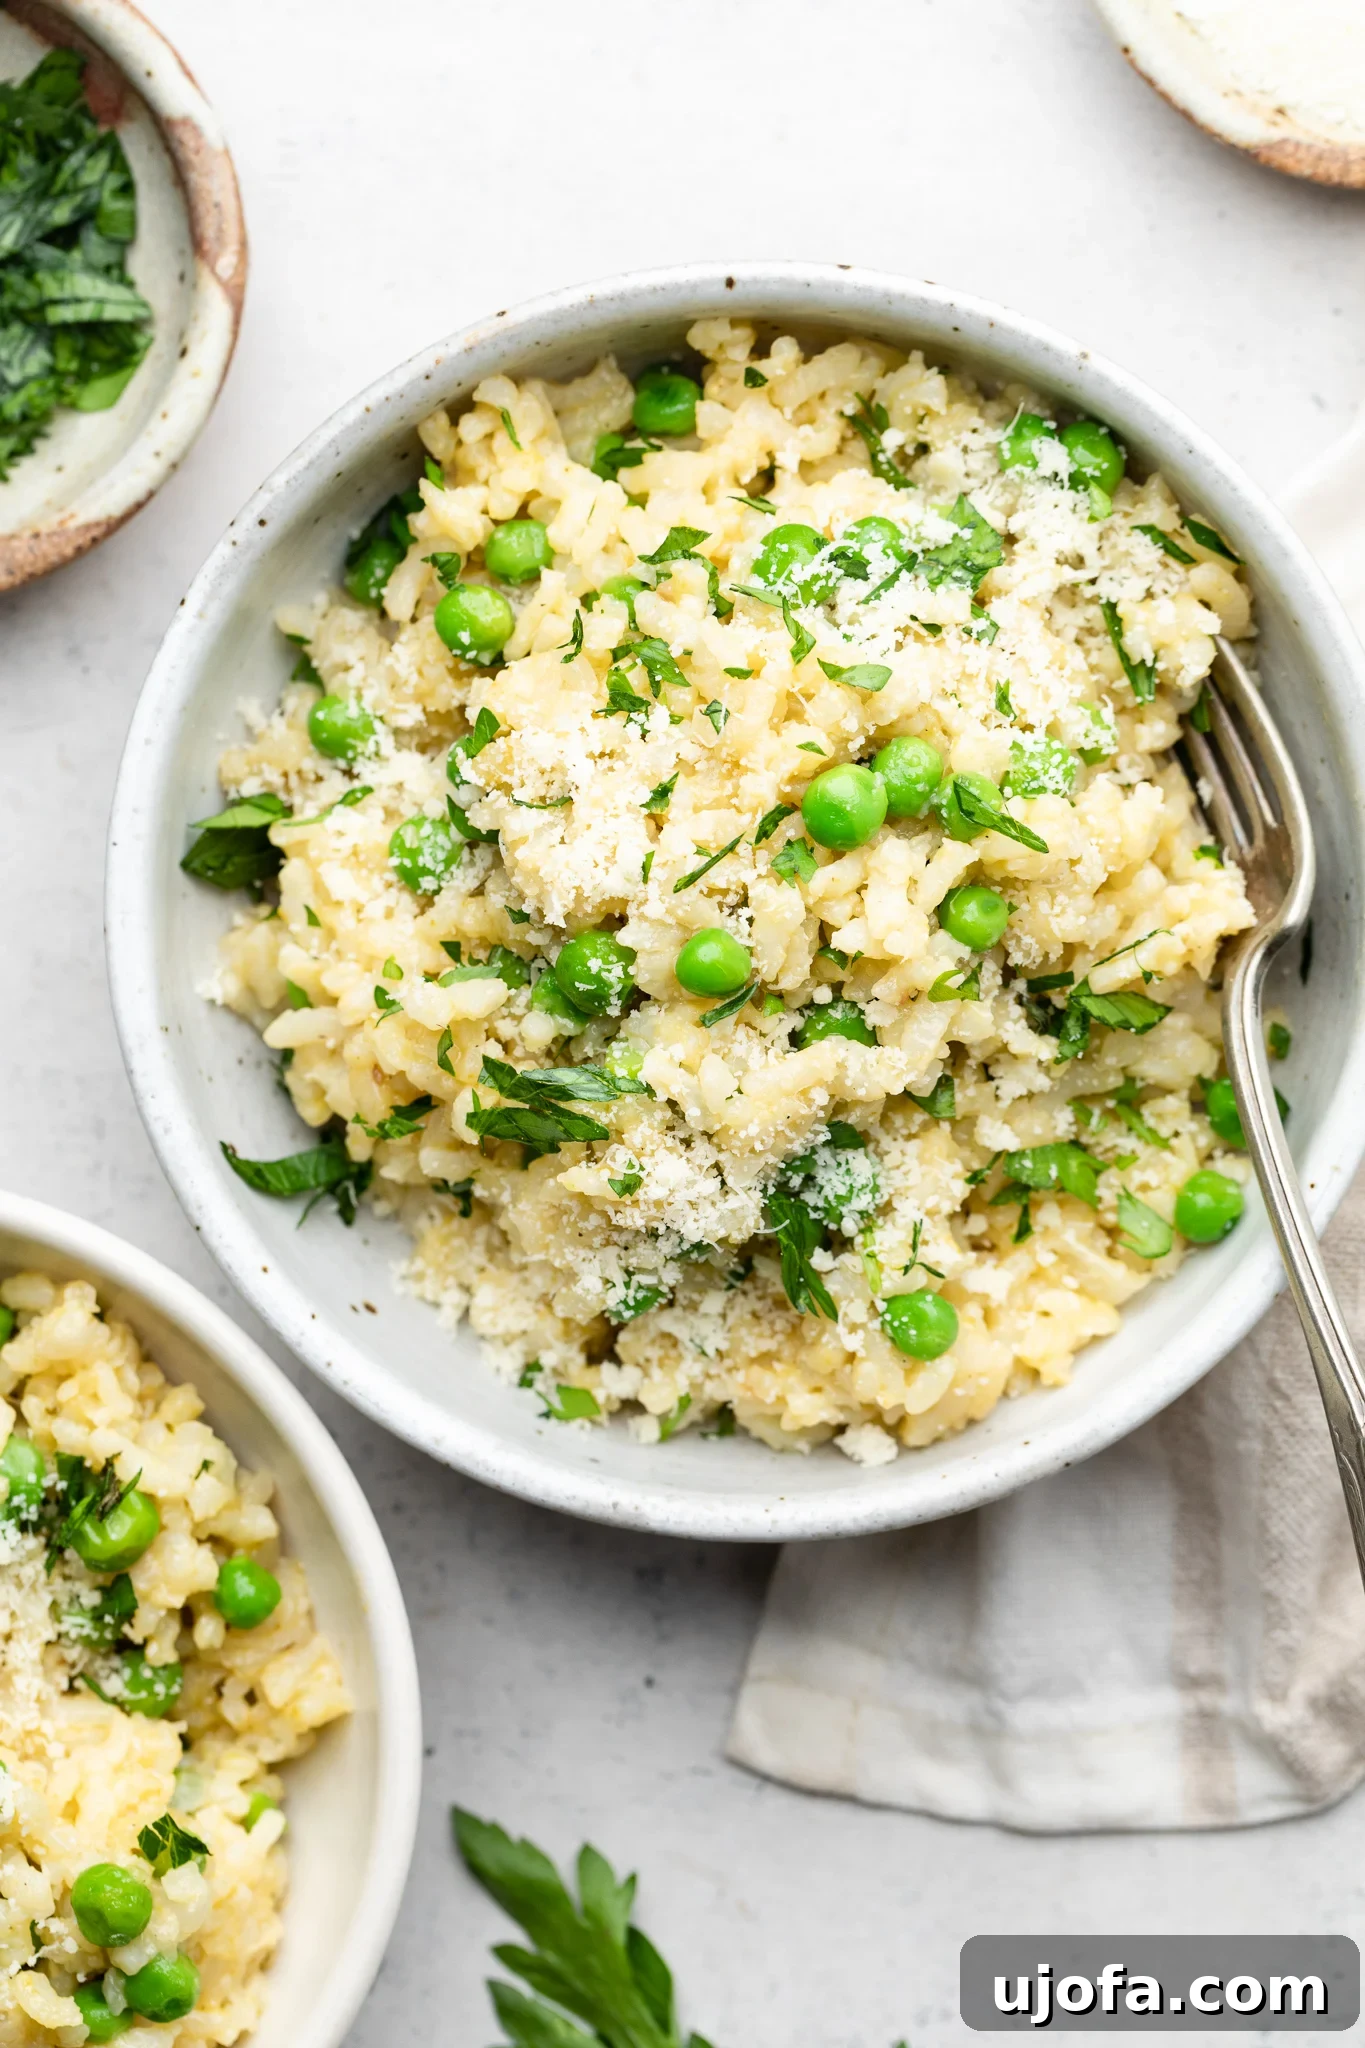
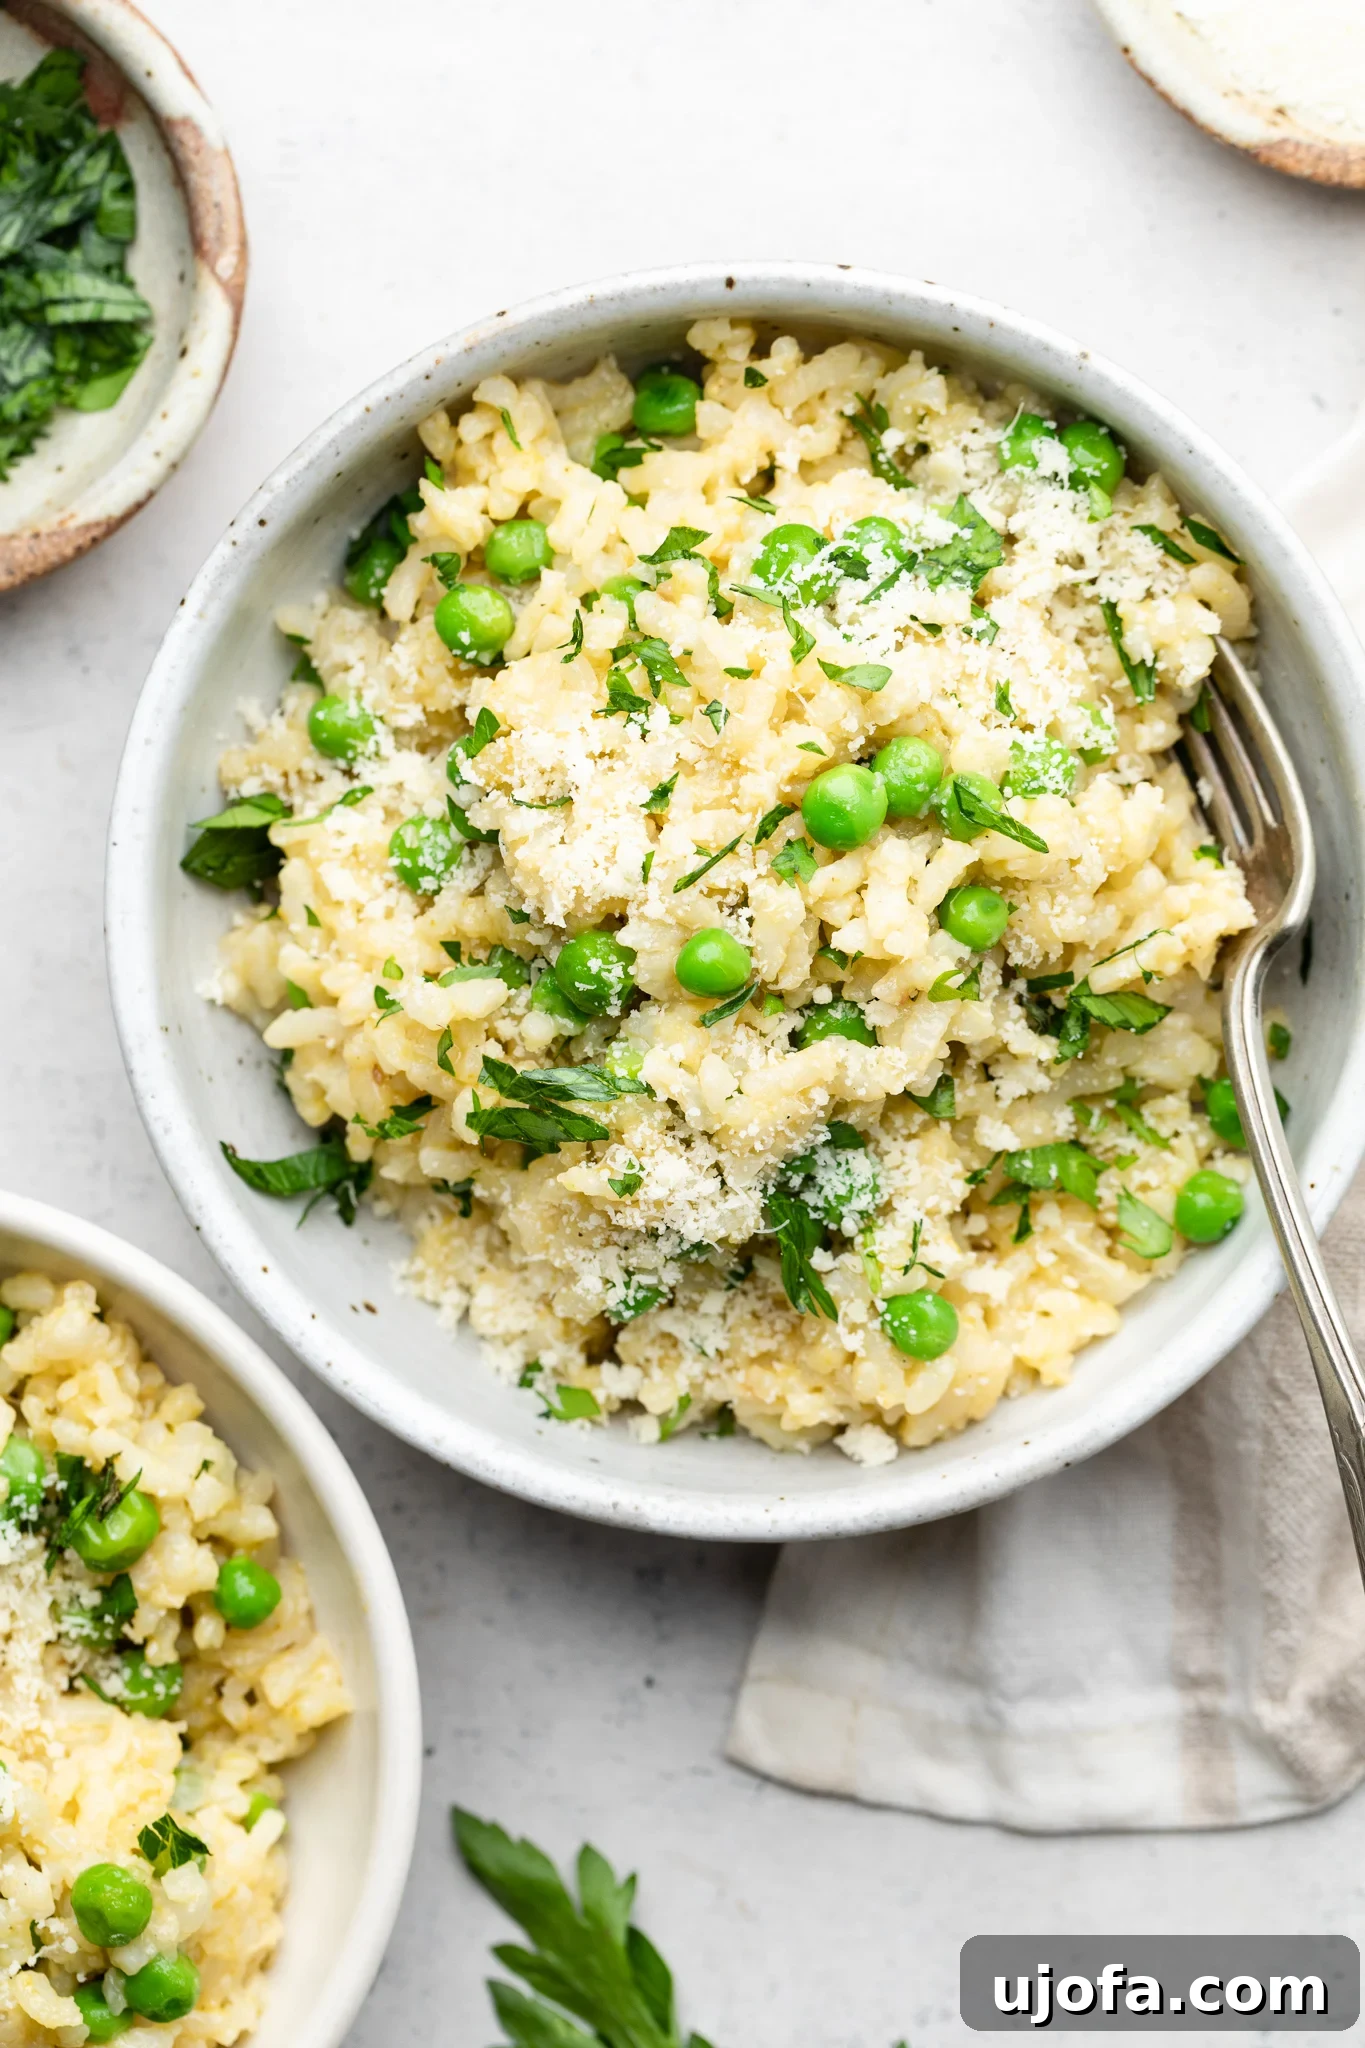
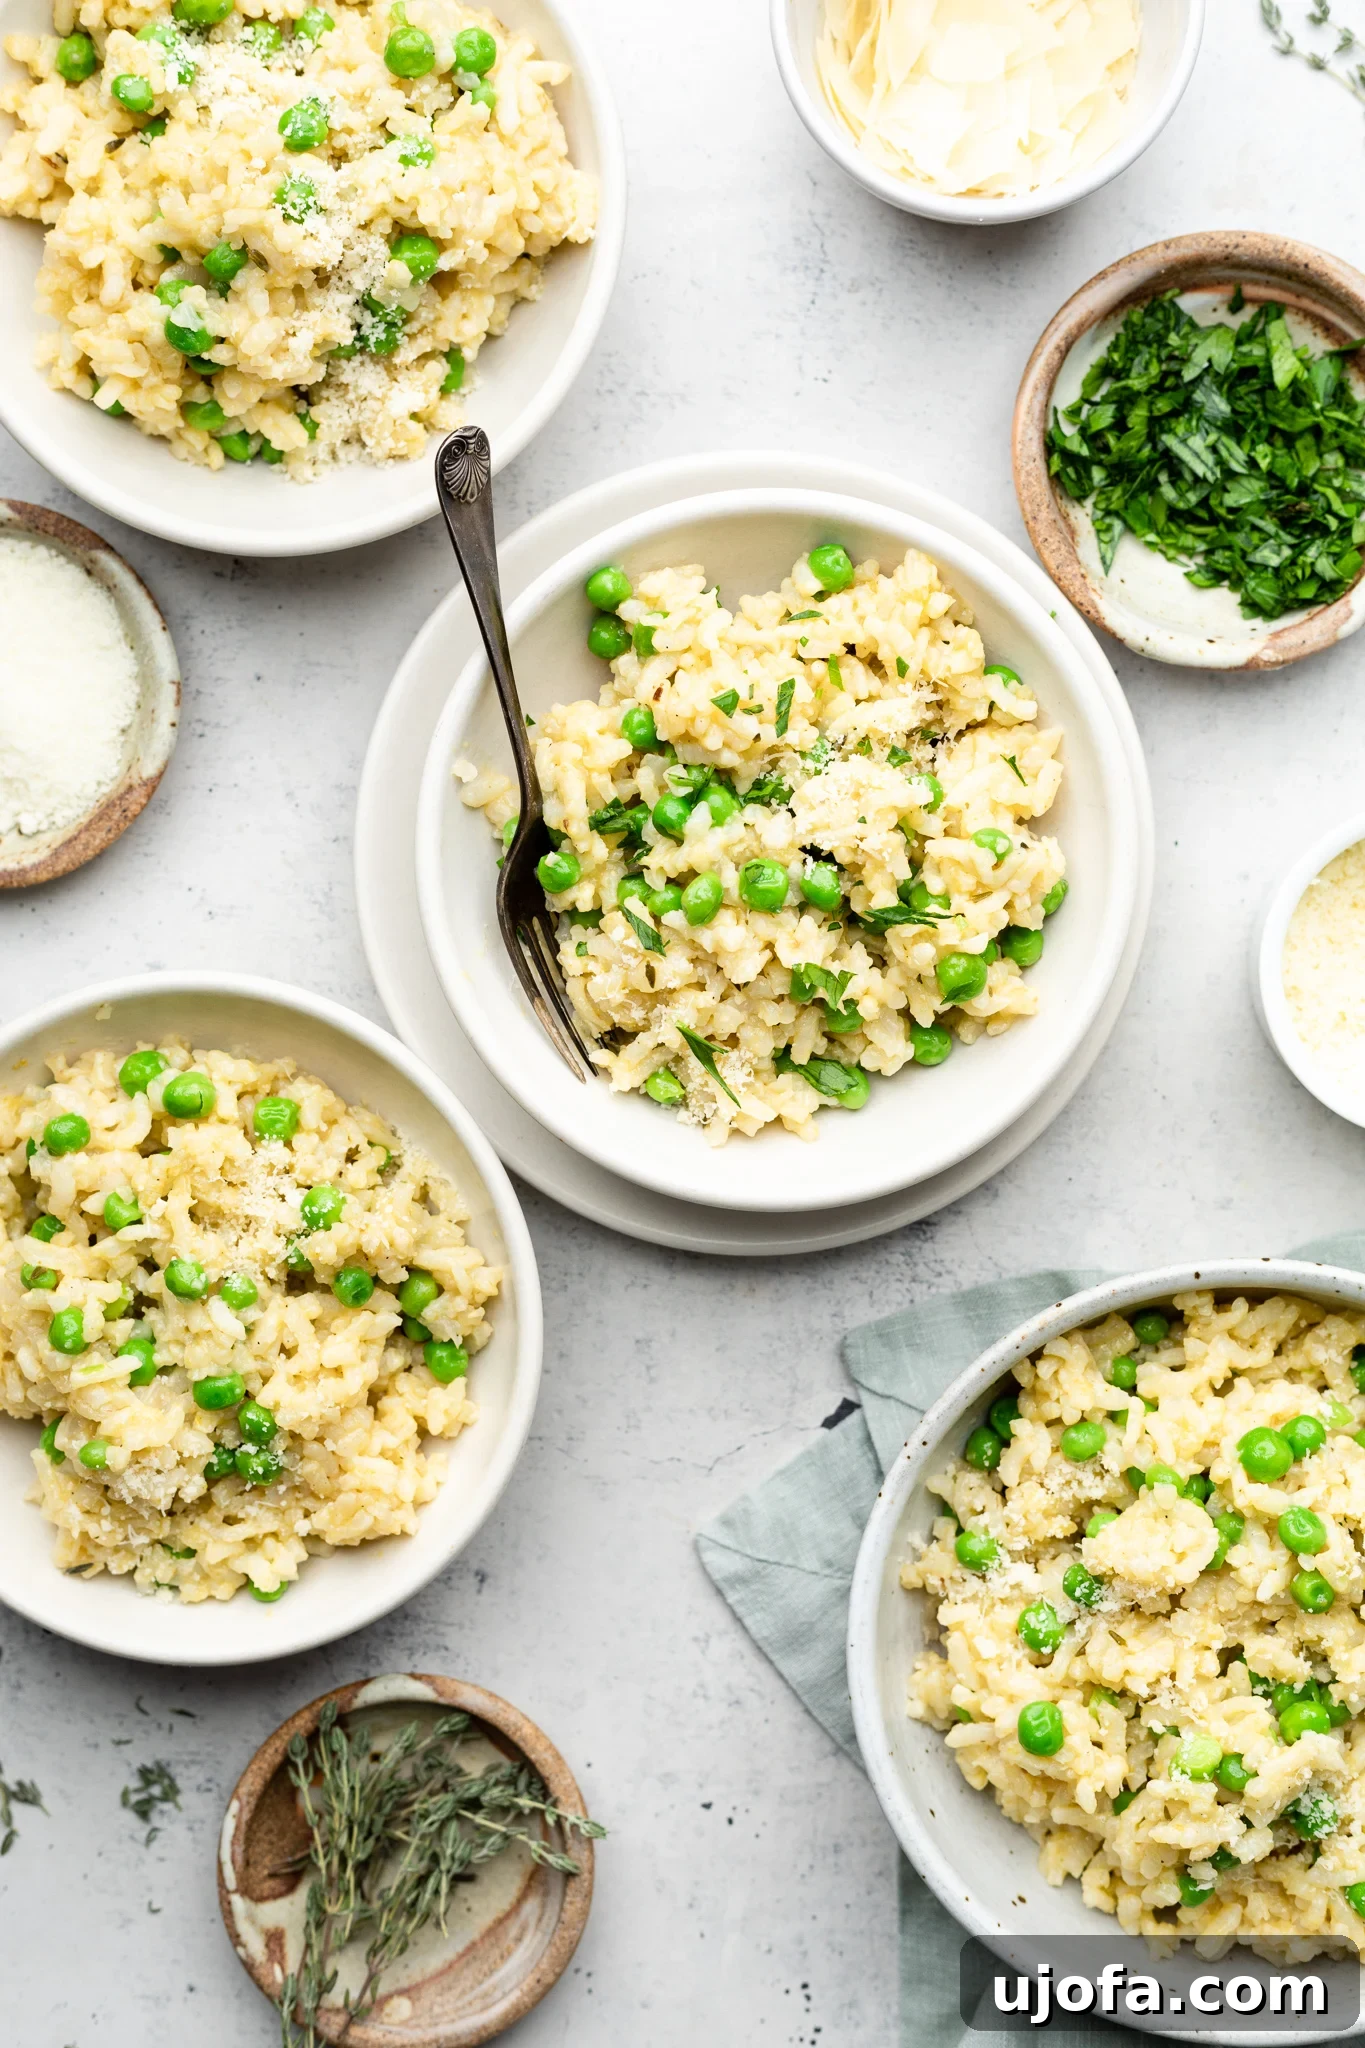
Indulge in the rich, creamy goodness of authentic risotto without the fuss and extensive stirring! This easy Instant Pot Gluten-Free Risotto with Peas is a culinary game-changer, delivering restaurant-quality flavor and texture in a fraction of the time. Whether you’re seeking a quick weeknight meal or a sophisticated side dish, this recipe, complete with a dairy-free risotto option, is designed to impress and satisfy everyone at your table.
Updated with new copy on May 10, 2022!
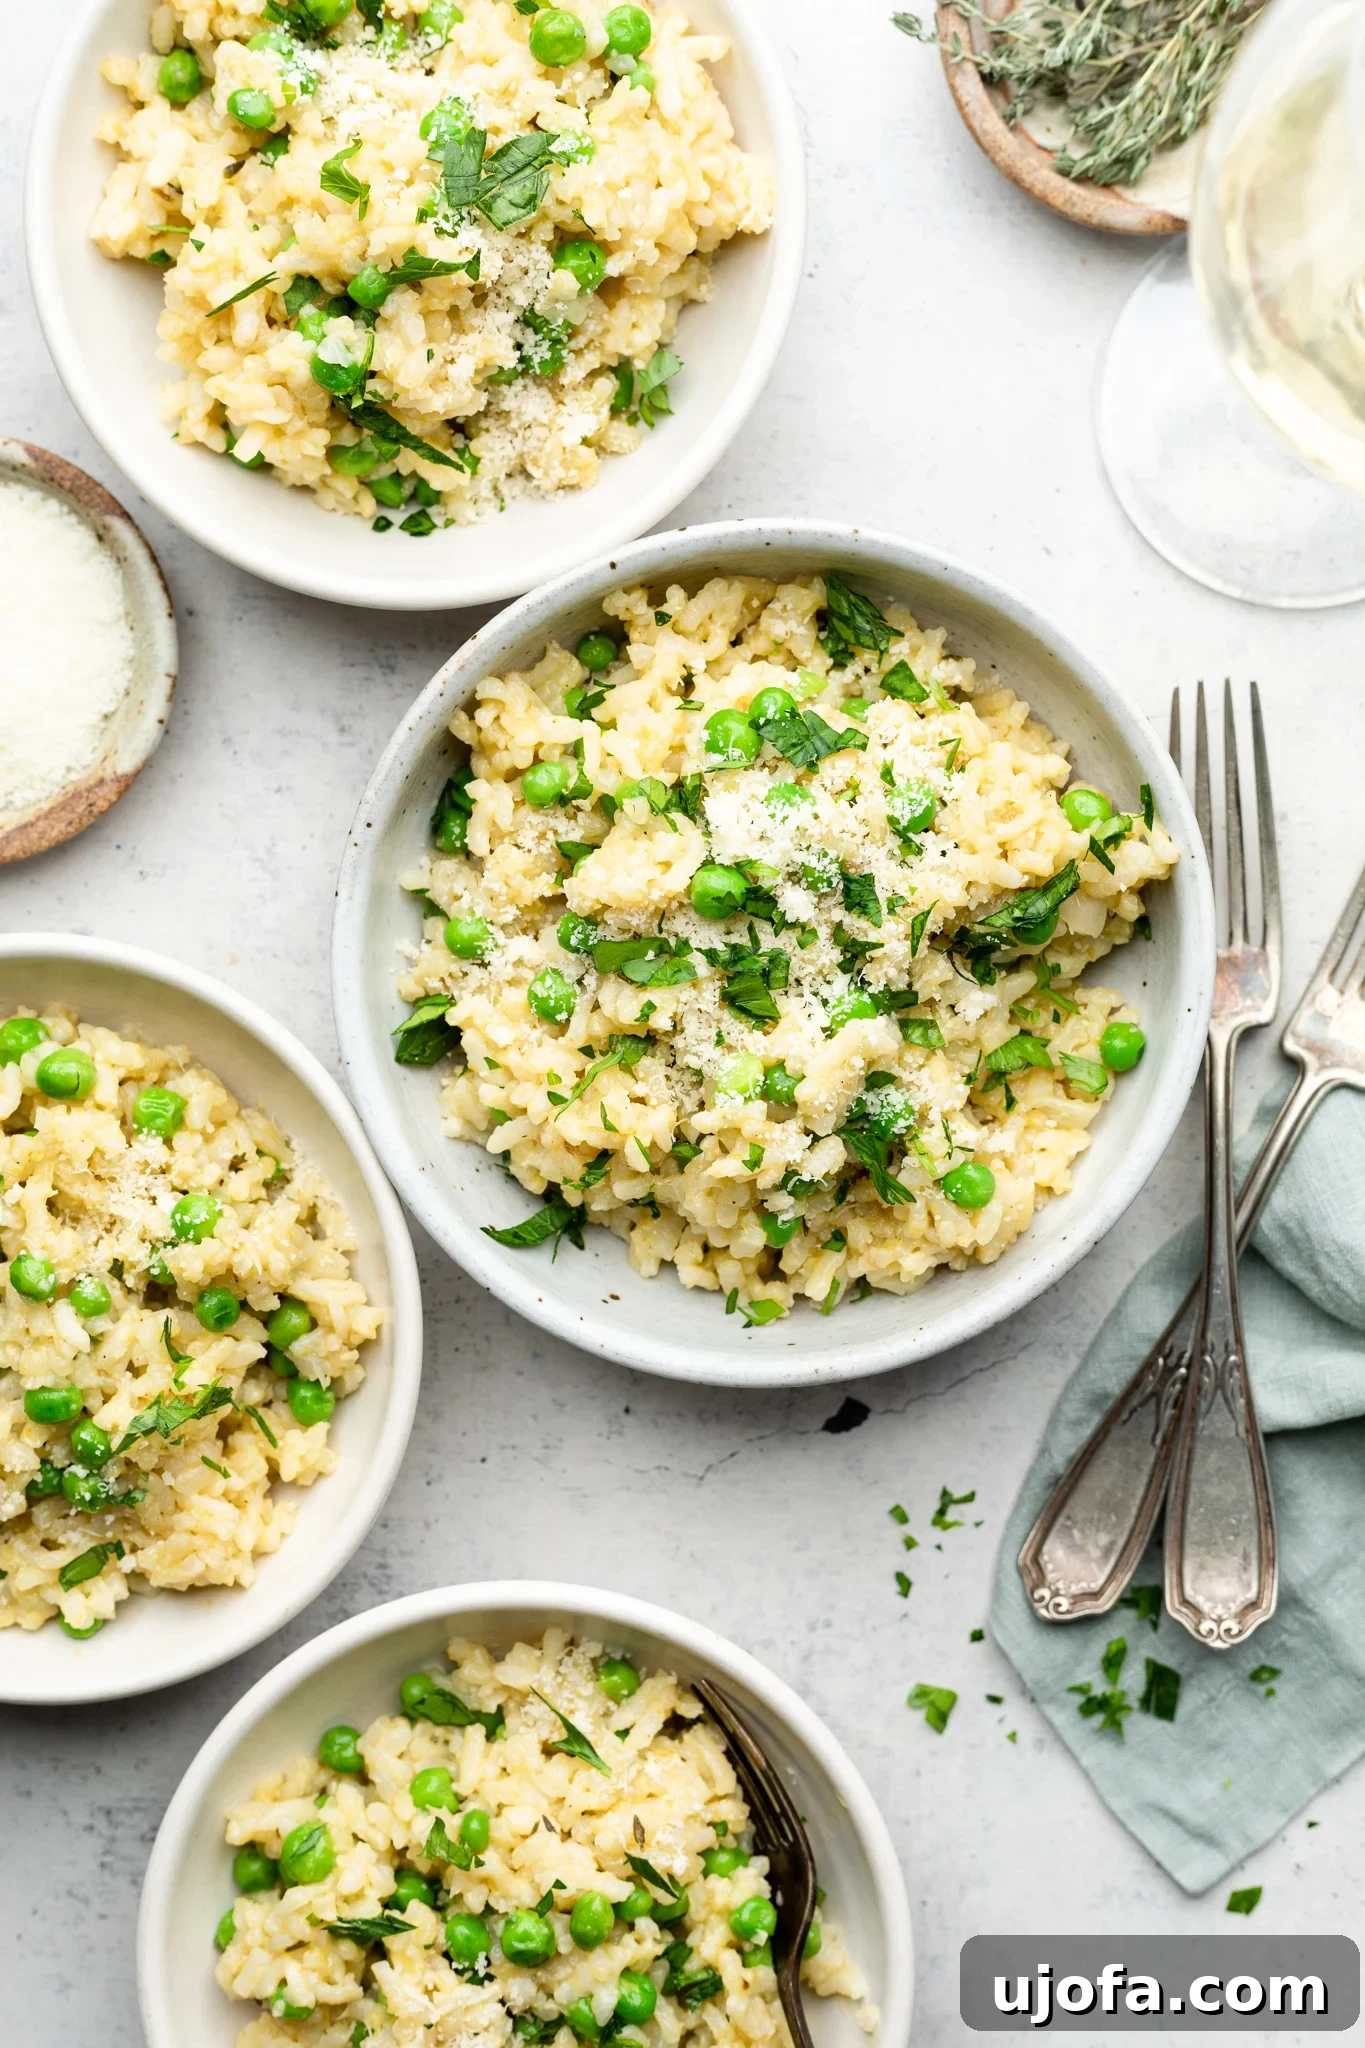
Discover the Magic of Instant Pot Risotto: Effortless Elegance
Risotto. Just the word conjures images of cozy kitchens, rich aromas, and perhaps a chef standing patiently over a stove, stirring for what seems like an eternity. While traditional risotto is undeniably delicious, its preparation often deters home cooks due to the constant attention it demands. But what if we told you there’s a way to achieve that same velvety, luxurious texture and depth of flavor with minimal effort? Enter the Instant Pot, your new best friend for creating incredibly easy and delicious gluten-free risotto.
This Instant Pot gluten-free risotto with peas transforms a typically time-consuming dish into a quick, convenient meal. Forget the 30 minutes of continuous stirring! With your Instant Pot, you’ll be enjoying a decadent, creamy risotto in just 15 minutes total, with only about 5 minutes of active cooking time. It’s truly astonishing how effortlessly you can produce a dish that tastes like you spent hours perfecting it. This recipe is a win-win: simple enough for a busy weeknight yet sophisticated enough for special occasions, making it a beloved staple for the whole family.
Beyond its speed, this Instant Pot method consistently yields a perfectly cooked, creamy risotto every single time. The sealed, high-pressure environment forces the starch out of the Arborio rice, creating that signature rich texture without the need for constant supervision. It’s an ideal solution for anyone craving authentic Italian flavors who also values efficiency in the kitchen.
Essential Ingredients for Your Perfect Gluten-Free Risotto
Creating this flavorful Instant Pot risotto requires only a handful of readily available, simple ingredients. Each component plays a crucial role in developing the rich taste and signature creamy texture that makes risotto so irresistible. Let’s take a closer look at what you’ll need, keeping our gluten-free and dairy-free options in mind.
- Arborio Rice: This isn’t just any rice; it’s the heart of any great risotto. Arborio rice is a medium-grain Italian rice known for its high starch content. When cooked, it releases this starch, creating the distinctively creamy, yet slightly al dente, texture that defines risotto. It’s naturally gluten-free and can be found in the pasta or international foods aisle of most grocery stores. Do not rinse the rice before cooking, as this removes the essential starches needed for creaminess.
- Chicken Broth (or Vegetable Broth): The liquid component is vital for flavor and absorption. A good quality broth makes a significant difference. For this recipe, I recommend a high-quality chicken broth. If you’re aiming for a vegetarian or vegan gluten-free risotto, simply swap chicken broth for a rich vegetable broth. Choose a low-sodium option to better control the seasoning of your final dish.
- Butter or Olive Oil: This forms the base of your risotto, used for sautéing the aromatics and toasting the rice. Unsalted butter adds a wonderful richness, but for a dairy-free or vegan option, a good quality olive oil or vegan butter substitute works perfectly.
- Onion and Garlic: These aromatic powerhouses create the foundational flavor profile of your risotto. Finely diced onion and minced garlic are sautéed until fragrant, releasing their sweet and pungent notes that permeate the entire dish. Don’t underestimate the impact of properly sautéed aromatics – they build the first layer of deliciousness.
- Freshly Grated Parmesan Cheese: For traditionalists, Parmesan is non-negotiable. Its salty, umami-rich flavor and melt-in-your-mouth texture are key to a classic creamy risotto. Always opt for freshly grated Parmesan over pre-shredded, as it melts smoother and tastes far superior.
- Dairy-Free Alternative: To make this a delicious dairy-free risotto, you can substitute the Parmesan with a dairy-free cream cheese alternative, such as Kite Hill cream cheese, or a high-quality vegan Parmesan cheese alternative. These options provide a similar creamy consistency and savory flavor without the dairy.
- Frozen or Canned Peas: Peas add a burst of fresh sweetness and vibrant color to the risotto. They are best stirred in at the end, allowing them to gently warm through while retaining their texture. Ensure frozen peas are thawed and canned peas are drained before adding them.
- Dried Thyme: A touch of dried thyme complements the savory flavors of the risotto beautifully, adding an earthy, herbaceous note that elevates the dish.
- Sea Salt and Black Pepper: Essential for seasoning. Start with the recommended amounts and adjust to taste, especially after adding the broth and cheese.
You can find the full ingredient list with precise measurements in the recipe card below.
Instant Pot Risotto: Your Step-by-Step Guide to Creamy Perfection
Preparing this easy gluten-free risotto in the Instant Pot is surprisingly straightforward. Follow these simple steps to achieve a perfectly creamy, flavorful dish every time. Remember, the magic of the Instant Pot lies in its ability to do the hard work for you!
- Sauté Aromatics: Begin by heating your Instant Pot on the “Sauté” mode. Once hot, melt the butter (or olive oil/vegan butter for dairy-free). Add the finely diced onions and minced garlic to the pot. Sauté for 5-7 minutes, stirring occasionally, until the onions become translucent and fragrant. This step is crucial for building the flavor base of your risotto.
- Toast the Rice: Next, add the Arborio rice to the pot with the sautéed aromatics. Stir well to ensure every grain of rice is coated in the butter and aromatics. Continue to sauté the rice for about 1 minute. This “toasting” step, known as tostatura, helps the rice absorb flavors and contributes to its firm texture, preventing it from becoming mushy.
- Add Broth and Seasonings: Pour in the chicken broth (or vegetable broth for a vegetarian/vegan option). Add the dried thyme, sea salt, and black pepper. Stir everything together thoroughly, making sure there are no rice grains sticking to the bottom of the pot.
- Pressure Cook: Secure the lid on your Instant Pot, ensuring the sealing valve is set to the “Sealing” position. Select the “Pressure Cook” (or “Manual”) setting and cook on high pressure for 6 minutes.
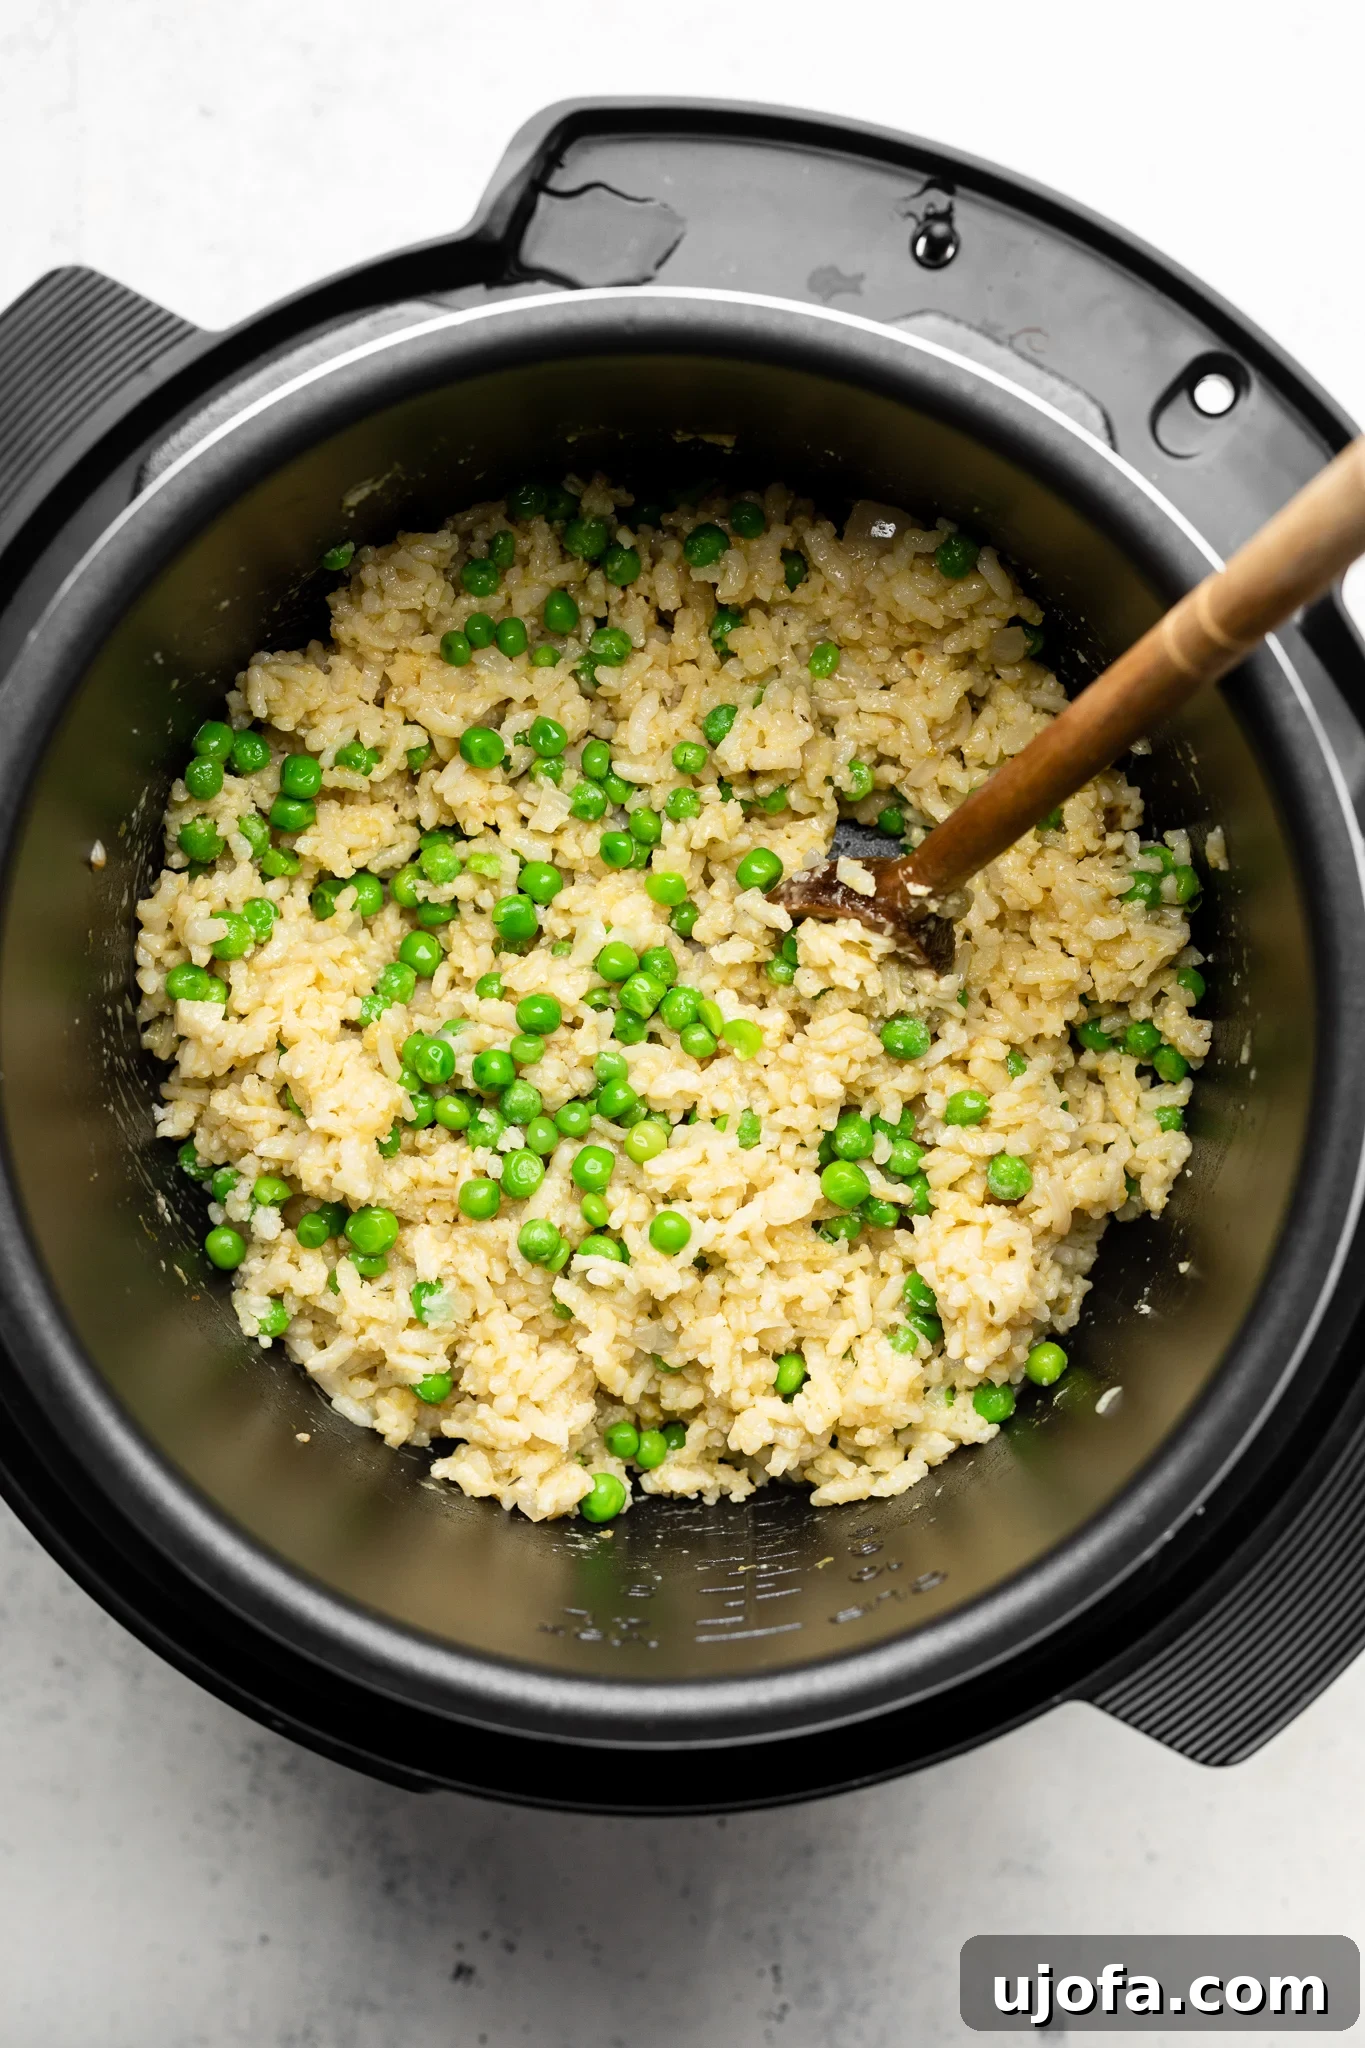
- Quick Release and Finish: Once the cooking cycle is complete, perform a quick release of the steam. Carefully turn the sealing valve to the “Venting” position and allow all the steam to escape before opening the lid. Stir in the thawed/drained peas and the grated Parmesan cheese (or Kite Hill dairy-free cream cheese for a dairy-free option). Stir vigorously for about 1-2 minutes until the risotto becomes wonderfully creamy. The residual heat will warm the peas and melt the cheese into a luxurious sauce.
- Serve: Taste and adjust seasonings if necessary. Ladle the creamy gluten-free risotto into bowls and, if desired, garnish with fresh chopped parsley for a burst of color and herbaceousness. Serve immediately and enjoy!
Mary’s Expert Tips & Tricks for Perfect Risotto
Elevate your Instant Pot risotto experience with these insightful tips and variations, transforming a great dish into an extraordinary one!
- Extra Veggies: Risotto is incredibly versatile. Beyond peas, consider adding other vegetables for enhanced flavor and nutrition. Sauté sliced mushrooms along with the onion and garlic for a deeper, earthier profile. Stir in fresh spinach or chopped asparagus during the last minute of pressure cooking, or after the quick release, allowing them to wilt gently into the warm rice. Roasted bell peppers or sun-dried tomatoes can also be folded in at the end for vibrant flavor.
- Dairy-Free & Vegan Risotto: Achieving a creamy dairy-free risotto is simpler than you think. To make this recipe completely vegan and dairy-free:
- Swap butter for a good quality olive oil or your favorite vegan butter.
- Use vegetable broth instead of chicken broth.
- Replace Parmesan cheese with a dairy-free cream cheese alternative (like Kite Hill) or a vegan Parmesan shredded cheese. Nutritional yeast can also be stirred in at the end for a cheesy, umami flavor.
With these simple adjustments, you’ll have a rich and satisfying plant-based meal.
- Adding Protein: For a more substantial meal, integrate your favorite protein. Cooked chicken breast (shredded or diced) or crispy bacon bits can be stirred into the risotto after it’s cooked. Sautéed shrimp or scallops can also be a fantastic addition, cooked separately and then gently folded in right before serving.
- How to Serve: This versatile gluten-free risotto pairs beautifully with a variety of dishes. I particularly love serving it alongside my Lemon Butter Sea Bass for an exquisite combination. It also makes an excellent side for grilled chicken, roasted pork tenderloin, or a fresh green salad. You can also enjoy it as a light, yet satisfying, main course on its own.
- Storage: Leftover risotto can be stored in an airtight container in the refrigerator for up to 5 days. It’s a fantastic meal prep option for delicious lunches throughout the week.
- Reheating: To reheat, gently warm the risotto over the stove in a saucepan over medium-low heat, adding a splash of extra broth or water to restore its creamy consistency. Stir frequently until heated through. Alternatively, you can reheat individual portions in the microwave, stirring halfway through the process.
- Avoid Rinsing Rice: Unlike other rice dishes, do not rinse Arborio rice before cooking risotto. The starches on the surface of the rice are crucial for achieving that characteristic creamy texture.
- Don’t Overcook: The Instant Pot cooks rice efficiently, so stick to the 6-minute pressure cooking time. Overcooking can lead to mushy risotto, and we’re aiming for a pleasant al dente bite.
Frequently Asked Questions About Instant Pot Risotto
Curious about making the best Instant Pot risotto? Here are answers to some common questions that will help you master this quick and delicious dish.
What Type of Instant Pot Should I Buy?
This is a great question, as the right Instant Pot can make all the difference. I personally use the 6-quart Duo model, and it has worked perfectly for all my recipes, including this gluten-free risotto. For a family of 5, it always holds enough food without issue. If you have a larger family to feed or frequently cook for gatherings, you might consider sizing up to the 8-quart model to ensure ample capacity.
Is this Gluten-Free Risotto also Vegan?
While the base of this Instant Pot risotto recipe is naturally gluten-free, it is not vegan as written due to the use of butter, chicken broth, and Parmesan cheese. However, it is incredibly easy to adapt! To make this a truly vegan and dairy-free risotto, simply follow these simple swaps:
- Replace the butter with a vegan butter alternative or olive oil.
- Use vegetable broth instead of chicken broth.
- Substitute the Parmesan cheese with a dairy-free cream cheese (like Kite Hill) or your favorite vegan Parmesan cheese alternative.
With these adjustments, you can enjoy a creamy, flavorful, and entirely plant-based risotto.
Is Risotto Gluten-Free by Nature?
Yes, the traditional rice used for risotto, primarily Arborio rice, is naturally gluten-free. However, when preparing or purchasing risotto, it’s essential to ensure that all other ingredients are also certified gluten-free to avoid cross-contamination. This includes checking broth labels, cheeses, and any other additions to your dish. This recipe is specifically designed to be gluten-free, using compliant ingredients.
Can I Use Other Types of Rice for Risotto?
For authentic risotto, Arborio rice is highly recommended due to its unique starch content, which creates the desired creamy texture. While other medium-grain rices like Carnaroli or Vialone Nano can also be used, substituting with long-grain rice (like basmati or jasmine) or short-grain rice (like sushi rice) will not yield the same creamy consistency and is generally not recommended for risotto.
Why Do I Need to Quick Release the Steam?
A quick release of pressure is essential for Instant Pot risotto. If you allow a natural pressure release, the rice continues to cook in the hot liquid, often resulting in an overcooked, mushy texture. The quick release stops the cooking process promptly, ensuring your risotto maintains that perfect al dente bite.
Can I Freeze Instant Pot Risotto?
While you technically can freeze risotto, its texture can change upon thawing, becoming a bit drier and less creamy. It’s best enjoyed fresh or stored in the refrigerator for up to 5 days. If you do freeze it, thaw overnight in the refrigerator and reheat gently on the stove with extra broth or water to revive its creaminess.
More Instant Pot Recipes You’ll Love
If you’re loving the convenience and delicious results of Instant Pot cooking, be sure to explore these other fantastic recipes:
- Buffalo Chicken Stuffed Sweet Potatoes
- Mexican “Cheesy” Rice (Dairy-Free & Vegan)
- Creamy Tomato Penne Pasta (Gluten-Free & Dairy-Free)
- Whole30 Instant Pot Italian Wedding Soup
- Instant Pot No Bean Chili (Whole30 & Paleo)
We hope you enjoy this incredibly easy and delicious gluten-free risotto with peas. If you try this recipe and love it, a 5-star rating & review below would mean the world to us. Don’t forget to share your creations on Instagram and tag me @maryswholelife! Happy Cooking!
Recipe by Mary’s Whole Life, Photos by Casey from The Mindful Hapa

Easy Gluten-Free Risotto with Peas | Instant Pot
By: Mary Smith
Prep Time: 5 mins
Cook Time: 10 mins
Total Time: 15 mins
Yield: 4 people
This gluten-free risotto with peas is an easy Instant Pot recipe that takes a fraction of the time to make, yet tastes like traditional, decadent risotto! Dairy-free risotto option included!
Equipment
- Instant Pot (6-quart recommended)
Ingredients
- 2 tbsp butter or olive oil (for dairy-free/vegan)
- ½ onion, diced
- 3 cloves minced garlic
- 1 cup Arborio rice (do not rinse)
- 2 ¼ cups chicken broth, sub veggie broth for vegetarian or vegan
- ½ tsp dried thyme
- ½ tsp sea salt, more to taste
- ¼ tsp black pepper
- ⅓ cup grated Parmesan cheese, or sub ⅓ cup Kite Hill cream cheese for dairy-free or omit completely if preferred
- 1 cup frozen or canned peas, thawed/drained
Instructions
- Heat the Instant Pot on sauté mode. Melt the butter (or olive oil/vegan butter). Add the diced onions and minced garlic and sauté for 5-7 minutes until softened and fragrant.
- Next, add the Arborio rice and stir it to coat thoroughly. Sauté for about 1 minute.
- Add the chicken broth (or veggie broth), dried thyme, sea salt, and black pepper. Stir well to combine and ensure no rice is sticking to the bottom.
- Secure the lid on the Instant Pot, set the sealing valve to “Sealing,” and cook on high pressure for 6 minutes.
- Once cooking is complete, perform a quick release of the steam. Carefully open the lid.
- Stir in the thawed/drained peas and the grated Parmesan (or Kite Hill cream cheese). Stir vigorously for 1-2 minutes until the risotto becomes wonderfully creamy.
- Taste and adjust seasonings as needed. Serve immediately, garnished with fresh chopped parsley if desired. Enjoy your easy gluten-free risotto!
Notes
- Extra Veggies: Feel free to add sautéed mushrooms, spinach, or asparagus for more variety.
- Dairy-Free Risotto: Use olive oil or vegan butter, vegetable broth, and a dairy-free cream cheese or vegan Parmesan for a delicious dairy-free version.
- Adding Protein: Stir in cooked chicken, bacon, or sautéed shrimp for a heartier meal.
- How to Serve: Excellent as a side dish or a light main course. Pairs wonderfully with Lemon Butter Sea Bass.
- Storage: Store leftovers in an airtight container in the refrigerator for up to 5 days.
- Reheating: Reheat on the stove with a splash of broth or water to restore creaminess, or in the microwave.
Nutrition
Calories: 322kcal | Carbohydrates: 48g | Protein: 9g | Fat: 10g | Saturated Fat: 3g | Polyunsaturated Fat: 1g | Monounsaturated Fat: 6g | Cholesterol: 7mg | Sodium: 905mg | Potassium: 275mg | Fiber: 4g | Sugar: 3g | Vitamin A: 358IU | Vitamin C: 26mg | Calcium: 121mg | Iron: 3mg
All nutrition facts are an estimate and automatically calculated. While I fact check them using My Fitness Pal, please note that they may not always be 100% accurate and depend on ingredients used. Weigh your total and divide by the number of servings for the most accurate grams per serving size.
Did you make this?
Rate & comment below, and tag me on Instagram @maryswholelife