
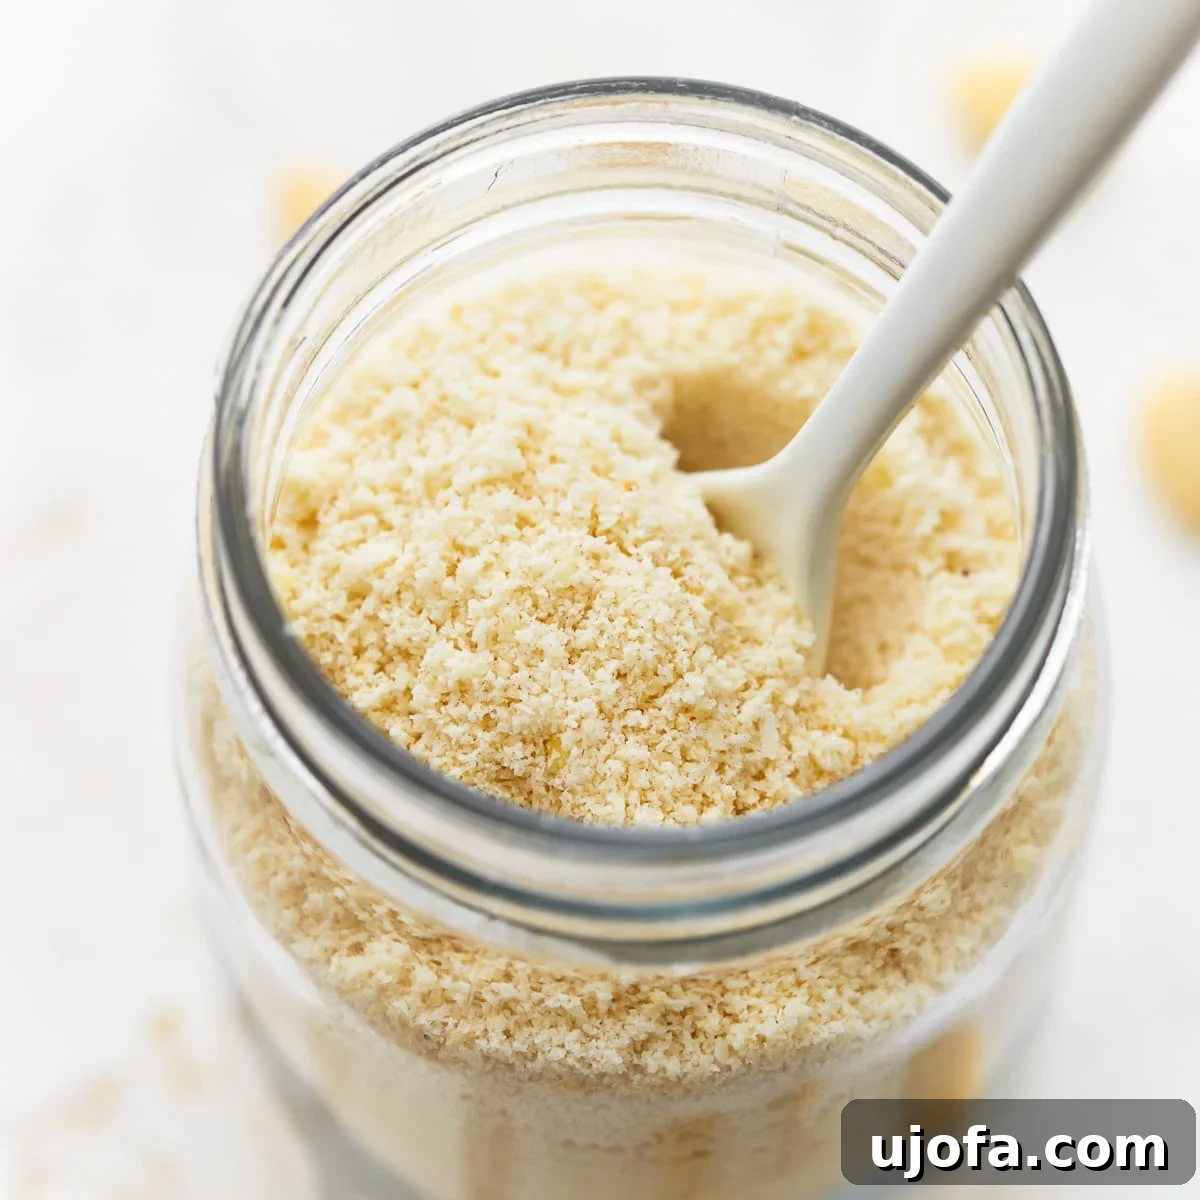
Unlock the secret to healthier, gluten-free baking by learning how to make almond flour right in your own kitchen! This incredibly simple process yields a versatile flour alternative that is not only packed with protein and fiber but also naturally low in carbohydrates, making it a favorite for gluten-free, grain-free, keto, and paleo diets. Forget expensive store-bought bags; with just one ingredient and a few minutes, you can create fresh, high-quality almond flour that elevates your culinary creations.
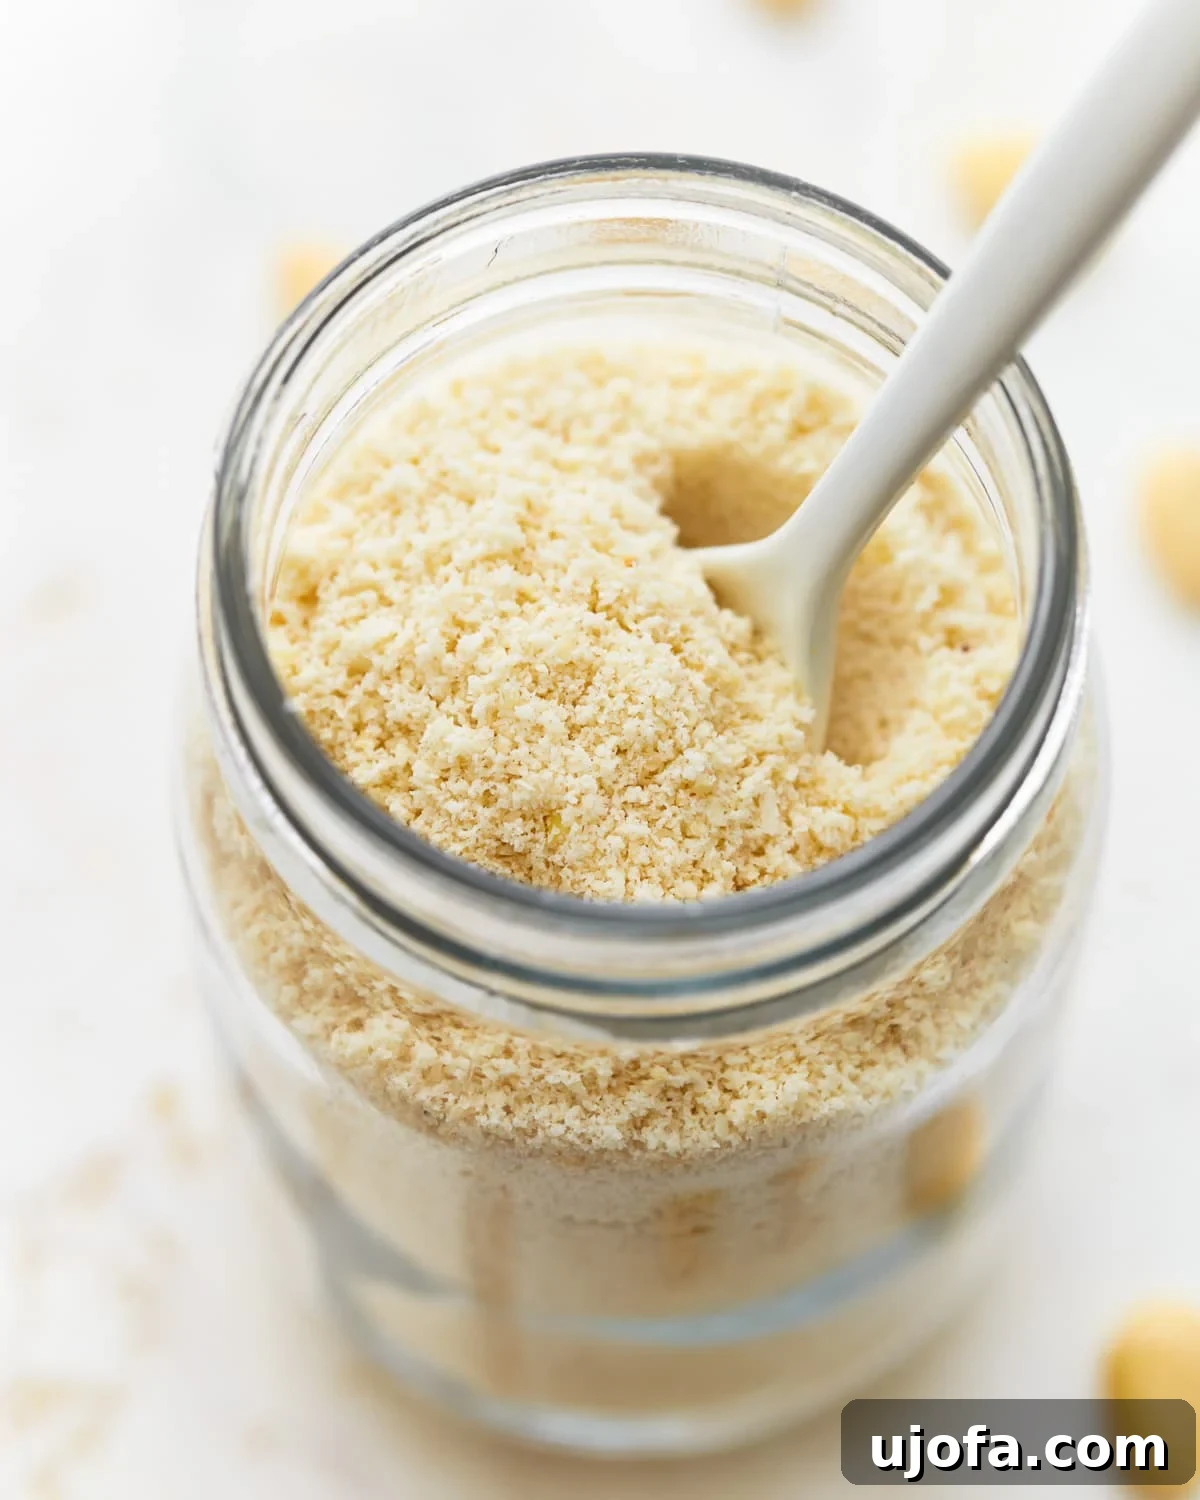
Mastering Homemade Almond Flour: A Simple Guide
You might be surprised at just how effortless it is to create your own almond flour. All you need are a handful of raw blanched almonds and a reliable food processor or high-speed blender. This homemade version offers unparalleled freshness and can often be more cost-effective than its store-bought counterparts, giving you complete control over the texture for various baking and cooking needs.
Baking with almond flour differs significantly from using traditional wheat flour or even gluten-free flour blends derived from rice. Its unique composition imparts a distinct character to baked goods. Expect a richer, denser texture and a delicate, nutty flavor that complements both sweet and savory dishes beautifully. Understanding these nuances will help you achieve perfect results in all your almond flour recipes.
Why Choose Homemade Almond Flour?
The decision to make your almond flour at home comes with a plethora of advantages. Beyond the sheer satisfaction of a DIY project, homemade almond flour offers superior freshness, which directly impacts the flavor and quality of your baked goods. Commercial almond flours can sometimes sit on shelves for extended periods, leading to a diminished flavor profile or even slight rancidity if not stored properly. When you make it yourself, you control the entire process from start to finish, ensuring the freshest possible product.
Economically, buying whole blanched almonds in bulk and grinding them yourself can often be more budget-friendly than purchasing pre-packaged almond flour, especially if you bake frequently. Furthermore, making your own allows you to customize the grind. Want a super-fine flour for delicate macarons? You got it. Prefer a slightly coarser texture for a rustic breading or a hearty muffin? You can achieve that too. This level of customization is rarely available with store-bought options.
Essential Ingredient for Almond Flour
- Raw Blanched Almonds: The key to producing a light-colored, finely textured almond flour lies in using blanched almonds. Blanched almonds are simply raw almonds that have had their skins removed, typically through a quick dip in boiling water followed by an ice bath. The absence of skins is crucial because almond skins can impart a slightly darker color and a coarser, more rustic texture to the flour, as well as a more intense almond flavor. For a smooth, uniform, and delicately flavored flour ideal for most baking applications, blanched almonds are the way to go. You can find raw blanched almonds whole or slivered at most grocery stores or online retailers. Ensure they are completely dry before processing.
Step-by-Step Guide: Crafting Your Almond Flour
Making almond flour is a straightforward process, but a few key techniques will ensure you achieve the perfect consistency without turning your almonds into almond butter. The goal is to grind the almonds finely enough to resemble flour, but without releasing too much of their natural oils, which happens with excessive processing.
- Prepare Your Almonds: Ensure your raw blanched almonds are completely dry and, if possible, cool. Some bakers even suggest chilling them briefly in the freezer (about 15-20 minutes) before grinding, as this can help prevent them from releasing their oils too quickly and turning into butter.
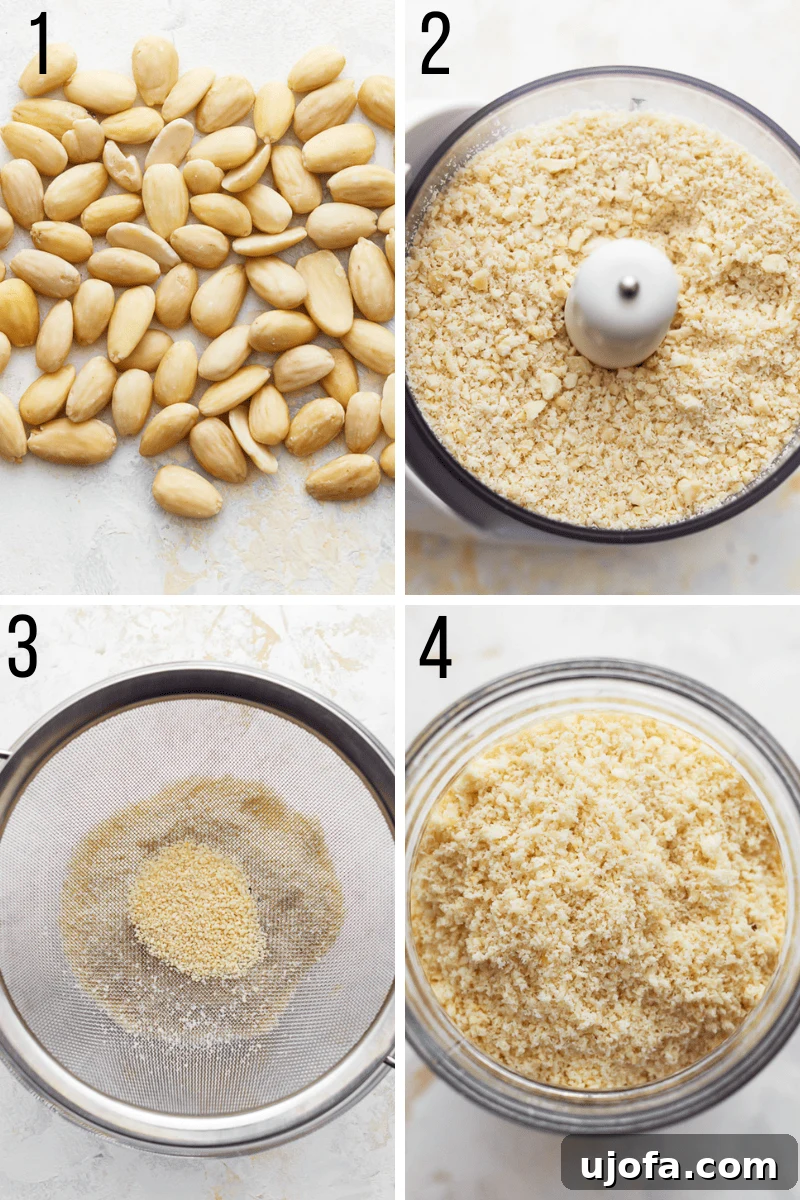
- Pulse in Short Increments: Transfer the blanched almonds to the bowl of your food processor or high-speed blender. It’s crucial not to overload your machine; process in batches if you’re making a large quantity. Begin pulsing the almonds in very short bursts—think 1-2 seconds at a time. This controlled approach is vital for gradually breaking down the almonds without generating excessive heat.
- Scrape and Continue Pulsing: After several pulses, stop the machine and use a rubber spatula to scrape down any almonds clinging to the sides of the bowl. This ensures an even grind. Continue pulsing, checking the consistency frequently. You’ll notice the almonds progressing from coarsely chopped pieces to a meal-like texture, and then eventually to a fine powder. The entire process should only take a few minutes.
- Monitor for Desired Consistency: Keep a close eye on the texture. For most baking recipes that call for almond flour, you’re aiming for a consistency similar to cornmeal or even finer, like traditional wheat flour. The moment it reaches this powdery state, stop processing immediately. Over-processing is the most common mistake, as it will quickly turn your flour into sticky almond butter. The almonds release their oils when overheated or over-processed, changing the texture from powdery to pasty.
- Sift for Finer Results (Optional but Recommended): If you desire a very fine, uniform flour for delicate recipes like macarons, cakes, or cookies, transfer your ground almonds to a fine-mesh sieve set over a bowl. Gently shake the sieve to allow the fine flour to pass through. Any larger pieces or bits of almond that remain in the sieve can be returned to the food processor for a few more quick pulses, or saved for other uses like topping yogurt or granola.
Expert Tips for Perfect Homemade Almond Flour
- Avoid Overloading: For the most efficient and even grinding, process almonds in smaller batches. An overloaded food processor struggles to achieve a consistent texture and can heat up faster, increasing the risk of over-processing.
- Prevent Oiliness: The golden rule for making almond flour is to pulse briefly and avoid continuous processing. The friction from prolonged blending generates heat, which causes the natural oils in the almonds to release, leading to an oily, clumpy almond meal rather than a fine flour. Stop as soon as you reach the desired consistency.
- Ensure Dry Almonds: Any moisture on the almonds can cause them to clump together during processing, preventing a fine, uniform flour. If you’ve blanched your own almonds, make sure they are thoroughly dried, ideally overnight or in a low oven, before grinding.
- Chill Your Almonds: As mentioned, some bakers find that chilling blanched almonds in the freezer for about 15-20 minutes before processing helps keep them cool, further reducing the chances of them turning oily.
The Nutritional Powerhouse: Is Almond Flour Healthy?
Absolutely! Almond flour is celebrated as one of the healthiest flour alternatives available, making it a fantastic addition to any diet, especially for those focusing on nutrient-dense foods. It’s an excellent source of plant-based protein, crucial for muscle repair and satiety, and dietary fiber, which supports digestive health and helps regulate blood sugar levels. Compared to traditional wheat flour, almond flour is significantly lower in carbohydrates, making it an ideal choice for low-carb, keto, and diabetic-friendly diets.
Beyond macronutrients, almond flour is packed with essential micronutrients. It’s particularly rich in Vitamin E, a potent antioxidant that protects cells from oxidative damage, and magnesium, vital for nerve function, muscle contraction, and blood pressure regulation. It also provides a good amount of manganese, important for bone health and metabolism. Introducing homemade almond flour into your diet is a smart and delicious way to boost your nutrient intake and support overall well-being.
Almond Flour vs. Almond Meal: Understanding the Difference
While often used interchangeably by some, almond meal and almond flour are distinct products, primarily differing in their raw material and final texture. Almond flour, as we’ve discussed, is made from raw blanched almonds (without skins), and is ground to a very fine, powdery consistency. Its light color and delicate texture make it perfect for pastries, cakes, and other baked goods where a smooth finish is desired.
Almond meal, on the other hand, is typically made from unblanched almonds, meaning the skins are left on. It is also ground less finely than almond flour, resulting in a coarser, more granular texture, akin to cornmeal. The presence of the skins gives almond meal a slightly darker, speckled appearance and a more robust, earthy almond flavor. Almond meal is excellent for adding texture to dishes like granola, crisp toppings, or as a breading for savory items, but it might result in a denser, less refined outcome in delicate baked goods. Knowing the difference helps you choose the right product for your recipe.
Can I Use Unblanched Almonds (With Skins) for Homemade Flour?
Yes, you certainly can use unblanched almonds with their skins on to make a ground almond product. However, it’s important to understand that the result will not be true “almond flour” but rather an “almond meal.” As explained above, the skins contribute to a coarser, chunkier ground almond with a richer, more rustic flavor. This is absolutely ideal for applications where you want added texture and a more pronounced almond taste, such as in granola, tart crusts, or as a breading for chicken or fish.
If your goal is a fine, smooth flour with a milder flavor for delicate pastries, cakes, or macarons, then blanched almonds (without skins) are essential. The choice between blanched and unblanched almonds depends entirely on the desired outcome for your recipe. Don’t be afraid to experiment with both to discover which you prefer for different culinary creations!
Alternative Grinding Methods: No Food Processor? No Problem!
While a food processor or high-speed blender is the most efficient tool for making almond flour, don’t despair if you don’t own one. You have a few alternative options, though they will require more time and effort:
- Coffee Grinder: A clean coffee grinder can effectively pulverize small batches of almonds into flour. Process in very short bursts, shaking the grinder gently between pulses, and ensure it doesn’t overheat. This method is best for small quantities.
- Mortar and Pestle: This is the most labor-intensive method but can yield surprisingly good results. Work with very small amounts of almonds at a time, grinding them patiently until they reach a flour-like consistency. This traditional method allows for precise control over the texture, but it demands dedication.
Regardless of the method you choose, remember the key principle: short, controlled bursts to prevent the almonds from turning into butter.
Substituting Homemade Almond Flour for Store-Bought in Recipes
In most instances, yes, you can confidently substitute homemade almond flour for store-bought almond flour in your favorite recipes. However, it’s important to be aware that slight variations can occur. The texture of homemade flour, especially if not sifted meticulously, might be slightly coarser than some commercially ground super-fine almond flours. This can subtly affect the final texture of your baked goods, potentially making them a tad denser.
Additionally, the moisture content can vary slightly depending on how fresh your almonds were and how long you processed them. These minor differences usually don’t drastically alter a recipe, but for very delicate or precise recipes (like macarons), you might need to make small adjustments, such as adding a touch more liquid or slightly altering baking times. For general baking, homemade almond flour works wonderfully and often yields a fresher, more vibrant flavor.
Substituting Almond Flour for Regular (Wheat) Flour
Substituting almond flour for regular wheat flour is a common practice in gluten-free and low-carb baking, but it requires a bit of understanding due to their different properties. You can generally substitute almond flour for regular flour in a 1:1 ratio by weight (though often not by volume, as almond flour is denser). However, keep in mind that almond flour lacks gluten, the protein network that gives wheat flour its elasticity and structure. This means:
- Denser Texture: Baked goods made with almond flour tend to be denser and less airy than those made with wheat flour.
- Increased Moisture: Almond flour is very absorbent, but it doesn’t create the same kind of cohesive structure as gluten. You may need to add more liquid and/or eggs to your recipe to achieve proper binding and prevent crumbly results. Eggs, in particular, provide both moisture and structure.
- Flavor Profile: Almond flour imparts a distinct nutty flavor, which might alter the taste of recipes designed for neutral-flavored wheat flour.
- Reduced Leavening: You might need to adjust leavening agents (baking powder/soda) or add ingredients like xanthan gum or psyllium husk to provide structure and chewiness that gluten would otherwise offer.
It’s always best to use recipes specifically developed for almond flour or to consult reliable substitution charts when adapting traditional recipes.
Longevity of Almond Flour: Does It Spoil?
Yes, almond flour, like all nut flours, can and will go bad over time. Because almonds are high in natural oils, they are susceptible to rancidity. When these oils oxidize, the flour develops an off-putting, bitter, or stale flavor and aroma. Fresh almond flour should have a mild, sweet, and nutty aroma. If your almond flour smells sour, bitter, like old crayons, or simply “off,” it’s best to discard it. Consuming rancid oils can be unhealthy and will negatively impact the taste of your baked goods.
Optimal Storing Instructions for Homemade Almond Flour
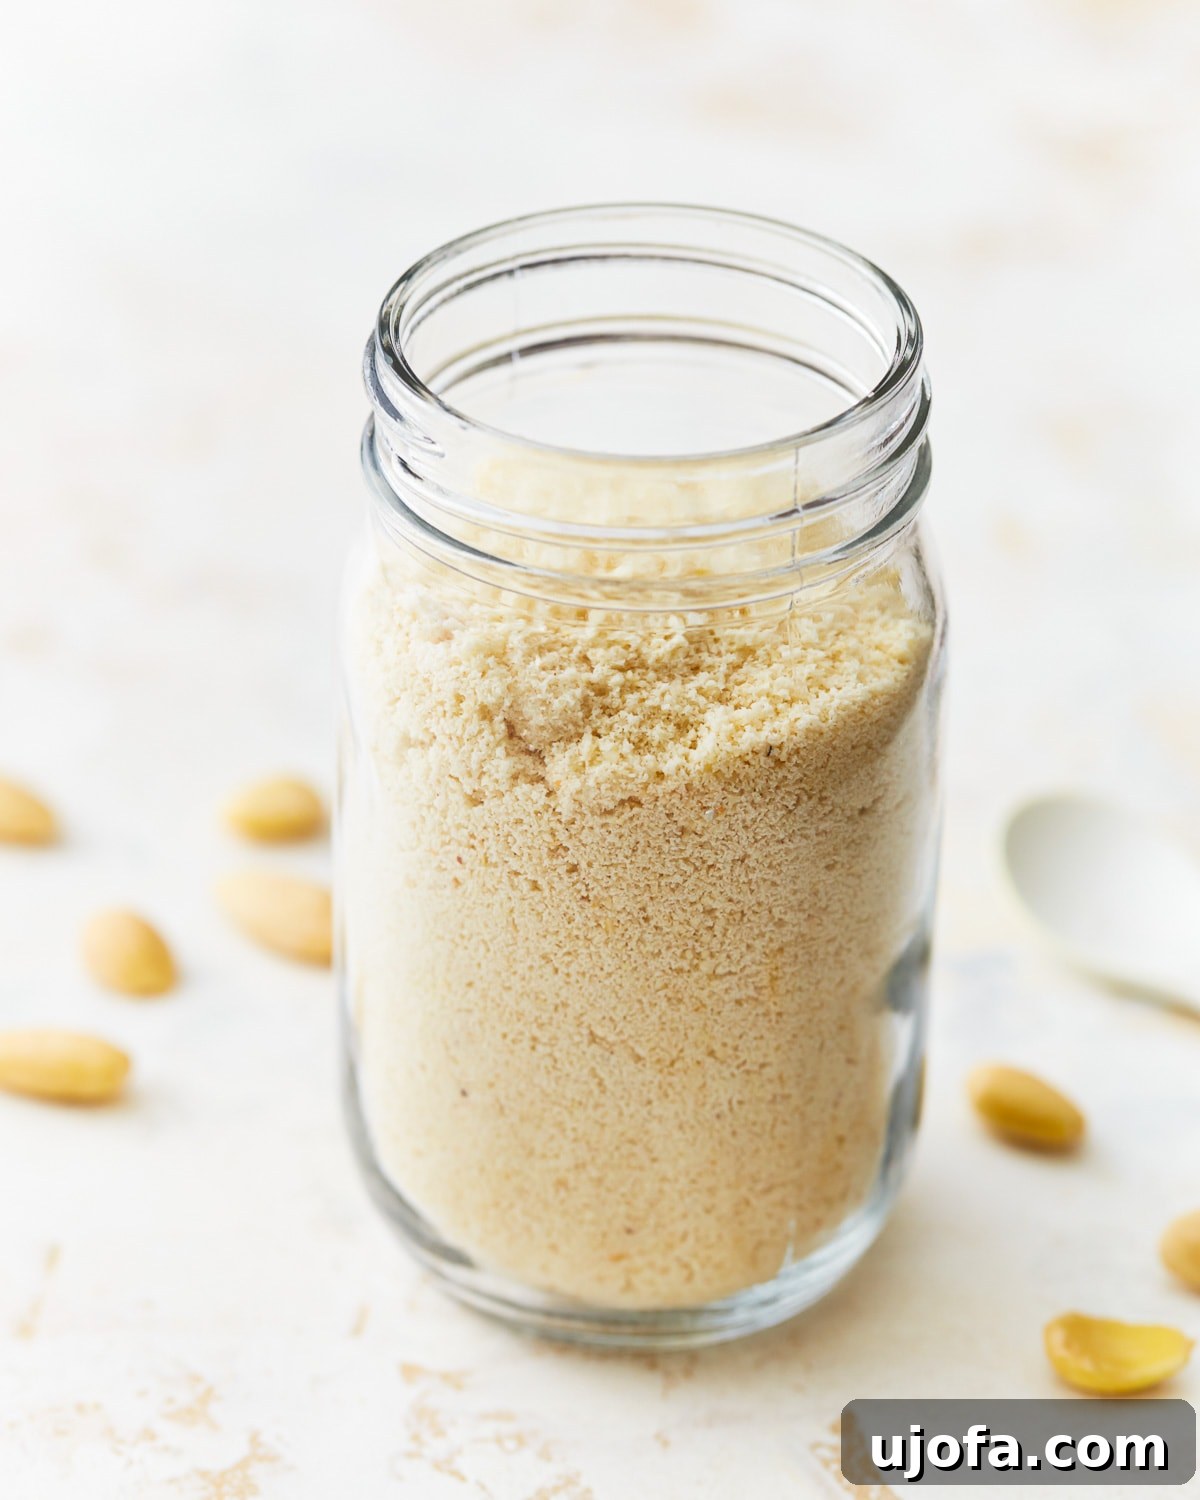
Once you’ve mastered how to make almond flour, proper storage is crucial to maintain its freshness and extend its shelf life. The key is to protect it from heat, light, and air, which are the main culprits behind rancidity:
- Airtight Container: Always store your homemade almond flour in a completely airtight container. This prevents exposure to oxygen, which accelerates oxidation and spoilage.
- Cool, Dark Place: For short-term storage (up to 3 months), a pantry or cupboard that is cool and dark is sufficient. Avoid storing it near heat sources like ovens or windows where it could be exposed to direct sunlight.
- Refrigeration: For extending freshness, especially if you live in a warm climate or won’t be using the flour quickly, storing it in the refrigerator can prolong its shelf life up to 6 months.
- Freezing: For the longest shelf life, freezing is your best option. Store the almond flour in an airtight, freezer-safe container or heavy-duty freezer bag. It can remain fresh in the freezer for up to 1 year. Freezing is particularly recommended if you make large batches. Always allow frozen almond flour to come to room temperature before using in recipes to avoid introducing excess moisture.
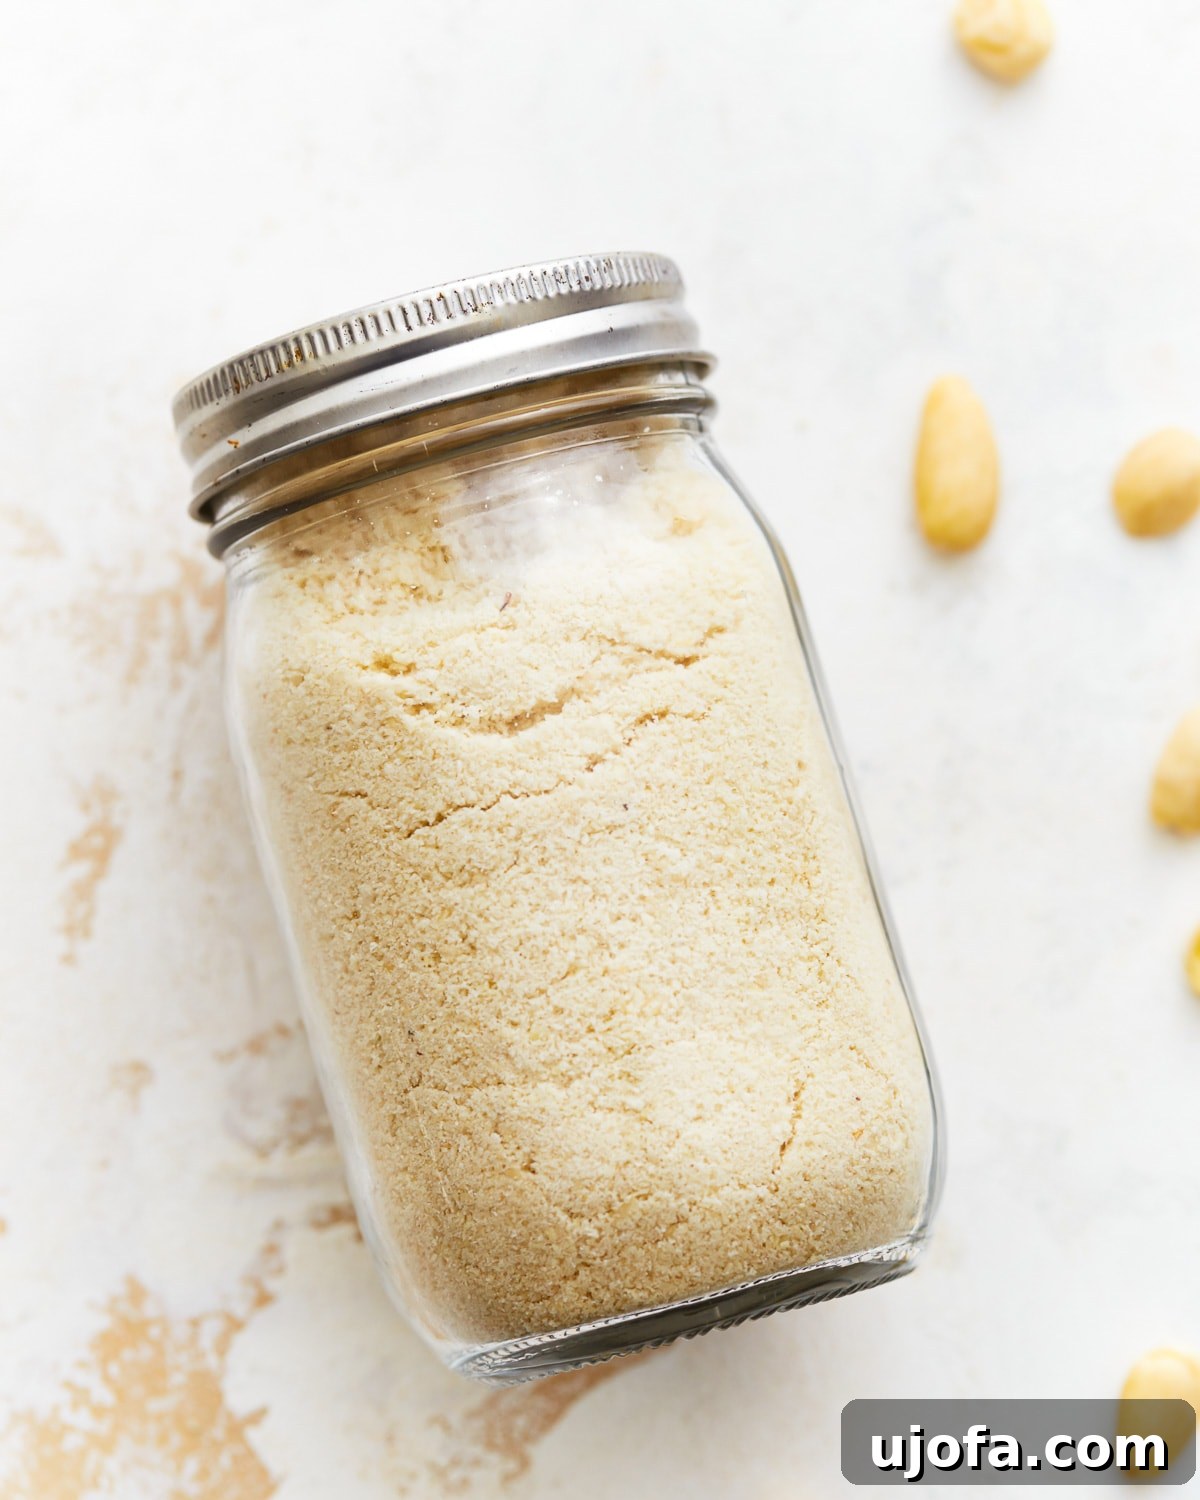
Learning how to make almond flour truly is as easy as pie, if not easier! With just one simple ingredient and a food processor (or even a high-speed blender), you are mere minutes away from having a batch of incredibly fresh, nutritious, and versatile homemade almond flour. This opens up a world of possibilities for gluten-free and grain-free baking, allowing you to create wholesome treats and meals with confidence and a superior flavor. Embrace the simplicity and health benefits of making your own and transform your kitchen into a haven of healthy baking.
Delicious Almond Flour Recipes to Explore!
Now that you’ve mastered the art of making your own almond flour, it’s time to put it to good use! Almond flour is incredibly versatile and can be used in a wide array of recipes, from sweet baked goods to savory dishes. Its unique texture and nutty flavor lend themselves beautifully to many culinary applications. Here are some fantastic recipes to inspire your next baking adventure with your freshly made almond flour:
- Almond Flour Banana Bread: A moist and flavorful classic, made gluten-free with the goodness of almonds.
- Almond Flour Cake: Indulge in a tender and light cake, perfect for any occasion.
- Almond Flour Pizza Crust: Enjoy a crispy and delicious pizza crust that’s both gluten-free and satisfying.
- Almond Flour Waffles: Start your day with fluffy, yet sturdy, waffles that are a healthy alternative to traditional ones.
- Almond Flour Biscuits: Savory and light, these biscuits are perfect alongside any meal.
Beyond these specific recipes, consider using almond flour as a healthy breading for chicken or fish, as a thickener for sauces, or even blended into smoothies for an extra protein boost. The possibilities are truly endless!
Also, don’t miss our comprehensive guide on how to make oat flour for another fantastic homemade gluten-free flour option.
How to Make Almond Flour
Servings: 4 servings (1 cup total)
Total: 5 mins
Email Recipe
Print Recipe
Learn how to make almond flour with this easy recipe. Almond flour is high in protein, low in carbs, and is naturally gluten-free and grain-free.
Ingredients
- 1½ cups raw blanched almonds, slivered or whole
Instructions
- Pulse the almonds: Transfer the almonds to your blender or food processor. Start with short pulses, gradually increasing the duration until the almonds become coarsely chopped.
- Refine the texture: Continue pulsing, stopping and scraping down the sides as needed, until you reach your desired consistency. For fine almond flour suitable for baking, you’ll need to process longer until a powder forms. For a coarser texture for breading or sauces, stop when the almonds reach a granular consistency.
- Sift and store: If you want a very fine flour for baking, use a sifter to remove any larger pieces. Transfer the almond flour to an airtight container and store it in a cool, dark place.
Notes
- Don’t overload the blender or food processor. Process in smaller batches for better grinding.
- To prevent the almonds from becoming oily, pulse briefly and avoid overheating the processor.
- Nutritional information is for 1/4 cup individual serving.
- To store: Store almond flour in an airtight container in a cool, dark place for up to 3 months, or in the freezer for up to 6 months.
Nutrition Information (Approximate per 1/4 cup serving)
- Serving: 1/4 cup serving
- Calories: 277 kcal
- Carbohydrates: 9g
- Protein: 10g
- Fat: 25g
- Saturated Fat: 2g
- Polyunsaturated Fat: 6g
- Monounsaturated Fat: 16g
- Trans Fat: 0.01g
- Sodium: 9mg
- Potassium: 309mg
- Fiber: 5g
- Sugar: 2g
- Vitamin A: 3 IU
- Calcium: 111mg
- Iron: 2mg
Nutrition information is automatically calculated, so should only be used as an approximation.
Additional Info
Course: Baking
Cuisine: American
Tried this recipe?
Mention @mamaknowsglutenfree or tag #mamaknowsglutenfree!