
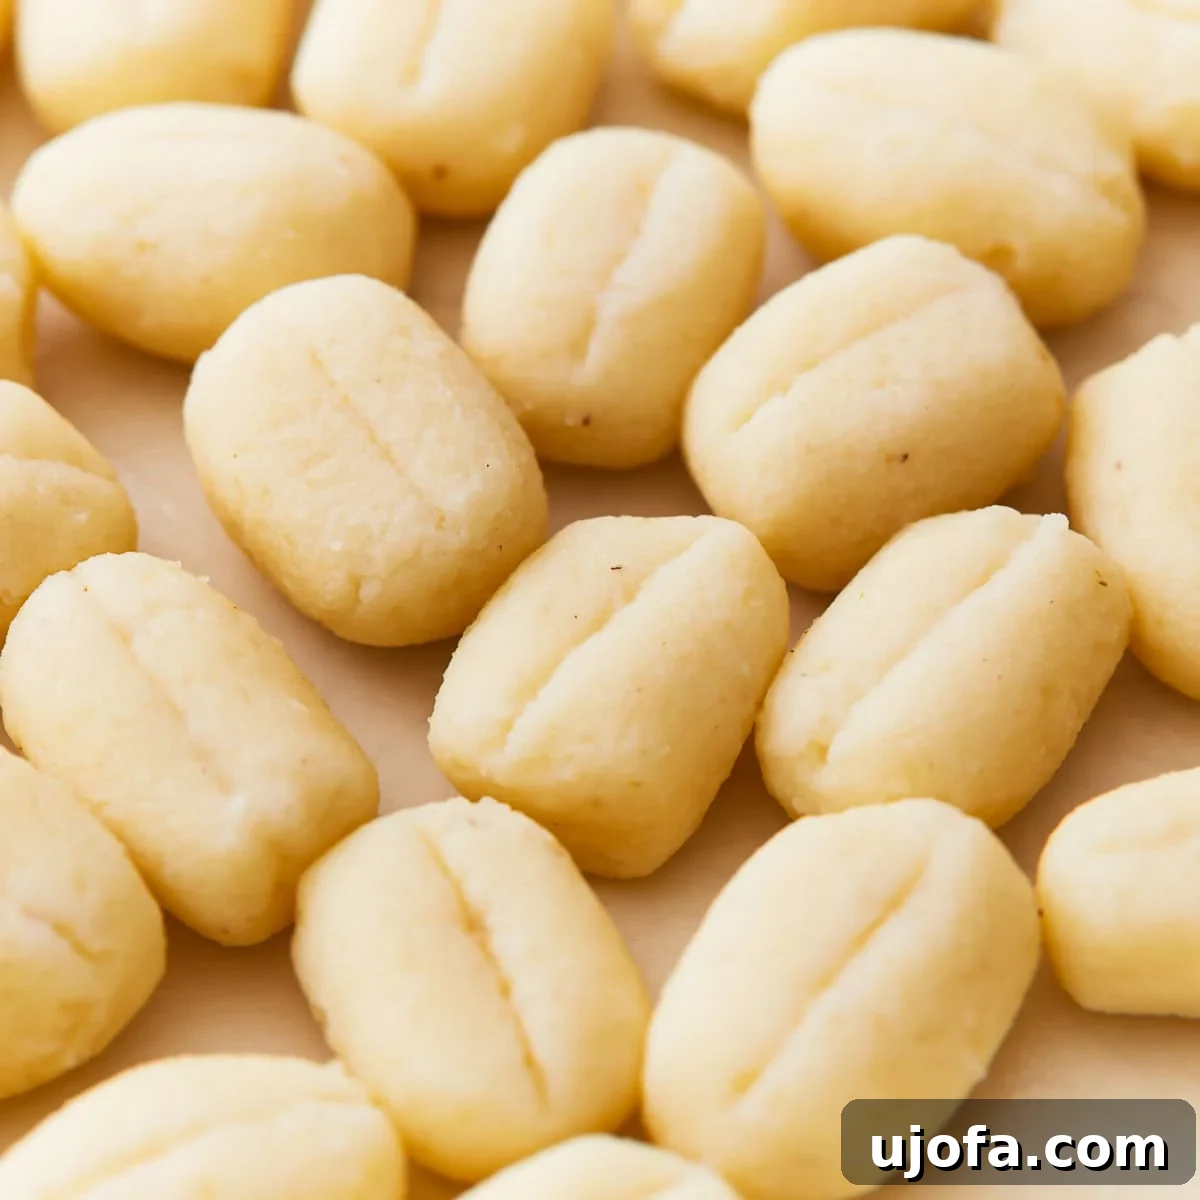
For many who embrace a gluten-free lifestyle, the thought of enjoying classic Italian dishes like Gnocchi often feels like a distant memory. This beloved potato pasta, known for its tender, pillowy texture, traditionally relies on wheat flour for its characteristic chewiness and structure. However, the good news is that recreating truly authentic-tasting gnocchi without gluten is not only possible but wonderfully rewarding. This comprehensive gluten-free gnocchi recipe unlocks the secret to making soft, rich, and delightfully chewy potato dumplings right in your own kitchen. Forget store-bought versions; with just a few simple, carefully selected ingredients and a touch of culinary finesse, you can achieve homemade gluten-free gnocchi that rivals any traditional Italian counterpart. Perfect for a comforting family dinner or an impressive meal for guests, these delectable dumplings pair beautifully with your favorite sauces, especially a vibrant homemade tomato sauce.
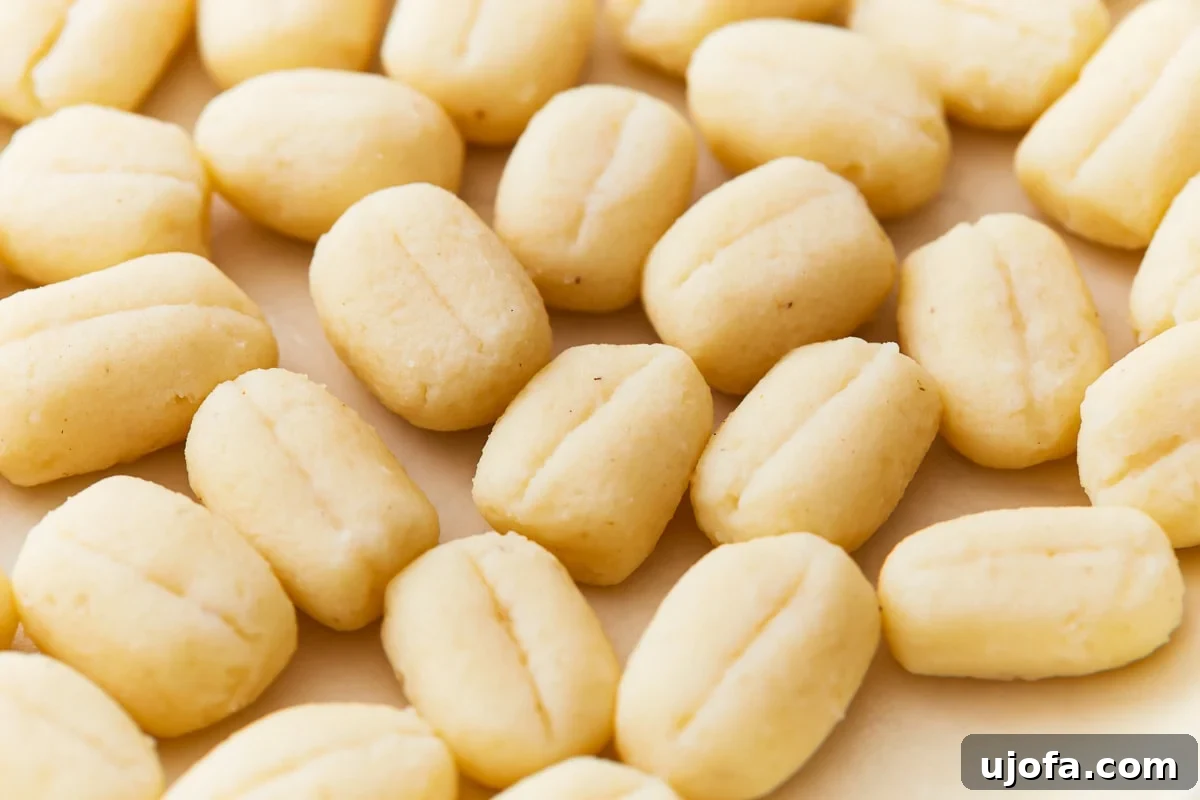
Mastering Gluten-Free Gnocchi: The Ultimate Recipe
Traditional potato gnocchi recipes almost exclusively call for wheat flour as a primary binder, giving the dumplings their familiar elasticity and structure. The challenge for gluten-free cooking is to replicate these qualities without relying on gluten. After extensive experimentation, this gluten-free gnocchi recipe has been perfected using a strategic combination of gluten-free rice flour and tapioca flour. Rice flour contributes a fine texture and a subtle chewiness, while tapioca flour acts as an excellent binder, providing the necessary elasticity that gluten typically offers. Together, these two gluten-free flours prove to be an exceptional substitute for wheat flour, creating gnocchi that are not only safe for those with gluten sensitivities but also incredibly delicious and satisfyingly consistent every time.
Why Choose Gluten-Free Gnocchi?
Opting for gluten-free gnocchi isn’t just a dietary necessity for some; it can also be a delightful culinary adventure for anyone. For individuals with celiac disease, gluten sensitivity, or those simply looking to reduce their gluten intake, this recipe provides a safe and equally delicious alternative to a classic dish. Beyond the health benefits, mastering gluten-free gnocchi opens up a world of possibilities for home cooks, allowing everyone at the table to enjoy this Italian delicacy without compromise. The subtle differences in flour composition can even lend unique textural nuances, creating gnocchi that some prefer over their traditional counterparts for their delicate chew and melt-in-your-mouth quality.
Essential Ingredients for Perfect Gluten-Free Gnocchi
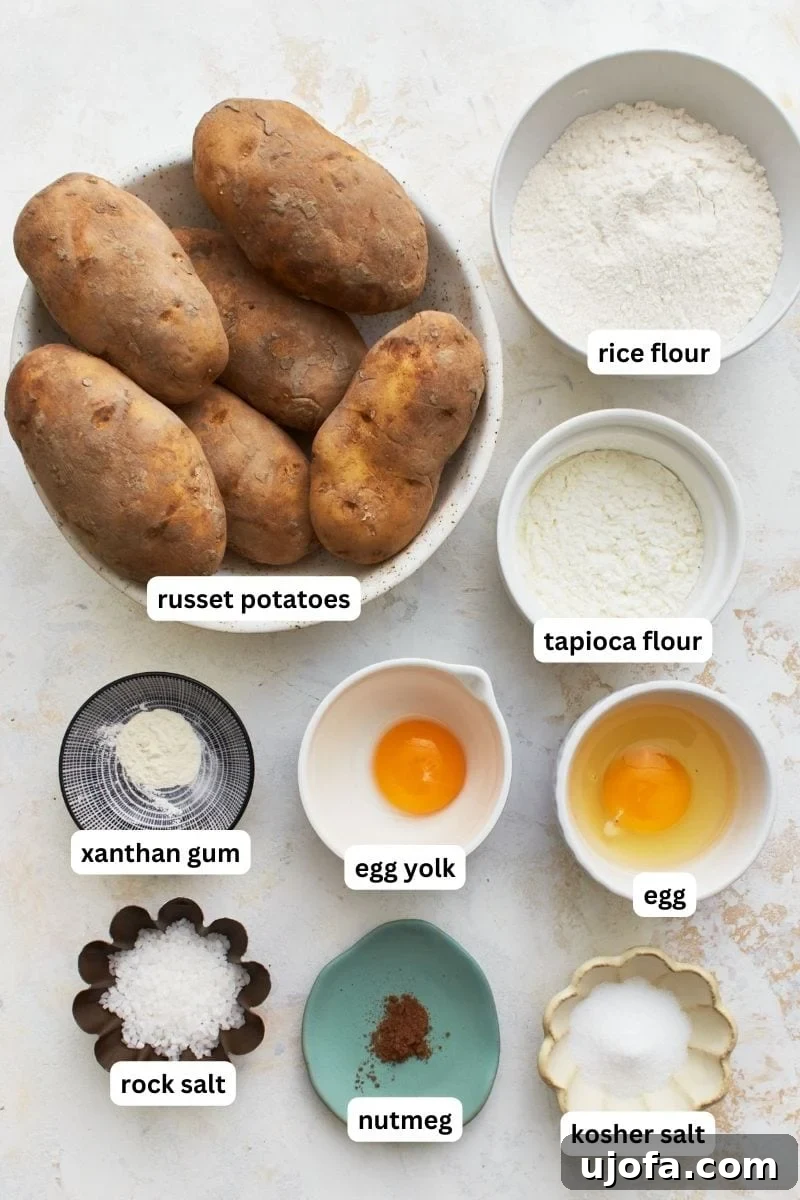
Crafting exceptional homemade gluten-free gnocchi begins with selecting the right ingredients. Each component plays a vital role in achieving that sought-after light, pillowy texture and rich flavor. Here’s a detailed look at what you’ll need and why each ingredient is important:
- Russet Potatoes (2 pounds / approx. 4 medium potatoes): These starchy potatoes are the undisputed champion for gnocchi making. Their high starch content and low moisture make them ideal for creating light, fluffy gnocchi that won’t become dense or gummy. While you can experiment with other potato varieties, such as Yukon Gold, be aware that the final texture may vary, potentially requiring adjustments to the flour ratio. Baking them is key to minimizing water absorption.
- Rock Salt (2 tablespoons, or coarse sea salt/kosher salt): This isn’t just for flavoring; a layer of coarse salt beneath the potatoes on the baking sheet helps to draw out excess moisture during the baking process. This crucial step ensures your potatoes are as dry as possible, which is fundamental for light, airy gnocchi dough.
- Eggs (1 large whole egg, plus 1 large egg yolk): Eggs are indispensable binders in gnocchi dough, helping to hold the gluten-free flours and potatoes together. The whole egg provides structure, while the extra egg yolk adds a luxurious richness, a beautiful golden hue, and contributes to the dough’s overall chewiness and smooth consistency, elevating the gnocchi’s flavor profile.
- Kosher Salt (2 teaspoons, or sea salt): Beyond the rock salt used for baking, kosher salt is incorporated directly into the dough to season the gnocchi from the inside out. This enhances the natural, earthy flavor of the potatoes and ensures a well-balanced taste throughout the dumpling.
- Nutmeg (1 pinch): A small pinch of freshly grated nutmeg is a classic addition to gnocchi, adding a delicate, balancing warmth and aromatic depth that complements the potato beautifully. It’s a subtle yet essential flavor note that truly elevates the dish.
- Rice Flour (1 cup, plus more as needed): As a primary gluten-free flour, rice flour provides the bulk of the structure and contributes to the gnocchi’s desirable chewy texture. Using a good quality fine-ground rice flour will yield the best results. Keep extra on hand for dusting and adjusting dough consistency.
- Tapioca Flour (¼ cup): This magical gluten-free starch is crucial for binding the dough and providing the elasticity typically found in wheat-based gnocchi. Tapioca flour helps prevent the gnocchi from crumbling and gives them a pleasant bounce. Its slightly sticky nature is key to a cohesive dough.
- Xanthan Gum (¼ teaspoon): Often a staple in gluten-free baking, xanthan gum acts as a powerful emulsifier and thickener, mimicking the elastic properties of gluten. It gives the gnocchi dough extensibility and prevents it from becoming too crumbly, ensuring a cohesive and manageable texture. While crucial for the best results, if you don’t have it, a tiny bit more tapioca flour or cornstarch could be a last resort, though the texture might be slightly different.
Expert Tips and Notes for Gluten-Free Gnocchi Success
Achieving light and tender gluten-free gnocchi is an art that benefits from a few key techniques. Pay close attention to these tips to ensure your gnocchi turn out perfectly every time:
- Potato Choice is Paramount: Always opt for high-starch potatoes like Russets (also known as Idaho potatoes). Their dry, floury texture after baking is essential for producing fluffy gnocchi. Waxy potatoes, which are higher in moisture, will result in dense, heavy dumplings that absorb too much flour.
- Moisture Control is Critical: Potatoes naturally contain a lot of water. To avoid a sticky dough that requires excessive flour (leading to tough gnocchi), you must remove as much moisture as possible. Pricking the potatoes with a fork before baking allows steam to escape. Baking them on a layer of coarse salt actively helps absorb any additional moisture released during cooking, leaving you with dry, fluffy potato flesh.
- Perfectly Baked Potatoes: The potatoes are ready when they are tender enough to be easily pierced with a fork but not mushy. Overcooked potatoes can absorb too much water, while undercooked ones will be difficult to rice evenly. Aim for a tender but firm interior.
- Handling the Dough: The ideal gnocchi dough should be slightly sticky to the touch, indicating it has just enough moisture to be pliable. However, it should not be so sticky that it’s difficult to handle without coating your hands and surfaces in excessive flour. If it’s too sticky, add a tablespoon of rice flour at a time until it’s workable. Overworking the dough or adding too much flour will make the gnocchi tough.
- Prepare Ahead Option: For convenience, you can prepare the gnocchi dough in advance. Wrap it tightly in plastic wrap and refrigerate for up to one day. Before shaping and cooking, allow the dough to come to room temperature for about 30-60 minutes; this makes it much easier to roll and shape.
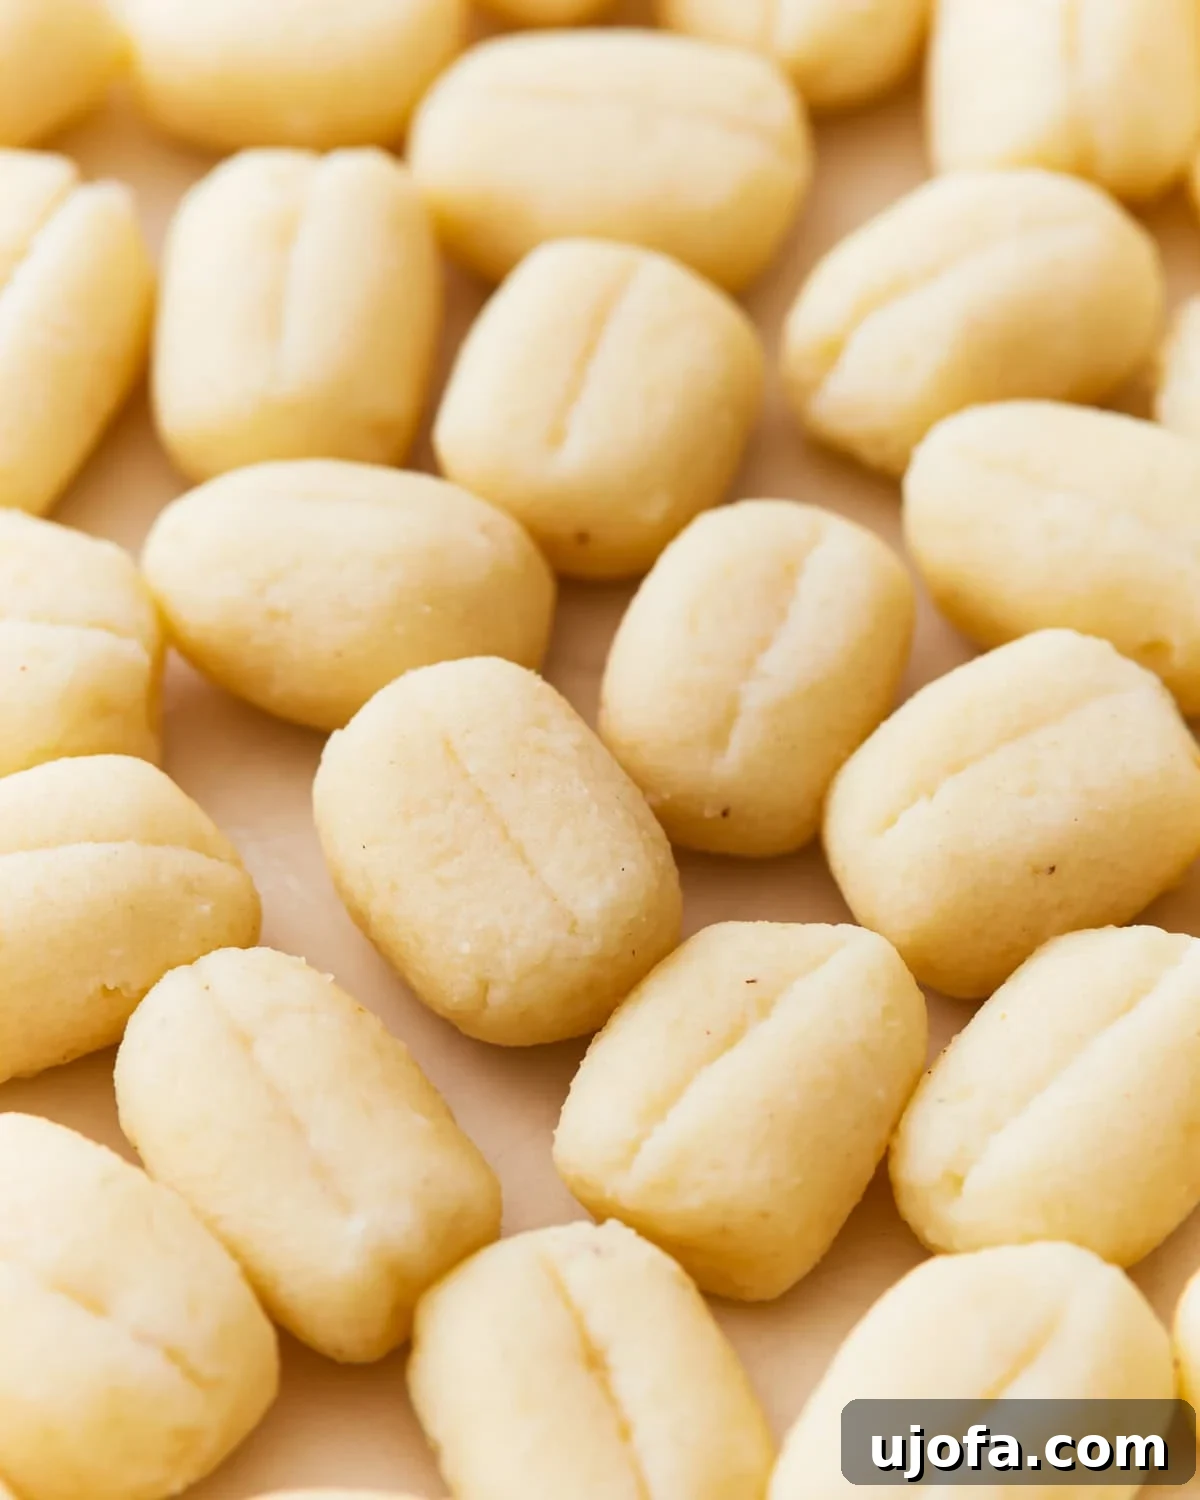
Frequently Asked Questions About Gluten-Free Gnocchi
Can I Boil The Potatoes Instead Of Baking Them?
While boiling potatoes for gnocchi might seem quicker, baking is highly preferred and strongly recommended for this recipe, especially for gluten-free versions. The primary reason is moisture control. Boiling potatoes causes them to absorb a significant amount of water, making them waterlogged. This excess moisture would then require you to add a considerably larger amount of flour to achieve a workable dough. The unfortunate consequence of adding too much flour is dense, heavy, and even gummy gnocchi, losing that desirable light and pillowy texture. Baking, conversely, helps to dry out the potatoes, concentrating their flavor and creating a fluffy, dry pulp that needs less flour, thus ensuring a much lighter and more delicate gnocchi.
Do I Have To Cool The Potatoes?
Yes, cooling the potatoes after baking is a crucial step that should not be skipped. Allowing the potatoes to cool slightly (to a point where they are still warm but comfortable to handle) before peeling and ricing them helps in two significant ways. Firstly, cooling allows the potato starch to firm up, making the peeled potatoes easier to handle and rice into a fine, consistent texture. Secondly, and perhaps more importantly for gluten-free gnocchi, working with very hot potatoes can cause the gluten-free flours to absorb too much moisture too quickly, resulting in a sticky, unmanageable dough that can become gummy once cooked. A slightly cooled potato yields a dough that is much easier to work with and helps prevent the final gnocchi from having an undesirable chewy or sticky consistency.
How Do I Prevent the Gnocchi from Sticking Together?
Preventing gnocchi from sticking, both during preparation and cooking, is vital for perfect results. Here are a few tips:
- Flour Your Work Surface: Always work on a lightly floured surface. Use a gluten-free flour blend (or rice flour) to dust your countertop, rolling pin, and hands. This prevents the dough logs and individual gnocchi pieces from adhering to surfaces.
- Don’t Overcrowd the Pot: When cooking, drop the gnocchi into boiling salted water in small batches. Overcrowding a pot lowers the water temperature drastically, causing the gnocchi to cook unevenly and stick together or to the bottom of the pot. Cook just enough gnocchi at a time so they have plenty of room to float freely.
- Use a Large Pot of Water: Ensure you are using a generously sized pot with plenty of water. This helps maintain the boiling temperature and provides ample space for the gnocchi to cook without clumping.
- Stir Gently: Once the gnocchi are added to the boiling water, give them a gentle stir with a slotted spoon to prevent them from sticking to each other or the pot’s bottom as they begin to float.
- Cook Immediately: Ideally, cook gnocchi shortly after shaping them. If you need to store them before cooking, place them in a single layer on a lightly floured parchment-lined baking sheet and refrigerate (or freeze if storing longer).
Storage Instructions for Gluten-Free Gnocchi
Proper storage is essential whether you’re making gnocchi ahead of time or have leftovers.
- Refrigeration: Cooked gluten-free gnocchi can be stored in an airtight container in the refrigerator for up to 3 days. To reheat, you can gently pan-fry them with a little butter or olive oil, or briefly warm them in your chosen sauce.
- Freezing Uncooked Gnocchi: This is a fantastic way to prepare ahead! Arrange the freshly shaped (but uncooked) gnocchi in a single layer on a parchment-lined baking sheet. Freeze until solid (about 1-2 hours). Once frozen, transfer the gnocchi to a freezer-safe bag or airtight container. They will keep for up to 3 months. When ready to cook, boil directly from frozen – there’s no need to thaw! Just add an extra minute or two to the cooking time.
- Freezing Cooked Gnocchi: While possible, it’s generally recommended to freeze uncooked gnocchi for the best texture. If you must freeze cooked gnocchi, first toss them with a little olive oil to prevent sticking. Spread them on a baking sheet to freeze, then transfer to a freezer bag. Thaw in the refrigerator and reheat gently.
More Gluten-Free Dinner Recipes to Satisfy
If you loved this gluten-free gnocchi recipe, you’ll be thrilled to discover more delicious and comforting gluten-free dinner options. These recipes are perfect for expanding your repertoire and ensuring every meal is a delightful experience, free from gluten:
- Gluten-Free Meatballs: Perfect for pairing with pasta or serving as an appetizer.
- Gluten-Free Chicken Parmesan: A classic Italian-American dish, reinvented without gluten.
- Gluten-Free Meatloaf: A hearty and flavorful family favorite.
- Gluten-Free Lasagna: Layers of cheesy, meaty goodness without the gluten.
Gluten-Free Gnocchi Recipe
By: Sabine Venier
Servings: 4 servings
Prep Time: 2 hours
Cook Time: 10 minutes
Total Time: 2 hours 10 minutes
With a fork and a bit of finesse, learn how to make soft and pillowy gnocchi that look just like they came straight from Italy! This recipe ensures rich, chewy gluten-free potato dumplings every time.
Ingredients
- 2 tablespoons rock salt, or coarse sea salt/kosher salt
- 2 pounds russet potatoes, unpeeled
- 1 large egg
- 1 large egg yolk
- 2 teaspoons kosher salt, or sea salt
- 1 pinch nutmeg
- 1 cup rice flour, plus more as needed
- ¼ cup tapioca flour
- ¼ teaspoon xanthan gum
Instructions
- Preheat oven to 400°F (204°C). Line a baking sheet with parchment paper and sprinkle with the coarse salt. Set aside.
- Scrub the potatoes thoroughly and prick them with a fork. Place on the prepared baking sheet.
- Bake for 50 to 60 minutes, or until the potatoes are tender and easily pierced with a fork. Let the potatoes cool slightly.
- When the potatoes are cool enough to handle, peel them and pass them through a potato ricer or food mill into a large bowl.
- Add the egg, egg yolk, kosher salt, and nutmeg to the riced potatoes.
- In a separate bowl, whisk together the rice flour, tapioca flour, and xanthan gum.
- Gradually add the flour mixture to the potatoes, stirring until a dough forms.
- If the dough is too sticky, add a little more flour 1 tablespoon at a time, until it is pliable but not difficult to handle.
- Divide the dough into 4 equal pieces.
- On a lightly floured surface, roll each piece of dough into a log about 1-inch thick.
- Using a sharp knife, cut the logs into 1-inch pieces.
- Roll each gnocchi piece over the tines of a fork to create a classic ridged shape or shape as desired. This helps the sauce adhere better.
- Bring a large pot of salted water to a rolling boil over high heat. Carefully drop the gnocchi into the boiling water in small batches to avoid overcrowding. Cook for 2 to 3 minutes, or until they rise to the surface and are cooked through.
- Drain the gnocchi using a slotted spoon and toss them immediately with your favorite sauce. Serve hot.
Notes
- Russet potatoes, which are high in starch, are essential to producing fluffy gnocchi.
- Prick the potatoes with a fork to help them release moisture while cooking. Baking them on a layer of salt also helps absorb any additional moisture.
- The baked potatoes are ready when they’re tender, but not mushy.
- The dough should be slightly sticky, but not so sticky that it’s difficult to handle.
- You can prepare the dough and refrigerate it for up to a day. Bring it to room temperature before shaping and cooking.
- To store (cooked): Store gluten-free gnocchi in an airtight container in the refrigerator for up to 3 days.
- To freeze (uncooked): Arrange shaped gnocchi in a single layer on a parchment-lined baking sheet and freeze until solid. Transfer to a freezer-safe bag for up to 3 months. Cook from frozen, adding an extra minute or two to boiling time.
- Mama says, “Make sure to always check your labels!” for gluten-free certification on all ingredients.
Nutrition
Per serving (approximate values):
- Serving: 1 serving
- Calories: 385 kcal
- Carbohydrates: 80 g
- Protein: 10 g
- Fat: 3 g
- Saturated Fat: 1 g
- Polyunsaturated Fat: 1 g
- Monounsaturated Fat: 1 g
- Trans Fat: 0.01 g
- Cholesterol: 95 mg
- Sodium: 4688 mg
- Potassium: 1002 mg
- Fiber: 4 g
- Sugar: 2 g
- Vitamin A: 135 IU
- Vitamin C: 13 mg
- Calcium: 50 mg
- Iron: 3 mg
Nutrition information is automatically calculated and is an approximation only. Actual values may vary based on ingredients and preparation methods.
Additional Info
- Course: Dinner, Main Course, Side Dish
- Cuisine: Italian
- Dietary Notes: Gluten-Free, Vegetarian (when served with appropriate sauce)
How To Make Gluten-Free Gnocchi: A Visual Step-by-Step Guide
Embark on your journey to create perfect gluten-free gnocchi with this detailed visual guide, ensuring every step is clear and easy to follow. From preparing the potatoes to shaping and cooking your delectable dumplings, we’ll walk you through the process for irresistible results.
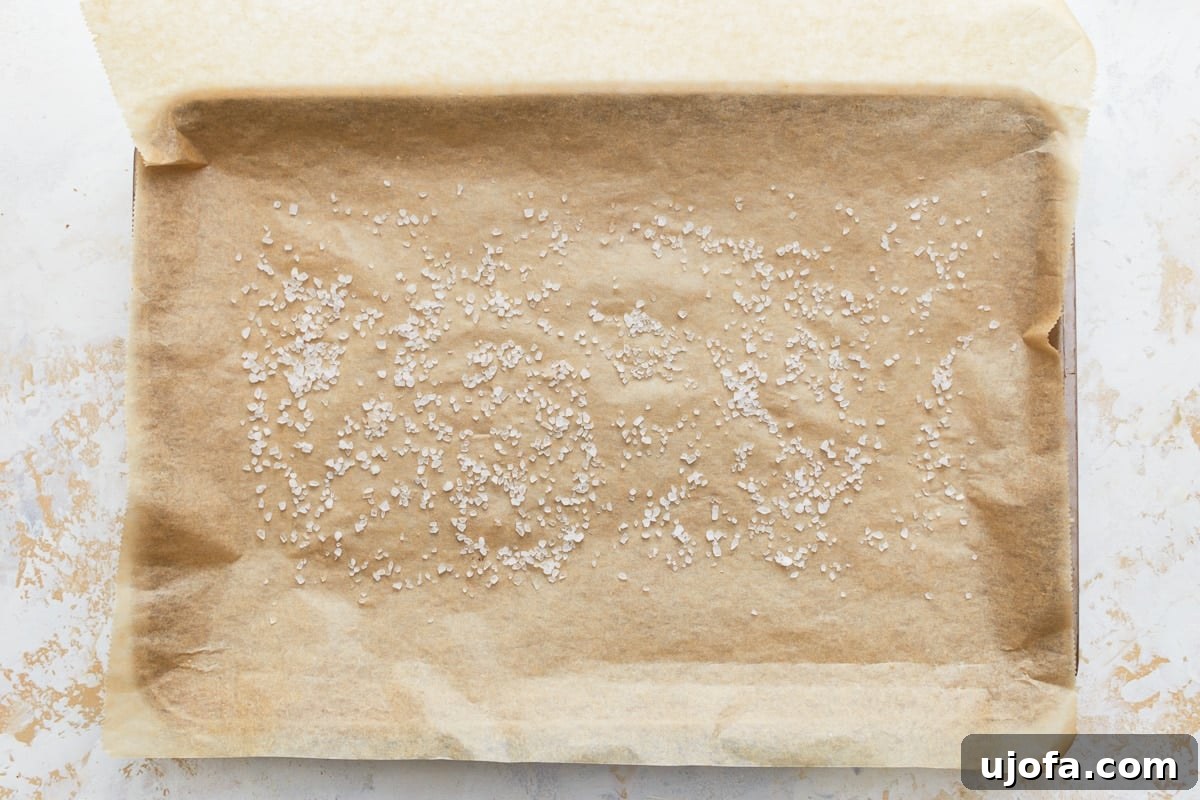
Step 1: Prepare Your Baking Sheet. Begin by preheating your oven to a precise 400°F (204°C). This temperature ensures the potatoes bake evenly and dry out effectively. Line a sturdy baking sheet with parchment paper to prevent sticking and simplify cleanup. Generously sprinkle 2 tablespoons of coarse salt (like rock salt or sea salt) evenly over the parchment paper. This salt layer is not just for seasoning; it actively draws moisture from the potatoes as they bake, a crucial step for achieving light and fluffy gnocchi.
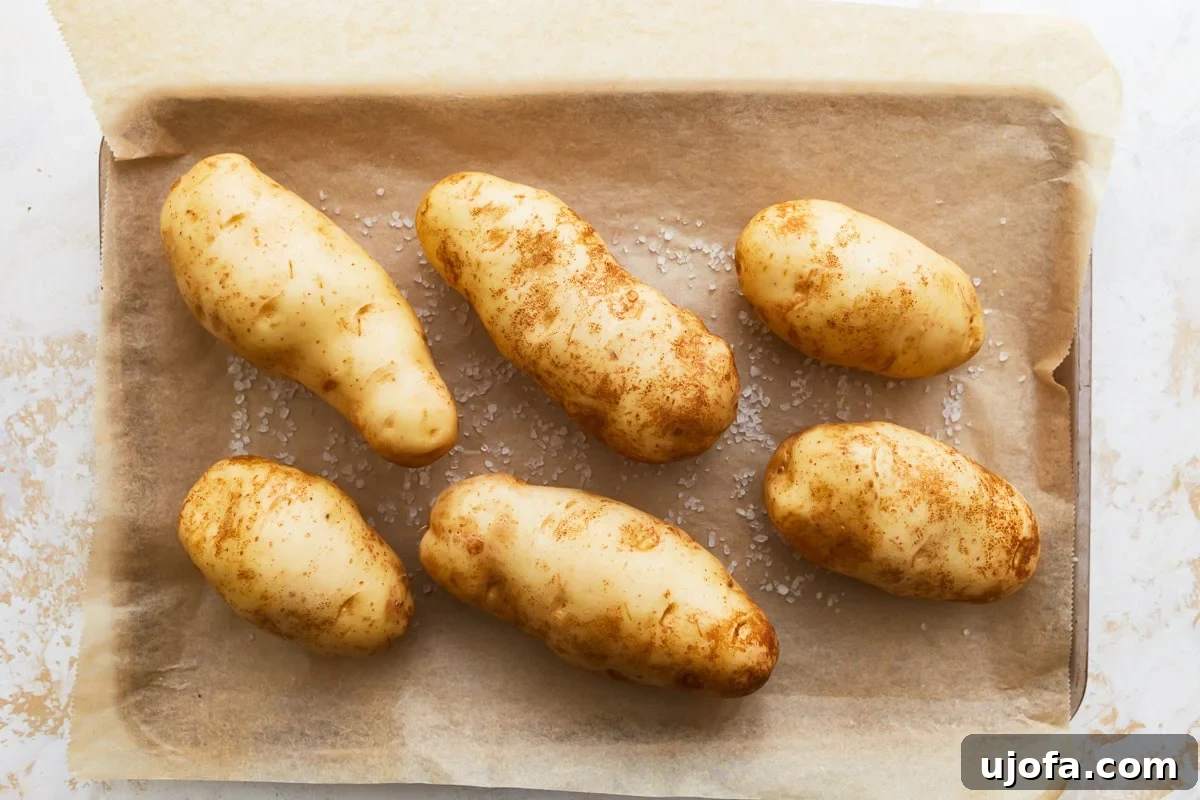
Step 2: Bake the Potatoes to Perfection. Take 2 pounds of russet potatoes (approximately 4 medium-sized potatoes). Scrub them thoroughly under running water to remove any dirt, but do not peel them yet. Using a fork, prick each potato several times. These perforations allow steam to escape during baking, further aiding in moisture reduction. Carefully place the prepared potatoes directly onto the salted parchment paper on the baking sheet. Bake for 50 to 60 minutes, or until they are perfectly tender. You’ll know they’re ready when a fork easily pierces through to the center without resistance. Once baked, remove them from the oven and allow them to cool slightly on the baking sheet. They should be warm enough to handle comfortably, but not scorching hot.
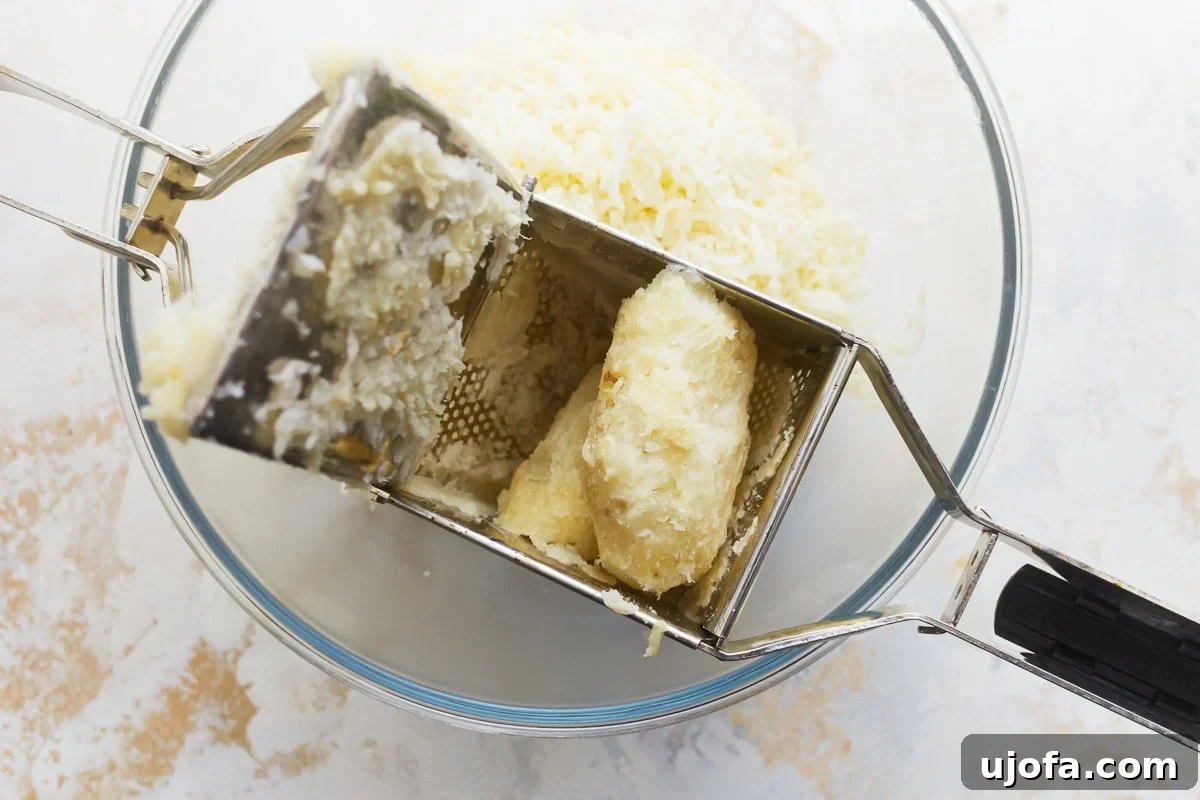
Step 3: Rice the Cooled Potatoes. Once the potatoes are cool enough to handle, carefully peel off their skins. Immediately after peeling, pass the warm potatoes through a potato ricer or a food mill directly into a large mixing bowl. Ricing is crucial as it creates a fine, airy potato consistency without developing the starches too much, which can happen with mashing. This step ensures your gnocchi will be light and uniform.
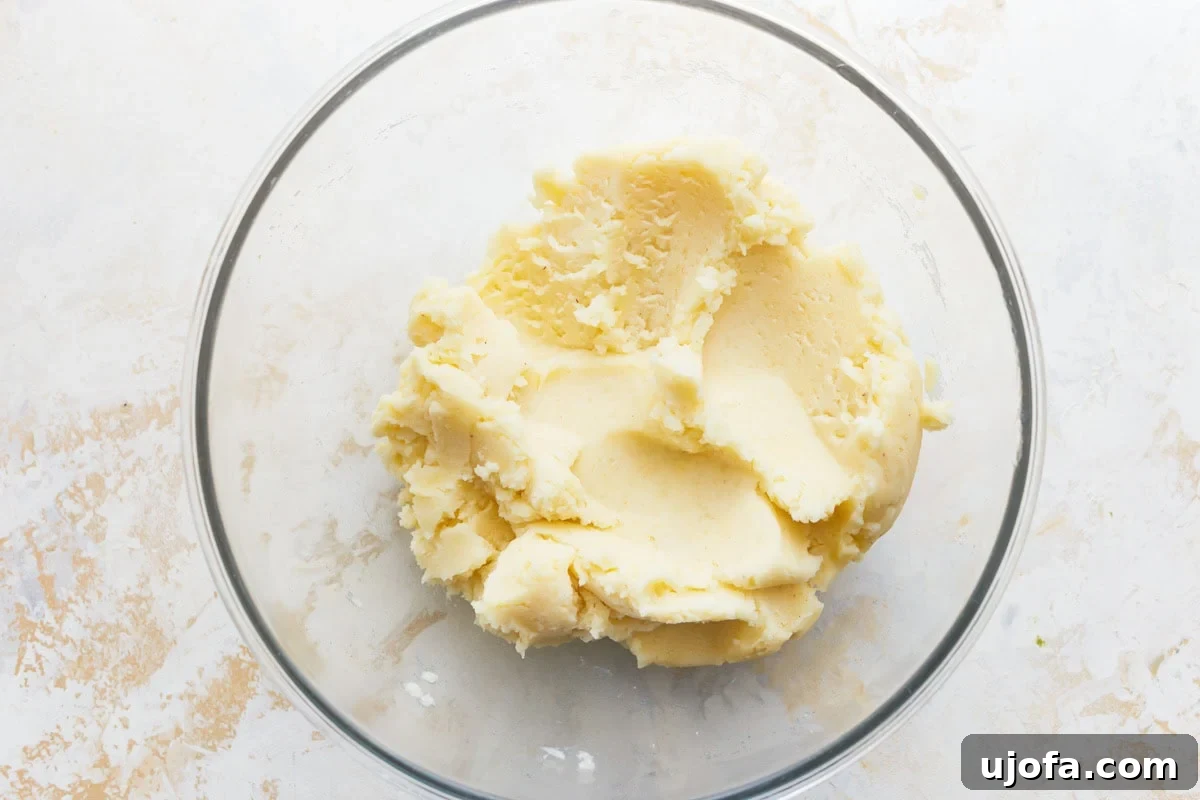
Step 4: Incorporate Wet Ingredients and Seasoning. To the warm, riced potatoes, add 1 large whole egg and 1 large egg yolk. These act as essential binders, bringing richness and structure to the dough. Stir in 2 teaspoons of kosher salt for seasoning and a delicate pinch of nutmeg, which adds a traditional warmth and depth of flavor that beautifully complements the potatoes. Mix these ingredients gently until just combined. Avoid overmixing at this stage.
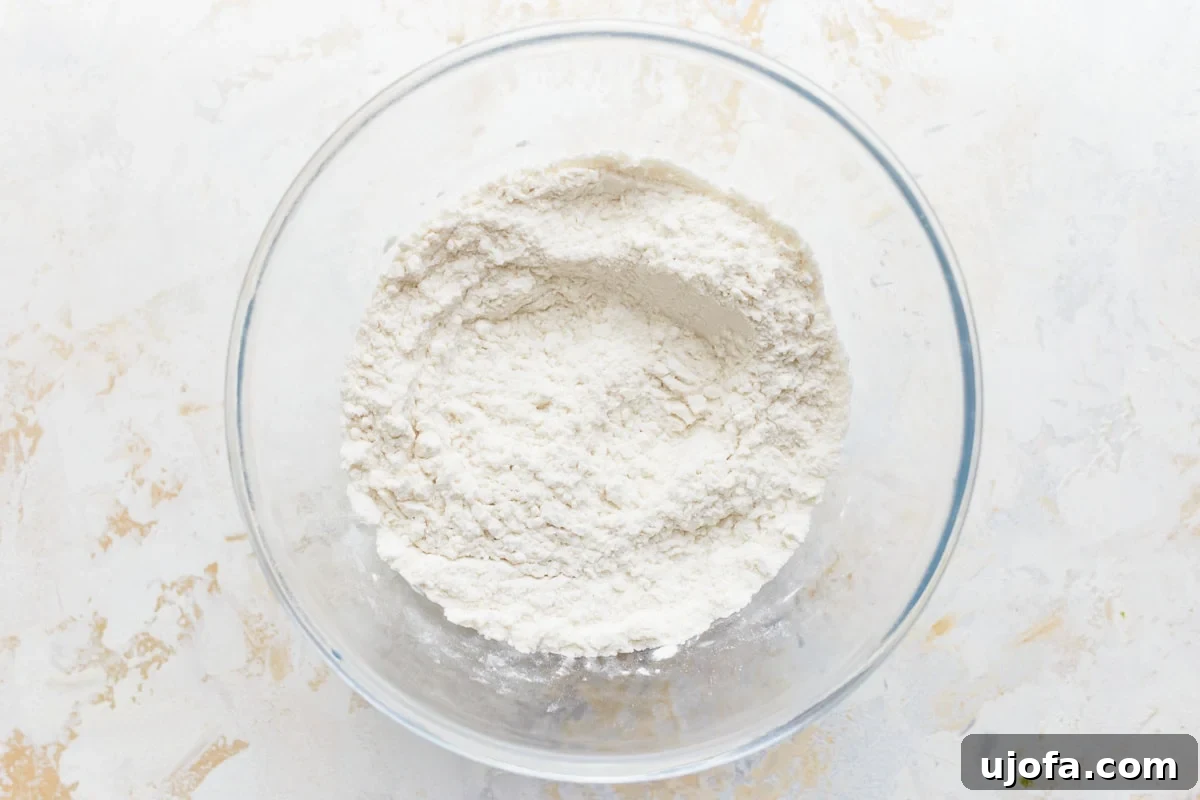
Step 5: Prepare the Gluten-Free Flour Blend. In a separate, medium-sized bowl, meticulously whisk together the dry gluten-free ingredients: 1 cup of rice flour, ¼ cup of tapioca flour, and ¼ teaspoon of xanthan gum. This thorough whisking ensures that the xanthan gum, especially, is evenly distributed throughout the flour blend, which is vital for providing the necessary elasticity and preventing a crumbly dough in the absence of gluten.
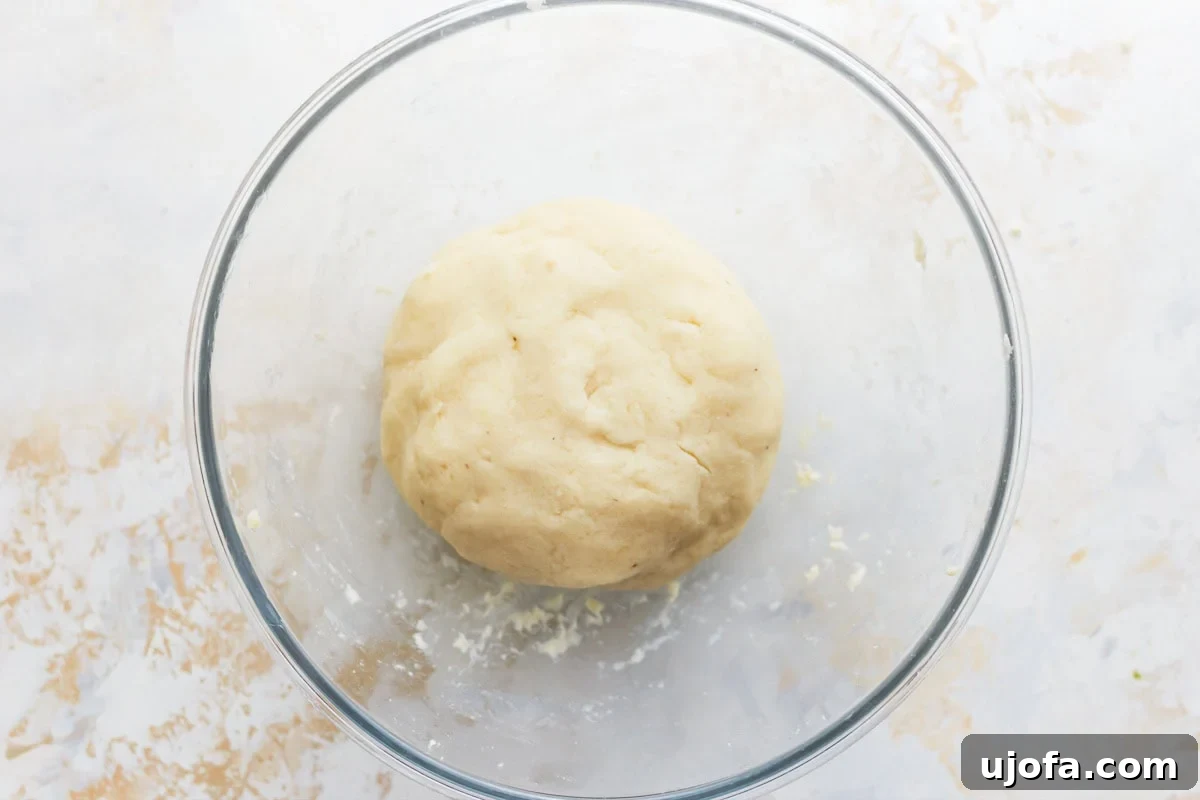
Step 6: Form the Gnocchi Dough. Gradually add the prepared gluten-free flour mixture to the potato and egg mixture in the large bowl. Use a spatula or your hands to gently fold and stir the ingredients together until a cohesive dough forms. The key here is to mix just until combined. Overworking the dough will develop the starches too much, resulting in tough gnocchi. The dough should be slightly sticky but manageable. If it feels excessively sticky and difficult to handle, add a very small amount (1 tablespoon at a time) of additional rice flour until it reaches the right consistency – pliable and soft, but not tacky.
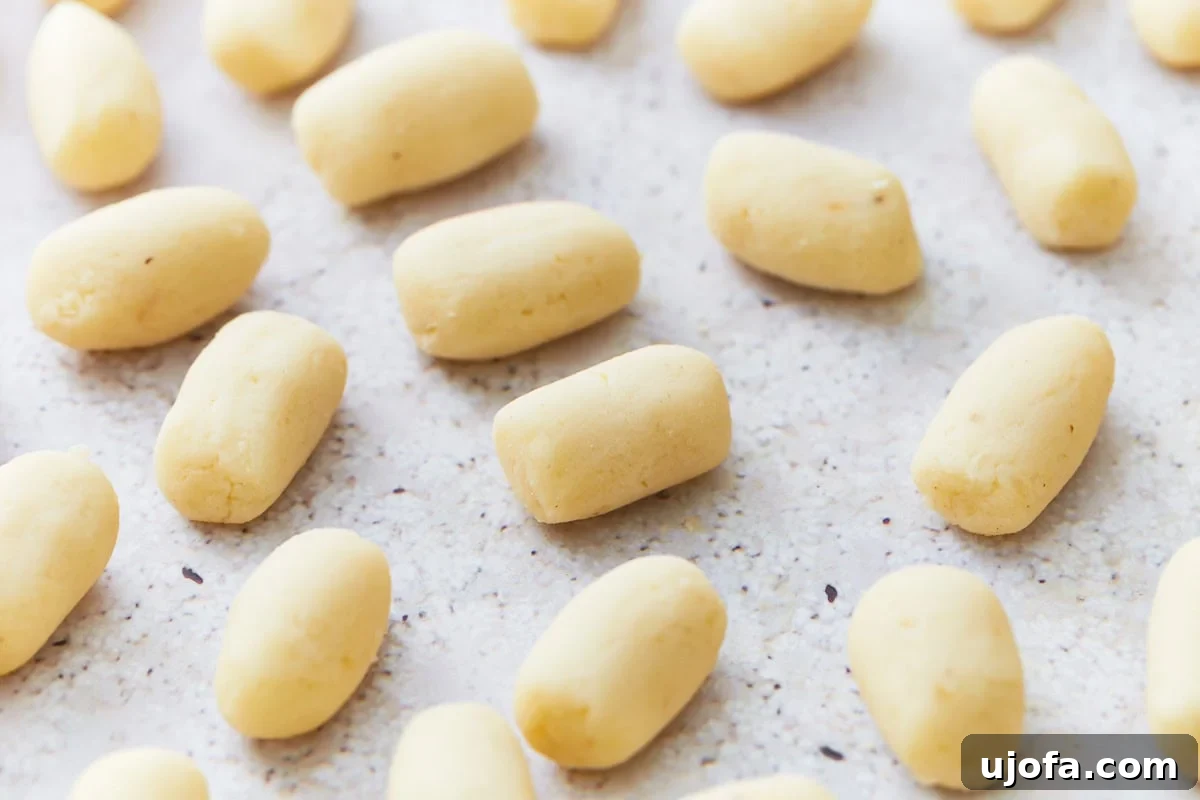
Step 7: Shape the Gnocchi Logs. Lightly flour your clean work surface (a countertop or large cutting board) with gluten-free rice flour. Divide the gnocchi dough into 4 equal pieces. Take one piece and gently roll it out using your hands into a long, uniform log, approximately 1-inch thick. Ensure the thickness is consistent for even cooking. Repeat with the remaining dough pieces. Using a sharp knife or a bench scraper, cut each log into 1-inch pieces. These will be your individual gnocchi.
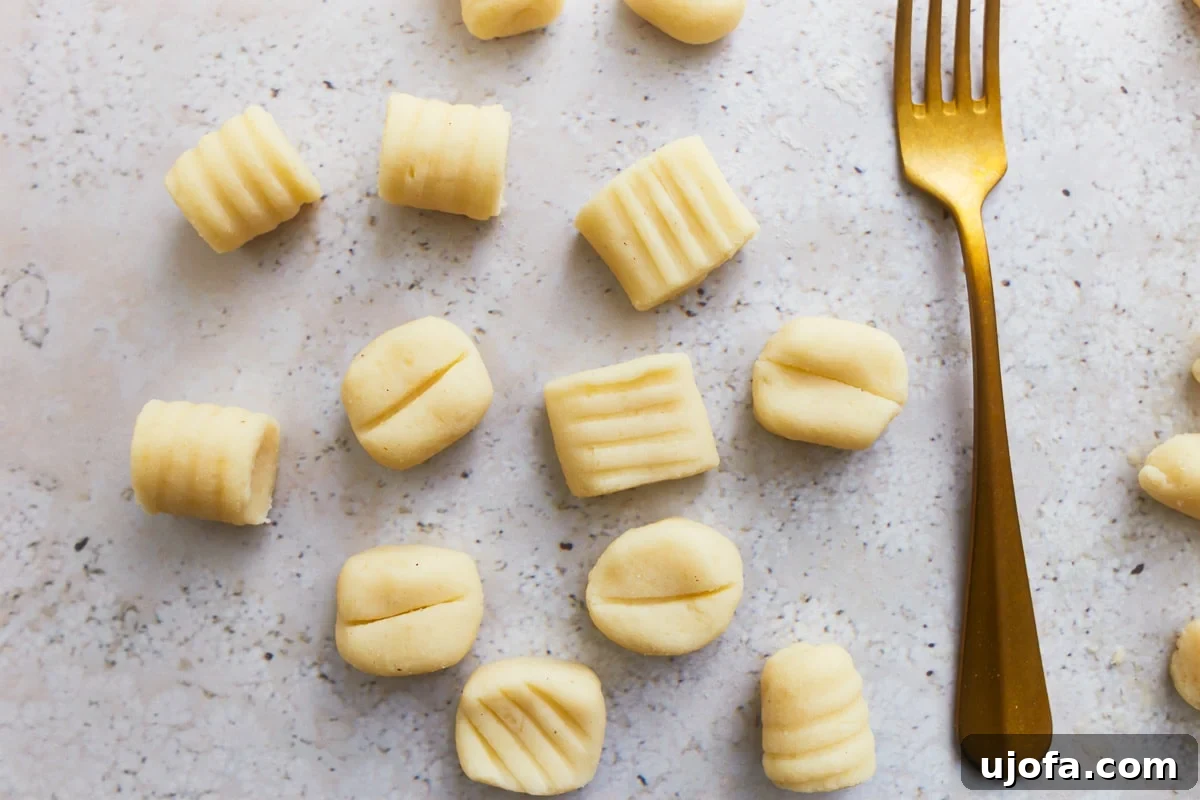
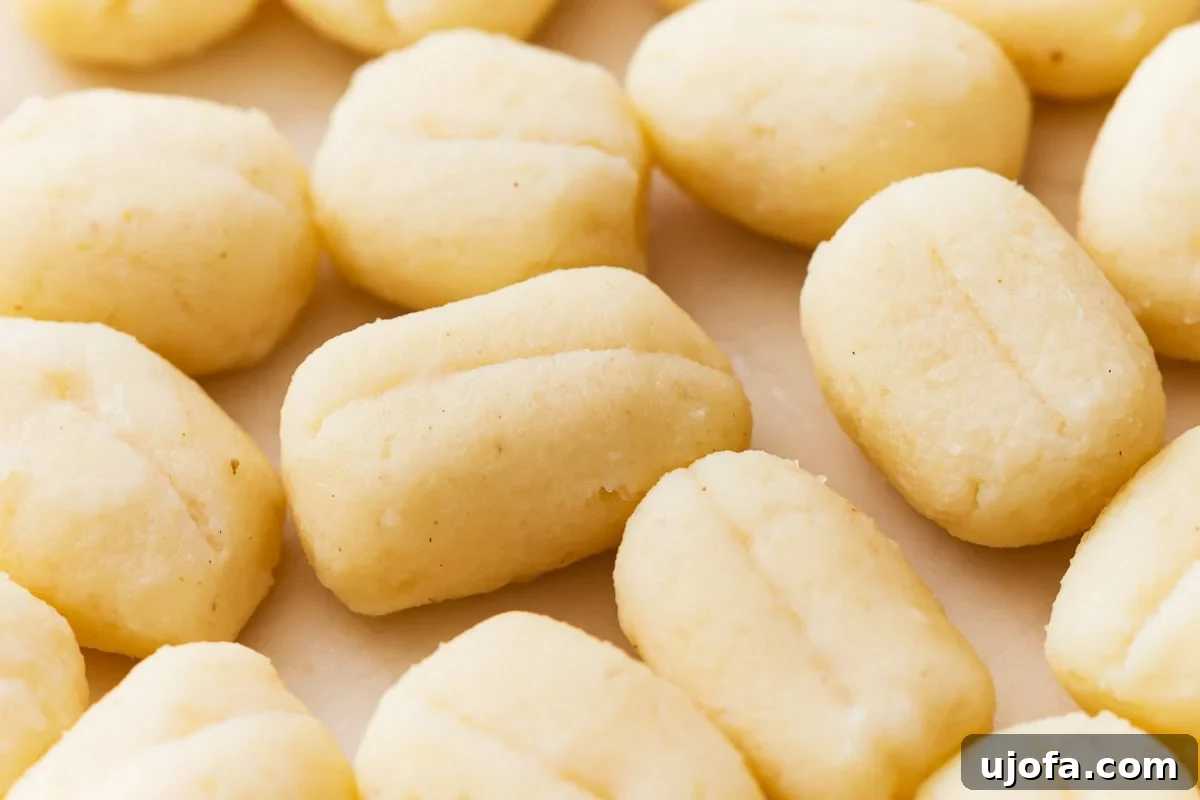
Step 8: Create the Classic Gnocchi Ridges. This step adds the signature texture that helps sauces cling beautifully to your gnocchi. Take each individual 1-inch piece of gnocchi dough. Gently press and roll it down the tines of a fork (or use a dedicated gnocchi board) with your thumb, creating a hollow on one side and distinct ridges on the other. Alternatively, you can simply leave them as small, smooth dumplings if you prefer, though the ridges are recommended for maximum sauce adhesion and visual appeal. Place the shaped gnocchi on a lightly floured baking sheet or tray, ensuring they don’t touch each other.
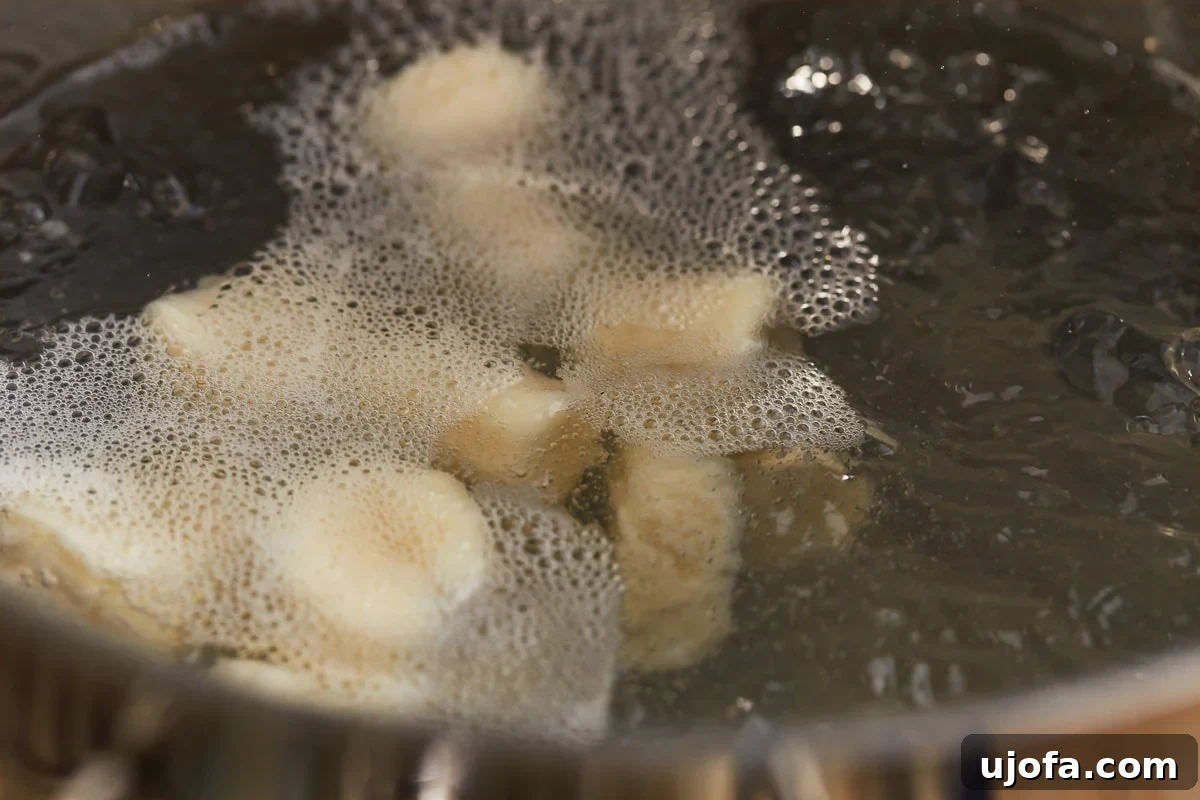
Step 9: Cook the Gnocchi. Bring a large pot of generously salted water to a rolling boil over high heat. The salt in the water seasons the gnocchi as they cook. Carefully drop the shaped gnocchi into the boiling water in small batches. It’s crucial not to overcrowd the pot, as this will lower the water temperature and cause the gnocchi to stick together. Cook for a short period, typically 2 to 3 minutes, or until the gnocchi float to the surface. Once they float, let them cook for about 30 seconds to a minute more to ensure they are cooked through. They should be tender and pillowy.
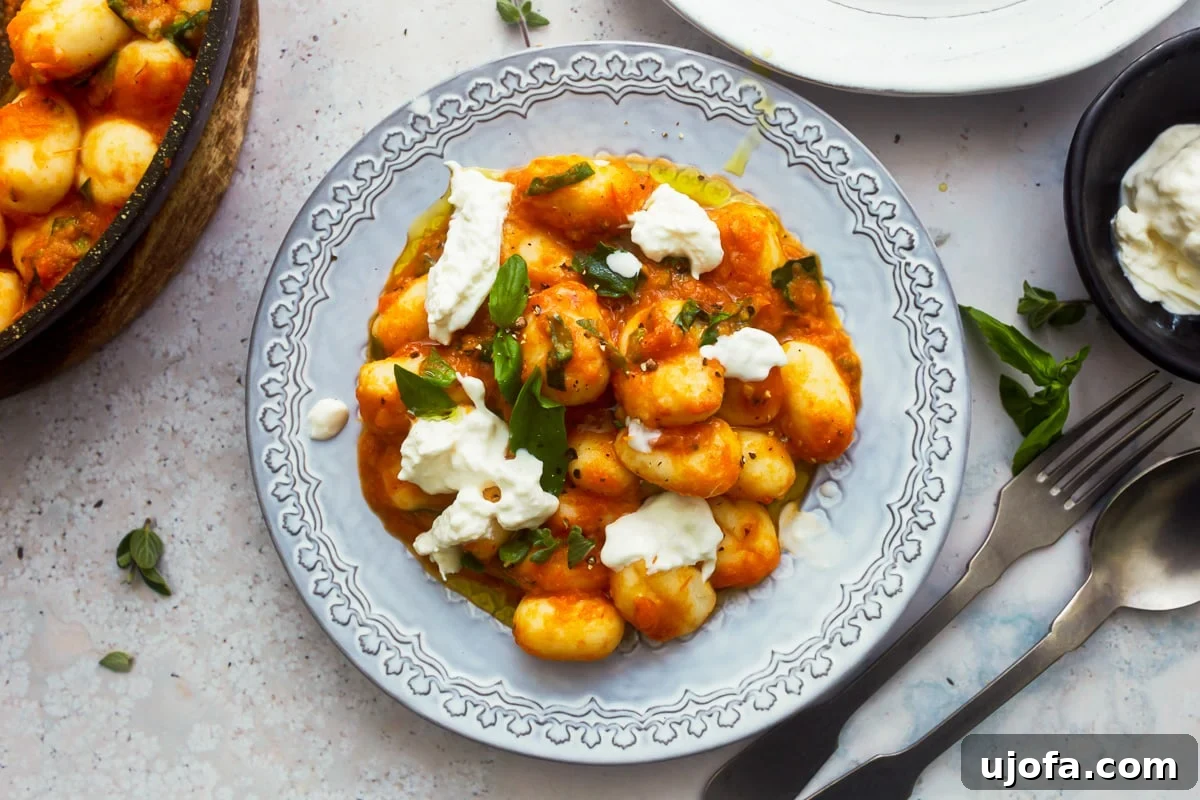
Step 10: Serve and Enjoy. Using a slotted spoon or a spider strainer, carefully drain the cooked gnocchi directly into a pan containing your favorite warm sauce. Gently toss the gnocchi with the sauce to coat them evenly. Serve immediately, perhaps with a sprinkle of fresh Parmesan cheese (if dairy is tolerated) and a garnish of fresh basil or parsley. Enjoy your incredibly soft, pillowy, and utterly delicious homemade gluten-free gnocchi!