
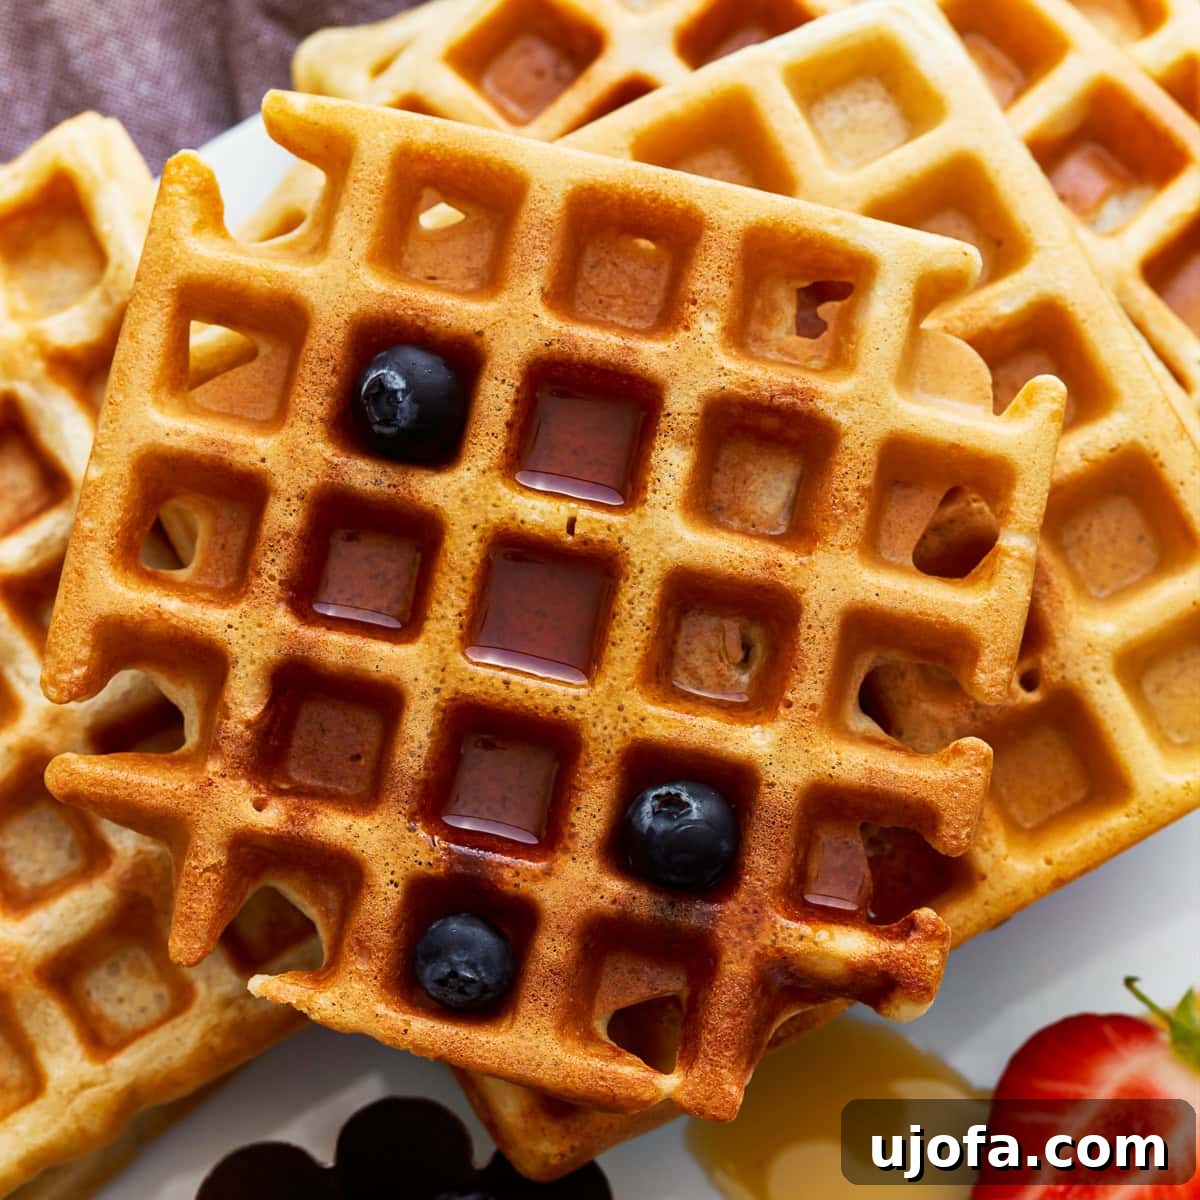
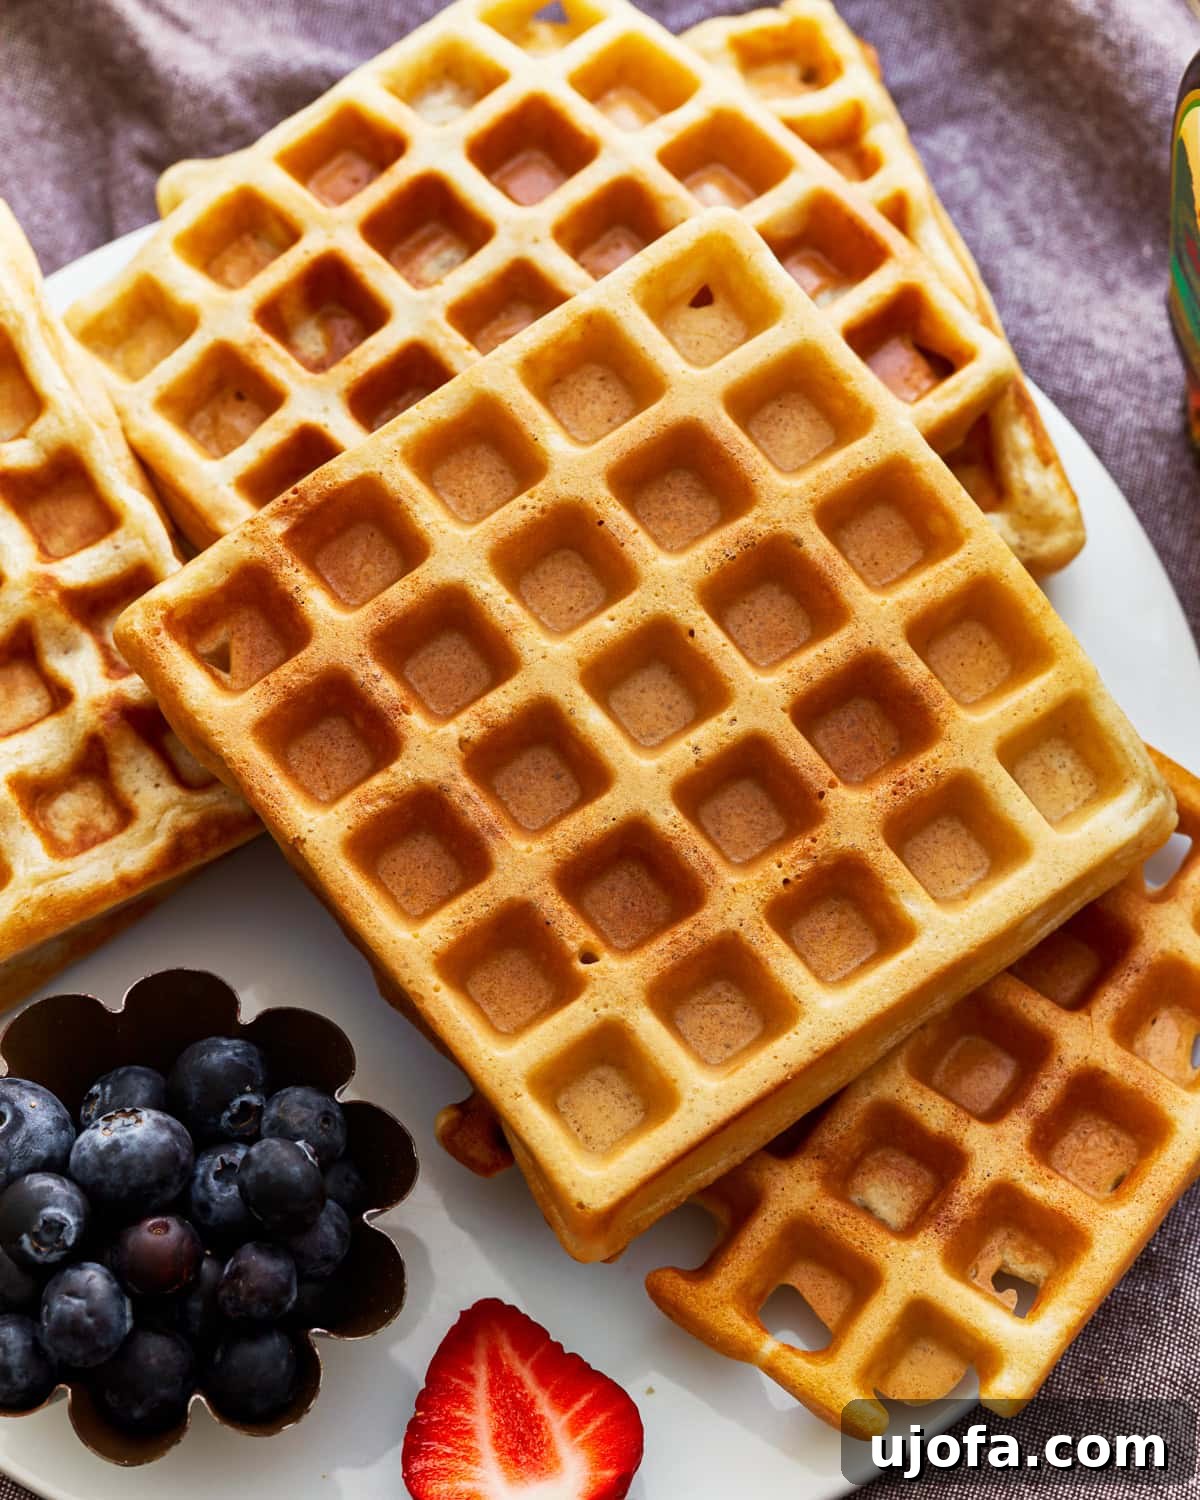
Craving the perfect breakfast treat that fits your gluten-free lifestyle? Look no further! These irresistible gluten-free waffles are truly the best I’ve ever had, consistently delivering a delightful combination of fluffiness on the inside and an enviable crispiness on the outside. Every weekend, my family gathers to enjoy this tried-and-true recipe, and it never disappoints. Say goodbye to dense, crumbly gluten-free baked goods and hello to a golden stack of pure breakfast bliss.
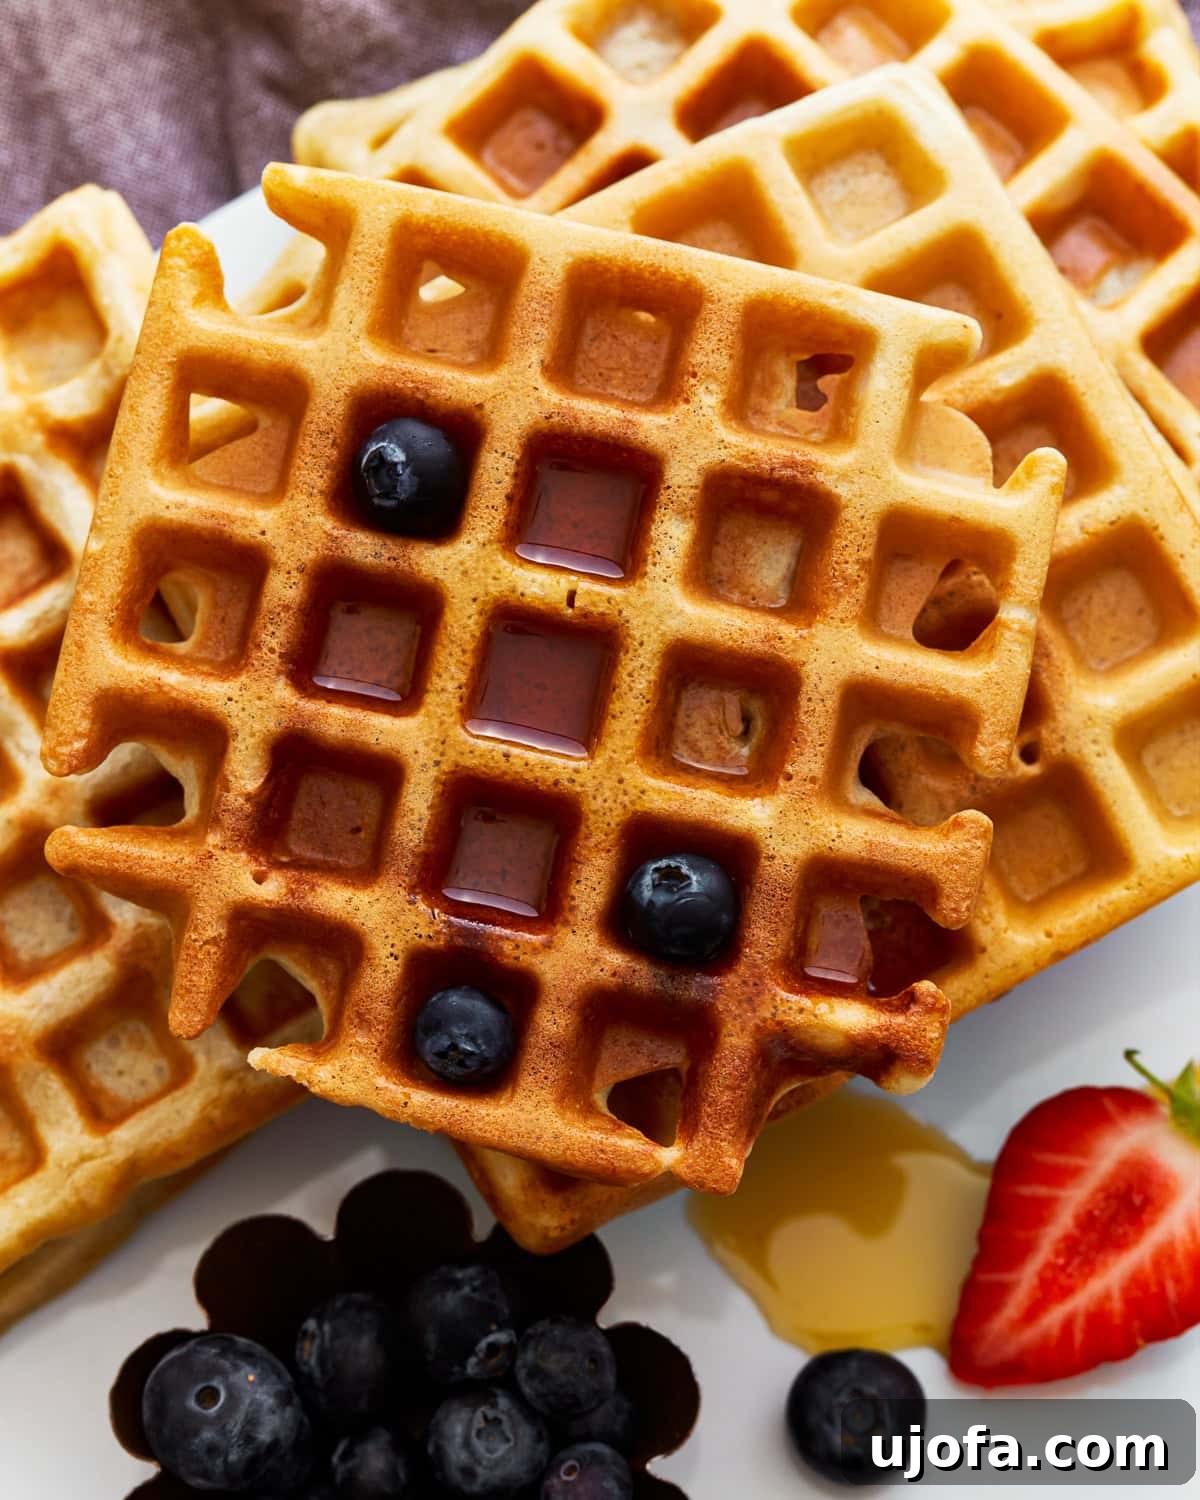
The Ultimate Guide to Fluffy and Crispy Gluten-Free Waffles
Making delicious waffles from scratch can be a challenge, especially when navigating the world of gluten-free baking. Many readers often ask if they can adapt my Easy Gluten-Free Pancakes recipe for waffles. While both are breakfast staples, waffles require a slightly different batter consistency to achieve that signature light, airy interior and perfectly crisp exterior. This dedicated gluten-free waffle recipe has been meticulously developed to ensure optimal results every time, outperforming any pancake batter variation.
One of my favorite aspects of this recipe is its make-ahead convenience. I often prepare a large batch of the dry ingredients and store it in an airtight container in my pantry. This means that on busy mornings or spontaneous weekend brunches, I’m just a few steps away from a fresh batch of homemade gluten-free waffles. This simple trick turns a special breakfast into an effortless routine, allowing you to enjoy warm, delicious waffles in a jiffy without the hassle of measuring every ingredient each time.
Why This is the Best Gluten-Free Waffle Recipe You’ll Find
What makes this particular gluten-free waffle recipe stand out from the rest? It’s a combination of carefully selected ingredients and precise ratios that work harmoniously to create an unparalleled texture and flavor. The key lies in achieving that delicate balance: waffles that are wonderfully soft and tender on the inside, yet satisfyingly golden and crisp on the outside. Unlike many gluten-free recipes that can result in dense or crumbly textures, these waffles consistently bake up light, fluffy, and robust enough to hold up to your favorite toppings without falling apart.
This recipe was crafted with the home baker in mind, aiming for simplicity without compromising on taste or quality. We’ve tackled the common challenges of gluten-free baking head-on, ensuring that even novice cooks can achieve professional-level results. The specific blend of ingredients helps prevent dryness and ensures a moist crumb, while the proper leavening agents provide that delightful puffiness. It’s truly a game-changer for anyone seeking a reliable, delicious gluten-free waffle solution.
Essential Ingredients for Perfect Gluten-Free Waffles
Success in gluten-free baking often starts with understanding your ingredients. Each component in this waffle recipe plays a vital role in creating the ideal texture and flavor profile. Let’s break down what you’ll need to gather:
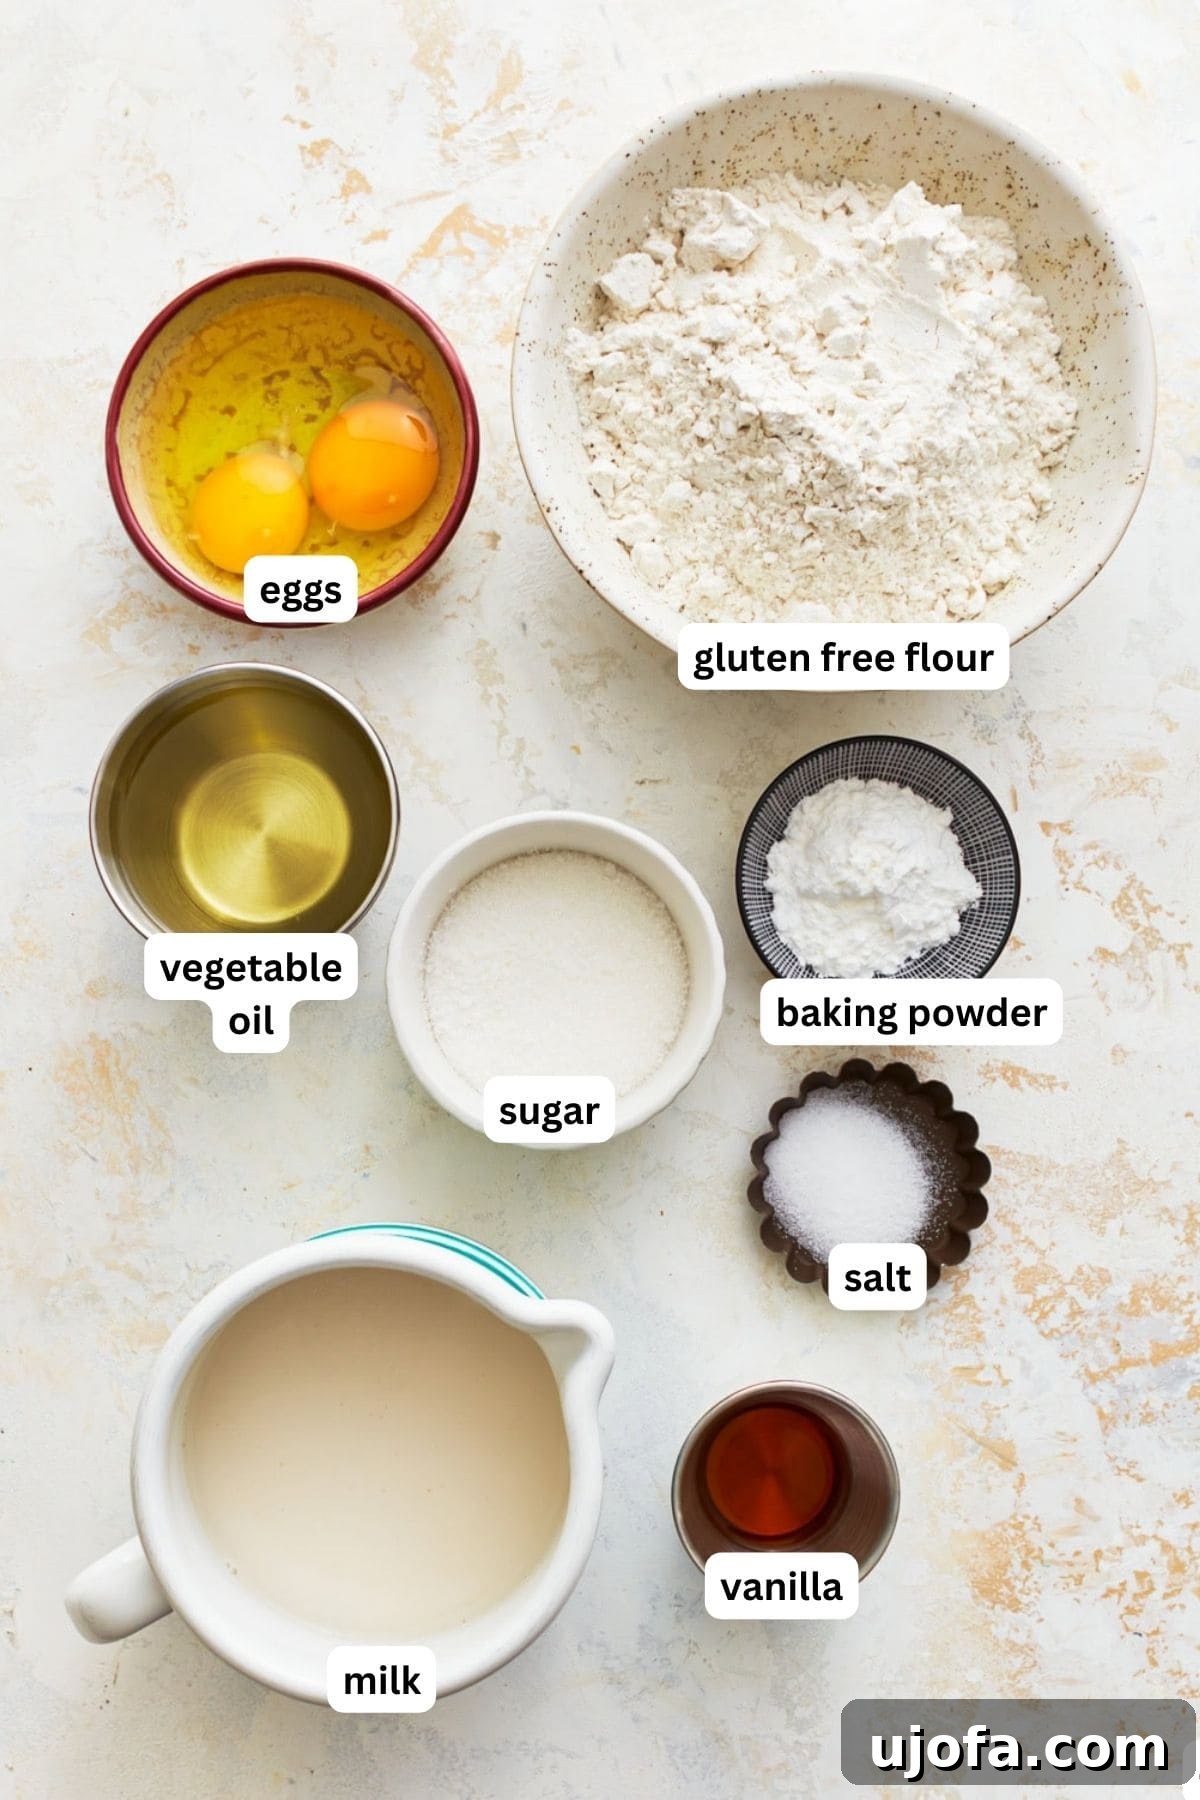
- Granulated Sugar: A touch of sugar does more than just sweeten the waffles; it also contributes to their golden-brown color and helps create that desirable crispy exterior.
- Vegetable Oil: This ingredient is crucial for keeping the waffles wonderfully moist and tender, preventing them from becoming dry or brittle. You can also use melted butter or coconut oil for a different flavor profile.
- Pure Vanilla Extract: A staple in most baked goods, vanilla extract enhances the overall sweetness and adds a warm, inviting aroma to your waffles. Don’t skip it!
- Gluten-Free All-Purpose Flour with Xanthan Gum: This is arguably the most critical ingredient. Not all gluten-free flour blends are created equal. I highly recommend using a high-quality blend that already includes xanthan gum, such as Pillsbury gluten-free flour. The xanthan gum acts as a binder, mimicking the elasticity of gluten and preventing your waffles from crumbling. If your chosen blend does not contain xanthan gum, you’ll need to add a separate half teaspoon. Experimentation with different brands may yield varying results, so finding a blend you trust is key.
- Baking Powder: This powerful leavening agent is what gives the waffles their incredible puffiness and super fluffy texture, making them light and airy. Ensure your baking powder is fresh for optimal rise.
- Salt: Just a pinch of salt is essential to balance the sweetness and enhance the natural flavors of all the other ingredients, bringing everything into perfect harmony.
- Milk: Milk adds richness and provides the necessary moisture to create a tender crumb. For those with dairy sensitivities or following a vegan diet, unsweetened almond milk, cashew milk, or coconut milk are excellent dairy-free alternatives that work beautifully without compromising texture or taste.
- Eggs: Large eggs act as a binding agent, providing structure and richness to the waffle batter. (See section below for egg-free options!)
Pro Tips for Making Irresistible Gluten-Free Waffles
Achieving waffle perfection goes beyond just mixing ingredients. These tips and suggestions will help you master the art of gluten-free waffle making, ensuring fluffy insides and crispy outsides every single time.
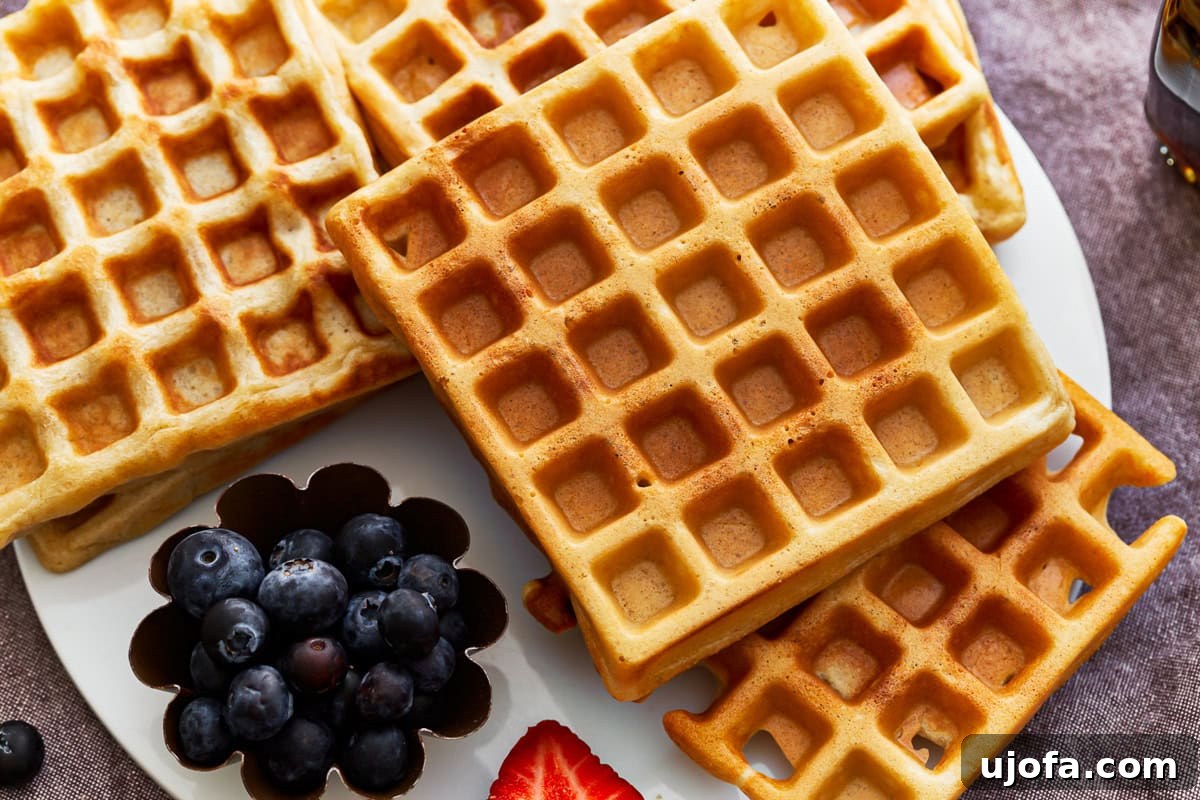
- Allow Your Waffle Maker to Fully Preheat: This is a crucial step for achieving that coveted crispy exterior. A properly heated waffle maker will cook the batter evenly and quickly, forming a delicious crust. If the iron isn’t hot enough, the waffles can steam rather than crisp.
- Master the “Spoon & Level” Method for Gluten-Free Flour: Measuring gluten-free flour accurately is vital to prevent dense or dry waffles. Do not scoop the flour directly from the bag with your measuring cup. Instead, use a spoon to lightly scoop the flour into the measuring cup until it overflows, then use the flat side of a knife or a straight edge to level off the excess. This technique ensures you’re using the correct amount of flour without compacting it.
- Prepare Your Gluten-Free Waffle Mix Ahead of Time: For ultimate convenience, mix all the dry ingredients (gluten-free flour, xanthan gum, baking powder, salt, and granulated sugar) in a large bowl and store it in an airtight container. When you’re ready to make waffles, simply add the wet ingredients. This can save you valuable time, especially on busy mornings.
- Always Grease Your Waffle Maker: Even if your waffle maker claims to be non-stick, a light coating of gluten-free cooking spray or oil before each waffle (or every few waffles) is essential. This prevents sticking and promotes a beautiful golden-brown crispness.
- Use an Ice Cream Scoop for Consistent Portions: An ice cream scoop is your best friend for portioning batter evenly onto the waffle maker. This ensures all your waffles are uniform in size and cook consistently. My waffle maker typically requires two scoops of batter for a full, perfectly shaped waffle. Avoid overfilling, which can lead to messy overflow.
- Don’t Be Afraid to Add Mix-Ins: Elevate your waffles by stirring in your favorite extras like mini chocolate chips, fresh or frozen blueberries (no need to thaw), a sprinkle of cinnamon, or even finely chopped cooked bacon.
- Keep Cooked Waffles Warm and Crispy: If you’re not serving your waffles immediately, preheat your oven to 200°F (95°C). Place the cooked waffles on a parchment-lined baking sheet in a single layer to keep them warm and prevent them from getting soggy while you finish cooking the rest of the batch.
- Verify Your Syrup is Gluten-Free: It’s a small but important detail! Always double-check that your maple syrup or any other syrup you choose is certified gluten-free. Pure maple syrup is always a safe and delicious choice.
Customizing Your Gluten-Free Waffles: Egg-Free and Vegan Options
Dietary restrictions don’t mean sacrificing deliciousness! When my husband developed an egg sensitivity, I embarked on a journey to perfect an egg-free version of these beloved waffles, and I’m thrilled to report great success. For an excellent egg substitute, I recommend using Bob’s Red Mill Gluten-Free Egg Replacer according to package instructions. It integrates seamlessly into the batter, maintaining the desired texture and rise.
To create fully vegan gluten-free waffles, simply combine the egg-free modification with a dairy-free milk alternative. Unsweetened almond, cashew, or coconut milk work wonderfully, providing richness and moisture without any dairy products. This versatility means everyone can enjoy a stack of these golden, fluffy waffles, regardless of their dietary needs.
Unlock Creativity: Exciting Mix-Ins for Gluten-Free Waffles
Waffles are incredibly versatile, serving as a perfect canvas for your culinary imagination. While delightful on their own, adding mix-ins to the batter can transform them into an even more exciting breakfast or brunch item. Here are some fantastic ideas to get you started:
- Chocolate Chips: Classic and always a crowd-pleaser, mini chocolate chips melt into gooey pockets of deliciousness.
- Blueberries: Fresh or frozen blueberries burst with sweet-tart flavor, adding a lovely pop of color and freshness. Gently fold them into the batter just before cooking.
- Brown Sugar and Cinnamon Swirl: For a warm, comforting twist, swirl a mixture of brown sugar and cinnamon into the batter before pouring it into the waffle maker.
- Chopped Cooked Bacon: Add a savory crunch by folding in some finely chopped, crispy cooked bacon pieces. The sweet and savory combination is unexpectedly delicious.
- Nuts: Toasted chopped pecans, walnuts, or almonds can add a wonderful texture and nutty flavor.
- Lemon Zest: For a bright and citrusy waffle, grate some fresh lemon zest into the batter.
- Coconut Flakes: A tropical touch can be achieved by adding shredded coconut.
Elevate Your Waffles: Delicious Topping Ideas
Once your gluten-free waffles are perfectly golden and crispy, it’s time to crown them with an array of delectable toppings. The possibilities are endless, allowing you to customize each serving to your exact cravings. Here are some of my top recommendations for taking your waffles to the next level:
- Fresh Berries and Whipped Cream: A timeless combination! A generous dollop of fluffy whipped cream paired with vibrant fresh strawberries, blueberries, raspberries, or mixed berries adds both beauty and exquisite flavor.
- Pure Maple Syrup or Fruit Syrup: The quintessential waffle topping. Drizzle warm, pure maple syrup for a classic sweet touch. Alternatively, explore fruit syrups like strawberry or peach for a different fruity sweetness.
- Nut Butters: For a protein-packed and satisfying topping, spread a spoonful of creamy peanut butter, almond butter, or cashew butter.
- Chocolate Sauce: Indulge your sweet tooth with a decadent drizzle of chocolate sauce, perfect for a dessert-like breakfast.
- Sliced Bananas: Soft, sweet banana slices complement the waffles wonderfully, especially when paired with a sprinkle of cinnamon.
- Powdered Sugar: A simple dusting of powdered sugar adds an elegant finish and a subtle sweetness.
- Ice Cream: For an ultimate dessert experience, serve warm waffles with a scoop of your favorite vanilla or other flavored ice cream.
- Fruit Compote: Homemade or store-bought fruit compotes (like cherry or apple) offer a rich, cooked fruit flavor.
- Yogurt: A dollop of Greek yogurt or a dairy-free yogurt alternative can add a tangy creaminess and a lighter touch.
- Savory Options: Don’t limit yourself to sweet! Consider topping with fried chicken for a classic chicken and waffles experience, or a fried egg and avocado for a hearty savory meal.
Storage and Freezing Instructions for Gluten-Free Waffles
One of the many benefits of this recipe is how well the waffles store, making them ideal for meal prep or enjoying a quick breakfast throughout the week. Proper storage ensures they retain their flavor and texture for as long as possible.
- Refrigeration: Allow any leftover gluten-free waffles to cool completely to room temperature. Store them in an airtight container in the refrigerator for up to 3 days. Reheat gently in a toaster, toaster oven, or microwave until warm.
- Freezing for Longer Storage: These waffles freeze beautifully for up to 3 months, offering a convenient grab-and-go breakfast option.
- Cool Completely: Ensure the waffles are entirely cooled after cooking. Warm waffles will create condensation and become soggy when frozen.
- Flash Freeze: Arrange the cooled waffles in a single layer on a parchment-lined baking sheet. Place the baking sheet in the freezer for about 10-15 minutes, or until the waffles are firm. This “flash freezing” step prevents them from sticking together when stored in a bag or container.
- Store: Once flash-frozen, transfer the waffles from the baking sheet into a freezer-safe zip-top bag or an airtight container. Remove as much air as possible to prevent freezer burn.
- Reheat from Frozen: To reheat, you can pop them directly into a toaster on a medium setting for crispness, warm them in a toaster oven at 350°F (175°C) for about 5-10 minutes, or microwave them for 30-60 seconds (though microwaving may result in a softer texture).
Gluten-Free Waffles: The Complete Recipe
Here’s the comprehensive recipe for these delightful gluten-free waffles, designed for ease and delicious results every time. It’s a family favorite that consistently delivers soft, fluffy interiors and perfectly crisp exteriors.
Gluten-Free Waffles
This recipe consistently receives high praise, with an average rating of 4.91 out of 5 stars from over 200 satisfied users.
- By: Audrey Roberts
- Yields: 6 servings
- Prep time: 10 minutes
- Cook time: Approximately 2 minutes per waffle (total 12 minutes for 6 waffles)
- Total time: 12 minutes
- Pin Recipe | Print Recipe
Ingredients
- 2 large eggs
- 1/4 cup granulated sugar
- 2 teaspoons pure vanilla extract
- 1/2 cup vegetable oil
- 2 cups gluten-free all-purpose flour with xanthan gum (e.g., Pillsbury gluten-free flour)
- 1/2 teaspoon xanthan gum (omit if your flour blend already contains it)
- 4 teaspoons gluten-free baking powder
- 1/4 teaspoon salt
- 1 3/4 cup milk
Instructions
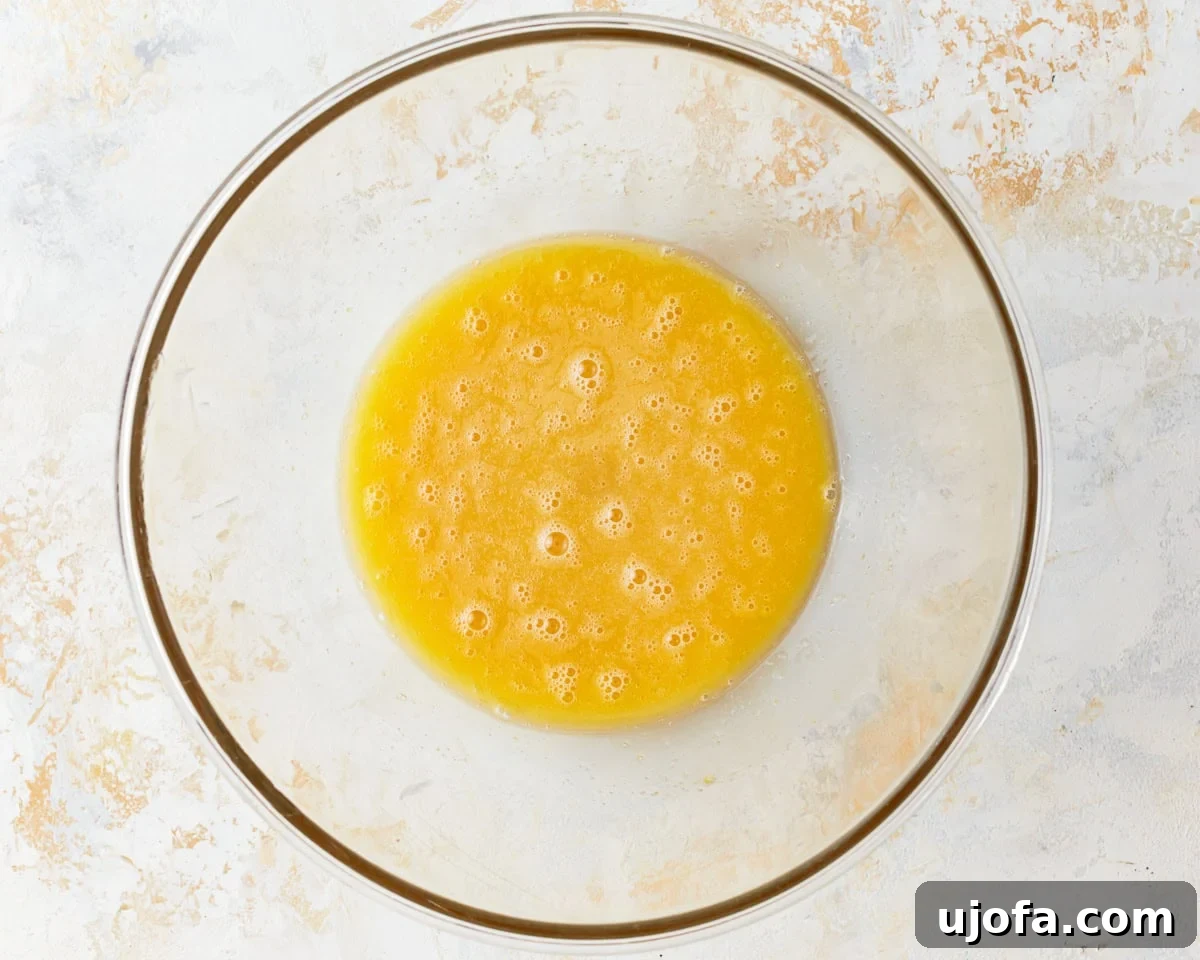
- In a large bowl, whisk together the eggs (or egg replacer), granulated sugar, pure vanilla extract, and vegetable oil until well combined and slightly frothy.
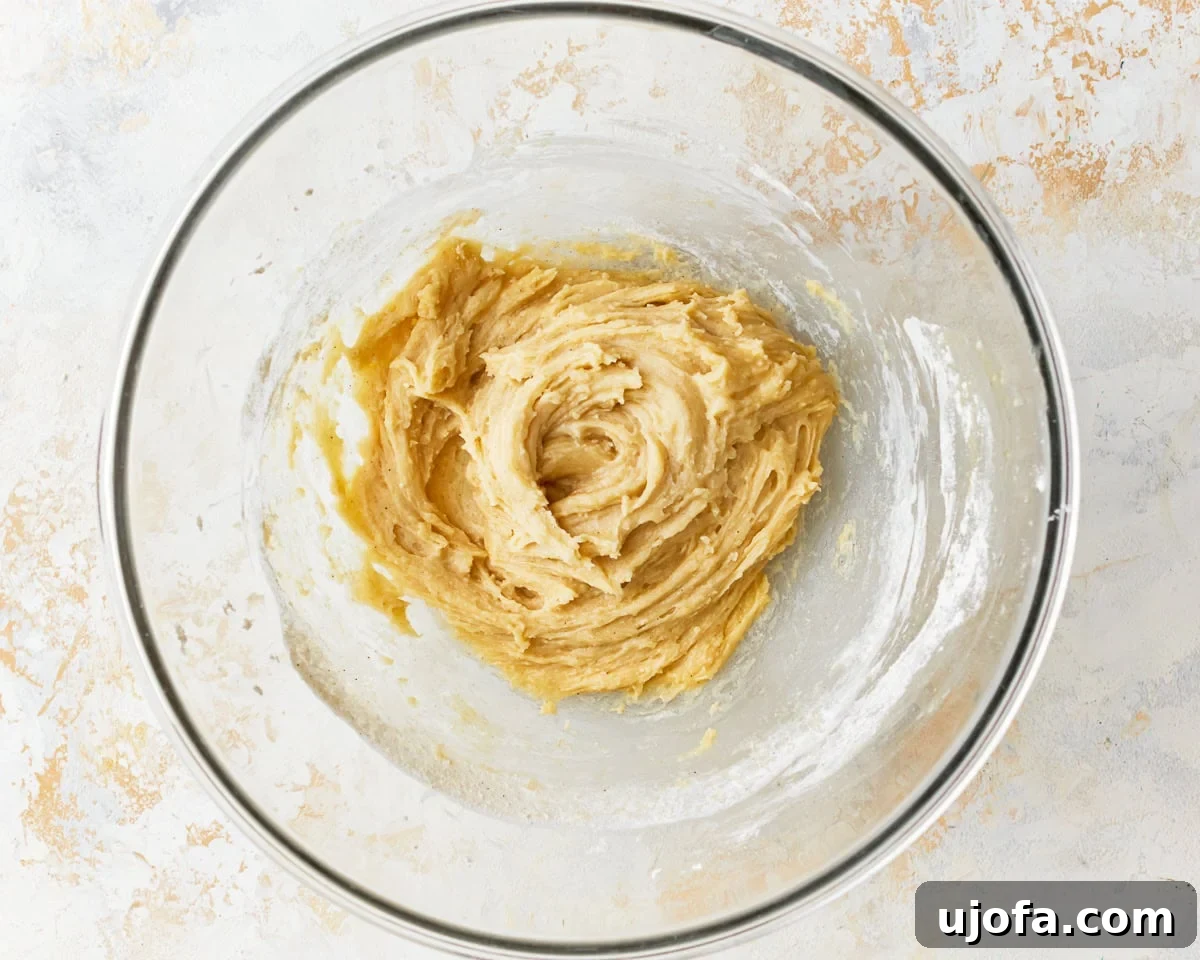
- Add the gluten-free flour, xanthan gum (if needed), gluten-free baking powder, and salt to the wet egg mixture. Mix thoroughly until the batter is fully combined and smooth.
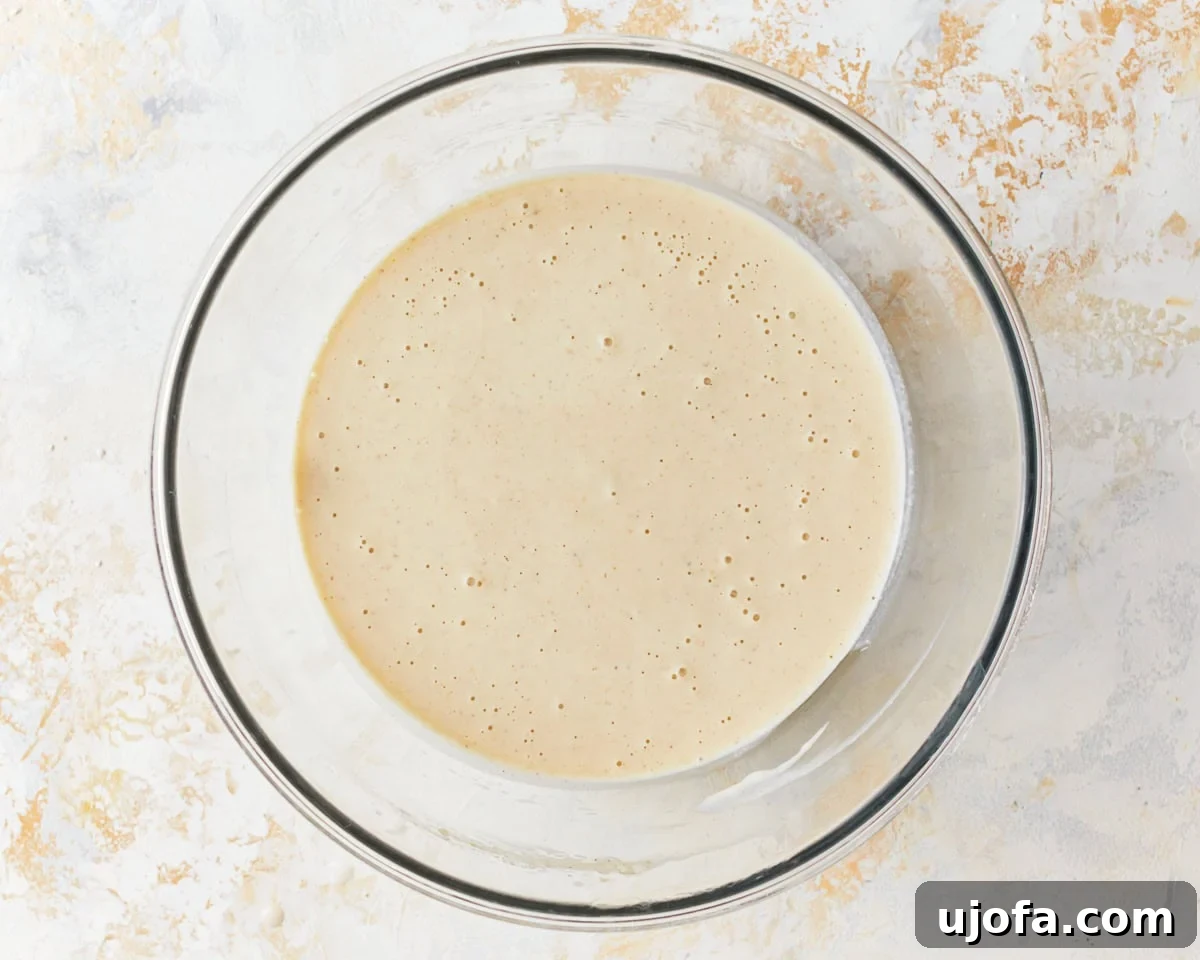
- Stir in the milk and continue to mix until the batter is smooth and free of lumps. Be careful not to overmix, as this can lead to tougher waffles.
- Preheat your waffle maker according to the manufacturer’s instructions. Once heated, lightly grease the waffle plates with gluten-free cooking spray or oil before adding batter.
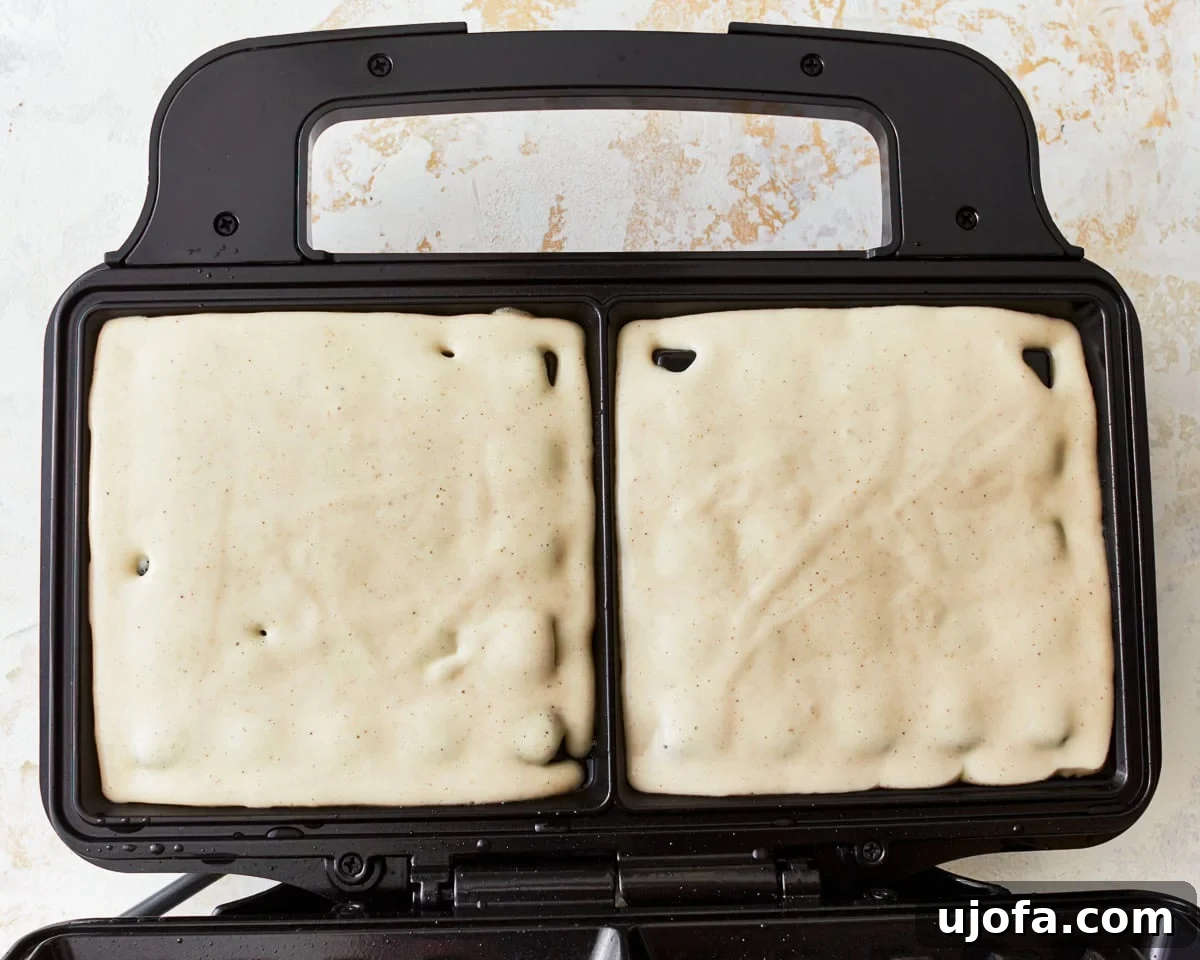
- Using an ice cream scoop (typically 2 scoops, depending on your waffle maker size), pour the batter onto the center of the preheated and greased waffle maker.
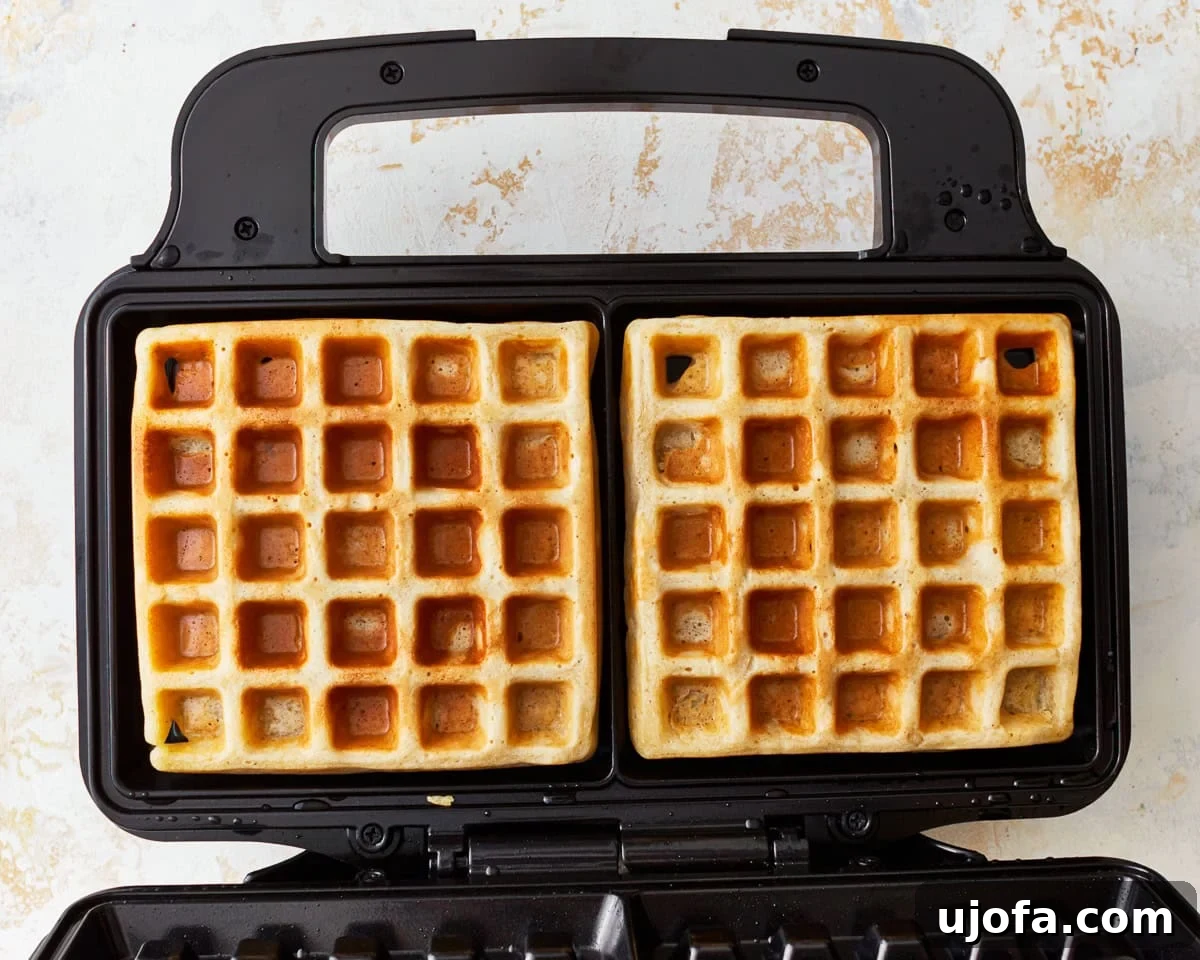
- Close the waffle maker and cook the waffles until they are golden brown and crispy, or according to your waffle maker’s specific directions.
- Carefully remove the cooked waffles and serve immediately. Top with butter, syrup, fresh berries, or your favorite waffle topping.
- Store any leftover waffles in an airtight container.
Recipe Notes
- Flour Blend: I prefer Pillsbury gluten-free flour. Remember that gluten-free flour blends vary significantly, and results may differ based on your chosen brand.
- Accurate Flour Measurement: Always use the “spoon & level” method for gluten-free flour. Spoon flour into the measuring cup, then level off the top with the back of a knife. Avoid scooping directly from the bag to prevent over-measuring, which can lead to dry waffles.
- Dairy-Free Option: For dairy-free waffles, substitute regular milk with unsweetened almond, cashew, or coconut milk.
- Egg-Free/Vegan Option: For egg-free and vegan waffles, use Bob’s Red Mill Gluten-Free Egg Replacer as instructed on its packaging, alongside a dairy-free milk alternative.
- Mix-Ins: Feel free to add your favorite mix-ins to the batter, such as chocolate chips, blueberries, or a sprinkle of cinnamon.
- Gluten-Free Syrup: Always ensure your syrup is gluten-free. Pure maple syrup is an excellent choice.
- Freezing Waffles: To freeze, let waffles cool completely. Flash freeze on a parchment-lined baking sheet for 10 minutes to prevent sticking, then transfer to a freezer-safe bag or container for up to 3 months. Reheat in a toaster, oven, or microwave.
Nutrition Information (Per 1 Waffle Serving, Approximate)
- Calories: 403 kcal
- Carbohydrates: 44g
- Protein: 8g
- Fat: 23g
- Saturated Fat: 16g
- Cholesterol: 77mg
- Sodium: 168mg
- Potassium: 928mg
- Fiber: 4g
- Sugar: 13g
- Vitamin A: 215 IU
- Calcium: 464 mg
- Iron: 2.4 mg
Nutrition information is an approximation calculated automatically and should be used as a general guide.
Additional Recipe Information
- Course: Breakfast
- Cuisine: American
Visual Guide: How To Make Gluten-Free Waffles Step-by-Step
For those who benefit from a visual walkthrough, these step-by-step images will guide you through the process of creating flawless gluten-free waffles. Follow along to ensure every stage is executed perfectly.
Frequently Asked Questions About Gluten-Free Waffles
To help you confidently bake the best gluten-free waffles, here are answers to some common questions:
What makes gluten-free waffles different from regular waffles?
The primary difference lies in the flour. Regular waffles use wheat flour, which contains gluten, a protein that provides elasticity and structure. Gluten-free waffles use a blend of alternative flours (like rice, tapioca, potato starch) and often require an added binder like xanthan gum to mimic gluten’s properties. This ensures the waffles hold together and achieve a desirable fluffy, yet crispy texture without being crumbly or dense.
Can I use any gluten-free flour blend?
While many all-purpose gluten-free flour blends are available, their compositions can vary greatly. Some blends might be heavier or lighter, and they may or may not include xanthan gum. For best results with this recipe, I recommend using a high-quality, all-purpose gluten-free flour blend that already contains xanthan gum, such as Pillsbury gluten-free flour. If your chosen blend does not include it, be sure to add the specified 1/2 teaspoon of xanthan gum to the dry ingredients to achieve the correct texture and prevent crumbling.
How do I make my gluten-free waffles extra crispy?
Several factors contribute to crispy waffles:
- Proper Preheat: Always let your waffle maker fully preheat before adding batter.
- Grease Adequately: Lightly grease the waffle plates before each use.
- Don’t Overfill: Use the right amount of batter. Overfilling can lead to uneven cooking and less crispiness.
- Cook Until Golden: Don’t remove waffles prematurely. Let them cook until they are deep golden brown and the steam subsides significantly.
- Keep Warm in Oven: If making a large batch, keep cooked waffles on a wire rack in a single layer in a 200°F (95°C) oven to maintain crispness while you finish cooking.
Can I use this recipe for gluten-free pancakes instead?
While both are breakfast favorites, waffle batter typically has a higher fat content and less liquid than pancake batter, resulting in a thicker consistency that yields a crispy exterior when cooked in a waffle iron. While you could technically make pancakes with this batter, for the best gluten-free pancakes, I recommend using a recipe specifically designed for pancakes, as it will likely result in a lighter, fluffier pancake texture.
Discover More Delicious Gluten-Free Breakfast Recipes!
If you’ve fallen in love with these gluten-free waffles, you’re in for a treat! Explore more fantastic gluten-free breakfast and brunch options that are equally delicious and easy to make:
- Gluten-Free Crepes: Delicate and versatile, perfect for sweet or savory fillings.
- Gluten-Free Cinnamon Rolls: A warm, gooey, and irresistible classic for a cozy morning.
- Gluten-Free Biscuits: Flaky and tender, ideal for breakfast sandwiches or alongside gravy.
- Easy Gluten-Free Blueberry Banana Muffins: A wholesome and flavorful treat, perfect for grab-and-go breakfasts.
Enjoy Your Perfect Gluten-Free Waffles!
We hope this comprehensive guide inspires you to whip up a batch of these incredible gluten-free waffles. They are a testament to how delicious and satisfying gluten-free baking can be, proving that dietary restrictions don’t have to limit your culinary adventures. Whether you’re enjoying them plain, loaded with fruit, or drizzled with rich maple syrup, these homemade waffles are sure to become a cherished part of your family’s breakfast tradition. Don’t forget to share your creations and tag us on social media!