
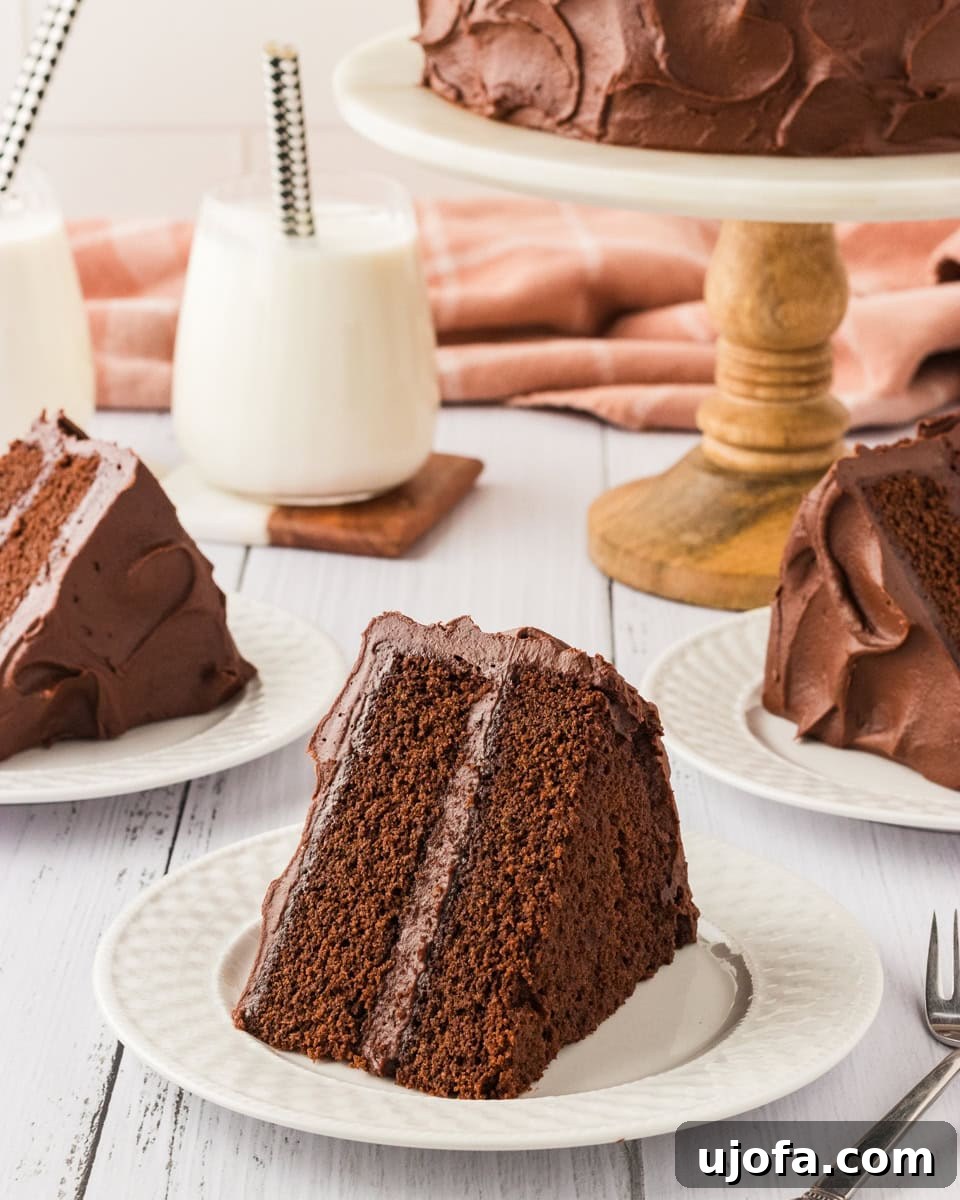
There are many chocolate cakes out there, but this **easy gluten-free chocolate cake recipe** stands out as an absolute favorite. Imagine a dessert that’s rich, intensely chocolaty, incredibly moist, and wonderfully fudgy, with a depth of flavor that would make anyone forget it’s entirely gluten-free. Whether you’re planning a special occasion and need a show-stopping gluten-free dessert or simply craving a fuss-free, decadent treat, this quick and simple chocolate cake is the answer. Get ready to bake a cake that promises pure chocolate bliss in every bite.
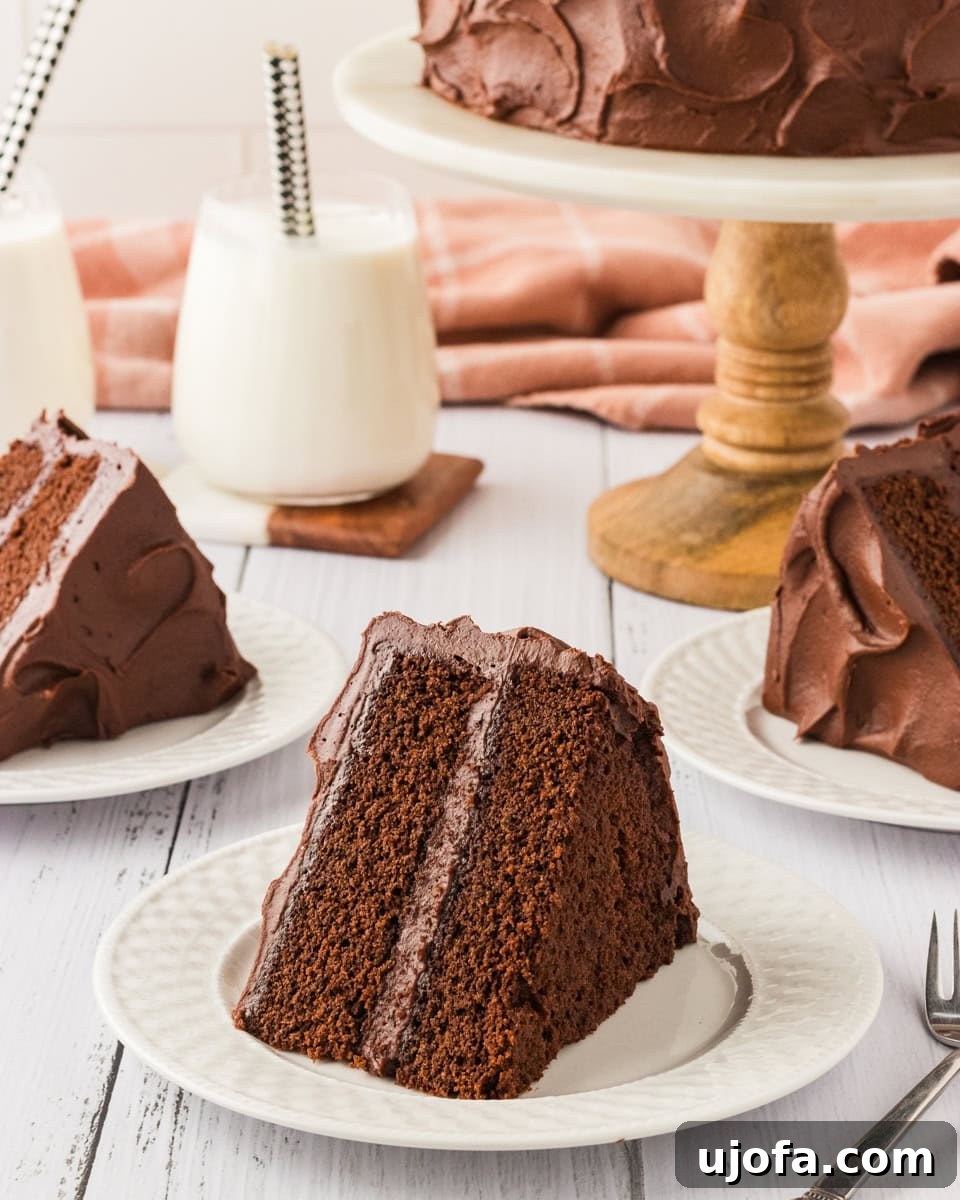
The Ultimate Moist & Fudgy Gluten-Free Chocolate Cake
When the craving for a truly indulgent and utterly decadent dessert strikes, but you want to avoid a ton of effort, this exceptionally moist and fudgy chocolate cake is my go-to. It embodies everything a perfect chocolate cake should be: deep, luxurious chocolate flavor, a tender crumb, and an incredibly satisfying texture that melts in your mouth. This recipe isn’t just a gluten-free alternative; it’s a magnificent chocolate cake in its own right, guaranteed to impress even the most discerning palates.
This versatile cake is perfect for any celebration, from a birthday bash to a romantic Valentine’s Day treat. It’s a testament to how simple gluten-free baking can be without compromising on taste or texture. You’ll find yourself reaching for this recipe again and again, delighting friends and family with a dessert so good, they won’t believe it’s gluten-free.
Easy Gluten-Free Chocolate Cake Recipe
By: Julia Elizabeth
Servings: 16 servings
Prep Time: 30 mins
Cook Time: 30 mins
Total Time: 1 hr
This gluten-free chocolate cake is rich, decadent, incredibly moist, and fudgy, with a deep chocolate flavor that no one would guess is gluten-free. It’s perfect for any occasion!
Equipment
- 2 9″ cake pans
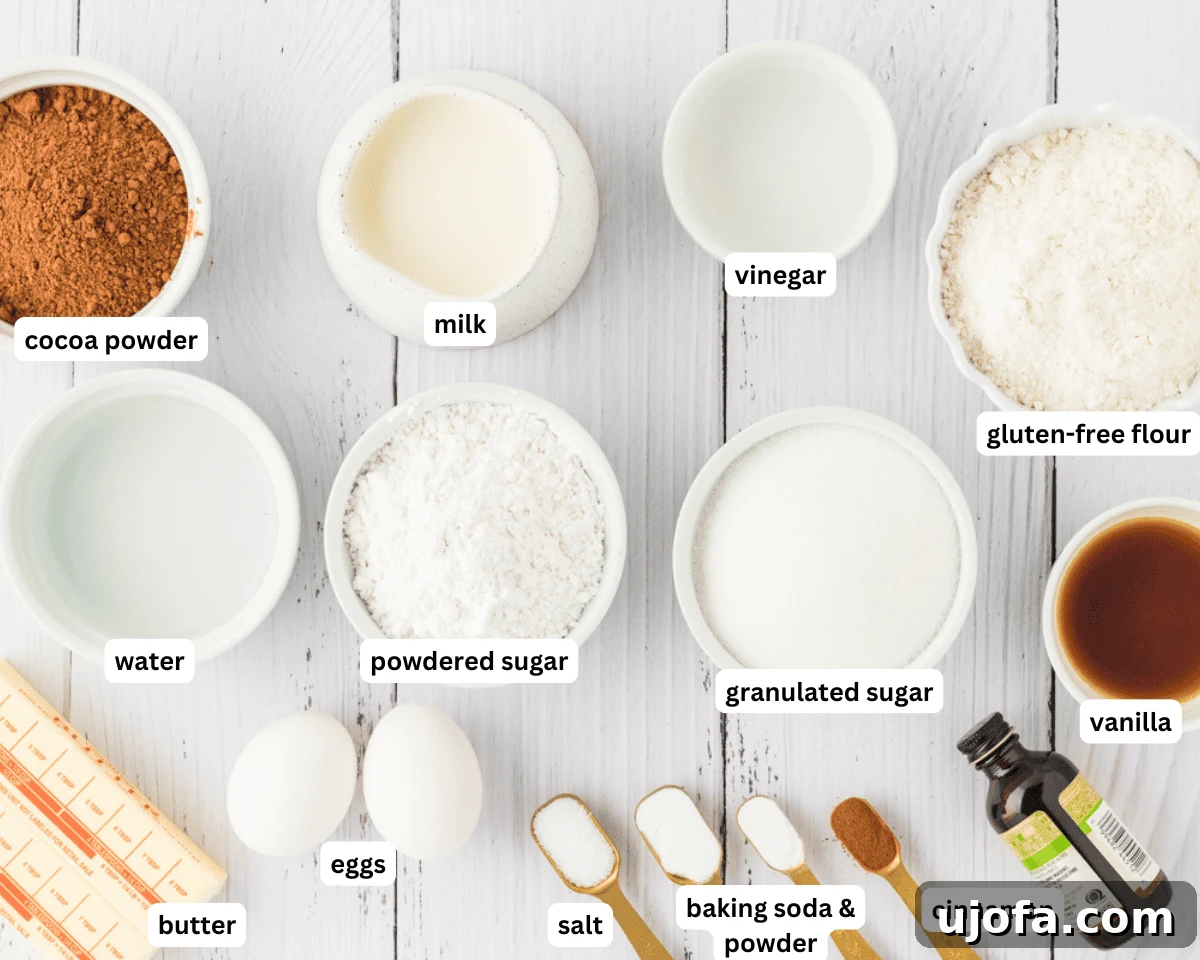
Ingredients
For the Cake
- 1 cup milk (For a dairy-free option, use unsweetened almond milk)
- 1 tablespoon white vinegar or lemon juice
- 2 cups all-purpose gluten-free flour with xanthan gum (I recommend Pillsbury gluten-free, but results may vary with different blends)
- 1/2 teaspoon gluten-free baking powder
- 1 teaspoon baking soda
- 1 teaspoon salt
- 1/2 teaspoon ground cinnamon (optional, enhances chocolate flavor)
- 3/4 cup unsweetened cocoa powder
- 9 tablespoons unsalted butter, softened (1/2 cup plus 1 tablespoon. For a dairy-free option, use Smart Balance butter)
- 2 cups granulated sugar
- 1 teaspoon pure vanilla extract
- 2 large eggs
- 3/4 cup boiling water
For the Chocolate Buttercream Frosting
- 1 cup unsalted butter, softened (For a dairy-free option, use Smart Balance butter)
- 2 teaspoons pure vanilla extract
- 1/4 teaspoon pure almond extract (optional, for a subtle flavor boost)
- 1 cup unsweetened cocoa powder
- 1 pinch salt
- 4 cups powdered sugar
- 3 tablespoons milk (For a dairy-free option, use unsweetened almond milk)
Instructions
Making the Cake
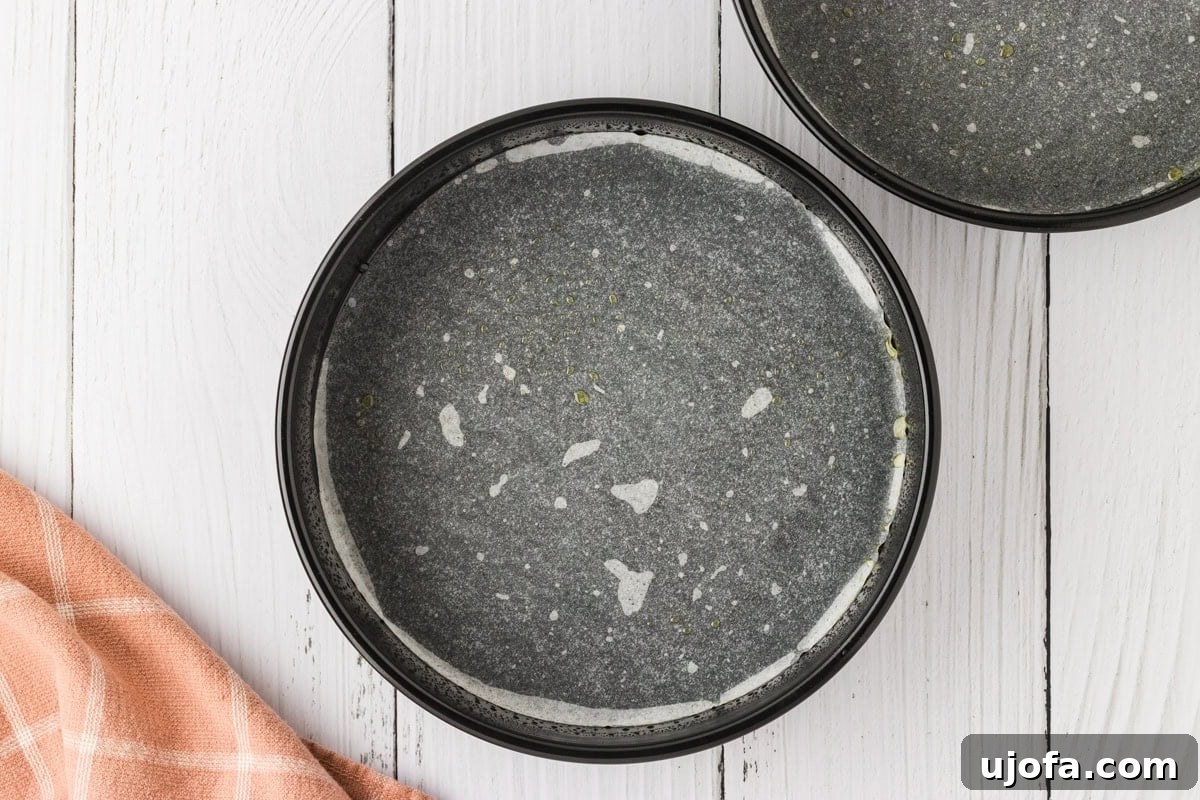
- Preheat Oven & Prepare Pans: Preheat your oven to 350°F (177°C). Cut parchment paper to line the bottoms of two 9-inch round cake pans. Lightly spray the pans with gluten-free cooking spray (coconut oil spray works wonderfully). Place the parchment circles inside.
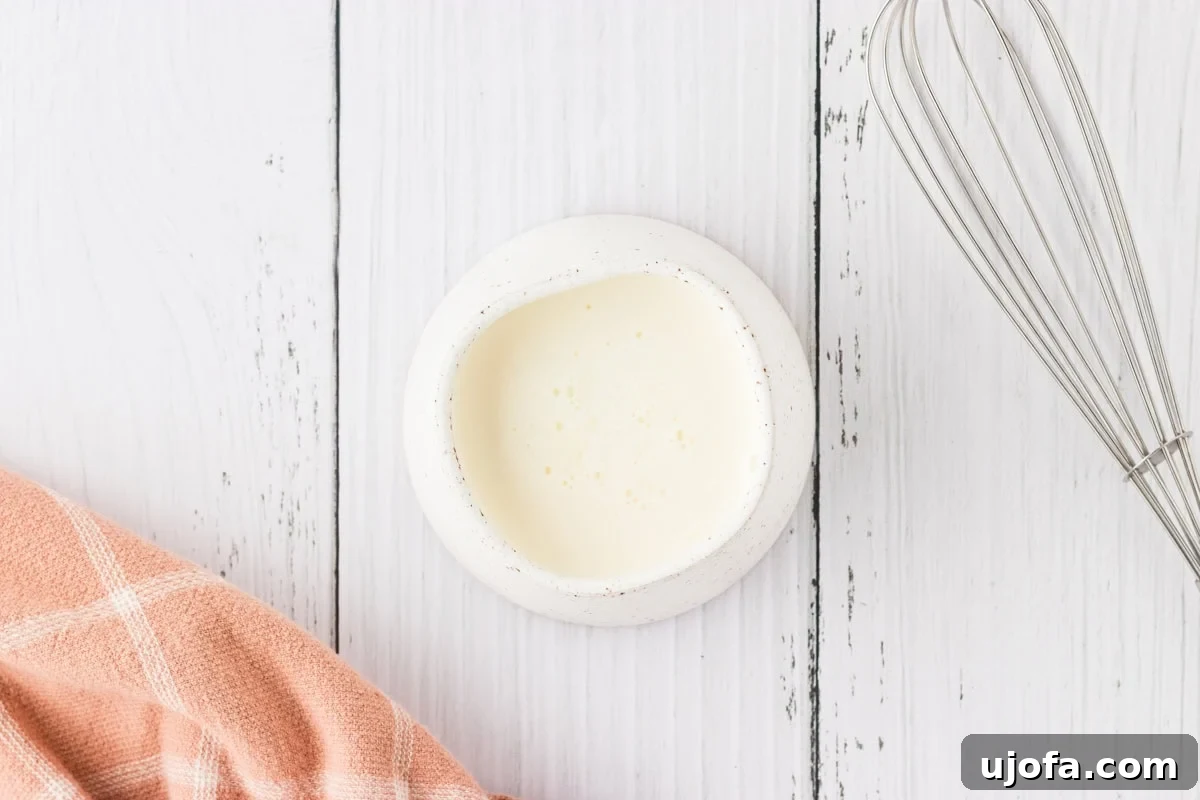
- Prepare Homemade Buttermilk: In a small bowl or glass measuring cup, combine 1 cup of milk (or dairy-free milk) and 1 tablespoon of white vinegar or lemon juice. Let it sit for 5-10 minutes to curdle, creating a homemade buttermilk that adds moisture and tenderness to the cake.
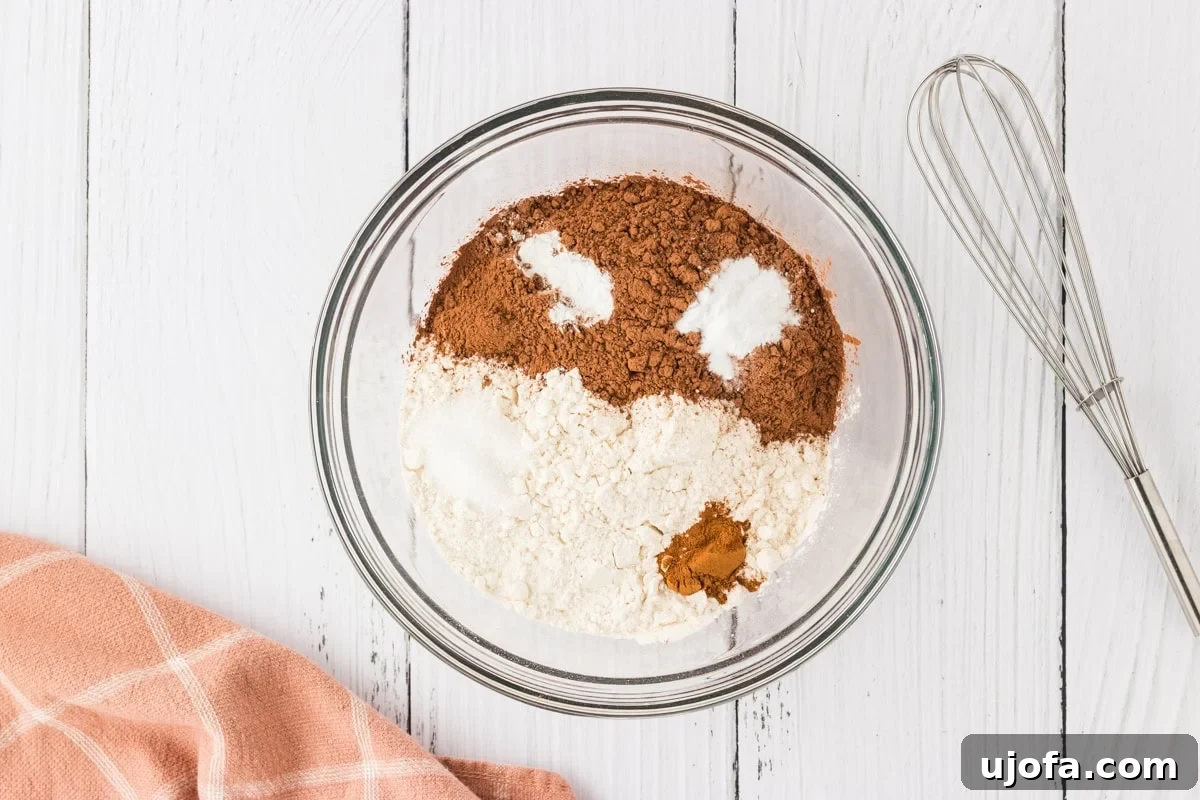
- Combine Dry Ingredients: In a medium-sized mixing bowl, whisk together the 2 cups of gluten-free flour, 1/2 teaspoon gluten-free baking powder, 1 teaspoon baking soda, 1 teaspoon salt, 1/2 teaspoon ground cinnamon (if using), and 3/4 cup unsweetened cocoa powder. Ensure there are no lumps and the ingredients are well-distributed.
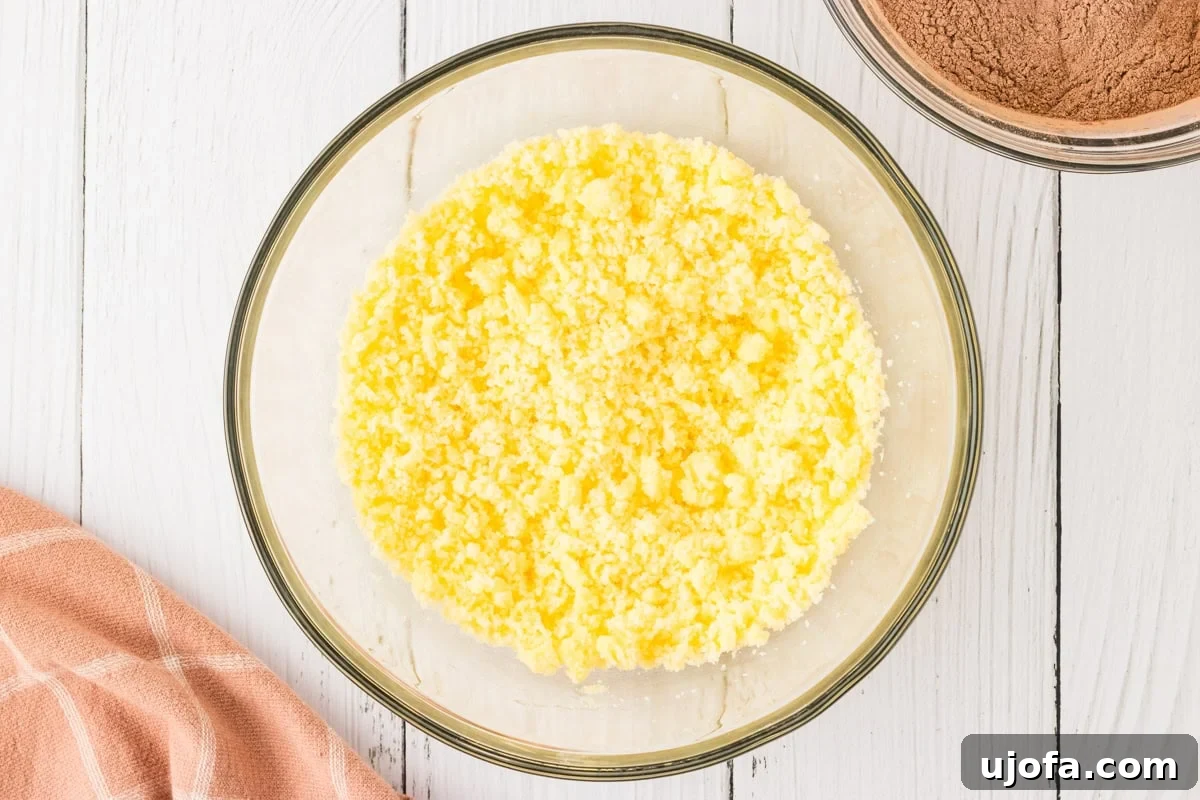
- Cream Butter & Sugar: In a large mixing bowl, using either a stand mixer with the paddle attachment or a hand mixer, cream together the 9 tablespoons of softened unsalted butter and 2 cups of granulated sugar until the mixture is light, fluffy, and pale in color. This usually takes about 3-5 minutes.
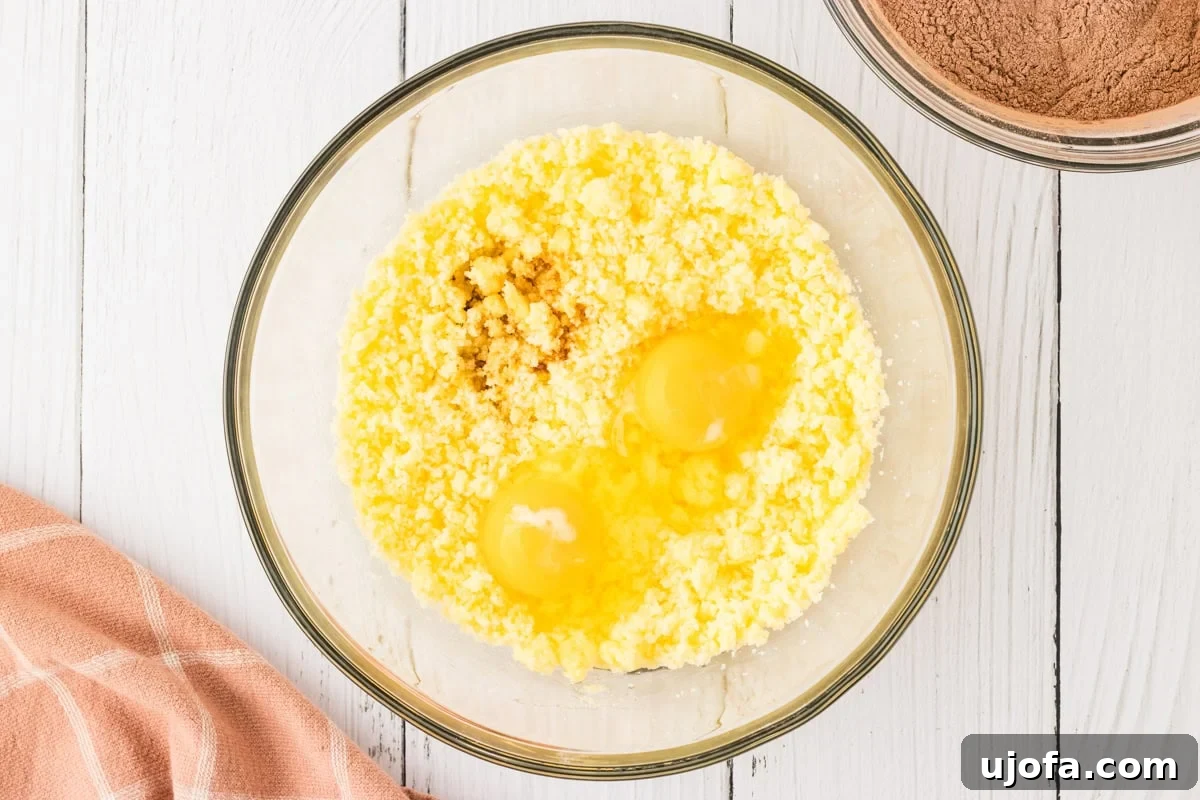
- Add Eggs & Vanilla: Beat in the 2 large eggs one at a time, ensuring each is fully incorporated before adding the next. Stir in the 1 teaspoon of pure vanilla extract. Continue mixing until the mixture is smooth and well-combined.
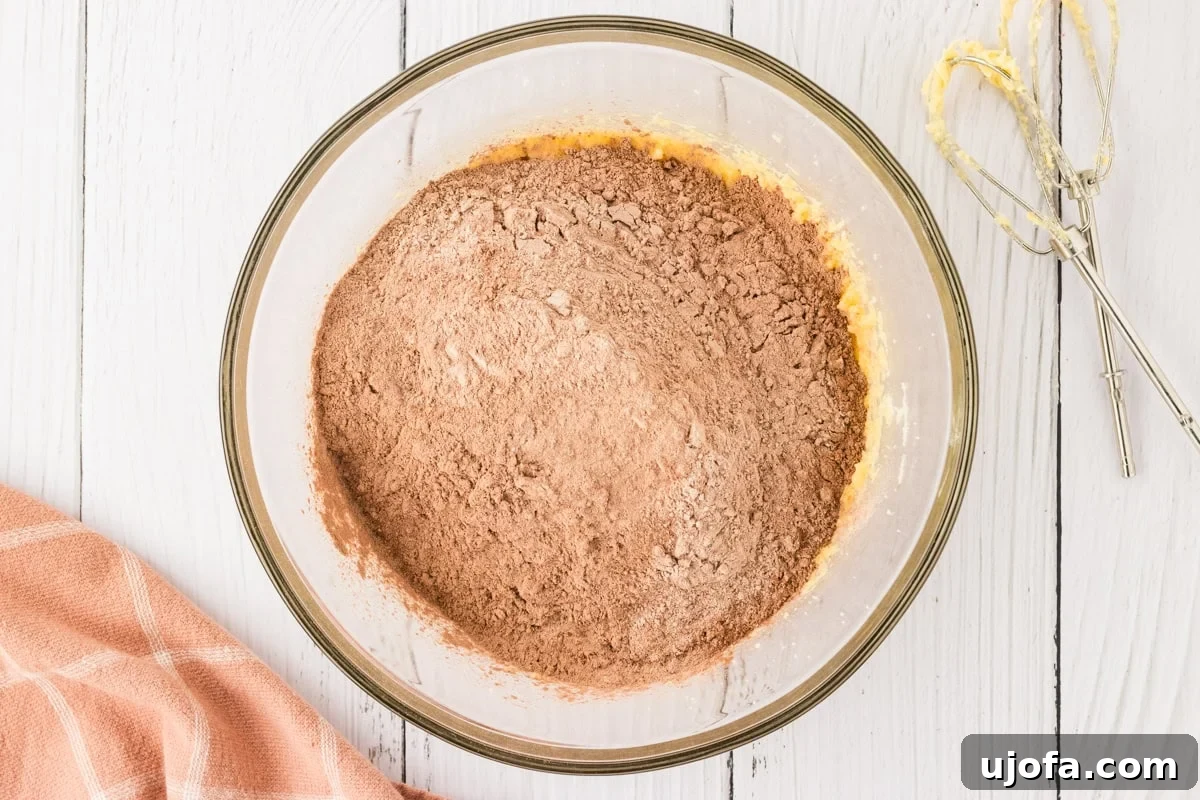
- Alternate Wet & Dry Mixtures: Gradually add the dry flour mixture to the butter-egg mixture, mixing on low speed until just combined. Do not overmix. Scrape down the sides of the bowl with a spatula as needed to ensure everything is incorporated.
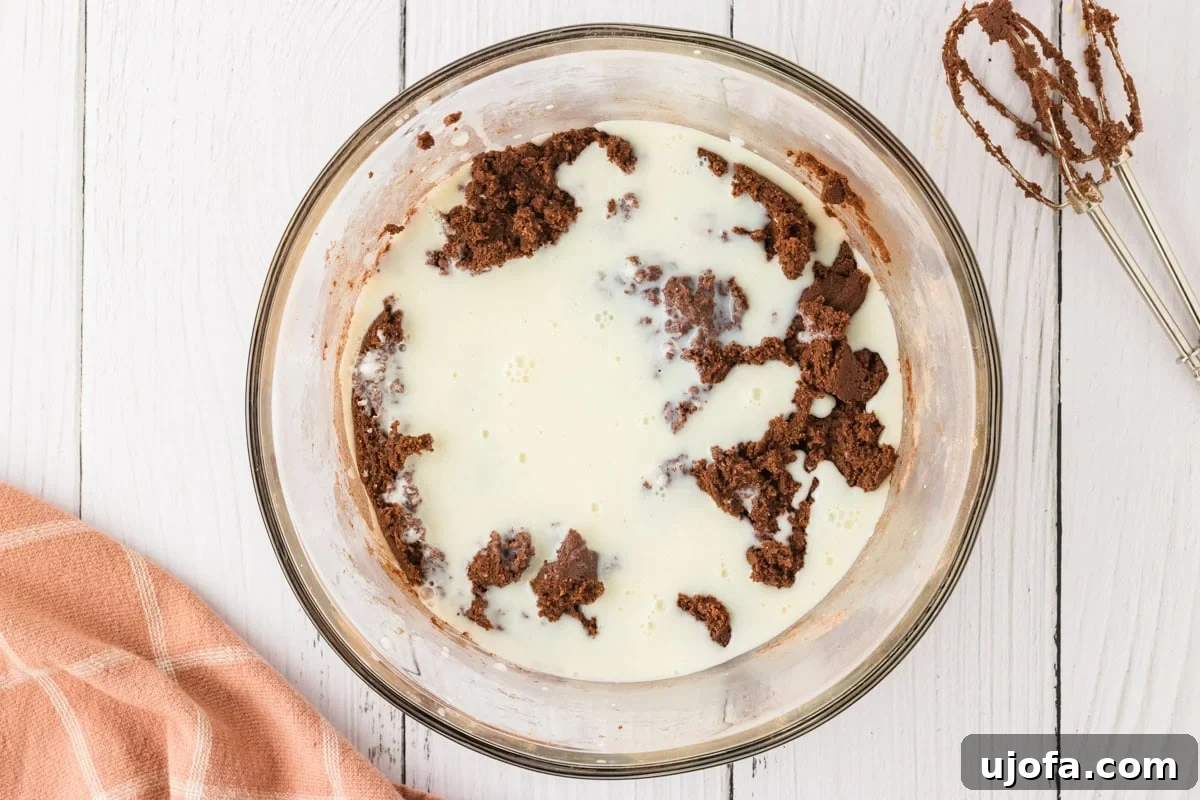
- Incorporate Buttermilk: Pour the prepared homemade buttermilk into the cake batter. Mix on low speed until the buttermilk is fully blended into the batter.
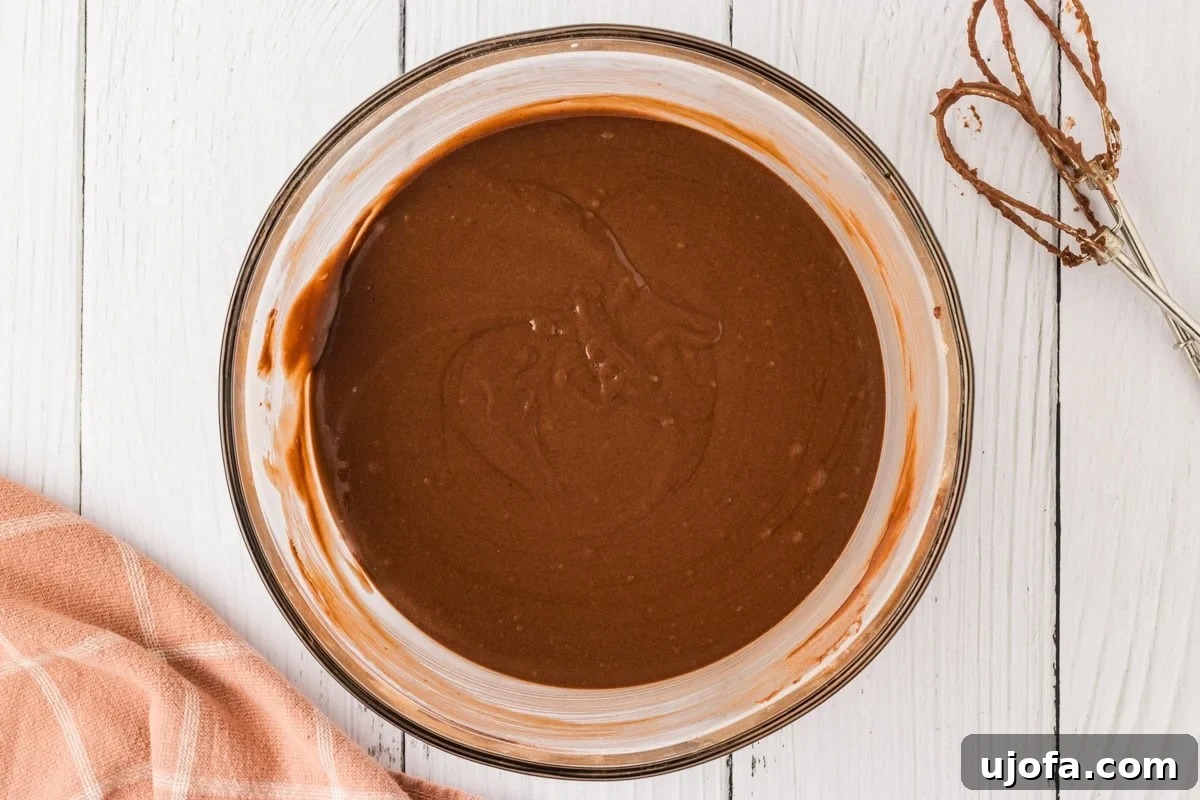
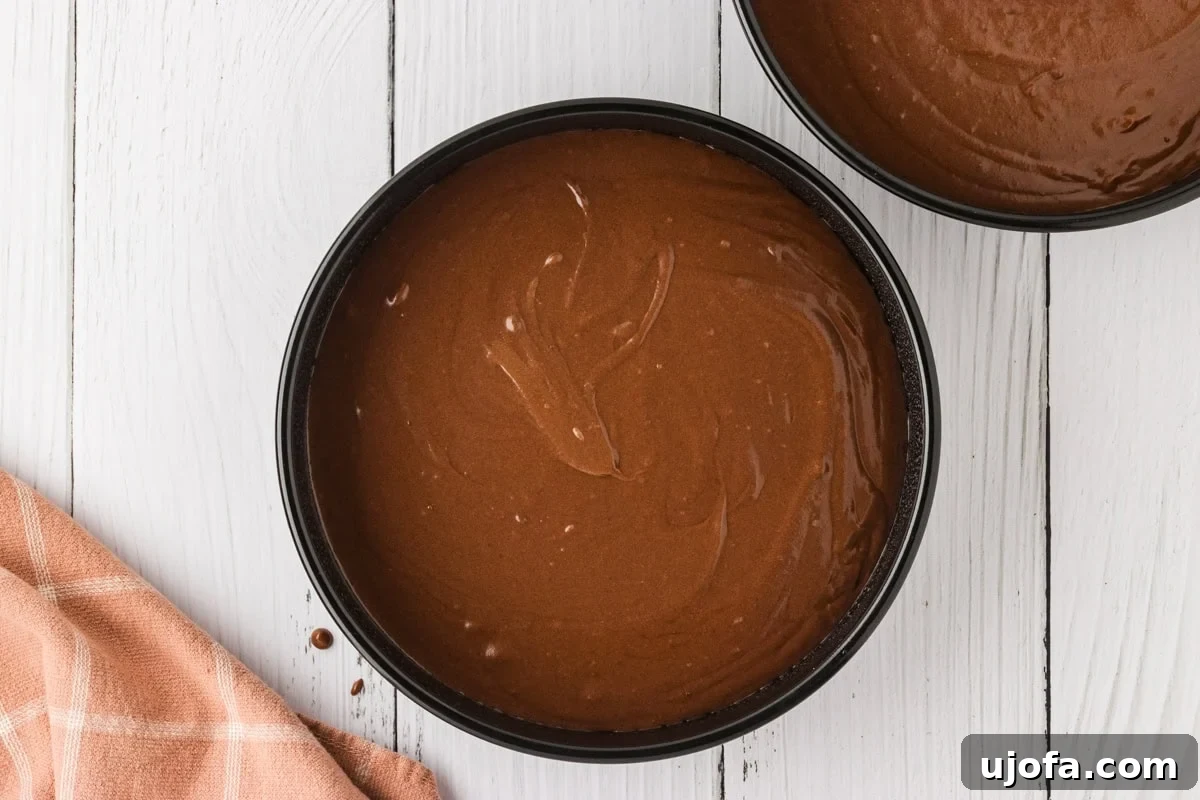
- Add Boiling Water: Carefully add the 3/4 cup of boiling water to the batter. Mix gently until fully combined. The batter will be thin, which is normal for this recipe, ensuring a supremely moist crumb.
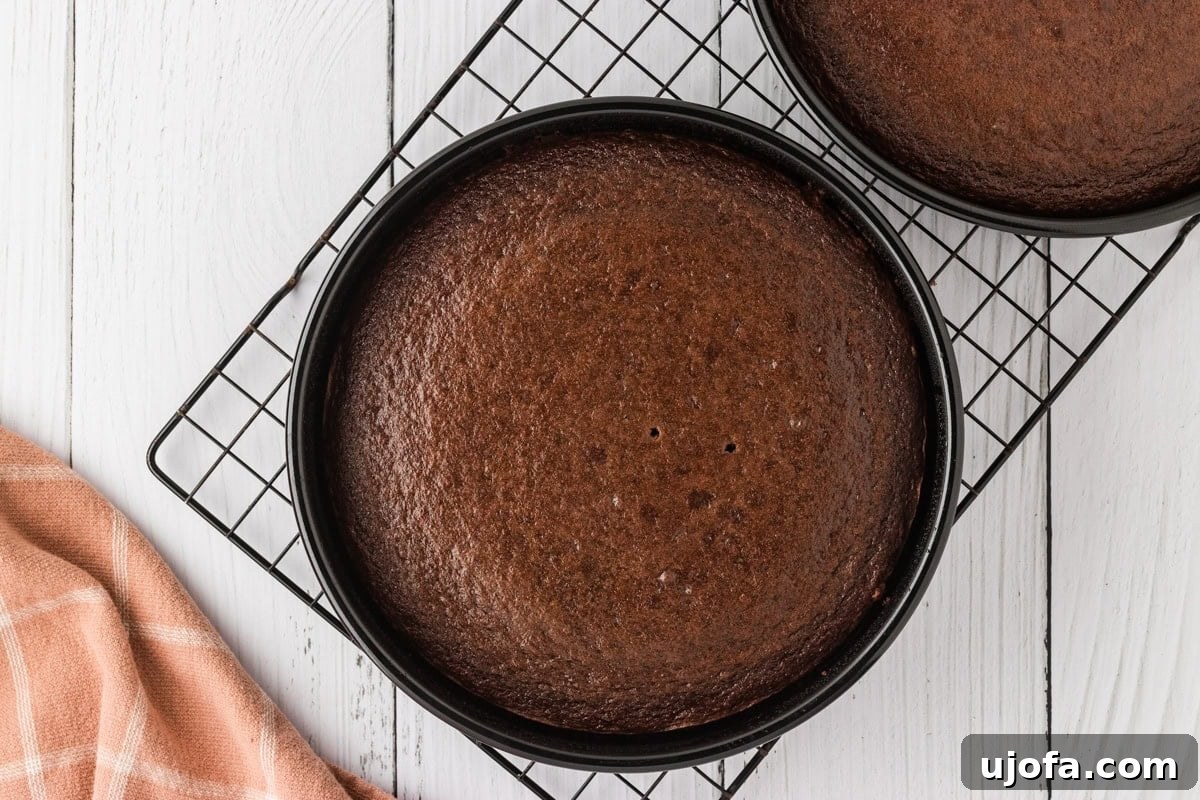
- Fill & Bake: Divide the batter evenly between the two prepared 9-inch cake pans. Place the pans on the middle rack of your preheated oven and bake for 30-35 minutes. Baking times can vary, so start checking at 30 minutes. The cakes are done when a toothpick inserted into the center comes out clean, and the edges begin to pull away slightly from the sides of the pan.
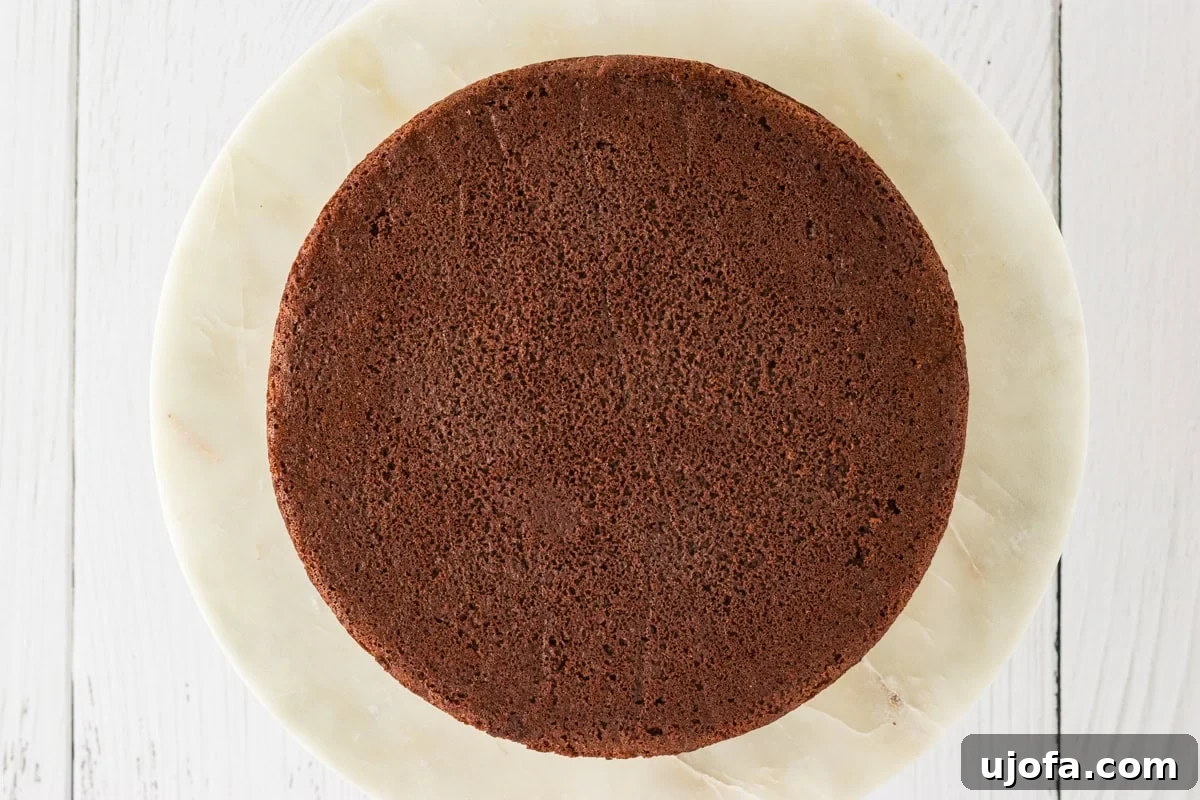
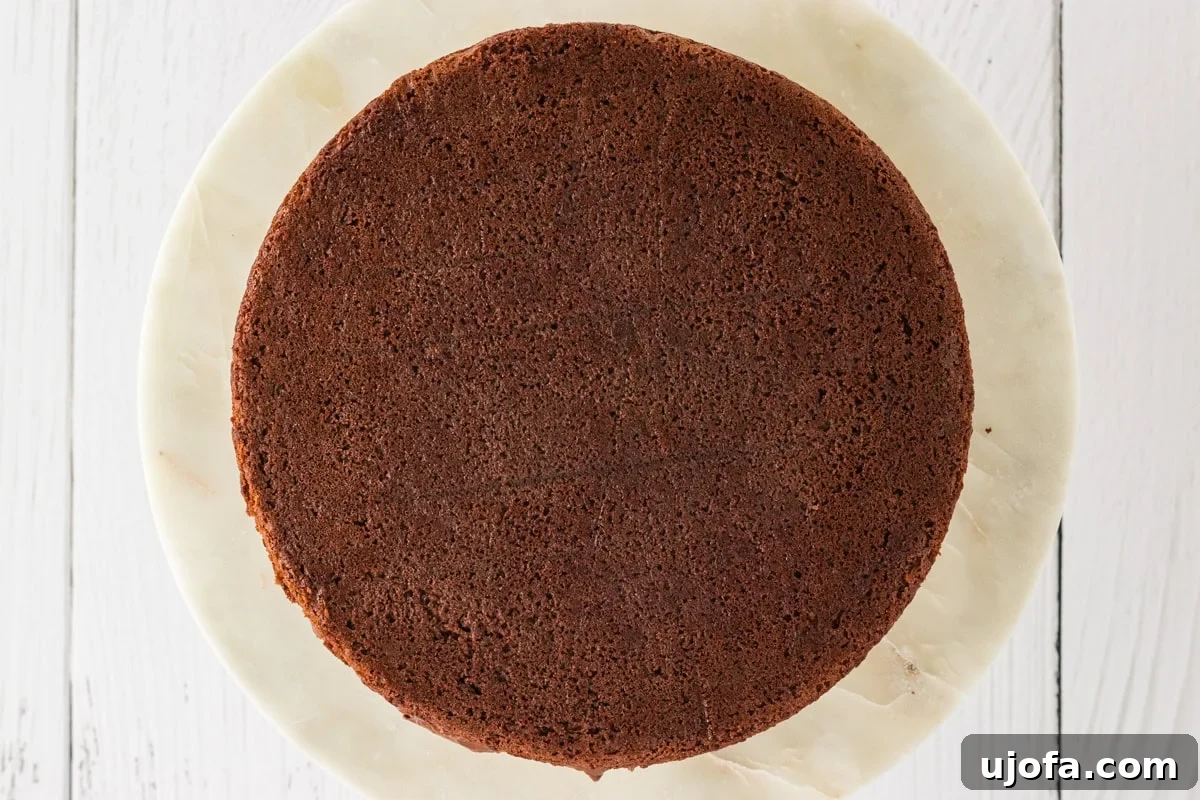
- Cool Cakes: Once baked, remove the cakes from the oven and let them cool in their pans on a wire rack for about 15 minutes. This allows them to firm up slightly. After 15 minutes, carefully invert the cakes onto the wire rack to cool completely before frosting. This step is crucial for perfectly frosted layers.
Making the Chocolate Buttercream Frosting
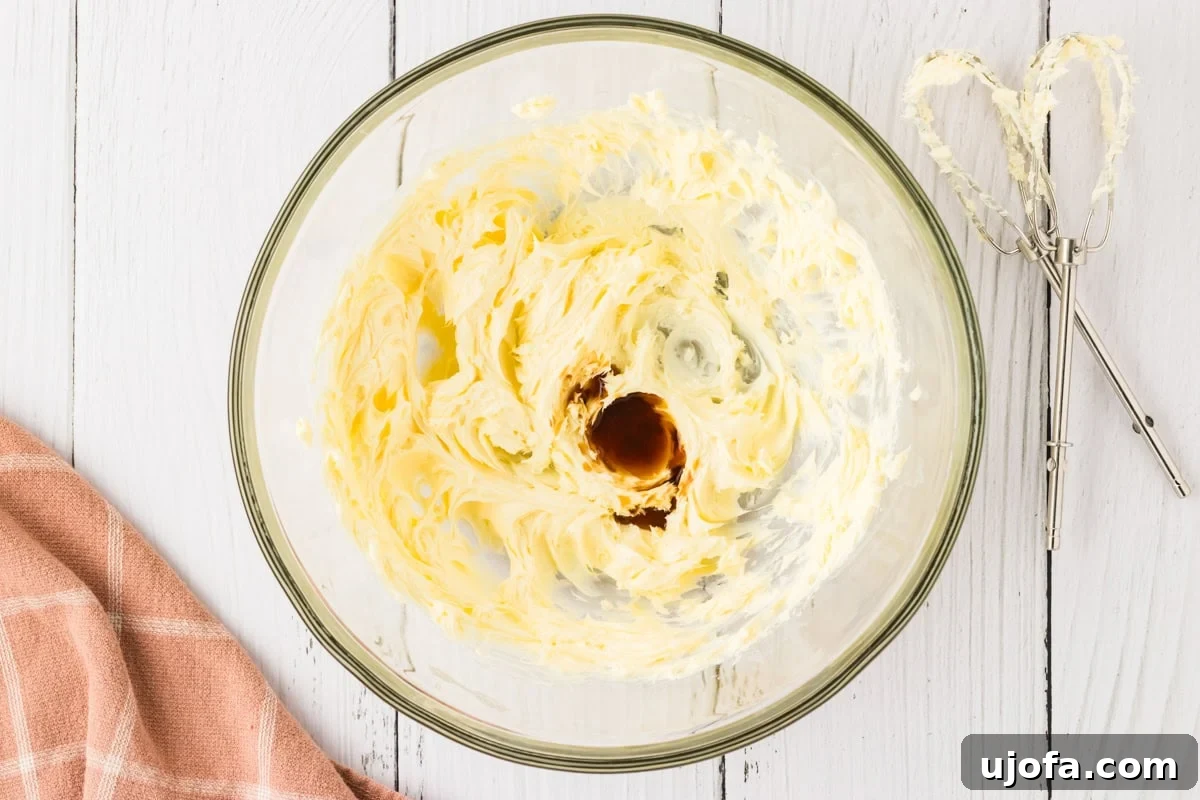
- Cream Butter: In a large mixing bowl, cream the 1 cup of softened unsalted butter with a stand mixer or hand mixer until it is light, fluffy, and smooth, about 2-3 minutes.
- Add Extracts: Mix in the 2 teaspoons of pure vanilla extract and 1/4 teaspoon of pure almond extract (if using) until fully combined.
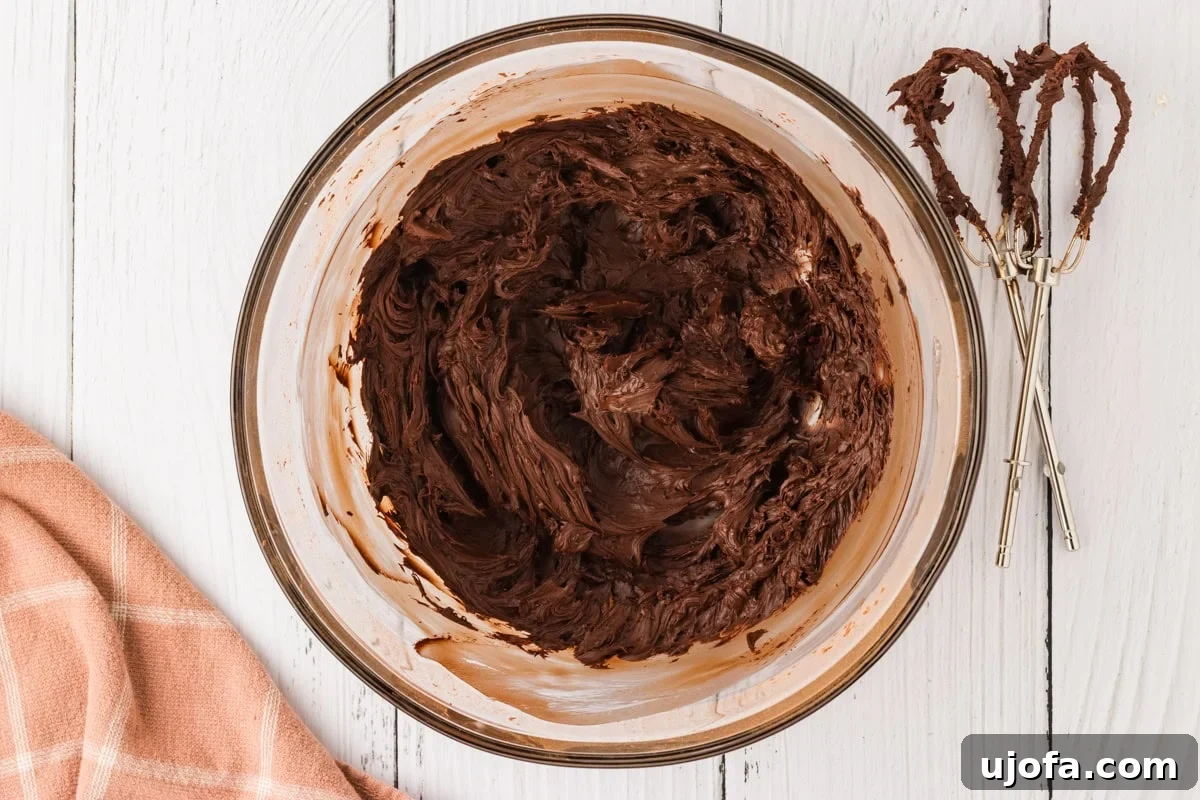
- Incorporate Cocoa: Gradually add the 1 cup of unsweetened cocoa powder and a pinch of salt to the butter mixture. Mix on low speed until the cocoa is fully incorporated and the mixture is smooth.
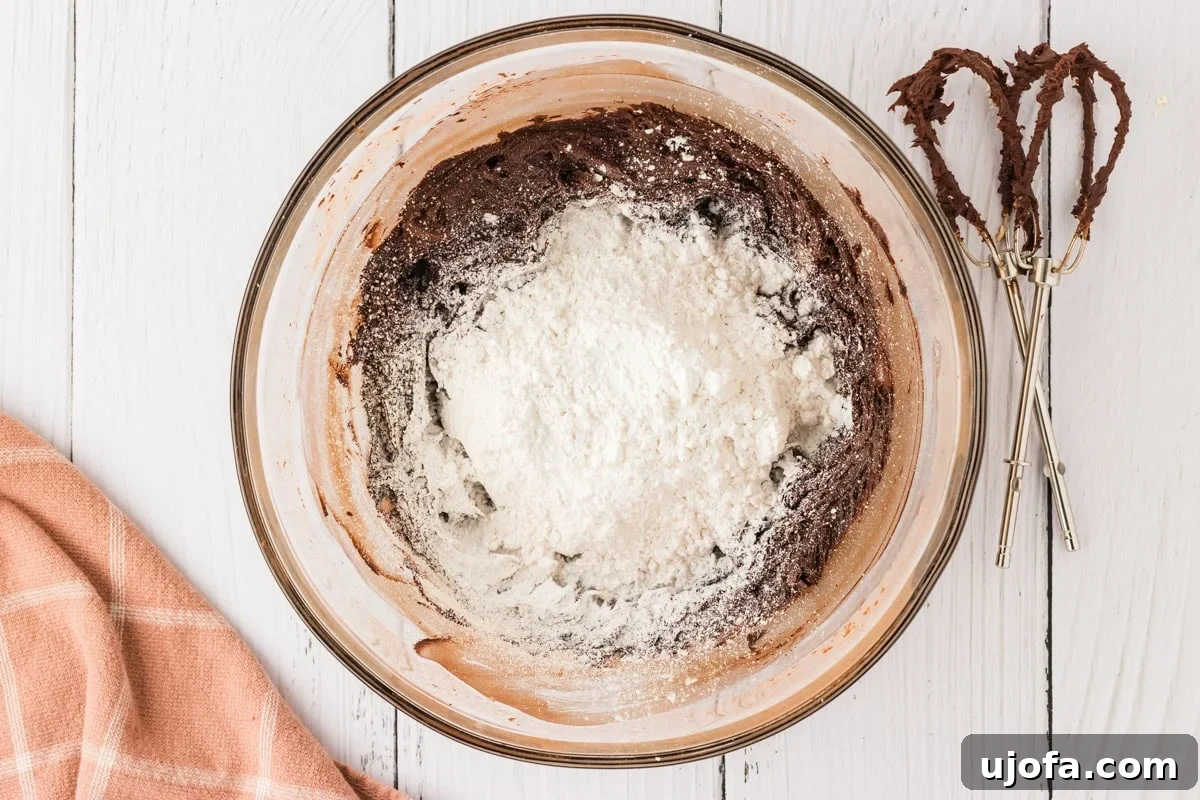
- Add Powdered Sugar: Add the 4 cups of powdered sugar gradually, one cup at a time, mixing on low speed after each addition until fully combined. The frosting will be very thick at this stage.
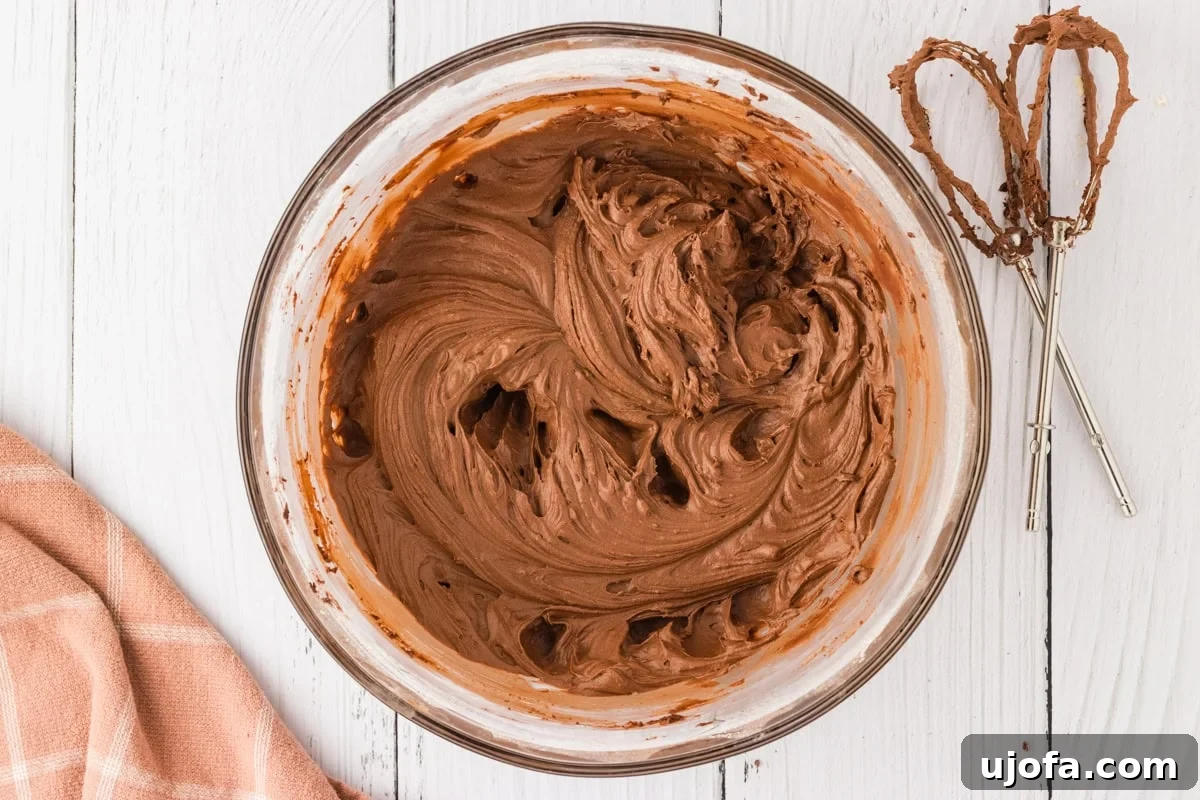
- Achieve Perfect Consistency: Pour in the 3 tablespoons of milk (or dairy-free milk). Increase the mixer speed to medium-high and beat the frosting for 3-5 minutes until it is incredibly smooth, light, and wonderfully spreadable. If it’s too thick, add a tiny bit more milk; if too thin, add a tablespoon more powdered sugar.
Assembling & Frosting the Cake
- Position First Layer: Once both cake layers are completely cooled, place the first cake layer, shiny (bottom) side down, on your desired serving plate or cake stand.
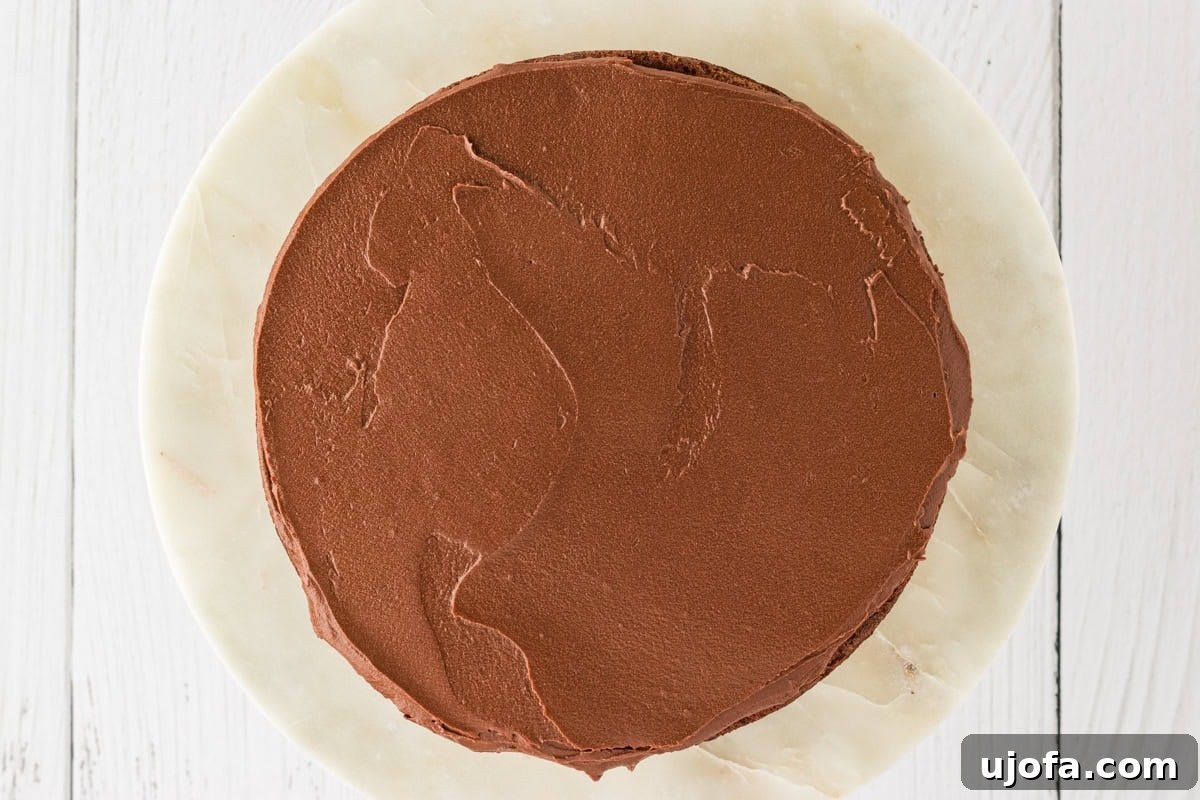
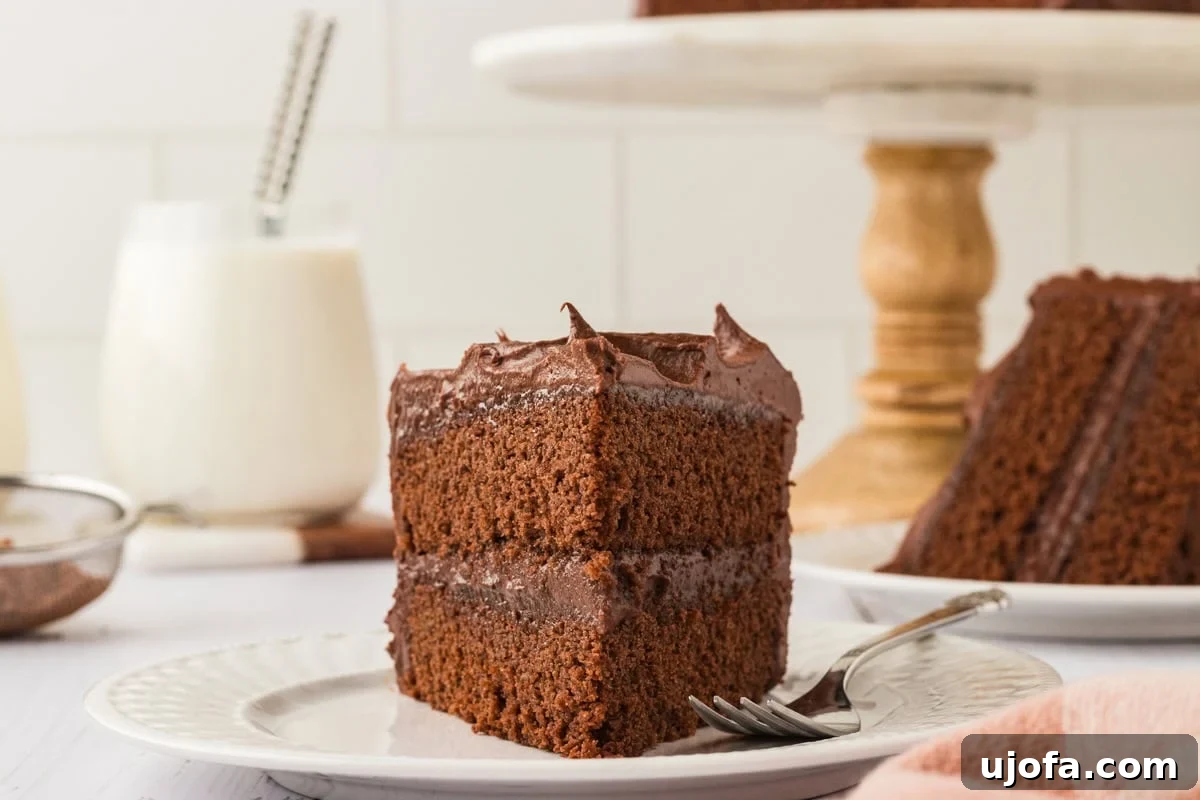
- Frost First Layer: Spread a generous amount of the prepared chocolate buttercream frosting evenly over the top of the first cake layer. This creates a delightful filling.
- Add Second Layer: Carefully place the second cake layer on top of the frosted first layer, also shiny side down. Gently press to secure it.
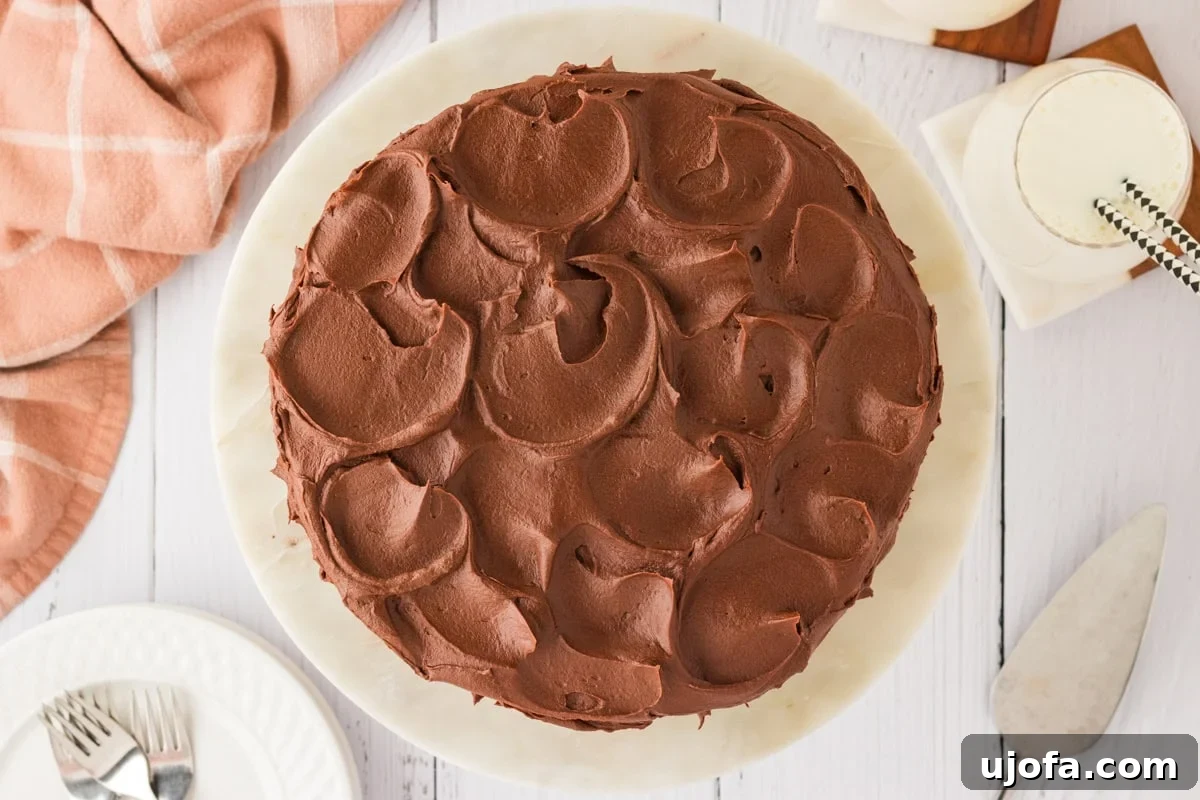
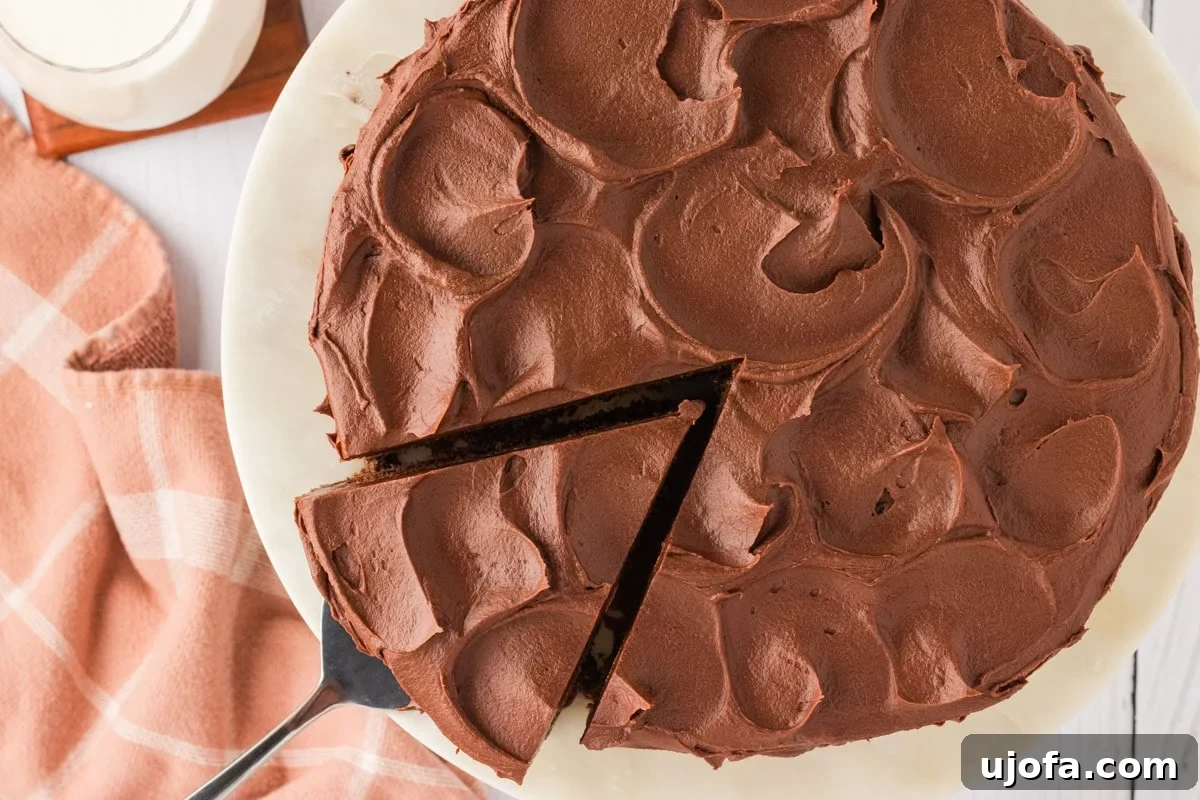
- Final Frosting: Use the remaining frosting to generously coat the top and sides of the entire cake. Smooth it out with an offset spatula or knife for a classic look, or create decorative swirls for a homemade touch.
- Decorate (Optional): For an extra touch of elegance, you can decorate the top with chocolate shavings, sprinkles, or frosting flowers using a Wilton 1M tip.
- Serve & Enjoy: Slice into your magnificent gluten-free chocolate cake and savor every rich, moist, and fudgy bite!
Notes for Success
- Intensify Chocolate: For an even deeper chocolate flavor, swap the boiling water for hot coffee. The coffee won’t make the cake taste like coffee but will enhance the richness of the cocoa.
- Tender Crumb: To ensure an extra tender and moist cake, let the prepared batter rest for 10-15 minutes before pouring it into the pans and baking. This allows the gluten-free flours to properly hydrate and absorb moisture.
- Decoration Ideas: As mentioned, chocolate shavings or piped frosting flowers (Wilton 1M tip is great for roses and stars) add a beautiful finish.
Nutrition Information
Please note that nutrition information is automatically calculated and should be used as an approximation. Per serving (approx. 1/16th of cake):
- Calories: 464 kcal
- Carbohydrates: 72g
- Protein: 5g
- Fat: 21g
- Saturated Fat: 13g
- Polyunsaturated Fat: 1g
- Monounsaturated Fat: 5g
- Trans Fat: 1g
- Cholesterol: 70mg
- Sodium: 250mg
- Potassium: 186mg
- Fiber: 5g
- Sugar: 56g
- Vitamin A: 610 IU
- Vitamin C: 0.003mg
- Calcium: 62mg
- Iron: 2mg
Additional Info
Course: Baking, Dessert
Cuisine: American
Expert Gluten-Free Baking Tips for a Perfect Cake
Baking gluten-free doesn’t have to be daunting. With a few key considerations, you can achieve results that rival their gluten-containing counterparts. Here are some essential tips to ensure your gluten-free chocolate cake turns out perfectly every time:
- Accurate Flour Measurement (Spoon and Level Method): This is perhaps the most crucial tip for gluten-free baking. Unlike traditional flour, gluten-free flours can be easily compacted. Scooping flour directly from the bag can add up to 25% more flour than needed, leading to a dry, dense, or crumbly cake. Always spoon your gluten-free flour into your measuring cup and then level it off with a straight edge (like the back of a knife). Alternatively, for the most precise results, use a kitchen scale to measure by weight.
- Room Temperature Ingredients: Ensure your butter and eggs are at room temperature. Room temperature ingredients emulsify more effectively, creating a smoother, more uniform batter. This leads to a finer crumb and a lighter, fluffier cake. Cold ingredients can cause the batter to seize, resulting in a lumpy texture and a less cohesive cake structure. For butter, leave it on the counter for 30-60 minutes. For eggs, place them in a bowl of warm water for 10 minutes.
- Gentle Mixing: Overmixing develops gluten in regular baking, but with gluten-free flours, overmixing can still lead to a tough or dense cake. Mix just until the ingredients are combined. A few small lumps in the batter are acceptable and often preferable to an overmixed, tough cake.
- Resist the Urge to Peek: Opening the oven door frequently, especially during the first two-thirds of the baking time, can cause significant temperature fluctuations. This can lead to a sunken center or an unevenly baked cake. Trust your oven and the timer, and only open the door when you’re ready to check for doneness.
- Softened Butter, Not Melted: When the recipe calls for softened butter, it means butter that is pliable but still holds its shape. It should be soft enough to easily indent with your finger. Melted or overly soft/oily butter will drastically change the texture of your batter, potentially leading to a greasy or dense cake.
- Quality Gluten-Free Flour Blend: The quality and composition of gluten-free flour blends vary significantly. A good all-purpose gluten-free flour blend that contains xanthan gum (or calls for it separately) is usually the best choice for cakes. Experiment with different brands to find your favorite, as baking results can differ. For this recipe, Pillsbury gluten-free flour is a proven winner.
A Visual Guide: How to Make Easy Gluten-Free Chocolate Cake Step by Step
Follow along with these visual steps to create your own perfect gluten-free chocolate cake. Each image guides you through the process, ensuring a smooth baking experience from start to finish.
Step 2: Prepare Pans and Oven. Preheat your oven to 350°F (177°C). Cut parchment paper to fit the bottoms of two 9-inch round cake pans by tracing the pan and trimming it to size. This crucial step prevents sticking and ensures easy removal.
Delightful Serving Suggestions for Your Gluten-Free Chocolate Cake
This easy recipe yields a truly rich, moist, and unforgettable gluten-free chocolate cake. It’s the quintessential dessert for any celebration, from festive birthdays and holiday gatherings to intimate dinner parties. Crafting a homemade chocolate cake has never been simpler or more satisfying. While this recipe is bound to become a staple, here are a few ideas to elevate your serving experience:
- Classic Pairing: A cold glass of milk (dairy or dairy-free almond milk) is the perfect accompaniment, cutting through the richness of the chocolate.
- Coffee Lover’s Dream: Serve a slice with a hot cup of freshly brewed coffee or a rich espresso to enhance the chocolate notes.
- A La Mode: A scoop of vanilla bean ice cream (or a dairy-free alternative) melting over a warm slice of cake is pure heaven.
- Berry Bliss: Fresh raspberries or strawberries add a beautiful contrast in color and a bright, tart flavor that complements the sweet chocolate. A light dusting of powdered sugar can also enhance the presentation.
- Whipped Cream: A dollop of freshly whipped cream or coconut whipped cream adds an extra layer of luxurious texture and cuts the sweetness.
- Chocolate Sauce Drizzle: For the ultimate chocolate indulgence, warm up some chocolate ganache or a simple chocolate syrup and drizzle it over each slice before serving.
And if you’re looking to explore more gluten-free chocolate delights, I also highly recommend trying my almond flour chocolate cake and flourless chocolate cake recipes, which offer different textures and flavor profiles.
How to Store Your Gluten-Free Chocolate Cake to Keep it Fresh
Proper storage is key to maintaining the incredible moisture and flavor of your homemade gluten-free chocolate cake. Whether you have leftovers or are baking ahead, these tips will help keep your cake fresh and delicious:
- Room Temperature Storage: For immediate enjoyment (within 2-3 days), store any leftover cake in an airtight container or under a cake dome at room temperature. This protects it from drying out and keeps the frosting intact. If your kitchen is particularly warm, consider refrigerating.
- Refrigeration: If you need to store the cake for longer, or if it contains perishable fillings/frostings (though this buttercream is stable), refrigerate it in an airtight container for up to 5 days. Be sure to bring slices to room temperature for about 30 minutes before serving for the best flavor and texture.
- Freezing Unfrosted Cake Layers: Freezing unfrosted cake layers is a fantastic way to prepare ahead! Once your baked cake layers are completely cool, wrap each layer tightly in plastic wrap (I find press-and-seal wrap particularly effective). Then, wrap them again thoroughly in aluminum foil. Place the double-wrapped layers into a freezer-safe plastic bag or an airtight container. Frozen unfrosted cake layers can be stored for up to 3 months.
- Defrosting Frozen Cake: To defrost, simply remove the wrapped cake layers from the freezer and let them thaw at room temperature for 2-3 hours. Alternatively, you can defrost them overnight in the refrigerator. Once thawed, unwrap and proceed with frosting and decorating.
- Freezing Frosted Cake: For a whole frosted cake, freeze it uncovered for about an hour until the frosting is firm. Then, wrap it tightly in plastic wrap and then foil. Place in an airtight container if possible. Thaw overnight in the refrigerator before serving.
Frequently Asked Questions About Gluten-Free Chocolate Cake
Baking gluten-free often comes with questions, especially when striving for that perfect texture and taste. Here are some common queries and their answers to help you master this delicious gluten-free chocolate cake:
- Can I make this cake dairy-free?
- Absolutely! This recipe is incredibly adaptable for dairy-free needs. Simply substitute regular milk with unsweetened almond milk (or your preferred dairy-free milk alternative) for both the cake batter and the buttercream frosting. For the butter, use a high-quality dairy-free butter alternative like Smart Balance butter, ensuring it’s softened to the correct consistency for creaming.
- What kind of gluten-free flour should I use?
- I highly recommend using an all-purpose gluten-free flour blend that already contains xanthan gum. Brands like Pillsbury gluten-free work wonderfully for this recipe. Keep in mind that not all gluten-free flour blends are created equal, and some may absorb liquids differently. If your blend doesn’t contain xanthan gum, you’ll need to add about ½ teaspoon per cup of flour to provide elasticity and prevent crumbling.
- My cake came out dry. What went wrong?
- Dryness is a common issue in gluten-free baking, often due to over-measuring flour or overbaking. Ensure you’re using the “spoon and level” method for flour measurement. Also, ovens can vary, so start checking for doneness at the lower end of the baking time (30 minutes) and remove the cakes as soon as a toothpick inserted into the center comes out clean. Even a minute or two of overbaking can make a difference.
- Can I make this cake in different sized pans?
- Yes, you can!
- Bundt Pan: For a Bundt cake, you might need to increase the baking time slightly. Ensure the pan is thoroughly greased and floured (with gluten-free flour) to prevent sticking. A Bundt cake will likely take 45-60 minutes to bake.
- Cupcakes: This recipe can also be adapted for cupcakes. Fill cupcake liners about two-thirds full and bake for approximately 18-22 minutes. The yield will be around 24-30 standard cupcakes.
- Single 9-inch Layer: If you only want a single layer, you can halve the recipe or bake the full recipe in a larger 9×13 inch pan. Baking time will need to be adjusted (likely 35-40 minutes for a 9×13 pan).
Always adjust baking times and check for doneness with a toothpick when changing pan sizes.
- Why do you add boiling water to the batter?
- Adding boiling water (or hot coffee, as suggested in the notes) serves a couple of important purposes. Firstly, it “blooms” the cocoa powder, which means it helps release and intensify the chocolate flavor, making your cake taste even more deeply chocolaty. Secondly, it contributes to the cake’s exceptional moisture and helps create a tender crumb.
- How can I ensure my frosting is smooth and not gritty?
- The key to a super smooth buttercream frosting is sifting your powdered sugar. Powdered sugar can often contain small lumps. Sifting it before adding it to the butter mixture will ensure a lump-free and silky-smooth frosting. Also, ensure your butter is properly softened, not melted, and beat the frosting for the full 3-5 minutes with the milk to incorporate air and make it fluffy.
Explore More Delicious Gluten-Free Cake Recipes
If you loved this gluten-free chocolate cake, you’re in for a treat! Discover more delightful gluten-free cake recipes that are perfect for any occasion and taste fantastic:
- Gluten-Free Carrot Cake: A classic, spiced favorite with a tender crumb and rich cream cheese frosting.
- Gluten-Free Strawberry Cake: Light, fruity, and bursting with fresh strawberry flavor, perfect for spring and summer.
- Gluten-Free Lemon Cake: Zesty and refreshing, this bright cake is a delightful dessert for any time of year.
- Gluten-Free Yellow Cake: The ultimate classic birthday cake, fluffy and versatile, ready for your favorite frosting.
- Gluten-Free Red Velvet Cake: A stunning, vibrant cake with a hint of cocoa and tangy cream cheese frosting.