
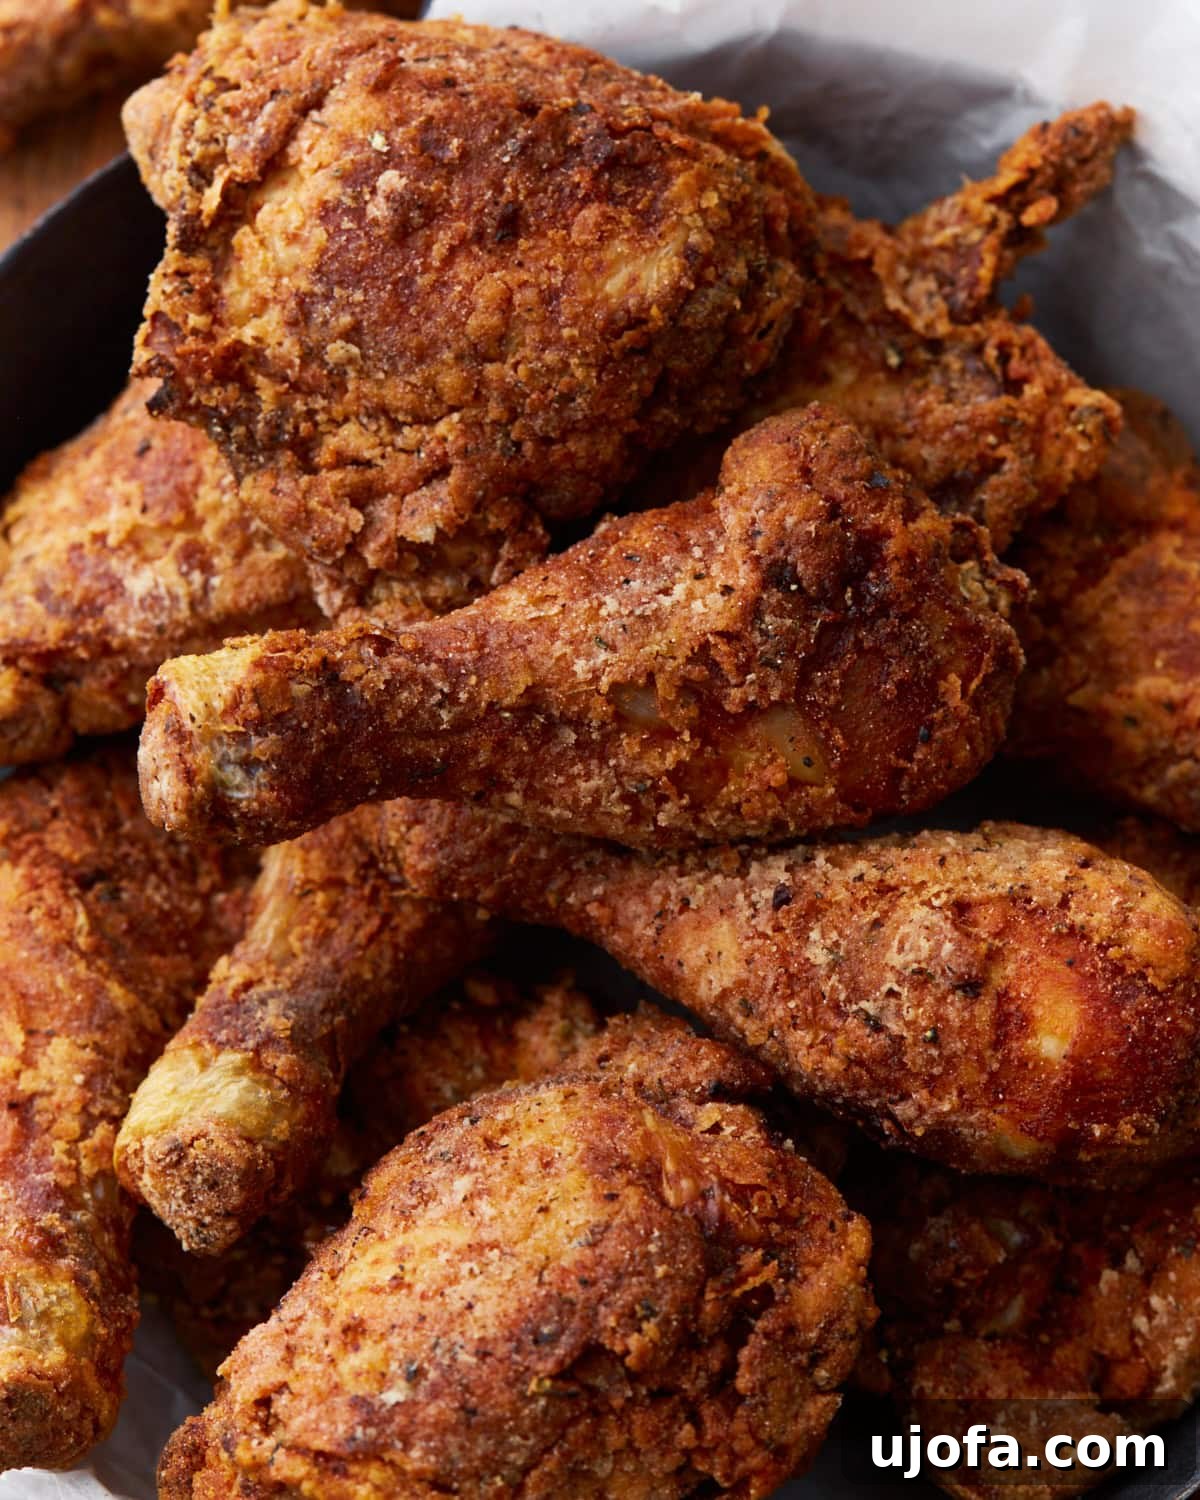
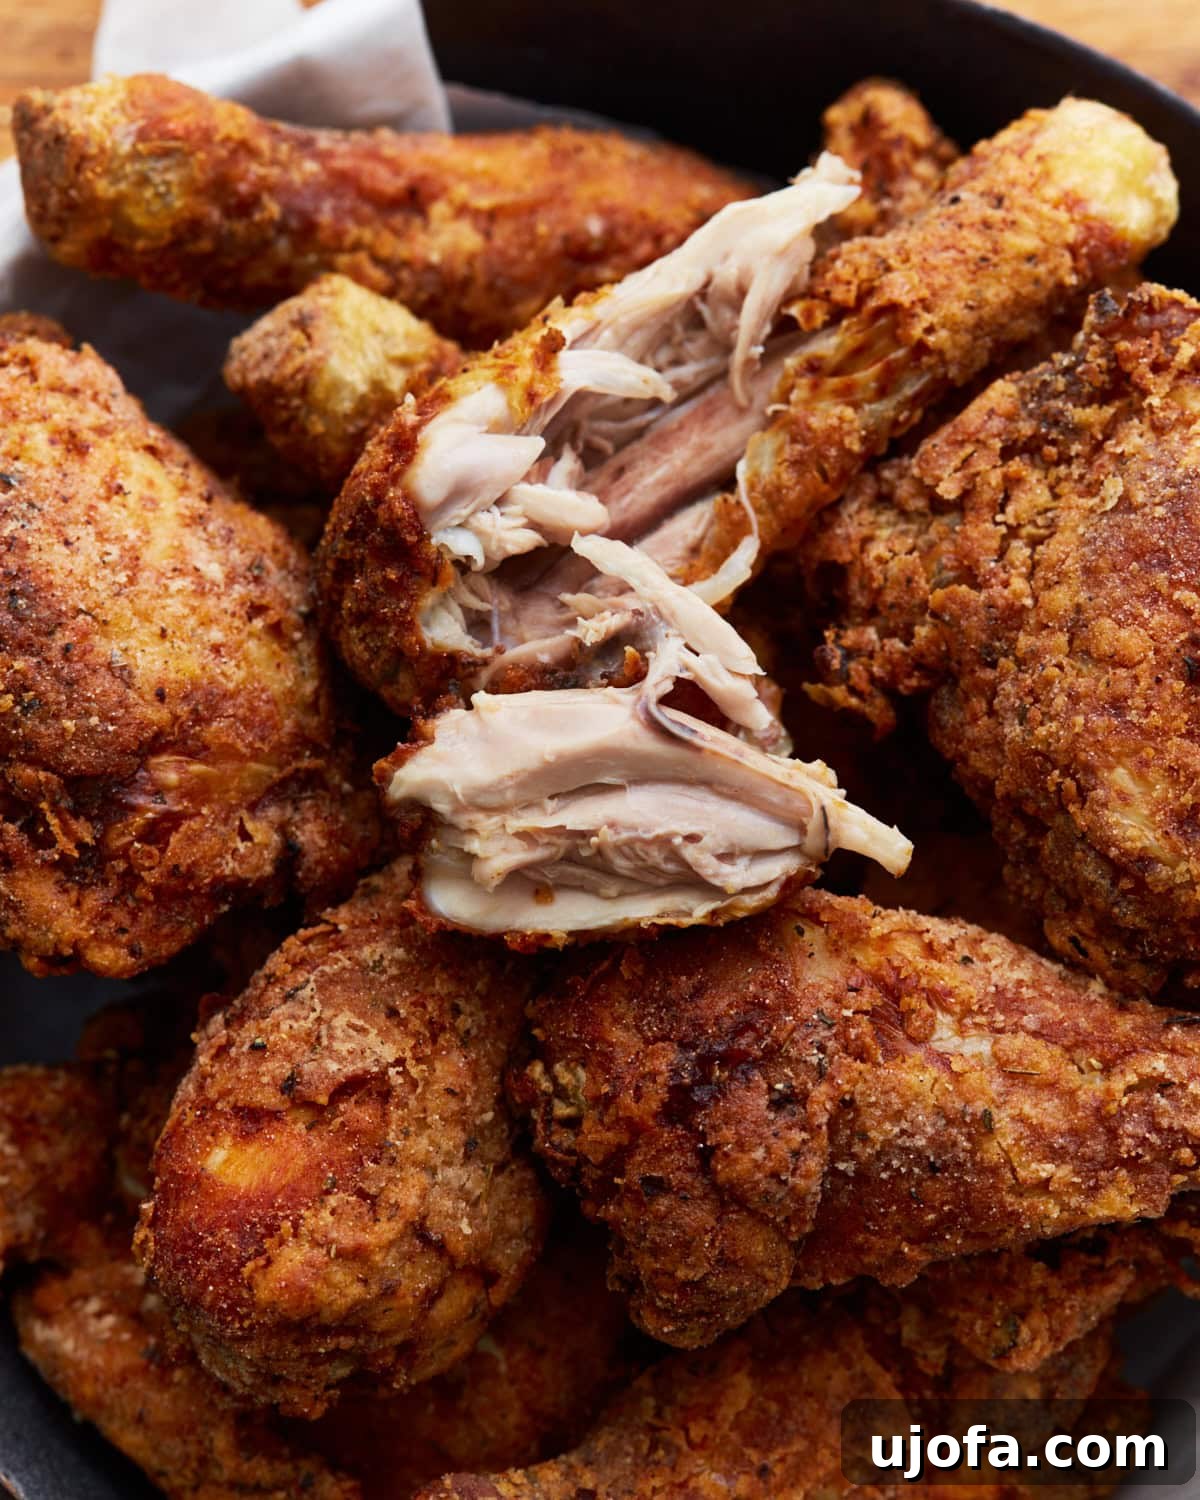
Prepare to indulge in the ultimate comfort food experience with our **Crispy Golden-Brown Gluten-Free Southern Fried Chicken**. This isn’t just any fried chicken recipe; it’s a meticulously crafted culinary journey designed to deliver all the tender, juicy flavor and satisfying crunch of a classic Southern favorite, without any gluten. Our secret lies in a time-honored buttermilk marinade that deeply infuses the chicken with flavor and ensures unparalleled tenderness, paired with an ingeniously formulated gluten-free batter featuring cornstarch for that irresistible, extra-crispy coating. Whether you’re managing a gluten intolerance or simply exploring delicious new ways to enjoy fried chicken, this recipe promises to be a showstopper at any meal.
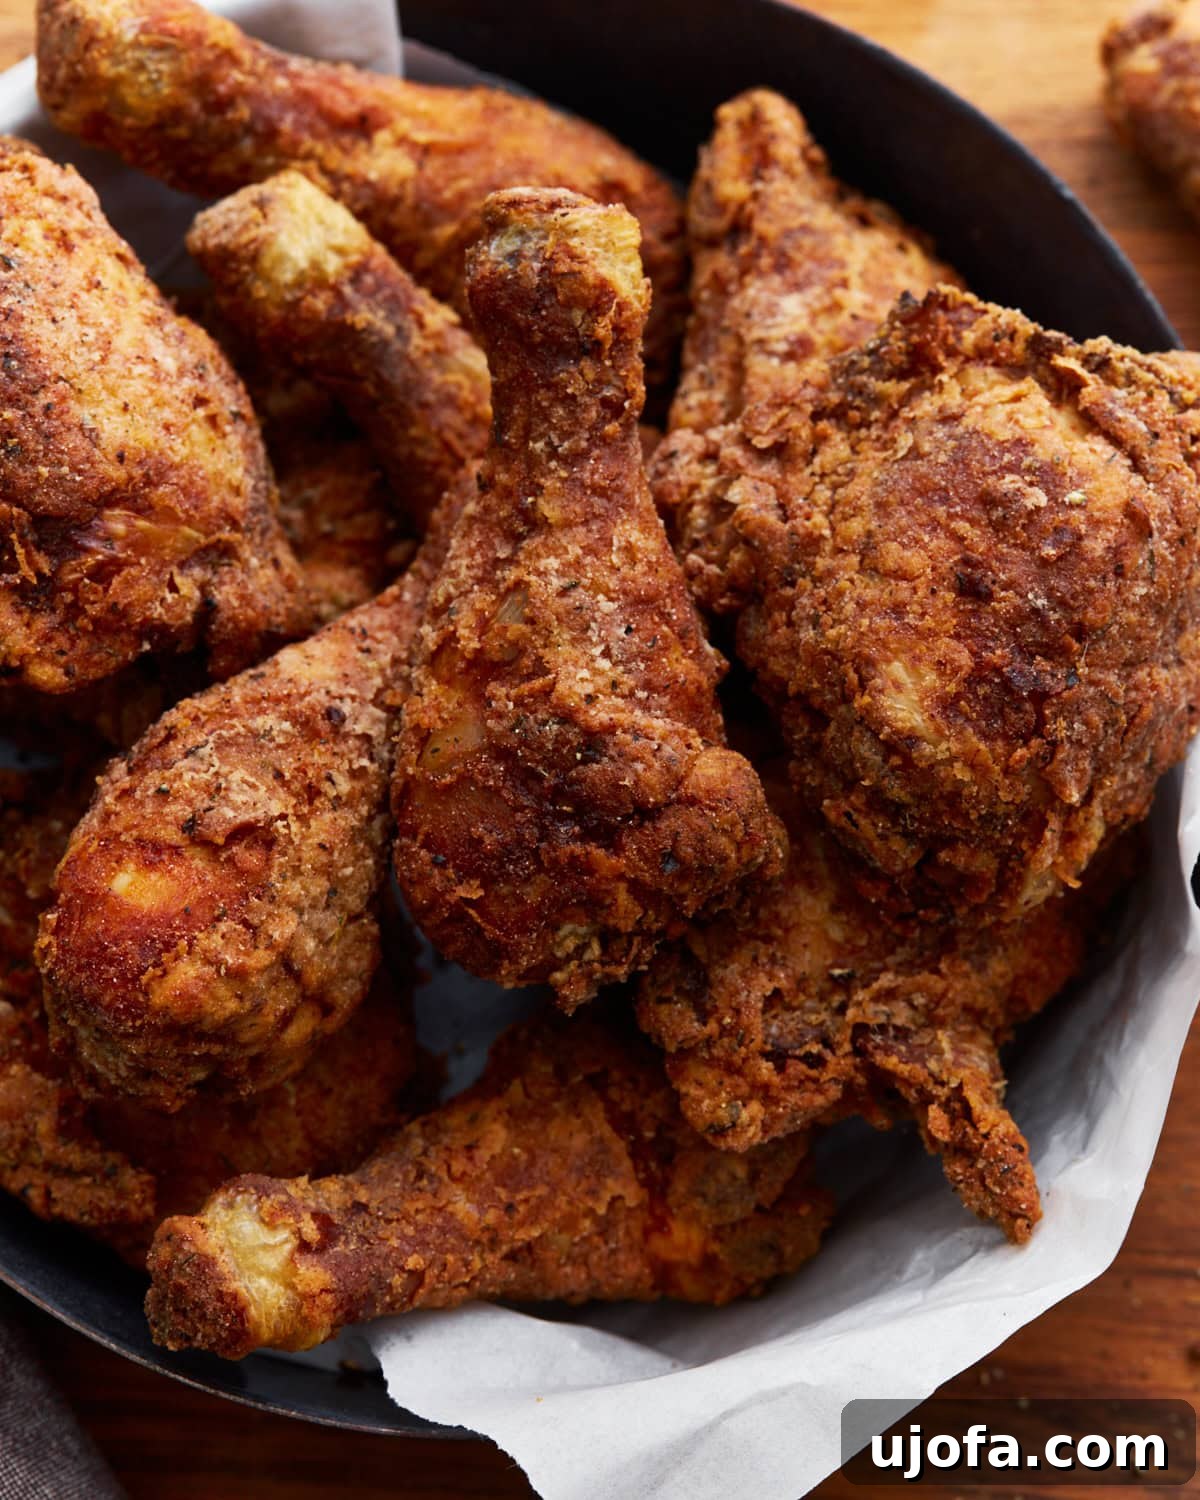
The Ultimate Gluten-Free Fried Chicken Recipe
As Southerners, we know a thing or two about fried chicken. It’s more than just a meal; it’s a tradition, a staple of family gatherings, and a true culinary art form. Our **Gluten-Free Fried Chicken recipe** captures the authentic essence of classic Southern buttermilk fried chicken, ensuring that absolutely everyone can enjoy this beloved dish. This isn’t a compromise; it’s the real deal, promising to become a cherished favorite among friends and family, whether they follow a gluten-free diet or not.
What makes this recipe truly special? It starts with the marinade. We believe that flavor and tenderness are paramount, which is why we marinate the chicken, ideally overnight, in a rich, homemade buttermilk blend. This crucial step not only infuses the meat with incredible taste but also works magic to break down tough fibers, resulting in unbelievably juicy chicken. The next critical component is our dredging mixture. Far from a simple flour coating, it’s a carefully balanced blend of savory gluten-free flour and a generous amount of cornstarch. This combination, seasoned with a harmonious selection of classic Southern spices, is the secret to achieving that famously crispy, golden, and deeply flavorful crust that defines exceptional fried chicken.
Essential Tips for Perfect Gluten-Free Fried Chicken
- Accurate Flour Measurement: For consistent results, especially with gluten-free flours, always use the spoon-and-level method. Spoon the flour gently from the bag into your measuring cup, then use the back of a knife to level it off without compacting it. Doing this over a bowl prevents mess and ensures accurate ratios for your dredging mixture.
- Choosing the Right Gluten-Free Flour Blend: The quality of your gluten-free flour significantly impacts the outcome. While Pillsbury gluten-free is a preferred choice for many, excellent alternatives include Bob’s Red Mill 1 to 1 Baking Flour, Better Batter Gluten-Free Flour Blend, or King Arthur Measure For Measure Gluten-Free Flour. These blends are specifically designed to perform like traditional wheat flour in recipes, providing the best texture and adhesion.
- Dairy-Free Buttermilk Alternative: To make this recipe completely dairy-free, simply substitute regular milk in the marinade with an unsweetened plant-based milk like almond milk, cashew milk, or coconut milk. The white vinegar will still curdle the plant-based milk, creating a fantastic dairy-free buttermilk substitute that delivers the same tenderizing and flavorful benefits to the chicken.
- Temperature Control is Key: Maintaining the correct oil temperature (around 350°F / 175°C) is crucial for crispy fried chicken that cooks through without burning. Invest in a reliable deep-fry thermometer and adjust your heat as needed. Too low, and the chicken will be greasy; too high, and the coating will burn before the chicken is cooked.
- Don’t Overcrowd the Pan: Frying in batches is essential. Overcrowding the skillet will drop the oil temperature too quickly, leading to greasy, soggy chicken instead of a perfectly crispy exterior. Give each piece enough space to fry properly.
- The Importance of Resting: After frying, allow the chicken to rest on a wire rack for at least 10 minutes. This allows the juices to redistribute throughout the meat, resulting in a more tender and flavorful bite, and also helps maintain the crispiness of the crust.
Gluten-Free Fried Chicken
Print Recipe

Southern-style fried chicken made gluten-free and fried to a perfectly crispy golden brown. A classic buttermilk marinade ensures tender, juicy chicken, while a batter made from gluten-free flour and cornstarch creates the crispiest coating for the ultimate comfort food.
Ingredients
Buttermilk Marinade
- 6 chicken thighs
- 6 chicken drumsticks
- 3 cups milk (for dairy-free, use unsweetened almond, cashew, or coconut milk)
- 3 tablespoons white vinegar
- 2 teaspoons salt
- 1 teaspoon pepper
Dredging Mixture
- 2 cups all-purpose gluten-free flour
- 1 cup cornstarch
- 1 tablespoon onion powder
- 1 tablespoon garlic powder
- 2 teaspoons salt
- 1 tablespoon paprika
- 1 tablespoon dried thyme
- 1 tablespoon dried oregano
- 1 tablespoon dried basil
- 4 cups vegetable oil for frying (peanut oil is recommended for best flavor and high smoke point)
Instructions
-
1. Prepare the Buttermilk Marinade: In a large mixing bowl, thoroughly whisk together 3 cups of milk (or your chosen dairy-free alternative), 3 tablespoons of white vinegar, 2 teaspoons of salt, and 1 teaspoon of black pepper. Add the chicken pieces (6 thighs and 6 drumsticks) to this mixture, ensuring each piece is fully submerged. Cover the bowl tightly with plastic wrap and refrigerate for a minimum of 2 hours. For optimal flavor penetration and maximum tenderness, we highly recommend marinating the chicken overnight. This step is crucial for deeply flavorful and incredibly juicy chicken.
-
2. Create the Dredging Mixture: While the chicken marinates, prepare your dry dredging station. In a gallon-sized resealable plastic bag, combine 2 cups of all-purpose gluten-free flour, 1 cup of cornstarch, 1 tablespoon of onion powder, 1 tablespoon of garlic powder, 2 teaspoons of salt, 1 tablespoon of paprika, 1 tablespoon of dried thyme, 1 tablespoon of dried oregano, and 1 tablespoon of dried basil. Seal the bag securely and shake vigorously to ensure all ingredients are well combined and evenly distributed. Alternatively, you can mix these ingredients in a wide, shallow dish.
-
3. Preheat Frying Oil: In a heavy-bottomed 10-inch cast iron skillet (or any large, deep skillet), pour 4 cups of vegetable oil (such as peanut oil, which has a high smoke point and adds great flavor). Heat the oil over medium heat until it reaches a temperature of 350°F (175°C). Use a kitchen thermometer to monitor the temperature accurately. You can test if the oil is ready by sprinkling a small pinch of the flour mixture into it; it should immediately sizzle gently but not smoke excessively.
-
4. Dredge the Chicken: One piece at a time, remove a chicken piece from the buttermilk marinade, allowing any excess liquid to drip off. Place the chicken piece into the resealable bag containing the gluten-free flour mixture. Seal the bag completely, trapping air inside, and shake it thoroughly to coat the chicken evenly and generously with the seasoned flour blend. This double coating method creates extra crispiness.
-
5. Prepare for Frying: After dredging, transfer the fully coated chicken piece to a clean baking sheet. Repeat this dredging process for all remaining chicken pieces. It’s helpful to let the coated chicken rest on the baking sheet for about 5-10 minutes before frying; this allows the coating to adhere better and prevents it from falling off in the hot oil.
-
6. Fry the Chicken to Golden Perfection: Carefully place 3 or 4 pieces of the coated chicken into the preheated 350°F (175°C) oil, always starting with the skin side down if applicable. Be mindful not to overcrowd the pan, as this will drastically lower the oil’s temperature and result in steamed, greasy chicken rather than the desired crispy result. Continuously monitor the oil temperature with your thermometer; it will inevitably drop when the chicken is introduced. Adjust your heat as necessary to keep the oil consistently around 350°F (175°C), ensuring a steady, gentle cooking process. Fry each piece for approximately 15-18 minutes, making sure to turn the chicken over with tongs about every 2 minutes for even cooking and browning. Continue frying until the chicken is beautifully golden brown, thoroughly cooked through, and registers an internal temperature of 165°F (74°C) when measured with an instant-read thermometer in the thickest part of the meat.
-
7. Rest and Serve: Once perfectly cooked, remove the chicken pieces from the oil using tongs and transfer them to a wire cooling rack placed over a paper towel-lined baking sheet. This setup is vital for allowing any excess oil to drain away, preventing the chicken from becoming soggy and helping to preserve its magnificent crispiness. Let the fried chicken rest for at least 10 minutes before serving. This crucial resting period allows the juices to redistribute throughout the meat, resulting in a more tender and flavorful eating experience. This Southern classic can be enjoyed warm straight from the pan or served cold for a delightful picnic treat.
-
8. Storage: Store any completely cooled leftovers in an airtight container in the refrigerator for up to 3 days.
-
9. Reheating: Reheat chicken in the microwave for a quick warm-up (though the skin won’t be as crispy), or for best results, place it on a baking sheet and bake uncovered at 350°F (175°C) for 15-20 minutes until heated through and the crispiness is revived.
Recipe Notes for Success
- Always use a reliable thermometer to monitor your frying oil temperature. Aim for a consistent 350°F (175°C). Remember the temperature will dip when chicken is added, so adjust heat to bring it back up before adding the next batch for consistent cooking and crispiness.
- After breading, let the chicken pieces dry on a baking sheet for 5-10 minutes. This crucial step helps the coating adhere better, preventing it from flaking off in the hot oil and ensuring a super crispy crust.
- Post-frying, transfer chicken to a wire rack over paper towels to allow air to circulate and excess oil to drip off, ensuring maximum crispiness and preventing sogginess.
Nutrition Information
Calories: 676 kcal
Carbohydrates: 59g
Protein: 40g
Fat: 31g
Saturated Fat: 9g
Cholesterol: 193mg
Sodium: 1774mg
Potassium: 644mg
Fiber: 6g
Sugar: 8g
Vitamin A: 935 IU
Vitamin C: 1mg
Calcium: 229mg
Iron: 5mg
Nutrition information is automatically calculated and should be used as an approximation only. Individual results may vary based on ingredients used and preparation methods.
Additional Recipe Details
How to Make Gluten-Free Fried Chicken: A Visual Guide
Let’s walk through the steps with accompanying images to ensure your gluten-free fried chicken turns out perfectly golden and crispy every single time, making the cooking process both easy and enjoyable.
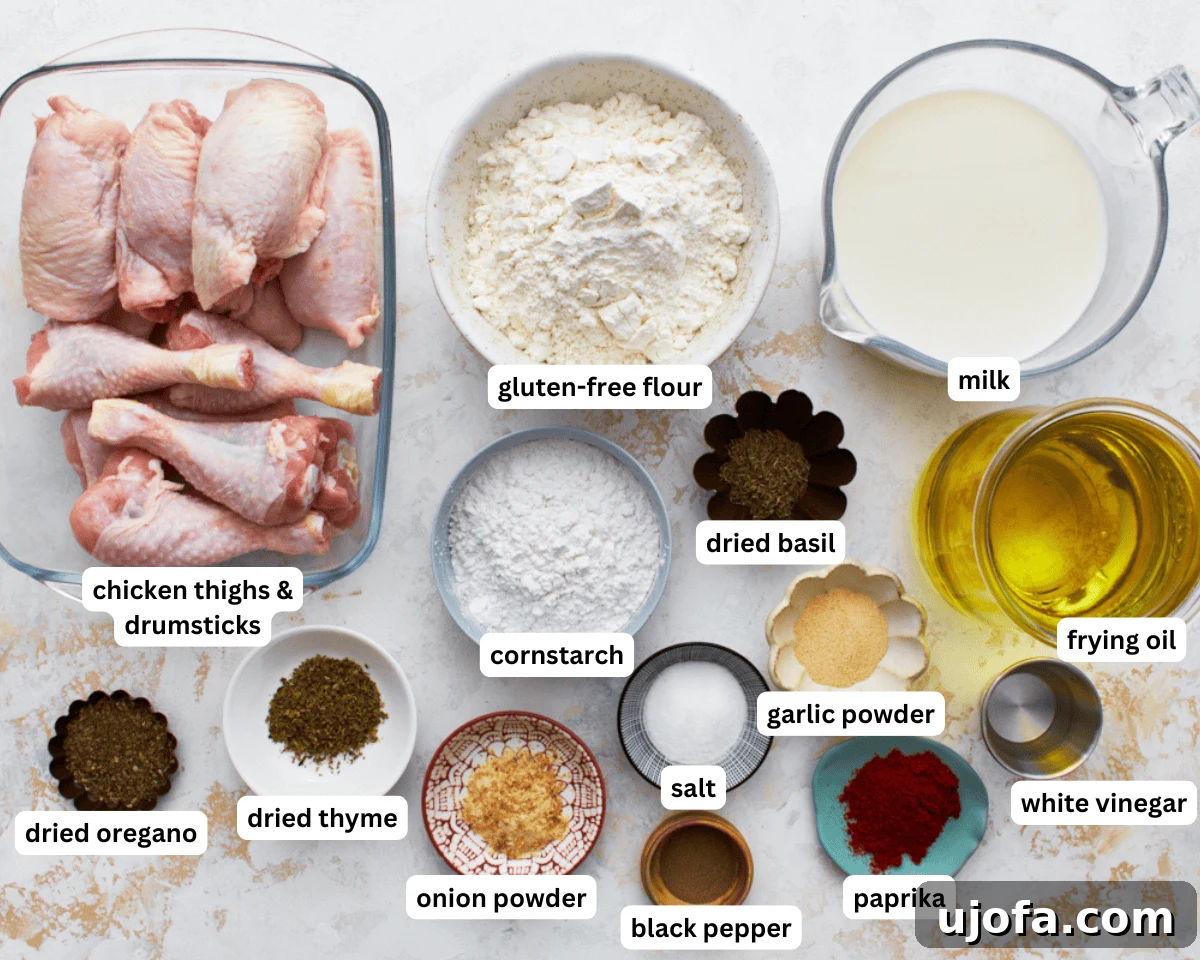
Gather all your ingredients: Before you begin, take a moment to lay out everything you’ll need – chicken, milk, vinegar, a selection of savory spices, your chosen gluten-free flour blend, cornstarch, and frying oil. This simple step of mise en place ensures a smooth, organized, and efficient cooking process, allowing you to focus on each stage of creating your perfect fried chicken.
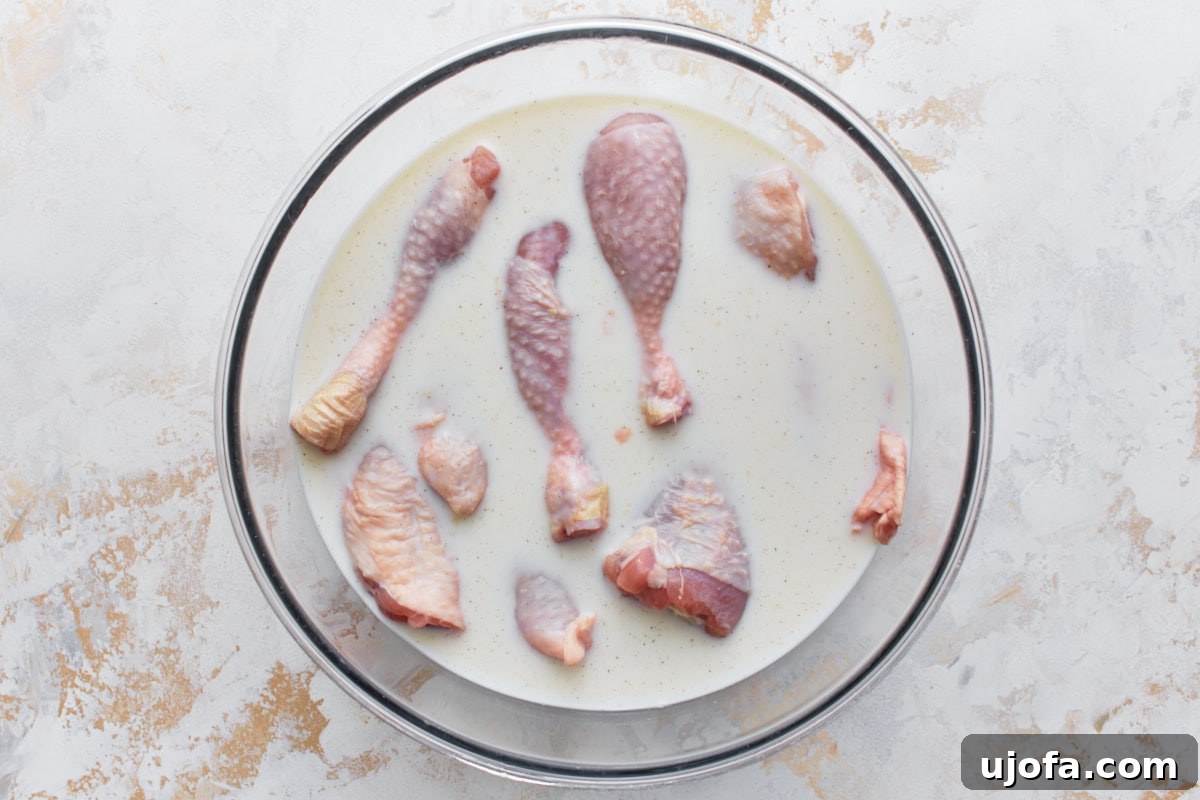
Make the chicken marinade: In a spacious mixing bowl, vigorously whisk together 3 cups of milk (or your chosen dairy-free milk alternative), 3 tablespoons of white vinegar, 2 teaspoons of salt, and 1 teaspoon of freshly ground black pepper. Add 6 succulent chicken thighs and 6 hearty chicken drumsticks to the bowl. Ensure each piece of chicken is thoroughly coated and submerged in this flavorful buttermilk marinade, as this is key for both tenderizing and infusing deep flavor. Cover the bowl securely with plastic wrap and place it in the refrigerator to marinate for a minimum of 2 hours. For the absolute best flavor and melt-in-your-mouth tenderness, I highly recommend marinating your chicken overnight. This step is a game-changer for both texture and taste, breaking down tough fibers and ensuring every bite is moist.
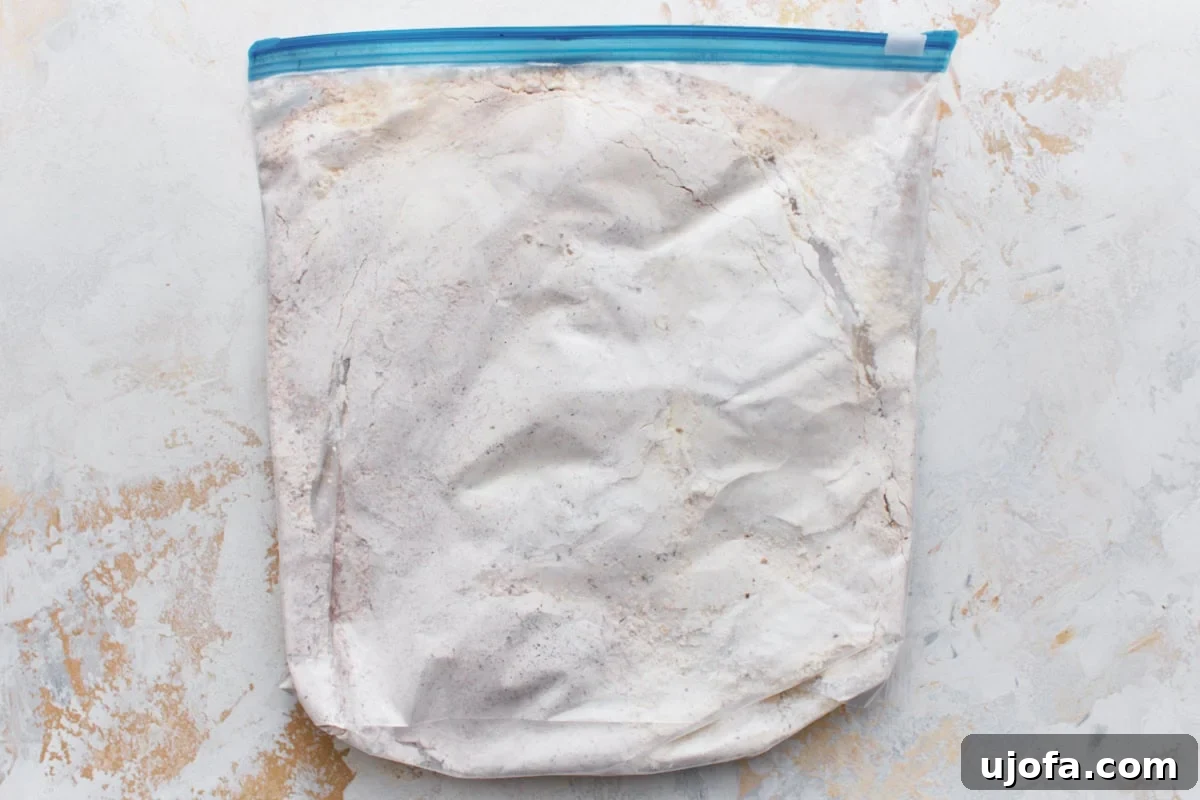
Prepare the dredging station: Create your crispy coating by combining 2 cups of all-purpose gluten-free flour, 1 cup of cornstarch (this is your secret weapon for crispiness!), 1 tablespoon of onion powder, 1 tablespoon of garlic powder, 2 teaspoons of salt, 1 tablespoon of paprika, 1 tablespoon of dried thyme, 1 tablespoon of dried oregano, and 1 tablespoon of dried basil. For ease and minimal mess, you can mix these thoroughly in a large gallon-sized resealable plastic bag – simply seal and shake until everything is uniformly combined. Alternatively, use a wide, shallow bowl for this process, ensuring enough space to thoroughly coat each chicken piece. Simultaneously, preheat your frying oil: In a sturdy cast iron pan (or any large, deep skillet that can hold the oil safely), heat 4 cups of your preferred vegetable oil (peanut oil is excellent for frying due to its high smoke point and neutral flavor) over medium heat until it reaches a precise 350°F (175°C). Test the oil by sprinkling a tiny bit of the flour mixture into it; it should sizzle immediately without smoking excessively. Accuracy in oil temperature is paramount for a golden, crispy crust and properly cooked chicken.
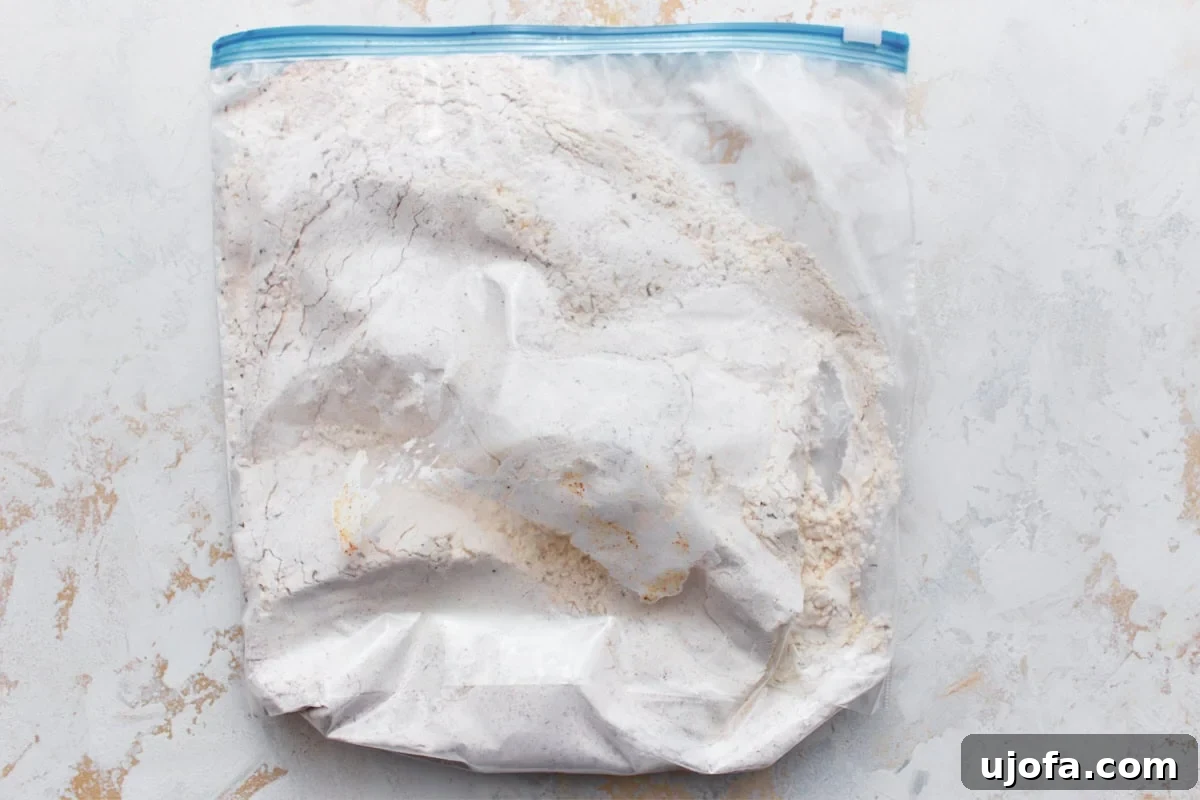
Dredge chicken: Take one piece of chicken from the buttermilk mixture at a time, allowing any excess liquid to drip off briefly. It’s important to remove some of the excess liquid to allow the dry coating to adhere properly. Place the chicken piece directly into the bag containing the gluten-free flour mixture. Seal the plastic bag securely, ensuring no air escapes, then shake it vigorously to coat the chicken piece thoroughly and evenly with the flour mixture. This shaking action helps create that beautifully craggy, extra-crispy texture that defines truly great fried chicken.
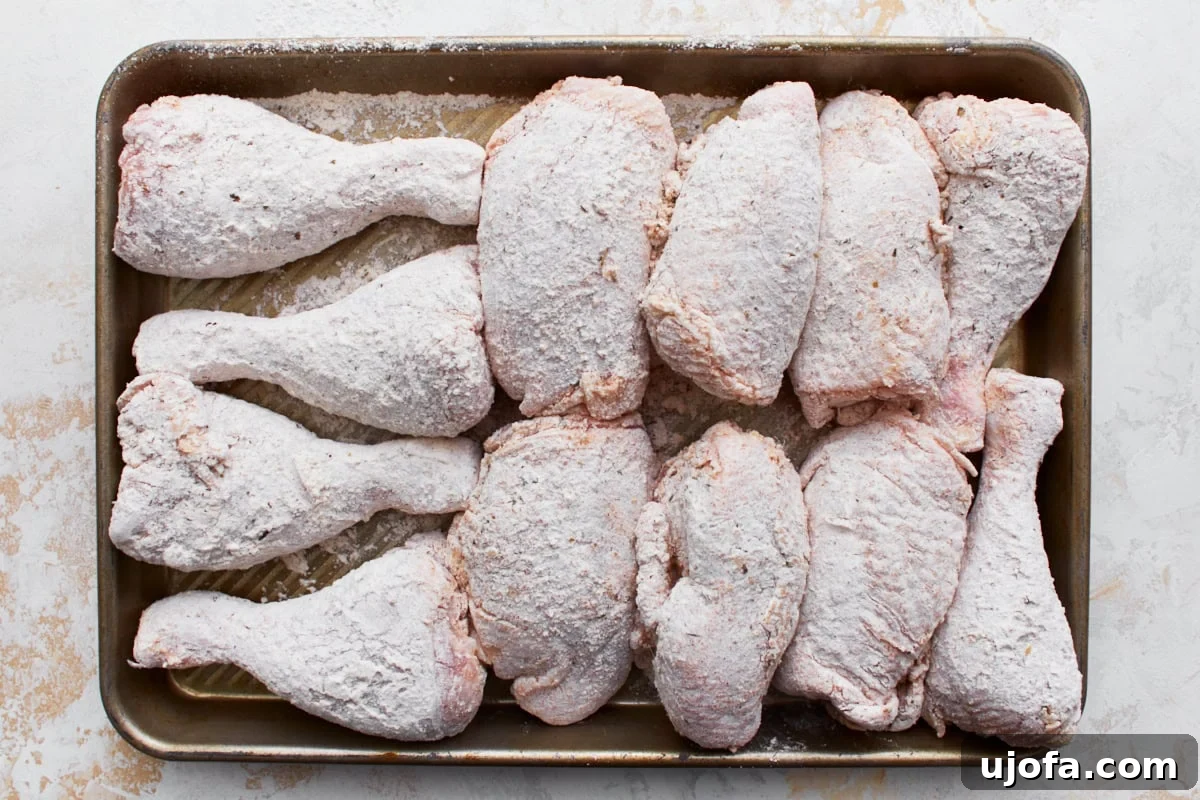
Transfer each fully coated chicken piece to a clean baking sheet. Repeat this process meticulously for all the chicken pieces, ensuring each one is completely and generously covered in the seasoned gluten-free flour blend. This careful coating is what will give you that irresistible crunch. Allowing the coated chicken to rest on the baking sheet for about 5-10 minutes before frying helps the breading adhere better, reducing the chance of it flaking off in the hot oil and ensuring a super crispy crust that stays put.
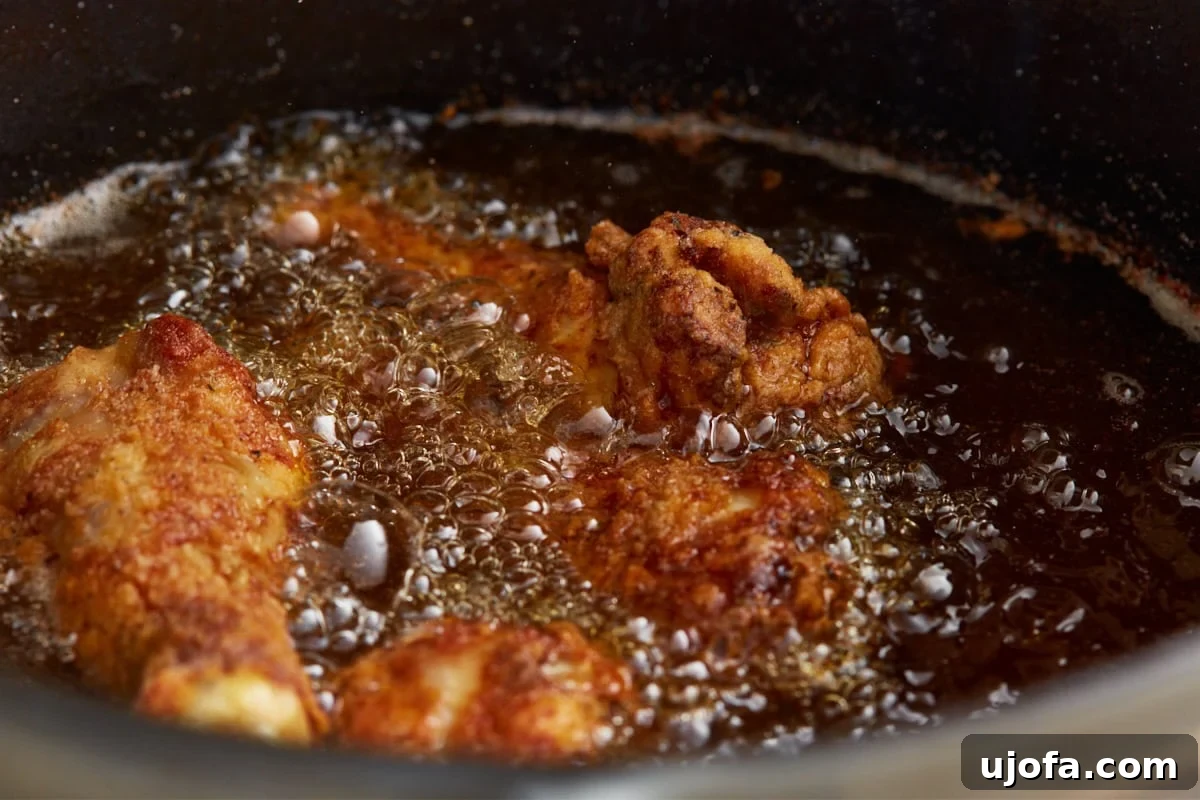
Fry chicken: Carefully place 3 to 4 pieces of the coated chicken into the hot oil at a time, always starting with the skin side down if possible. It is absolutely crucial not to overcrowd the pan, as this will significantly lower the oil’s temperature, leading to steamed, greasy chicken rather than the desired crispy result. Maintain vigilance over the oil temperature using a reliable thermometer; it will inevitably drop when the chicken is introduced. Adjust your heat as necessary to keep the oil consistently around 350°F (175°C), ensuring a steady, gentle cooking process. Fry each piece for approximately 15-18 minutes, making sure to turn the chicken over with tongs about every 2 minutes for even cooking and browning. Continue frying until the chicken is beautifully golden brown, thoroughly cooked through, and registers an internal temperature of 165°F (74°C) in the thickest part of the meat, checked with an instant-read thermometer. This guarantees safety and perfect doneness.
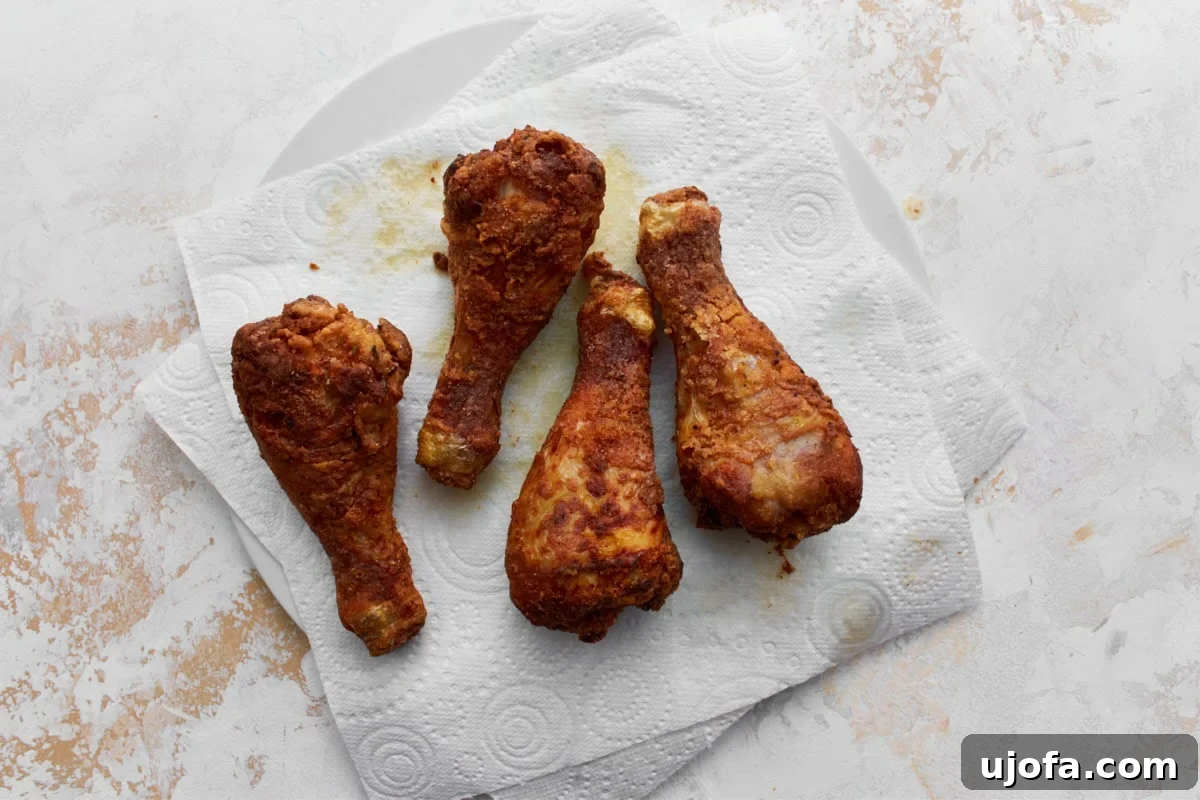
Once your chicken pieces have achieved that irresistible golden-brown hue and are thoroughly cooked, carefully remove them from the hot oil using tongs. Transfer them immediately to a wire cooling rack positioned over a paper towel-lined baking sheet. This setup is vital for allowing any excess oil to drain away, preventing the chicken from becoming soggy and helping to preserve its magnificent crispiness. The air circulation around the chicken ensures the crust stays crunchy.
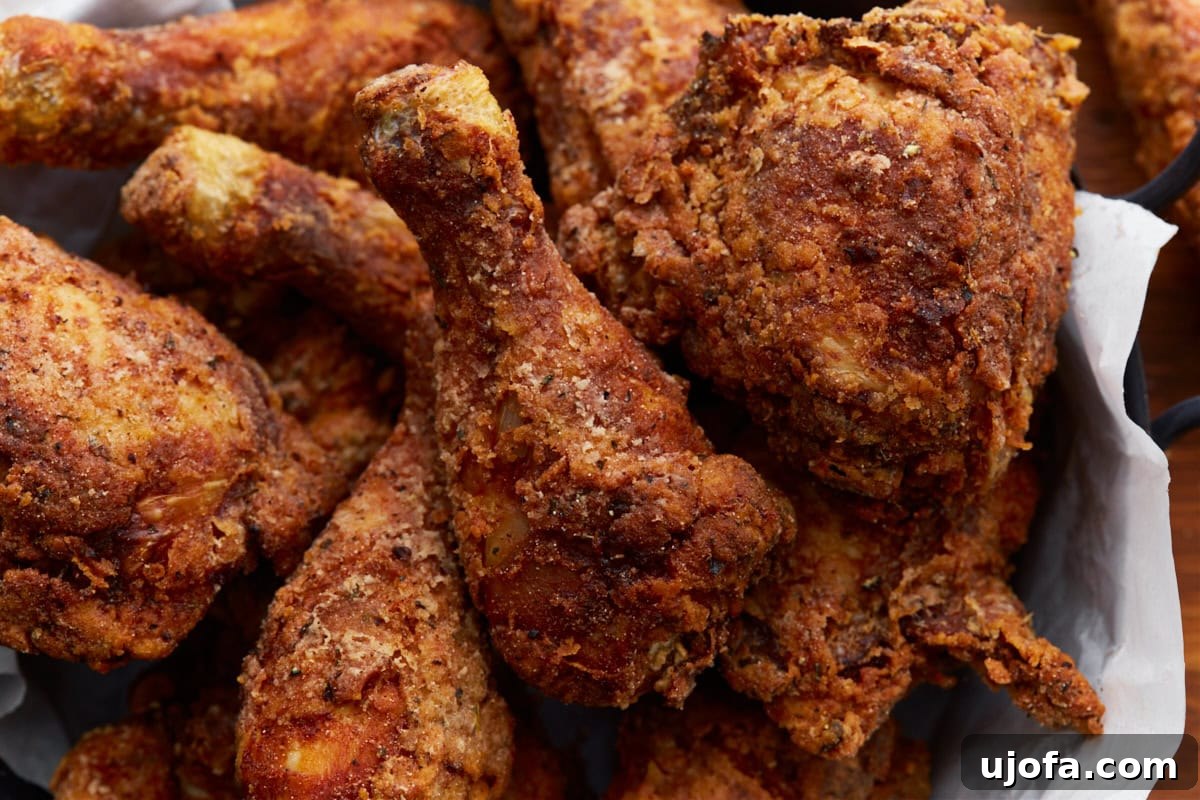
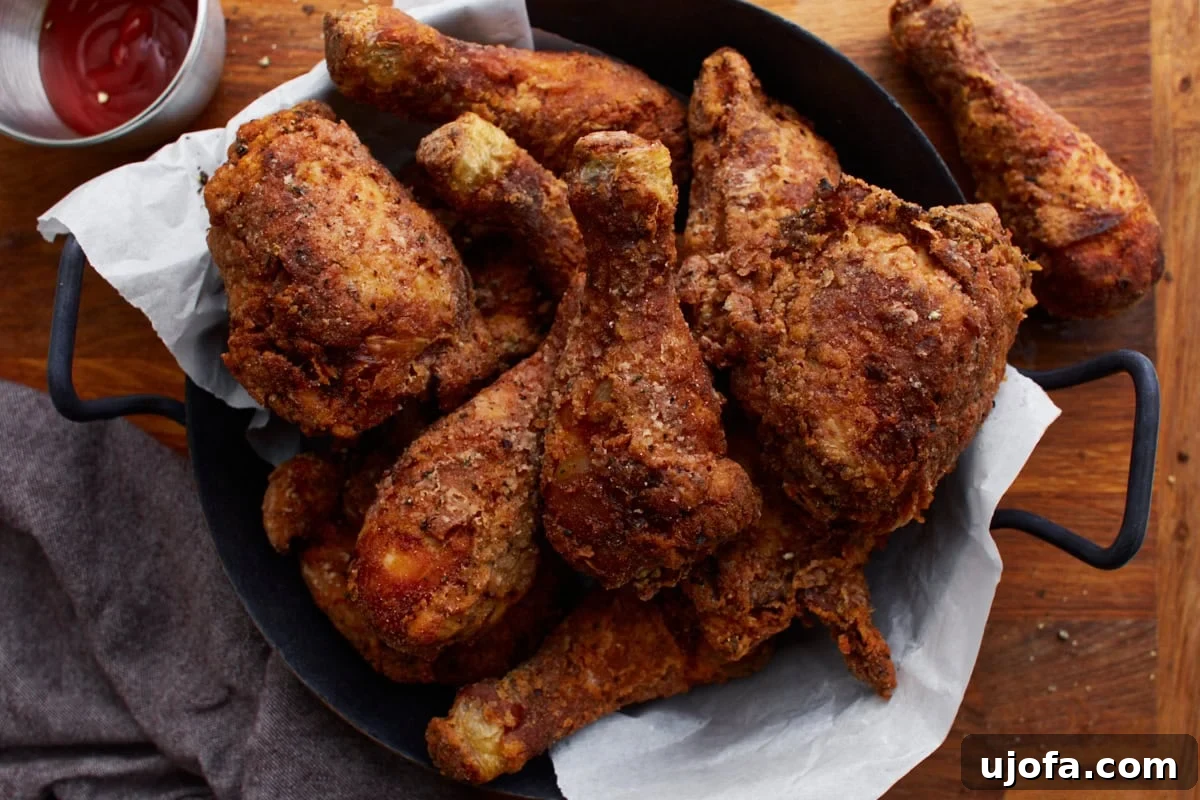
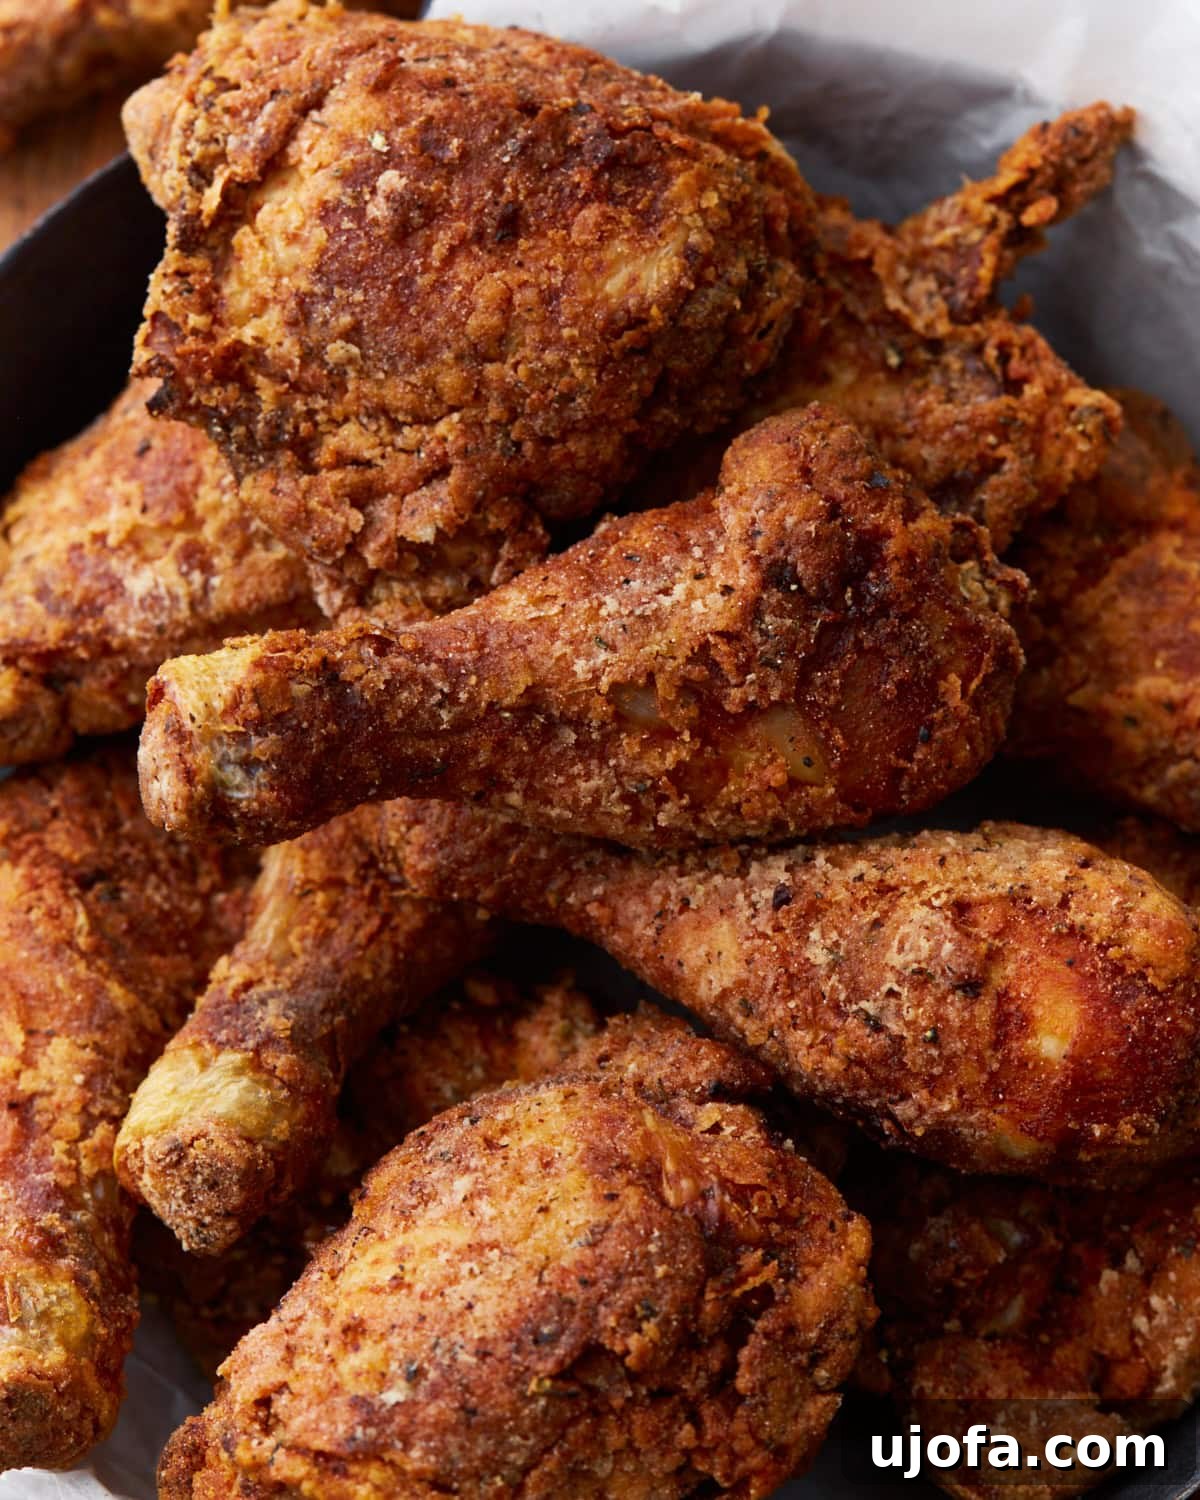
Allow the fried chicken to rest for at least 10 minutes before you serve it. This resting period is critical; it allows the internal juices to redistribute evenly throughout the meat, resulting in a significantly more tender, moist, and flavorful bite. This classic Southern delight is versatile – it can be savored warm, fresh out of the pan, or enjoyed cold, making it perfect for picnics, lunchboxes, or a quick snack. Enjoy the fruits of your labor and taste the Southern tradition in every gluten-free bite!
Gluten-Free Fried Chicken in the Air Fryer: A Healthier Alternative
Craving that crispy fried chicken experience but looking for a lighter option? Your air fryer is the perfect tool! You can still achieve wonderfully golden and crispy results with significantly less oil, making this a healthier alternative without sacrificing flavor. Follow the same crucial steps for marinating and dredging your chicken pieces as detailed above. Once all your chicken pieces are thoroughly coated with the gluten-free flour mixture, lightly spray both sides of each piece with cooking oil. This helps achieve that desirable golden-brown color and crisp texture in the air fryer. Arrange the coated chicken in a single layer within your air fryer basket, being careful not to overcrowd it. Work in batches if necessary to ensure proper air circulation, which is vital for crispiness. Preheat your air fryer to 375°F (190°C) and cook the chicken for 20-25 minutes, flipping each piece halfway through the cooking time. Continue until the chicken is beautifully golden brown, wonderfully crispy, and has reached a safe internal temperature of 165°F (74°C). Just like deep-fried chicken, allow it to rest for 5 minutes before serving to lock in those delicious juices. This method offers a fantastic, guilt-free way to enjoy your favorite gluten-free fried chicken!
Perfect Pairing: Serving Suggestions for Your Fried Chicken
No Southern fried chicken meal is complete without a delightful array of classic side dishes. This gluten-free fried chicken pairs beautifully with a variety of comforting accompaniments that complement its rich flavors and crispy texture. Here are some of our family’s favorite recipes that elevate this dinner to a truly memorable feast:
- **Gluten-Free Macaroni and Cheese:** A creamy, cheesy, baked mac and cheese is the quintessential partner for fried chicken, offering a rich, comforting contrast to the crispy exterior. Its velvety texture and savory notes are simply irresistible.
- **Loaded Bacon Ranch Potato Salad:** Cool, tangy, and bursting with flavor from crispy bacon and zesty ranch dressing, this potato salad offers a refreshing balance to the warm, savory chicken. It’s a perfect creamy side for any Southern spread.
- **Fluffy Gluten-Free Buttermilk Biscuits:** These tender, flaky biscuits are perfect for soaking up any delicious chicken juices or for making mini fried chicken sandwiches. Their soft crumb and buttery flavor are an ideal match.
For an extra layer of flavor, don’t hesitate to try dipping your perfectly fried chicken into a homemade gluten-free BBQ sauce. The sweet and tangy notes of the sauce provide a wonderful counterpoint to the savory chicken, adding another dimension of taste that will delight your palate.
Storage and Reheating Instructions for Leftovers
While fried chicken is undeniably at its peak when enjoyed fresh and hot, any leftovers can still be a delicious treat! Properly stored, your gluten-free fried chicken will remain good in the refrigerator for 2 to 3 days. To maintain the best quality and flavor, allow the chicken to cool completely to room temperature before transferring it to an airtight container. This prevents moisture buildup, which can lead to sogginess and compromise the crispy texture.
For the absolute best results when reheating, skip the microwave if you desire that signature crispy skin. The microwave tends to make the crust soft. Instead, preheat your oven to 350°F (175°C) and place the leftover chicken on a baking sheet, uncovered. Bake for approximately 15-20 minutes, or until the chicken is thoroughly heated through and its delightful crispiness has been revived. The air fryer is another excellent option for reheating, using the same temperature and time as mentioned in the air fryer cooking section, offering a quick way to bring back the crunch.
Frequently Asked Questions About Gluten-Free Fried Chicken
Can I use other cuts of chicken for this recipe?
Absolutely! While drumsticks and thighs are classic choices for fried chicken due to their inherent juiciness and even cooking, you can certainly adapt this recipe to use bone-in, skin-on chicken breasts or wings. Just be aware that cooking times may vary slightly depending on the thickness and size of the chicken pieces. Breast meat, being leaner, might cook faster, so always keep an eye on the internal temperature to prevent drying out. For larger cuts, you might need a slightly lower oil temperature for a longer period to ensure it cooks through without burning the exterior.
Why is cornstarch an important ingredient in the dredging mixture?
Cornstarch is a game-changer for achieving that extra crispy, light, and delicate crust on fried chicken. It fries up lighter and crisper than flour alone, helping to create a superior, almost shatteringly crisp texture that is a hallmark of excellent fried chicken. It also contributes to that beautiful, golden-brown color we all love, making the chicken look as good as it tastes. Without cornstarch, the coating might be denser and less crunchy.
What kind of oil is best for frying gluten-free fried chicken?
For deep frying, it’s crucial to choose an oil with a high smoke point and a neutral flavor to prevent off-tastes and burning. Peanut oil is highly recommended for its excellent frying properties, high smoke point, and subtle flavor it imparts, which complements Southern cooking beautifully. Other good options that work well include vegetable oil, canola oil, or sunflower oil. Avoid using olive oil or butter for deep frying, as their smoke points are too low and they will burn quickly, imparting an undesirable flavor.
How do I know when the chicken is fully cooked through?
The safest and most accurate way to ensure your chicken is cooked to perfection and safe to eat is to use an instant-read meat thermometer. Insert the thermometer into the thickest part of the chicken, making sure to avoid touching any bone, as bone conducts heat and can give a false reading. The chicken is fully cooked when it consistently registers an internal temperature of 165°F (74°C). Additionally, the juices should run clear when the chicken is pierced, and the meat itself should be opaque throughout.
Can I prepare the dredging mixture ahead of time?
Yes, you can absolutely prepare the dry dredging mixture ahead of time! This is a fantastic way to cut down on meal prep on the day you plan to fry the chicken. Once all the gluten-free flour and spices are combined, simply store the mixture in an airtight container or a large resealable plastic bag at room temperature for several days. Just give it a good shake or stir before you’re ready to use it to ensure all the ingredients are evenly distributed.
Explore More Delicious Gluten-Free Crispy Chicken Recipes
If you loved making and devouring this incredible Gluten-Free Southern Fried Chicken, you’ll be thrilled to discover other fantastic gluten-free chicken creations that are equally flavorful and satisfying. Expand your culinary repertoire with these crispy chicken favorites, each offering a unique and delicious twist on gluten-free cooking:
- Gluten-Free Chicken Parmesan: A classic Italian-American dish with a gluten-free twist, featuring tender chicken breast, rich marinara, and melted cheese.
- Homemade Gluten-Free Chicken Nuggets: Perfect for kids and adults alike, these nuggets are healthier and more flavorful than store-bought versions.
- Zesty Gluten-Free Orange Chicken: A vibrant and tangy take on a takeout favorite, with crispy chicken coated in a sweet and savory orange sauce.
- Crispy Baked Chicken Thighs: Achieve incredible crispiness without frying, making for an easy weeknight meal that’s full of flavor.
- Gluten-Free Crunchy Coconut Chicken Bites: A delightful and exotic appetizer or main dish, featuring chicken with a tropical, crunchy coconut crust.
We hope you enjoy making and savoring this incredible Gluten-Free Southern Fried Chicken. It’s a testament to the fact that going gluten-free doesn’t mean sacrificing flavor, tradition, or that satisfying crunch. This recipe proves that delicious comfort food is accessible to everyone. Happy cooking and enjoy your gluten-free culinary adventures!