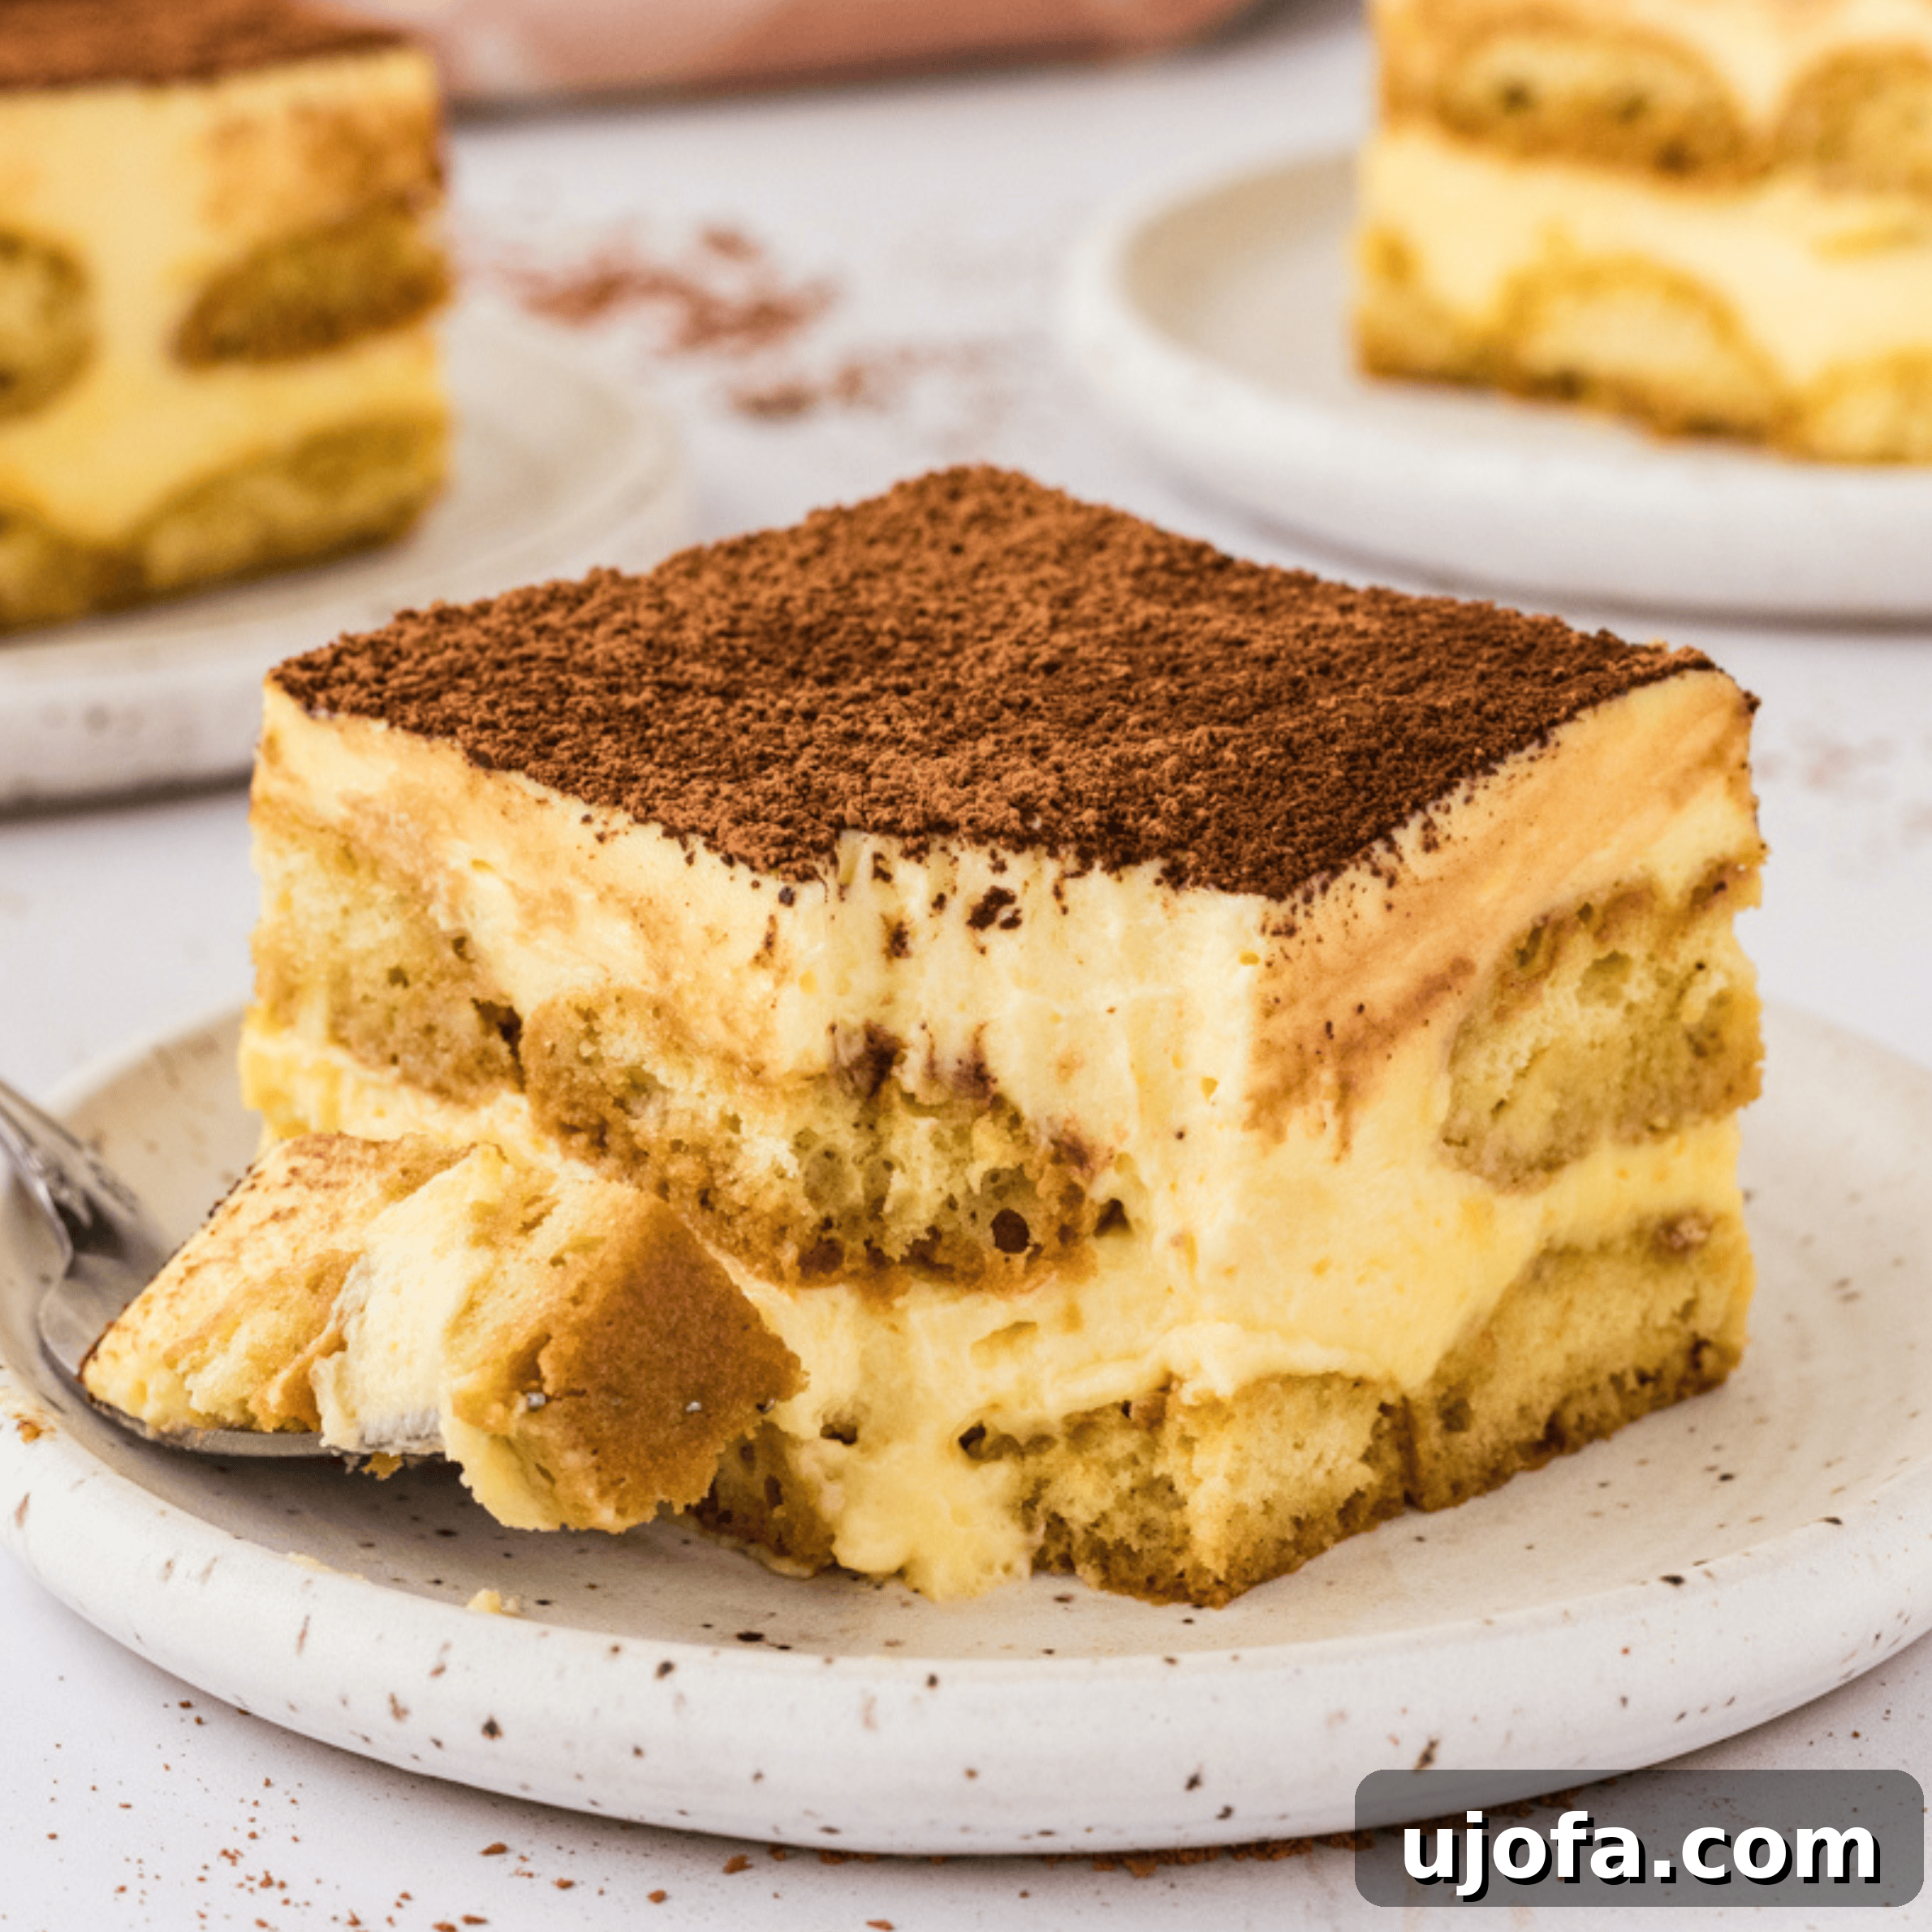
Prepare to be enchanted by this truly decadent gluten-free tiramisu, a luxurious twist on Italy’s beloved classic that sacrifices absolutely nothing in flavor or texture. My carefully crafted recipe guides you through creating ethereal layers of homemade (or store-bought) gluten-free ladyfingers, delicately softened by a perfect blend of fresh espresso and a hint of Kahlúa. These coffee-soaked sponges are then lovingly intertwined with a rich, silky mascarpone cream, culminating in a dessert that strikes an exquisite balance between traditional Italian authenticity and a satisfyingly fluffy, American-style adaptation. This isn’t just a dessert; it’s a showstopper, guaranteed to impress at any gathering and prove that gluten-free can be utterly gourmet.
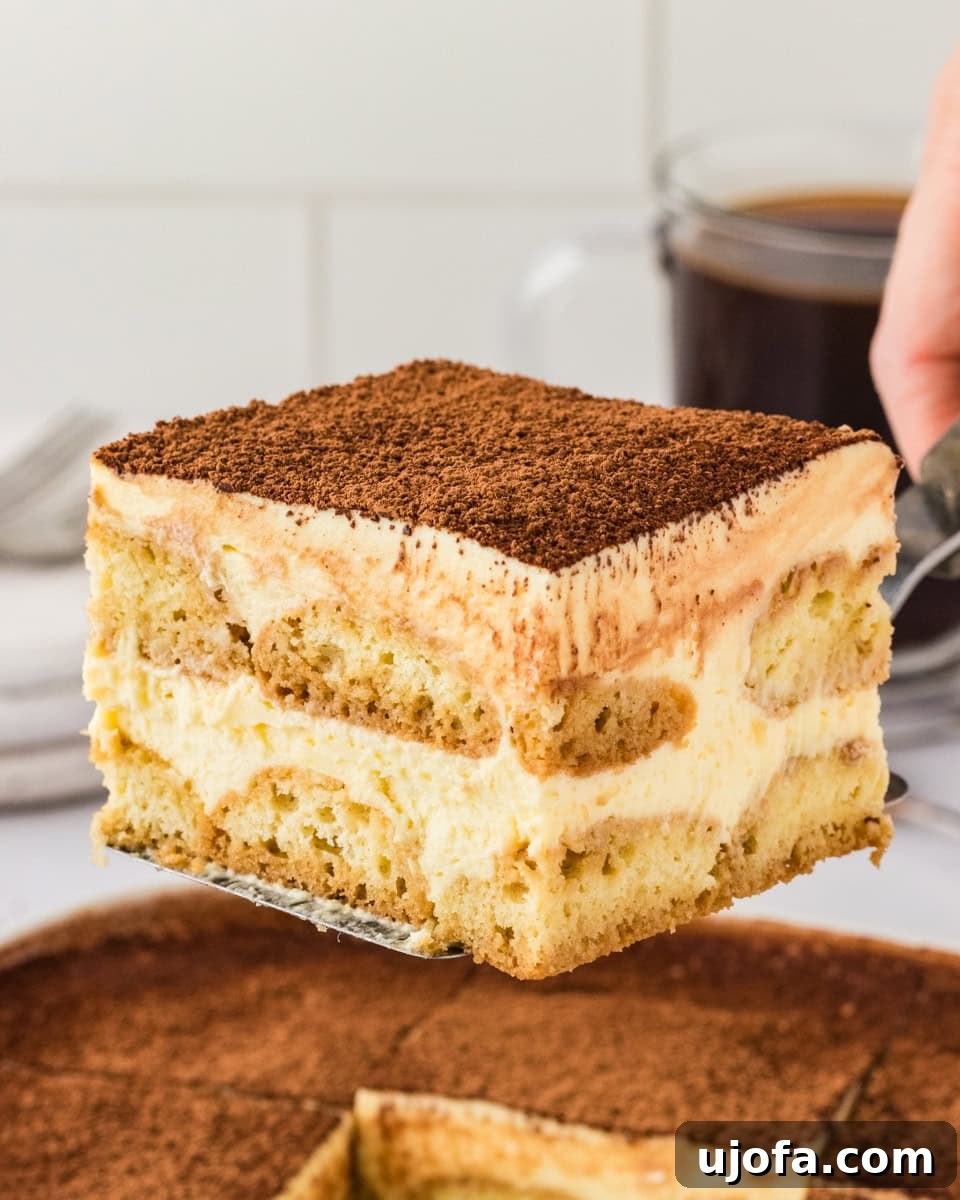
The Ultimate Gluten-Free Tiramisu Recipe: Authentic Taste, No Compromise
Embark on a culinary journey to Italy with our extraordinary Gluten-Free Tiramisu recipe. As someone passionate about gluten-free living, I understand the challenge of finding delicious alternatives that truly rival their gluten-containing counterparts. That’s precisely why I developed this recipe, using my own gluten-free ladyfingers recipe – a secret weapon that ensures an indistinguishable texture and taste from traditional tiramisu. It’s a testament that a gluten-free lifestyle doesn’t mean sacrificing the rich, comforting flavors you adore.
This layered dessert is not only incredibly simple to assemble but also bursts with profound flavors and sumptuously creamy layers. While the recipe offers an alcohol-free option, I highly recommend including the dash of Kahlúa. It infuses the tiramisu with a sophisticated depth, reminiscent of a dessert that has been lovingly aged. And let’s not forget the final flourish: a generous dusting of cocoa powder on top. This isn’t merely decoration; it’s a flavor enhancer, elevating the complex notes of coffee and mascarpone from fantastic to truly unforgettable.
Why Choose Gluten-Free Tiramisu?
For those managing celiac disease, gluten sensitivity, or simply opting for a gluten-free diet, finding indulgent desserts can often be a challenge. Many traditional recipes rely heavily on gluten-containing flour, making them inaccessible. This gluten-free tiramisu recipe changes the game, offering a dessert that is not only safe for gluten-intolerant individuals but also so delicious that everyone at the table will crave a second slice. It’s about inclusive indulgence, ensuring that no one misses out on the joy of a classic Italian treat. Beyond dietary needs, many appreciate the lighter feel and diverse ingredient options that gluten-free baking provides.
The Allure of Tiramisu: A Timeless Classic, Reimagined
Tiramisu, meaning “pick me up” or “cheer me up” in Italian, lives up to its name with every spoon. Its magic lies in the harmonious blend of robust coffee, sweet liqueur, rich mascarpone, and delicate ladyfingers. Our gluten-free version painstakingly recreates this balance. The bitterness of espresso contrasts beautifully with the sweetness of the cream and sugar, while the subtle kick from Kahlúa (or your preferred liqueur) adds a sophisticated warmth. The cocoa dusting provides a final flourish, adding a touch of bitterness that perfectly rounds out the sweetness and creaminess of the layers below. This dessert is not just food; it’s an experience, a delightful symphony of textures and flavors.
Essential Ingredients for Your Perfect Gluten-Free Tiramisu
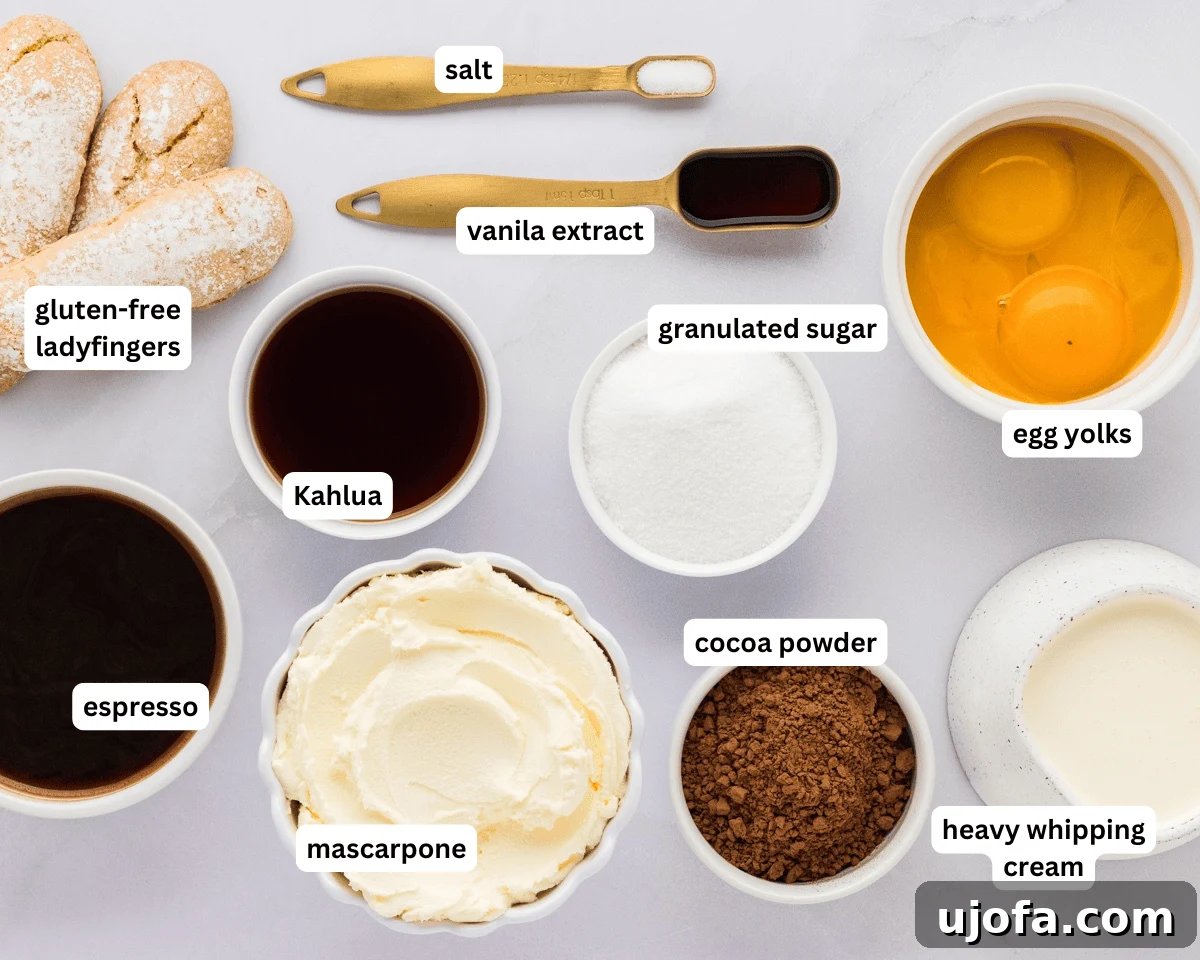
Creating an exceptional tiramisu begins with selecting high-quality ingredients. Each component plays a crucial role in achieving that signature fluffy texture and rich, unforgettable flavor profile. Here’s a closer look at what you’ll need and why:
- Egg Yolks: These are the foundation of the tiramisu’s luxurious custard. Cooked gently with sugar over a double boiler, they form a sabayon-like base that contributes to the classic richness and provides essential structure and a silky-smooth texture to the mascarpone cream. Don’t skip this step; it truly makes a world of difference in flavor and consistency.
- Sugar: We use granulated sugar to sweeten the egg yolk mixture and the overall dessert. Its fine crystals dissolve beautifully during the whisking process, ensuring a smooth custard without any graininess. Any good quality white granulated sugar will work perfectly here.
- Vanilla Extract: A splash of vanilla is vital for enhancing the overall flavor profile of the tiramisu. It adds a warm, aromatic note that complements the coffee and mascarpone beautifully, tying all the flavors together without overpowering them.
- Espresso: For that authentic, deep coffee flavor, fresh, strong espresso is paramount. If a dedicated espresso machine isn’t available, a very strong brewed coffee, dark roast, or dissolved espresso powder (mixed according to package directions) can be excellent substitutes. The intensity of the coffee directly impacts the final taste, so choose wisely.
- Kahlúa: My preferred coffee liqueur, Kahlúa, deepens the coffee flavor and adds a wonderful complexity and depth to the ladyfingers. It’s truly what gives the tiramisu an “aged” and sophisticated character. For an alcohol-free dessert, simply omit it or substitute with an equal amount of strong decaffeinated coffee or a few drops of coffee extract.
- Heavy Whipping Cream: Whipped to stiff peaks, this cream is carefully folded into the mascarpone mixture. It’s essential for achieving that light, airy, and fluffy texture that balances the richness of the cheese, ensuring your tiramisu isn’t too dense.
- Mascarpone Cheese: The quintessential Italian cream cheese, mascarpone is the star ingredient for tiramisu’s signature creamy, velvety, and rich texture. Its high-fat content gives the dessert its characteristic indulgence. Ensure it’s well-chilled before mixing to maintain its consistency.
- Gluten-Free Ladyfingers: These delicate sponge cakes are the structural heart of tiramisu. I often use my homemade gluten-free ladyfingers, which offer unparalleled taste and texture. However, excellent store-bought gluten-free ladyfingers are also available and make the assembly process even quicker. The key is their ability to absorb the coffee mixture without becoming soggy.
- Cocoa Powder: A generous dusting of unsweetened cocoa powder is the classic finishing touch. It provides a beautiful visual contrast and a subtle bitter note that perfectly cuts through the sweetness and richness of the mascarpone cream, completing the tiramisu experience.
Mastering Your Gluten-Free Tiramisu: Expert Tips for Perfection
Achieving tiramisu perfection, especially with a gluten-free twist, comes down to a few key techniques. Follow these expert tips to ensure your dessert is nothing short of spectacular:
- Patience is Key: Don’t Skip the Chill Time. I know it’s tempting to dive in immediately, but proper refrigeration is non-negotiable. Allowing the tiramisu to chill for at least 8 hours (or ideally overnight) is crucial for the flavors to meld and the dessert to fully set. This ensures each slice holds its beautiful form and offers a more deeply satisfying taste.
- The Cold Tools Advantage: A little trick I’ve learned over the years is to chill your mixer bowl and whisk attachment (if using a stand mixer) or beaters (for a hand mixer) in the freezer for 10-15 minutes before whipping the heavy cream. Cold equipment significantly helps the cream whip up faster and achieve those firm, stable stiff peaks, resulting in a lighter, airier mascarpone cream.
- Gentle Mixing for the Mascarpone Cream: When combining the mascarpone with the egg yolk mixture and whipped cream, mix *just* until everything is smooth and well combined. Stop as soon as the mixture is fluffy and holds soft peaks. Over-mixing mascarpone, or allowing it to get too warm, can cause it to break or curdle, which will compromise the smooth, luxurious texture of your tiramisu.
- Quick Dip for Ladyfingers: Resist the urge to fully soak the ladyfingers! A swift, brief dip in the coffee mixture – literally a second or two per side – is all they need. Ladyfingers are incredibly absorbent, and over-soaking will lead to a soggy, unappealing tiramisu. You want them moistened, not drenched.
- Quality Ingredients Matter: Since tiramisu has relatively few ingredients, the quality of each one truly shines through. Use fresh, high-quality eggs, good vanilla extract, a rich espresso, and excellent mascarpone cheese for the best possible flavor.
- Room Temperature Eggs (for custard): While your heavy cream and mascarpone should be cold, bringing your egg yolks to room temperature (before cooking over the double boiler) can help them whip up more easily and incorporate better with the sugar.
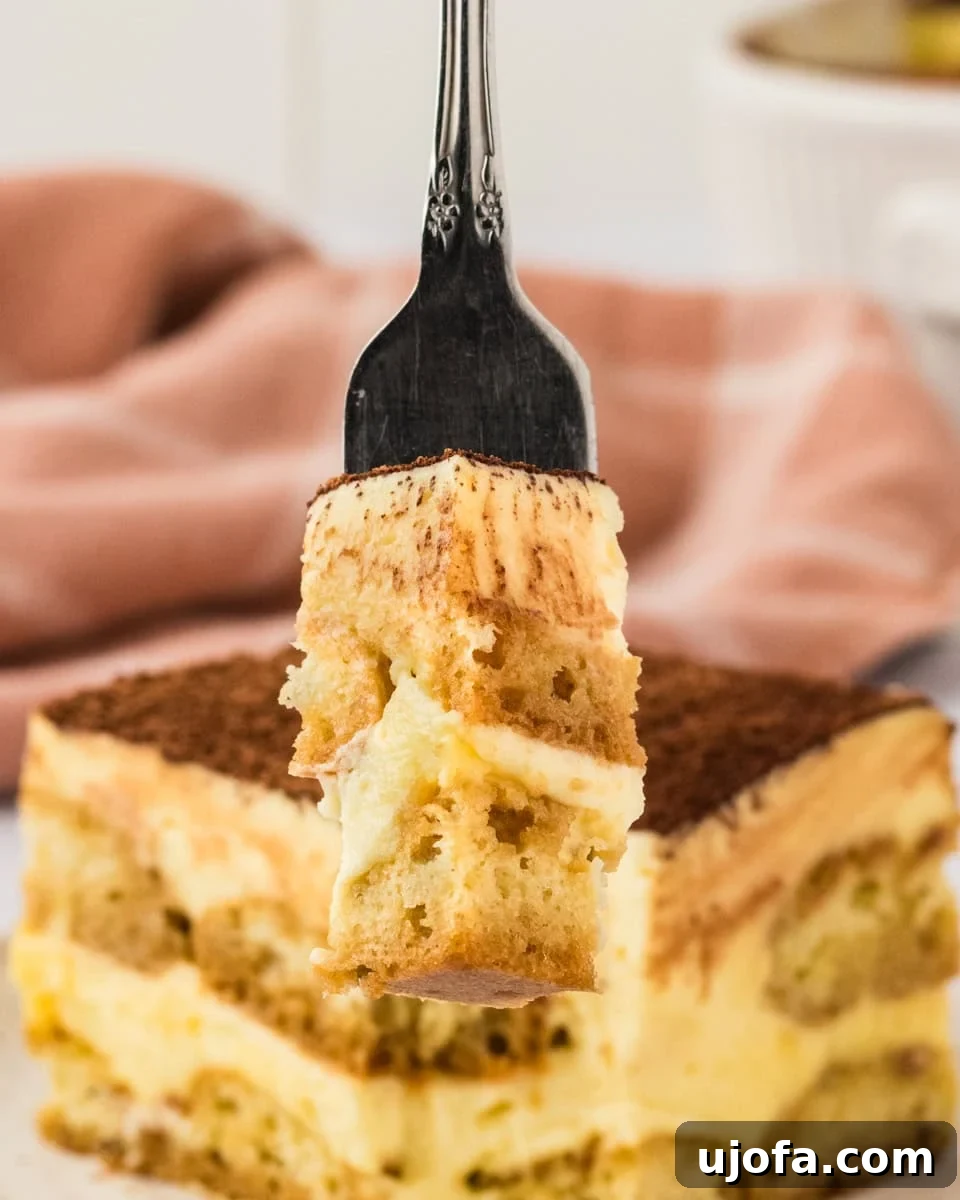
Serving and Pairing Your Gluten-Free Tiramisu
Serving this gluten-free tiramisu is an experience in itself. I love to keep things elegantly simple, opting for a classic pairing with a freshly brewed, strong espresso. The robust coffee notes in the drink beautifully echo and enhance the flavors within the dessert. This tiramisu is one of my absolute favorite desserts for parties, holiday dinners, or any special occasion because it’s effortlessly elegant, travels well, and crucially, requires no oven space, freeing up your kitchen for other culinary delights. For an extra touch, consider garnishing individual servings with a few chocolate-covered espresso beans or a sprinkle of finely grated dark chocolate.
Storage Instructions for Freshness
Proper storage is essential to maintain the freshness and quality of your homemade tiramisu. Tiramisu can be stored in the refrigerator, tightly covered with plastic wrap, for up to 4 days. The flavors will deepen beautifully over the first day or two, making it an excellent make-ahead dessert.
For longer storage, tiramisu freezes exceptionally well. Tightly wrap the entire baking dish (or individual portions) in plastic wrap, followed by a layer of aluminum foil. It can be stored in the freezer for up to 3 months. To enjoy, transfer the frozen tiramisu to the refrigerator and allow it to defrost completely, which usually takes several hours or overnight. Once defrosted, consume within 3 days for the best taste and texture.
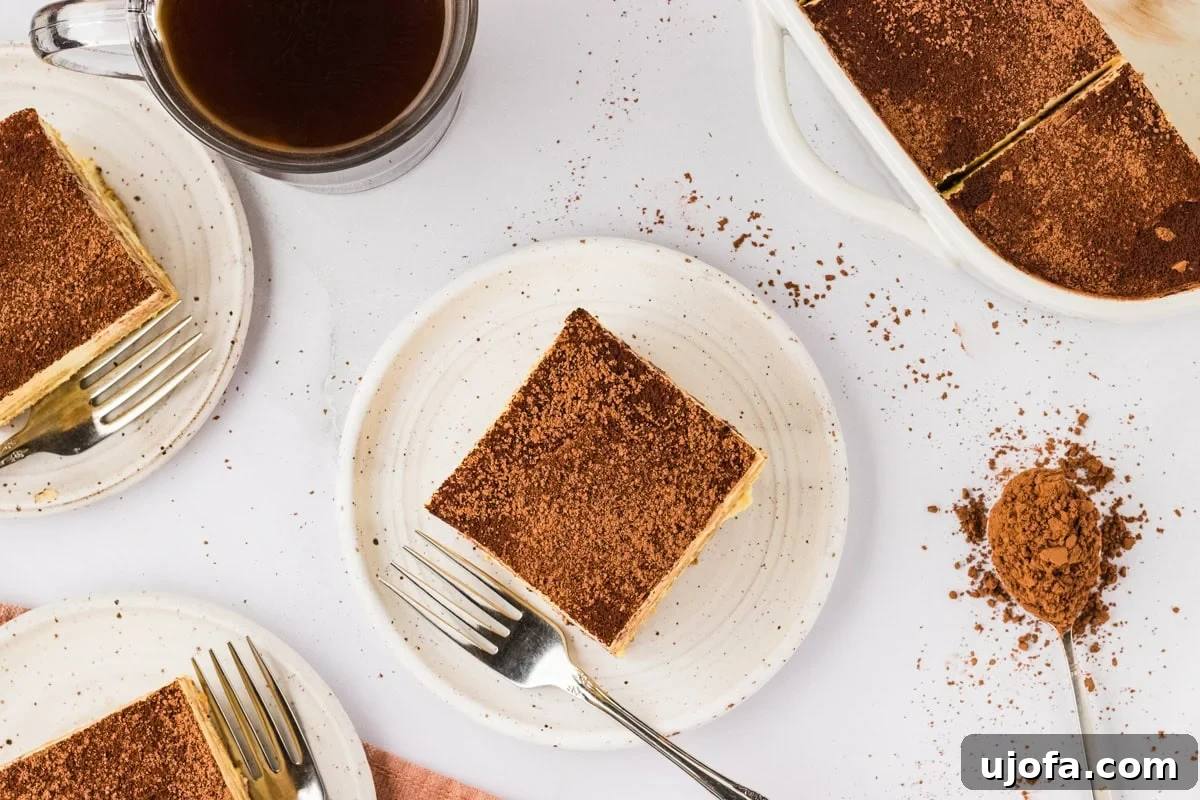
Variations and Customizations for Your Tiramisu
While the classic gluten-free tiramisu is phenomenal on its own, don’t hesitate to experiment with variations to suit your taste or occasion:
- Liqueur Alternatives: Instead of Kahlúa, consider Marsala wine (traditional), dark rum, or brandy for a different boozy note. For a non-alcoholic version, simply use extra strong coffee or a coffee syrup.
- Flavor Infusions: Add a hint of orange zest to the coffee mixture for a bright, citrusy twist. A touch of almond extract in the mascarpone cream can also be delightful.
- Chocolate Shavings: Instead of just cocoa powder, grate some high-quality dark chocolate over the top for an extra layer of indulgence and texture.
- Individual Servings: For elegant presentation, assemble the tiramisu in individual ramekins, glasses, or small jars. This makes serving a breeze and adds a refined touch.
- Decaf Option: If serving to guests sensitive to caffeine or enjoying it later in the evening, simply use decaffeinated espresso for the coffee soak.
Frequently Asked Questions About Gluten-Free Tiramisu
- Can I make gluten-free tiramisu ahead of time? Absolutely! Tiramisu is actually best when made at least 12-24 hours in advance. This allows the flavors to fully meld and the layers to set properly, resulting in a more cohesive and delicious dessert.
- What if I can’t find mascarpone cheese? While mascarpone is ideal, a good substitute can be a mixture of cream cheese (softened) and heavy cream, or a blend of full-fat ricotta cheese and heavy cream. However, the texture and richness will differ slightly from authentic tiramisu.
- Can I use regular ladyfingers if I’m not gluten-free? Yes, if gluten is not an issue, you can certainly use regular store-bought ladyfingers for this recipe. The method for assembling the tiramisu remains the same.
- How do I prevent my tiramisu from being soggy? The key is in the quick dip of the ladyfingers. They should be dipped just long enough to absorb some liquid, but not become saturated. A second or two on each side is usually sufficient.
- What kind of espresso should I use? A strong, freshly brewed espresso or dark roast coffee is best. The quality of your coffee will significantly impact the flavor of the tiramisu. Avoid thin or weak coffee.
Explore More Gluten-Free Delights
If you’re loving the gluten-free life and looking for more incredible desserts, be sure to check out these other favorites:
- Gluten-Free Biscotti
- Gluten-Free Cannoli
- Gluten-Free Lemon Bars
- Gluten-Free Chocolate Cake
- Gluten-Free Strawberry Shortcake
Rating: 5 out of 5 stars (based on 1 vote)
Gluten-Free Tiramisu
Julia Elizabeth
9 servings
25 minutes
7 minutes
8 hours
8 hours 30 minutes
Save Recipe
Pin Recipe
Email Recipe
Print Recipe
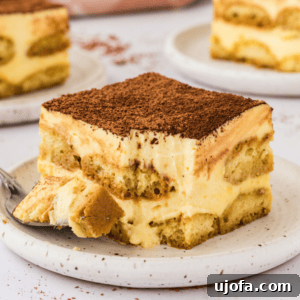
Equipment
-
1 8×8 or 9×9 baking dish
-
Double boiler or small pot with heat-safe bowl
-
Electric mixer (handheld or stand mixer)
-
Whisk
-
Silicone spatula
-
Sieve or fine-mesh strainer
Ingredients
- 4 egg yolks
- ½ cup granulated sugar
- 2 teaspoons vanilla extract
- 1 cup strong espresso or strong brewed coffee
- 3 tablespoons Kahlúa, optional (or other coffee liqueur/rum)
- ¾ cup heavy whipping cream, very cold
- 16 ounces mascarpone cheese, cold
- ¼ teaspoon salt
- 1 batch of gluten-free ladyfingers (homemade or store-bought)
- Unsweetened cocoa powder, for dusting
Instructions
-
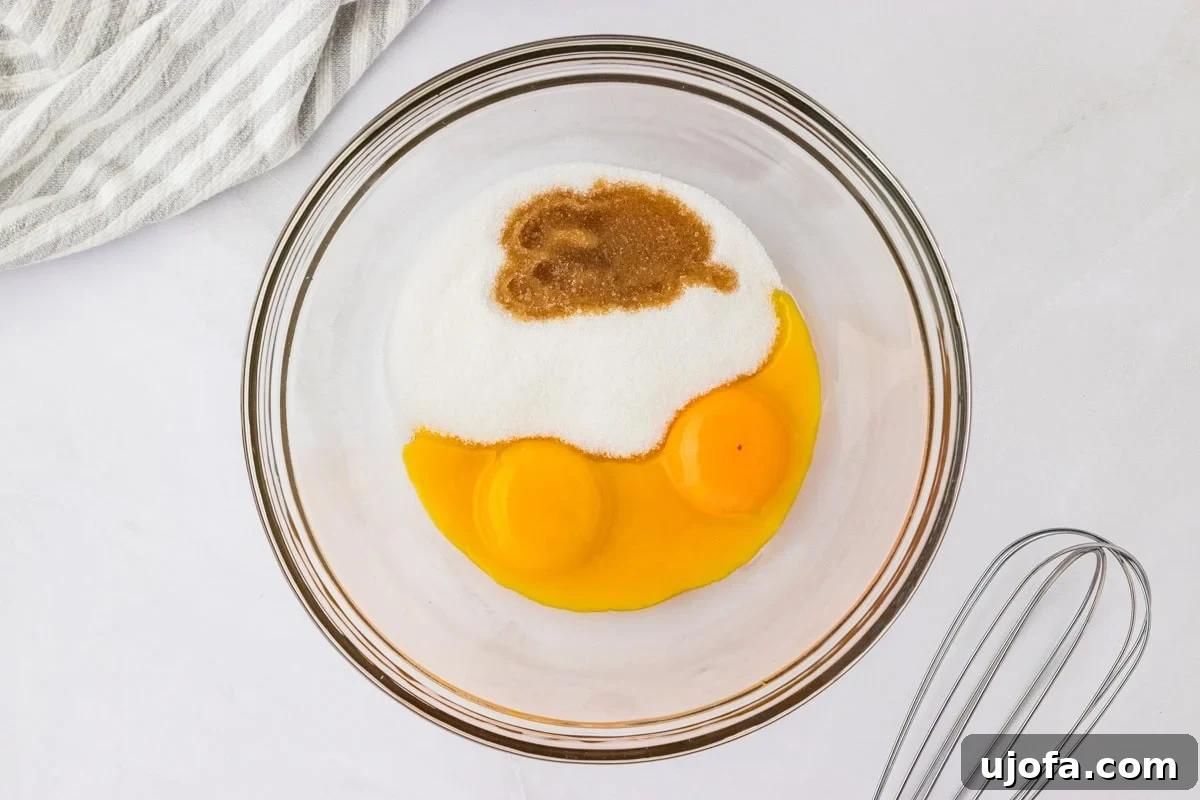
Prepare the Egg Yolk Custard: If using a double boiler, set it up. Otherwise, fill a small pot with about an inch of water, place it on medium-low heat, and bring it to a gentle simmer. In a medium, heat-safe bowl that fits snugly over the pot without touching the water, combine the 4 egg yolks, ½ cup sugar, and 2 teaspoons vanilla extract. Whisk these ingredients together until well blended. Once the water in the pot is simmering, place the bowl on top.
-
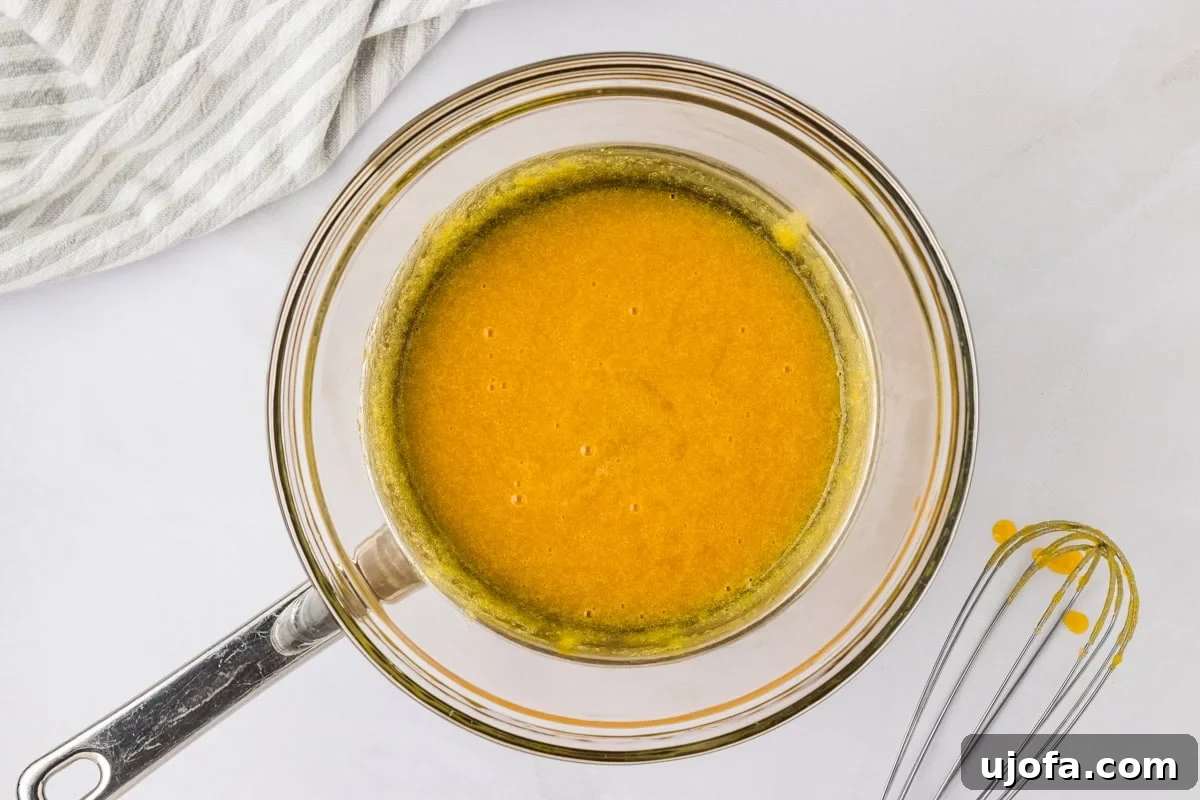
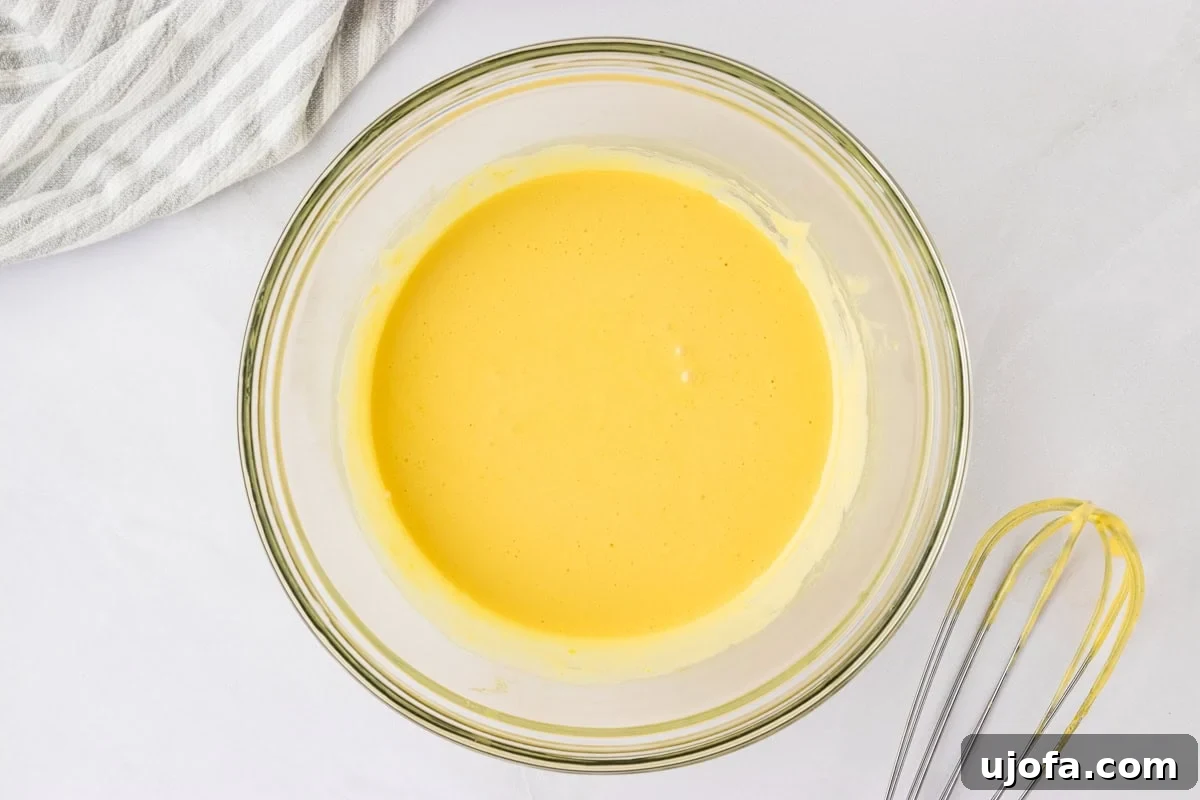
Cook the Custard: Continuously whisk the egg mixture over the simmering water for approximately 6-7 minutes. During this time, the mixture will become visibly paler in color, increase in volume, and thicken slightly. To check for readiness, rub a small amount between your fingers; the sugar should be completely dissolved and no longer grainy. Once cooked, remove the bowl from the heat and continue whisking for another 2 minutes off the stove to help it cool down. Set aside on the counter to cool further while you prepare the remaining components.
-
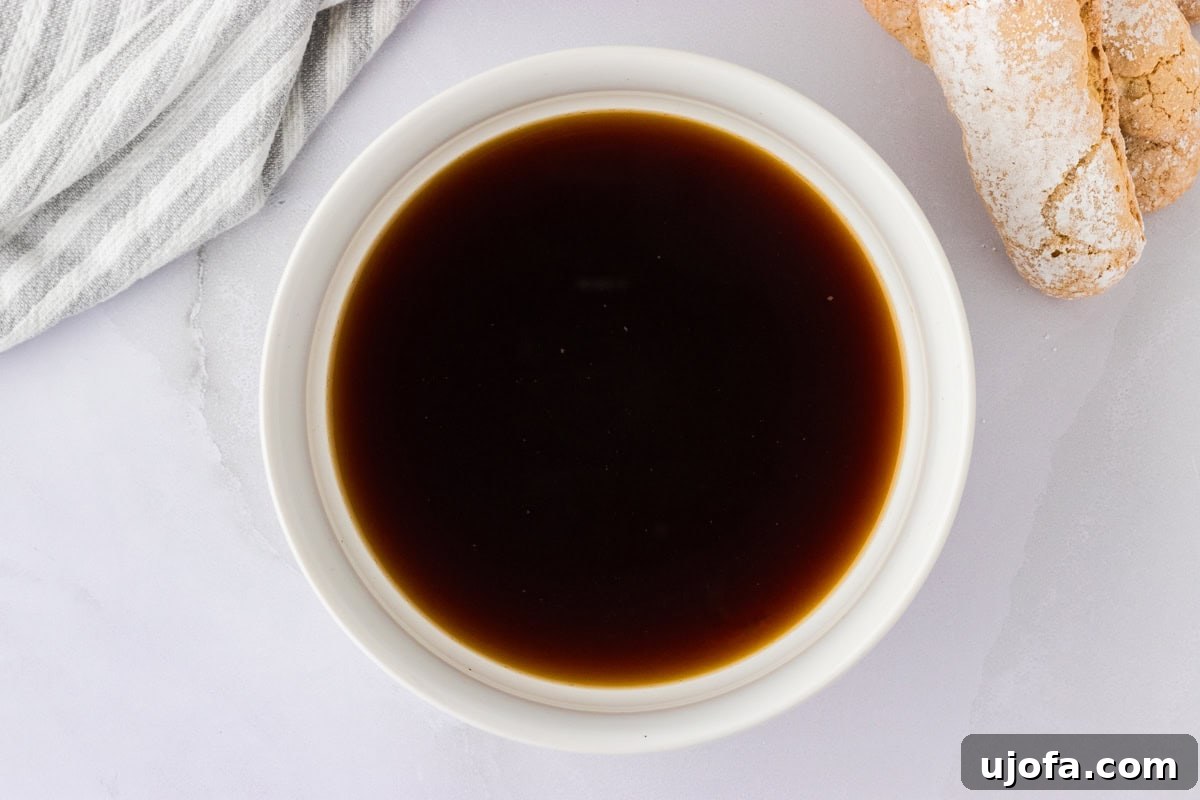
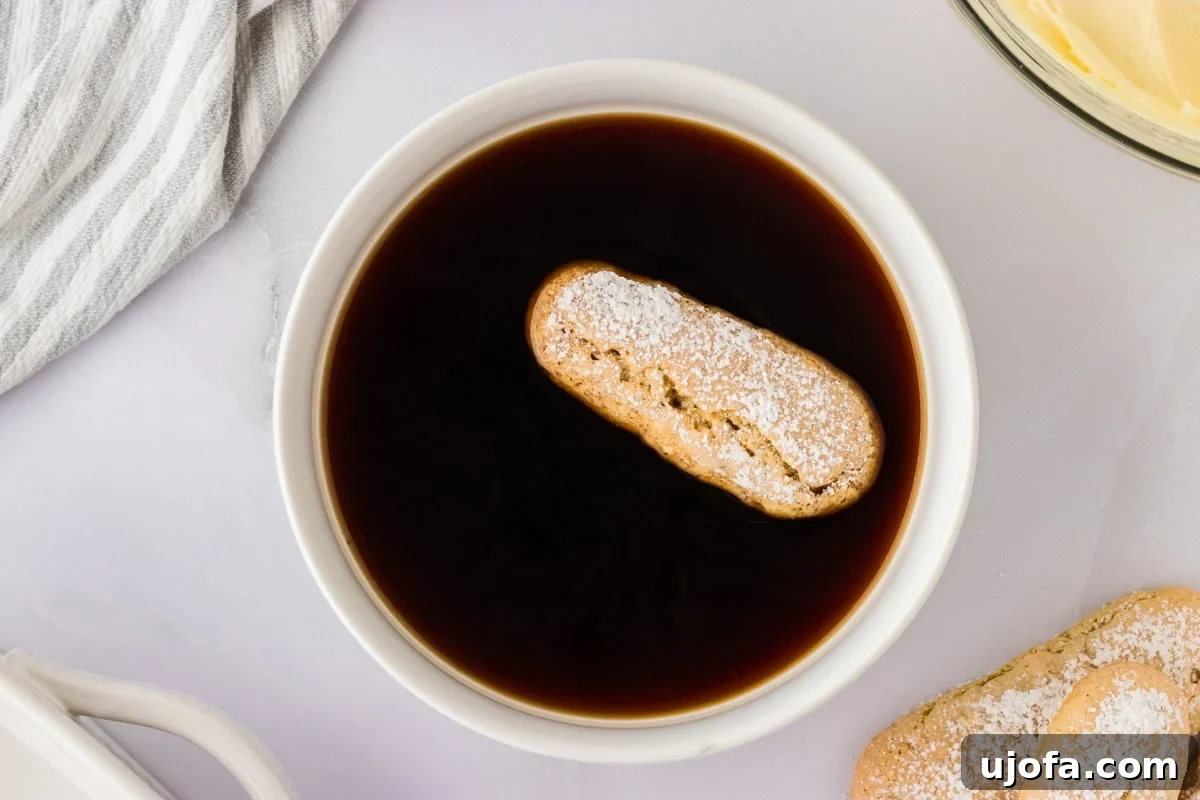
Prepare the Coffee Soak: In a small bowl, combine the 1 cup of strong espresso (or coffee) and 3 tablespoons of Kahlúa (if using). Give it a gentle stir to mix thoroughly, then set this mixture aside for dipping the ladyfingers.
-
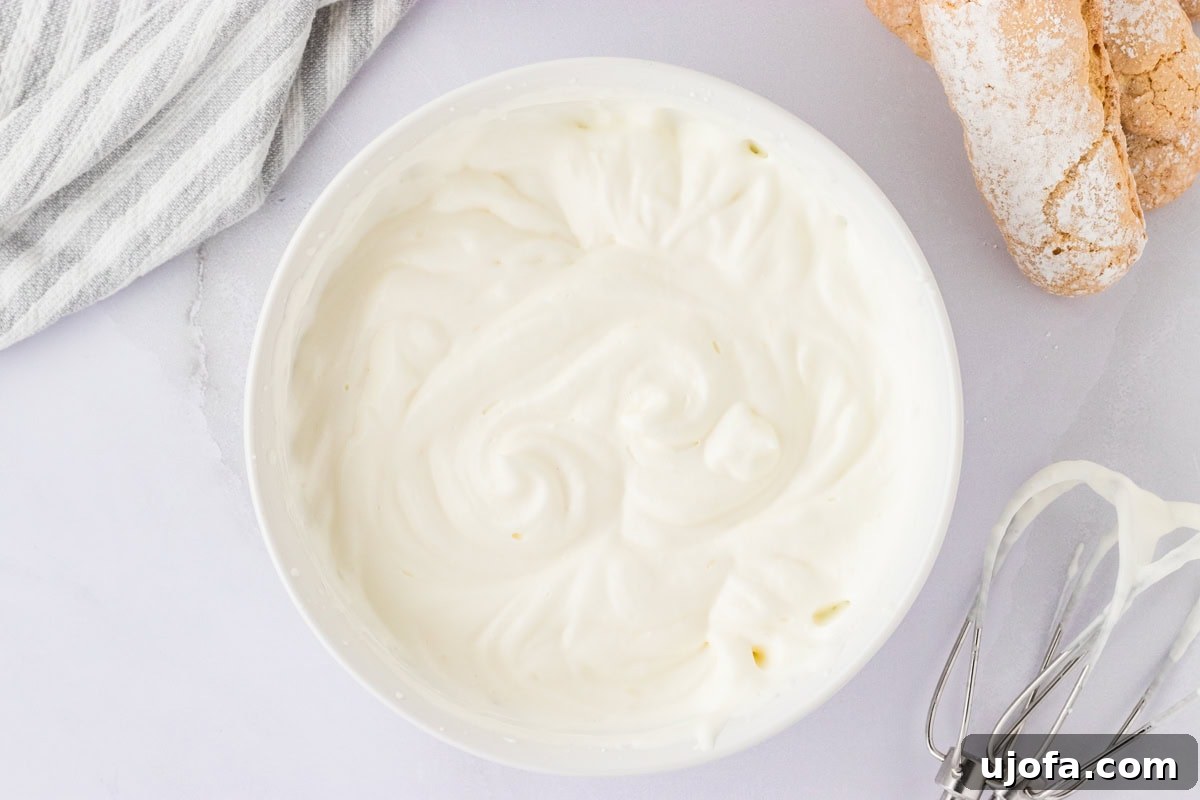
Whip the Cream: In a separate, chilled bowl (using a cold bowl helps), whip the ¾ cup of very cold heavy whipping cream until it forms stiff peaks. Be careful not to overmix, as this can cause the cream to separate and turn into butter. Once stiff, set the whipped cream aside.
-
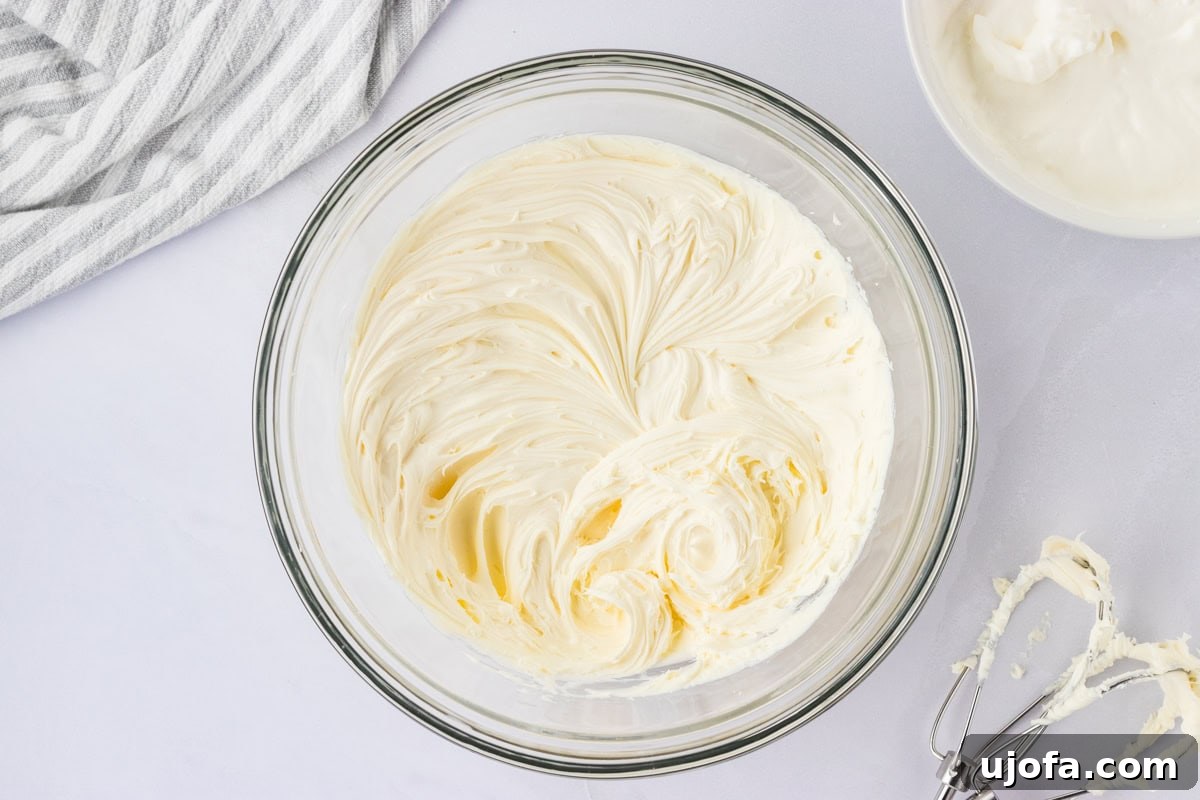
Prepare the Mascarpone: In a large mixing bowl, add the 16 ounces of cold mascarpone cheese and ¼ teaspoon of salt. Using an electric mixer, beat the mascarpone and salt together for about one minute, just until the salt is fully incorporated and the mascarpone is smooth and creamy.
-
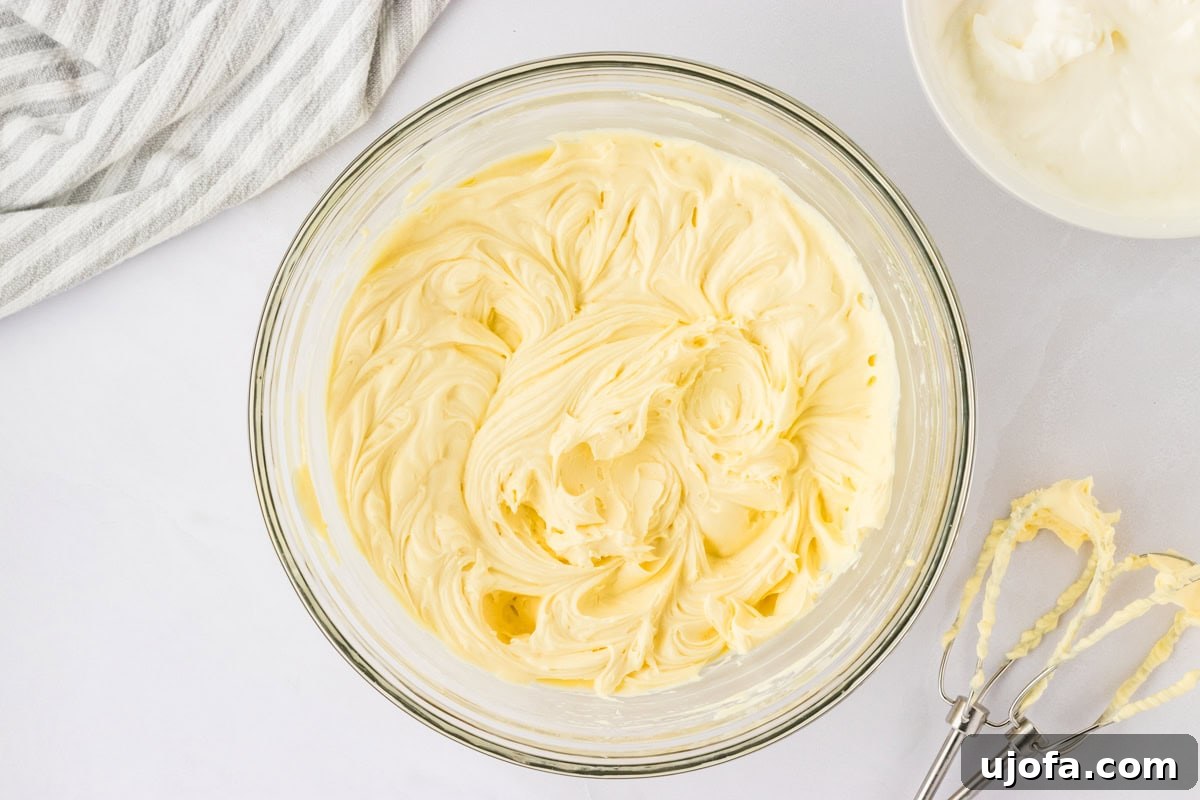
Combine Mascarpone Cream: Add the cooled egg yolk mixture to the mascarpone bowl. Beat with the electric mixer for another 1-2 minutes until the mixture becomes light and fluffy. Next, using a silicone spatula, carefully fold in one-third of the whipped cream into the mascarpone mixture until just combined. Gently incorporate the remaining whipped cream in two more additions, folding only until no streaks remain and the mixture is smooth and airy. Avoid overmixing to keep the cream light.
-
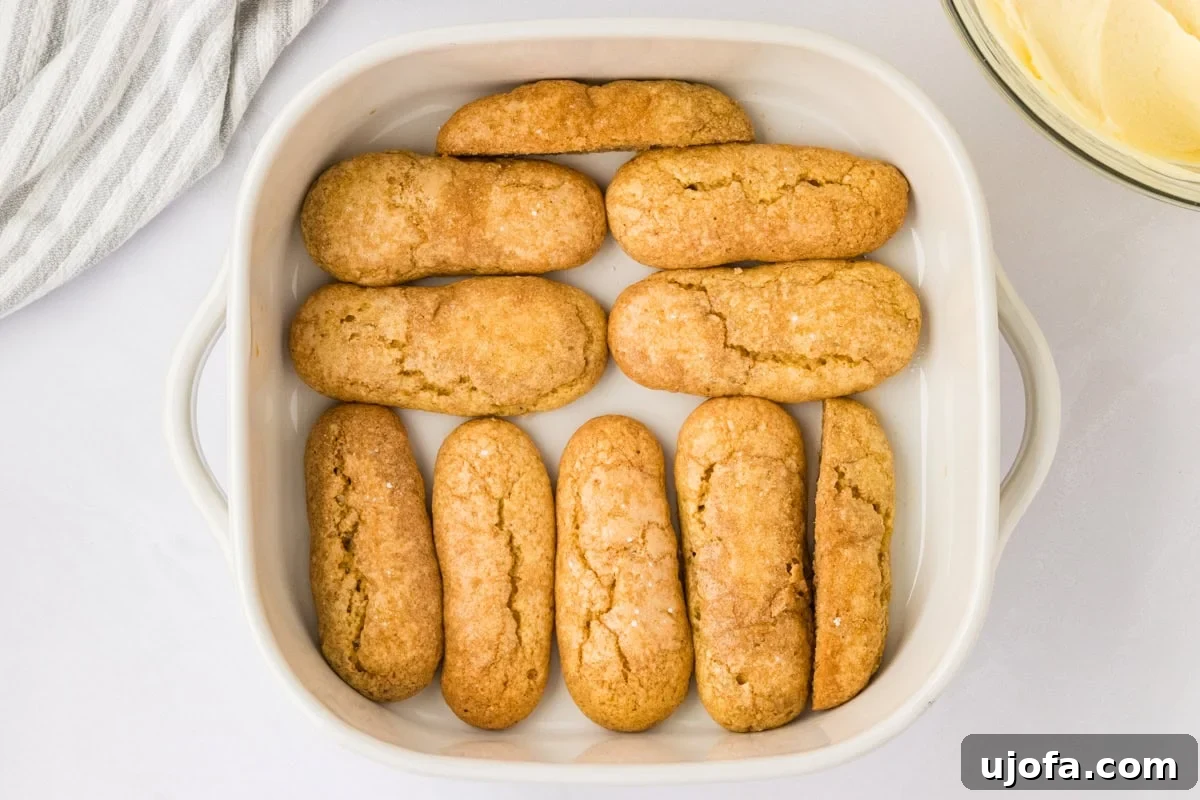
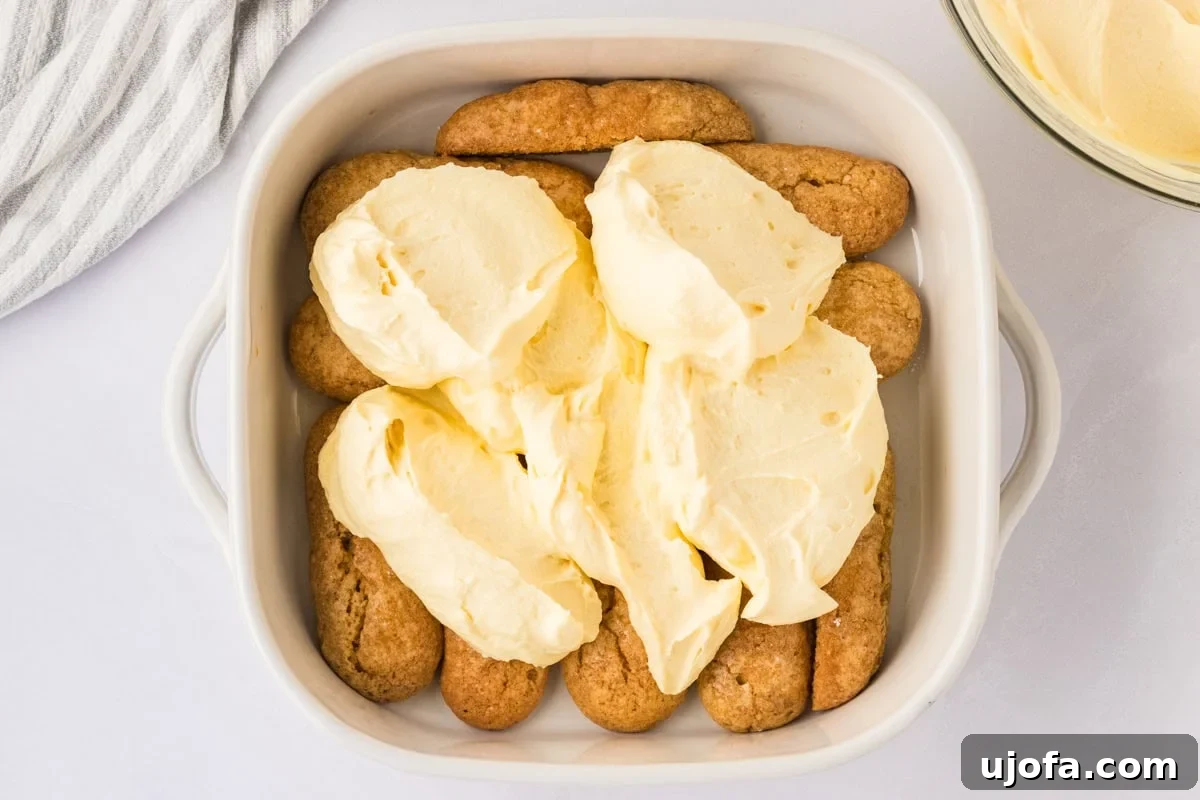
Assemble the Tiramisu Layers: Take your 9×9 or 8×8 baking dish. Quickly dip each gluten-free ladyfinger into the prepared coffee and Kahlúa mixture (a quick, brief dip on each side is sufficient to prevent sogginess). Arrange the soaked ladyfingers in an even single layer at the bottom of the baking dish, cutting some to fit if necessary to cover the base completely. Spread approximately half of the mascarpone cream mixture evenly over this first layer of ladyfingers.
-
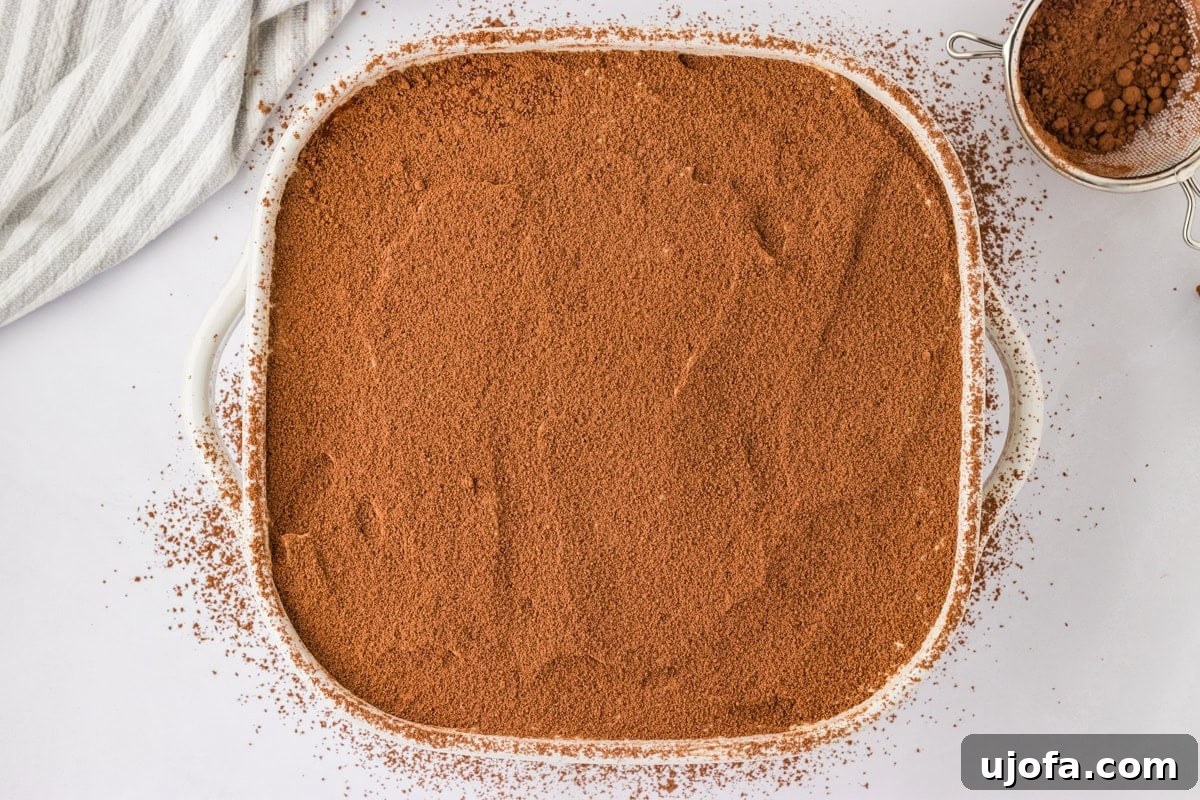
Second Layer and Finish: Repeat the layering process: dip and arrange the remaining ladyfingers over the mascarpone cream, then spread the remaining mascarpone mixture evenly on top. Use a sieve or fine-mesh strainer to apply a generous dusting of unsweetened cocoa powder over the entire surface of the tiramisu.
-
Chill and Serve: Cover the baking dish tightly with plastic wrap and place it in the refrigerator to chill and set for at least 8 hours, or preferably overnight. This crucial chilling time allows the flavors to deepen and the dessert to firm up, ensuring perfect slices. Once thoroughly chilled, slice, serve, and enjoy your spectacular gluten-free tiramisu!
Nutrition Information
Serving:
1serving
Calories:
390kcal
Carbohydrates:
17g
Protein:
5g
Fat:
32g
Saturated Fat:
20g
Polyunsaturated Fat:
1g
Monounsaturated Fat:
3g
Cholesterol:
161mg
Sodium:
108mg
Potassium:
59mg
Sugar:
15g
Vitamin A:
1112IU
Vitamin C:
0.2mg
Calcium:
96mg
Iron:
0.3mg
Nutrition information is automatically calculated, so should only be used as an approximation.
Additional Info
Dessert
Italian
Tried this recipe?
Mention @mamaknowsglutenfree or tag #mamaknowsglutenfree!
Visual Guide: How to Make Gluten-Free Tiramisu Step-by-Step
Follow along with these visual cues to perfectly assemble your gluten-free tiramisu, making the process even easier to master. Each image corresponds to a key step in the recipe instructions above.
Begin by setting up your double boiler or a pot with a bowl over simmering water.
Whisk the egg mixture over the steam until pale and thickened.
The finished custard, cooled and ready for the next step.
Prepare the coffee and Kahlúa mixture for soaking.
Whip the cold heavy cream to stiff peaks.
Mix mascarpone and salt until smooth.
Gently fold the custard and whipped cream into the mascarpone.
Quickly dip ladyfingers into the coffee mixture.
Arrange the soaked ladyfingers in an even layer.
Add half of the mascarpone mixture, then repeat layers.
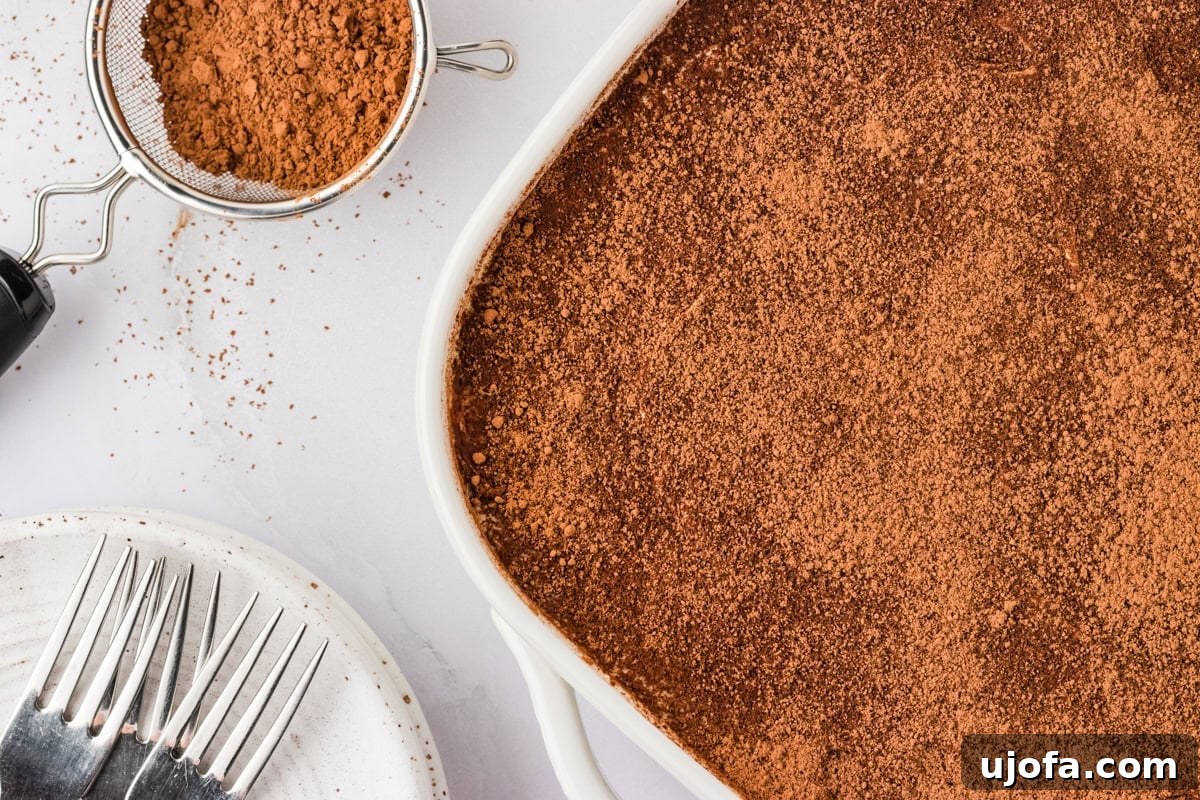
Finish with a generous dusting of cocoa powder and chill thoroughly.