
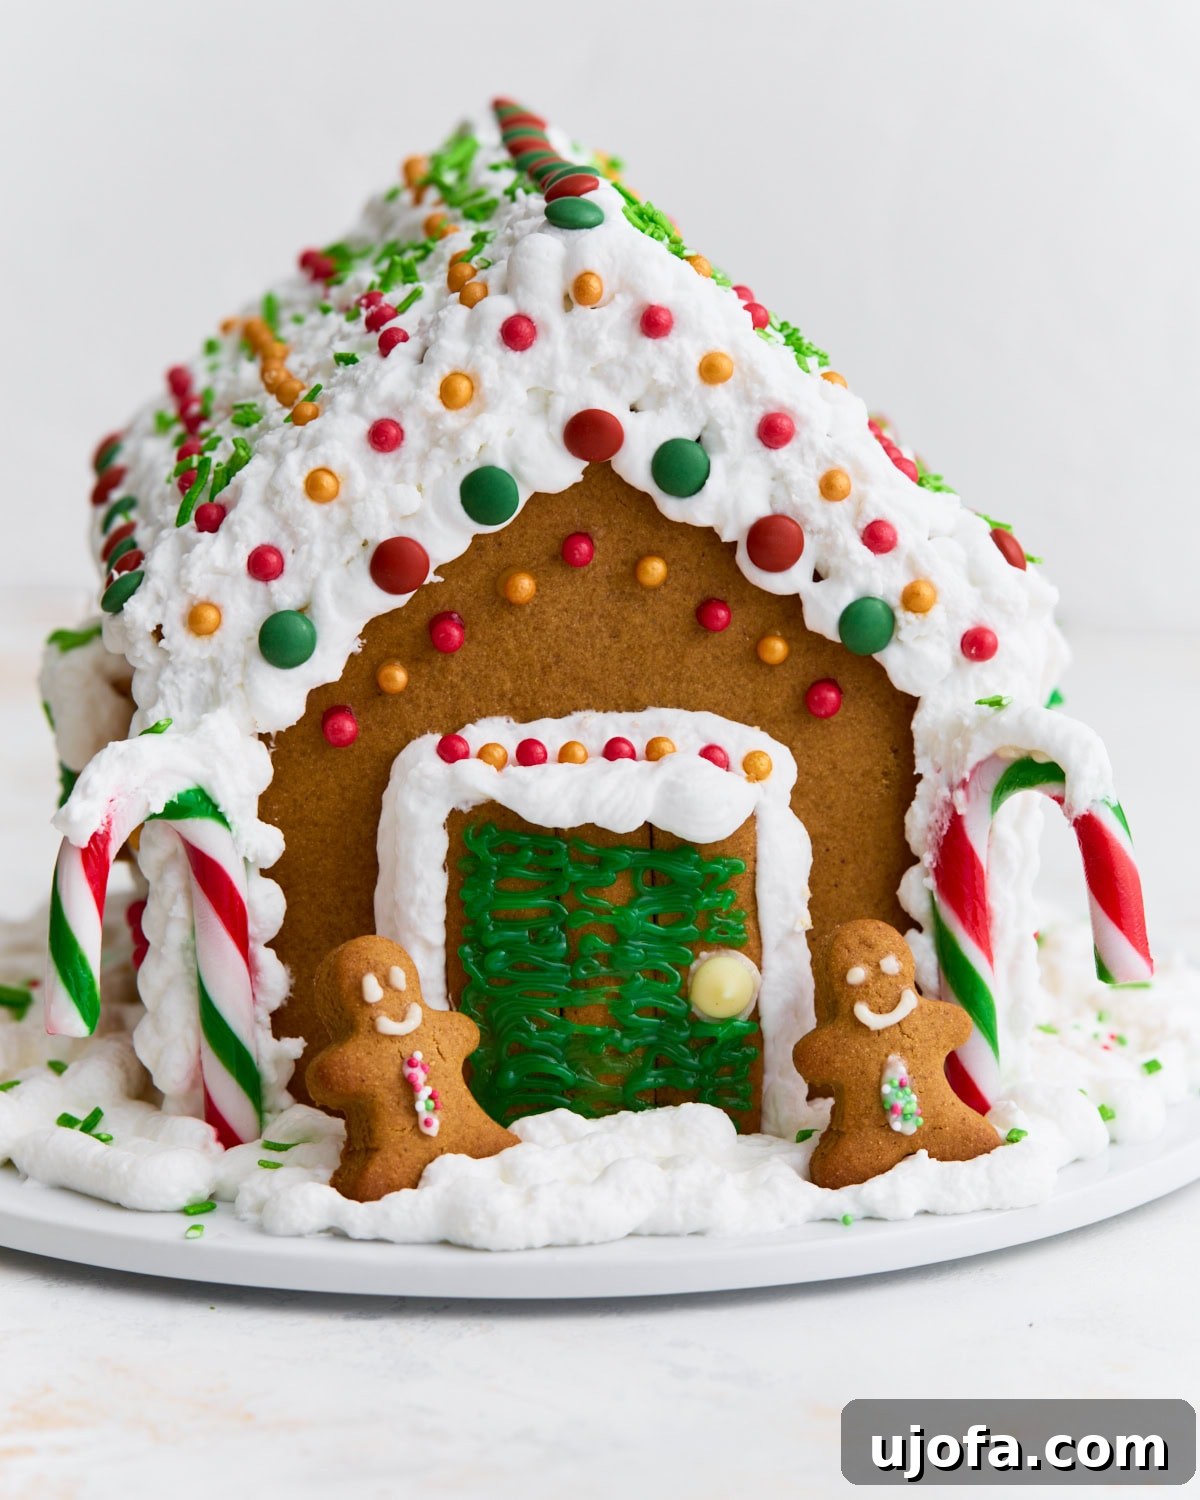
The Ultimate Gluten-Free Gingerbread House: A Delicious & Sturdy Holiday Tradition
The magic of the holiday season often revolves around creating cherished memories and, of course, delicious treats. For many families, building and decorating a gingerbread house is a beloved annual ritual. But what if dietary restrictions, like a gluten intolerance, meant missing out on this joyous activity? Not anymore! This comprehensive guide presents the ultimate gluten-free gingerbread house recipe designed to be both remarkably sturdy for intricate decorating and incredibly delicious for everyone to enjoy. We’ve ensured a warm, spiced dough that holds its shape, along with versatile dairy-free and vegan royal icing options, making this a truly inclusive holiday project. With a full template suitable for small to medium houses, you have the flexibility to make it as simple or as elaborately detailed as your heart desires. It’s a fun and festive project that brings everyone together, offering peace of mind that every bite is completely gluten-free and safe for all to snack on throughout the creation process and beyond.
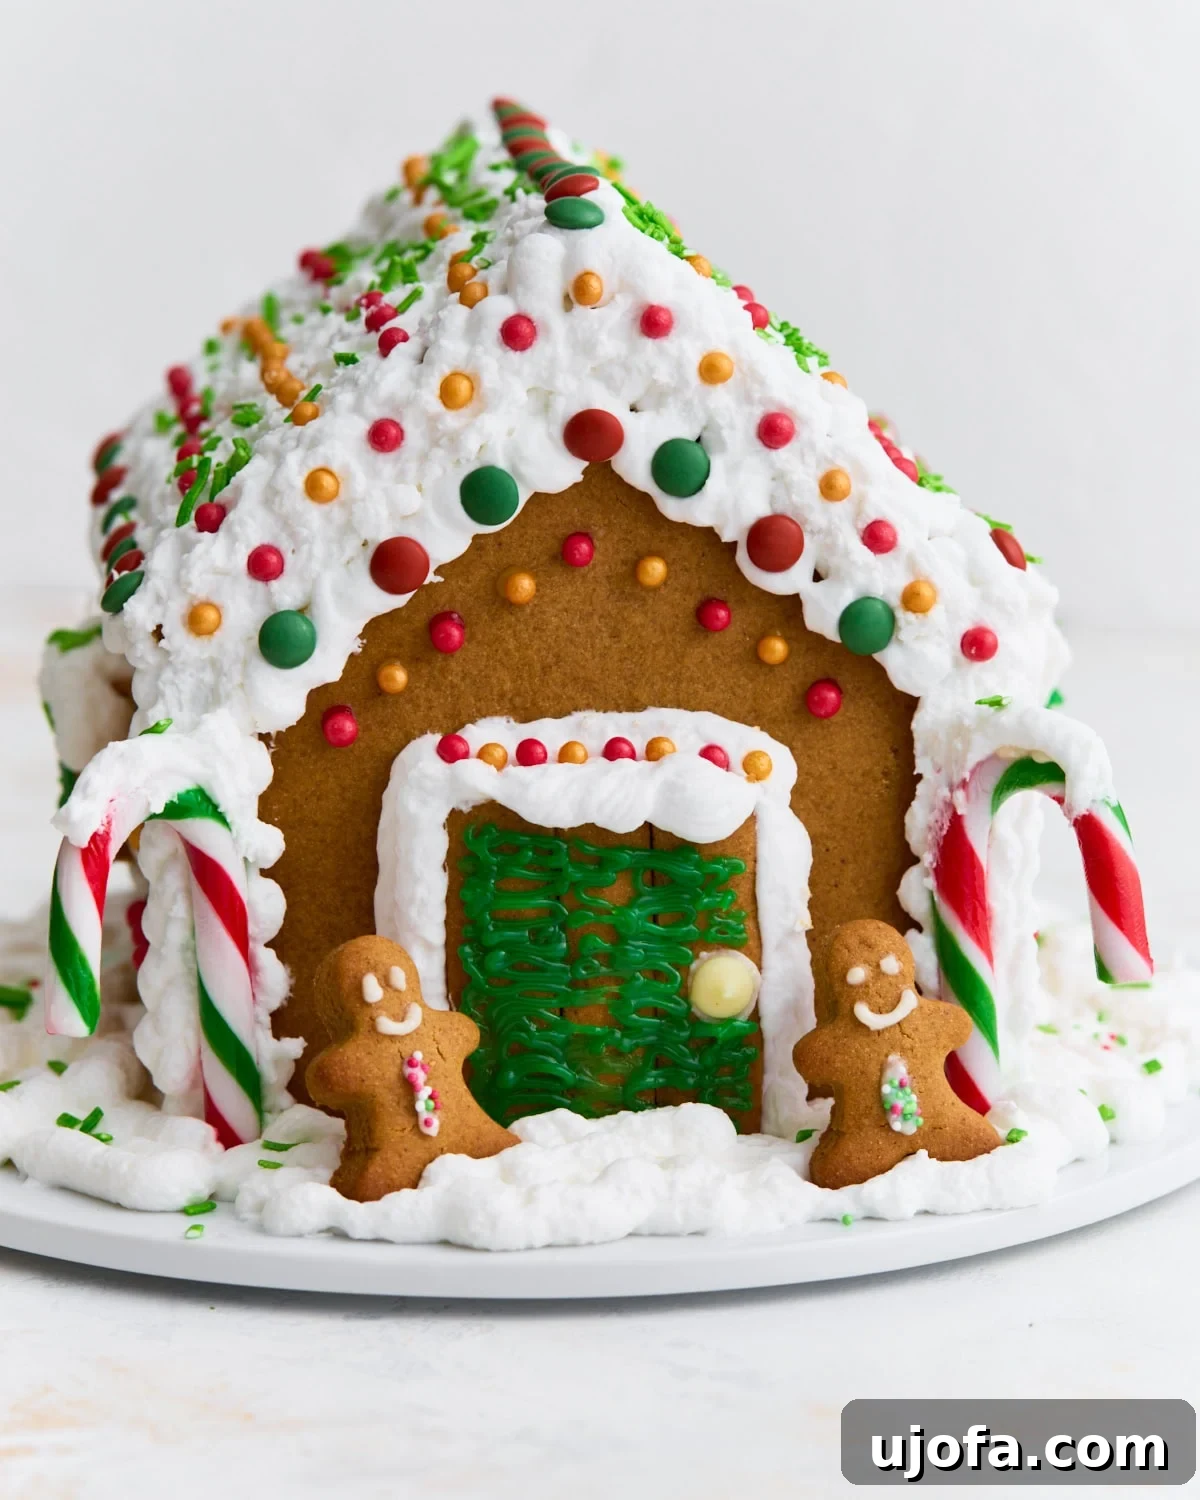
The Joy of Gluten-Free Gingerbread House Making
There’s something uniquely special about the aroma of gingerbread filling your home during the holidays. This recipe captures that classic, nostalgic scent and flavor, but with an important twist: it’s entirely gluten-free. Developing this recipe was a labor of love, and my own children thoroughly enjoyed “testing” both the structural integrity and, of course, the delightful taste! The dough is carefully crafted using a blend of rich brown sugar, dark molasses, and a symphony of warm spices to achieve that quintessential gingerbread flavor, beautiful deep color, and, crucially, a robust structure. We purposefully bake the cookie pieces a little longer than standard cookies, ensuring they are firm and stable enough to withstand the building process, yet still tender and delicious for eating. To make the process even smoother, I recommend preparing the dough a day in advance. This allows it to chill thoroughly, making it much easier to roll out and cut. Then, on a cozy December afternoon, you can gather the family to bake, assemble, and decorate your edible masterpiece. It’s more than just a recipe; it’s a cherished weekend project or a heartwarming holiday tradition that brings loved ones together, culminating in a beautiful creation everyone can admire and eventually enjoy.
Essential Gluten-Free Baking Tips for Success
Baking with gluten-free flours can sometimes present unique challenges, especially when structural integrity is key, as it is with a gingerbread house. Follow these expert tips to ensure your gluten-free gingerbread house stands tall and proud:
-
Choose the Right Gluten-Free Flour Blend
The type of gluten-free flour blend you use can significantly impact the outcome. I highly recommend using a high-quality, all-purpose gluten-free flour blend that already contains xanthan gum. Brands like Pillsbury Gluten-Free flour or Cup4Cup are excellent choices that yield consistent results. If your chosen gluten-free flour blend does not contain xanthan gum, it’s crucial to add about ¼ teaspoon per cup of flour. Xanthan gum acts as a binder, mimicking the elastic properties of gluten, which is absolutely essential for ensuring your gingerbread house pieces hold their shape during baking and assembly.
-
Preventing Dough Cracking During Rolling
Gluten-free doughs can sometimes be more prone to cracking compared to traditional wheat-based doughs. To minimize this, always roll the dough between two sheets of parchment paper. This not only prevents sticking but also allows you to easily transfer the cut pieces to your baking sheet. Furthermore, ensure your dough is well-chilled before rolling. Cold dough is less sticky and much more manageable. If you notice any cracks appearing while rolling, don’t worry! Simply gently press them back together with your fingers or a small offset spatula. Lightly flouring your parchment paper or rolling surface can also aid in smooth rolling.
-
Managing Dough Spreading During Baking
One common issue in gingerbread house construction is the pieces spreading or distorting in the oven, leading to ill-fitting walls and roofs. To combat this, it’s vital that your dough is properly chilled before baking. Cold dough helps the butter stay firm longer, reducing spread. Also, ensure you roll your dough to the correct thickness, ideally ¼-inch. If, despite these precautions, your pieces do spread slightly, act quickly! Immediately after removing them from the oven, while they are still slightly warm and pliable, use a sharp knife or a pizza cutter to trim the edges back to your original template lines. This creates crisp, clean edges that will fit together perfectly during assembly.
-
Ensuring a Sturdy House Structure
The key to a stable gingerbread house lies in strong pieces and proper assembly. First, allow all baked gingerbread pieces to cool completely on wire racks. They should be firm and sturdy before you even think about assembly. When building, don’t be shy with the royal icing! It acts as the “glue,” so apply a generous amount along all connecting edges. It’s also crucial to allow each section to set properly before moving on. I highly recommend letting the base walls dry for at least an hour (or even longer) before attempting to add the roof panels. For added support during the initial drying phase, use clean jars, cans, or mugs to prop up the walls until the icing has firm grip.
-
Achieving the Perfect Icing Consistency
The consistency of your royal icing is paramount for successful gingerbread house assembly and decoration. For “gluing” purposes, you need a very thick, stiff-peak royal icing. This provides the strong adhesive power required to hold heavy gingerbread pieces together. If your icing is too runny, it won’t hold the pieces, and your house will collapse. Additionally, ensure all your piping tools, bowls, and beaters are absolutely grease-free. Even a tiny bit of oil can break down the structure of royal icing, preventing it from firming up properly. If your icing feels too thin, gradually add more powdered sugar until it reaches the desired stiff consistency.
Gluten-Free Gingerbread House Recipe
Sabine Venier
1 house (6-8 servings if eaten)
2 hours
15 minutes
8 hours
10 hours 15 minutes
Print Recipe
This gluten-free gingerbread house recipe delivers a sturdy, delicious, and decorative masterpiece perfect for the holidays. Featuring warm spiced dough and adaptable dairy-free and vegan royal icing, it’s designed to be robust enough for all your creative decorations and safe for everyone to enjoy. Customize it to your heart’s content, from simple charm to elaborate fantasy!
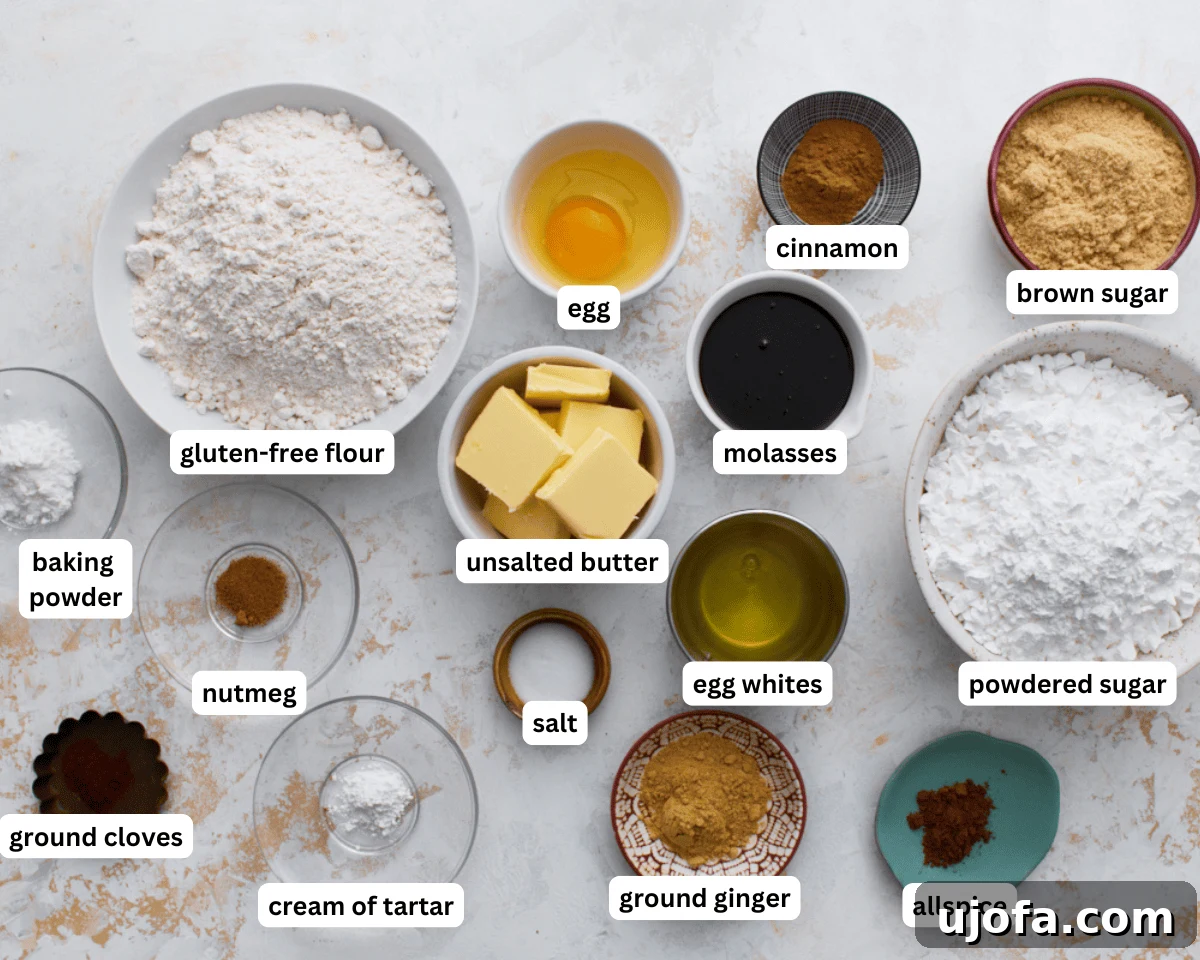
Ingredients
For the Gingerbread Dough:
- 3 cups gluten-free all-purpose flour (with xanthan gum)
- 1¼ tsp baking powder
- ½ tsp salt
- 2 tsp ground ginger
- 2 tsp ground cinnamon
- ½ tsp allspice
- ¼ tsp ground cloves
- ¼ tsp ground nutmeg
- ⅔ cup unsalted butter, softened (for dairy-free, use dairy-free butter)
- ¾ cup packed brown sugar
- ⅔ cup unsulphured molasses
- 1 large egg
For the Royal Icing:
- 3 cups powdered sugar
- 2 egg whites (for vegan, use 4 tbsp aquafaba)
- ½ tsp cream of tartar
Instructions
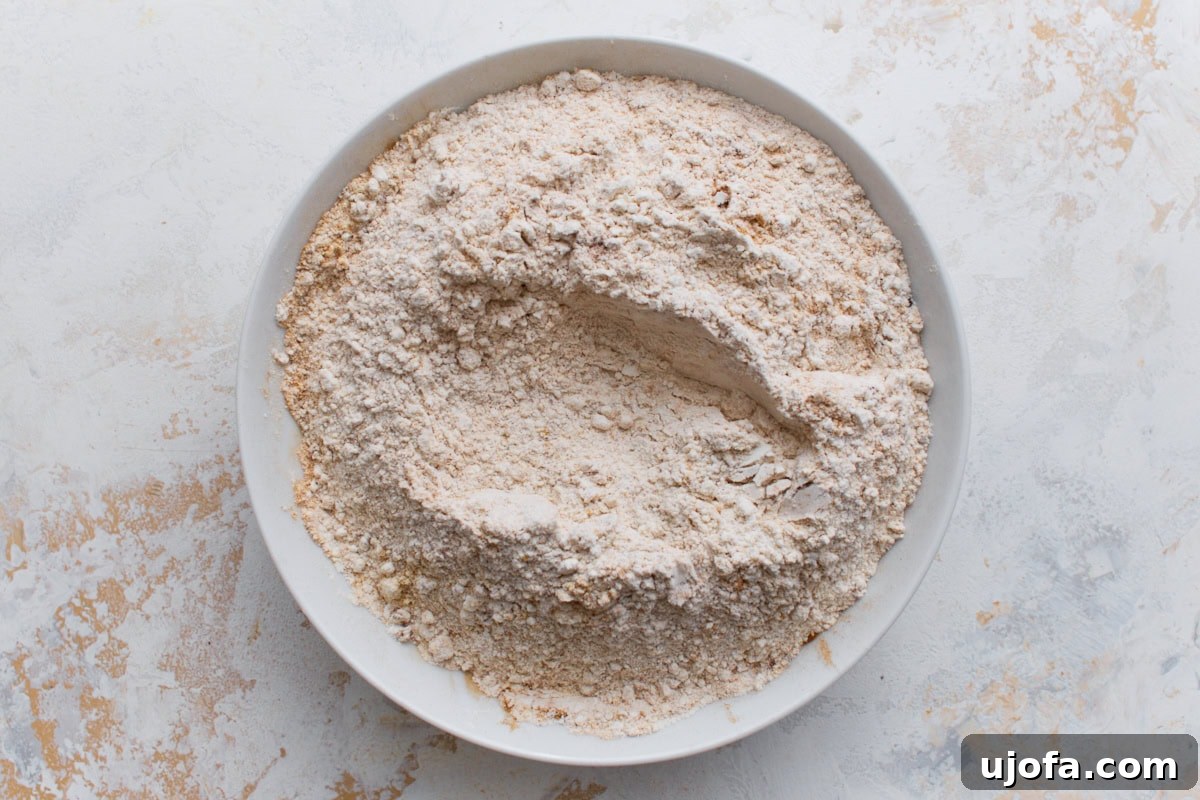
- Combine Dry Ingredients: In a medium bowl, whisk together the gluten-free flour, baking powder, salt, ground ginger, ground cinnamon, allspice, ground cloves, and ground nutmeg until thoroughly combined. Set aside.
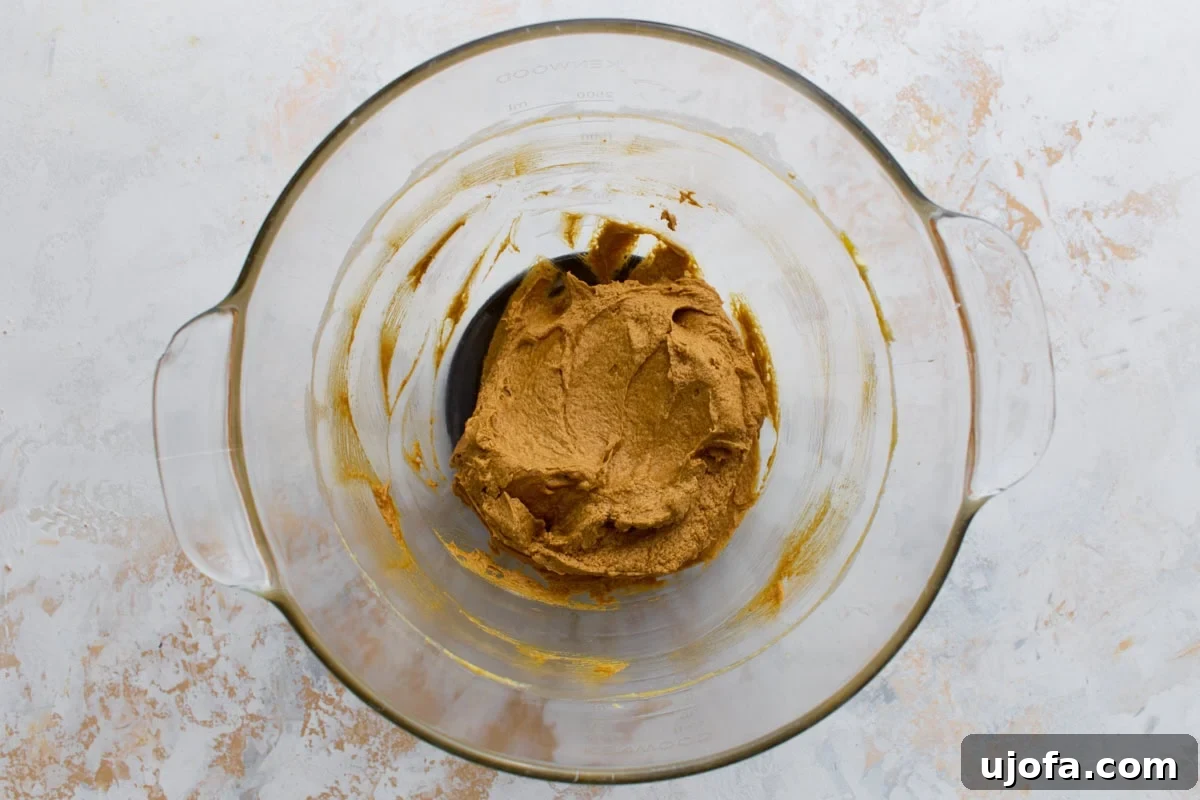
- Cream Wet Ingredients: In a large mixing bowl, using an electric mixer, beat the softened unsalted butter (or dairy-free butter) with the packed brown sugar until the mixture is light and fluffy. This usually takes about 2-3 minutes.
- Add Molasses and Egg: Mix in the unsulphured molasses and the large egg into the creamed butter mixture. Continue beating until the mixture is smooth and well incorporated.
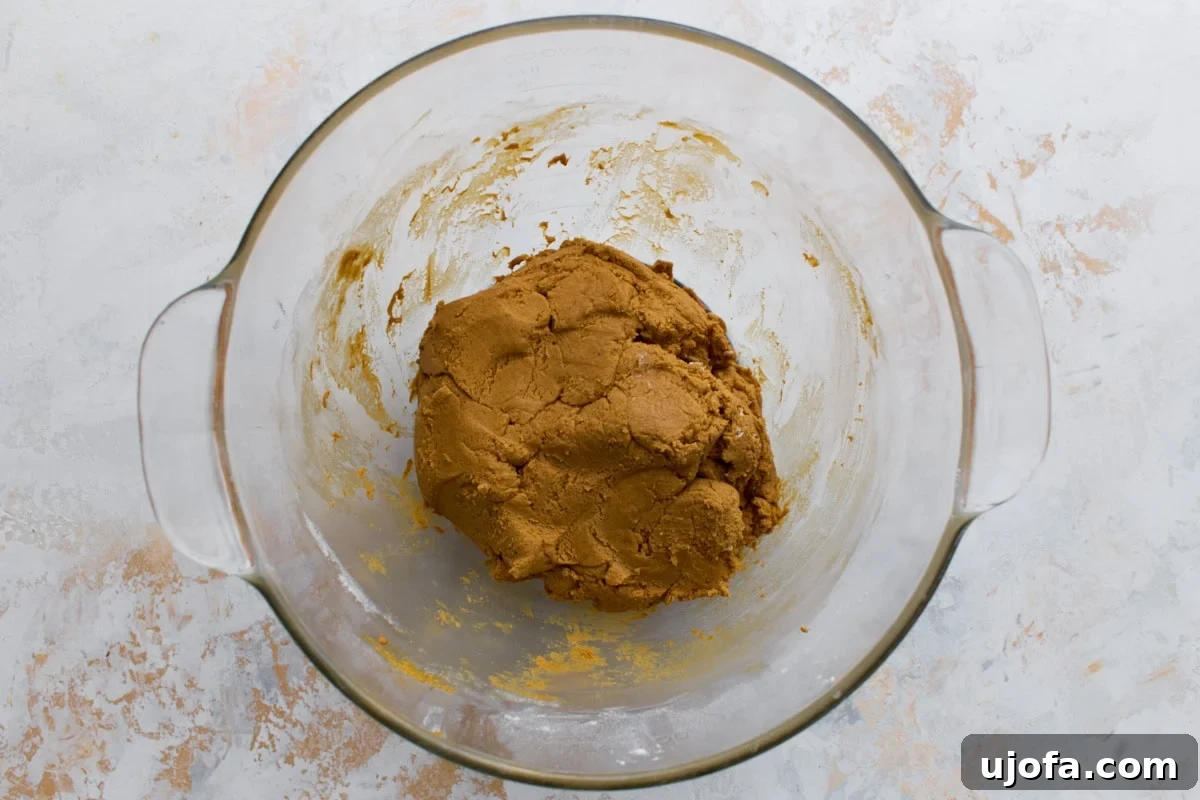
- Form the Dough: Gradually add the whisked dry ingredients to the wet mixture, mixing on low speed until a stiff, cohesive dough forms. Do not overmix.
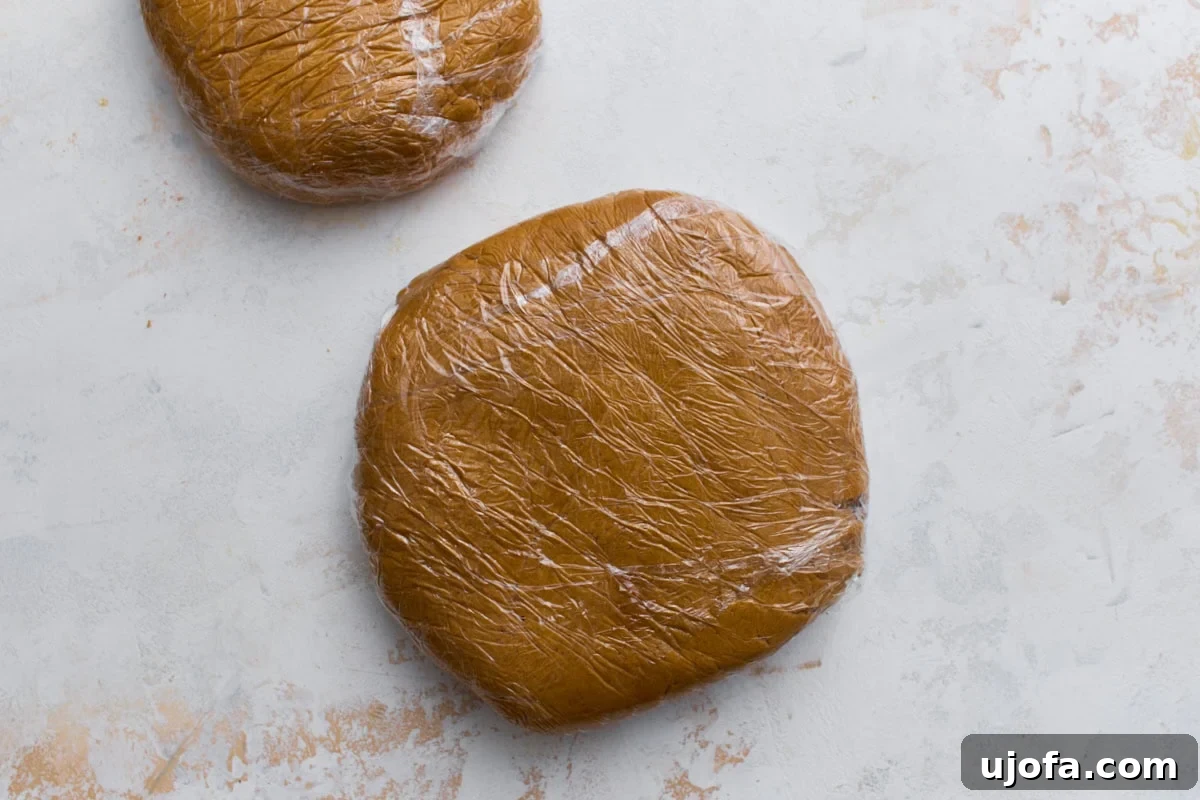
- Chill the Dough: Divide the gingerbread dough in half. Wrap each portion tightly in plastic wrap, forming it into a flat disk. Refrigerate for at least 1 hour, or ideally, overnight (8 hours) for best results. This chilling process is crucial for preventing spread and making the dough easier to handle.
- Prepare for Baking: Preheat your oven to 350°F (177°C). Line several baking sheets with parchment paper.
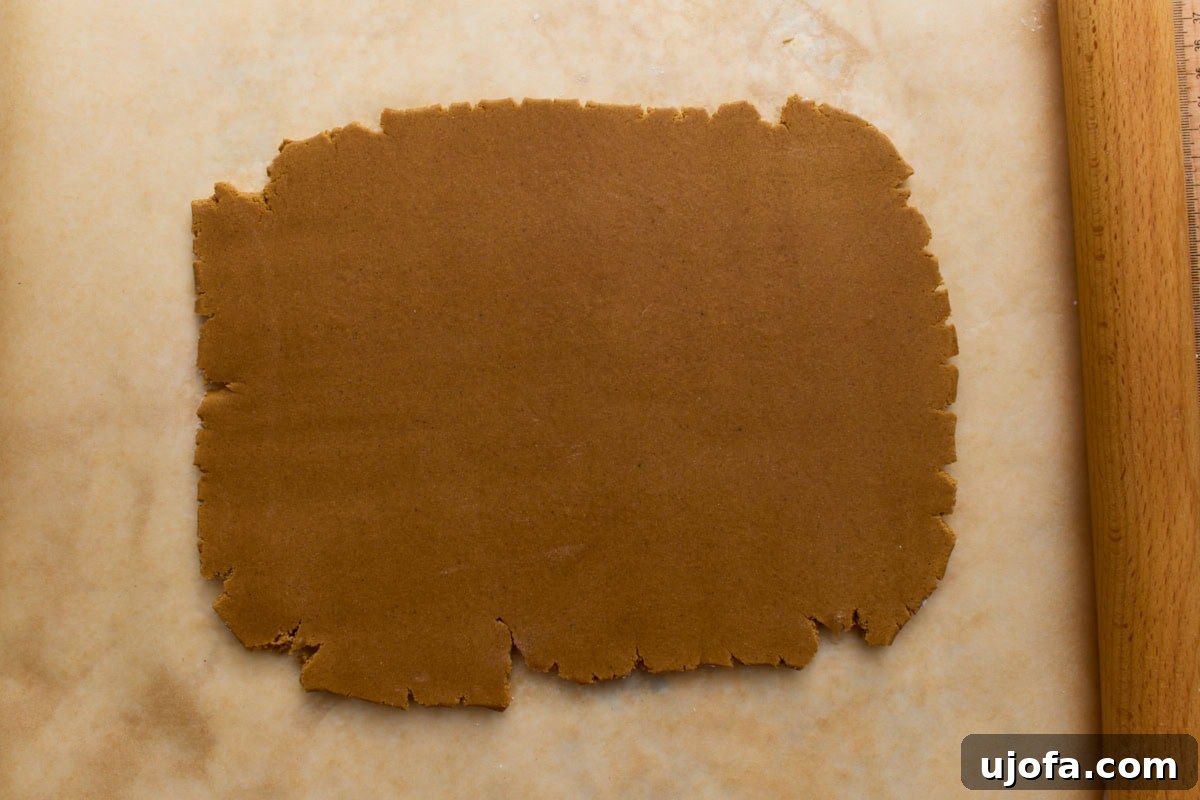
- Roll Out Dough: Take one chilled dough portion and roll it out between two sheets of parchment paper. Roll evenly until the dough is about ¼-inch thick. This consistent thickness is key for even baking and sturdy house pieces.
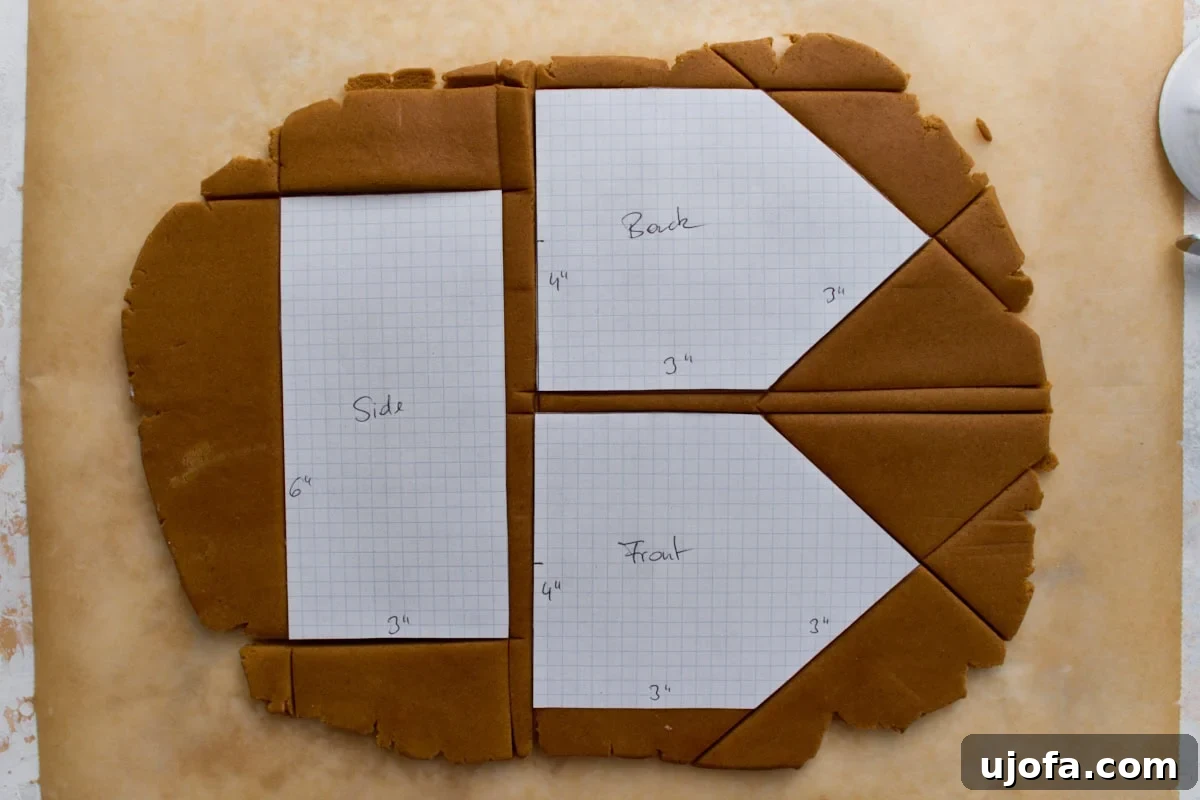
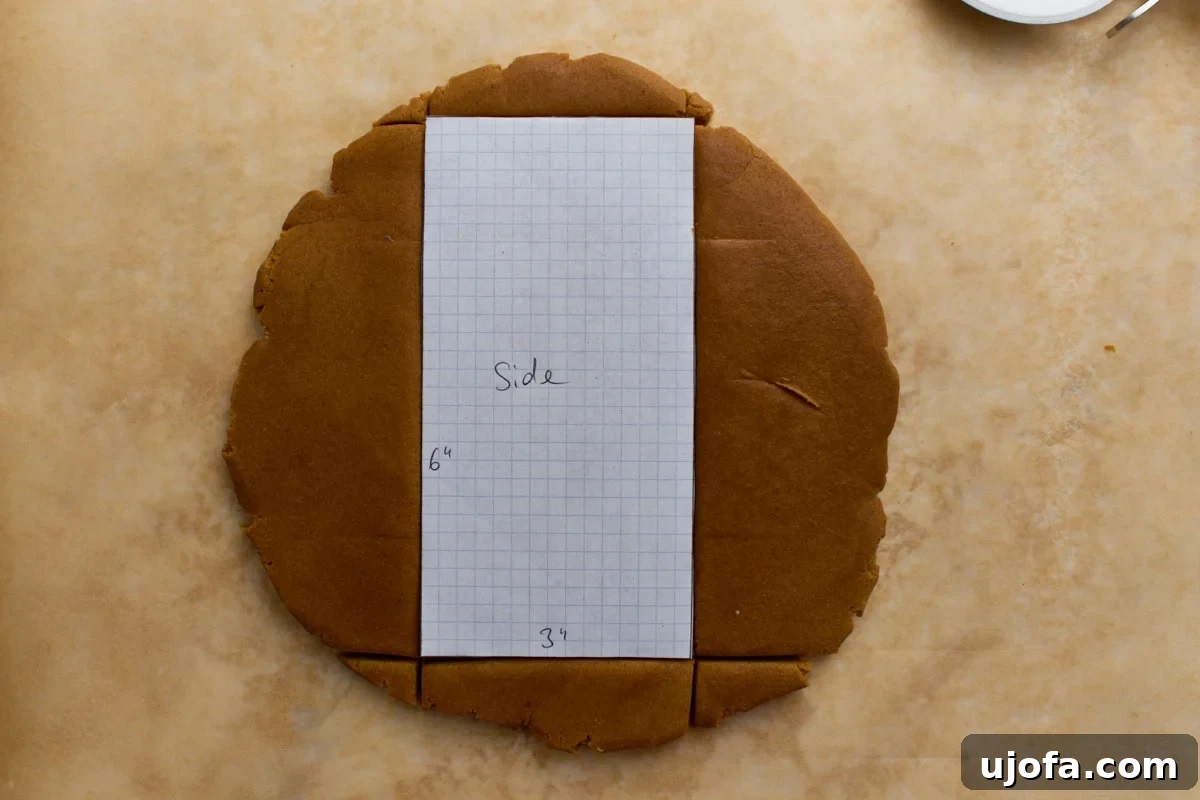
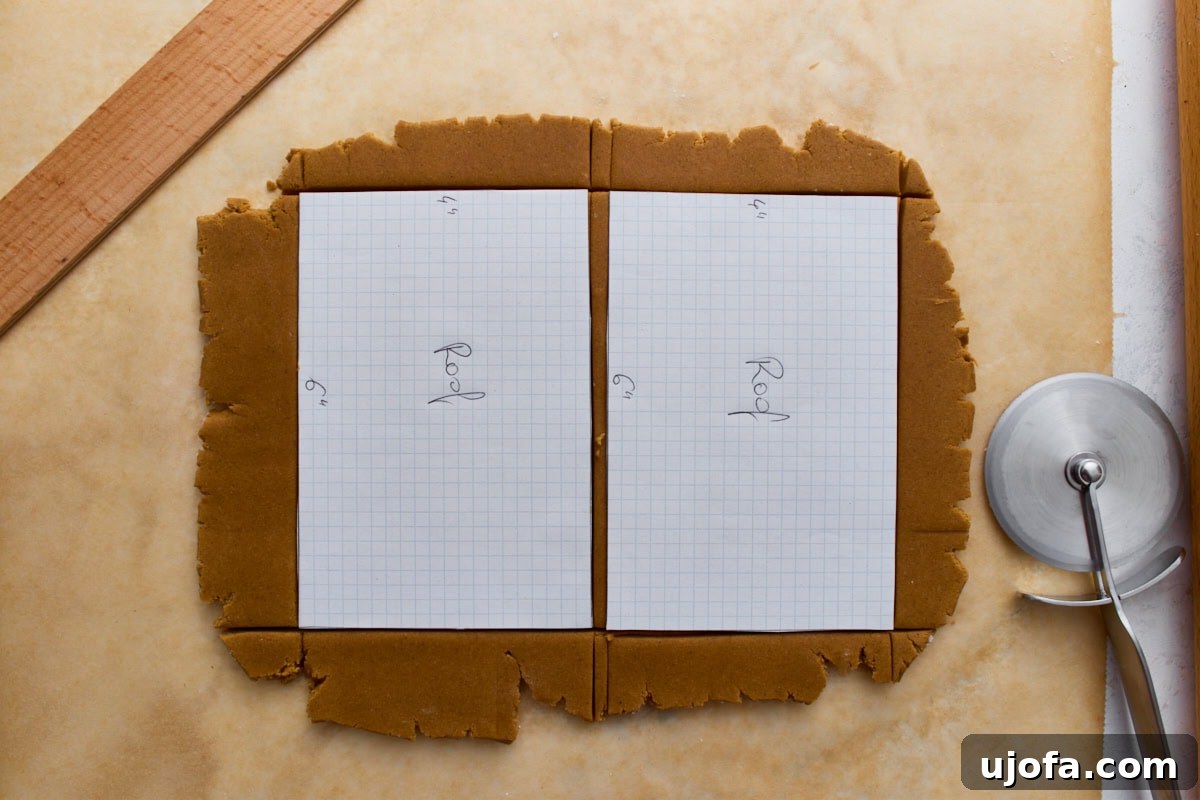
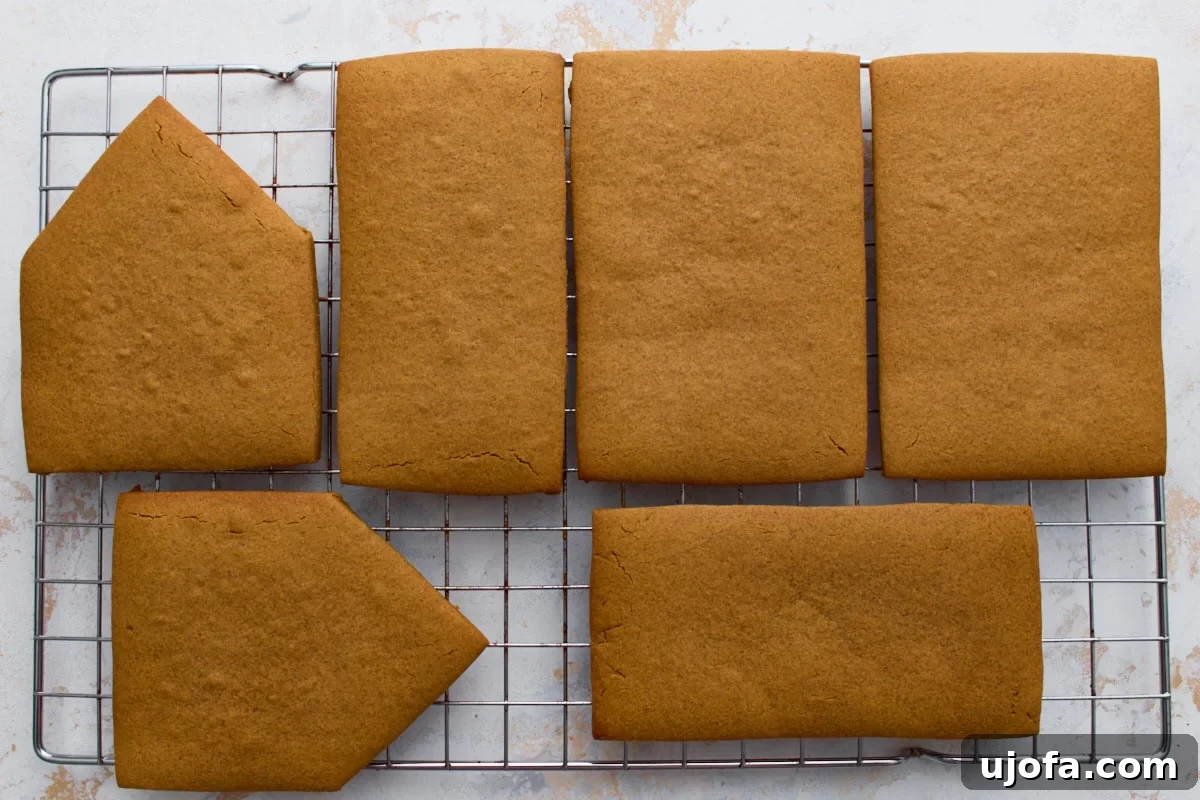
- Cut House Shapes: Using your pre-made templates (or freehand if you’re confident), carefully cut out the house pieces: two front/back walls, two side walls, and two roof panels. Refer to the template dimensions in the notes section below. Use a sharp knife or pizza cutter and a ruler for precise cuts.
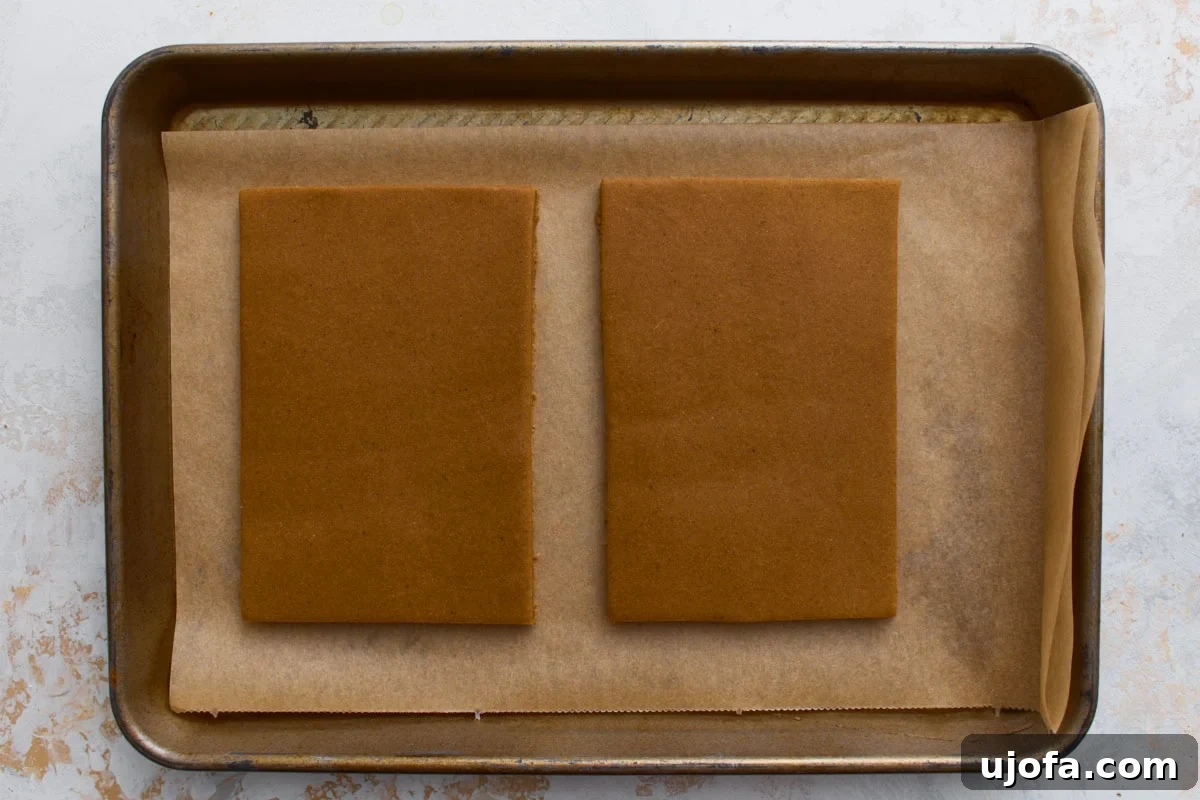
- Transfer to Baking Sheets: Gently peel away the excess dough from around your cut pieces. Carefully transfer the gingerbread shapes to the prepared parchment-lined baking sheets, leaving a little space between each piece.
- Bake the Pieces: Bake each batch for 12–15 minutes. The edges should be firm and slightly darkened, indicating they are sturdy enough for construction. Baking time may vary depending on your oven and the size of your pieces.
- Cool Completely: Remove the baking sheets from the oven. If any pieces have spread slightly, immediately trim the edges with a sharp knife while they are still warm to achieve clean lines. Transfer the gingerbread pieces to wire racks and allow them to cool completely before attempting assembly. They must be fully firm.
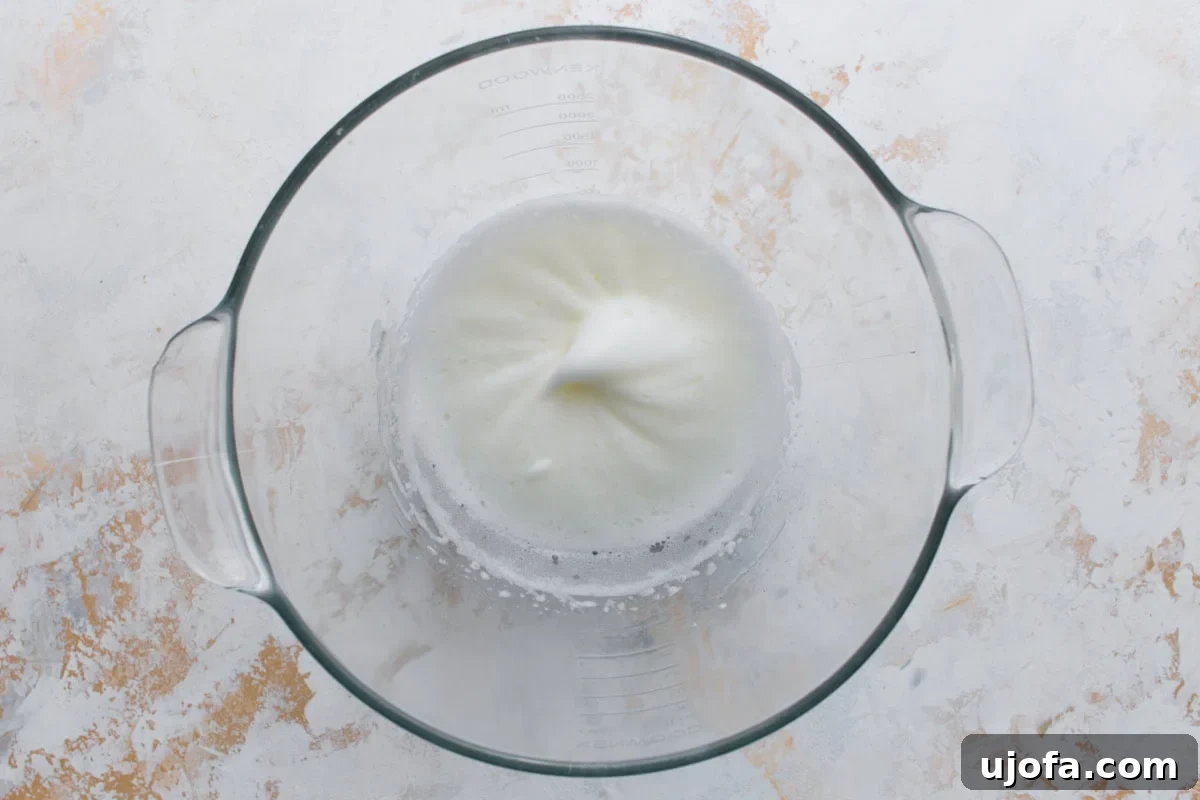
- Prepare Royal Icing Base: To make the royal icing glue, ensure your mixing bowl and beaters are impeccably clean and grease-free. In the clean bowl, beat the egg whites (or aquafaba for vegan) with the cream of tartar until foamy, typically 1-2 minutes.
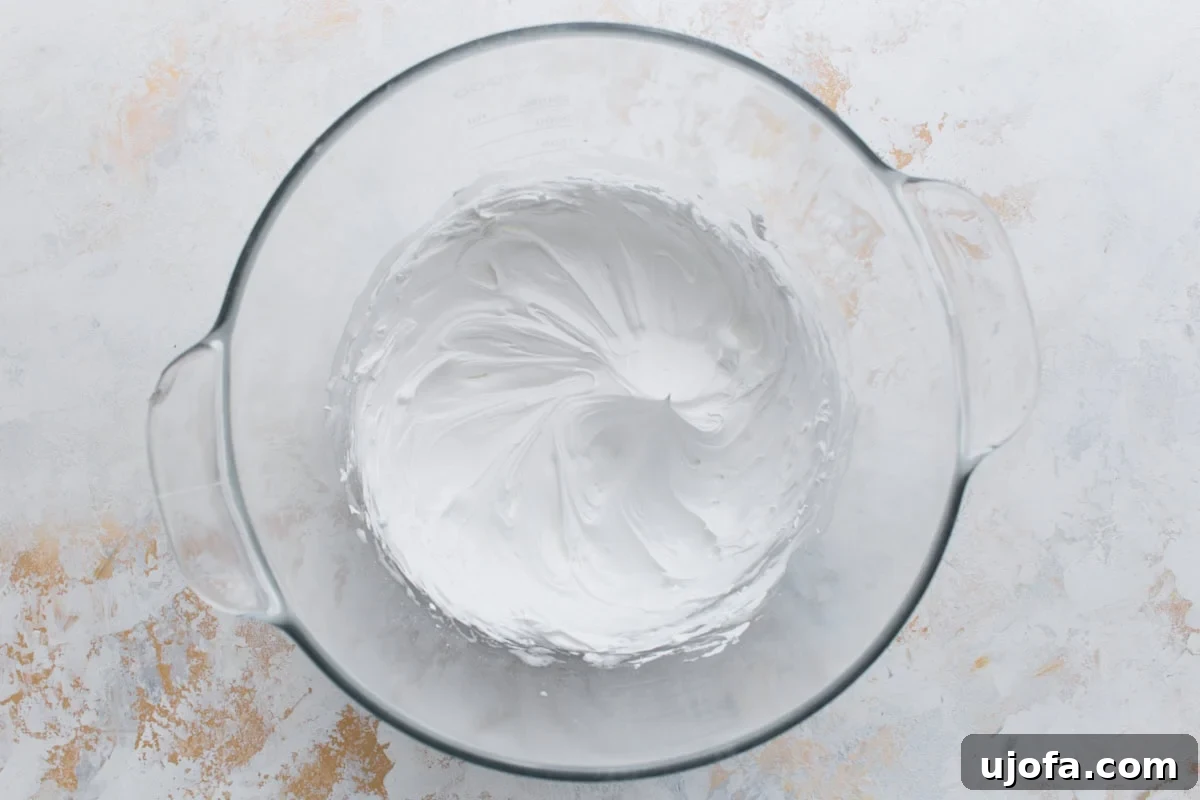
- Create Stiff Icing: Gradually add the powdered sugar to the foamy egg white mixture, beating on medium-high speed. Continue beating until the icing becomes very thick, glossy, and forms stiff peaks. This stiff consistency is vital for structural adhesion.
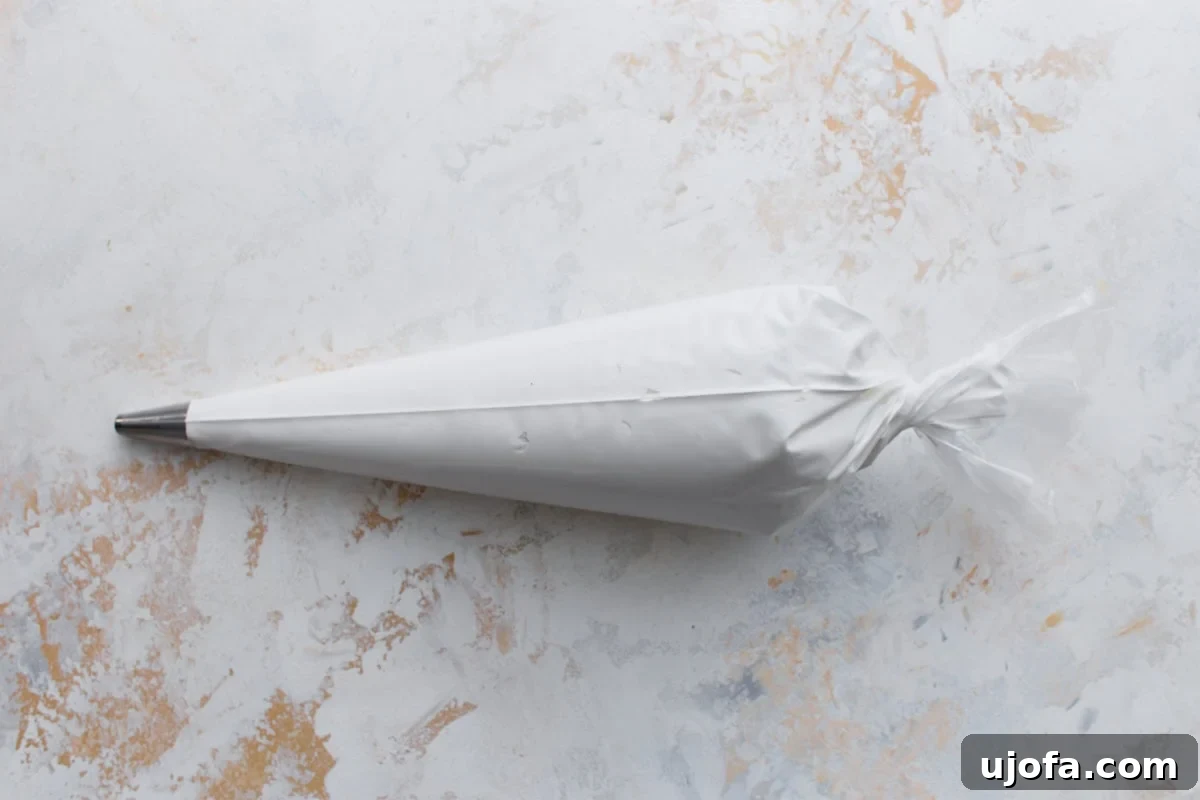
- Load Piping Bag: Transfer the stiff royal icing to a sturdy piping bag fitted with a medium-sized round tip (or simply snip the end of the bag for a consistent stream).
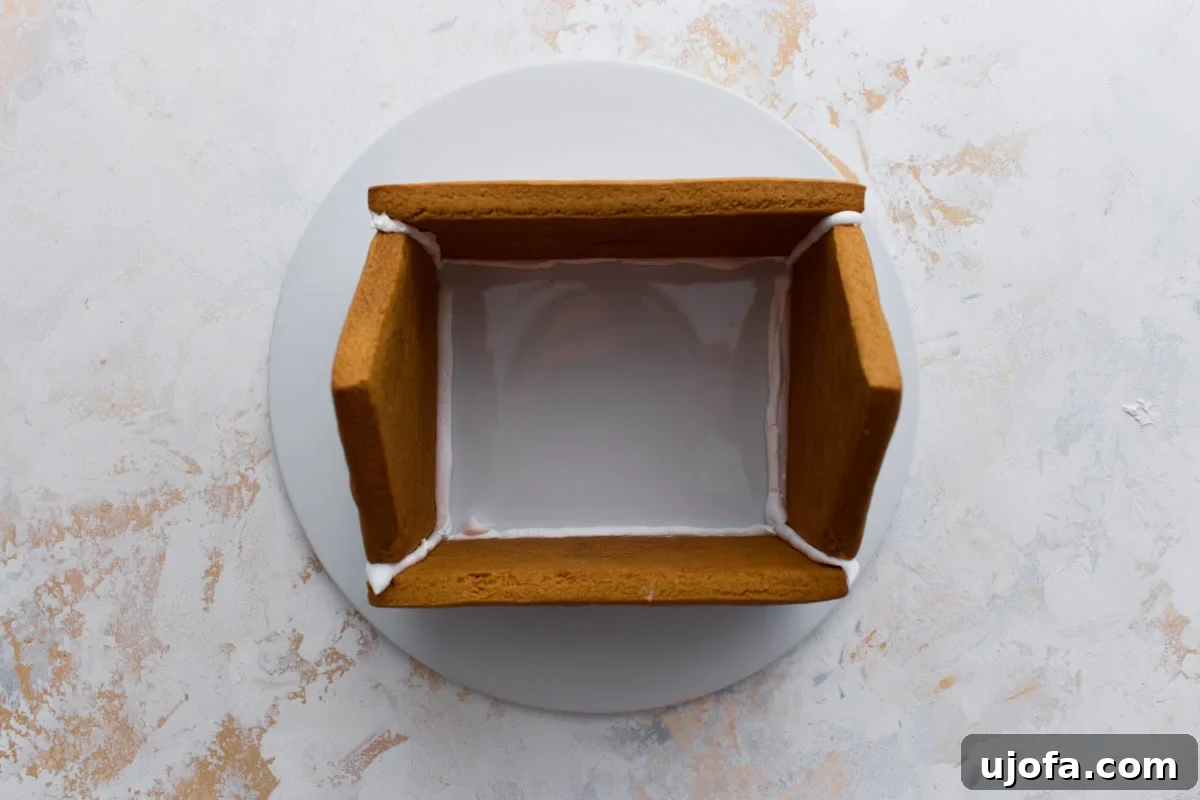
- Assemble the House Base: On your chosen base (a sturdy platter or piece of cardboard), pipe a generous line of royal icing along the bottom edge of one wall piece and along the connecting vertical edge of another. Press them together firmly at a right angle. Repeat with all four wall pieces to form the base structure.
- Secure Walls: Hold each wall piece in place for 1–2 minutes until the icing begins to set and hold the pieces upright independently. Use cans, jars, or mugs as temporary supports to brace the walls as they dry, if needed. This step is crucial.
- Allow Walls to Set: Let the assembled wall structure dry for at least 1 hour (preferably longer) before attempting to add the roof. The longer it sets, the stronger your foundation will be.
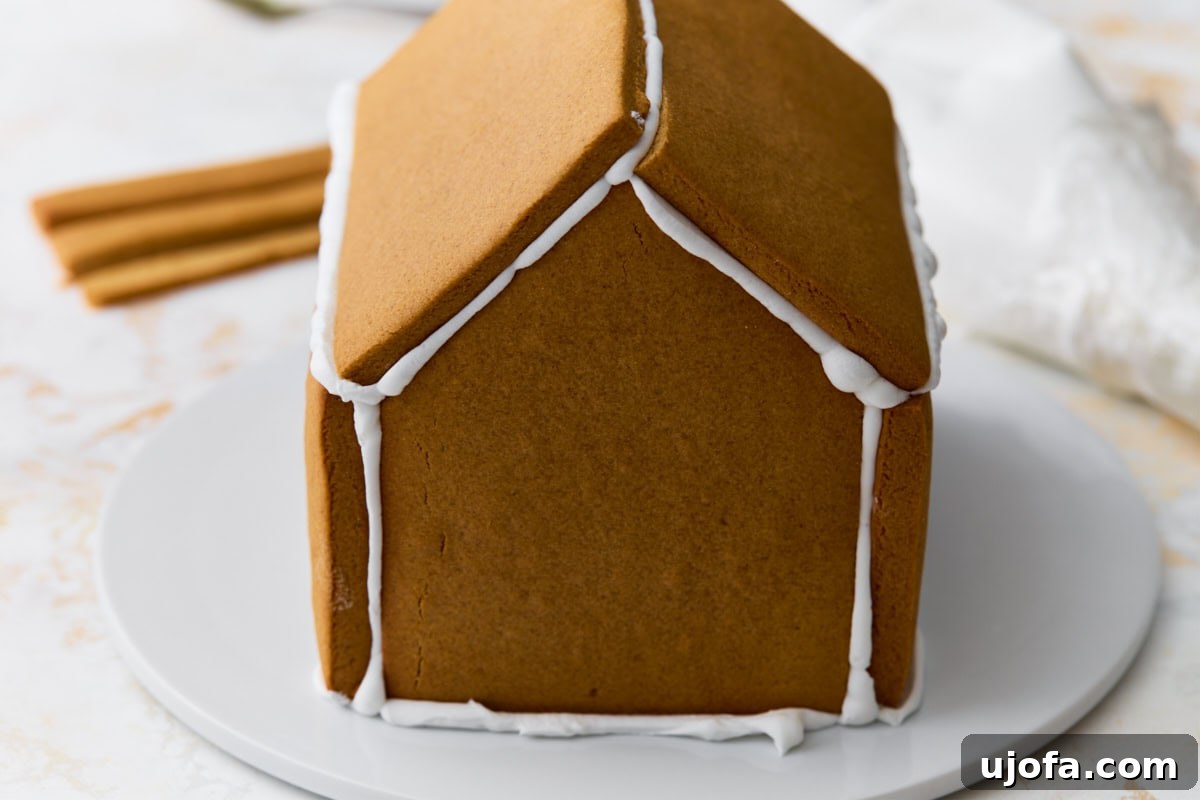
- Attach the Roof: Once the walls are stable, pipe generous lines of icing along the top edges of the walls where the roof panels will rest. Carefully place the two roof pieces onto the house, ensuring they align and meet at the peak. Trim any edges as needed for a snug fit. Pipe additional icing along the roof seams to seal them.
- Final Set: Allow the entire house structure, especially the roof, to dry completely overnight (8-12 hours) before proceeding with detailed decorating. This ensures maximum stability.
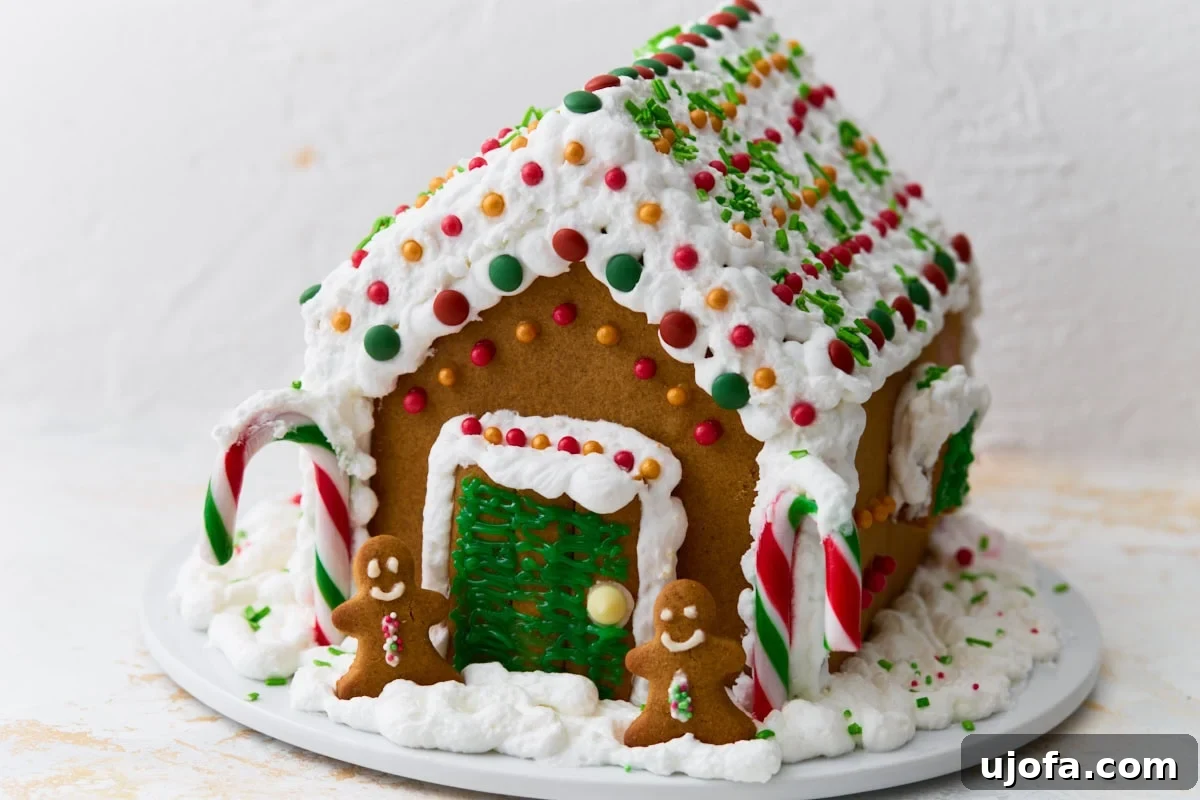
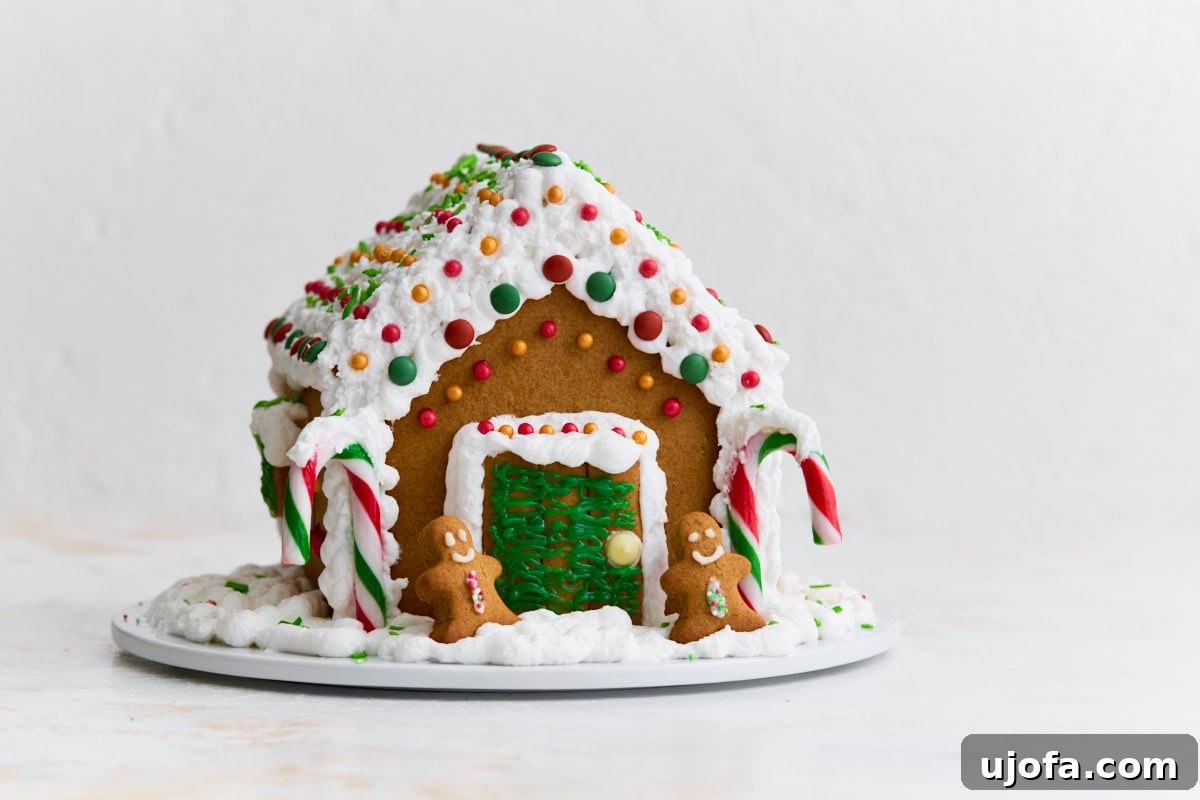
- Decorate Your Masterpiece: Once the house is fully set, it’s time for the fun part! Decorate your gluten-free gingerbread house with an array of sprinkles, mini candy canes, chocolate chips, gumdrops, dried fruit, coconut flakes for snow, or naturally colored icing. Let your imagination run wild!
Recipe Notes & Template Guidelines
- Trimming Spread Pieces: If your gingerbread house pieces spread slightly during baking, don’t despair! The best time to correct this is immediately after removing them from the oven. While the cookies are still warm and pliable, use a sharp knife or pizza cutter to gently trim the edges back to your original template lines. This ensures all pieces will fit together perfectly.
Basic Gingerbread House Template (Small–Medium size)
Front and Back Walls (2 pieces)
- Shape: rectangle with peaked roof
- Dimensions: 4″ wide × 3″ tall (to the eaves) and 3″ for each sloped line of the peak (total height to peak ~6″)
Side Walls (2 pieces)
- Shape: rectangle
- Dimensions: 6″ wide × 3″ tall
Roof Panels (2 pieces)
- Shape: rectangle
- Dimensions: 6″ wide × 4″ tall
Tips for Using the Template:
- Print or draw your template pieces accurately on sturdy paper or cardboard and carefully cut them out. This creates reusable stencils.
- Roll your gingerbread dough to an even ¼-inch thickness. Place your paper templates directly on top of the rolled dough and use a sharp knife or a pizza cutter to cut around them. Utilize a ruler for perfectly straight lines on walls and roofs.
- Once cut, carefully transfer your gingerbread pieces to baking sheets lined with parchment paper. Take your time to avoid stretching or distorting the shapes.
Nutrition Information
Serving: 1 house
Calories: 5103 kcal
Carbohydrates: 961g
Protein: 52g
Fat: 141g
Saturated Fat: 80g
Polyunsaturated Fat: 8g
Monounsaturated Fat: 36g
Trans Fat: 5g
Cholesterol: 511mg
Sodium: 2021mg
Potassium: 4046mg
Fiber: 40g
Sugar: 693g
Vitamin A: 4072 IU
Vitamin C: 1mg
Calcium: 1260mg
Iron: 28mg
Nutrition information is automatically calculated and should only be used as an approximation.
Additional Info
Course: Baking
Cuisine: American
Tried this recipe?
Share your creation on Instagram! Mention @mamaknowsglutenfree or tag #mamaknowsglutenfree!
How to Make a Gluten-Free Gingerbread House: Step-by-Step Visual Guide
Follow these detailed steps, complete with visual aids, to construct your perfect gluten-free gingerbread house. Each image corresponds to a crucial stage in the baking and assembly process, guiding you from ingredients to a festive, edible masterpiece.
Why Choose a Gluten-Free Gingerbread House Recipe?
In today’s world, dietary needs and preferences are more diverse than ever. Opting for a gluten-free gingerbread house isn’t just a trend; it’s a thoughtful way to ensure everyone can partake in the joy of holiday baking and traditions. For individuals with celiac disease, gluten sensitivity, or wheat allergies, traditional gingerbread can cause discomfort or severe reactions, making the entire activity off-limits. This gluten-free recipe opens up the holiday magic to those who might otherwise feel excluded. It means children with sensitivities can safely sneak bites of the dough and proudly eat pieces of their decorated creation without worry. Furthermore, by using dairy-free butter and aquafaba for the icing, this recipe also caters to those with dairy allergies or who follow a vegan lifestyle, making it incredibly versatile and inclusive for almost any dietary restriction. Imagine the peace of mind knowing that every guest can enjoy this festive centerpiece!
Designing Your Dream Gingerbread House
The beauty of building a gingerbread house lies in its boundless creative potential. While our template provides a solid foundation for a classic small-to-medium sized house, don’t hesitate to personalize your creation! Consider a theme: a snowy cabin, a whimsical forest dwelling, or even a mini replica of your own home. You can easily adapt the template by adding details like windows and doors before baking – simply use a small knife or cookie cutters to make impressions or cutouts in the rolled dough. For windows, consider crushing hard candies and placing them in the cutouts just before baking; they will melt into beautiful, translucent panes. Experiment with different architectural styles by adjusting the peak height or adding dormers if you’re feeling adventurous. The sky’s the limit when it comes to bringing your gingerbread vision to life!
Decorating Ideas Galore
Once your gingerbread house is firmly constructed and the royal icing glue has set overnight, the real fun begins: decorating! This is where you can truly let your personality shine. Beyond the classic candy canes and gumdrops, consider these creative ideas:
- Natural Elements: Use shredded coconut for realistic snow, pretzel sticks for logs or fences, almonds for roof shingles, or dried cranberries for festive berries.
- Candies & Chocolates: Mini chocolate chips make excellent cobblestones or roof tiles. Gummy bears, M&Ms, or small jelly beans add pops of color. Licorice whips can create intricate borders or window frames.
- Piped Icing Details: Practice different piping techniques with your royal icing. Create intricate designs, delicate snowflakes, intricate brick patterns, or even a flowing river of icing. You can also tint portions of your royal icing with food coloring for vibrant accents.
- Edible Figures: Bake extra small gingerbread men, women, or animals from leftover dough to create a festive scene around your house.
- Sparkle & Shine: Edible glitter or sanding sugar can add a magical shimmer, making your house truly enchanting.
Remember, there’s no right or wrong way to decorate; the goal is to have fun and make it uniquely yours!
Serving Suggestions for Your Gingerbread Masterpiece
This gluten-free gingerbread house is more than just a beautiful decoration; it’s a delightful treat meant to be shared and enjoyed. Transform the assembly and decorating into a memorable festive group activity. Invite family or friends to join in the fun – rolling out the dough, cutting the intricate shapes, and letting their creativity flow with the decorating. You can even bake extra gluten-free gingerbread cookies alongside your house pieces to decorate as individual treats or to enjoy as a snack while the main house is being built. Once your gingerbread house has proudly served its time as a charming holiday centerpiece, it’s time for the ultimate enjoyment! Gently break it apart and serve the spiced, sturdy pieces with mugs of warm dairy-free hot chocolate or a festive holiday punch. The warm spices in the gingerbread pair beautifully with other classic holiday desserts like a comforting gluten-free Dutch apple pie, delicate gluten-free shortbread cookies, or even a scoop of vanilla ice cream.
Storage Instructions to Preserve Your Creation
Proper storage is key to enjoying your gluten-free gingerbread house for as long as possible, whether for display or consumption.
- Gingerbread Dough: The unbaked dough is quite versatile. You can prepare it ahead of time and store it tightly wrapped in plastic wrap in the refrigerator for up to 2 days. For longer storage, the dough can be frozen for up to 1 month. When ready to use, simply thaw the frozen dough in the refrigerator overnight before rolling and cutting.
- Baked Gingerbread Pieces: Once your gingerbread house pieces are baked, allow them to cool completely on wire racks. This is crucial for firmness. Store the cooled, un-assembled pieces in an airtight container at room temperature for up to 1 week. This allows you to bake ahead and assemble closer to your event.
- Assembled and Decorated House: After your gingerbread house is fully built and decorated, it’s best kept in a cool, dry place away from direct sunlight and humidity. Humidity is the enemy of royal icing and can cause it to soften or melt. If primarily for display, your house can last beautifully for 2–3 weeks. If you intend to eat your creation, it’s best enjoyed within the first week after assembly, while the gingerbread cookies are still at their freshest and most flavorful.
More Delicious Gluten-Free Holiday Treats You’ll Love
Looking for more gluten-free inspiration for your holiday baking? Explore these other delightful recipes that are sure to become family favorites:
- Gluten-Free Peanut Butter Cookies
- Gluten-Free Apple Pie (Dairy-Free/Vegan Option)
- Gluten-Free Pumpkin Roll
- Gluten-Free Southern Bread Pudding
- Gluten-Free Spice Cake