
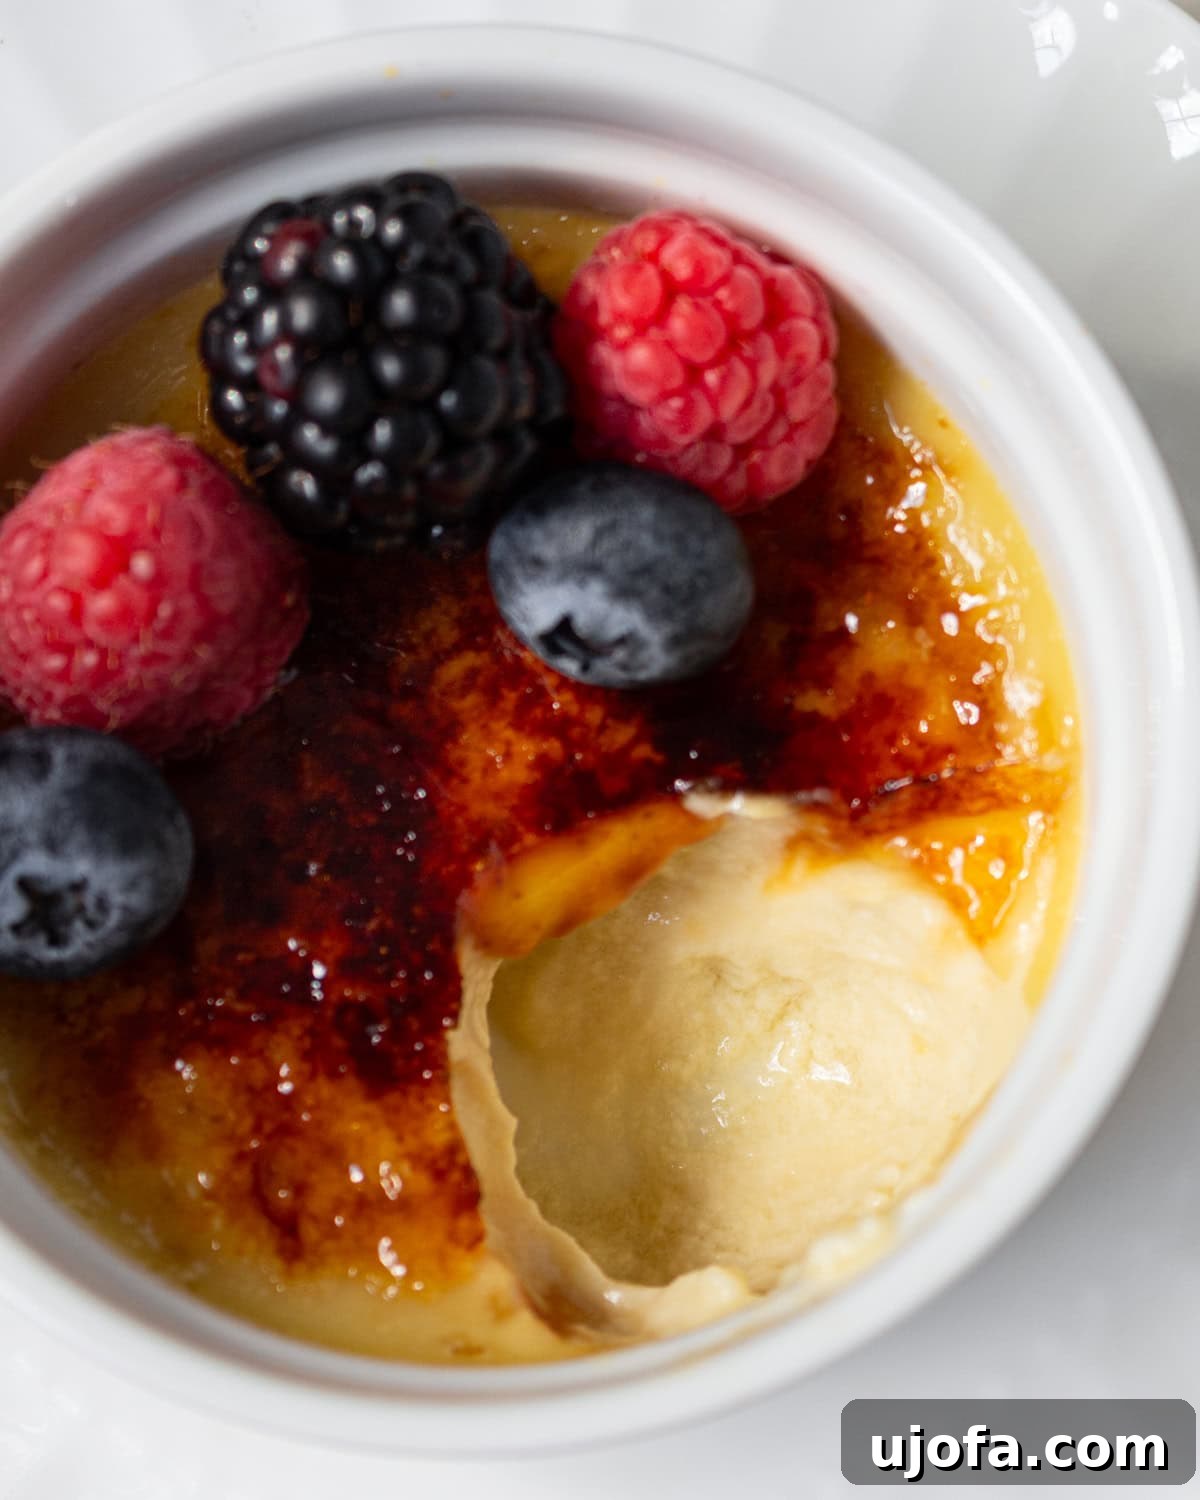
Decadent Dairy-Free Crème Brûlée: A Classic French Dessert for Everyone
Indulge in the luxurious simplicity of this exquisite dairy-free crème brûlée. This recipe masterfully replicates the elegance of a classic French bakery dessert, all from the comfort of your own kitchen. Using rich, full-fat coconut milk, we achieve an incredibly smooth, creamy custard base that rivals its dairy counterpart. Crowned with a perfectly caramelized sugar topping, each bite promises that signature satisfying crackle. Crafted from just a handful of simple ingredients, this dessert is a true delight for anyone seeking a sophisticated yet accessible dairy-free twist on a beloved classic. It’s an ideal choice for entertaining guests or simply treating yourself to a gourmet experience without the dairy.
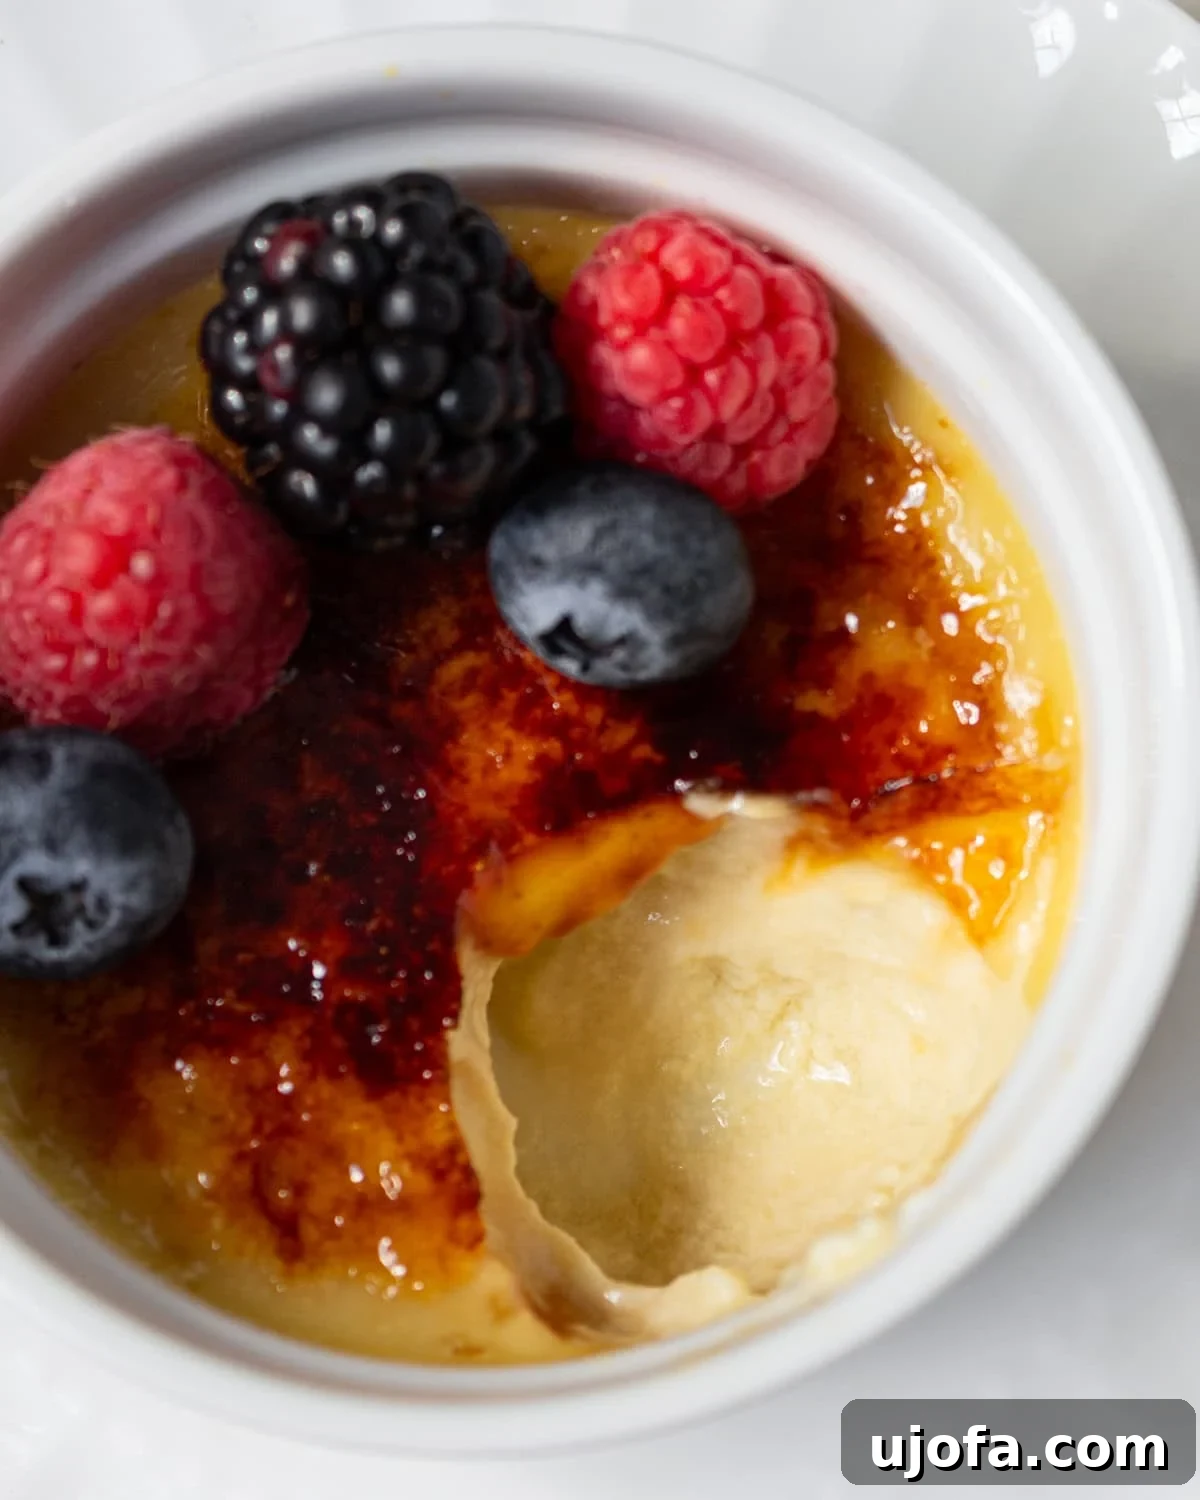
Crème brûlée has always held a special place in my heart as one of life’s most satisfying desserts. The allure of a rich, silky custard, followed by the delightful snap of caramelized sugar, is truly unparalleled. However, finding dairy-free versions that live up to this high standard can be a challenge. That’s why I poured considerable effort into developing this recipe, ensuring it’s not only simple to prepare at home but also consistently delivers that classic, velvety texture every single time. My method incorporates an easy tempering technique and the gentle embrace of a water bath, two crucial steps for perfection.
The beauty of this recipe lies in how seamlessly coconut milk blends with the egg yolks, creating a custard that is both decadent and surprisingly light. And for many, the grand finale of torching the sugar is the most exciting part! It’s a quick, fun step that transforms the chilled custard into a masterpiece. I’m eager to hear about your culinary adventures with this recipe, so please don’t hesitate to share your results and thoughts in the comments below if you give it a try!
Essential Tips for a Flawless Crème Brûlée
Achieving crème brûlée perfection, especially with a dairy-free twist, requires attention to detail. These expert tips will guide you to a consistently smooth, creamy, and crackly dessert.
- Temper with Care and Precision: The tempering process is vital for preventing scrambled egg yolks and ensuring a silky-smooth custard. Slowly drizzle the warm coconut milk mixture into the whisked egg yolks, adding only a small amount at a time while continuously whisking. This gradual integration allows the yolks to gently come up to temperature without cooking them prematurely, resulting in a perfectly emulsified base.
- Master the Water Bath Technique: A proper water bath (bain-marie) is your secret weapon for evenly baked, tender custards. Carefully nestle your ramekins into a larger baking dish, then pour hot (preferably boiling) water into the baking dish until it reaches approximately two-thirds of the way up the sides of the ramekins. The steam and gentle, indirect heat created by the water bath insulate the custards, preventing them from curdling or baking too quickly around the edges, and promoting uniform cooking from the outside in.
- Avoid the Pitfall of Overbaking: Overbaking is the arch-nemesis of a creamy custard, leading to a rubbery or tough texture. Keep a watchful eye on your crème brûlées. They are ready to be removed from the oven when the edges are set, but the center still retains a slight, delicate jiggle. If the middle appears completely firm or solid, it’s likely overbaked. For ultimate accuracy, use a digital thermometer; aim for an internal temperature of around 175°F (79°C) in the center of the custards.
- Ensure Complete Chilling for Optimal Set: Patience is a virtue when it comes to crème brûlée. It is absolutely crucial to allow the custards to chill thoroughly and completely before you even think about brûléeing the sugar. This extended chilling period allows the custard to fully set and firm up, guaranteeing that when the hot torch caramelizes the sugar, the topping will become crisp and crackly, while the custard beneath remains delightfully cool and silky. Rushing this step can result in a soft topping or a warm custard.
- Achieve the Perfect Caramelized Crust: The signature crackly topping is the crowning glory of crème brûlée. When torching, keep your kitchen torch moving in small, continuous circles over the granulated sugar. This technique ensures that the sugar melts evenly and caramelizes without burning in any one spot. You’re looking for bubbling, golden-brown sugar that forms a uniform, glossy layer. Once cooled, this will transform into that iconic crisp, crackly shell that shatters with a satisfying sound.
Dairy-Free Crème Brûlée Recipe
By: Ashley Barbey
Prep: 30 mins |
Cook: 45 mins |
Chill Time: 6 hrs |
Total: 7 hrs 15 mins
Recipe Summary
This dairy-free crème brûlée brings all the elegance of a French bakery to your own kitchen. Coconut milk creates a smooth, creamy custard, and the caramelized sugar topping gives it that signature crackly finish.
Equipment
- 4 (4-6 oz) Ramekins
- Medium Baking Dish (e.g., 9×9 inch)
- Medium Saucepan
- Whisk
- Kettle
- Kitchen Torch
Ingredients
- 13.5 oz full-fat unsweetened coconut milk (400ml, 1 can) – Ensure it’s full-fat for the best creamy texture.
- 5 large egg yolks – Provide richness and structure to the custard.
- ⅓ cup granulated sugar (67g) – Plus additional sugar for the caramelized topping.
- 1½ tsp vanilla bean paste or extract – Vanilla bean paste offers a beautiful speckled look and a more intense vanilla aroma.
Instructions
- Prepare Oven and Ramekins: Preheat your oven to 300°F (150°C). Arrange four 4-6 ounce ramekins neatly within a medium baking dish (a 9×9 inch pan works well). This setup is crucial for the water bath.
- Infuse Coconut Milk and Sugar: In a medium saucepan, combine 1 cup of the full-fat coconut milk (reserving the rest) and the ⅓ cup (67g) of granulated sugar. Heat over medium-low heat, stirring frequently, until the mixture gently comes to a boil and the sugar is completely dissolved. Remove the saucepan from the heat, stir in the 1½ tsp of vanilla bean paste or extract, and then cover it with a lid. Allow it to steep and infuse for 10 minutes to deepen the vanilla flavor.
- Prepare for Tempering: While the vanilla steeps, bring a kettle of water to a boil. After 10 minutes, stir the remaining coconut milk into the warm coconut milk and sugar mixture in the saucepan. This will help cool the mixture slightly before tempering.
- Whisk Egg Yolks: In a separate medium bowl, vigorously whisk the 5 egg yolks until they are smooth and light yellow.
- Temper the Custard Base: This is a critical step. Gradually and slowly stream the warm coconut milk mixture into the whisked egg yolks, continuously whisking the yolks all the while. Pouring too quickly will cause the egg yolks to scramble. Continue whisking until the mixture is thoroughly combined and perfectly smooth.
- Fill Ramekins and Create Water Bath: Carefully divide the tempered custard mixture evenly among the four prepared ramekins in the baking dish. Now, pour the freshly boiled hot water into the baking dish, ensuring it reaches approximately two-thirds of the way up the sides of the ramekins.
- Bake the Custards: Gently transfer the baking dish with the ramekins to the preheated oven. Bake for 30-35 minutes, or until the internal temperature of the custards reaches 175°F (79°C) and the centers still have a slight, delicate jiggle when lightly shaken. The edges should be set.
- Cool and Chill: Remove the baking dish from the oven and let the ramekins cool in the water bath at room temperature for about 2 hours. This gradual cooling prevents cracking. Once cooled, carefully remove the ramekins from the water bath and transfer them to the refrigerator. Chill for a minimum of 4 hours, or until they are completely cold and fully set through.
- Caramelize the Sugar Top: Once the custards are thoroughly chilled, sprinkle about 2 teaspoons of granulated sugar evenly over the top of each crème brûlée. Using a kitchen torch, heat the sugar in continuous, small circular motions until it melts completely, becomes bubbly, and turns a beautiful golden-brown color, forming a hard, glassy crust.
- Final Chill and Serve: For the best results and to ensure the caramelized topping sets perfectly crisp, chill the brûléed custards in the refrigerator for another 30 minutes before serving. Enjoy your perfectly crafted dairy-free crème brûlée!
Notes for Success
- Coconut Milk Choice is Key: Always use full-fat unsweetened coconut milk from a can for this recipe. Light coconut milk simply won’t provide the rich, creamy texture essential for a proper crème brûlée. The higher fat content is crucial.
- Flavor Variations: For a delightful twist, consider swapping out the vanilla paste for ½ teaspoon of almond extract. This imparts a lovely nutty essence that complements the coconut beautifully. You could also experiment with a hint of orange zest infused in the warm milk.
- Sugar for Topping Matters: While coconut sugar can be used within the custard for a slightly less refined sweetness, it is not suitable for the brûlée topping. Coconut sugar has a different melting point and caramelizes unevenly, often leading to a burnt taste rather than a crisp shell. Stick to granulated sugar for the topping.
- Expediting the Chill: If you’re short on time, using shallow, wider ramekins can help accelerate the chilling process. A thinner custard will cool down faster, allowing you to enjoy your dessert sooner.
Nutrition Information
Please note: Nutrition information is automatically calculated and should be used as an approximation only.
- Serving: 1 serving
- Calories: 333kcal
- Carbohydrates: 21g
- Protein: 6g
- Fat: 26g
- Saturated Fat: 20g
- Polyunsaturated Fat: 1g
- Monounsaturated Fat: 4g
- Cholesterol: 243mg
- Sodium: 23mg
- Potassium: 235mg
- Sugar: 18g
- Vitamin A: 324IU
- Vitamin C: 1mg
- Calcium: 46mg
- Iron: 4mg
Additional Info
- Course: Dessert
- Cuisine: French
Step-by-Step: Crafting Your Perfect Dairy-Free Crème Brûlée
Making dairy-free crème brûlée might seem intimidating, but by following these detailed steps and paying attention to a few key techniques, you’ll achieve professional-level results every time. Let’s walk through the process together.
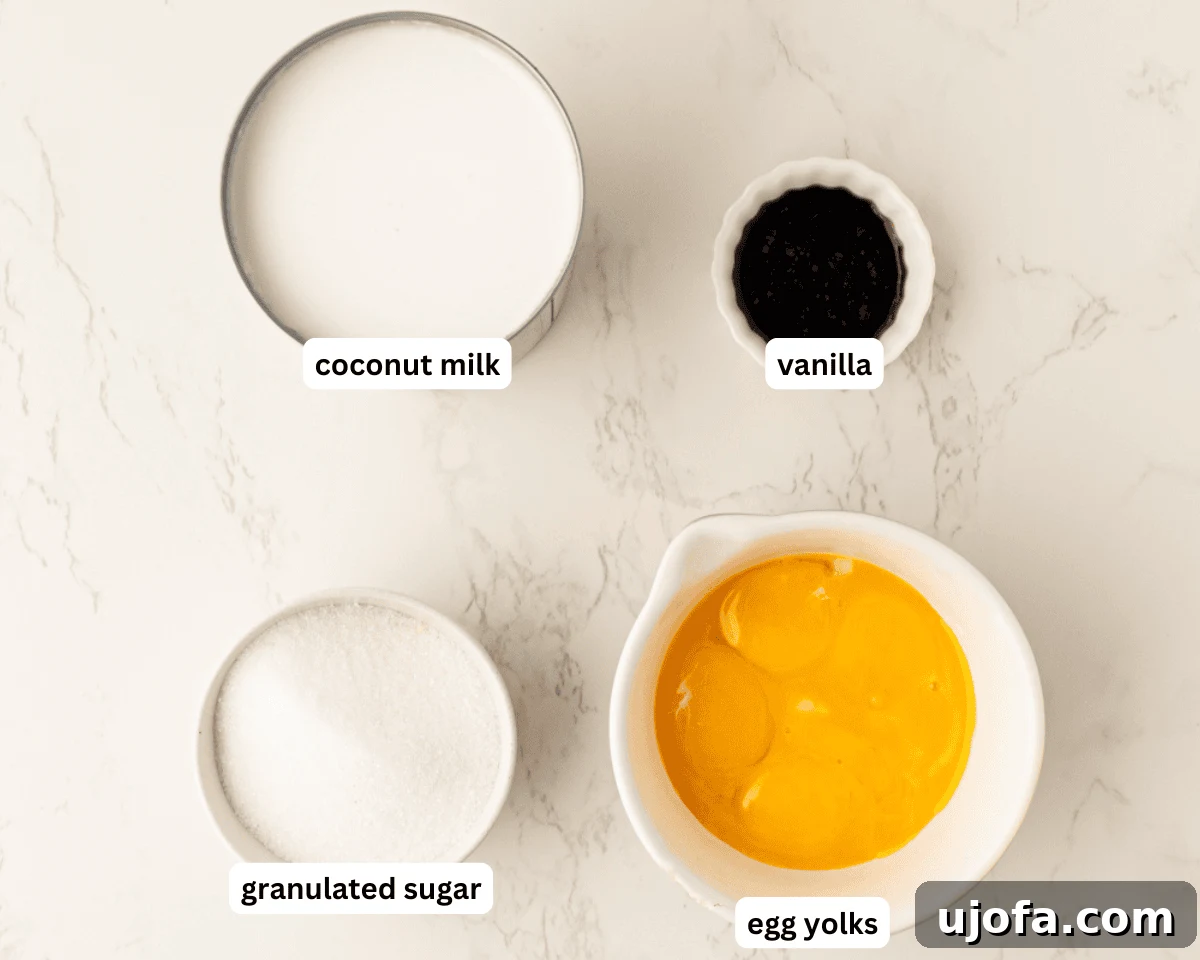
Begin by gathering all your required ingredients. Having everything measured and ready will streamline your cooking process and help prevent mistakes.
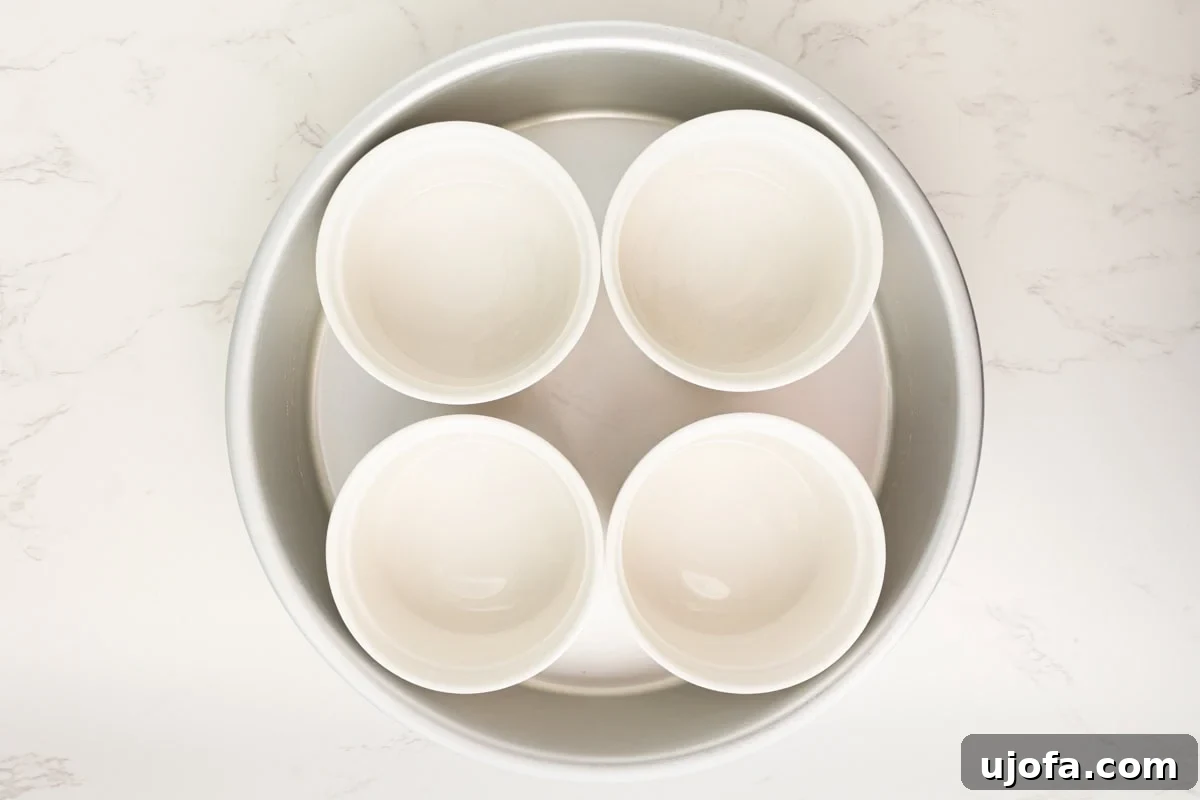
Preheat and Prep the Ramekins: Set your oven to preheat at 300°F (150°C). Carefully place four 6-ounce ramekins into a larger 9×9-inch baking dish. This arrangement is crucial for creating the water bath that ensures gentle and even cooking of the custard.
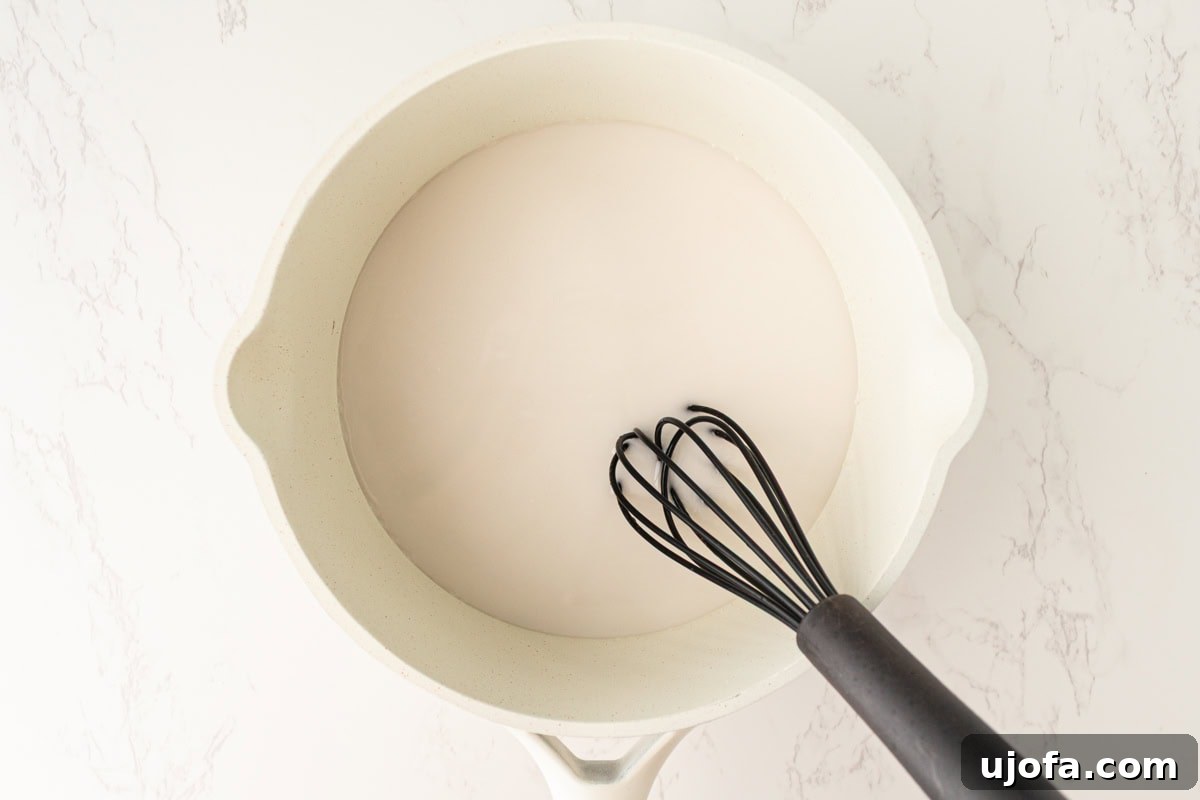
Heat the Coconut Milk and Sugar: In a medium saucepan, combine 1 cup of the full-fat coconut milk (taken from your 13.5oz can, reserving the remaining amount for a later step) with ⅓ cup (67g) of granulated sugar. Place the saucepan over medium-low heat and bring the mixture to a gentle simmer, stirring frequently until all the sugar crystals have completely dissolved. Once dissolved, remove the saucepan from the heat and stir in the 1½ tsp of vanilla bean paste or extract. Cover the saucepan with a lid and let it steep for 10 minutes; this allows the vanilla flavor to deeply infuse into the warm coconut milk.
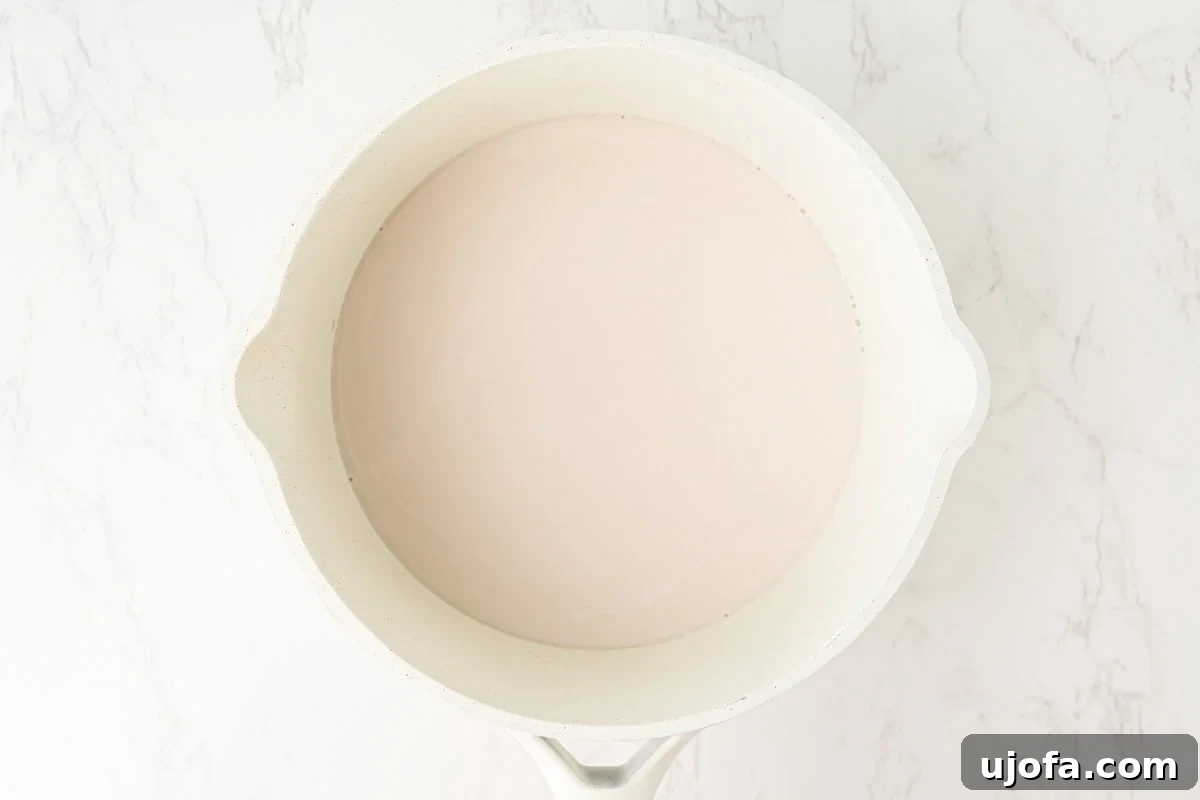
Finish the Milk Mixture: While your vanilla-infused coconut milk is steeping, start boiling a kettle of water. After the 10-minute steeping period, stir the remaining coconut milk (from the can) into the warm vanilla-infused mixture in the saucepan. This step helps to slightly cool the mixture, making it safer and easier to temper with the egg yolks.
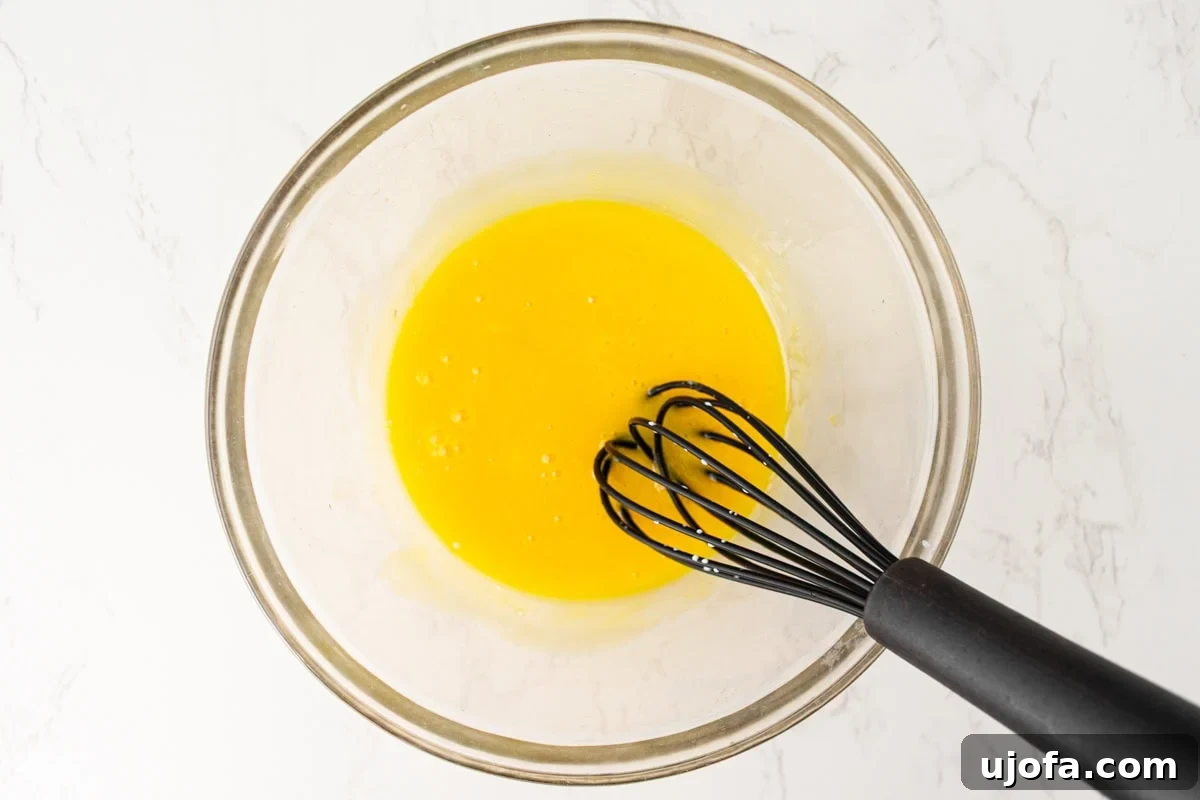
Whisk the Egg Yolks: In a separate medium bowl, take your 5 egg yolks and whisk them vigorously until they are completely smooth and uniform in color. This ensures there are no lumps and prepares them to be tempered without scrambling.
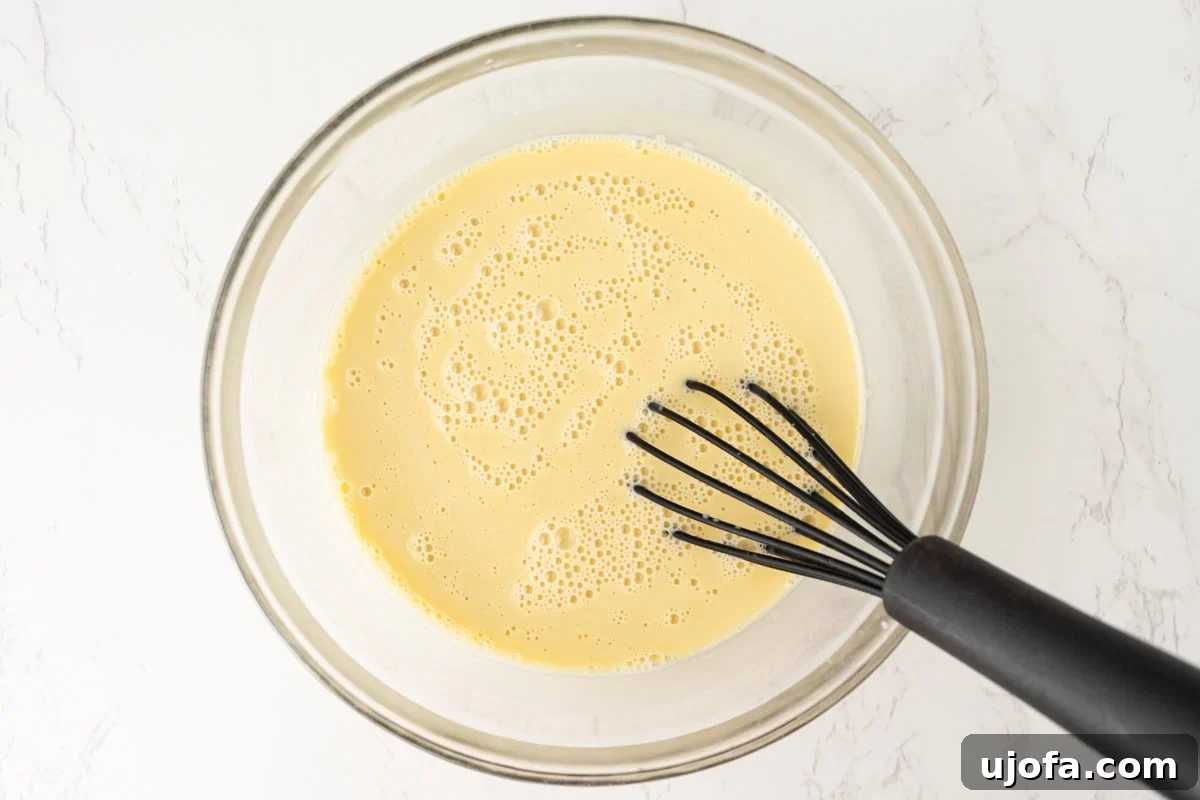
Temper the Yolks: This step demands patience and continuous effort. Very slowly, stream the warm coconut milk mixture into the whisked egg yolks while continuously whisking the yolks. The goal is to gradually bring the temperature of the egg yolks up without cooking them. Pouring too quickly will result in scrambled eggs. Take your time, maintain a steady stream, and keep whisking until the entire mixture is smooth, homogenous, and fully combined.
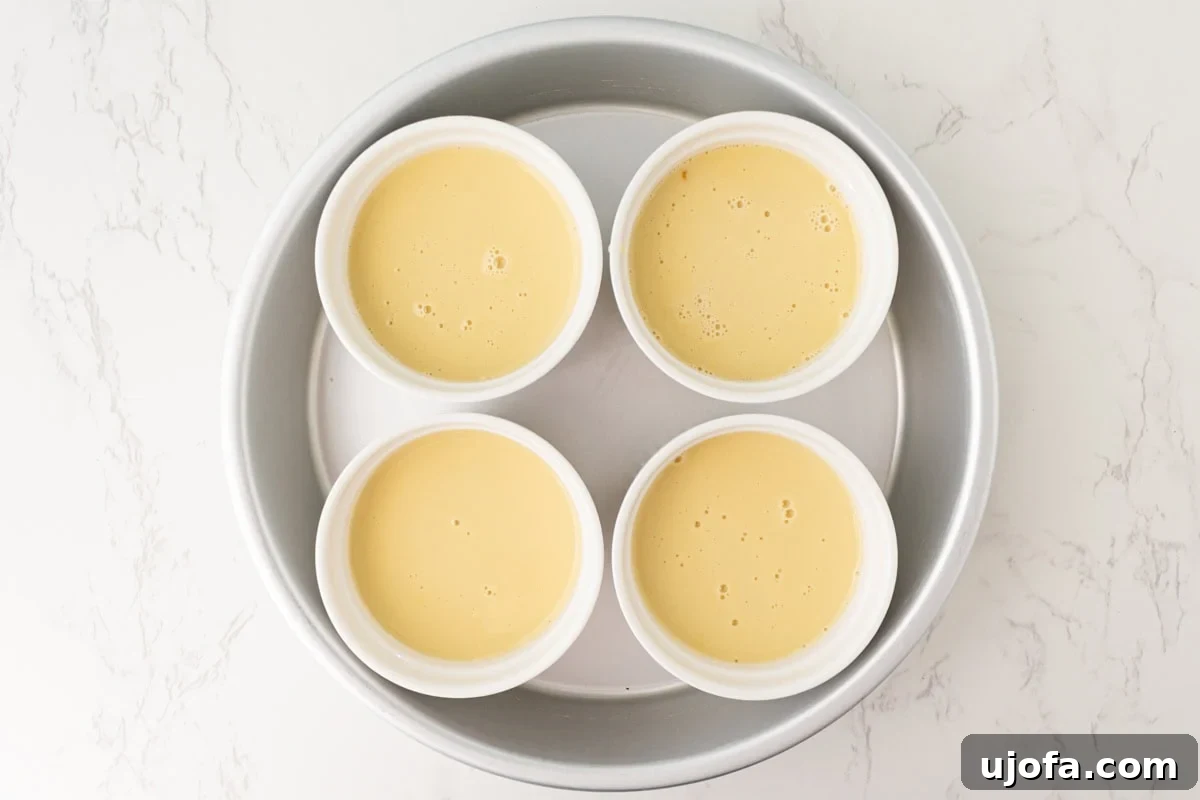
Fill the Ramekins and Prepare the Water Bath: Once your custard base is ready, carefully divide it evenly among the four ramekins that are already positioned in your baking dish. Now, pour the boiling hot water from your kettle into the baking dish, being careful not to splash any into the custards. Fill it until the water reaches approximately two-thirds of the way up the sides of the ramekins. This water bath acts as an insulator, promoting a slow, even bake and preventing the custards from cracking.
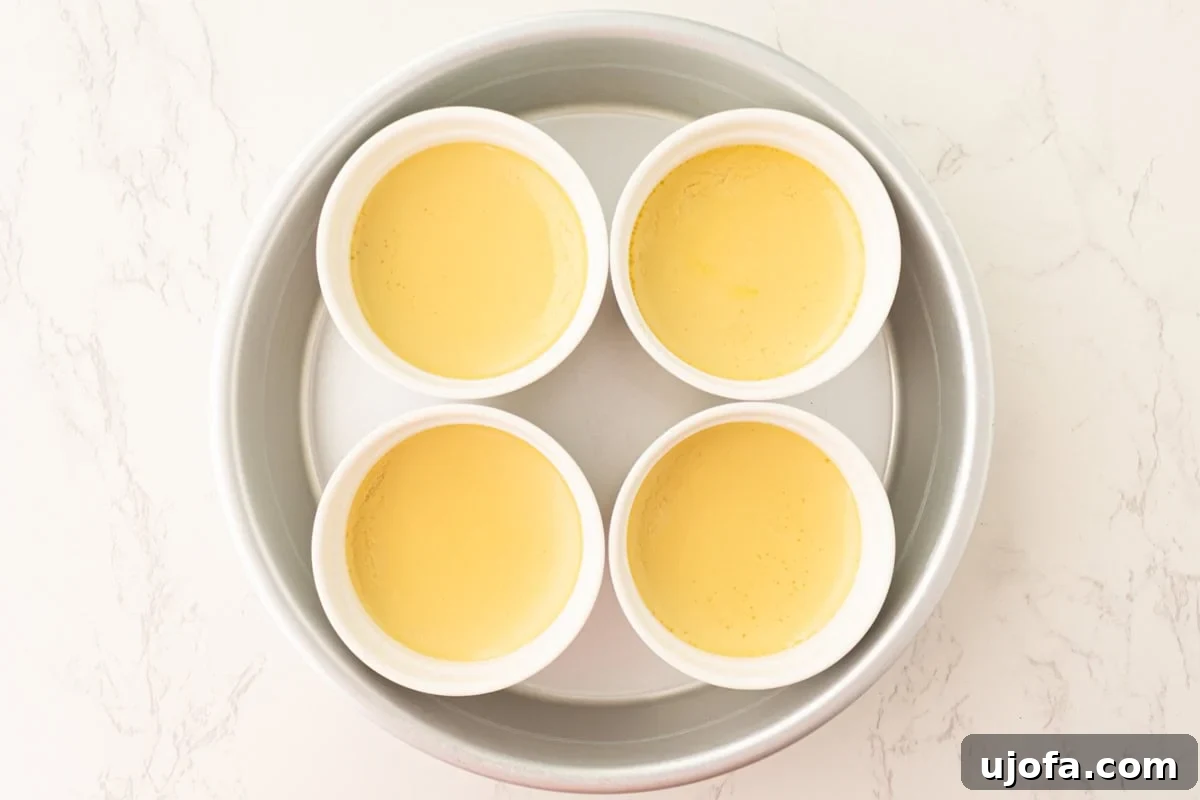
Bake the Custards: Carefully transfer the entire baking dish with the ramekins and hot water bath to your preheated oven. Bake for 30–35 minutes. Monitor them closely; they are done when the edges are set but the center still retains a slight, delicate jiggle when gently shaken. An internal temperature of 175°F (79°C) measured with a digital thermometer in the center is a reliable indicator. After baking, remove the pan from the oven and let the ramekins cool for about 2 hours directly in the water bath at room temperature. This gradual cooling process helps prevent any potential cracking. Once cooled, carefully remove them from the water bath and transfer them to the refrigerator to chill for at least 4 hours, or until they are completely cold and firm throughout.
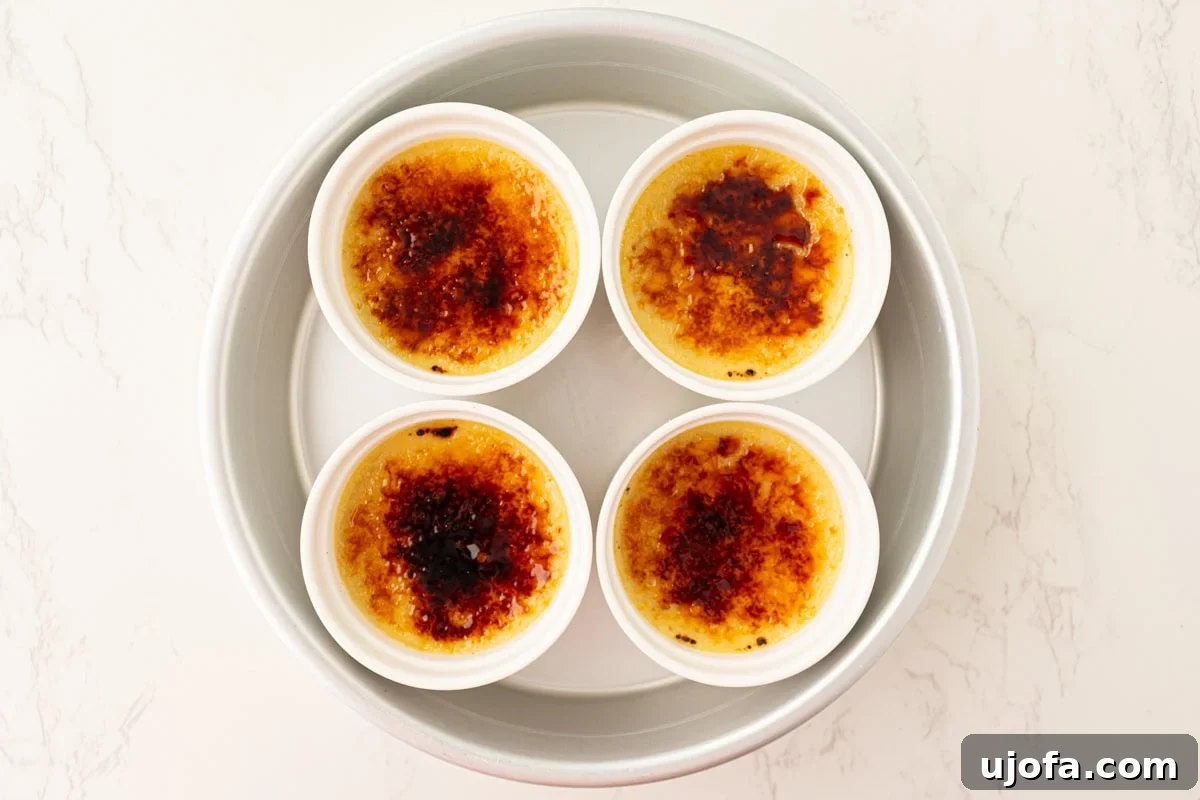
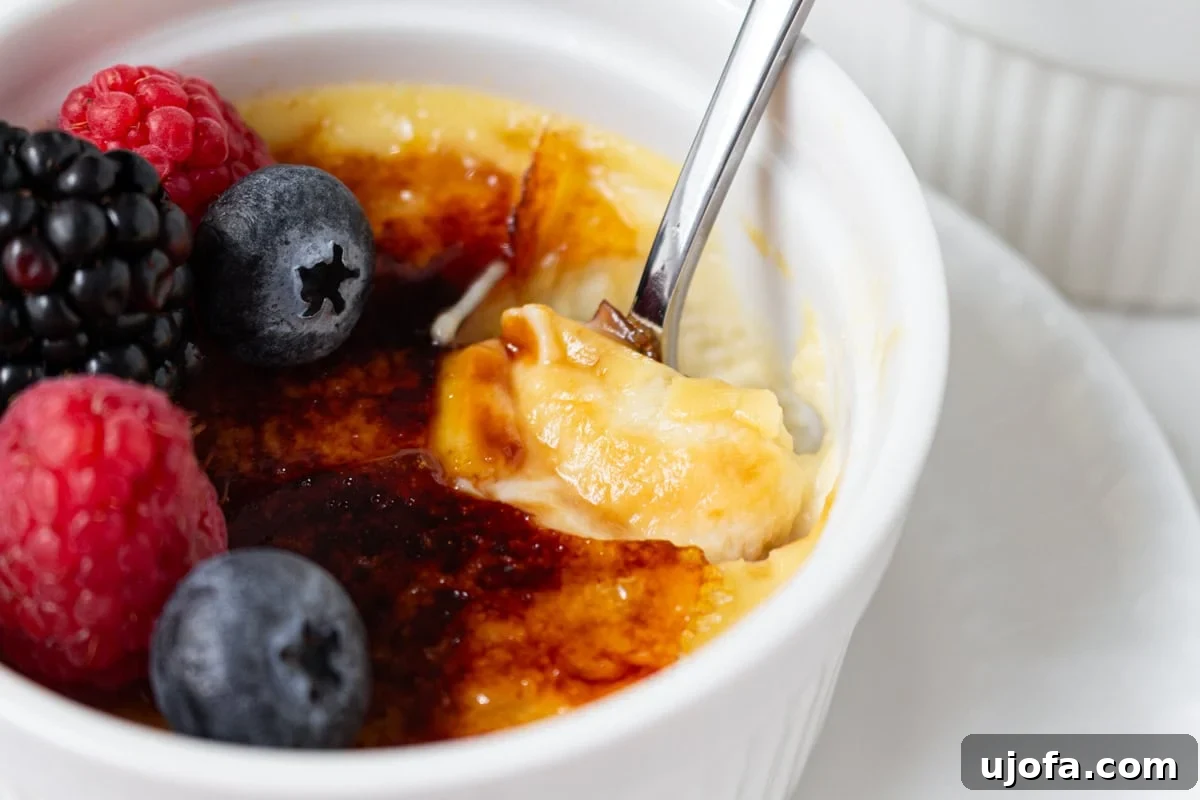
Brûlée the Sugar Top: Once your custards are thoroughly chilled and firm, it’s time for the exciting finale! Sprinkle approximately 2 teaspoons of granulated sugar evenly over the surface of each individual custard. Using a kitchen torch, begin to heat the sugar, moving the flame in small, continuous circles. Continue torching until all the sugar has completely dissolved, is bubbling, and has transformed into a beautiful, glossy golden-brown caramel. Be careful not to burn it.
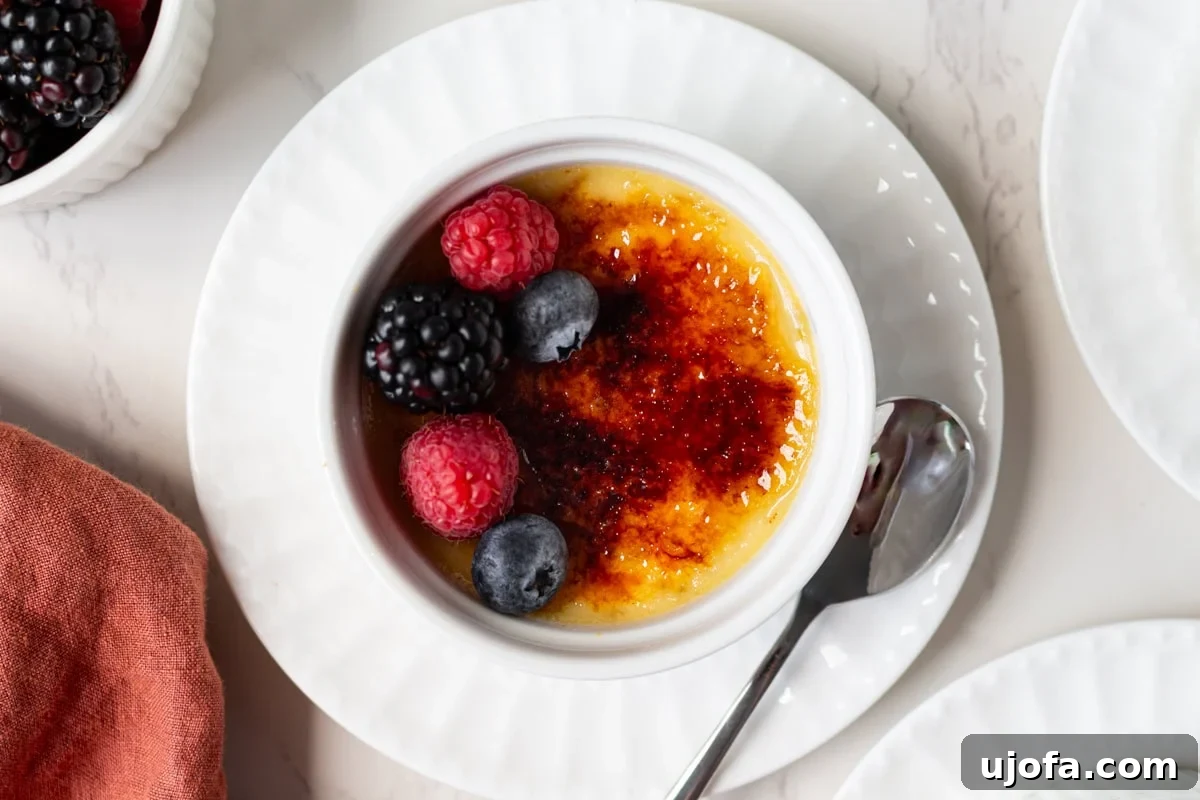
Chill and Serve: After torching, allow the crème brûlées to chill again in the refrigerator for at least 30 minutes. This crucial step ensures that the caramelized sugar topping sets to its perfect crispness and the custard remains beautifully cold and refreshing. Only then is it truly ready to be served and enjoyed!
Common Troubleshooting for Crème Brûlée Perfection
Even experienced bakers can encounter challenges when making crème brûlée. Here are some common issues and how to resolve them to ensure your dairy-free version turns out flawlessly.
- Custard Turned Grainy: A grainy texture almost always indicates that the egg yolks cooked too quickly during the tempering process. To prevent this, ensure you drizzle the warm coconut milk into the whisked yolks very slowly and continuously whisk without stopping. Also, make sure your oven temperature is accurate at 300°F (150°C) for gentle baking, as too high a temperature can cause rapid cooking.
- Custard Overcooked or Rubbery: If your crème brûlée has a rubbery or firm texture, it has likely been overbaked. The key is to remove the ramekins from the oven when the center still has a slight, delicate jiggle. It should not be completely firm. The residual heat will continue to cook it slightly as it cools. Using a digital thermometer to check for 175°F (79°C) in the center can provide a precise cue.
- Custard Cracked on Top: Cracking on the surface of the custard is often a sign of uneven or too rapid baking. This typically happens if the water bath wasn’t filled high enough, or if the water cooled down too much during baking. Ensure the hot water in your baking dish reaches at least two-thirds up the sides of the ramekins, providing a consistent, insulating environment that promotes even cooking.
- Curdling Around the Edges: If you notice curdling or a lumpy texture around the edges of your custard, it means that part of the custard got too hot. This can occur if the oven temperature is too high, or if the water bath isn’t providing enough protection. Double-check your oven’s calibration and ensure the water bath is adequately filled. Always remove the custards as soon as they hit the target internal temperature of about 175°F (79°C) in the center.
Serving Suggestions for Your Dairy-Free Crème Brûlée
This dairy-free crème brûlée is so wonderfully decadent that it truly shines on its own. The contrast of the silky custard and the crisp, sweet caramel top is a complete experience. However, there are many ways to elevate this dessert or pair it with other treats to create an unforgettable culinary moment.
- Fresh Berries: My absolute favorite way to serve this crème brûlée is with a scattering of fresh berries. Raspberries, blueberries, or sliced strawberries add a vibrant, juicy, and slightly tart contrast that beautifully cuts through the richness of the custard and the sweetness of the caramel.
- Coffee or Espresso: For an elegant after-dinner treat, serve your crème brûlée alongside a freshly brewed cup of coffee or a rich espresso. The bitterness of the coffee creates a sophisticated counterpoint to the dessert’s sweetness.
- Dairy-Free Whipped Cream or Coconut Cream: For an extra touch of indulgence, a dollop of dairy-free whipped cream or lightly sweetened coconut cream on the side can add another layer of creamy texture.
- Sweet Pairings: If you’re looking to create a dessert platter, this crème brûlée pairs wonderfully with other light, sweet treats. Consider serving it alongside my gluten-free shortbread cookies, which offer a buttery crunch, or perhaps my delicate gluten-free vanilla wafers. For something a little more substantial, a slice of a moist gluten-free pound cake would be a delightful accompaniment.
- Chocolate Shavings: A sprinkle of dairy-free chocolate shavings can add a touch of extra richness and visual appeal.
Storage Instructions for Best Enjoyment
Proper storage is essential to maintain the quality and signature texture of your dairy-free crème brûlée. Here’s how to keep them fresh:
- Initial Cooling (Uncovered): After the custards have fully cooled to room temperature, it’s important to store them in the refrigerator, uncovered, for at least the first hour (or even two). This allows any residual warmth to dissipate completely and prevents condensation from forming on the sugar crust, which would make it soft.
- Covering for Longer Storage: Once the custards are thoroughly chilled and any risk of condensation has passed, cover each ramekin loosely with plastic wrap or aluminum foil. Avoid direct contact with the caramelized top.
- Refrigeration Time: Stored correctly in the refrigerator, your dairy-free crème brûlées will keep beautifully for up to 3 days.
- Brûlée Just Before Serving: For the ultimate experience, with that perfect crisp crackle, it is highly recommended to brûlée the sugar topping right before you plan to serve. The caramelized layer, while delightful, will naturally soften over time due to moisture in the refrigerator, losing its signature crunch.
- Freezing is Not Recommended: Unfortunately, freezing is not a suitable storage method for crème brûlée. The delicate custard structure can break down upon thawing, often resulting in a grainy, watery, or unpleasantly separated texture. For the best quality, enjoy them fresh from the fridge.
More Dairy-Free Dessert Recipes to Try
If you’re loving the world of dairy-free desserts, here are some other fantastic recipes from my kitchen you might enjoy:
- Dairy-Free Hot Chocolate
- Vegan Chocolate Mousse
- Vegan White Chocolate
- Dairy-Free Chocolate Pudding