
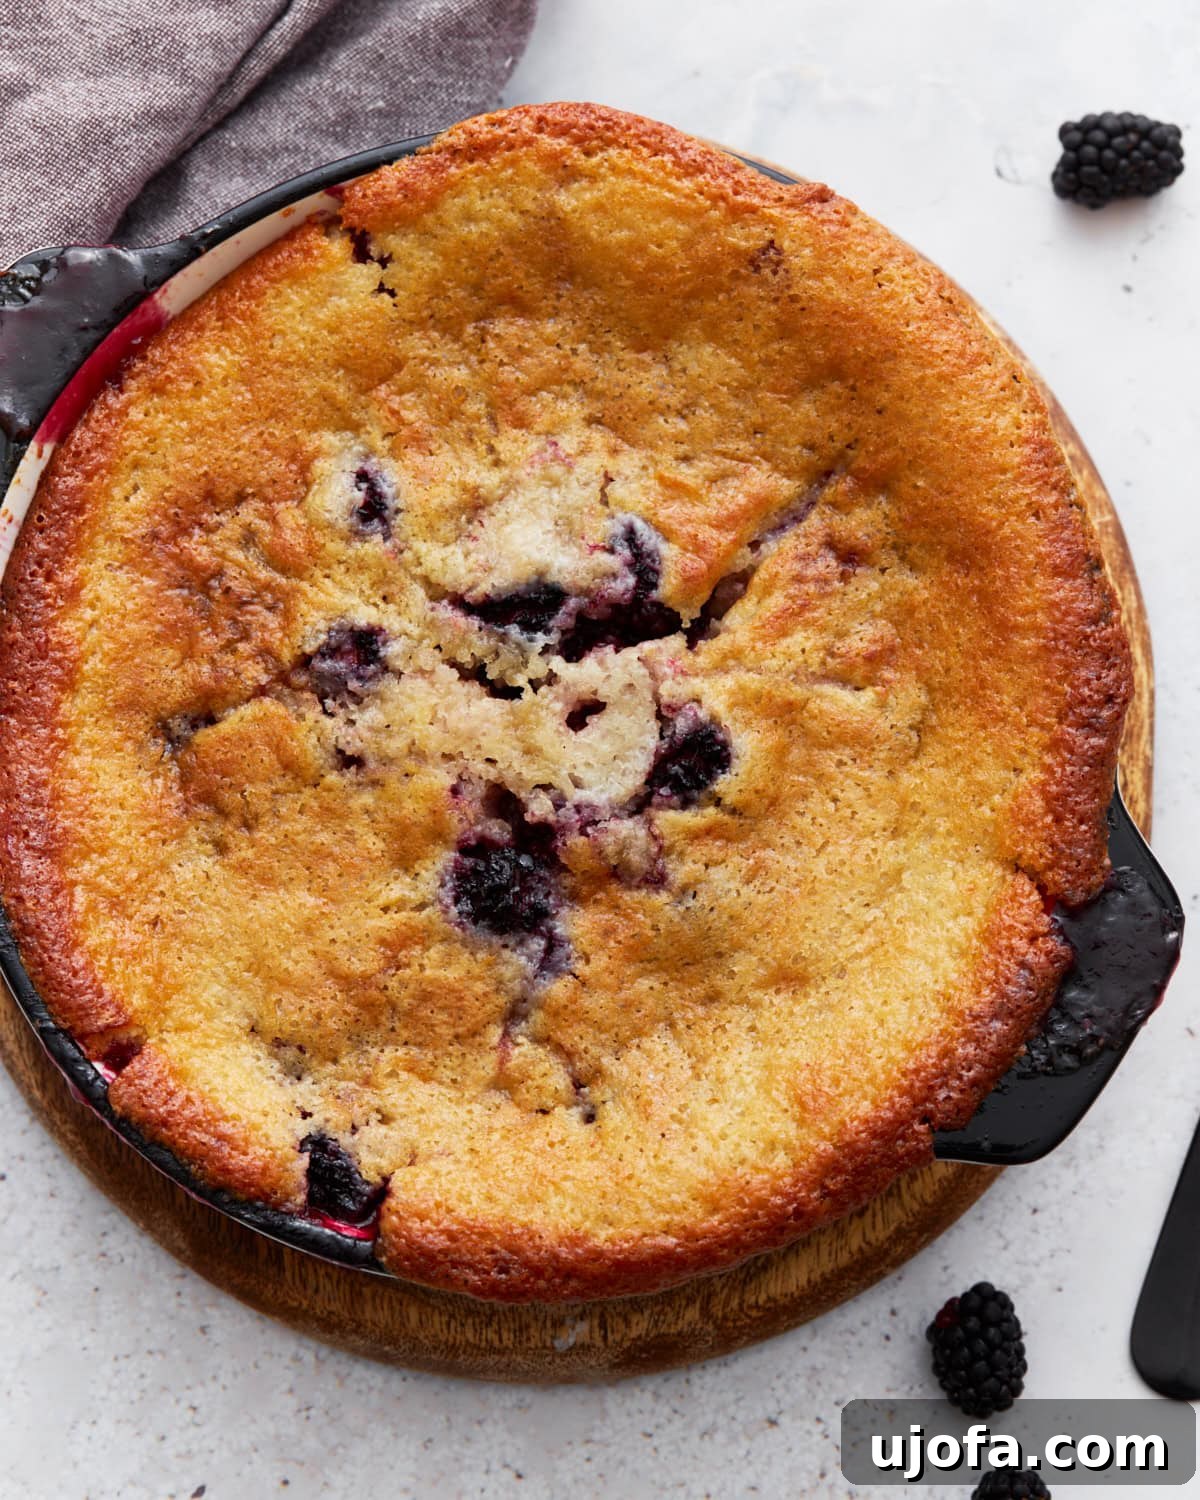
Irresistibly Easy Gluten-Free Blackberry Cobbler: Your Perfect Summer Dessert
There’s an undeniable charm to a warm, bubbling fruit cobbler, especially when summer’s bounty is at its peak. This gluten-free blackberry cobbler recipe captures that quintessential summer feeling, offering a delightful balance of sweet and tart that’s hard to resist. Whether you’re making the most of a fresh haul of juicy blackberries or reaching for a bag in your freezer for a quick, comforting treat, this recipe is designed for simplicity and incredible flavor. Made with common pantry staples, the batter bakes up into a golden, crispy-edged crust with a soft, fluffy interior, perfectly complementing the rich, jammy fruit filling. Each bite promises pure comfort, especially when served warm alongside a generous scoop of cold vanilla ice cream. It’s the kind of dessert that gathers loved ones around the table, creating cherished memories with its homey appeal.
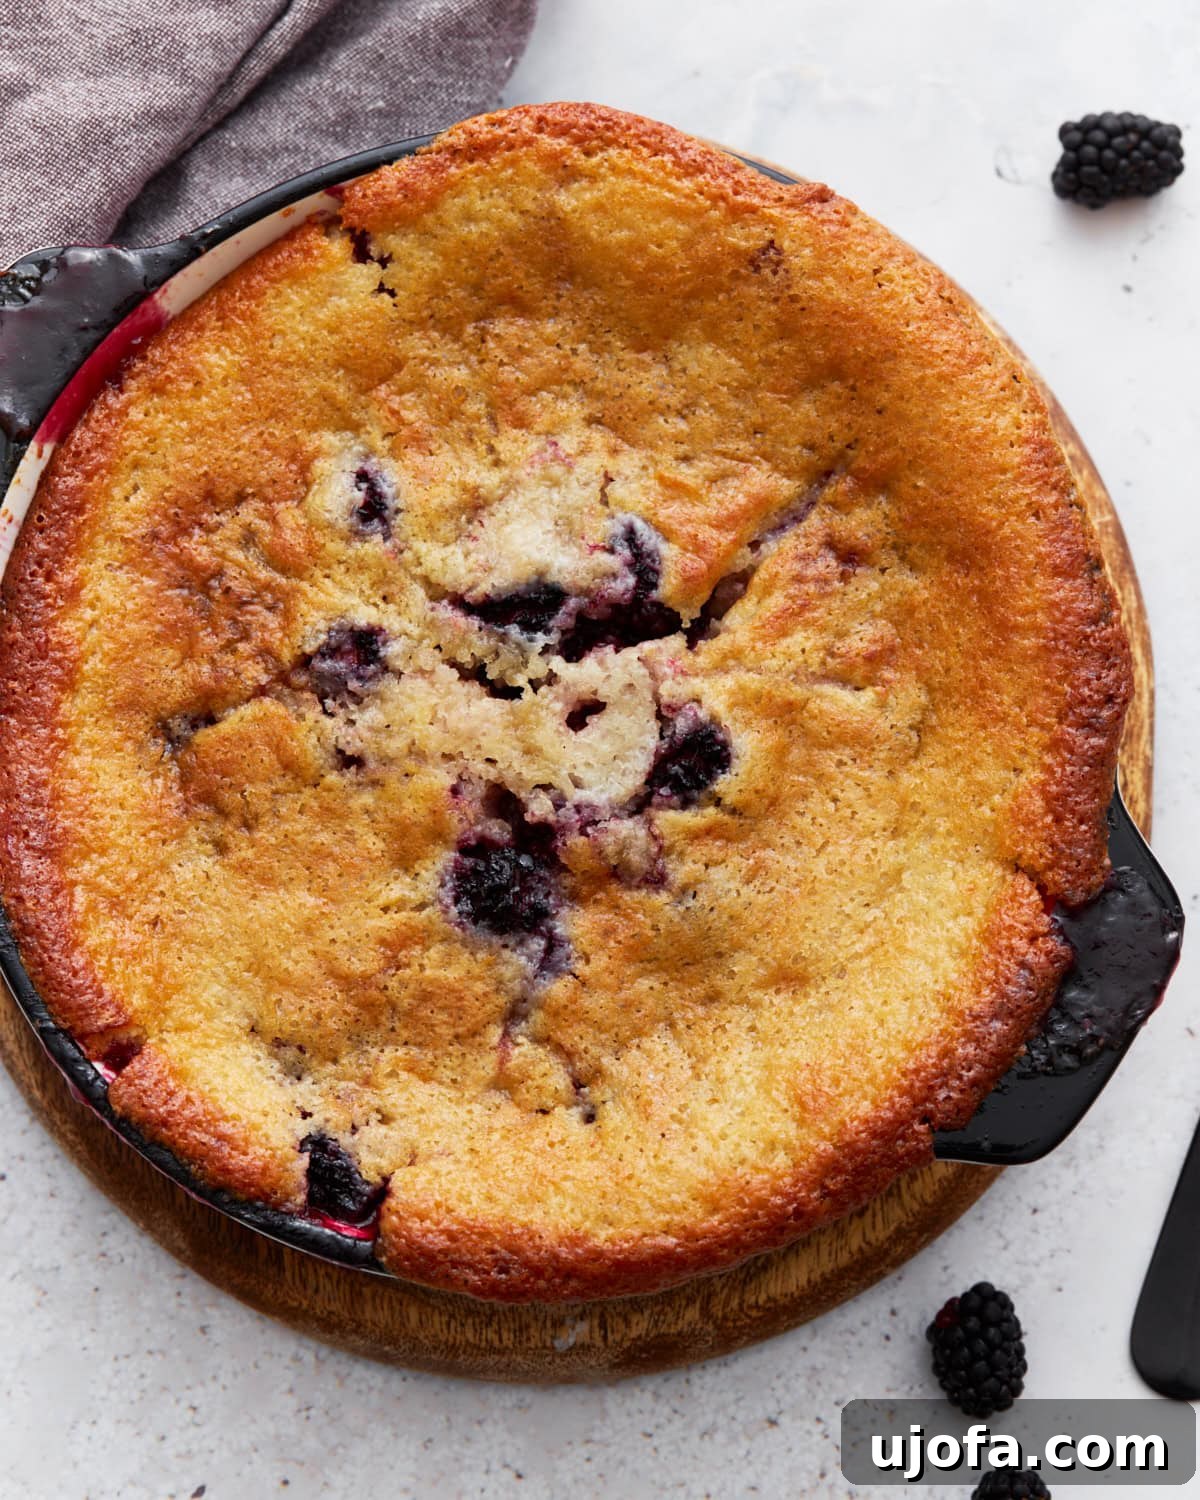
Why This Gluten-Free Blackberry Cobbler Will Be Your New Favorite
In our home, fruit cobblers hold a special place. The combination of a tender, fluffy topping and sweet, jammy fruit is simply unbeatable. While I’ve always appreciated the intricate beauty of pies, I’ve come to truly love the effortless nature of a cobbler. It’s significantly easier to assemble, making it a fantastic option for impromptu gatherings or when you’re craving something sweet without the fuss of a pie crust. Plus, every spoonful delivers the perfect ratio of both the luscious fruit and the comforting cake-like topping. What truly sets this recipe apart is its incredible adaptability – you can use any fruit you have on hand, but blackberries, in particular, shine here.
Blackberries possess a unique tartness that beautifully cuts through the sweetness of the cobbler batter. This natural acidity creates a balanced flavor profile that prevents the dessert from being overly sugary, making it incredibly satisfying. Unlike some other fruits, blackberries maintain their shape and vibrant color, creating a visually stunning and texturally appealing dessert. You can use either fresh or frozen blackberries without any significant adjustments, making this recipe accessible year-round. Moreover, the sugar content is easily customizable to suit your personal preference, allowing you to create a cobbler that’s just right for your palate. Whether it’s for a relaxed summer barbecue, a holiday celebration, or a cozy weekend treat, this gluten-free blackberry cobbler is sure to be a crowd-pleaser.
The Magic of Gluten-Free Baking
For those navigating a gluten-free lifestyle, finding delicious and easy-to-make desserts can sometimes be a challenge. This blackberry cobbler effortlessly delivers on both fronts. The secret lies in using a reliable 1:1 gluten-free all-purpose flour blend. These blends are specifically formulated to mimic the texture and performance of traditional wheat flour, ensuring your cobbler topping is just as light, airy, and golden as its gluten-containing counterparts. Forget dense, crumbly results – this recipe guarantees a tender, moist crumb that holds up beautifully to the juicy fruit. It’s a testament to how far gluten-free baking has come, proving that you don’t have to compromise on taste or texture.
The simplicity of the batter, combined with the robust flavor of fresh or frozen blackberries, makes this recipe a go-to for many. You won’t need any obscure ingredients or complicated techniques. Just a few basic steps, and you’ll have a show-stopping dessert that everyone, regardless of dietary needs, will adore. It’s a wonderful way to introduce friends and family to the delights of gluten-free baking, showing them that it can be just as satisfying and indulgent. This cobbler isn’t just “good for gluten-free” – it’s simply good, period.
Gluten-Free Blackberry Cobbler
Email Recipe
Print Recipe
This gluten-free blackberry cobbler is the ultimate summer dessert. Simple, sweet, and bursting with juicy berries, it’s easy to make with everyday pantry ingredients. Enjoy its crispy edges and soft, fluffy topping warm with ice cream!
Step-by-step photos can be seen below the recipe card.
Equipment
- 1 8×8 or 9×9 baking dish
Ingredients
For the Blackberry Filling:
- 3 cups fresh or frozen blackberries
- ¼ cup sugar
- 3 tbsp water
- 1 tbsp lemon juice
For the Cobbler Topping:
- 6 tbsp unsalted butter
- 1 cup gluten-free all-purpose flour blend (a 1:1 blend works best; I recommend Pillsbury’s Gluten-Free All-Purpose Flour)
- 1 cup sugar
- 2 tsp baking powder, aluminum-free
- ¼ tsp salt
- 1 cup milk (dairy or non-dairy milk alternative)
Instructions
-
Preheat your oven to 350°F (177°C). This ensures the oven is at the correct temperature for even baking from the start.
-
In a medium-sized bowl, gently combine the fresh or frozen blackberries, ¼ cup of sugar, 3 tablespoons of water, and 1 tablespoon of lemon juice. Stir just enough to coat the berries evenly. The lemon juice brightens the berry flavor and helps balance the sweetness. Set this mixture aside while you prepare the topping.
-
Place the 6 tablespoons of butter directly into an 8×8-inch baking dish or a standard pie dish. Put the dish into the preheated oven for just a few minutes, long enough for the butter to melt completely. Be sure to watch it closely to prevent it from browning or burning, as this can affect the final flavor.
-
In a separate mixing bowl, whisk together the gluten-free all-purpose flour blend, 1 cup of sugar, 2 teaspoons of aluminum-free baking powder, ¼ teaspoon of salt, and 1 cup of milk. Stir these ingredients until a smooth batter forms. Be careful not to overmix; a few small lumps are perfectly fine.
-
Carefully remove the baking pan with the melted butter from the oven. Pour the prepared cobbler batter directly on top of the melted butter. It’s crucial not to stir the batter into the butter at this stage; the layers will naturally combine and create the desired texture during baking.
-
Evenly spoon the blackberry mixture over the batter in the baking dish. Again, resist the urge to stir the layers together. As the cobbler bakes, the berries will sink slightly, and the topping will rise, creating that classic cobbler structure.
-
Bake for 45–50 minutes, or until the topping is beautifully golden brown and the fruit filling is visibly bubbling around the edges. If you notice the top browning too quickly before the cobbler is fully cooked, loosely cover the dish with aluminum foil after about 25 minutes of baking. This prevents excessive browning while allowing the inside to cook through.
-
Once baked, remove the cobbler from the oven and let it cool slightly for at least 10-15 minutes before serving. This allows the fruit filling to set a bit, making it easier to serve. Enjoy warm, perhaps with a luxurious scoop of vanilla ice cream, for the ultimate treat!
Notes and Expert Tips
- Adjusting Sweetness: For a less sweet cobbler, reduce the sugar in the berries to 2 tablespoons and in the batter to ¾ cup. Blackberries vary in tartness, so adjust to your preference.
- Gluten-Free Flour Choice: Always use a 1:1 gluten-free all-purpose flour blend that is specifically designed for baking. Avoid using single flours like almond, coconut, or oat flour on their own, as they have different absorption rates and will drastically alter the texture and consistency of your cobbler.
- Don’t Stir! The most important tip for a perfect cobbler is to resist stirring the layers once assembled. The magic happens as the butter melts, the batter rises, and the fruit sinks, creating distinct, delicious layers.
- Frozen Berries: If using frozen blackberries, there’s no need to thaw them beforehand. Simply toss them with the sugar, water, and lemon juice as instructed. You might need to add an extra 5-10 minutes to the baking time if using frozen fruit, as they release more moisture.
- Checking for Doneness: The cobbler is ready when the topping is golden brown and a toothpick inserted into the cake part comes out mostly clean (a few moist crumbs are okay). The fruit filling should be visibly bubbling around the edges.
Nutrition Information
Serving Size: 1 serving
- Calories: 288 kcal
- Carbohydrates: 49g
- Protein: 3g
- Fat: 10g
- Saturated Fat: 6g
- Polyunsaturated Fat: 1g
- Monounsaturated Fat: 3g
- Trans Fat: 0.3g
- Cholesterol: 26mg
- Sodium: 259mg
- Potassium: 139mg
- Fiber: 4g
- Sugar: 36g
- Vitamin A: 427IU
- Vitamin C: 12mg
- Calcium: 125mg
- Iron: 1mg
Nutrition information is automatically calculated and should be used as an approximation.
Additional Information
Tried this recipe?
Mention @mamaknowsglutenfree or tag #mamaknowsglutenfree on Instagram!
How to Make Gluten-Free Blackberry Cobbler Step by Step
Visual learners, rejoice! Below, you’ll find a detailed step-by-step guide with accompanying photos to ensure your gluten-free blackberry cobbler turns out perfectly every single time. Follow along for an easy and delicious baking experience.
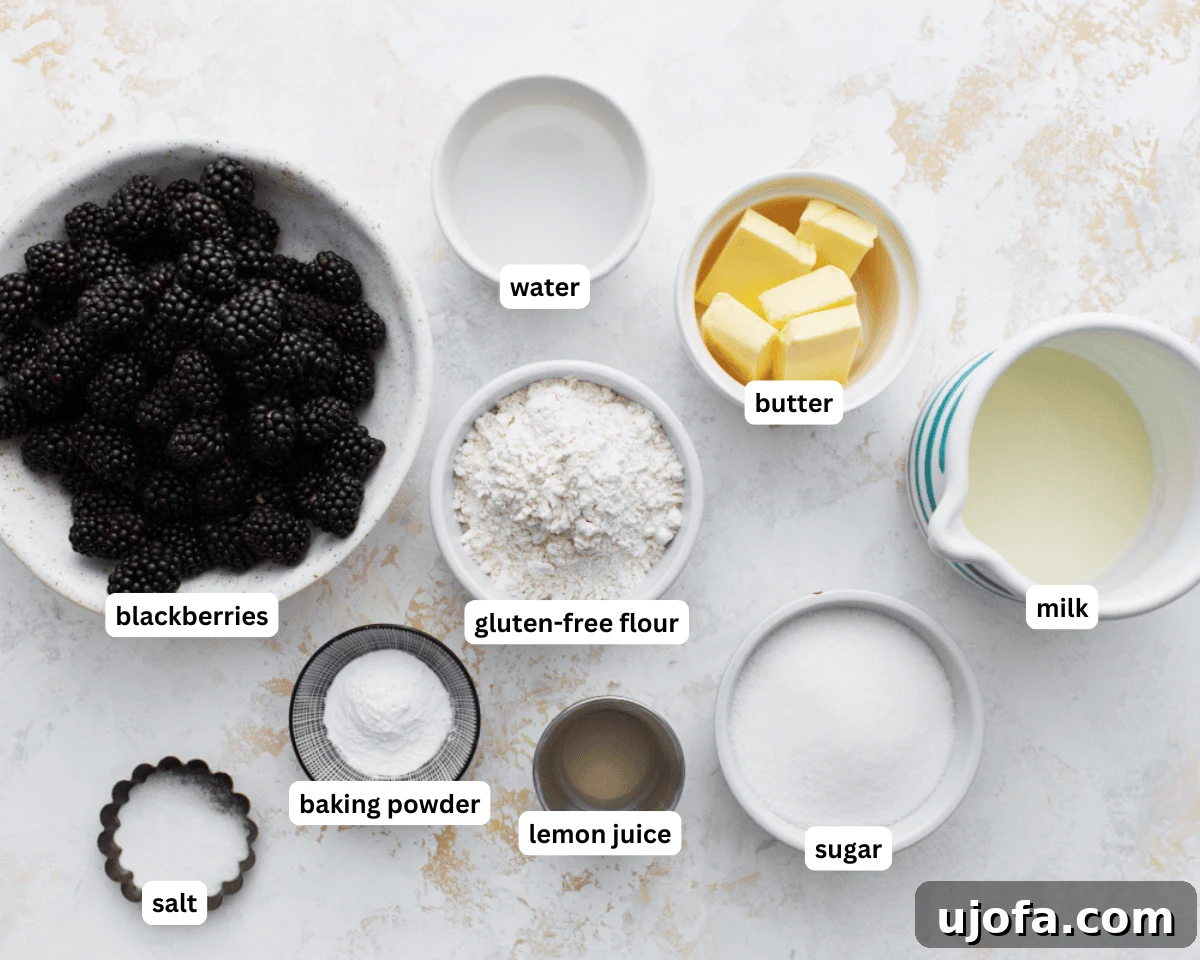
1. Gather the Ingredients: Start by assembling all your ingredients on the counter. This mise en place approach makes the baking process much smoother. Preheat your oven to 350°F (177°C) so it’s ready when your cobbler is assembled.
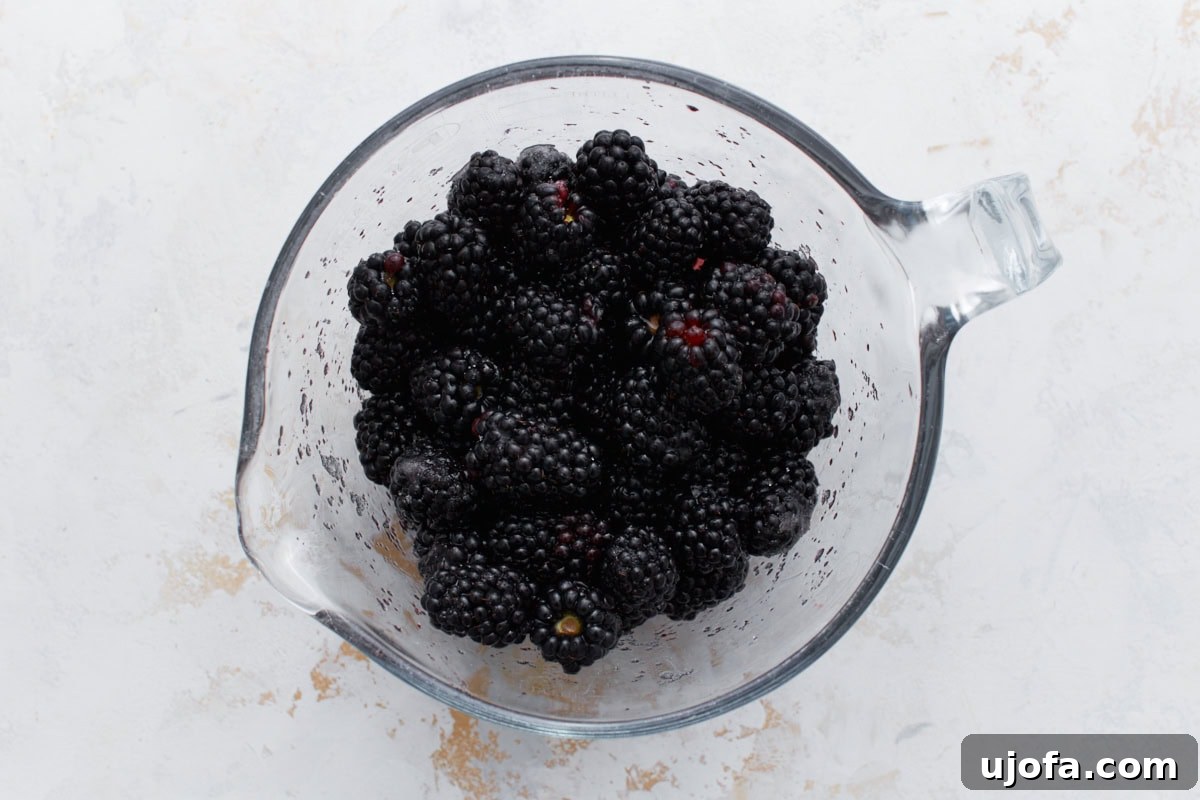
2. Prepare the Berries: In a medium bowl, gently combine 3 cups of fresh or frozen blackberries with ¼ cup of sugar, 3 tablespoons of water, and 1 tablespoon of fresh lemon juice. Stir carefully to ensure the berries are evenly coated without crushing them. The lemon juice is key to enhancing the natural tartness of the blackberries, creating a more dynamic flavor profile. Set this vibrant mixture aside.
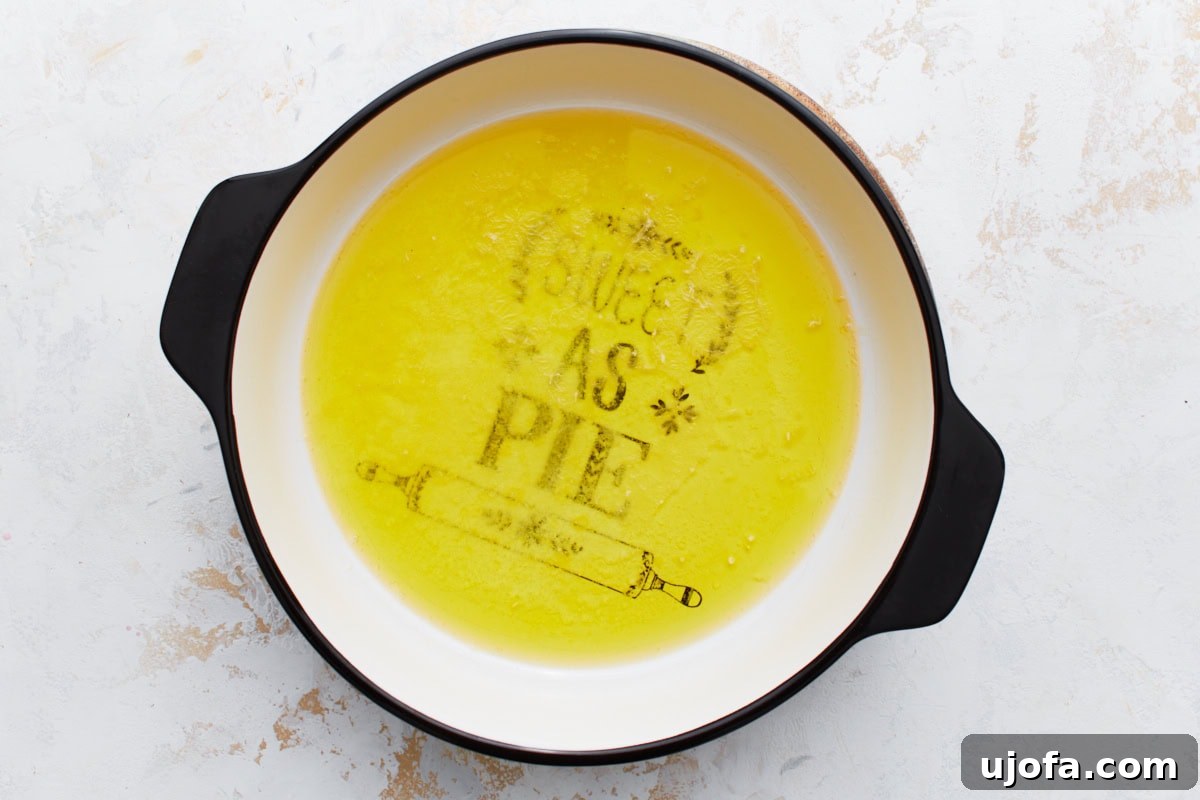
3. Melt the Butter: Place 6 tablespoons of butter into your 8×8-inch baking dish or pie dish. Pop the dish into the preheated oven for just a few minutes, allowing the butter to fully melt. Keep a close eye on it to prevent it from browning or burning. The melted butter forms the base of the cobbler, contributing to its rich flavor and crispy edges.
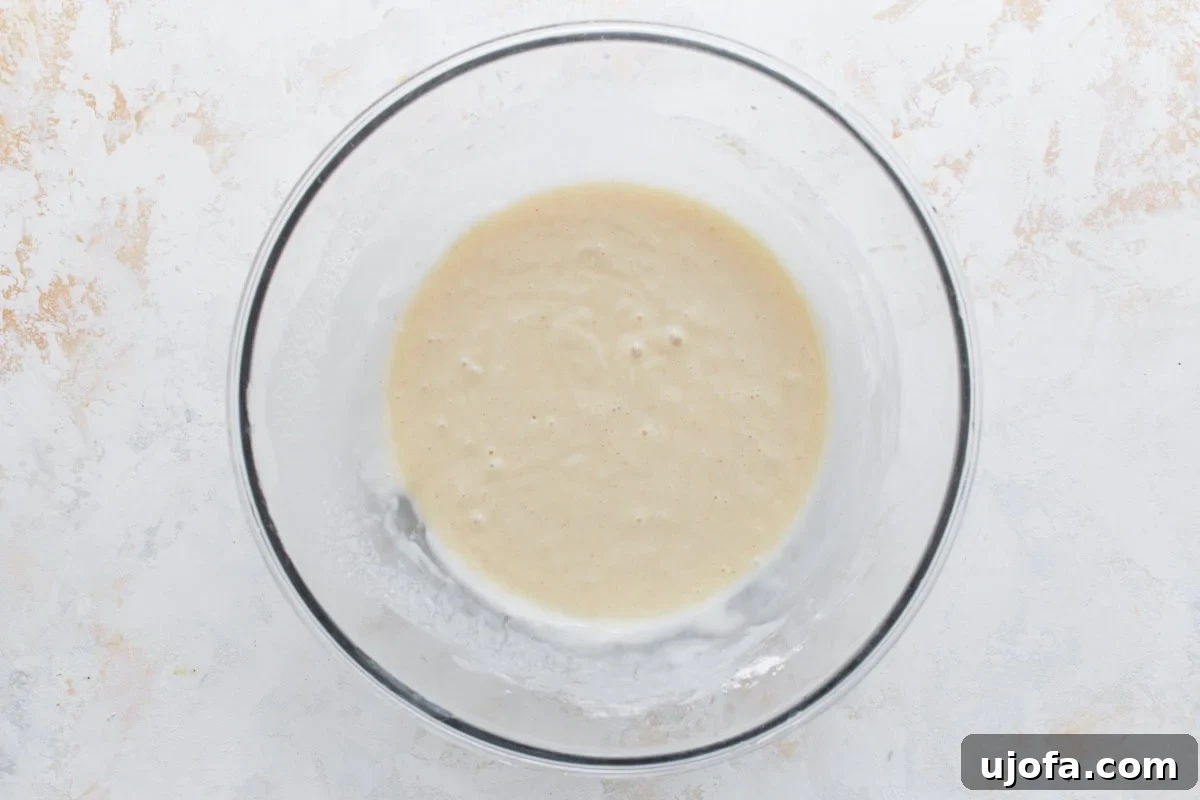
4. Mix the Batter: In a separate, clean bowl, whisk together 1 cup of gluten-free all-purpose flour blend, 1 cup of sugar, 2 teaspoons of aluminum-free baking powder, ¼ teaspoon of salt, and 1 cup of milk. Continue whisking until the batter is smooth and all ingredients are well combined. Avoid overmixing, which can lead to a tougher texture in gluten-free baked goods. A good 1:1 gluten-free flour blend ensures a light and fluffy topping.
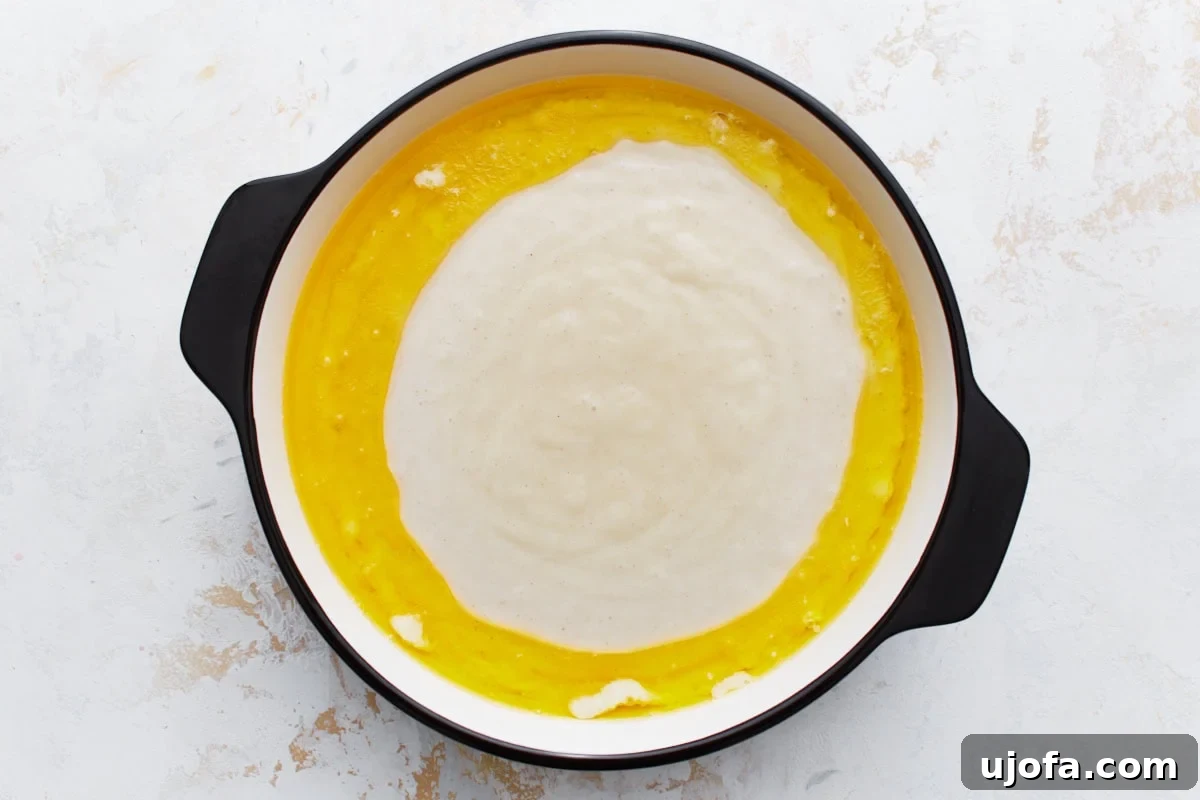
5. Assemble the Cobbler: Carefully take the baking dish with the melted butter out of the oven. Gently pour the prepared cobbler batter directly over the melted butter. The key here is to resist the urge to stir. This unique layering technique is what creates the delightful texture and distinct separation of the fruit and topping as it bakes.
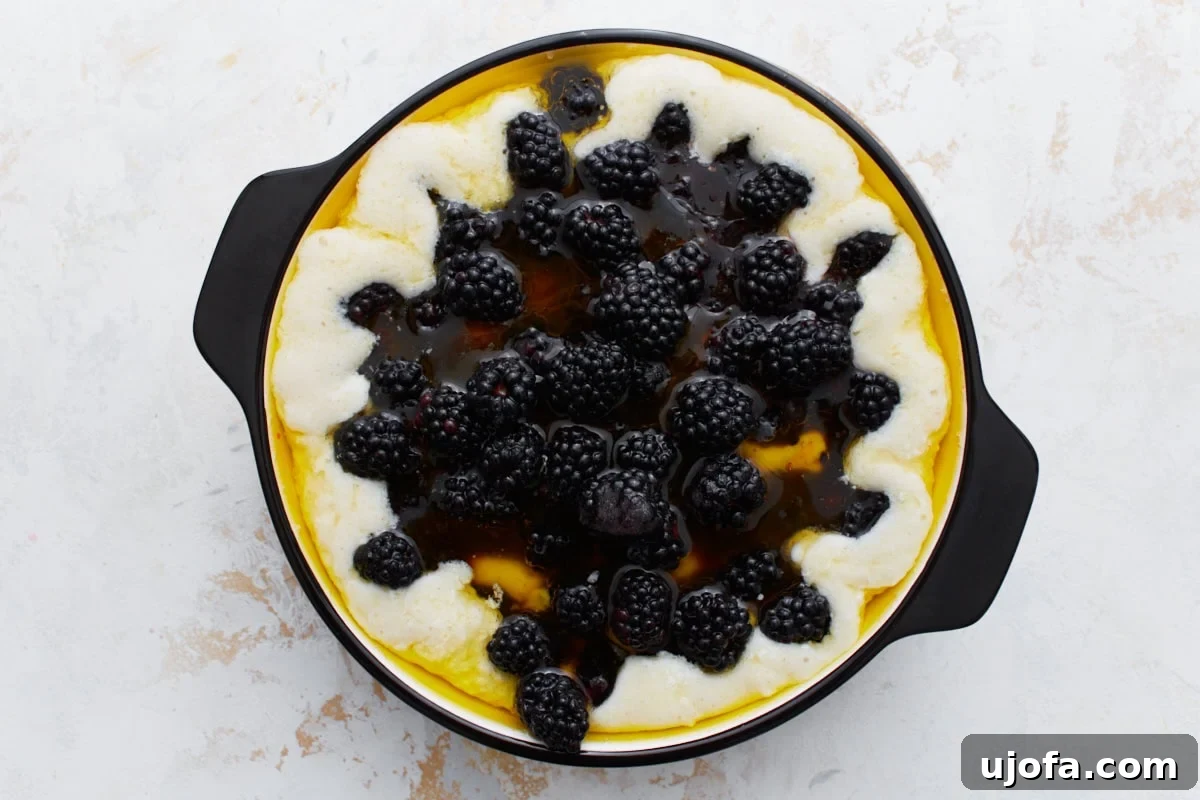
6. Add the Blackberry Mixture: Spoon the blackberry mixture evenly over the top of the batter. Once again, do not stir. The berries will naturally sink into the batter during baking, creating a luscious fruit layer at the bottom while the topping rises to form a golden crust. This method ensures a beautiful separation and a wonderful textural contrast in every bite.
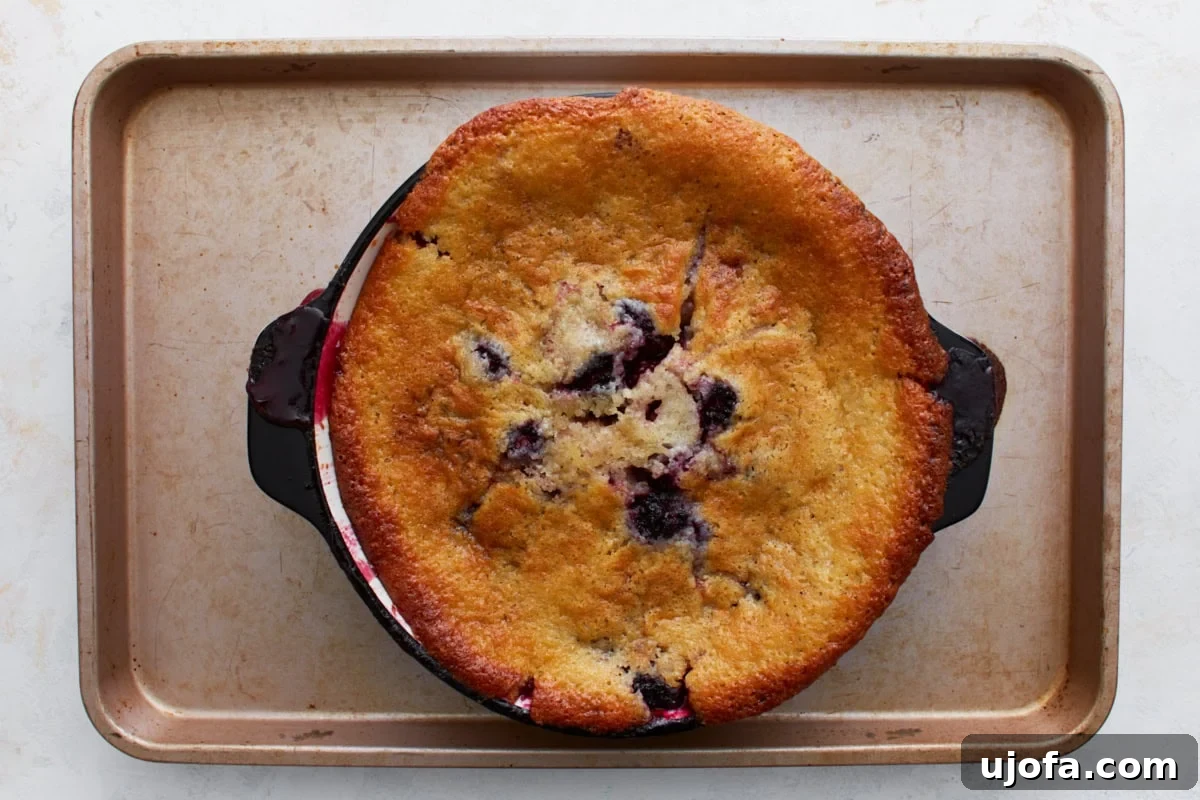
7. Bake the Cobbler: Place the assembled cobbler into your preheated oven and bake for 45 to 50 minutes. You’ll know it’s ready when the topping is a beautiful golden brown and the fruit filling is actively bubbling around the edges of the dish. If you notice the top browning too quickly, especially during the last 20-25 minutes of baking, loosely cover the dish with aluminum foil. This helps to prevent over-browning while allowing the interior to cook through completely.
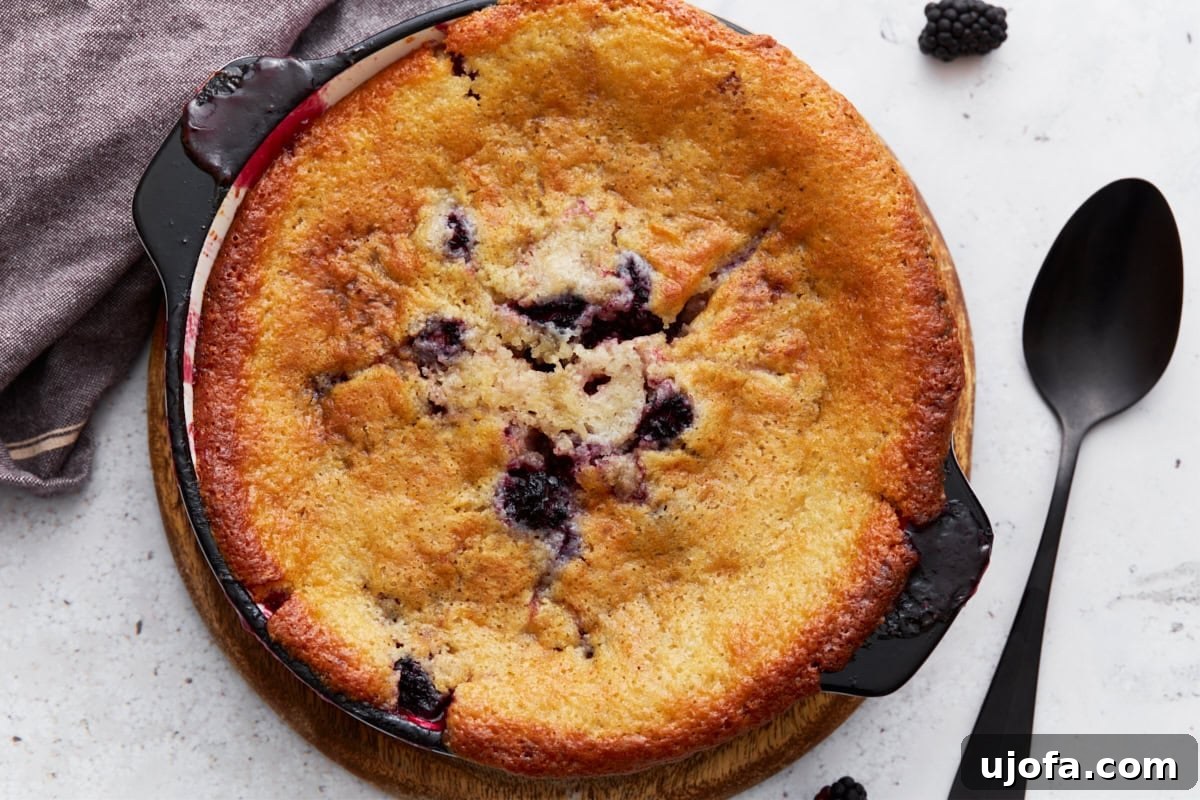
8. Cool and Serve: Once baked to perfection, remove the cobbler from the oven. Allow it to cool slightly before serving – about 10-15 minutes is ideal. This cooling period allows the fruit filling to set and prevents it from being too runny. This cobbler is truly at its best when served warm, creating a delightful contrast with a cold accompaniment. Get ready to enjoy this comforting dessert!
Tips for a Flawless Gluten-Free Blackberry Cobbler
- Layer, Don’t Stir: This is arguably the most critical tip for achieving the iconic cobbler texture. Pouring the batter over the melted butter and then the fruit over the batter, without stirring, allows the ingredients to settle into distinct, delicious layers during baking. The result is a fluffy, cake-like topping, crispy golden edges, and a rich, jammy fruit base.
- Fresh or Frozen Berries: This recipe is incredibly versatile. You can confidently use either fresh or frozen blackberries. If opting for frozen berries, there’s no need to thaw them first; simply toss them with the sugar and lemon juice as directed. Keep in mind that frozen berries may release more liquid, so adding an extra 5-10 minutes to the baking time might be necessary to ensure the topping is fully cooked and golden.
- Prevent Over-Browning: Ovens can vary, and sometimes the top of your cobbler might brown faster than the interior cooks. If you notice the topping becoming too dark around the 25-minute mark, simply tent the baking dish loosely with aluminum foil. This will shield the top from direct heat while allowing the rest of the cobbler to finish baking evenly.
- Choose the Right Flour Blend: For gluten-free baking, using a high-quality 1:1 gluten-free all-purpose flour blend is key. These blends are specifically formulated with a mix of different gluten-free flours and starches to best replicate the texture of wheat flour. Avoid using single-ingredient gluten-free flours like almond or coconut flour, as they will dramatically change the absorption and structure of the cobbler, leading to less desirable results.
- Serving Temperature: While delicious at any temperature, cobblers truly shine when served warm. The warmth enhances the juiciness of the berries and the softness of the topping. Allow it to cool slightly after baking to let the filling set, but don’t let it get cold before serving.
Serving Suggestions for Your Blackberry Cobbler
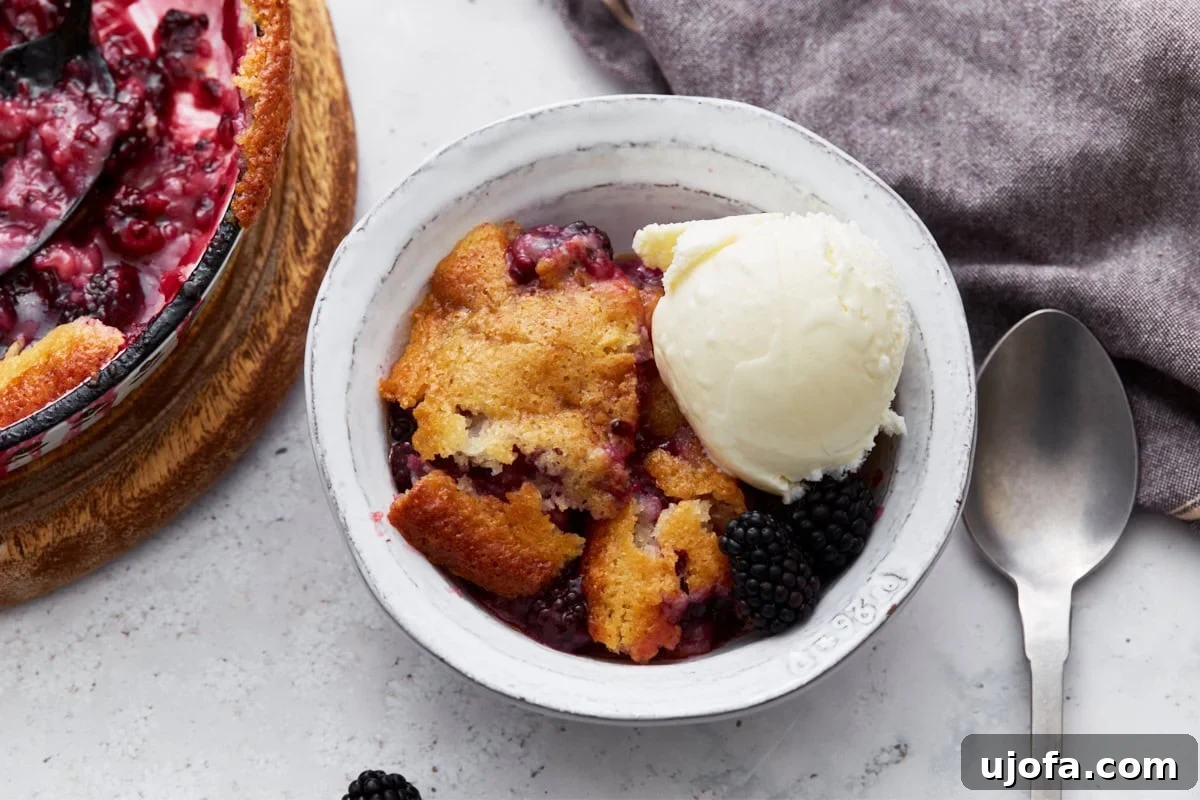
This gluten-free blackberry cobbler is a dessert that begs for a grand presentation, even if it’s just for a quiet evening at home. My absolute favorite way to enjoy it is warm, straight from the oven, with a generous scoop of premium vanilla bean ice cream. The cold, creamy ice cream melting into the warm, fruity cobbler creates a truly magical contrast of temperatures and textures. Alternatively, a dollop of freshly whipped cream adds a lighter, airy touch that’s equally delightful.
For those with dairy sensitivities or preferences, this cobbler pairs wonderfully with your favorite plant-based ice cream (coconut milk or almond milk varieties are fantastic) or a spoonful of plain dairy-free yogurt for a tangy, lighter twist. It’s also surprisingly delicious for breakfast! Leftovers, even straight from the fridge the next morning, are a fantastic accompaniment to a hot cup of coffee or tea, offering a little bit of indulgence to start your day. Don’t be shy about experimenting with other toppings like a sprinkle of toasted almonds or a drizzle of maple syrup for an extra layer of flavor.
Storage Instructions for Leftover Cobbler
Proper storage ensures your gluten-free blackberry cobbler remains fresh and delicious for future enjoyment. Once the cobbler has completely cooled to room temperature, cover the baking dish tightly with plastic wrap or aluminum foil. It can then be refrigerated for up to 3 days. Reheating a cold cobbler can bring back some of its freshly baked charm.
For longer storage, this cobbler freezes beautifully. You can freeze the entire dish, tightly wrapped in several layers of plastic wrap and then foil, for up to 3 months. Alternatively, portion individual servings into freezer-safe containers for convenient grab-and-go treats. When you’re ready to enjoy, thaw frozen portions in the refrigerator overnight. To reheat, place the cobbler (covered or uncovered, depending on whether you want a crispy top) in a 300°F (150°C) oven for 10–20 minutes, or until warmed through and the topping is crisp again. While a quick zap in the microwave will warm it up in a pinch, be aware that the topping might lose some of its crispness with this method.
Frequently Asked Questions (FAQ)
We understand you might have a few questions when trying a new recipe, especially a gluten-free one. Here are some common queries to help you on your baking journey:
- Can I use other fruits instead of blackberries? Absolutely! Cobblers are incredibly adaptable. This recipe works wonderfully with peaches, blueberries, raspberries, cherries, or even a mix of berries. Just ensure your fruit is ripe and adjust sugar content if your chosen fruit is significantly sweeter or tarter than blackberries.
- Is this cobbler dairy-free? The recipe as written uses butter and milk. To make it dairy-free, simply substitute plant-based butter (like a stick-style vegan butter) and a non-dairy milk alternative (such as almond milk, soy milk, or oat milk) in equal amounts. The texture will remain excellent.
- What kind of gluten-free flour blend do you recommend? A 1:1 gluten-free all-purpose flour blend is crucial for this recipe. Brands like Pillsbury’s Gluten-Free All-Purpose Flour, Bob’s Red Mill 1-to-1 Baking Flour, or King Arthur Gluten-Free Measure for Measure Flour are excellent choices that yield consistent results. Avoid single-ingredient flours.
- My cobbler topping didn’t get crispy. What went wrong? This could be due to a few factors. Ensure your oven temperature is accurate. Also, covering the cobbler too early or too tightly with foil can prevent browning. Make sure the butter was melted thoroughly and the layers weren’t stirred. Baking for the full recommended time, or a little longer if needed, will help achieve that golden, crisp topping.
- Can I make this ahead of time for a party? Yes, you can assemble the cobbler up to a few hours in advance and keep it refrigerated before baking. For best results, bake it fresh on the day of your party. The topping is best when freshly baked and warm.
More Delicious Gluten-Free Summer Desserts
If you’re looking for more sweet treats to enjoy during the warmer months, check out some of our other favorite gluten-free recipes:
- Gluten-Free Apple Pie
- Gluten-Free Strawberry Shortcake
- Gluten-Free Lemon Cake
- Gluten-Free Key Lime Pie