
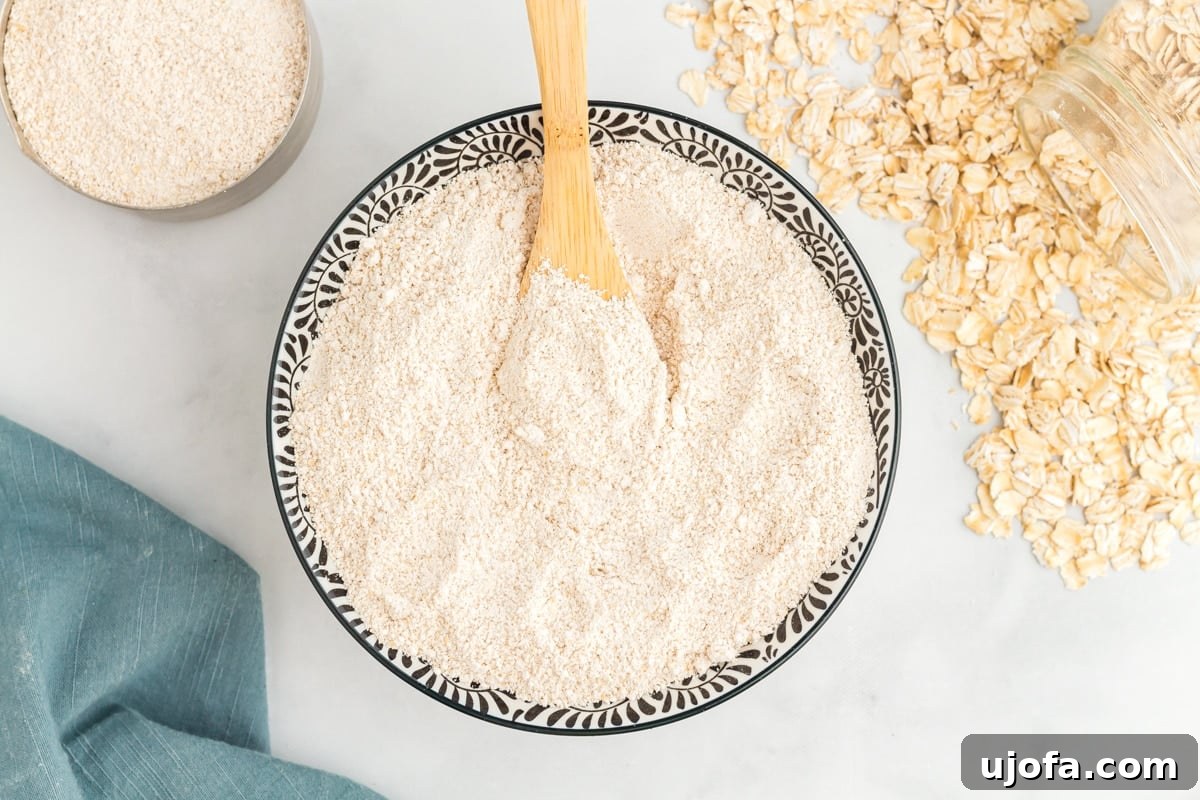
Unlock the secret to healthier, homemade baking with a pantry staple you can make in minutes: oat flour. This versatile ingredient is a game-changer for anyone seeking delicious, fiber-rich, and naturally gluten-free alternatives to traditional wheat flour. Whether you’re a seasoned baker or just starting your culinary journey, learning how to make oat flour at home is an incredibly simple skill that opens up a world of possibilities for your favorite cookies, breads, muffins, and more.
Oat flour isn’t just about avoiding gluten; it’s a nutritional powerhouse. Packed with dietary fiber, essential B vitamins, and various minerals, it contributes to better digestion, stable blood sugar levels, and sustained energy. Plus, the satisfaction of creating your own ingredients from scratch adds an extra layer of enjoyment to your cooking. Get ready to transform ordinary rolled oats into a finely milled flour that will become a new favorite in your kitchen!
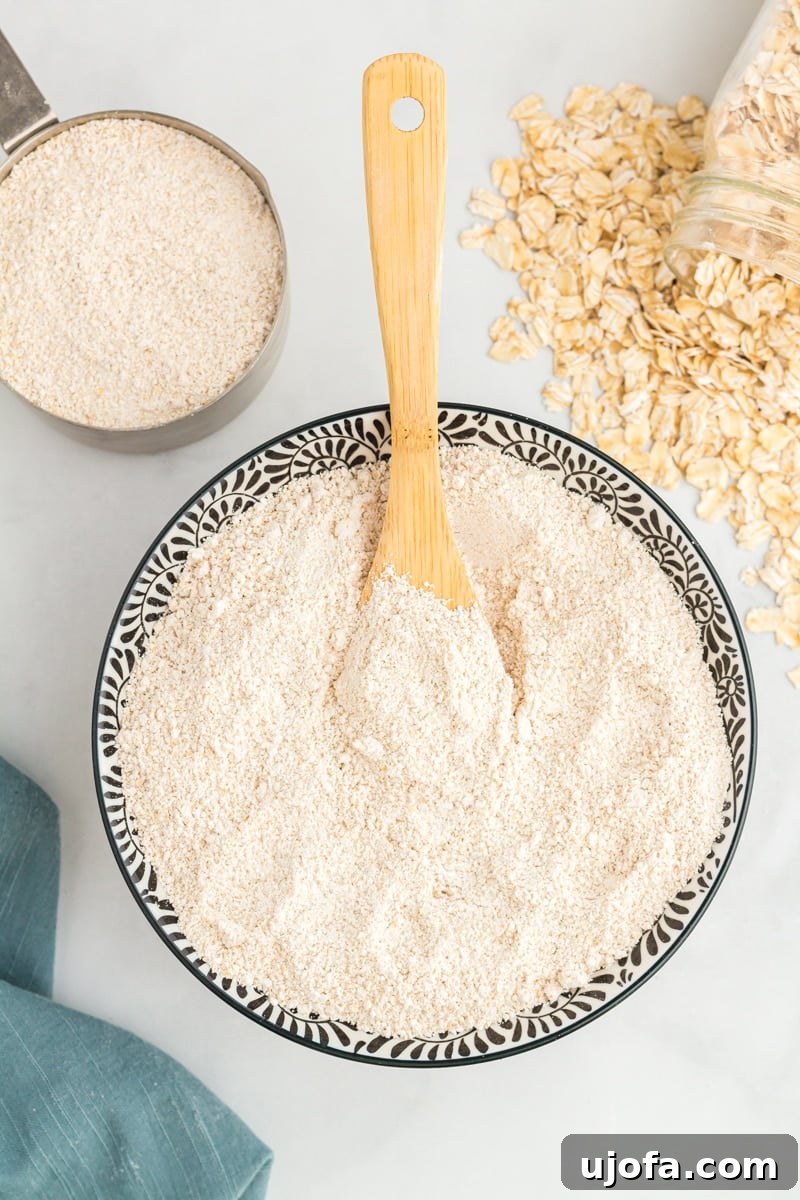
How to Make Homemade Oat Flour: A Simple Guide
You might be surprised at just how incredibly easy and fast it is to make your own oat flour. Forget expensive specialty flours at the grocery store; all you truly need are two things: high-quality gluten-free rolled oats and a good food processor or a high-powered blender. This straightforward process takes mere minutes, saving you money and ensuring the freshest possible flour for your baking endeavors.
Homemade oat flour not only offers a cost-effective solution but also provides the peace of mind of knowing exactly what goes into your baked goods. You control the quality of the oats, guaranteeing a pure and unadulterated product, free from unnecessary additives or potential cross-contamination. Once you experience the convenience and superior freshness of DIY oat flour, you’ll wonder why you ever bought it pre-made!
Why Make Your Own Oat Flour?
- Cost-Effective: Buying a bag of rolled oats is significantly cheaper than purchasing pre-packaged oat flour, especially certified gluten-free versions. This simple DIY project translates into noticeable savings over time.
- Unbeatable Freshness: Freshly ground flour retains more nutrients and has a richer, more vibrant flavor profile compared to store-bought options that may have sat on shelves for weeks or months.
- Control Over Ingredients: When you make your own, you choose the oats. This is particularly important for those with gluten sensitivities or celiac disease, as you can select certified gluten-free oats to prevent cross-contamination.
- No Additives or Preservatives: Commercial flours can sometimes contain anti-caking agents or other additives. Your homemade version will be 100% pure oats, nothing else.
- Convenience: Ran out of oat flour? No problem! If you have rolled oats, you’re just minutes away from fresh flour, eliminating emergency trips to the store.
Ingredients for Homemade Oat Flour
- Gluten-Free Old-Fashioned Rolled Oats: This is the cornerstone of your oat flour, and choosing the right type is crucial.
- Certified Gluten-Free: For anyone with celiac disease or gluten sensitivity, this is non-negotiable. Standard oats are often processed in facilities that also handle wheat, barley, and rye, leading to cross-contamination. Look for a clear “Certified Gluten-Free” label on the package.
- Old-Fashioned (Rolled) Oats: These are the ideal choice. Their flat, disc-like shape and texture allow them to grind into a fine, consistent flour perfect for baking. They provide the best texture and absorb liquids well in recipes.
- Avoid Quick Oats or Steel-Cut Oats: Quick oats are more processed and can result in a gummy texture when ground into flour due to their higher starch exposure. Steel-cut oats are much harder and coarser; they won’t achieve the fine powdery consistency needed for baking and can overwork your equipment. Stick to old-fashioned rolled oats for optimal results.
Step by Step Instructions: Crafting Your Own Oat Flour
Making oat flour is less of a complicated recipe and more of a straightforward technique. Follow these simple steps for perfect results every time:
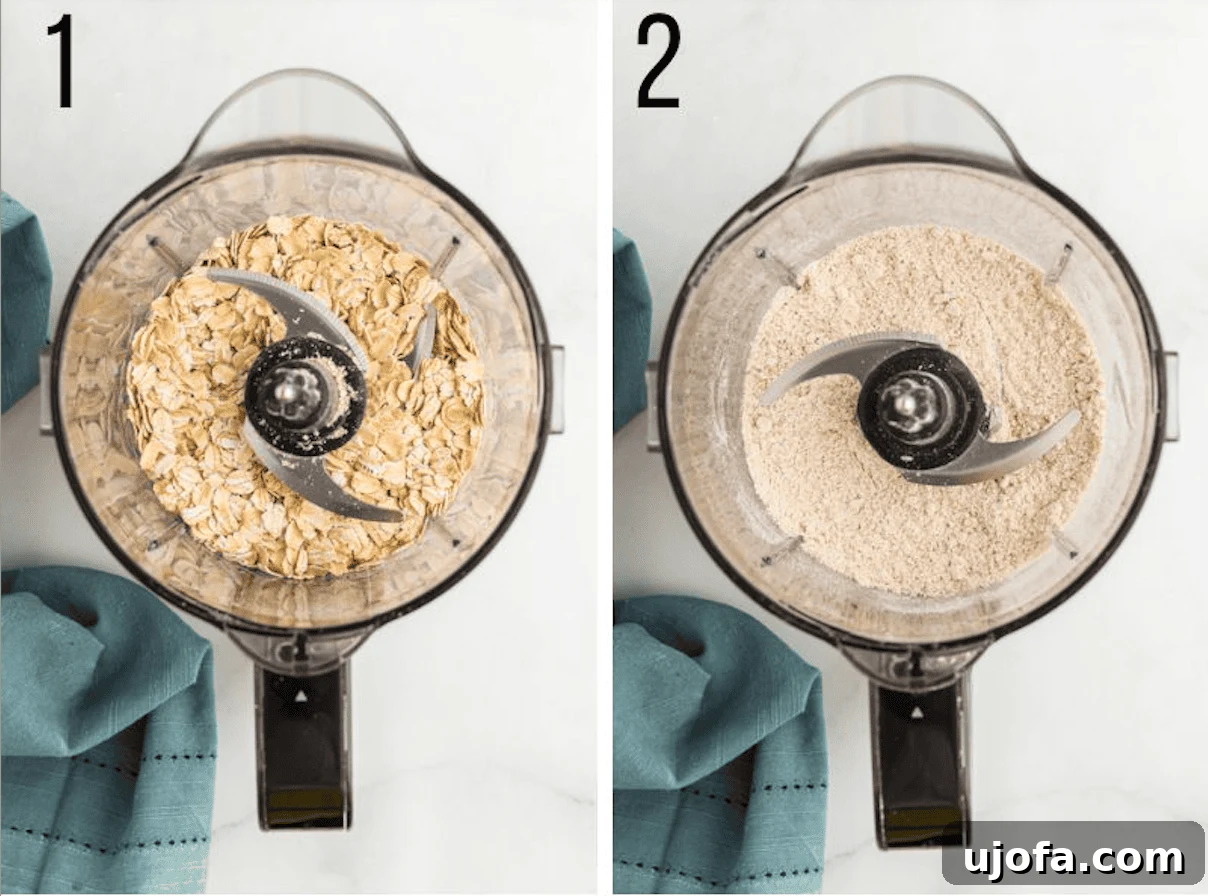
- Prepare Your Equipment: Gather your gluten-free rolled oats and your chosen appliance: either a food processor or a high-powered blender (like a Vitamix or Blendtec). Ensure your equipment is clean and completely dry. Any moisture can make the oats clump and become gummy during grinding.
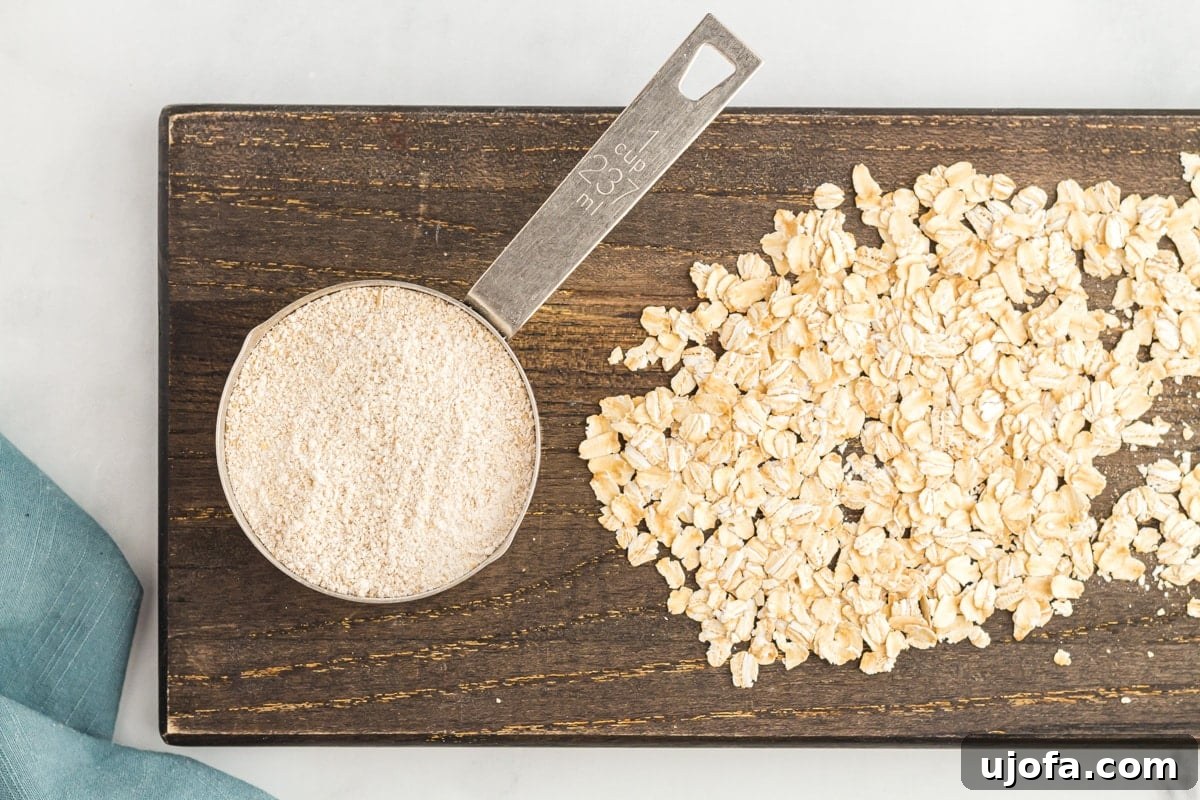
- Measure the Oats: While you can make any quantity, it’s often best to work in smaller batches for optimal grinding. For example, processing 1 to 1.5 cups of oats at a time works very well to achieve a consistently fine texture. A general rule of thumb is that 1 cup of rolled oats yields approximately ¾ cup of oat flour.
- Load the Appliance: Place the measured rolled oats into the container of your food processor or blender. Do not overfill it, as this can prevent even grinding and potentially damage your motor. Leave enough space for the oats to circulate freely.
- Begin Blending: Secure the lid tightly. Start blending on a low speed, then gradually increase to a higher speed. Pulse the oats initially to break them down into smaller pieces, then allow the machine to run continuously.
- Food Processor: Process for about 20-30 seconds. You might need to stop, scrape down the sides, and process again.
- High-Powered Blender: These are often faster. Blend for 15-25 seconds, or until a fine flour consistency is achieved.
- Check Consistency: Stop the machine and remove the lid. Shake the container or use a spoon to stir the oats, ensuring all the larger pieces from the bottom and sides get incorporated back into the blending path. The goal is a fine, uniform powder, similar to wheat flour or cornmeal, with no visible large oat flakes remaining. If you find larger pieces, replace the lid and blend for a few more seconds.
- Avoid Over-Blending: Be careful not to over-blend the oats. Running the machine for too long can generate heat, causing the natural oils in the oats to release. This can lead to a slightly greasy, clumpy flour with a less desirable texture and a shorter shelf life. Pulse briefly and check frequently to prevent this.
Expert Tips for Perfect Homemade Oat Flour
- Don’t Overload: For the best and most consistent results, always process oats in smaller batches. Aim for no more than 1.5 cups of rolled oats at a time, depending on the size and power of your appliance. Smaller batches ensure that all oats are evenly ground into a fine powder.
- Prevent Gumminess: Oats contain natural oils. If you blend them for too long or at too high a continuous speed, the friction generates heat, which can release these oils and cause the flour to become slightly gummy or clumpy. Use short pulses and check the consistency frequently to avoid this.
- Sifting (Optional but Recommended): For an extra-fine, uniform flour, especially crucial for delicate baked goods like cakes or macarons, consider sifting your homemade oat flour through a fine-mesh sieve after grinding. Any larger, unground pieces can be returned to the food processor for a quick re-blend. While not strictly necessary for most everyday baking, sifting guarantees the smoothest texture.
- Cool Before Storing: After blending, the flour might be slightly warm due to friction. Spread it out on a clean baking sheet for a few minutes to allow it to cool completely to room temperature before transferring it to storage. This prevents condensation and helps maintain freshness.
Is Oat Flour Gluten-Free? Understanding the Nuances
This is a critical question for many, and the answer, while generally “yes,” comes with an important caveat. Oats themselves are naturally gluten-free. They do not contain gluten, the protein found in wheat, barley, and rye. However, the issue arises during processing.
Standard oats are often grown in rotation with gluten-containing grains, harvested with shared equipment, transported in the same vehicles, and processed in facilities that also handle wheat and other gluten-rich ingredients. This leads to a high risk of cross-contamination, making non-certified oats unsafe for individuals with celiac disease or severe gluten sensitivities.
This is precisely why learning how to make oat flour from certified gluten-free oats is paramount. By choosing oats that have been specifically processed and handled to prevent contact with gluten, you ensure that your homemade oat flour is truly safe and suitable for a gluten-free diet. Always look for certifications from reputable organizations on the packaging to guarantee purity.
Can You Use Quick Oats to Make Oat Flour?
While it is technically possible to grind quick oats into a flour-like consistency, it is generally not recommended for baking purposes, especially if you’re aiming for a particular texture.
Quick oats (or instant oats) are more processed than old-fashioned rolled oats. They are steamed longer and rolled thinner, which makes them cook faster. This extensive processing means their structure is already partially broken down. When you grind quick oats, they tend to produce a flour that is not as finely textured and can sometimes lead to a gummier or heavier result in baked goods. They absorb liquids differently and might give your final product a less desirable texture compared to the consistent, light flour achieved with old-fashioned rolled oats.
For the best results and a flour that behaves consistently in recipes, stick with certified gluten-free old-fashioned rolled oats.
Is Oat Flour Healthy? The Nutritional Benefits
Absolutely, oat flour is not only delicious but also boasts an impressive nutritional profile, making it a healthy choice that often surpasses traditional wheat flour in several aspects.
- Rich in Fiber: Oats are renowned for their high fiber content, particularly beta-glucan, a soluble fiber. Beta-glucans are fantastic for heart health, helping to lower cholesterol levels, and play a crucial role in regulating blood sugar. The fiber also aids digestion, promotes satiety, and contributes to a healthy gut microbiome.
- Packed with Vitamins and Minerals: Oat flour is an excellent source of B vitamins, including thiamine (B1), riboflavin (B2), niacin (B3), and folate, which are vital for energy metabolism and nervous system function. It also provides essential minerals like manganese, phosphorus, magnesium, iron, zinc, and selenium.
- Antioxidant Powerhouse: Oats contain unique antioxidants called avenanthramides, which have anti-inflammatory and anti-itch properties, and may help protect against heart disease.
- Better for Blood Sugar: Thanks to its high fiber content, oat flour has a lower glycemic index compared to refined wheat flour, meaning it causes a slower, more gradual rise in blood sugar, which is beneficial for managing energy levels and reducing the risk of type 2 diabetes.
- Naturally Gluten-Free: As mentioned, when certified gluten-free, oat flour offers a safe and nutritious alternative for individuals needing to avoid gluten.
Incorporating oat flour into your diet is a simple yet effective way to boost your nutrient intake and support overall well-being.
Can I Substitute Oat Flour For All-Purpose Flour?
This is a common question, and while oat flour can replace all-purpose flour in some recipes, it’s generally not a direct 1:1 substitute. Oat flour behaves differently in baking due to its unique composition:
- Absorption: Oat flour is highly absorbent. This means you typically need less oat flour than all-purpose flour in a recipe, or you may need to increase the liquid content if substituting directly.
- Texture: Baked goods made with oat flour tend to have a distinctive texture—often chewier, more tender, and sometimes slightly crumblier than those made with wheat flour. They also impart a subtle, wholesome cereal-like flavor. This can be delightful, but it’s different from the elasticity of gluten-containing flours.
- No Gluten: Since oat flour is gluten-free, it lacks the elasticity and structure that gluten provides. This is particularly noticeable in recipes that rely on gluten for rise and structure, such as yeast breads. In these cases, a direct substitution often results in a dense, flat product.
For the best results, especially when you’re just starting out with oat flour, I highly recommend using recipes that have been specifically developed with oat flour as the primary ingredient. These recipes will have the correct ratios of flour, liquid, and leavening agents to ensure optimal texture and taste. If you’re experimenting with substitutions, start with a small percentage (e.g., replacing 25-30% of wheat flour with oat flour) and adjust liquids as needed.
Storage Instructions for Homemade Oat Flour
Once you’ve mastered how to make oat flour, proper storage is key to maintaining its freshness, flavor, and nutritional value. Like all freshly ground flours, homemade oat flour is more susceptible to spoilage than whole grains due to its increased surface area being exposed to air.
- Airtight Container: Always store your oat flour in a completely airtight container. Glass jars with tight-fitting lids, or food-grade plastic containers with silicone seals, are excellent choices. This prevents moisture absorption and oxidation, which can lead to rancidity.
- Cool, Dark Place (Pantry): For short-term storage (up to 3 months), a cool, dark pantry or cupboard is ideal. Heat and light can accelerate the degradation of the oats’ natural oils, leading to a stale or off-flavor.
- Refrigeration: To extend the shelf life slightly beyond 3 months, you can store oat flour in the refrigerator. Ensure it’s in an airtight container to prevent it from absorbing odors from other foods.
- Freezing for Long-Term Storage: For the longest shelf life (up to 6 months or even a year), the freezer is your best friend. Place the oat flour in an airtight container or a heavy-duty freezer bag, pressing out as much air as possible. Freezing is particularly effective at preserving the delicate oils in oats and preventing rancidity. When ready to use, simply scoop out the desired amount; it thaws very quickly at room temperature.
Always give your stored oat flour a quick sniff before using it. If it smells slightly bitter, old, or “off,” it’s best to discard it.
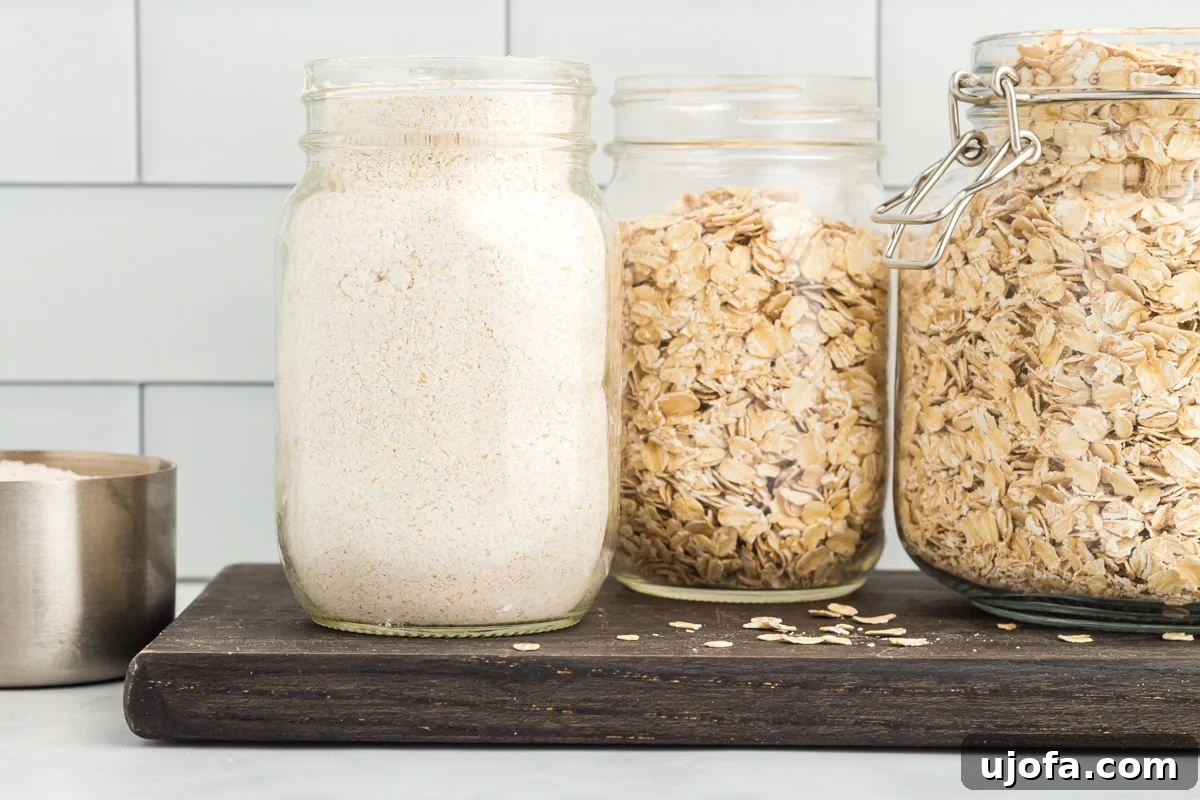
Learning how to make oat flour is truly one of the simplest and most rewarding kitchen skills you can acquire. With just one humble ingredient—gluten-free rolled oats—and a powerful blender or food processor, you are merely 5 minutes away from a fresh, nutritious, and incredibly versatile flour. This homemade staple is a fantastic addition to any kitchen, especially for those embracing a gluten-free lifestyle, offering endless possibilities for wholesome and delicious baking projects.
Delicious Recipes to Cook Using Oat Flour
Now that you’ve mastered the art of making your own oat flour, it’s time to put it to good use! Oat flour adds a wonderful chewiness, a subtle sweetness, and a hearty texture to a variety of baked goods. Here are some fantastic recipes where oat flour truly shines:
- Oat Flour Banana Bread: A moist, flavorful, and incredibly satisfying bread that’s perfect for breakfast, a snack, or even dessert. The oat flour complements the banana beautifully.
- Oat Flour Chocolate Chip Cookies: Chewy, tender, and delightfully rich, these cookies are a gluten-free twist on a classic favorite. You won’t miss the wheat flour!
- Oat Flour Pancakes or Waffles: Start your day with a stack of light and fluffy pancakes or crispy waffles made with homemade oat flour. They are wonderfully wholesome and absorb syrup perfectly.
- Oat Flour Muffins: From berry muffins to savory varieties, oat flour creates tender, moist muffins that are perfect for on-the-go breakfasts or healthy snacks.
- Oat Flour Crumbles and Crisps: For fruit-based desserts, oat flour makes an excellent, rustic topping that adds crunch and flavor to apple crisps, berry crumbles, and more.
Experiment with your homemade oat flour and discover new favorites. Its wholesome taste and unique texture make it an invaluable ingredient for healthy and delicious gluten-free baking.
How to Make Oat Flour
Cheryl Johnson
Approximately 4 servings (or 3 cups of flour)
5 mins
0 mins
5 mins
Share by Email
Print Recipe
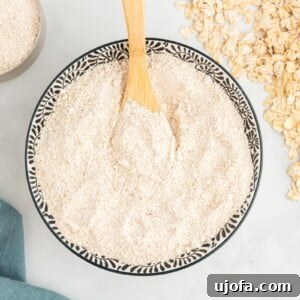
Learn how to make oat flour with this easy recipe. Oat flour is high in fiber and B vitamins and is naturally gluten-free.
Ingredients
-
3
cups
gluten-free old-fashioned rolled oats
(yields approx. 2¼ cups oat flour)
Instructions
-
Place the oats in a food processor or high-powered blender. Process in batches of no more than 1.5 cups at a time for optimal results.
-
Blend the oats into a fine powder. This typically takes about 20 to 30 seconds in a food processor, or 15-25 seconds in a high-powered blender.
-
Stop the machine and shake the oats or stir them with a spoon to ensure all oats get blended into a fine, uniform powder. Continue blending if any larger pieces remain.
-
Be careful not to over-blend, as this can generate heat and cause the oat flour to become clumpy or gummy.
-
Once blended, spread the flour on a baking sheet to cool completely before storing.
Notes
- 1 cup of rolled oats makes just over ¾ cup of oat flour. Adjust quantities as needed.
- If making a large batch of oat flour, blend the oats in small batches (less than 1.5 cups at a time) so that the oats all get blended properly and evenly.
- You can use a medium-sized strainer to sift the flour for an extra-fine texture, but it’s not strictly necessary if you’re blending in small batches.
- Nutritional information provided is for a ¼ cup individual serving of oat flour.
- To store: Store homemade oat flour in an air-tight container at room temperature for up to 3 months.
- To freeze: For extended freshness, freeze oat flour in an air-tight container for up to 6 months. This helps preserve its delicate oils and prevents rancidity.
Nutrition
Serving:
0.25
cup
Calories:
96
kcal
Carbohydrates:
17
g
Protein:
3
g
Fat:
2
g
Saturated Fat:
0.3
g
Polyunsaturated Fat:
1
g
Monounsaturated Fat:
1
g
Sodium:
2
mg
Potassium:
92
mg
Fiber:
3
g
Sugar:
0.3
g
Calcium:
13
mg
Iron:
1
mg
Nutrition information is automatically calculated, so should only be used as an approximation.
Additional Info
Baking, Ingredient
American, Gluten-Free
Tried this recipe?
Mention @mamaknowsglutenfree or tag #mamaknowsglutenfree!