
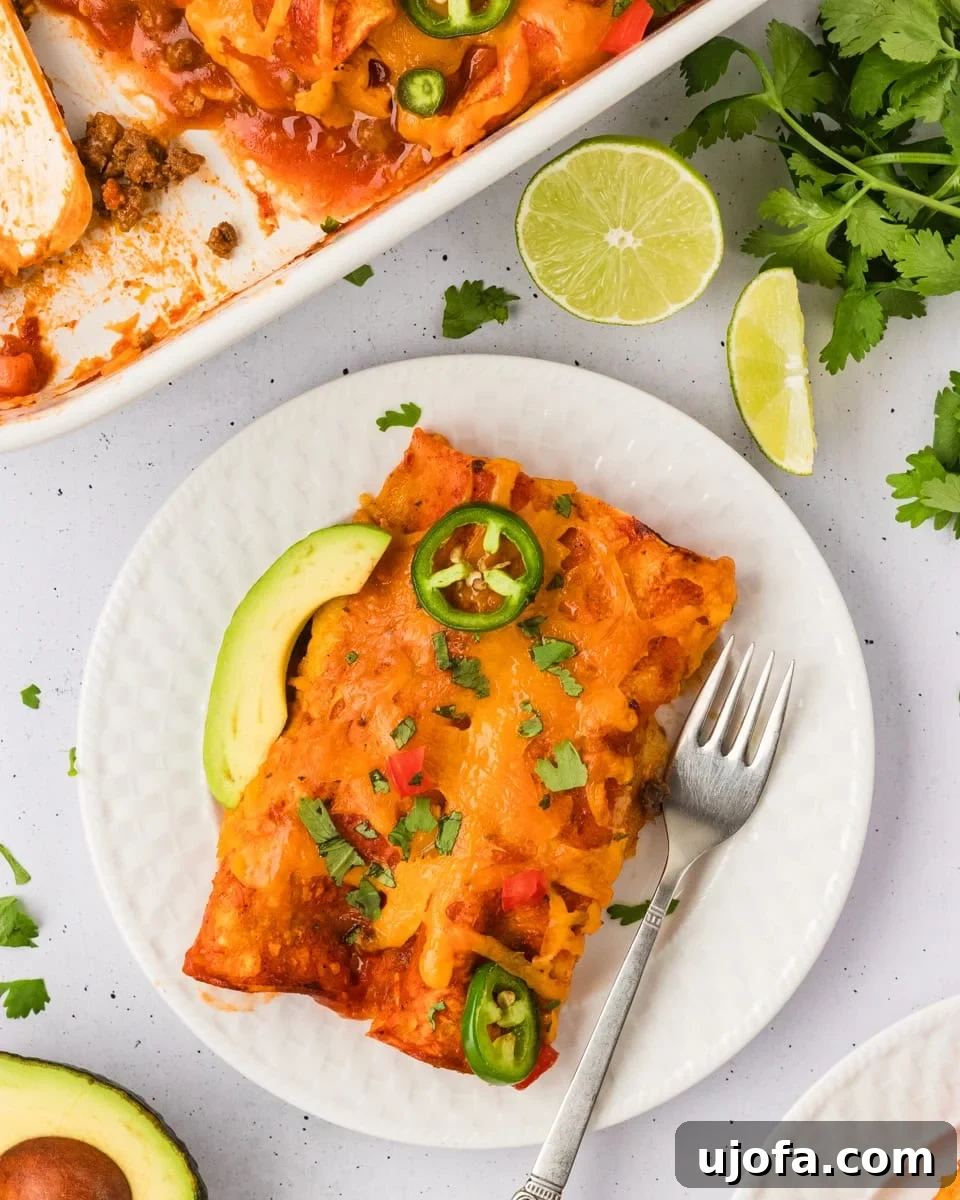
Easy & Cheesy Gluten-Free Beef Enchiladas: A Family Favorite Recipe
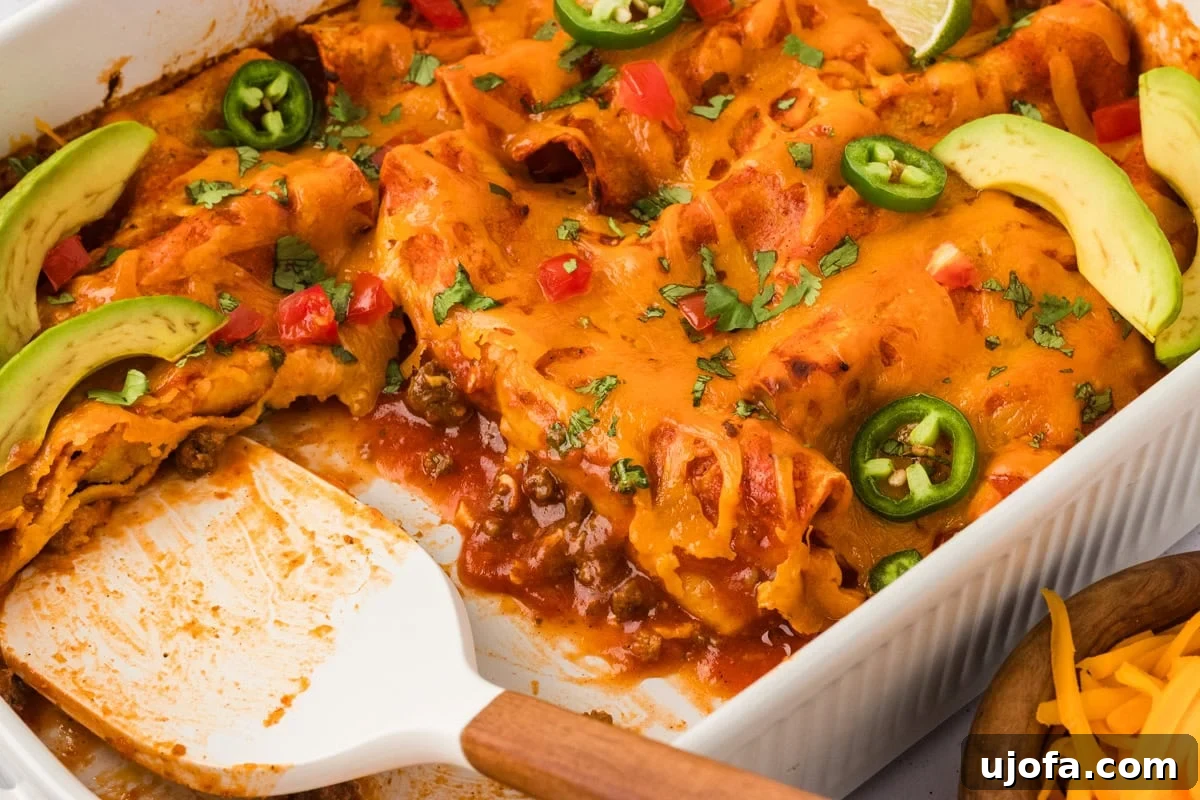
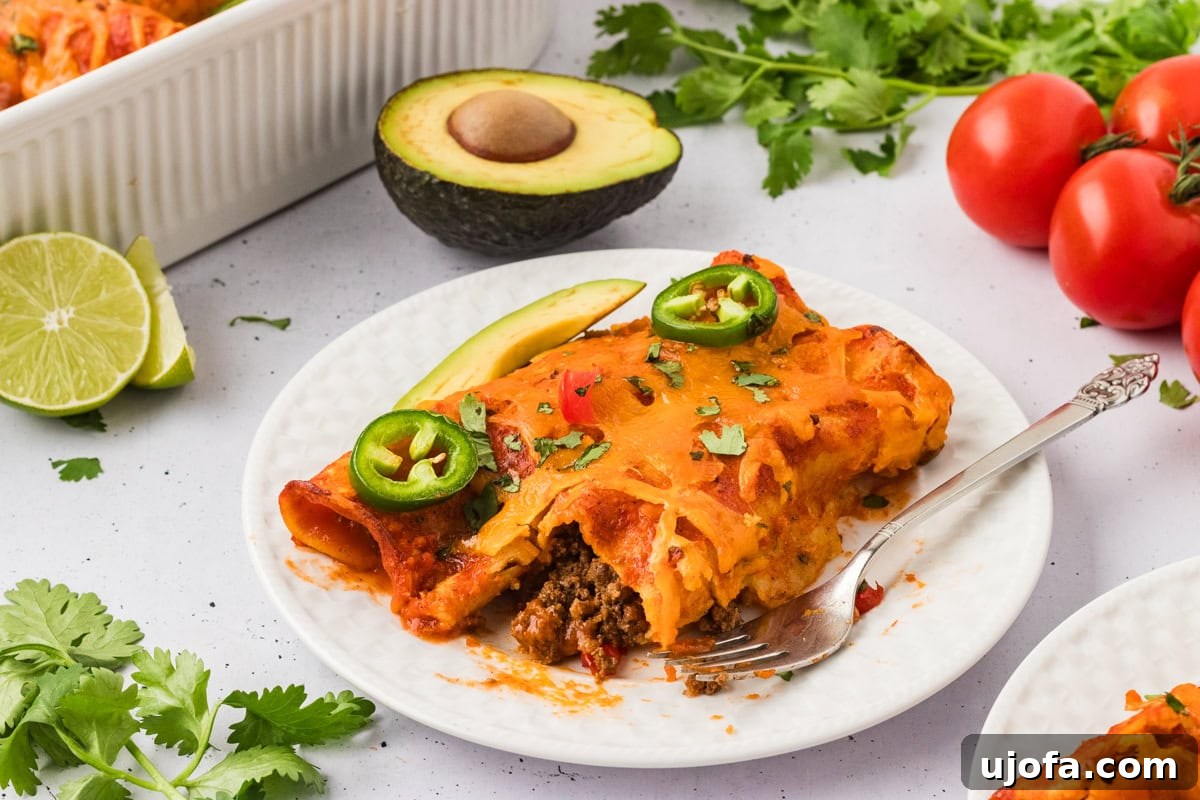
Mexican food holds a special place in our family’s heart, and we’re always on the lookout for new, exciting ways to bring those vibrant flavors to our dinner table. These gluten-free beef and cheese enchiladas have effortlessly claimed the top spot as a consistent household favorite. They strike the perfect balance: incredibly cheesy, bursting with authentic flavor, and surprisingly straightforward to prepare. Imagine perfectly seasoned ground beef, generously layered with a rich, savory red enchilada sauce and an abundance of melty cheddar cheese, all nestled within soft, naturally gluten-free corn tortillas. It’s a dish that guarantees clean plates and happy faces. The kids eagerly devour them, my husband consistently goes back for a second helping, and I particularly appreciate how simple they are to whip up, whether it’s a busy weeknight meal or a festive gathering with friends and family.
“These were enjoyed by the whole family! A simple, quick recipe to make – and huge flavor!! Yum :)”
– Gill
Gluten-Free Beef and Cheese Enchiladas: The Ultimate Family Dinner
In our household, taco night is practically a holiday, so it’s no surprise that these gluten-free beef and cheese enchiladas integrate seamlessly with the beloved Mexican flavors we all cherish. While some weeks call for classic gluten-free tacos, I love having the flexibility to switch things up with this equally satisfying enchilada recipe. To ensure everyone at the table can enjoy safely and deliciously, I always opt for certified gluten-free corn tortillas and a reliable gluten-free enchilada sauce. For an extra layer of freshness and control over ingredients, I often make my own homemade taco seasoning. It’s a pantry staple that allows me to perfectly fine-tune the salt and spice levels, elevating the rich flavor of the ground beef even further. This dish consistently earns enthusiastic thumbs-up from the kids, and the adults are never shy about reaching for seconds, making it a truly rewarding meal to prepare.
Gluten-Free Enchiladas
Audrey Roberts
16
20
25
45
Share by Email
Print Recipe
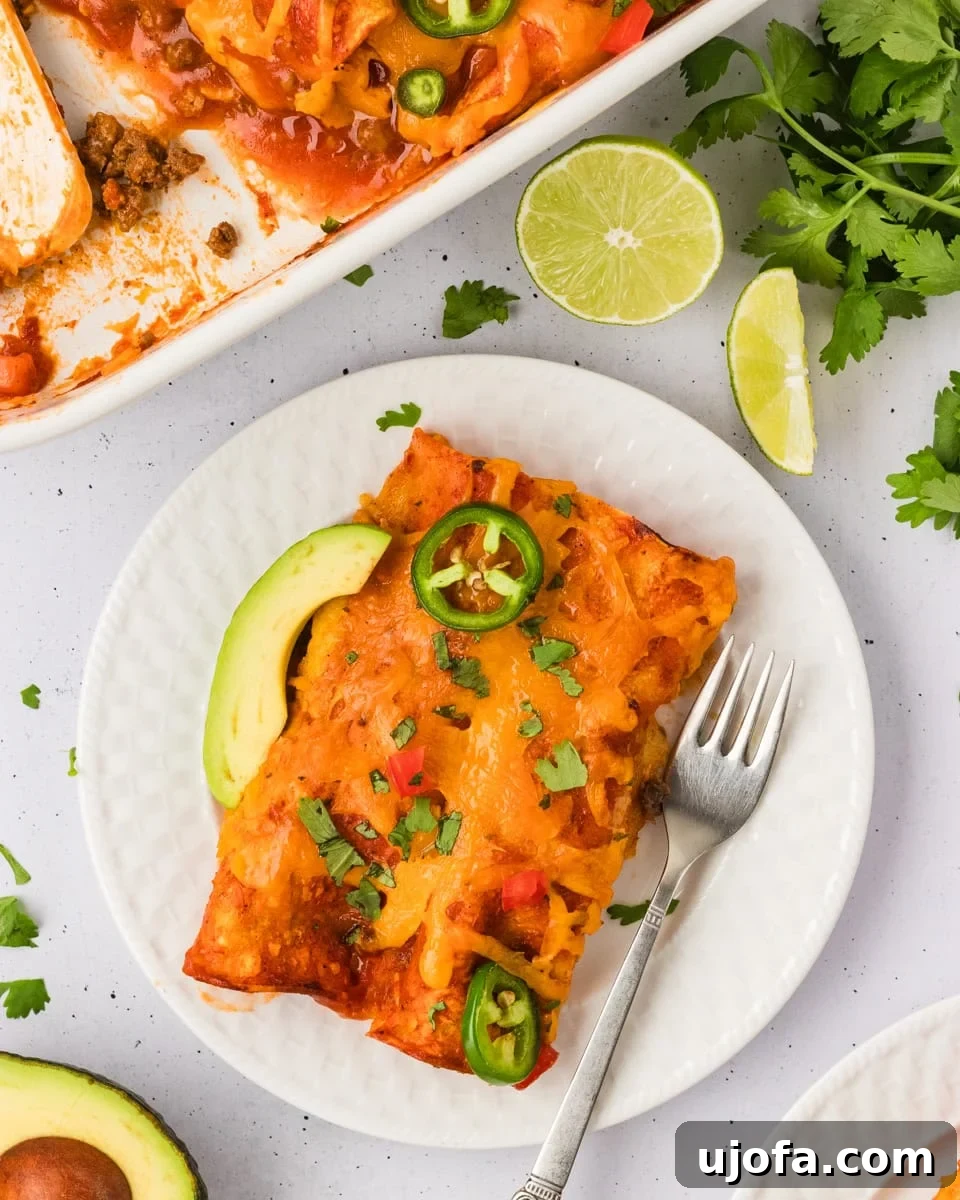
These gluten-free beef enchiladas have quickly become a family favorite—they’re incredibly cheesy, packed with flavor, and so wonderfully simple to make. The recipe involves browning savory ground beef with homemade taco seasoning, then layering it with a rich red enchilada sauce and a generous amount of melty cheese, all rolled up in naturally gluten-free corn tortillas.
Step-by-step photos can be seen below the recipe card for a visual guide.
Ingredients
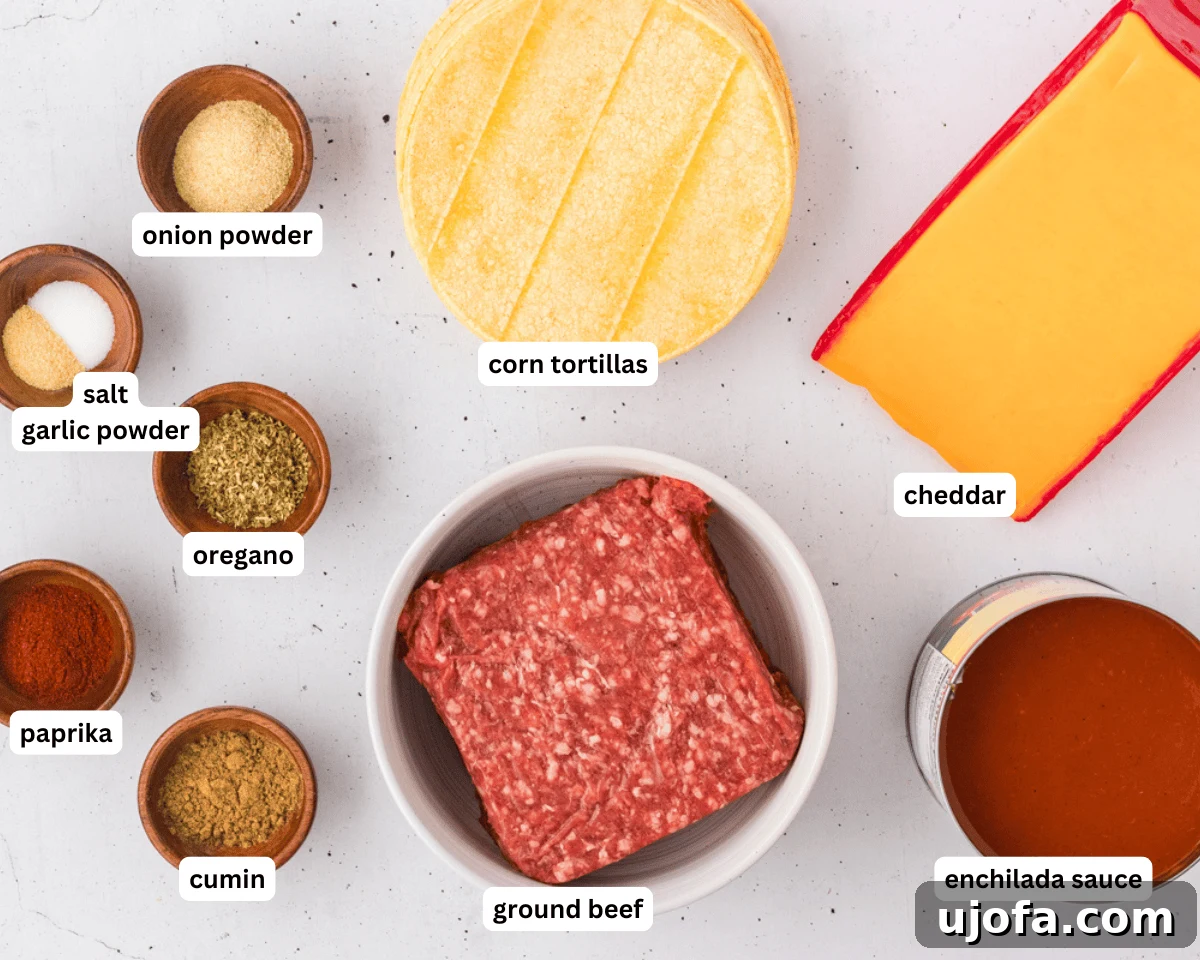
- 1 lb. ground beef (preferably lean)
- 1 tbsp cumin
- 2 tsp onion powder
- ½ tsp garlic powder
- 2 tsp oregano
- 2 tsp paprika
- ½ tsp salt
- 16-20 gluten-free corn tortillas (ensure they are certified GF)
- 2 cups shredded cheddar cheese (or a Mexican blend), divided
- 28 oz. can of gluten-free red enchilada sauce, or homemade
Instructions
-
Preheat your oven to 375°F (190°C). Prepare a large 9×13-inch glass baking pan by lightly spraying it with gluten-free cooking spray.
-
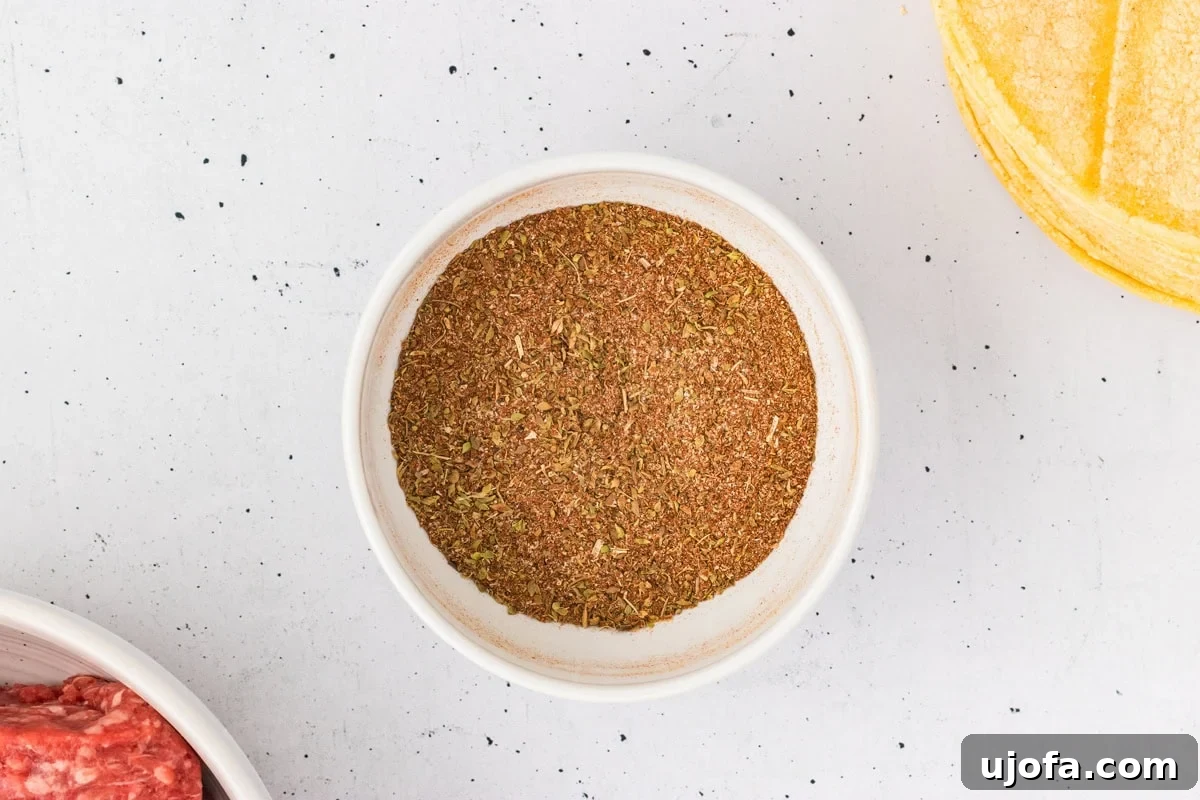
In a separate small bowl, combine all the dry seasonings: 1 tbsp cumin, 2 tsp onion powder, ½ tsp garlic powder, 2 tsp oregano, 2 tsp paprika, and ½ tsp salt. Stir them well until fully blended. This creates a balanced, flavorful taco seasoning blend.
-
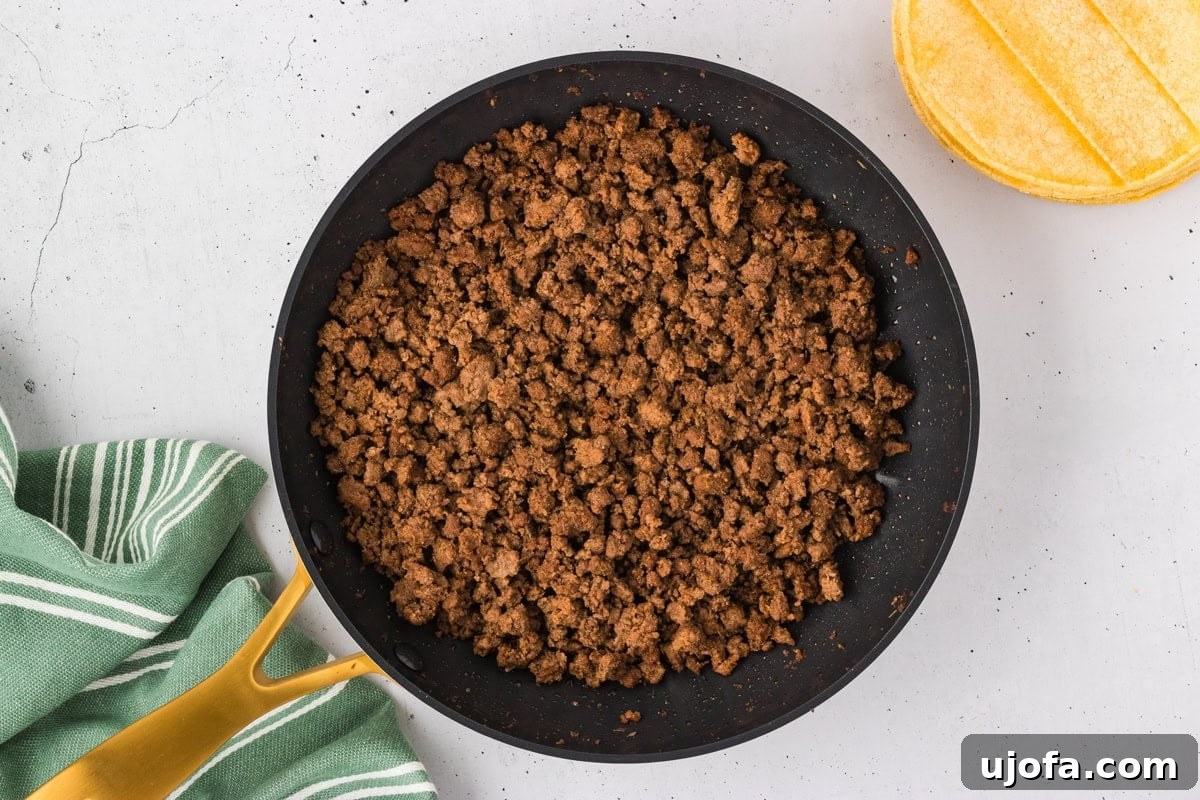
Heat a large skillet over medium-high heat. Add 1 lb. ground beef to the pan. Break it apart with a spoon and then sprinkle the combined seasoning blend generously over the beef. Stir continuously to ensure the beef is evenly coated. Cook the meat, stirring occasionally, until it is thoroughly browned. Once cooked, carefully drain any excess grease from the pan for a less oily finish.
-
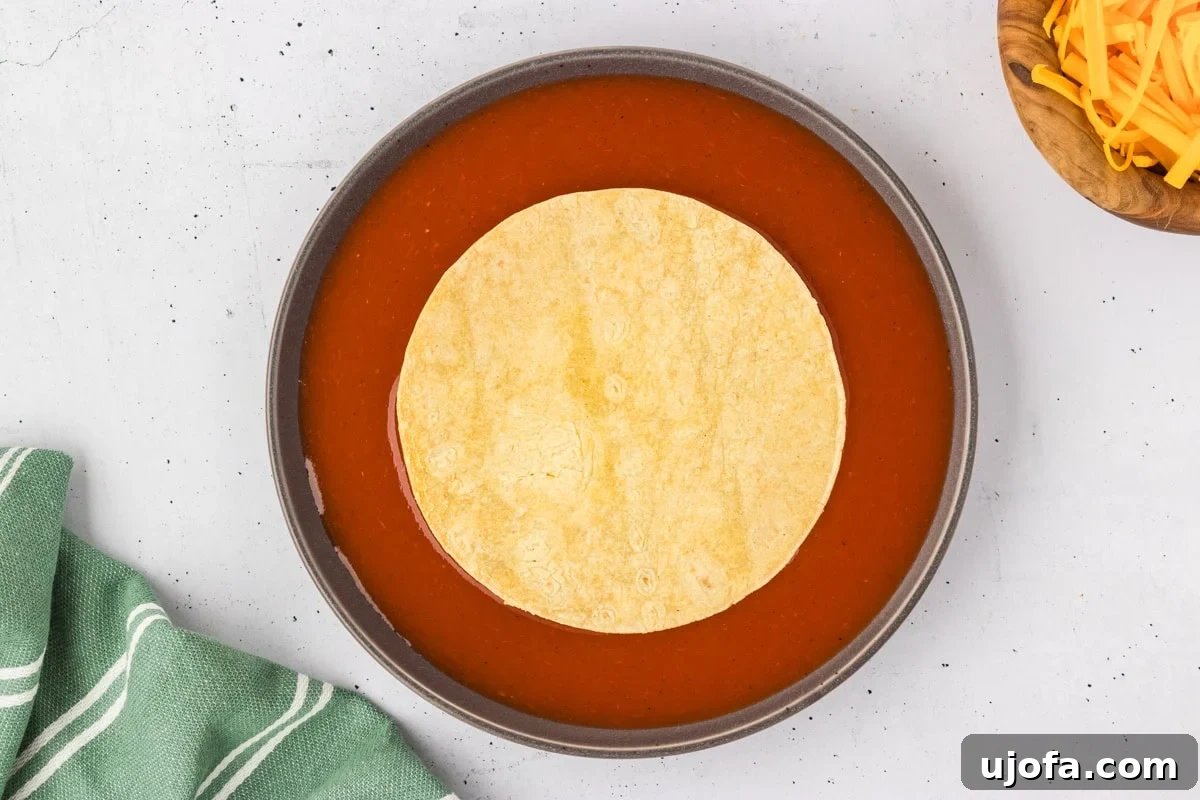
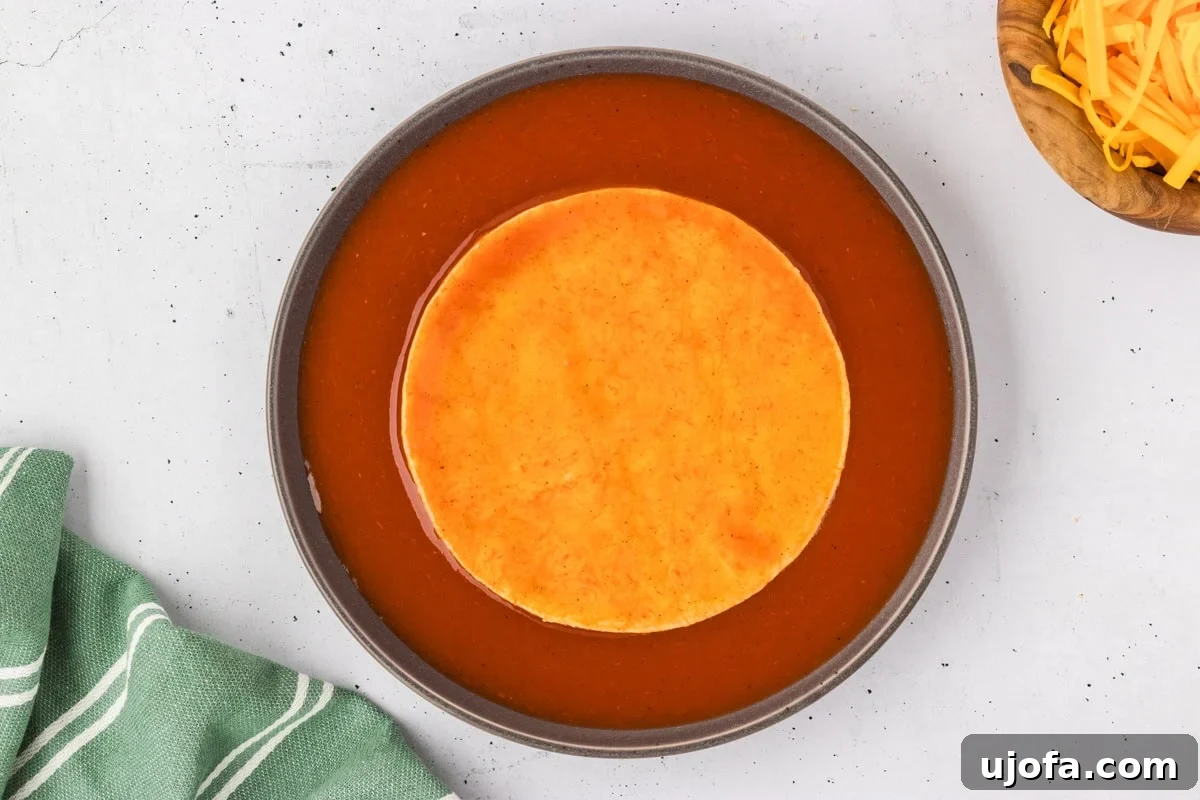
Pour about ½ cup of the gluten-free red enchilada sauce into a shallow dish or pie plate, wide enough to dip your tortillas. If your corn tortillas are cold or stiff from the refrigerator, gently warm them. Place a few tortillas on a plate, cover with a damp paper towel, and microwave for 20-30 seconds. This step makes them pliable and prevents tearing during rolling.
-
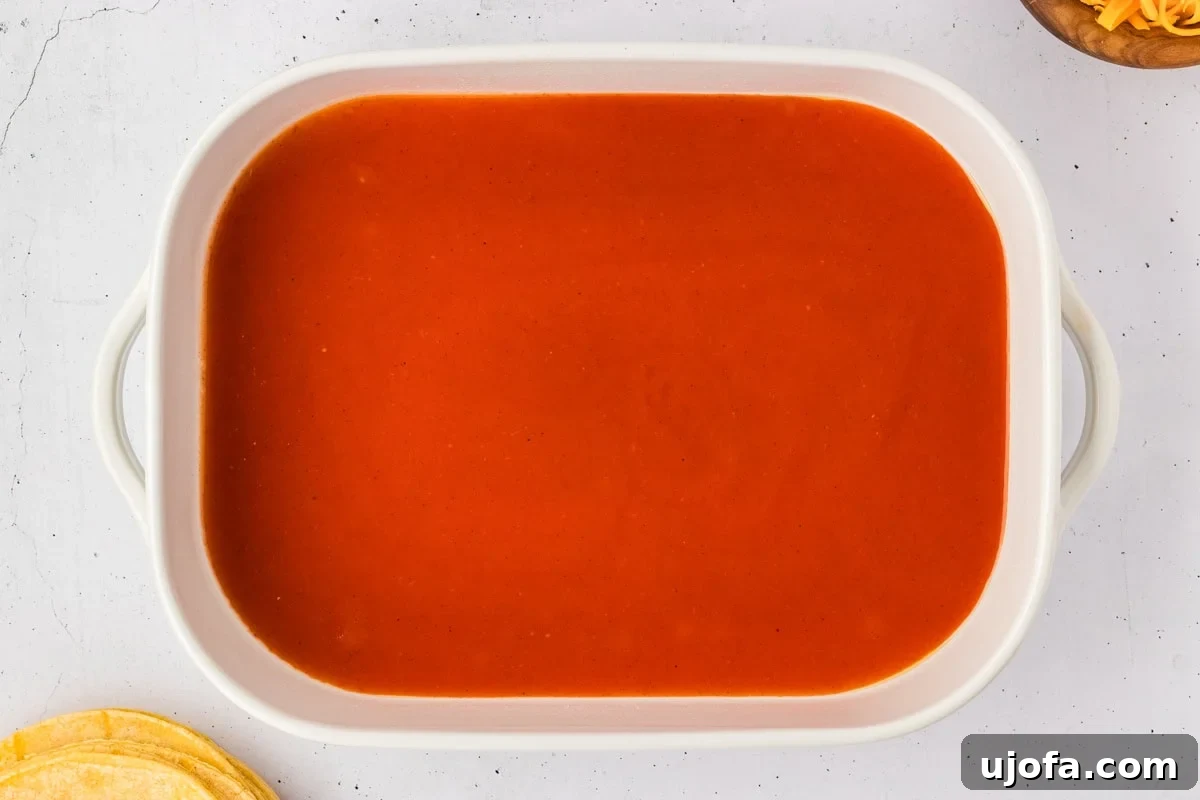
Pour enough enchilada sauce into the prepared 9×13-inch baking pan to create a thin, even layer covering the entire bottom. This prevents the enchiladas from sticking and adds moisture.
-
One by one, dip each corn tortilla into the shallow dish of enchilada sauce, ensuring both sides are fully coated. This helps keep the tortillas moist and flavorful while baking.
-
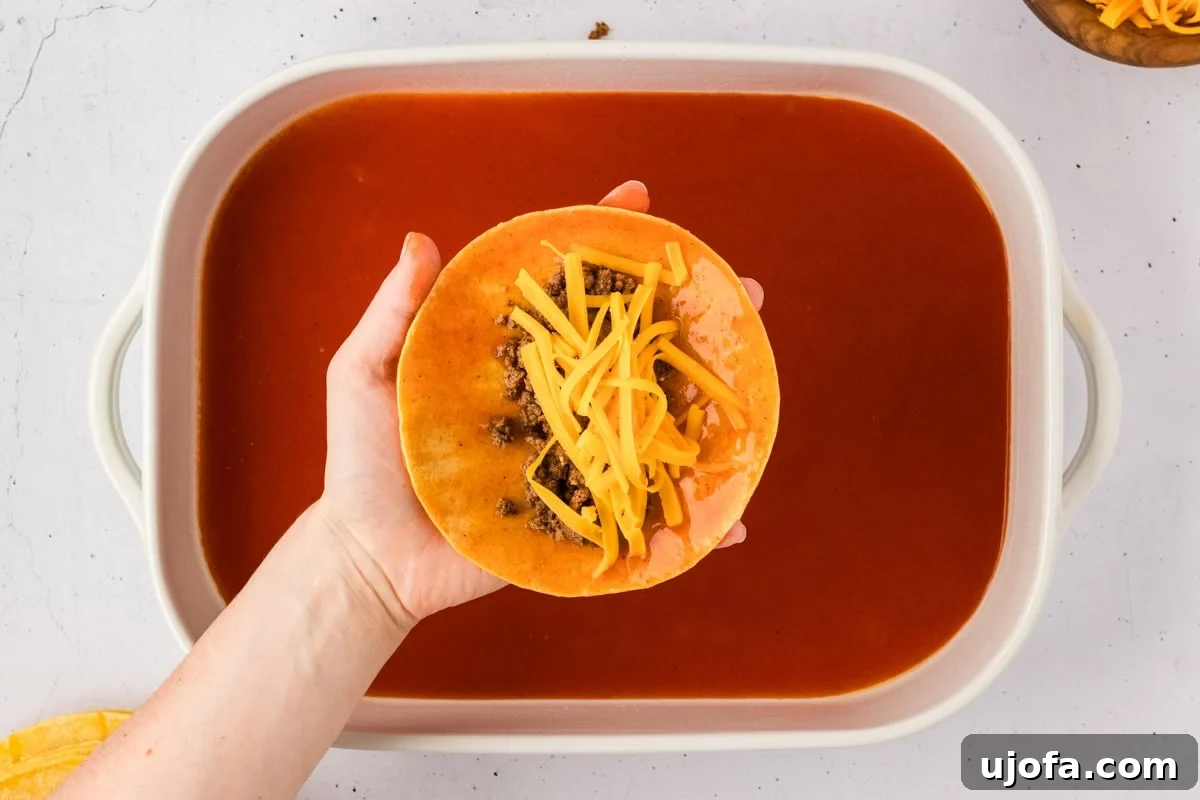
Place a dipped tortilla on a clean surface. Spoon a portion of the seasoned ground beef mixture (approximately 2-3 tablespoons) down the center. Sprinkle about 1-2 tablespoons of shredded cheddar cheese over the beef.
-
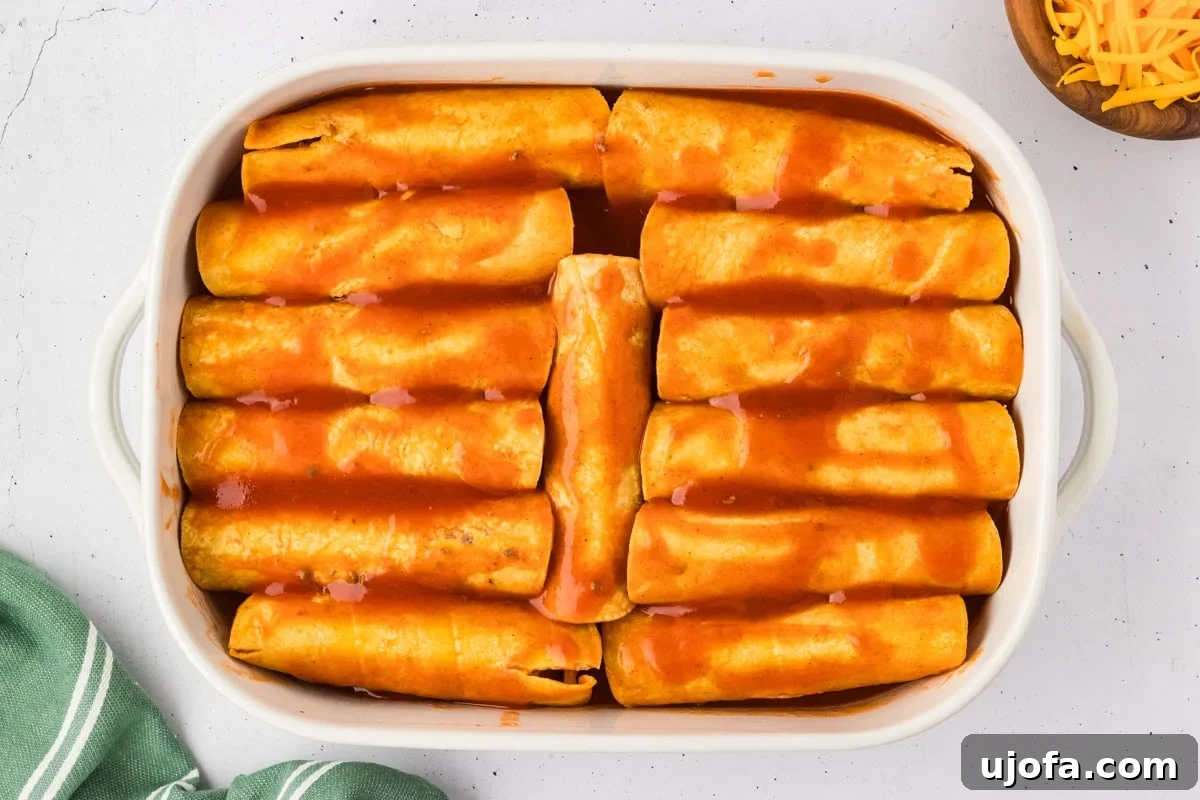
Carefully roll up the tortilla tightly and place it seam-side down in the prepared baking dish. Repeat this process with the remaining tortillas, beef, and cheese, arranging them snugly side-by-side in the pan until it is full.
-
Pour the remaining enchilada sauce evenly over the assembled tortillas, making sure they are well covered.
-
Place the baking dish in the preheated oven and bake for 25 minutes, or until the sauce is bubbly and the tortillas are heated through.
-
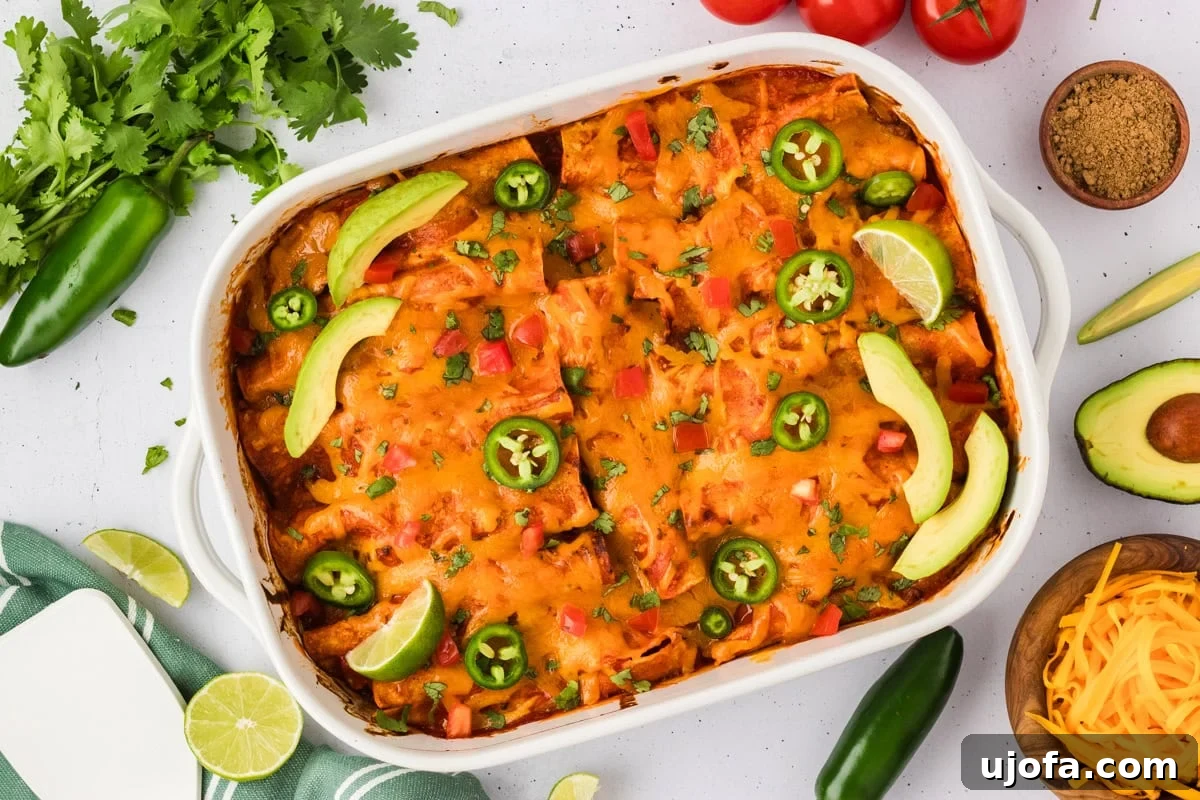
Remove the enchiladas from the oven. Sprinkle an additional ½ to 1 cup of shredded cheddar cheese (or more, to your preference) over the top. Return to the oven for a few more minutes, or until the cheese is beautifully melted and gooey. Alternatively, you can simply let the residual heat from the enchiladas melt the cheese by covering the dish for 5 minutes.
-
Allow the enchiladas to rest for 5-10 minutes before serving. This helps the flavors meld and the enchiladas to set slightly, making them easier to serve. Serve warm with your favorite fresh toppings like a dollop of sour cream, slices of creamy avocado, fresh guacamole, crisp shredded lettuce, and vibrant chopped cilantro. Enjoy every cheesy, flavorful bite!
Notes
- You can certainly use **store-bought taco seasoning**, but always double-check that it’s certified gluten-free to ensure it’s safe for your dietary needs.
- When selecting tortillas, look for reputable brands like Mission or Guerrero that offer **certified gluten-free corn tortillas**. Their texture and flavor are perfect for this dish.
- For an extra layer of flavor and to simplify prep, consider making a larger batch of the seasoned ground beef ahead of time. It freezes well and can be thawed for quick enchilada assembly later.
- Feel free to experiment with different types of cheese, such as Monterey Jack, Colby, or a spicy pepper jack, for a varied flavor profile.
Nutrition
Calories: 98kcal
Carbohydrates: 5g
Protein: 5g
Fat: 5g
Saturated Fat: 2g
Cholesterol: 20mg
Sodium: 596mg
Potassium: 110mg
Fiber: 1g
Sugar: 3g
Vitamin A: 560IU
Vitamin C: 1.2mg
Calcium: 20mg
Iron: 1.6mg
Nutrition information is automatically calculated and should only be used as an approximation. Actual values may vary based on ingredients used and preparation methods.
Additional Info
Main Course
Mexican
How to Make Gluten-Free Enchiladas Step by Step
Bringing these delightful enchiladas to life is a straightforward process when you follow these easy steps. Each stage is designed to ensure maximum flavor and a perfect texture every time. Let’s walk through it together:
Variations & Substitutions to Customize Your Enchiladas
One of the beauties of enchiladas is their versatility. This recipe serves as a fantastic base, but don’t hesitate to get creative and tailor it to your family’s preferences or dietary needs. Here are some ideas to inspire your next batch:
- Protein alternatives: While ground beef is a classic choice, feel free to switch it up. Shredded chicken (rotisserie chicken works wonders for speed), ground turkey, or even a robust mixture of black beans and roasted vegetables make excellent fillings. For a vegetarian option, black beans, corn, and bell peppers are a delicious combination.
- Dairy-free option: If you’re avoiding dairy, this recipe can easily be adapted. Simply use your favorite plant-based shredded cheese substitute that melts well. Many brands offer cheddar or Mexican blend alternatives that work perfectly in enchiladas, providing that signature gooey texture without the dairy.
- Spice level: For those who crave more heat, don’t shy away from upping the ante. You can add a pinch of cayenne pepper or a teaspoon of chili powder to the beef seasoning mix. Alternatively, seek out a spicier red enchilada sauce, or include finely diced jalapeños or serrano peppers directly into the beef mixture for an extra kick.
- Add extra veggies: Boost the nutritional value and flavor by incorporating more vegetables into your filling. Sautéed bell peppers (any color!), diced onions, shredded zucchini, or fresh spinach can be mixed in with the ground beef. Not only do they add delightful textures, but they also contribute more vitamins and fiber to your meal.
- Different Tortillas: While corn tortillas are naturally gluten-free and traditional, if you’re not strictly gluten-free or prefer a different texture, you could use gluten-free flour tortillas for a softer, chewier enchilada. Just ensure they are labeled gluten-free if necessary.
Serving Suggestions for a Complete Mexican Feast
These gluten-free beef and cheese enchiladas are incredibly satisfying on their own, making a hearty main dish that’s sure to please. However, pairing them with a few simple yet complementary sides can elevate your meal into a complete and authentic Mexican feast. Here are some of our favorite serving suggestions:
- Classic Rice and Beans: For a truly traditional combination, serve your enchiladas alongside a fluffy bed of cilantro-lime rice or a warm scoop of refried beans. The textures and flavors complement each other beautifully.
- Fresh & Creamy Toppings: Don’t forget the garnishes! A generous dollop of cool sour cream, creamy avocado slices, a vibrant spoonful of homemade guacamole, or crisp shredded lettuce add refreshing contrast and customize each bite.
- Salsa and Pico de Gallo: A bowl of fresh salsa or pico de gallo on the side adds a burst of freshness and acidity that cuts through the richness of the cheese and beef. A sprinkle of fresh chopped cilantro is always a welcome addition for its bright, herbaceous notes.
- Corn Salad: A simple corn salad with black beans, red onion, and a lime vinaigrette offers a light, zesty counterpoint to the rich enchiladas.
- Crisp Green Salad: For a lighter accompaniment, a simple green salad with a light vinaigrette dressing can provide a refreshing element to the meal.
Storage Instructions & Meal Prep Tips
One of the many benefits of these gluten-free beef enchiladas is how well they store, making them an excellent candidate for meal prepping or enjoying delicious leftovers. Here’s how to ensure they remain fresh and flavorful:
- Refrigeration: Any leftover enchiladas should be stored promptly in an airtight container. Place them in the refrigerator for up to 3 days. They reheat wonderfully in the microwave or oven, making them perfect for quick lunches or easy weeknight dinners.
- Freezing Unbaked: To prepare these enchiladas ahead of time for future meals, you can assemble them fully (including pouring the sauce over the rolled tortillas), but do not bake them. Instead, wrap the entire baking dish tightly with several layers of plastic wrap, followed by a layer of aluminum foil. Label with the date and freeze for up to 3 months.
- Freezing Baked: If you have leftover baked enchiladas, you can also freeze individual portions. Allow them to cool completely, then place them in freezer-safe containers or wrap them individually in plastic wrap and foil. Freeze for up to 2-3 months.
- Reheating from Refrigerated: To reheat refrigerated enchiladas, simply cover the dish with foil and bake at 350°F (175°C) for 15-20 minutes, or until heated through and the cheese is bubbly. For individual servings, microwave on high for 2-3 minutes.
- Baking from Frozen (Unbaked): When baking from frozen, remove the foil and plastic wrap (if using an oven-safe dish). Bake covered with foil at 375°F (190°C) for about 45-60 minutes, then uncover and bake for an additional 15-20 minutes, or until bubbling and cooked through. It’s often best to thaw frozen enchiladas overnight in the refrigerator before baking as usual for more even cooking.
More Gluten-Free Mexican Food Recipes To Try!
If you loved these enchiladas, you’re in for a treat! Our kitchen is a hub of delicious gluten-free Mexican-inspired dishes that are just as easy and flavorful. Explore these other family favorites to keep your culinary adventures exciting:
- Gluten-Free Burrito Bowl: All the flavors of a burrito without the wrap, perfect for a customizable, healthy meal.
- Gluten-Free Tortillas: Master making your own soft and flexible gluten-free tortillas for tacos, burritos, and more.
- Keto Jalapeño Poppers: Spicy, cheesy, and satisfying, these poppers are a fantastic appetizer for any occasion.
- Southwest Quinoa Salad: A vibrant, protein-packed salad bursting with fresh Southwestern flavors.
- Gluten-Free Tres Leches Cake: Indulge in a decadent, milky, and unbelievably moist gluten-free dessert.
We hope this detailed guide helps you create the most delicious gluten-free beef enchiladas for your family. Enjoy the process of cooking and the joy of sharing a fantastic meal that caters to everyone’s needs without compromising on flavor or comfort!
Our Gluten-Free Enchiladas recipe was originally published on April 20, 2017. It underwent thorough retesting, refinement, and was republished to be better than ever on August 22, 2025.