
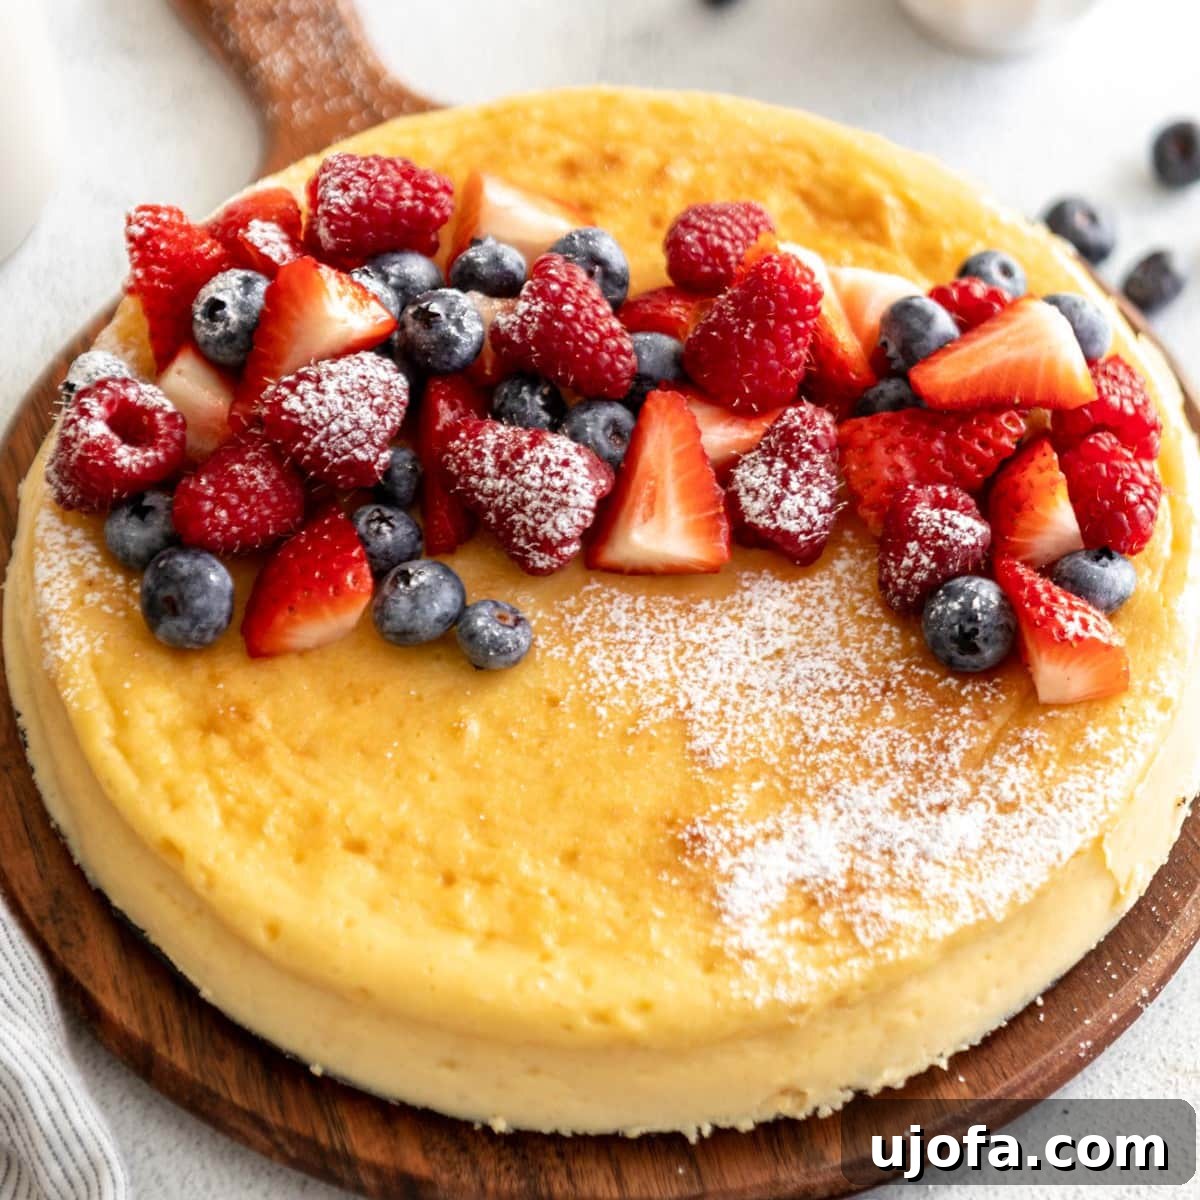
Get ready to indulge in pure dessert perfection with this incredibly easy Crustless Cheesecake recipe! Forget the fuss of making or buying a crust; this recipe delivers all the rich, creamy, and tangy goodness you crave in a classic cheesecake, but in a simpler, naturally gluten-free format. It’s an ideal choice for anyone with gluten sensitivities, those looking for a lighter dessert option, or simply when you want to whip up something truly special without extra steps.
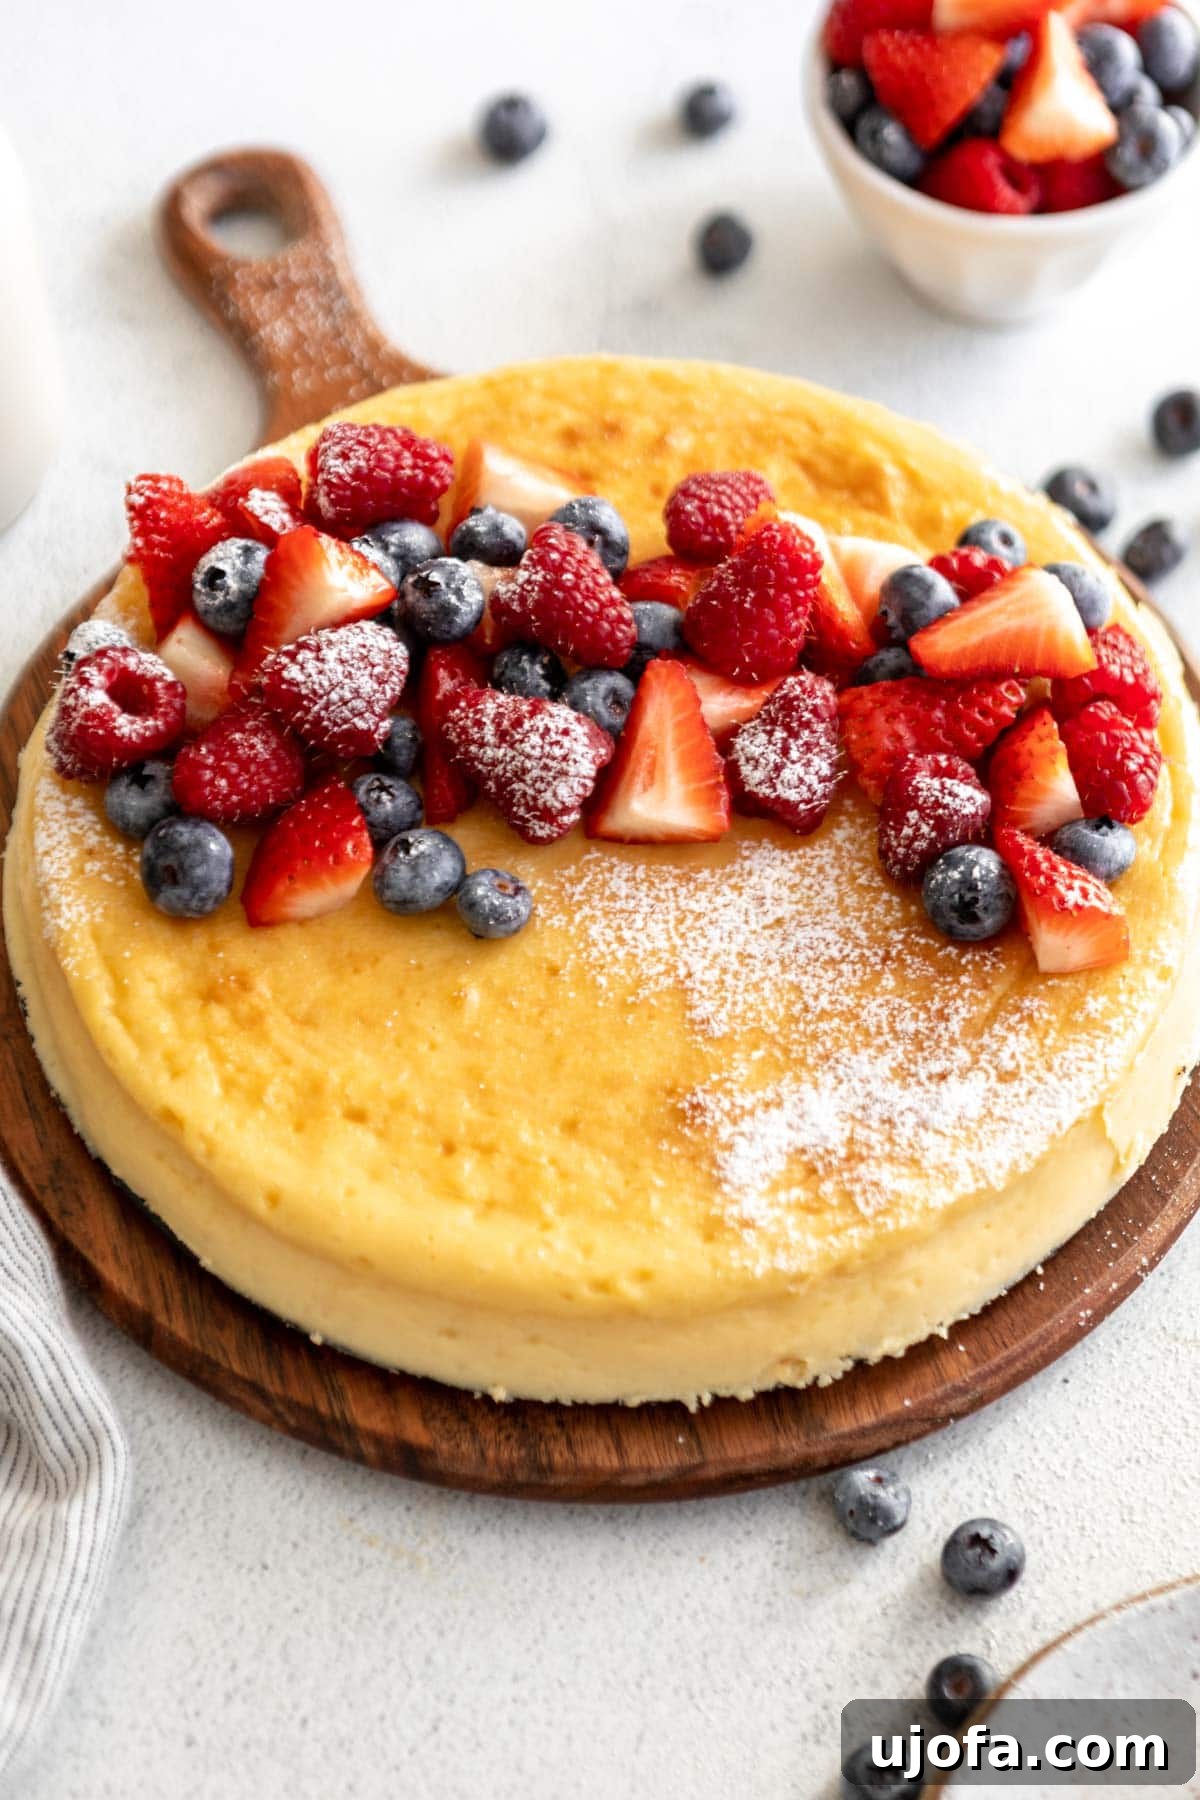
The Ultimate Easy Crustless Cheesecake: A Gluten-Free Dream
This no-crust cheesecake is an absolute game-changer. It’s wonderfully smooth, decadently satisfying, and surprisingly simple to prepare, making it one of my go-to desserts for any occasion. Whether you’re celebrating a holiday, a birthday, or simply have a sudden craving for something sweet and luxurious, this recipe fits the bill perfectly. With just 5 key ingredients and a straightforward mixing method, it bakes gently in a water bath to achieve that signature silky, melt-in-your-mouth texture that cheesecake lovers adore. It consistently earns rave reviews from everyone who tries it and is incredibly easy to customize with your favorite toppings.
If you find yourself missing the textural contrast of a crust, don’t worry! I also have a fantastic gluten-free cheesecake recipe that features a delicious crust and is just as simple and delightful to make. But for those times when simplicity and pure, unadulterated creamy cheesecake flavor are your goals, this crustless version is truly unbeatable.
Crustless Cheesecake Recipe
A simple yet elegant recipe for a rich, creamy, and tangy gluten-free crustless cheesecake. Naturally wheat-free and utterly delicious!
By: Claire Cary
Servings: 12 slices
Prep time: 10 minutes
Cook time: 1 hour 30 minutes
Chill time: 4 hours
Total time: 5 hours 40 minutes
Ingredients
- 24 ounces full-fat cream cheese, softened to room temperature (block style, not spreadable cream cheese)
- 1 cup granulated sugar
- ¾ cup sour cream, room temperature
- 4 large eggs, room temperature
- 1 tablespoon pure vanilla extract
Instructions
- Preheat your oven to 325°F (160°C). Prepare a 9-inch springform pan by greasing it thoroughly and lining the bottom with parchment paper. To create a watertight seal for the water bath, wrap the outside of the pan with a double layer of heavy-duty aluminum foil, ensuring both the bottom and sides are completely and tightly covered. Set the prepared pan aside.
- In a large mixing bowl, using an electric mixer, beat the softened full-fat cream cheese on high speed for approximately 30 seconds until it becomes light, fluffy, and completely smooth. Ensure there are no lumps remaining.
- Add the granulated sugar and pure vanilla extract to the cream cheese mixture. Continue beating on medium speed until all ingredients are well blended and the mixture is uniform.
- Next, incorporate the room-temperature sour cream into the batter. Beat on low to medium speed until the mixture is smooth and evenly combined. Avoid overmixing at this stage.
- Add the large eggs one at a time. After each egg addition, beat on a low speed just until combined. Use a rubber spatula to scrape down the sides of the bowl frequently to ensure all ingredients are thoroughly incorporated. It’s crucial not to overmix the batter once the eggs are added, as this can introduce too much air, leading to cracks in the finished cheesecake.
- Carefully pour the smooth cheesecake batter into your prepared springform pan. Gently tap the pan on the counter a couple of times to release any trapped air bubbles, which helps ensure a smooth top on your baked cheesecake.
- Place the springform pan inside a larger roasting pan or baking dish. Carefully pour hot water into the larger pan, filling it halfway up the sides of the springform pan. This creates a water bath (bain-marie), which is essential for baking the cheesecake evenly and preventing cracks by providing a moist, gentle heat environment.
- Bake for 75 to 90 minutes. The cheesecake is ready when the outside edges appear set and slightly puffed, but the center (a 2 to 3-inch circle) still has a slight wobble when gently shaken. The residual heat will continue to cook the center as it cools.
- Once baked, carefully remove the springform pan from the water bath and place it on a wire rack to cool at room temperature for at least 30 minutes. This gradual cooling prevents sudden temperature changes that can cause cracking.
- After cooling at room temperature, transfer the cheesecake to the refrigerator and chill for a minimum of 4 hours, or ideally, overnight. Adequate chilling time is vital for the cheesecake to firm up properly and achieve its optimal texture for slicing and serving.
- Once thoroughly chilled, run a thin knife around the edge of the pan to loosen the cheesecake. Unclip the springform pan, remove the sides, and then gently slide the cheesecake off the base onto a serving plate. Slice and serve chilled, topping with your favorite accompaniments.
Recipe Notes
- For the most luxurious and rich flavor, always opt for good-quality full-fat cream cheese, pure vanilla extract, and fresh eggs. These make a noticeable difference in the final taste.
- Room Temperature is Key: Ensure all refrigerated ingredients (cream cheese, sour cream, eggs) are at room temperature. This allows them to blend smoothly and prevents lumps, resulting in a perfectly creamy, lump-free batter. Cold ingredients will lead to a lumpy, inconsistent texture.
- Don’t Overmix: Overmixing the batter, especially after adding eggs, introduces excess air. This air can expand and contract during baking and cooling, causing the cheesecake to crack. Mix just until combined.
- Patience with the Oven: Resist the urge to open the oven door while the cheesecake is baking. Sudden changes in temperature can cause the cheesecake to fall and crack.
- Avoid Overbaking: Overbaking is a common culprit for dry, cracked cheesecakes. The center should still be slightly jiggly when the cheesecake is removed from the oven. It will continue to set as it cools.
- Gradual Cooling: Allow the cheesecake to cool completely at room temperature before transferring it to the refrigerator. This gradual cooling process helps prevent cracks.
- Chill Thoroughly: The chilling period is non-negotiable! At least 4 hours, or preferably overnight, is needed for the cheesecake to fully set and firm up, ensuring clean slices and a perfect texture.
Nutrition Information
Serving: 1 slice | Calories: 179kcal | Carbohydrates: 22g | Protein: 11g | Fat: 5g | Saturated Fat: 2g | Polyunsaturated Fat: 0.5g | Monounsaturated Fat: 1g | Trans Fat: 0.01g | Cholesterol: 77mg | Sodium: 426mg | Potassium: 201mg | Sugar: 20g | Vitamin A: 210IU | Vitamin C: 0.1mg | Calcium: 223mg | Iron: 0.4mg
Nutrition information is automatically calculated and should be used as an approximation.
Additional Info
Course: Dessert
Cuisine: American
Why You’ll Adore This No-Crust Cheesecake
There are countless reasons to fall in love with this crustless cheesecake. Beyond its incredible flavor, its simplicity is a major draw. You save time by skipping the crust-making process, yet you don’t sacrifice any of the luxurious taste. It’s inherently gluten-free, making it a wonderful option for gatherings where dietary restrictions might be a concern, ensuring everyone can enjoy a slice of this heavenly dessert. The water bath method ensures a consistently smooth and creamy texture, without the dry or rubbery consistency that can sometimes plague cheesecakes. Plus, its elegant appearance, especially when adorned with vibrant toppings, makes it a showstopper at any table. It truly embodies effortless elegance.
Essential Ingredients for a Perfect No-Crust Cheesecake
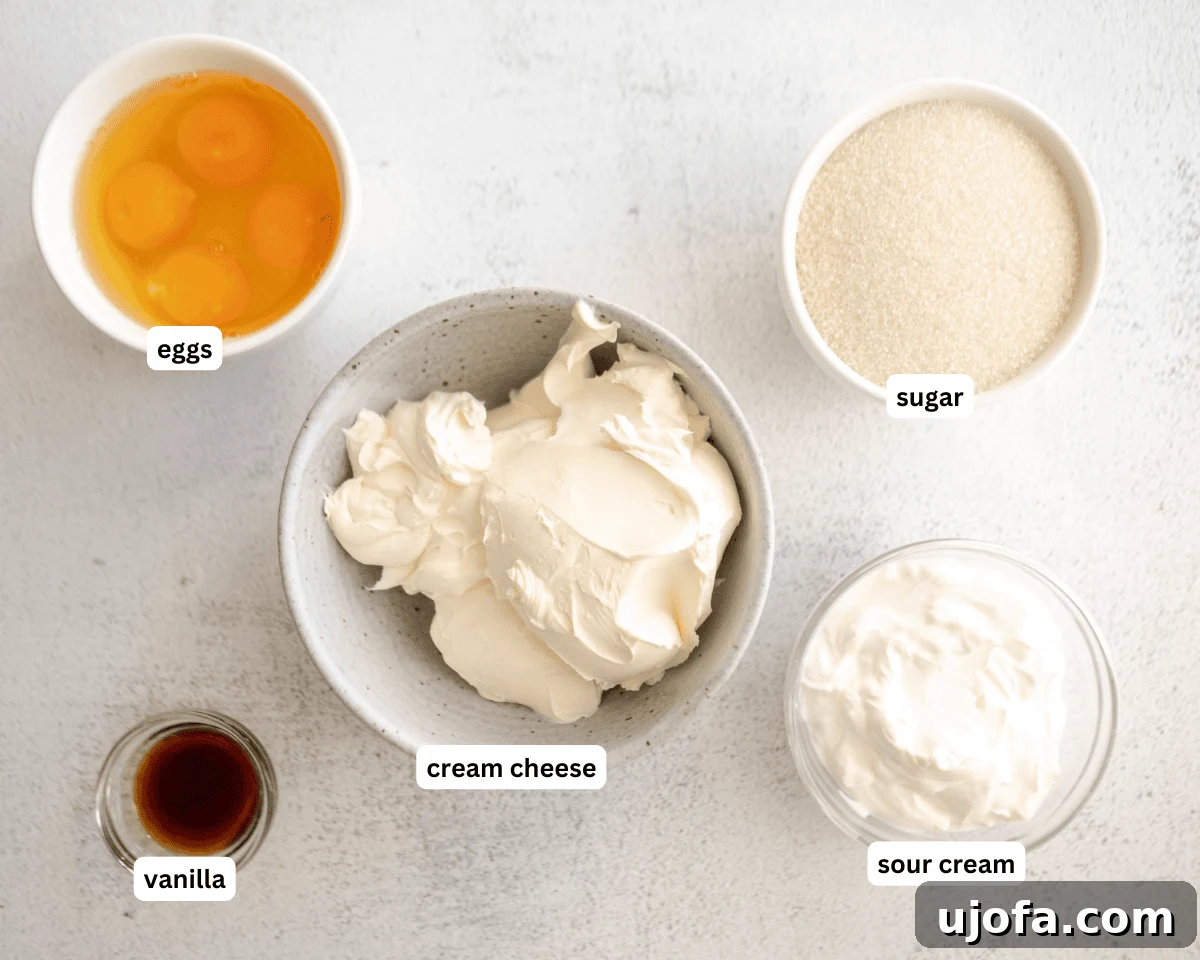
Creating a truly magnificent crustless cheesecake begins with high-quality ingredients, all brought to the proper temperature. Here’s a closer look at what you’ll need and why each component is vital:
- Full-Fat Cream Cheese (Block Style): This is the star of your cheesecake. Using full-fat, block-style cream cheese (not the spreadable kind in a tub) is critical for achieving that signature rich, dense, and creamy texture. Softening it to room temperature is equally important; cold cream cheese will result in a lumpy batter that won’t bake smoothly.
- Granulated Sugar: Provides sweetness and contributes to the cheesecake’s smooth texture and structure.
- Sour Cream (Room Temperature): Adds a beautiful tanginess that balances the richness of the cream cheese, and also contributes to the cheesecake’s incredibly moist and silky consistency. Like the cream cheese, ensuring it’s at room temperature prevents lumps and ensures even blending.
- Large Eggs (Room Temperature): Eggs act as the primary binder and emulsifier, giving the cheesecake its structure and helping it set. Using room-temperature eggs allows them to incorporate more easily into the batter, creating a smoother, more uniform mixture.
- Pure Vanilla Extract: A crucial flavor enhancer that elevates the overall taste profile. Always opt for pure vanilla for the best results, as imitation vanilla can have an artificial aftertaste.
Gathering these simple ingredients and preparing them correctly will set you up for absolute cheesecake success!
Step-by-Step Guide to Making Your Crustless Cheesecake
Let’s walk through each stage of creating this delightful crustless cheesecake. Following these detailed steps will ensure a smooth baking experience and a perfectly creamy result every time.
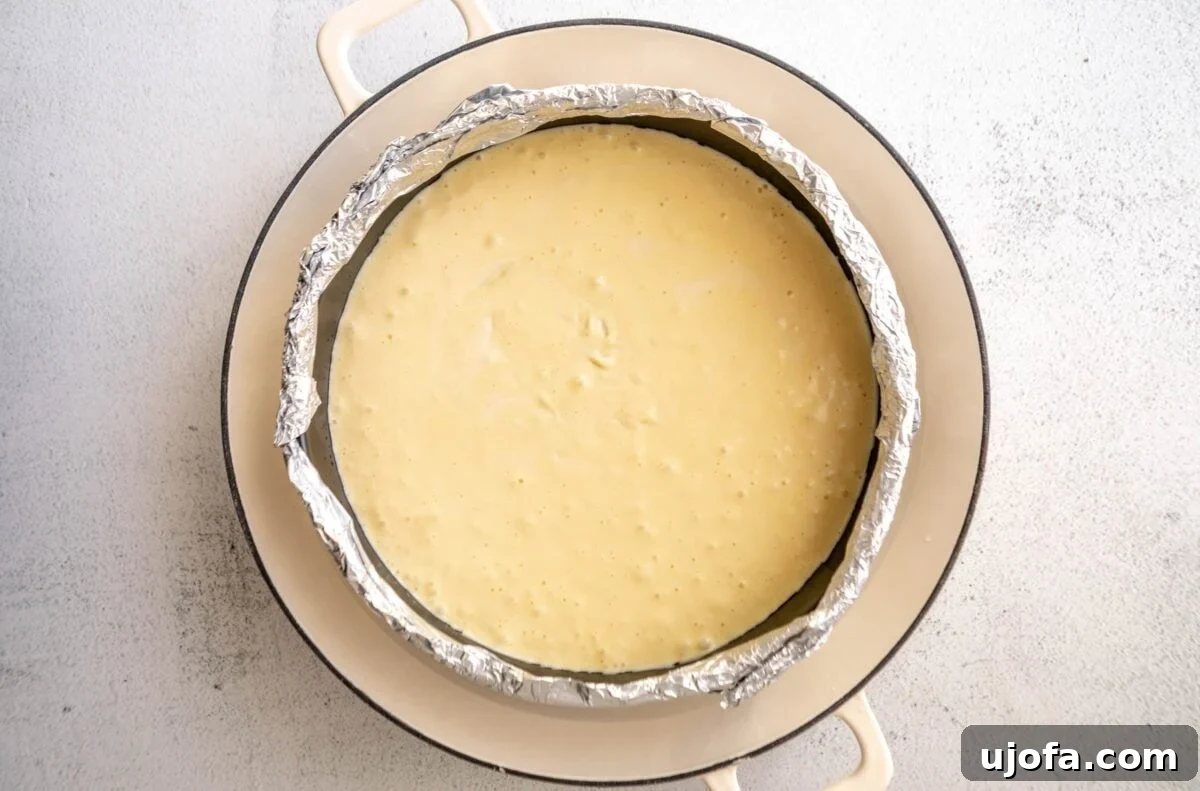
Step 1: Prep Your Oven and Pan. Begin by preheating your oven to 325°F (160°C). This ensures a consistent temperature from the moment your cheesecake enters the oven. Next, take your 9-inch springform pan. Grease the bottom and sides thoroughly, then line the bottom with a circle of parchment paper. To prepare for the water bath, wrap the entire exterior of the springform pan tightly with a double layer of heavy-duty aluminum foil. This is crucial for preventing water from seeping into your cheesecake during baking. Set the prepared pan aside.
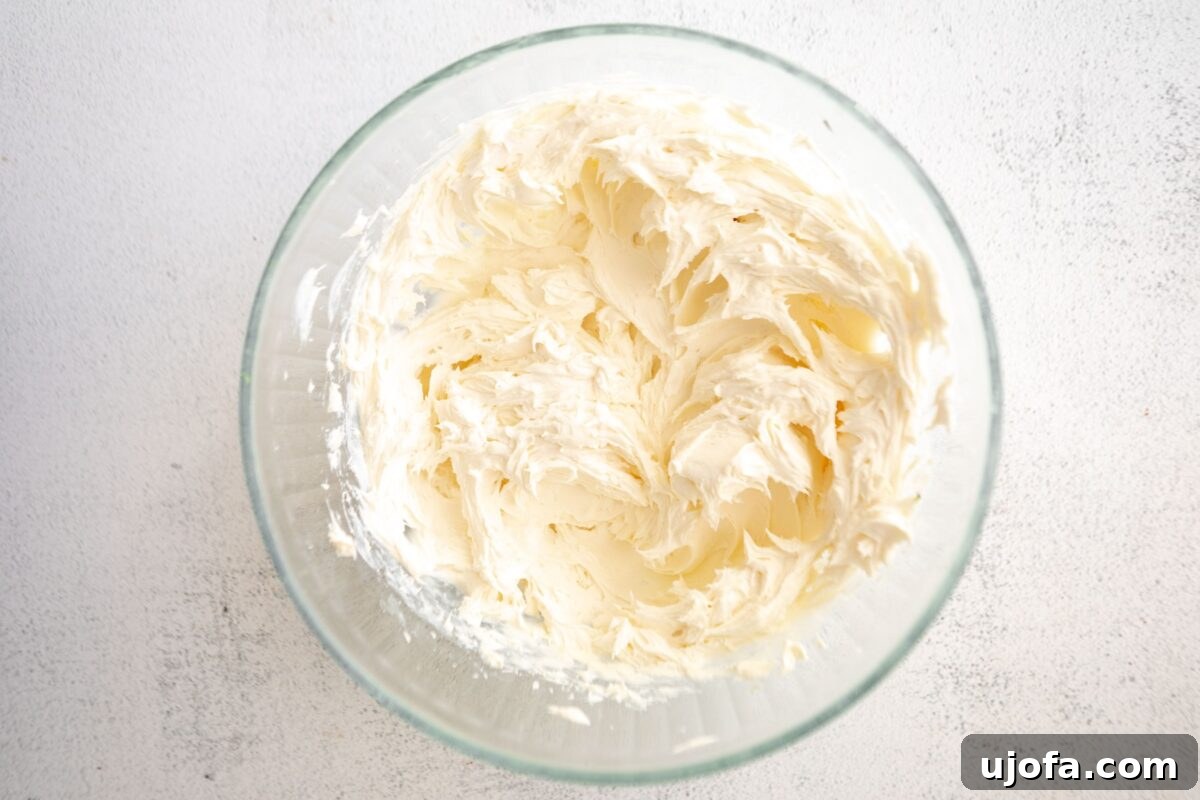
Step 2: Cream the Cheese. In a large mixing bowl, place your 24 ounces of full-fat cream cheese, which should be thoroughly softened to room temperature. Using an electric mixer on high speed, beat the cream cheese for approximately 30 seconds. The goal here is to achieve a wonderfully smooth, lump-free, and slightly fluffy texture. This initial creaming ensures a silky-smooth foundation for your cheesecake batter.
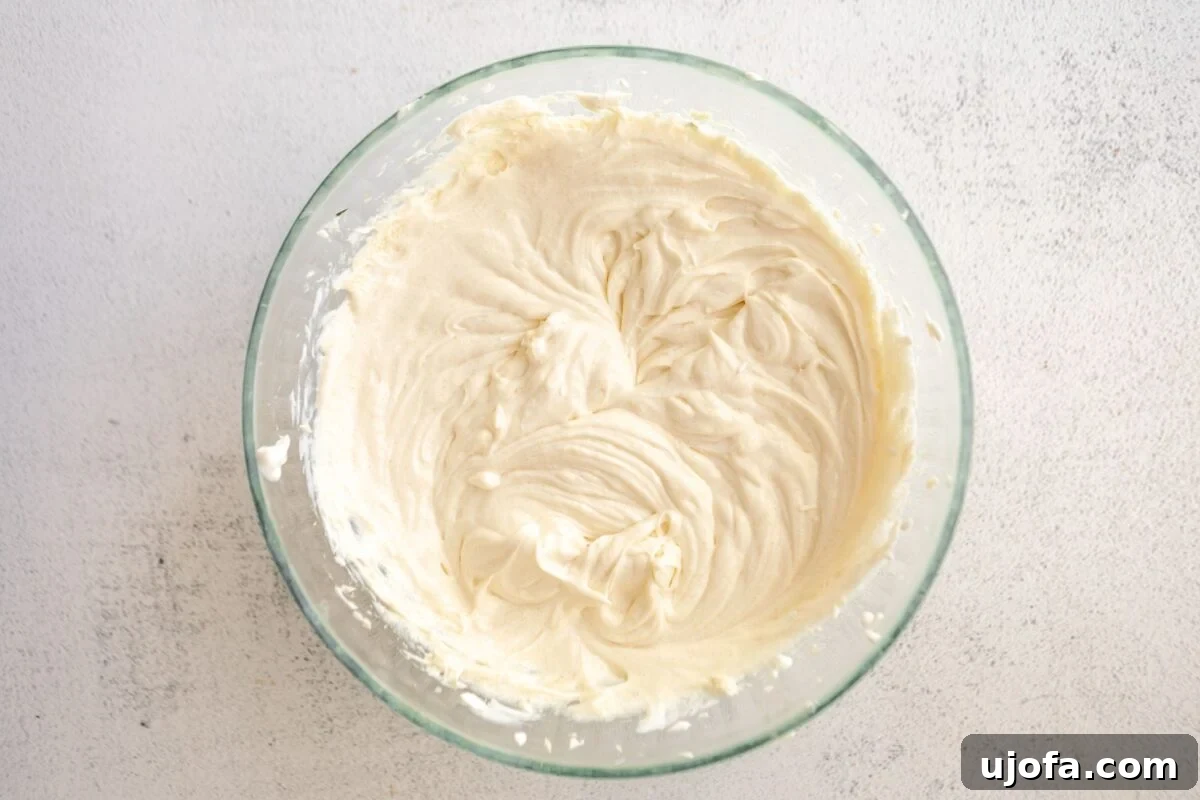
Step 3: Combine Sugar, Vanilla, and Sour Cream. Now, add the 1 cup of granulated sugar and 1 tablespoon of pure vanilla extract to the creamed cheese. Continue beating until these ingredients are fully blended into the mixture. Follow this by adding the ¾ cup of room-temperature sour cream. Beat again until the entire mixture is smooth and thoroughly combined. Scrape down the sides of the bowl as needed to ensure everything is incorporated evenly.
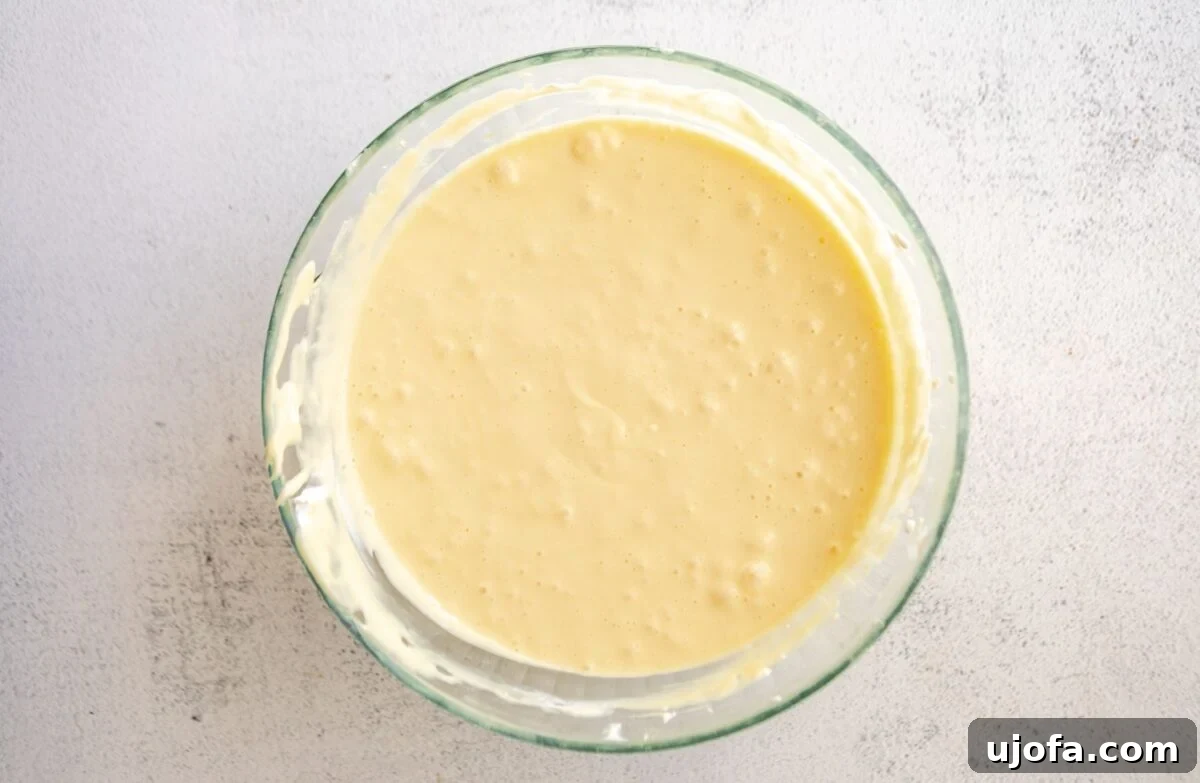
Step 4: Incorporate Eggs Gently. This step requires a delicate touch. Add the 4 large eggs one at a time, beating on a low speed after each addition. The key is to mix just until the egg is combined into the batter – avoid overmixing. Overmixing at this stage can incorporate too much air, which can cause cracks in your baked cheesecake. Use a rubber spatula to scrape down the sides and bottom of the bowl after each egg to ensure a homogenous mixture.
Step 5: Prepare for Baking with a Water Bath. Carefully pour the finished cheesecake batter into your prepared springform pan. Gently tap the pan on your counter a few times to help release any lingering air bubbles that might be trapped within the batter. Place the springform pan inside a larger roasting pan or baking dish. Then, pour hot water into the larger pan until it reaches halfway up the sides of the springform pan. This water bath (bain-marie) creates a humid environment in the oven, ensuring even, gentle cooking and preventing the cheesecake from drying out and cracking.
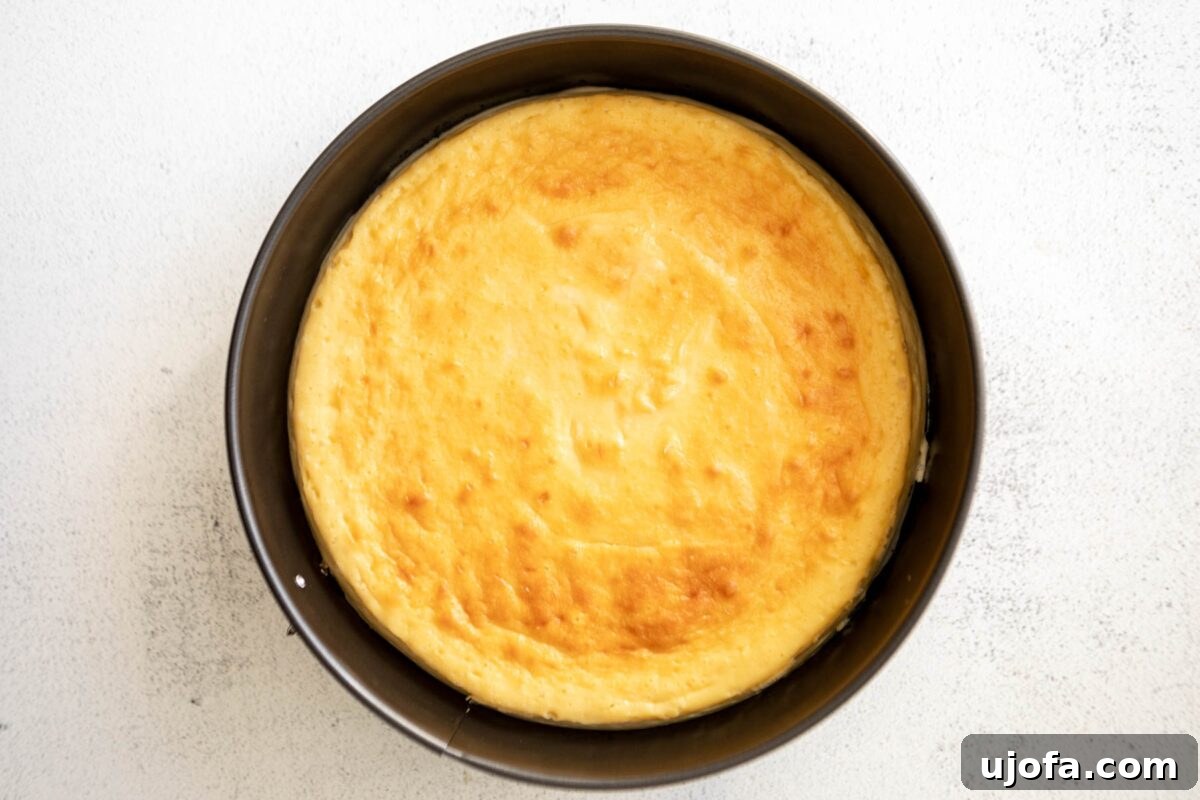
Step 6: Bake to Perfection. Carefully transfer the roasting pan with the cheesecake and water bath to your preheated oven. Bake for approximately 75 to 90 minutes. You’ll know the cheesecake is done when the outside edges appear set and slightly firm, but the middle 2 to 3 inches of the cheesecake still have a slight, gentle wobble when the pan is lightly jiggled. This soft center will continue to set as the cheesecake cools. Overbaking can lead to a dry texture and cracks.
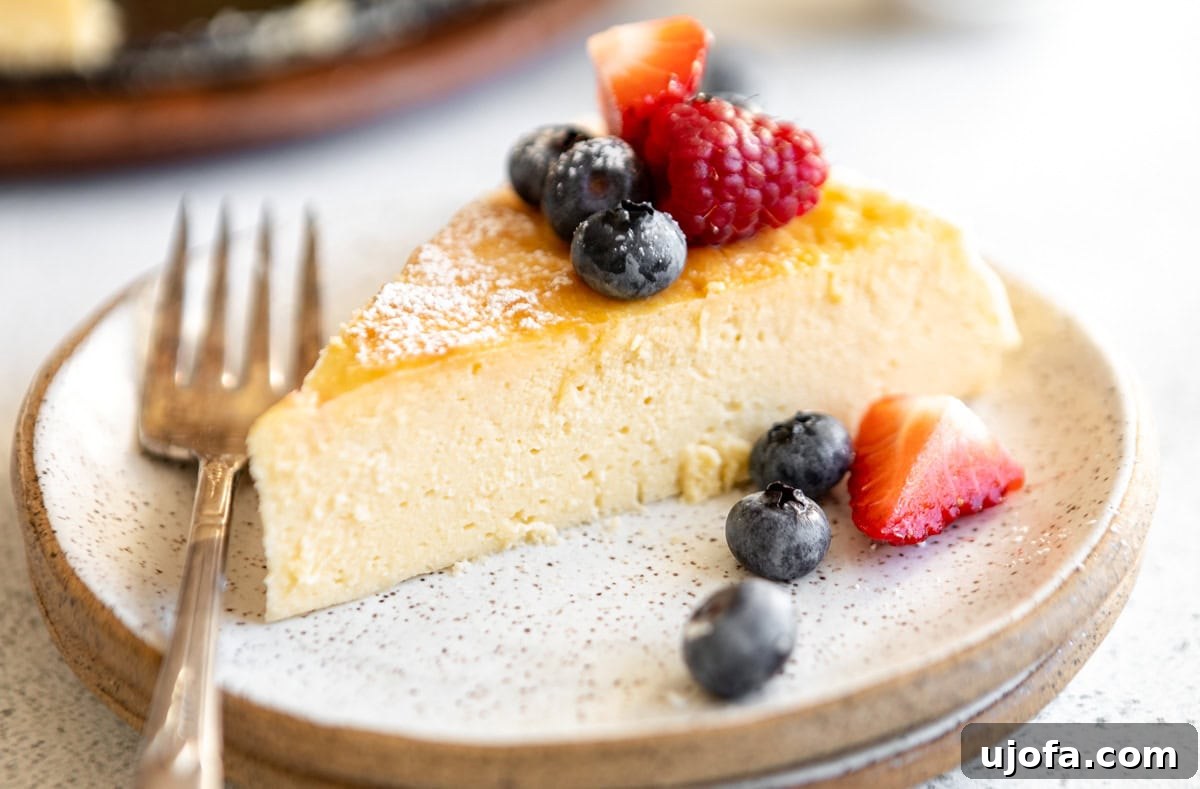
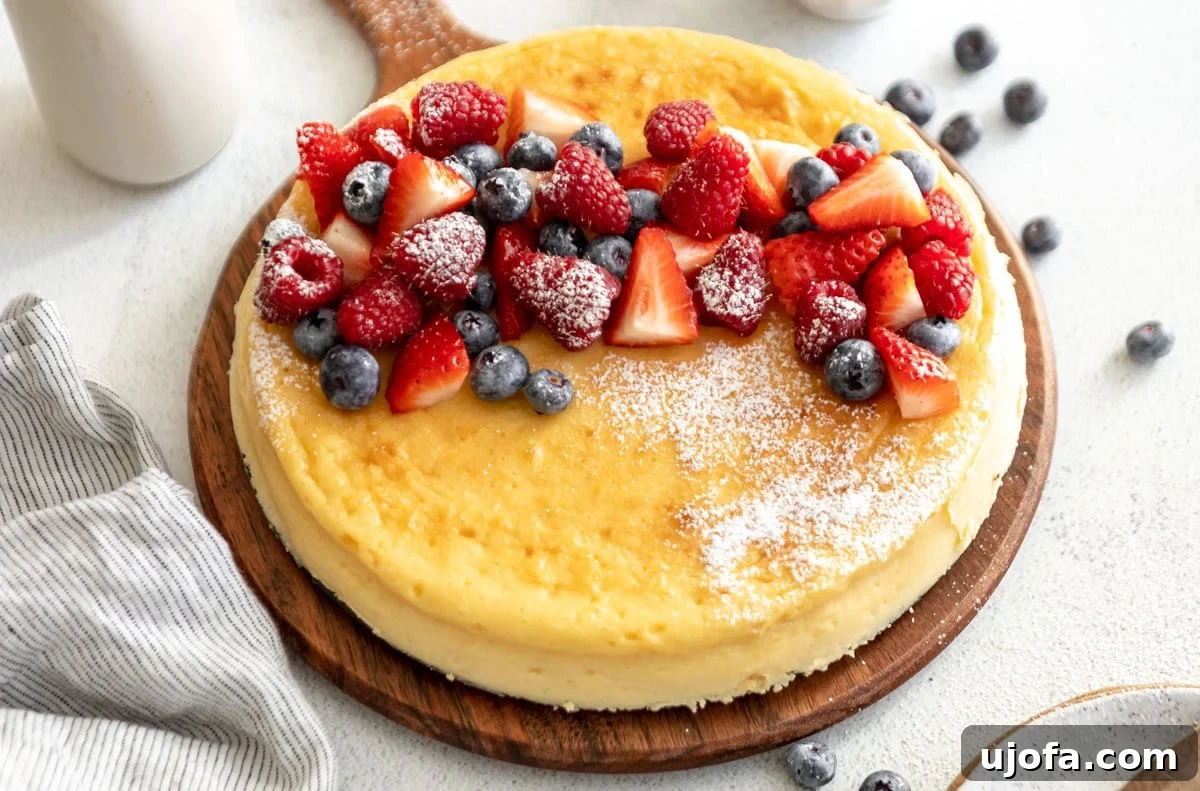
Step 7: Cool and Chill for the Best Texture. Once baked, carefully remove the springform pan from the water bath and place it on a wire rack to cool completely at room temperature for at least 30 minutes. This gradual cooling prevents thermal shock, which can cause cracks. After room temperature cooling, transfer the cheesecake, still in its pan, to the refrigerator. Chill for a minimum of 4 hours, or ideally, overnight. This crucial chilling time allows the cheesecake to firm up, develop its full flavor, and achieve that perfect, dense, yet creamy consistency for easy slicing and serving. Top with fresh fruit and whipped cream and enjoy your perfectly crafted crustless cheesecake!
Serving Suggestions: Elevate Your Crustless Cheesecake Experience
While this crustless cheesecake is undeniably delicious all on its own – rich, creamy, and perfectly tangy – it also serves as a fantastic canvas for a variety of delicious toppings and accompaniments. Its inherent elegance means it needs little embellishment, but for those special occasions or when you simply want to add an extra layer of flavor and visual appeal, here are some favorite serving suggestions:
- Fresh Berries: A classic and always welcome choice! A medley of fresh strawberries, blueberries, raspberries, or blackberries adds a burst of freshness, vibrant color, and a lovely tart contrast to the creamy cheesecake.
- Fruit Coulis: Drizzle a homemade raspberry coulis, strawberry sauce, or cherry compote over slices. The vibrant fruit purée not only tastes incredible but also creates an elegant presentation.
- Chocolate or Caramel Sauce: For an indulgent treat, a generous drizzle of warm chocolate ganache, rich salted caramel sauce, or even a simple chocolate syrup can transform your cheesecake into a decadent masterpiece.
- Whipped Cream: A dollop of freshly whipped cream, perhaps infused with a hint of vanilla or a liqueur, adds an airy lightness and extra creamy texture that pairs beautifully with the dense cheesecake.
- Lemon Curd: A spoonful of bright, zesty lemon curd can add a wonderful citrusy punch, enhancing the natural tang of the cheesecake.
- Toasted Nuts: A sprinkle of lightly toasted chopped almonds, pecans, or walnuts can add a delightful textural crunch and nutty flavor.
- Citrus Zest: A fine grating of lemon, lime, or orange zest over the top can brighten the flavors and add a subtle aromatic note.
Whether you keep it simple or dress it up, this crustless cheesecake is guaranteed to impress!
Expert Tips for a Flawless Crustless Cheesecake
Achieving cheesecake perfection is easier than you think, especially with these insider tips:
- Quality Ingredients Matter: Don’t compromise on your ingredients. Always use full-fat cream cheese in block form (avoid whipped or spreadable varieties) and high-quality vanilla extract. These foundational ingredients are key to the rich flavor and creamy texture of your cheesecake.
- Room Temperature is Non-Negotiable: This is arguably the most important tip. Ensure your cream cheese, sour cream, and eggs are all at room temperature before you start mixing. Cold ingredients do not emulsify properly, leading to a lumpy batter and a less-than-smooth cheesecake texture. Plan ahead and take them out of the refrigerator at least an hour or two before baking.
- Avoid Overmixing the Batter: Once you add the eggs, mix on low speed just until they are incorporated. Overmixing introduces too much air into the batter, which can cause the cheesecake to puff up excessively in the oven and then fall dramatically, leading to unsightly cracks.
- Resist Opening the Oven Door: Once your cheesecake is baking, avoid the temptation to open the oven door. Fluctuations in temperature can cause the cheesecake to sink or crack. Trust the baking time and the visual cues for doneness.
- Don’t Overbake Your Cheesecake: A perfectly baked cheesecake will still have a slight jiggle in its center (about a 2-3 inch diameter) when you gently shake the pan. The edges should appear set and slightly golden. It will continue to cook and set as it cools. Overbaking will result in a dry, dense texture and almost certainly lead to cracks.
- Cool Gradually: After baking, let your cheesecake cool completely at room temperature before placing it in the refrigerator. A sudden change in temperature from hot oven to cold fridge can shock the cheesecake, causing it to crack.
- Chill Thoroughly: Patience is a virtue when it comes to cheesecake. This crustless delight needs at least 4 hours of chilling in the refrigerator (or even better, overnight) to fully set. This ensures it’s firm enough to slice cleanly and allows the flavors to meld beautifully. Trying to cut it too soon will result in a messy, unset cheesecake.
Remember, sometimes despite your absolute best efforts, a cheesecake might still develop a small crack. Don’t despair! This is a common occurrence and in no way affects the delicious taste or texture. A crack is easily hidden with a generous topping of fresh berries, whipped cream, or a drizzle of sauce, so embrace its rustic charm!
Troubleshooting Common Cheesecake Issues
Even with the best intentions, cheesecakes can sometimes present challenges. Here are solutions to common problems you might encounter:
- Cracked Surface: As mentioned, cracks are often caused by overmixing (too much air), overbaking (drying out the surface), or sudden temperature changes during cooling. While often unavoidable, ensure ingredients are room temp, avoid overmixing eggs, don’t overbake, and cool gradually. Remember, toppings are your friend!
- Slightly Sunken Center: This can happen if the cheesecake wasn’t quite fully set in the middle when removed from the oven, or if there was a rapid temperature change. While aesthetic, it usually doesn’t affect taste. Ensure proper baking time and gradual cooling.
- Grainy or Lumpy Texture: This is almost always due to cold cream cheese or other dairy ingredients. Make sure your cream cheese and sour cream are at room temperature and beaten until perfectly smooth before adding other ingredients.
- Sticking to the Pan: Insufficient greasing or improper parchment lining can cause sticking. Always grease your springform pan thoroughly and consider wrapping the bottom with foil or parchment for extra insurance.
How to Remove Your Cheesecake from a Springform Pan Like a Pro
Removing a cheesecake from a springform pan can feel daunting, but with the right technique, it’s effortless. Once your cheesecake has been completely chilled for at least 4 hours (or overnight) and is firm:
- Loosen the Edges: Take a thin, sharp knife (a thin offset spatula also works well) and run it carefully around the inner edge of the springform pan. Press the blade gently against the pan side, not into the cheesecake, to create a clean separation.
- Unclip and Remove Sides: Place the pan on a flat, sturdy surface. Unclip the clamps on the side of the springform pan and gently lift the side ring straight up and away from the cheesecake.
- Transfer from Base (Optional but Recommended): For the prettiest presentation, you can carefully slide the cheesecake off the metal base. Run the thin knife or offset spatula between the bottom of the cheesecake and the pan base to ensure it’s fully detached. Then, using two large spatulas or a cake lifter, gently slide the cheesecake onto your serving plate or cake stand.
Voila! A perfectly presented crustless cheesecake ready for slicing.
Storage and Freezing Instructions for Your Crustless Cheesecake
Proper storage ensures your delicious crustless cheesecake remains fresh and delightful for as long as possible:
- Refrigerator Storage: Leftover crustless cheesecake should always be stored in the refrigerator. Cover it tightly with plastic wrap or place it in an airtight container to prevent it from drying out or absorbing odors from other foods. Stored correctly, it will remain fresh and delicious for up to 5 days. It’s best to add any toppings (fresh fruit, whipped cream, sauces) just before serving to maintain their freshness and texture.
- Freezing for Longer Storage: This cheesecake freezes beautifully!
- Slice First: For convenience, it’s best to cut the cheesecake into individual slices before freezing. This way, you can thaw only what you need.
- Wrap Tightly: Wrap each slice individually in plastic wrap, ensuring it’s sealed tightly to prevent freezer burn.
- Add Aluminum Foil: For an extra layer of protection against moisture and odors, wrap each plastic-wrapped slice again in aluminum foil.
- Freezer Bag: Place the double-wrapped slices into a freezer-safe bag or an airtight freezer container.
- Storage Duration: The cheesecake slices can be stored in the freezer for up to 2 months.
- Thawing: To enjoy, simply transfer the desired number of frozen slices to the refrigerator and let them thaw overnight. Serve chilled and add any fresh toppings once thawed.
Frequently Asked Questions (FAQs) About Crustless Cheesecake
Here are answers to some common questions about making and enjoying this easy crustless cheesecake:
- Q: What exactly is a crustless cheesecake?
A: A crustless cheesecake is simply a cheesecake baked without a traditional graham cracker or cookie crust. It focuses entirely on the creamy, rich filling, often resulting in a lighter feel while still delivering intense flavor. - Q: Is crustless cheesecake naturally gluten-free?
A: Yes! Since there is no crust made from flour or gluten-containing cookies, this recipe is naturally gluten-free, making it a perfect dessert for those with celiac disease or gluten sensitivities. - Q: Why did my cheesecake crack, and how can I prevent it?
A: Cracks are often caused by overmixing the batter (incorporating too much air), overbaking (drying out the top layer), or sudden temperature changes during cooling. To minimize cracks, ensure all ingredients are at room temperature, mix just until combined (especially after adding eggs), don’t overbake (the center should still be slightly jiggly), and allow the cheesecake to cool gradually at room temperature before chilling. - Q: Can I add different flavorings or mix-ins?
A: Absolutely! This recipe is highly customizable. You can add citrus zest (lemon, orange, lime) to the batter, a splash of liqueur, or even a swirl of fruit jam before baking. Just be mindful not to add too much liquid, which could alter the texture. - Q: How do I know when my crustless cheesecake is perfectly baked?
A: The edges of the cheesecake should appear set and slightly puffed, but the center (a 2 to 3-inch circle) should still have a slight wobble when you gently shake the pan. It will continue to firm up as it cools and chills. An internal temperature of 150°F (65°C) in the center is also a good indicator. - Q: Can I make this in a different size pan?
A: You can, but you’ll need to adjust baking times. A smaller pan will result in a thicker cheesecake requiring more baking time, while a larger pan will be thinner and bake faster. Always watch for the “wobble” test in the center.
More Delicious Gluten-Free Dessert Recipes to Try!
If you loved this simple and delightful crustless cheesecake, you’ll surely enjoy these other fantastic gluten-free dessert recipes. Perfect for any occasion, these treats prove that gluten-free baking can be just as delicious and satisfying!
- Classic Gluten-Free Cheesecake with a Crust
- Irresistible Gluten-Free Mini Cheesecakes
- Fudgy & Easy Gluten-Free Brownies
- Light & Fluffy Gluten-Free Strawberry Cake
Whether you’re new to gluten-free baking or a seasoned pro, these recipes offer delightful ways to enjoy your favorite desserts. Happy baking!