
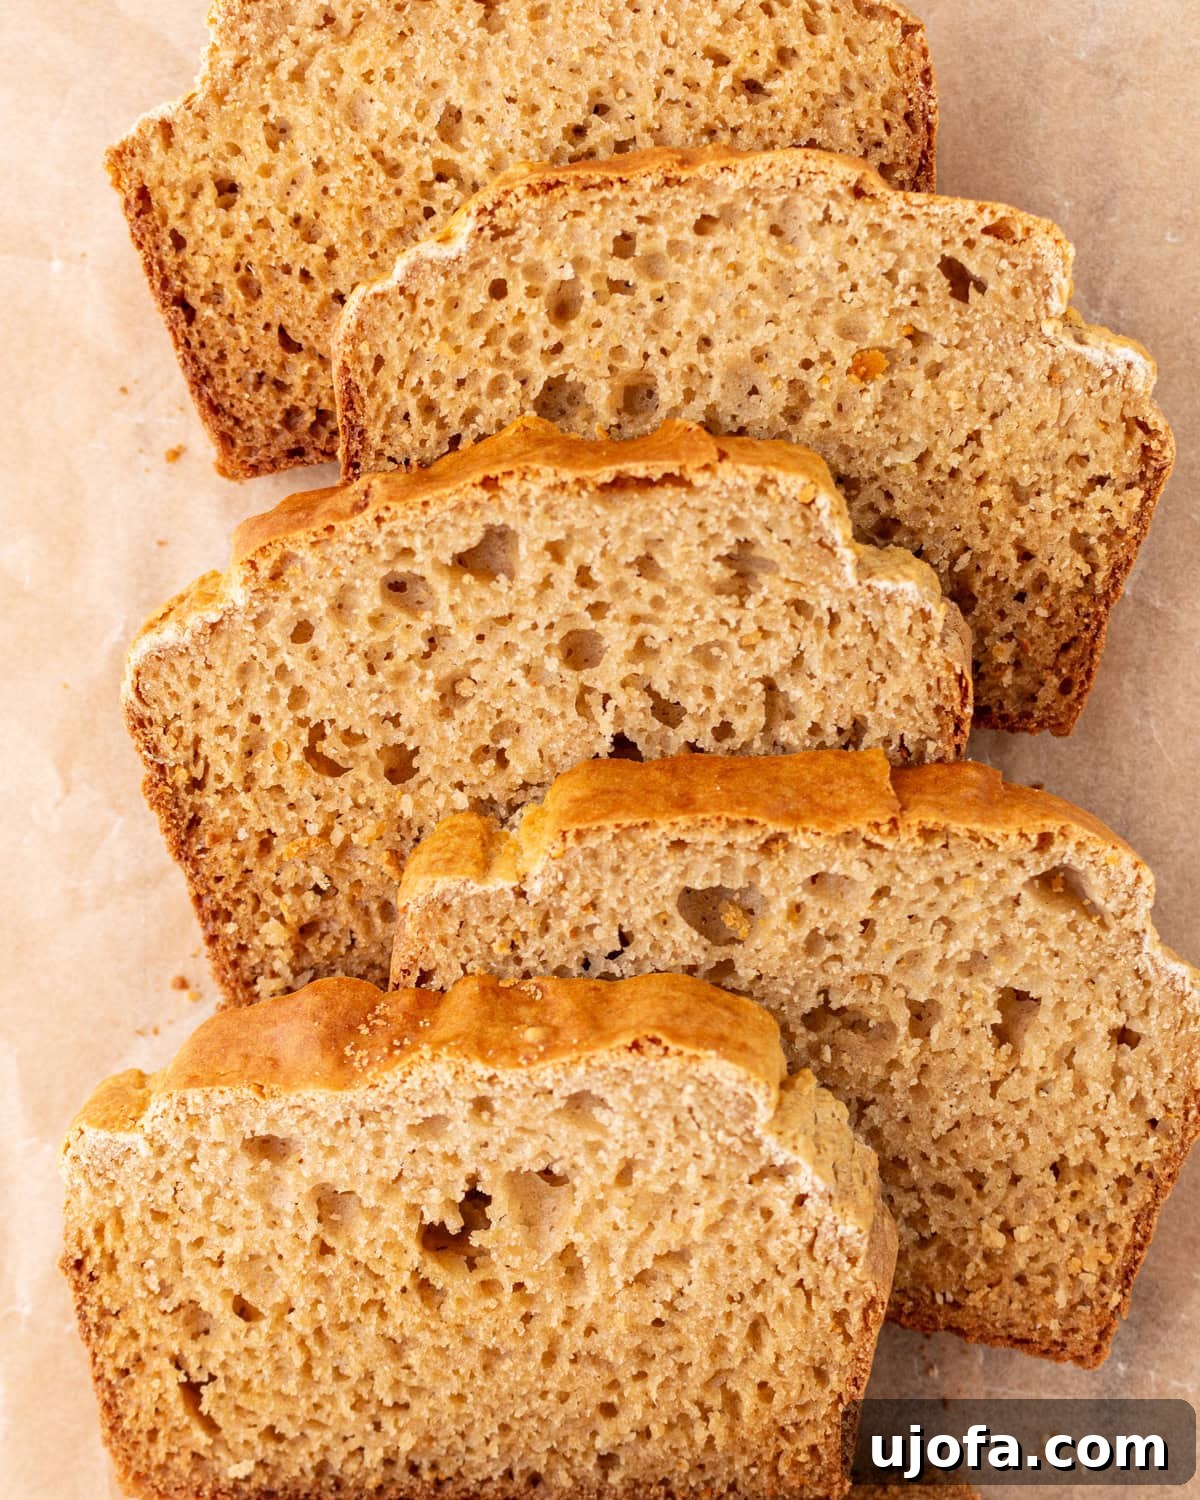
Effortless Gluten-Free Cassava Bread: Your New Pantry Staple (No Yeast Required!)
Embark on a culinary adventure with this incredibly simple and delicious cassava bread. It’s a game-changer for anyone seeking a naturally gluten-free and grain-free loaf that’s as easy to make as it is delightful to eat. Forget complicated yeast processes or lengthy rising times; this recipe relies on a handful of everyday pantry staples to deliver a soft, chewy bread with perfectly crisp edges, ready in under an hour. I’ve been on a major cassava flour kick lately, and this easy cassava bread has quickly become a beloved obsession in my kitchen, a staple I find myself baking again and again. It’s perfect warm from the oven, slathered with butter, or versatile enough for sandwiches and toast.
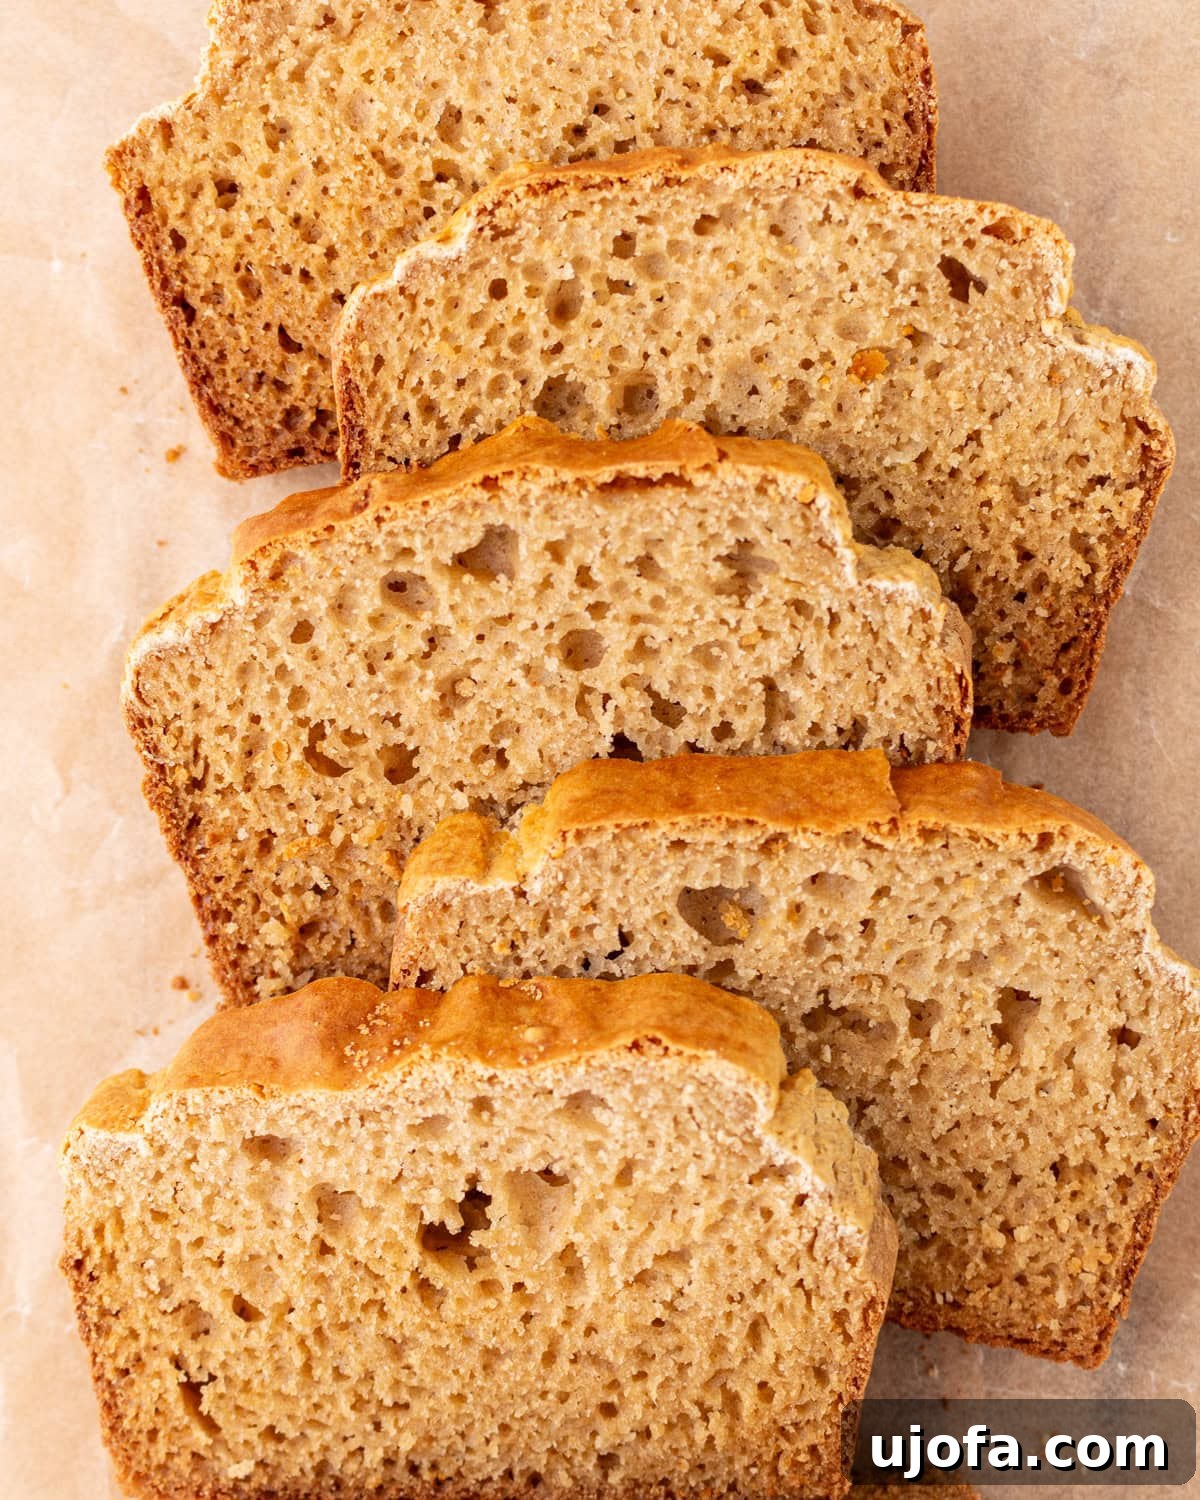
Why You’ll Fall in Love with This Easy Cassava Bread
After the incredible success of my cassava flour tortillas, I knew I had to experiment with a loaf of bread, and I’m thrilled to report that this recipe did not disappoint. What makes this cassava bread truly special?
- Naturally Gluten-Free & Grain-Free: Ideal for those with sensitivities or anyone looking to reduce grains in their diet. It’s a wholesome alternative to traditional wheat bread.
- No Yeast, No Waiting: Say goodbye to proofing times! This recipe uses baking powder and baking soda for leavening, meaning you can mix the batter and have a fresh loaf baking in minutes. It’s perfect for those spontaneous bread cravings.
- Soft, Chewy, and Perfectly Crispy Edges: The unique blend of cassava and a touch of tapioca flour creates an irresistible texture. Cassava provides a sturdy structure and satisfying chew, while tapioca adds a delightful springiness, preventing any crumbly dryness.
- Simple Pantry Ingredients: You likely have most of these ingredients on hand already. We’re talking about basic flours, eggs, buttermilk, Greek yogurt, a little oil, and honey. No obscure items needed!
- Incredibly Versatile: From breakfast toast to savory sandwiches, this bread is a blank canvas for your favorite toppings and pairings. It’s hearty enough to stand up to robust fillings yet tender enough for a simple smear of butter.
- Moist and Fluffy: The addition of buttermilk and Greek yogurt is my secret weapon for keeping this loaf wonderfully moist and fluffy, even without gluten. These dairy components contribute to a tender crumb that everyone will adore.
- Just the Right Sweetness: A hint of honey provides a subtle sweetness that balances the flavors, while just enough oil ensures the bread is tender without ever feeling heavy or greasy.
Honestly, every time I bake a loaf, it seems to vanish within hours, a testament to its irresistible appeal!
Understanding Cassava and Tapioca Flours in Gluten-Free Baking
Many people confuse cassava flour and tapioca flour, but understanding their distinct properties is key to successful gluten-free baking, especially for a recipe like this one. Both flours originate from the cassava root, a starchy tuber native to South America, but they are processed differently and contribute unique characteristics to baked goods.
- Cassava Flour: This is a whole-food flour made from the entire peeled, dried, and ground cassava root. It has a mild, neutral flavor and a fine texture that remarkably mimics wheat flour in baking. Cassava flour is excellent for providing structure and body to gluten-free recipes, making it a fantastic substitute in many dishes. However, it’s highly absorbent, which means precise measurement is crucial to prevent baked goods from becoming dry or crumbly.
- Tapioca Flour (or Tapioca Starch): Unlike cassava flour, tapioca flour is a pure starch extracted from the cassava root. It undergoes a different processing method, separating the starch from the fibrous pulp. Tapioca flour is a very fine, white powder that acts as a thickening agent and contributes elasticity, chewiness, and a slight crispness to baked goods. It helps bind ingredients together and prevents a dry, crumbly texture often associated with gluten-free baking.
In this cassava bread recipe, the combination of both flours is intentional and critical. The cassava flour provides the main structure and a satisfying chew, while the tapioca flour adds that desirable springy texture and ensures the loaf remains moist and soft. Swapping one for the other, or altering their ratio significantly, will dramatically change the bread’s outcome, often leading to less-than-ideal results. Trust me, I’ve learned this the hard way!
Easy Homemade Cassava Bread
By: Ashley Barbey
Yields: 10 slices (1 loaf)
Prep time: 10 mins
Cook time: 35 mins
Total time: 45 mins
Rating: 5 out of 5 stars (based on 3 votes)
This easy cassava bread recipe is a game-changer for anyone seeking a naturally gluten-free and grain-free loaf. Made with just a handful of simple ingredients, it requires no yeast or lengthy rising time, making delicious homemade bread accessible to everyone. Enjoy its soft, chewy texture with just the right crispness!
Equipment
- 1 4×8-inch loaf pan or 5×9-inch loaf pan
- Medium mixing bowl
- Large measuring cup or mixing bowl
- Whisk
- Measuring cups and spoons
- Spatula
- Parchment paper
- Wire cooling rack
Ingredients
- 1 ½ cups cassava flour*
- 1/3 cup tapioca flour**
- 2 teaspoons baking powder
- 1 teaspoon baking soda
- ¾ teaspoons kosher salt
- 3 large eggs
- ½ cup buttermilk
- 1/3 cup Greek yogurt***, or sour cream
- 2 tablespoons olive oil (or vegetable, canola, avocado oil)
- 1 ½ tablespoons honey
Instructions
- Prepare your pan: Preheat your oven to 350°F (177°C). Line a 4×8-inch or 5×9-inch loaf pan with parchment paper, ensuring the paper extends over the sides to create “handles.” This crucial step prevents sticking and makes lifting the bread out incredibly easy after baking.
- Combine dry ingredients: In a medium-sized mixing bowl, thoroughly whisk together the measured cassava flour, tapioca flour, baking powder, baking soda, and kosher salt. Whisking ensures these leavening agents and seasonings are evenly distributed throughout the dry mixture.
- Whisk wet ingredients: In a separate large measuring cup or bowl, crack the three large eggs. Add the buttermilk, Greek yogurt (or sour cream), the chosen oil, and the honey. Whisk vigorously until all these wet ingredients are completely smooth and well combined, forming a cohesive mixture.
- Combine wet and dry: Pour the entire wet egg mixture into the bowl containing the dry flour mixture. Using a spatula, stir gently but thoroughly until all the dry ingredients are fully moistened and no pockets of dry flour remain. Be careful not to overmix; stirring just until combined is key to maintaining a tender crumb and a good rise in gluten-free bread.
- Fill the loaf pan: Once the batter is ready, transfer it smoothly into your prepared parchment-lined loaf pan. Use your spatula to spread the batter evenly across the bottom and smooth the top, which helps ensure uniform baking and a beautiful presentation.
- Bake to perfection: Carefully place the loaf pan into the preheated oven. Bake for approximately 35 to 40 minutes. It’s important to monitor the bread, as oven temperatures can vary. The top will turn a beautiful golden brown, but the ultimate test for doneness is the center. Insert a clean toothpick into the very middle of the loaf; if it comes out clean, your cassava bread is perfectly baked through.
- Cool and serve: Once baked, remove the loaf from the oven and let it cool in the pan for about 10 to 15 minutes. This allows the bread to firm up and prevents it from crumbling when removed. After this initial cooling, use the parchment paper handles to carefully lift the loaf out and transfer it to a wire rack to cool completely. For the best texture and to avoid a gummy interior, resist the urge to slice it while it’s still warm. Once fully cooled, slice and enjoy!
Expert Tips for Flawless Cassava Bread
- Measure Cassava Flour Precisely: Cassava flour is exceptionally absorbent and can easily lead to a dry loaf if over-measured. For the best texture, always spoon the cassava flour into your measuring cup and then level it off with the back of a knife or a straight edge. Never scoop directly from the bag, as this compacts the flour and adds too much.
- Cassava vs. Tapioca: Not Interchangeable: Remember the distinction! Cassava flour provides the primary structure and chewiness, while tapioca flour (starch) adds elasticity and helps create a soft, springy crumb. Using them together in the specified ratio is crucial for this recipe’s success. Do not attempt a one-to-one swap between the two.
- Opt for Thick Greek Yogurt: The consistency of your Greek yogurt matters. Using thin or non-Greek yogurt can significantly alter the batter, making it too runny and impacting the bread’s rise and final texture. Always stick with thick, full-fat Greek yogurt to ensure the batter’s ideal consistency and support proper leavening. If you only have thinner yogurt, you can drain some of the whey using a cheesecloth for an hour or two.
- Parchment Paper is Your Best Friend: This bread, like many gluten-free varieties, has a tendency to stick to the pan. Don’t skip lining your loaf pan with parchment paper! It ensures effortless removal of your beautifully baked loaf without any frustrating sticking disasters.
- Avoid Overmixing the Batter: While there’s no gluten to develop in this bread, overmixing can still create a tough or dense texture. Stir the wet and dry ingredients together just until they are combined and no dry pockets of flour remain. A few small lumps are fine.
- The Toothpick Test is Key: Baking times are always approximate due to oven variations. Always use the toothpick test—inserting a toothpick into the center of the loaf—to confirm doneness. If it comes out clean, your bread is perfectly baked. A slightly moist crumb clinging to the toothpick indicates it needs a few more minutes.
- Room Temperature Ingredients: For the most consistent and well-emulsified batter, ensure your eggs, buttermilk, and Greek yogurt are at room temperature. This helps them incorporate more smoothly into the mixture.
Nutrition Information
Nutrition information is automatically calculated and should only be used as an approximation. Values can vary based on specific ingredients and brands used.
- Serving: 1 slice
- Calories: 141kcal
- Carbohydrates: 22g
- Protein: 3g
- Fat: 5g
- Saturated Fat: 1g
- Polyunsaturated Fat: 1g
- Monounsaturated Fat: 3g
- Trans Fat: 0.01g
- Cholesterol: 51mg
- Sodium: 403mg
- Potassium: 50mg
- Fiber: 0.4g
- Sugar: 4g
- Vitamin A: 91IU
- Vitamin C: 1mg
- Calcium: 103mg
- Iron: 1mg
How to Bake Cassava Bread: A Visual Guide
Making this gluten-free cassava bread is incredibly straightforward. Follow these step-by-step instructions, complete with visual cues, to bake your perfect loaf!
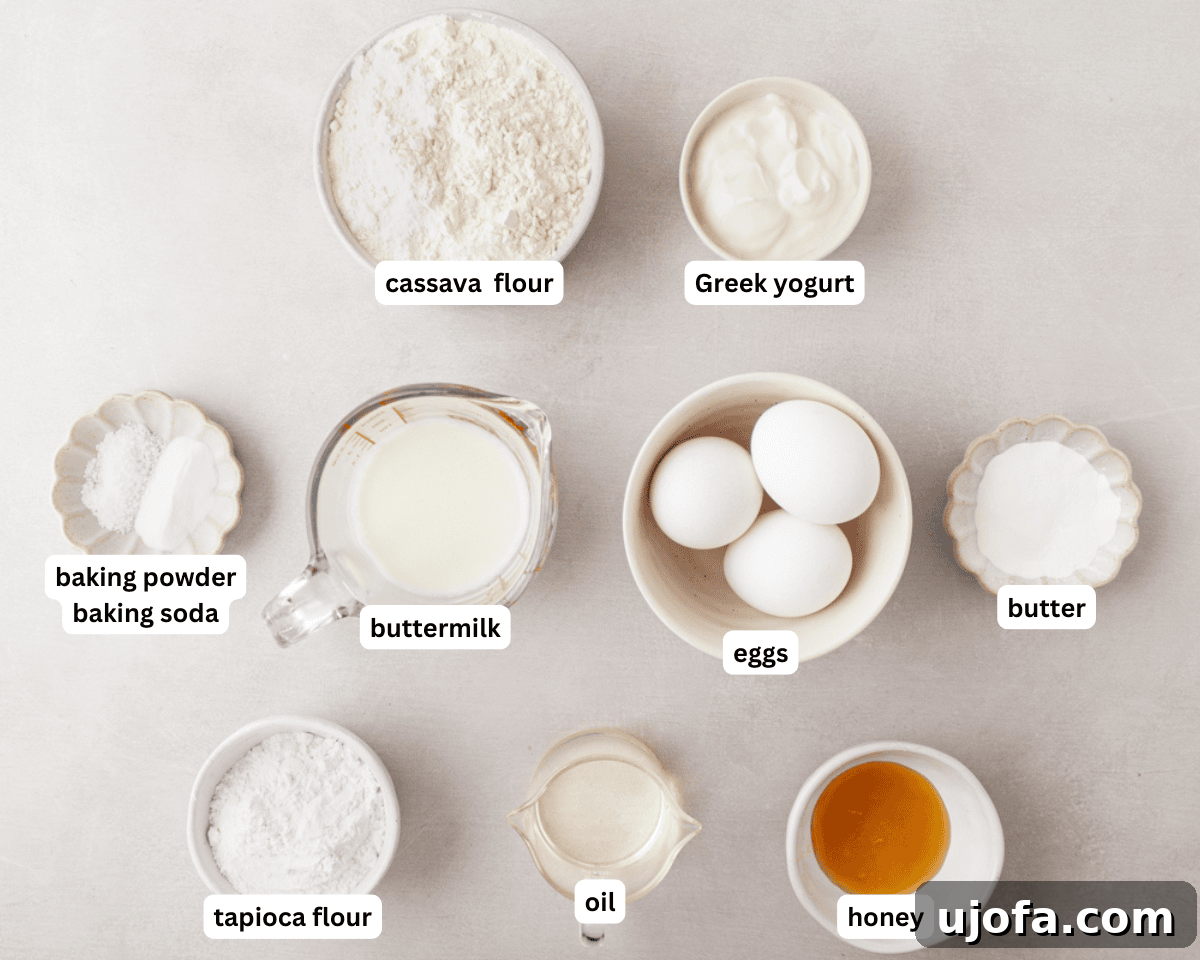
1. Gather the ingredients: Before you begin, gather all your ingredients and equipment. This makes the baking process smooth and enjoyable, ensuring you have everything you need within reach. Preheat your oven to 350°F (177°C) and prepare your loaf pan. Lining a 4×8-inch or 5×9-inch loaf pan with parchment paper is a vital step; make sure the paper covers the bottom and extends up the sides, creating small “handles” that will help you lift the bread out easily after baking, preventing any sticking.
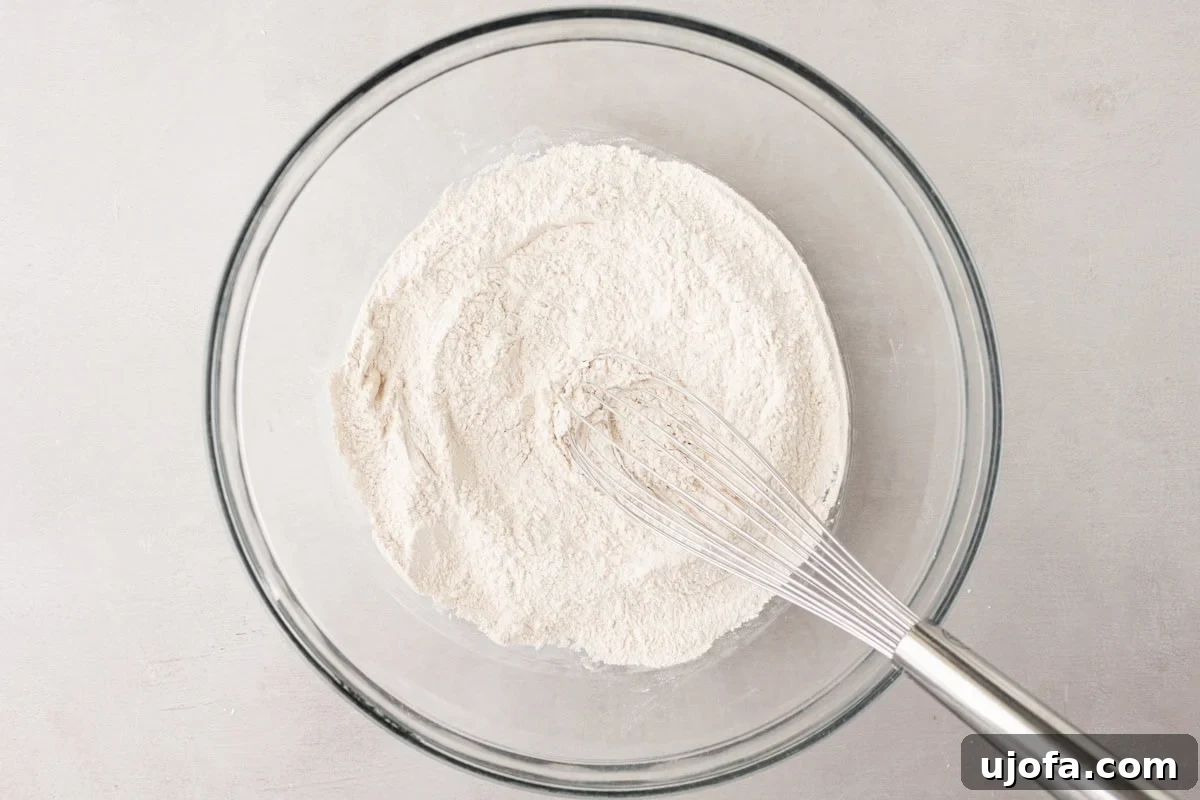
2. Whisk the dry ingredients: In a medium-sized mixing bowl, combine the measured 1½ cups of cassava flour, ⅓ cup of tapioca flour, 2 teaspoons of baking powder, 1 teaspoon of baking soda, and ¾ teaspoon of kosher salt. Use a whisk to thoroughly blend these dry components together for about 30 seconds. Proper mixing here ensures that the leavening agents (baking powder and soda) are evenly distributed, which is essential for a consistent rise and texture throughout your loaf.
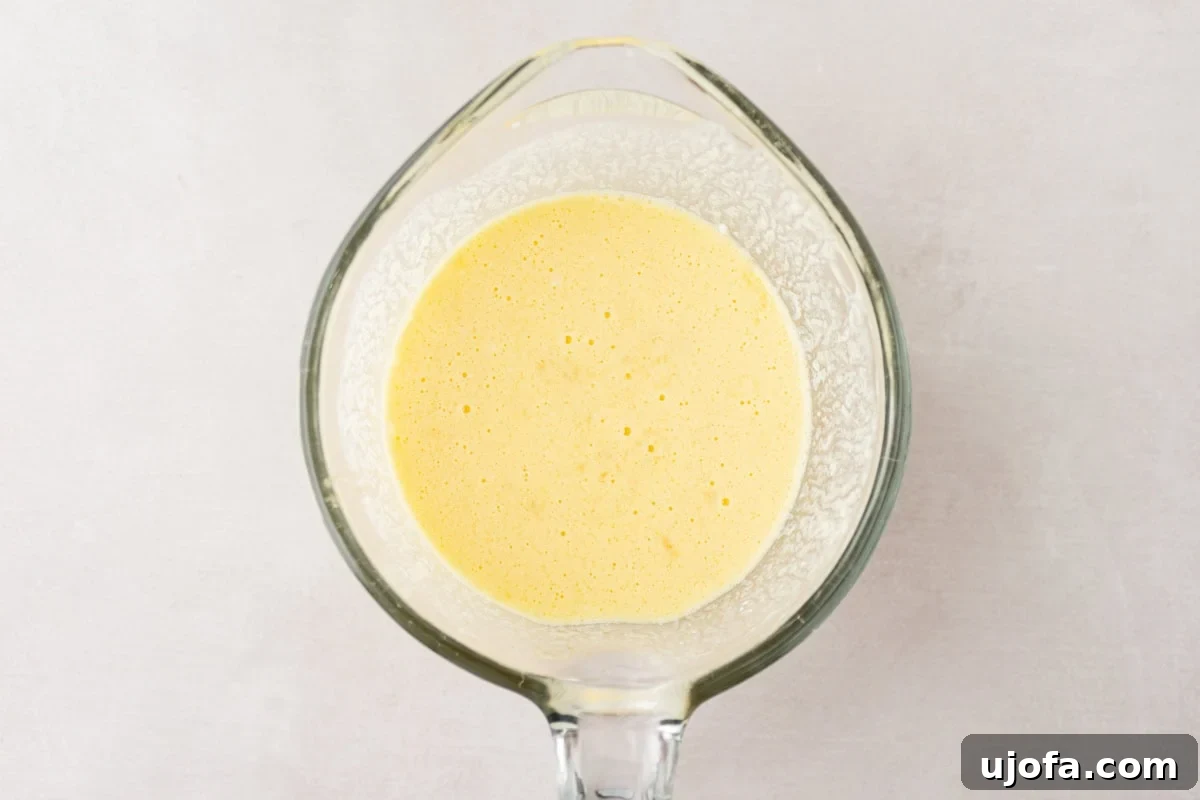
3. Blend the wet ingredients: In a separate, larger measuring cup or mixing bowl, crack the three large eggs. Add the ½ cup of buttermilk, ⅓ cup of thick Greek yogurt (or sour cream for an equally moist result), 2 tablespoons of your preferred oil (such as vegetable, canola, avocado, or olive oil—all work well to add tenderness), and 1½ tablespoons of honey. Whisk vigorously for about 1-2 minutes until the mixture is completely smooth and cohesive. This step emulsifies the fats and liquids, contributing significantly to the bread’s tender crumb and overall moistness.
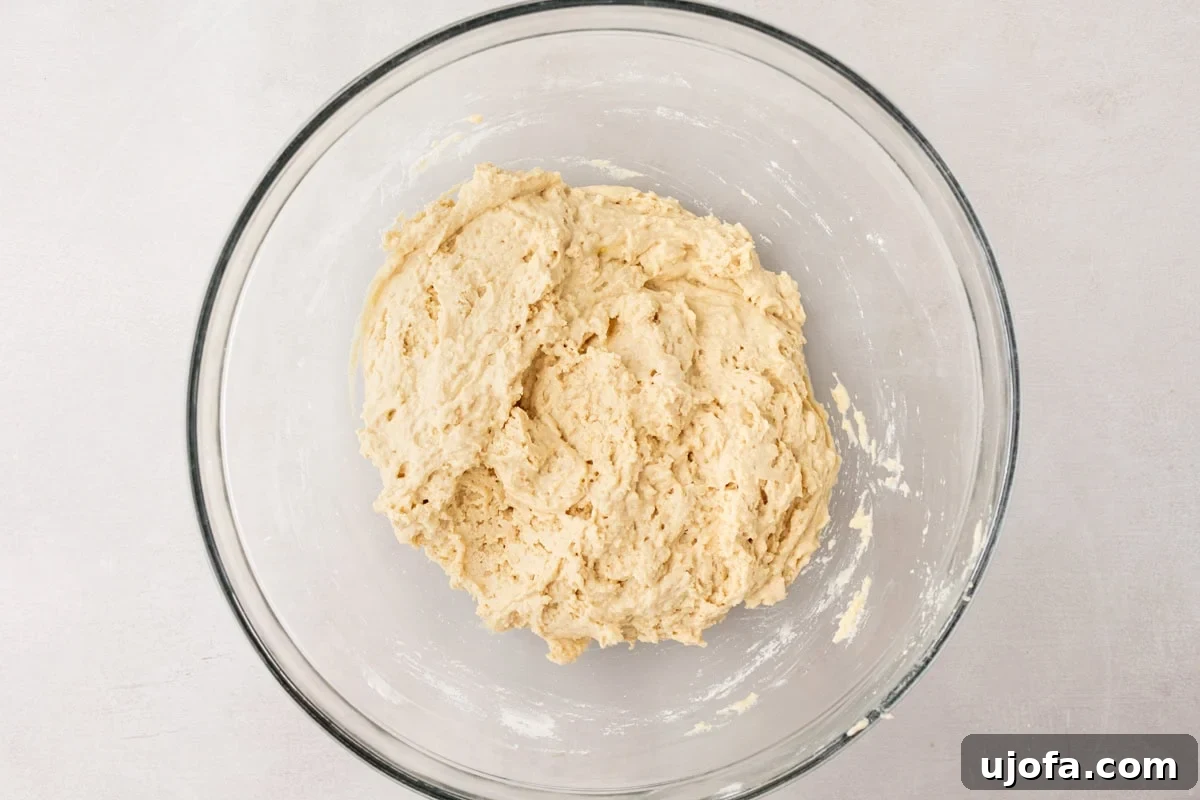
4. Combine wet and dry: Gently pour the entire liquid egg mixture into the bowl containing the dry flour mixture. Using a spatula, carefully fold and stir the ingredients together until all the dry components are fully moistened and there are no visible pockets of dry flour. Be mindful not to overmix the batter; overworking it can lead to a dense or tough texture in gluten-free breads. Mix just until everything is combined and looks cohesive.
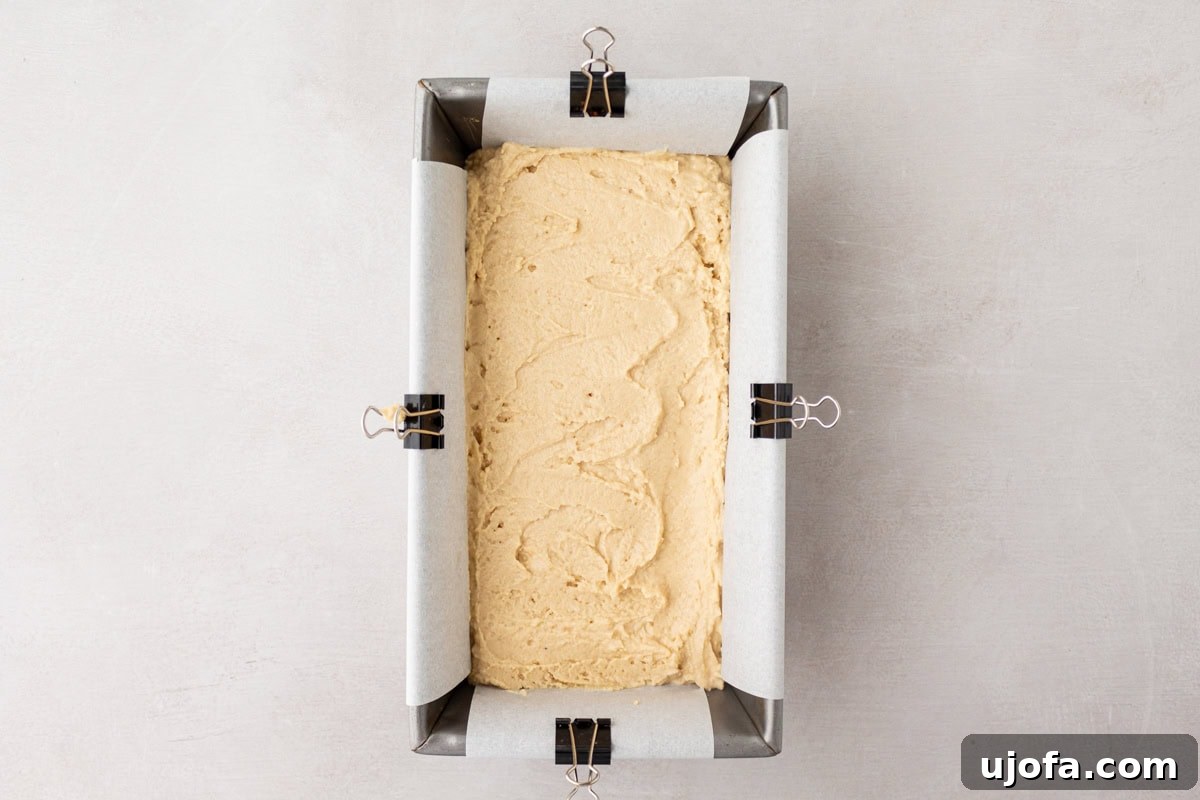
5. Fill the pan: Once your batter is perfectly mixed and ready, transfer it smoothly and evenly into the prepared parchment-lined loaf pan. Use your spatula to spread the batter out, ensuring a consistent height across the top. This simple action helps the bread bake uniformly, resulting in a beautifully shaped loaf with an even crumb.
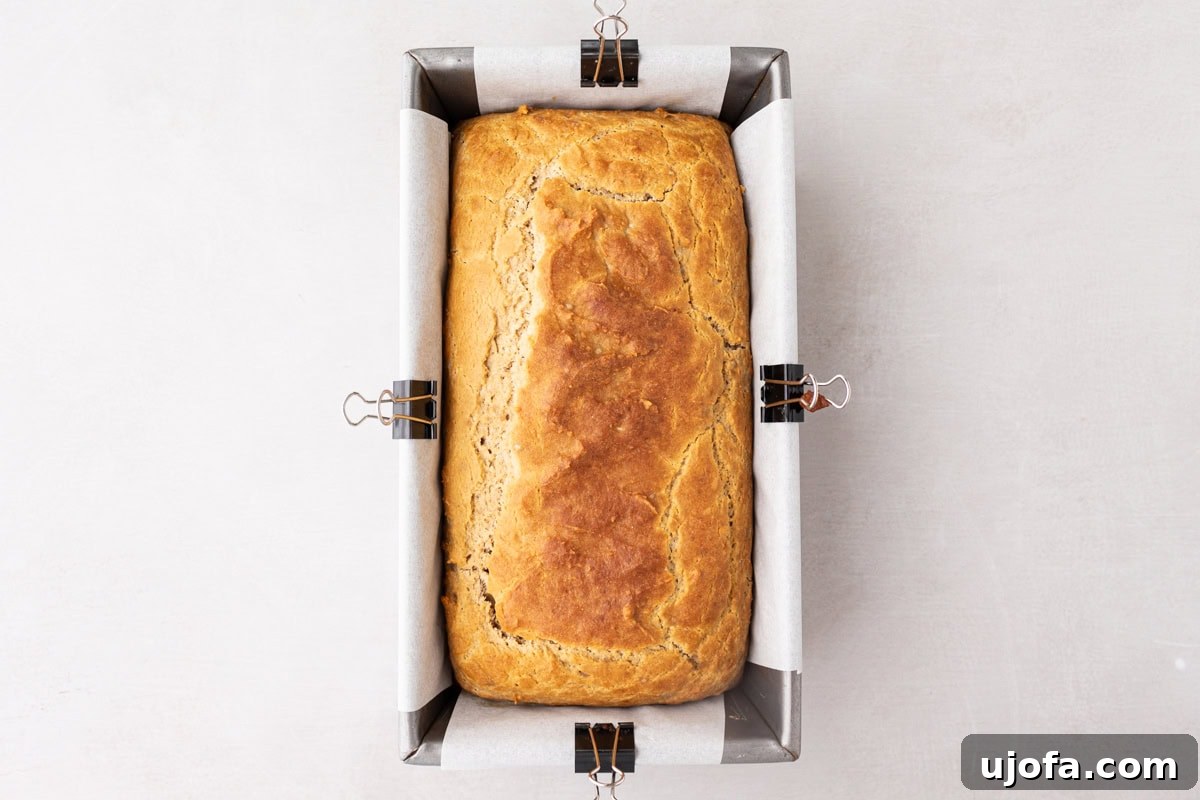
6. Bake the bread: Carefully place your filled loaf pan into the preheated oven. Bake for approximately 35 to 40 minutes. It’s crucial to monitor the bread’s progress closely, as oven temperatures can vary. The top will develop a lovely golden-brown crust, but the real test for doneness lies in the center. Insert a clean toothpick into the very middle of the loaf; if it comes out clean with no wet batter attached, your cassava bread is perfectly baked through. If it’s still sticky, bake for a few more minutes and retest.
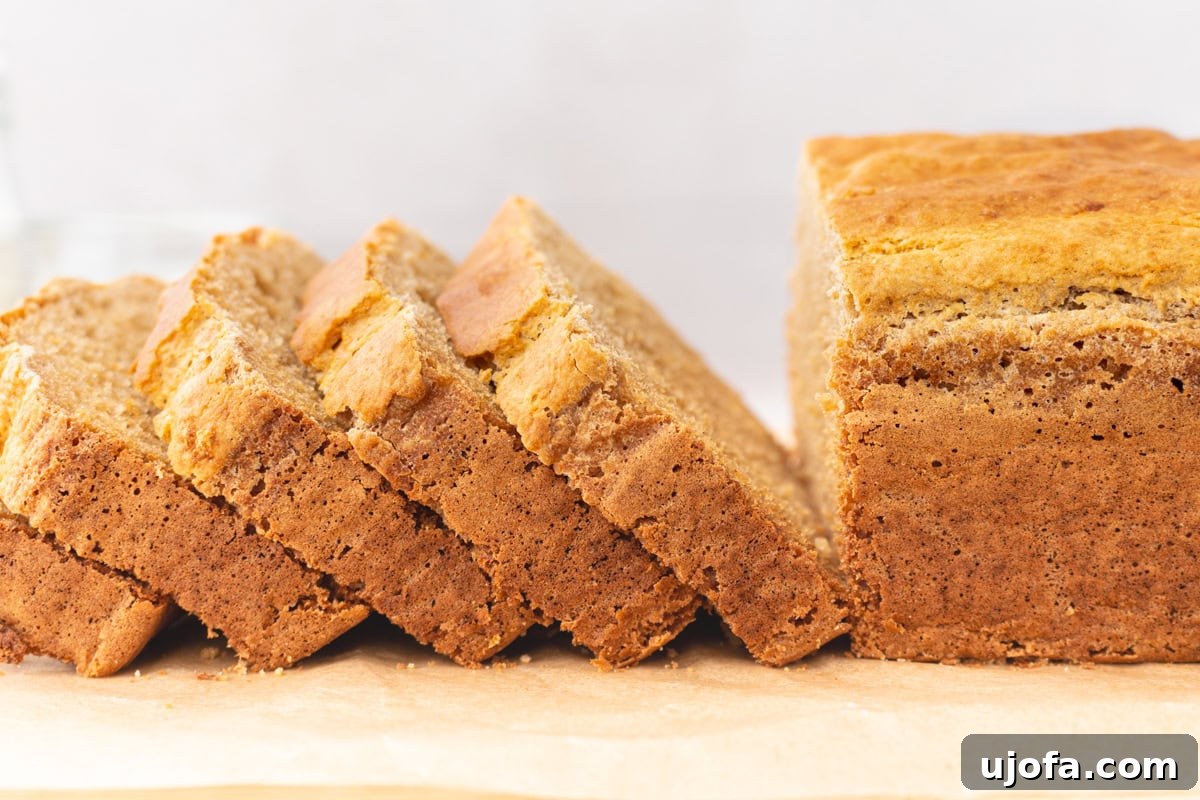
7. Cool and slice: Once baked, remove the loaf from the oven and let it rest in the pan for about 10 to 15 minutes. This crucial resting period allows the bread to set and prevents it from crumbling when handled. After this initial cooling, use the parchment paper “handles” to carefully lift the loaf out and transfer it to a wire rack. Let it cool completely on the rack. Slicing warm gluten-free bread can often result in a gummy texture, so resist the urge and wait until it’s fully cooled before cutting into even slices. Once cooled, slice and enjoy every delicious bite!
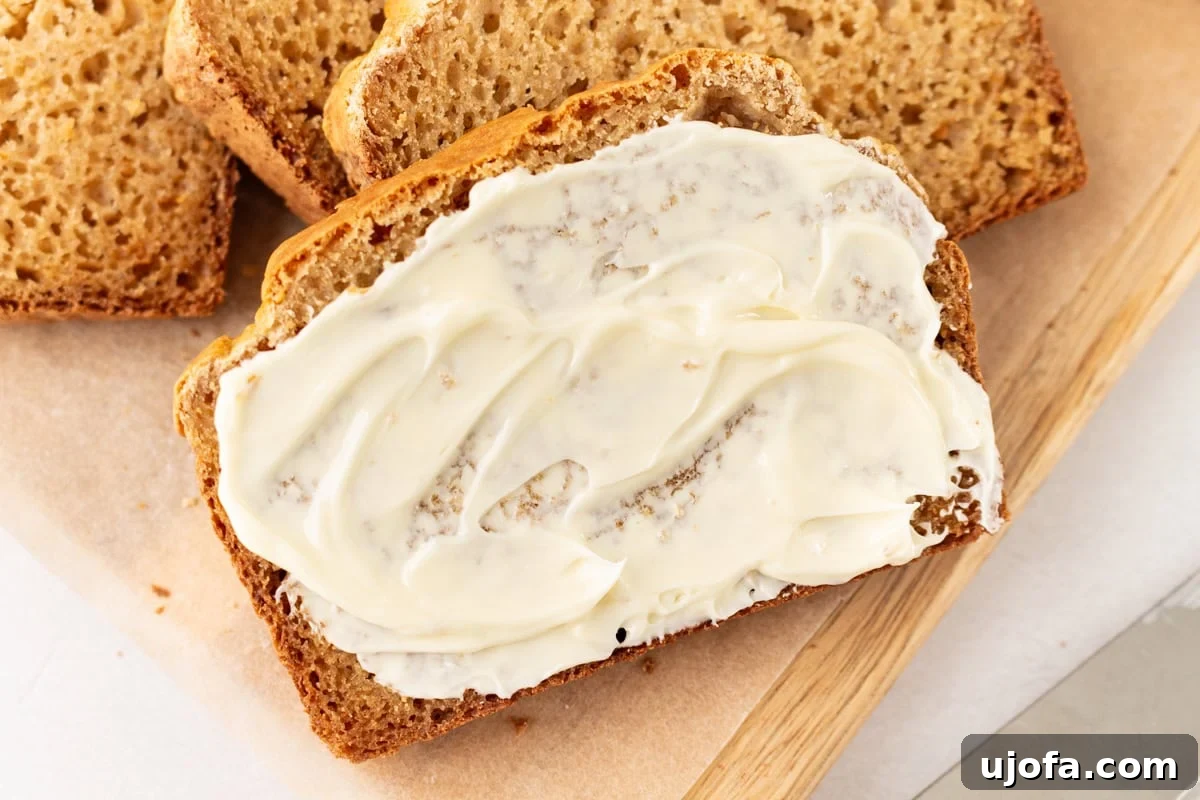
Delicious Ways to Enjoy Your Cassava Bread
This easy gluten-free cassava bread is incredibly versatile, making it a fantastic addition to almost any meal or snack. Whether you enjoy it for breakfast, lunch, or a light bite, its soft, chewy texture and subtle sweetness will impress and satisfy. Here are some of our favorite serving suggestions:
- Classic Butter & Honey: There’s nothing quite like a warm slice of cassava bread, fresh from the oven or lightly toasted, slathered with a generous pat of creamy butter and a sweet drizzle of honey. The subtle sweetness inherent in the bread perfectly complements these timeless toppings.
- Savory Breakfast Toppings: For a heartier and savory option, toast a slice until golden brown and top it with mashed avocado, a sprinkle of everything bagel seasoning, or even a perfectly fried or scrambled egg. It makes a delightful and quick base for a satisfying breakfast or brunch.
- The Perfect Sandwich Base: This bread holds up beautifully as a robust yet tender sandwich bread. Use it for a comforting grilled cheese sandwich paired with a warm bowl of gluten-free tomato soup. It’s also excellent for any of your favorite sandwich fillings, from deli meats and cheese to veggie spreads, providing a sturdy yet soft foundation that won’t fall apart.
- Accompaniment to Hearty Meals: Serve slices of warm cassava bread alongside a robust stew, a flavorful curry, or a hearty bowl of gluten-free chili. It’s perfect for soaking up all the delicious sauces and broths, adding a satisfying textural element to your meal without overpowering the main dish.
- Simple Sweet Treat: A lightly toasted slice can also be topped with your favorite fruit preserves, a dollop of nut butter, or even a sprinkle of cinnamon sugar for a quick and comforting sweet treat.
- Croutons or Breadcrumbs: If you happen to have any leftover (which is rare!), you can cube stale pieces and toast them for delicious gluten-free croutons for salads or soups. Alternatively, process them into breadcrumbs for coating chicken or fish.
However you choose to enjoy it, be warned: this cassava bread is so delicious, it often disappears moments after it’s baked!
Storing Your Homemade Cassava Bread for Freshness
Proper storage is essential to keep your delicious homemade cassava bread fresh and enjoyable for as long as possible. Follow these simple guidelines to maximize its shelf life and savor every slice:
At Room Temperature:
Once your cassava bread has completely cooled to room temperature (this step is crucial to prevent condensation and sogginess), wrap the entire loaf tightly in plastic wrap or aluminum foil. Alternatively, you can store it in an airtight container or a designated bread bag. Stored this way on your kitchen counter, it will remain wonderfully fresh and tender for up to 2 days. Beyond two days, the texture may start to dry out slightly, making refrigeration a better option for prolonged freshness.
In the Refrigerator:
For extended enjoyment and to maintain its moisture, move your cooled and tightly wrapped cassava bread to the refrigerator. It will stay fresh and delicious for up to a week when stored this way. Refrigeration helps inhibit mold growth and keeps the bread from drying out too quickly. When you’re ready to enjoy a slice, simply toast it briefly in a toaster or toaster oven. This quick reheating method will restore its soft interior and slight crispness, making it taste almost as good as fresh from the oven.
Freezing for Extended Storage:
Cassava bread freezes exceptionally well, making it an excellent candidate for meal prepping or ensuring you always have a convenient gluten-free loaf on hand. To freeze your bread effectively:
- Ensure it’s fully cooled: Just like with room temperature storage, make sure the bread is completely cool before freezing.
- Slice for convenience: For optimal practicality, slice the entire loaf into individual portions before freezing. This allows you to easily grab just what you need without having to thaw the entire loaf, minimizing waste.
- Wrap tightly: Wrap each individual slice tightly in plastic wrap. This extra layer of protection helps prevent freezer burn.
- Store in an airtight container: Place the wrapped slices into a freezer-safe bag or an airtight freezer container. Remove as much air as possible from the bag before sealing.
- Freeze for up to 3 months: Your cassava bread slices can be safely stored in the freezer for up to 3 months.
When you’re ready to enjoy a frozen slice, there’s no need for thawing beforehand. Simply pop it directly into your toaster or toaster oven until it’s warmed through and lightly toasted to your preference. It will taste wonderfully fresh and satisfying, almost like it just came out of the oven!
Frequently Asked Questions About Cassava Bread
New to baking with cassava flour or just curious about this gluten-free wonder? Here are some common questions answered to help you master your cassava bread!
Is cassava bread truly gluten-free?
Absolutely! Cassava flour is naturally derived from the cassava root, which is a root vegetable and inherently gluten-free, unlike wheat, barley, or rye. This makes cassava bread an excellent and safe choice for individuals following a strict gluten-free diet due to celiac disease, gluten sensitivity, or those simply opting for a grain-free lifestyle. When purchasing cassava or tapioca flour, always look for certified gluten-free labels if cross-contamination is a concern for severe allergies.
Can I substitute cassava flour for other gluten-free flours?
While cassava flour is a versatile gluten-free alternative, it’s not a direct one-to-one substitute for all other gluten-free flours. Its unique composition and high starch content allow it to mimic wheat flour more closely than many others, but it’s also very absorbent. For this specific recipe, the precise combination with tapioca flour is crucial for achieving the desired texture. Substituting it directly with flours like almond, coconut, or even a general gluten-free blend will likely result in significant changes to the texture, moisture, and rise, often requiring extensive recipe adjustments. For best results, stick to the recipe as written or seek recipes specifically developed for the flour you wish to use.
What’s the difference between cassava flour and tapioca flour?
This is a very common question, as both flours originate from the same cassava root but are fundamentally different. Cassava flour is made from the entire peeled, dried, and ground cassava root, making it a whole-food flour. It provides structure, mild flavor, and some fiber to baked goods. Tapioca flour (also known as tapioca starch) is a purified starch extracted from the cassava root. It’s much finer, whiter, and primarily contributes elasticity, chewiness, and a light crispness. In this recipe, the cassava flour provides the body and “bread-like” qualities, while the tapioca flour adds that desirable springy texture and ensures the bread is not crumbly or dense. They work synergistically, and neither should be substituted for the other.
Can I make this bread dairy-free?
Yes, you can absolutely adapt this cassava bread to be dairy-free! To do so, you’ll need to substitute both the buttermilk and the Greek yogurt. For the buttermilk, you can easily create a dairy-free version by combining ½ cup of unsweetened non-dairy milk (such as almond milk, soy milk, or oat milk) with ½ tablespoon of lemon juice or apple cider vinegar. Let this mixture sit for 5-10 minutes until it slightly curdles – this acts as your dairy-free buttermilk. For the Greek yogurt, a thick, plain, unsweetened dairy-free yogurt (like coconut-based or almond-based Greek-style yogurt) would be the best substitute. Ensure it’s thick enough to replicate the consistency of regular Greek yogurt, as thin yogurts can alter the batter’s texture.
My bread is crumbly or dry, what might have gone wrong?
A crumbly or dry texture in cassava bread is most commonly a sign of either too much flour or overbaking. Cassava flour is incredibly absorbent, so precise measurement is paramount. Ensure you are “spooning and leveling” your flour rather than scooping directly from the bag, which can compact the flour and lead to an excess amount. Additionally, oven temperatures can vary significantly, so always rely on the toothpick test for doneness rather than just the clock. Check the bread a few minutes before the minimum bake time to prevent overbaking, which can quickly dry out gluten-free loaves.
How important is the honey? Can I omit it or substitute?
The honey in this recipe serves a few purposes: it provides a subtle touch of sweetness, contributes to the bread’s beautiful golden-brown crust, and adds moisture, helping to keep the loaf tender. While you can reduce the amount slightly for a less sweet bread, omitting it entirely might affect the browning and the overall moistness. For a completely sugar-free alternative, you could try a liquid sugar substitute that is suitable for baking, but be aware that this may result in slight changes to the bread’s flavor, browning, and texture. Maple syrup is a good direct substitute for honey if you’re looking for a different natural sweetener, though it will impart its own distinct flavor profile.
More Delicious Gluten-Free Bread Recipes to Explore
If you’re loving the world of gluten-free baking and are eager to expand your repertoire, be sure to check out these other fantastic bread recipes. Each one offers a unique taste and texture, proving that gluten-free doesn’t mean compromising on flavor or enjoyment!
- Hearty Buckwheat Bread
- Super Easy Gluten-Free Bread Loaf
- Comforting Gluten-Free Potato Bread
- Authentic Gluten-Free Sourdough Bread
- Versatile Cassava Flour Tortillas
Final Thoughts on Your Homemade Cassava Bread
Mastering gluten-free baking can sometimes feel like a challenge, but this easy cassava bread recipe proves that it can be incredibly straightforward, rewarding, and truly delicious. With its simple, yeast-free method, a handful of common ingredients, and a delightful soft and chewy texture, it’s designed to be a staple in any kitchen, especially for those navigating gluten-free and grain-free diets. This versatile loaf opens up a world of culinary possibilities, from cozy breakfasts to satisfying sandwiches and delightful accompaniments to your favorite meals. Don’t be surprised if this beautiful loaf disappears moments after coming out of the oven, leaving everyone craving more. We hope this guide inspires you to bake and enjoy this fantastic gluten-free bread. Happy baking!