
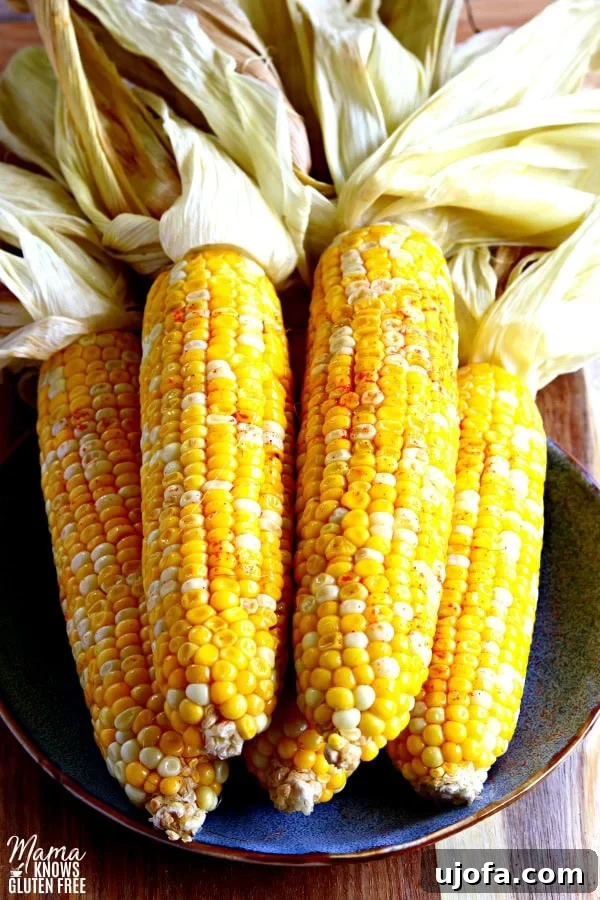
Easy Oven Roasted Corn on the Cob: Your Guide to Perfectly Juicy & Tender Sweet Corn
Prepare to discover the ultimate method for creating truly succulent and flavorful corn on the cob right in your own kitchen! Forget the fuss of a grill or the mess of boiling water; oven roasting offers an incredibly simple yet highly effective way to achieve juicy, tender, and naturally sweet corn every single time. This versatile side dish is a family favorite, perfect for elevating any meal, whether it’s a casual weeknight dinner or a festive gathering.
My family, like many others, has an absolute love affair with corn on the cob. It’s a staple at our dinner table, particularly during the warmer months, where its sweet crispness perfectly complements a variety of main courses. While many associate corn on the cob with backyard barbecues, not everyone has access to a grill. That’s precisely why I perfected this oven-roasted method – it delivers exceptional results with minimal effort, making it accessible to everyone, regardless of their grilling setup. If you’re looking for an effortless way to enjoy this beloved vegetable, look no further!
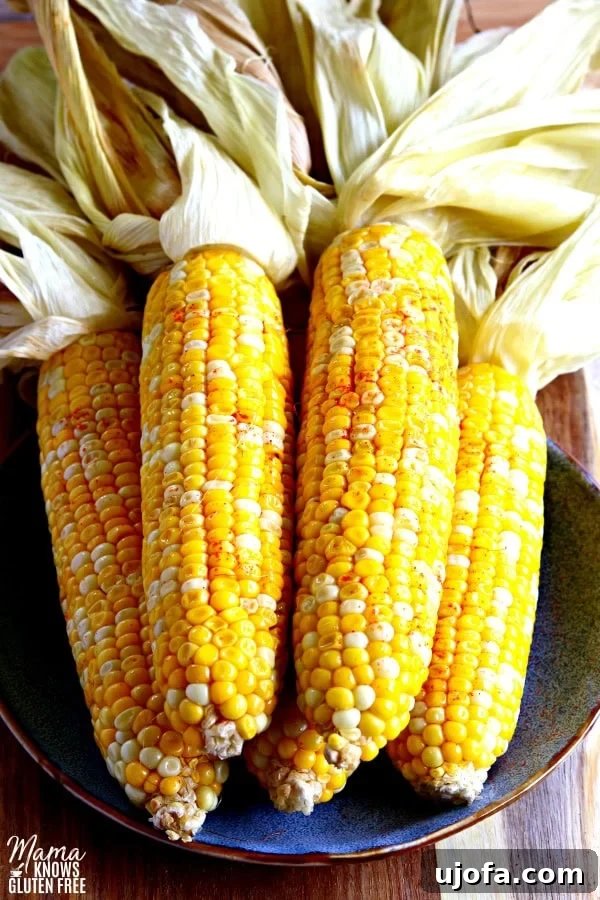
Why Oven Roasting is the Best Way to Cook Corn on the Cob
When it comes to cooking corn on the cob, there are many methods, but oven roasting truly stands out for its simplicity and superior results. Unlike boiling, which can sometimes dilute the corn’s natural sugars and lead to a less flavorful outcome, oven roasting intensifies the corn’s inherent sweetness. The dry heat of the oven, combined with a crucial preparation tip, creates a unique environment that locks in moisture and caramelizes the sugars, resulting in an unforgettable taste experience.
The secret to achieving perfectly juicy and tender oven-roasted corn on the cob lies in a very simple technique: leaving the corn husks on while they roast. These natural wrappers act as a protective barrier, essentially steaming the corn within its own moisture. This prevents the kernels from drying out, ensuring they remain plump, sweet, and bursting with flavor. The husks also protect the corn from direct heat, allowing it to cook gently and evenly, creating that desired tender-crisp texture. This method is not only incredibly effective but also remarkably convenient, as it requires virtually no hands-on prep before cooking and makes for a super easy cleanup.
Choosing and Preparing Your Fresh Corn
The foundation of any great corn dish begins with selecting the freshest ears. Look for corn cobs with bright green husks that are tightly wrapped around the corn. The silks, found at the top of the cob, should be slightly damp and sticky to the touch, not dry or brittle. Feel the kernels through the husk; they should feel plump and firm, indicating a healthy, juicy cob. Avoid any ears with husks that are yellowing, dry, or have visible blemishes or holes, as these could indicate older corn or pest damage.
Once you’ve brought your fresh corn home, it’s best to cook it as soon as possible to preserve its peak sweetness and flavor. If you can’t cook it immediately, store the unhusked ears in the refrigerator. This method of oven roasting, as mentioned, keeps the husks on, which means your prep work is minimal – no need to shuck or de-silk before cooking! This significantly cuts down on preparation time, making it an ideal choice for busy weeknights or when you’re cooking for a larger crowd.
Simple Steps to Perfectly Roasted Corn on the Cob
This recipe is designed for maximum flavor with minimum fuss. Follow these straightforward steps to achieve perfectly roasted corn:
- Preheat Your Oven: Begin by preheating your oven to 375°F (190°C). Allowing your oven to fully preheat ensures that the corn starts cooking at the optimal temperature immediately, promoting even roasting and consistent results.
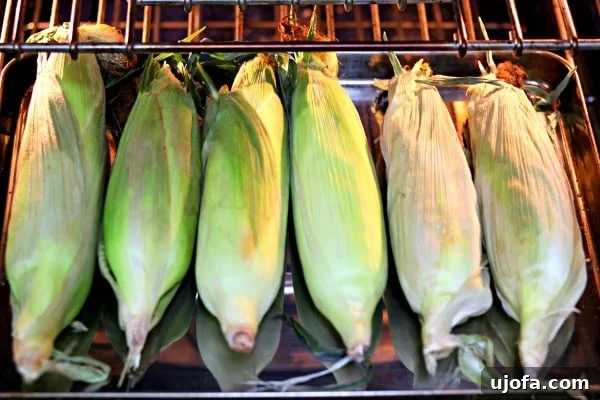
- Prepare the Corn for Roasting: Place the ears of corn, with their husks still intact, directly onto a baking sheet. There’s no need for foil, butter, or seasoning at this stage. Arrange them in a single layer, ensuring they are not overcrowded, allowing for proper air circulation around each cob. This method is incredibly easy and perfect for cooking a large batch when entertaining.
- Bake to Perfection: Bake the corn in the preheated oven for approximately 40 minutes. During this time, the husks will begin to dry out, turn slightly brown, and become easy to peel. This is a good indication that the corn inside is perfectly cooked – tender, juicy, and naturally sweet.
- Cool and Husk: Once the baking time is complete, carefully remove the baking sheet from the oven. Allow the corn to cool for a few minutes until it’s comfortable enough to handle. The husks will be warm but should peel away easily. Simply peel them back, and you’ll find that the silks come off effortlessly with the husks, leaving behind pristine, golden kernels. Break off the husks and silks at the base of the cob.
- Serve and Enjoy: Your oven-roasted corn is now ready to be enjoyed! Its natural sweetness and tender texture mean it’s delicious even without any additions. However, for a classic touch, we love to add a sprinkle of salt and a generous drizzle of melted butter over the warm cobs.
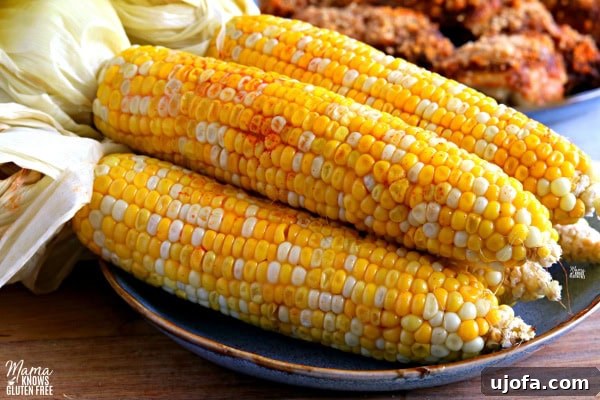
Flavorful Enhancements: Beyond Salt and Butter
While the inherent sweetness and tenderness of oven-roasted corn are often enough to delight the palate, there are endless ways to customize and enhance its flavor. After roasting, the corn becomes a blank canvas for your culinary creativity:
- Classic Butter & Salt: A timeless combination. Use high-quality butter (salted or unsalted) and a pinch of flaky sea salt to bring out the corn’s natural flavors.
- Herbs & Spices: Experiment with finely chopped fresh herbs like cilantro, parsley, chives, or dill. For a savory kick, sprinkle with paprika, chili powder, garlic powder, or a blend of your favorite spices. A dash of black pepper also adds a nice touch.
- Cheesy Delight: Grated Parmesan, cotija cheese, or even crumbled feta can add a wonderful tangy and salty dimension.
- Citrus Freshness: A squeeze of fresh lime juice or lemon juice provides a bright, zesty contrast to the corn’s sweetness. This pairs wonderfully with cilantro and a pinch of chili powder for a Mexican-inspired twist.
- Sweet Heat: For those who enjoy a little kick, a drizzle of hot honey or a sprinkle of cayenne pepper can transform the flavor profile.
Don’t be afraid to mix and match these ideas to find your perfect combination!
Serving Suggestions for Oven Roasted Corn
This easy oven-roasted corn on the cob is incredibly versatile and makes a perfect side dish for virtually any meal. Its vibrant color and satisfying crunch add a delightful element to both casual family dinners and more elaborate spreads. Here are some ideas for pairing your perfectly roasted corn:
- Barbecue Classics: It’s the quintessential partner for grilled or baked BBQ dishes. My family particularly loves it alongside our Crispy Baked BBQ Chicken Thighs, where the sweet corn provides a refreshing balance to the smoky, savory chicken.
- Mexican-Inspired Feasts: Corn is a natural fit for tacos, enchiladas, and fajitas. Serve it with Gluten-Free Beef and Cheese Enchiladas for a complete and satisfying meal. Add a sprinkle of cotija cheese and a squeeze of lime for an “Elote” inspired flavor.
- Hearty One-Pan Meals: It complements robust chicken dishes beautifully, such as our Crispy Chicken Thighs One-Pan Meal. Add it to the pan during the last part of cooking for a flavorful, all-in-one dinner.
- Summer Picnics & Potlucks: Pack it along for outdoor dining. It holds its warmth well and is always a crowd-pleaser.
- Vegetarian Options: Serve it alongside black bean burgers, grilled halloumi, or a fresh summer salad for a delicious meat-free meal.
The Health Benefits of Sweet Corn
Beyond its delicious taste and versatility, sweet corn offers a surprising array of health benefits, making it a great addition to a balanced diet. It’s a good source of dietary fiber, which is essential for digestive health and can help regulate blood sugar levels. Corn is also packed with important vitamins and minerals, including B vitamins (especially folate), vitamin C, and potassium.
Furthermore, sweet corn contains beneficial antioxidants like lutein and zeaxanthin, which are particularly good for eye health, potentially protecting against age-related macular degeneration. Despite common misconceptions, corn is naturally gluten-free, making this recipe an excellent choice for individuals with celiac disease or gluten sensitivity. Enjoying oven-roasted corn means you’re not only indulging in a delicious treat but also nourishing your body with wholesome goodness.
Tips & Tricks for the Best Oven Roasted Corn
To ensure your oven-roasted corn on the cob turns out perfectly every time, consider these extra tips:
- Even Roasting: Ensure your corn cobs are roughly the same size to promote even cooking. If you have some significantly larger ears, they might need an extra few minutes in the oven.
- Making Ahead: While best served fresh, you can roast the corn ahead of time. Once cooled, peel and store the cobs in an airtight container in the refrigerator for up to 3-4 days. Reheat gently in the oven or microwave.
- Scaling for a Crowd: This method is fantastic for large gatherings. Simply use multiple baking sheets and ensure the corn is in a single layer without overcrowding. You might need to rotate the sheets halfway through cooking for consistent results.
- Dealing with Stubborn Silks: After roasting, most silks will come off with the husks. For any stubborn strands, a clean brush or a damp paper towel can help remove them easily.
Frequently Asked Questions About Oven Roasted Corn
- Can I roast corn without the husks?
- Yes, you can. If you prefer to roast corn without husks, you’ll want to rub the shucked cobs with a little olive oil or melted butter and season them before placing them on the baking sheet. However, be aware that roasting without husks may result in slightly drier corn, and it won’t have the same steamed-inside-its-own-wrapper tenderness that the husk-on method provides.
- How do I know when the corn is done?
- The primary indicator is the appearance of the husks – they should be dried out and lightly browned. Once peeled, the kernels should look plump, vibrant yellow, and feel tender when pierced with a fork. You can also taste a kernel to ensure it’s cooked to your desired tenderness and sweetness.
- What if I don’t have fresh corn?
- While this recipe is optimized for fresh corn on the cob, you can use frozen corn on the cob. Thaw it first, then you can follow the same roasting instructions, though the cook time might be slightly reduced, and the texture may not be as crisp as fresh corn.
- Can I add other vegetables to the baking sheet?
- For this specific recipe, we recommend roasting the corn alone to ensure consistent cooking and maximum moisture retention with the husks on. If you want to roast other vegetables, it’s best to do so on a separate baking sheet or after the corn has finished cooking and been husked.
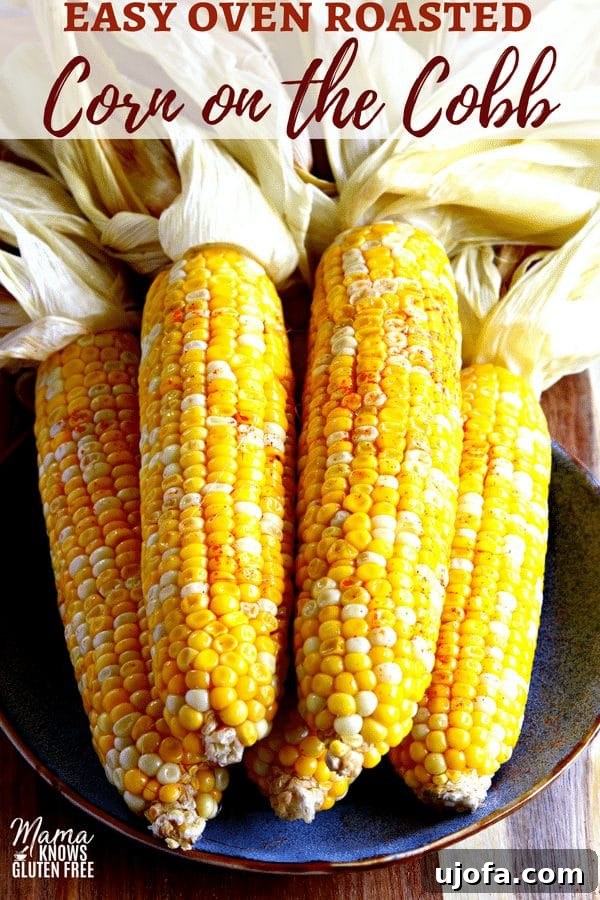
Easy Oven Roasted Corn on the Cob Recipe
This incredibly simple recipe delivers perfectly juicy and tender corn on the cob with minimal effort. It’s a fantastic side dish for any meal!
By: Audrey from Mama Knows Gluten Free

Yields: 6 servings
Prep time: 2 minutes
Cook time: 40 minutes
Total time: 42 minutes
Ingredients
- 6 ears of fresh corn, with husks on
- Salt, to taste
- Melted butter, to serve (optional)
Instructions
- Preheat your oven to 375°F (190°C).
- Place the ears of corn, with the husks still on them, directly onto a baking sheet. Ensure they are in a single layer.
- Bake for 40 minutes in the preheated oven. The husks will dry out and brown.
- Remove from the oven and allow to cool for a few minutes until they are cool enough to handle.
- Peel back the corn husks, breaking them off at the end. The silks should come off easily with the husks.
- Serve immediately with a sprinkle of salt and a drizzle of melted butter, if desired.
- Enjoy your perfectly roasted corn!
Recipe Notes
Mama says, “Always check your labels!” This is especially important for those with dietary restrictions.
Nutrition Information (Approximate Per Serving)
Serving: 1g | Calories: 77kcal | Carbohydrates: 16g | Protein: 2g | Fat: 1g | Sodium: 13mg | Potassium: 243mg | Fiber: 1g | Sugar: 5g | Vitamin A: 170IU | Vitamin C: 6.1mg | Calcium: 2mg | Iron: 0.5mg
Nutrition information is automatically calculated and provided for informational purposes, so should only be used as an approximation.
Additional Info
Course: Side Dish
Cuisine: American
This oven-roasted corn on the cob recipe is a game-changer for anyone seeking a delicious, no-fuss way to prepare this beloved vegetable. Its effortless preparation and consistently delightful results make it a staple in our kitchen, and we’re confident it will become one in yours too. Give it a try tonight and taste the difference that simple oven roasting can make!