
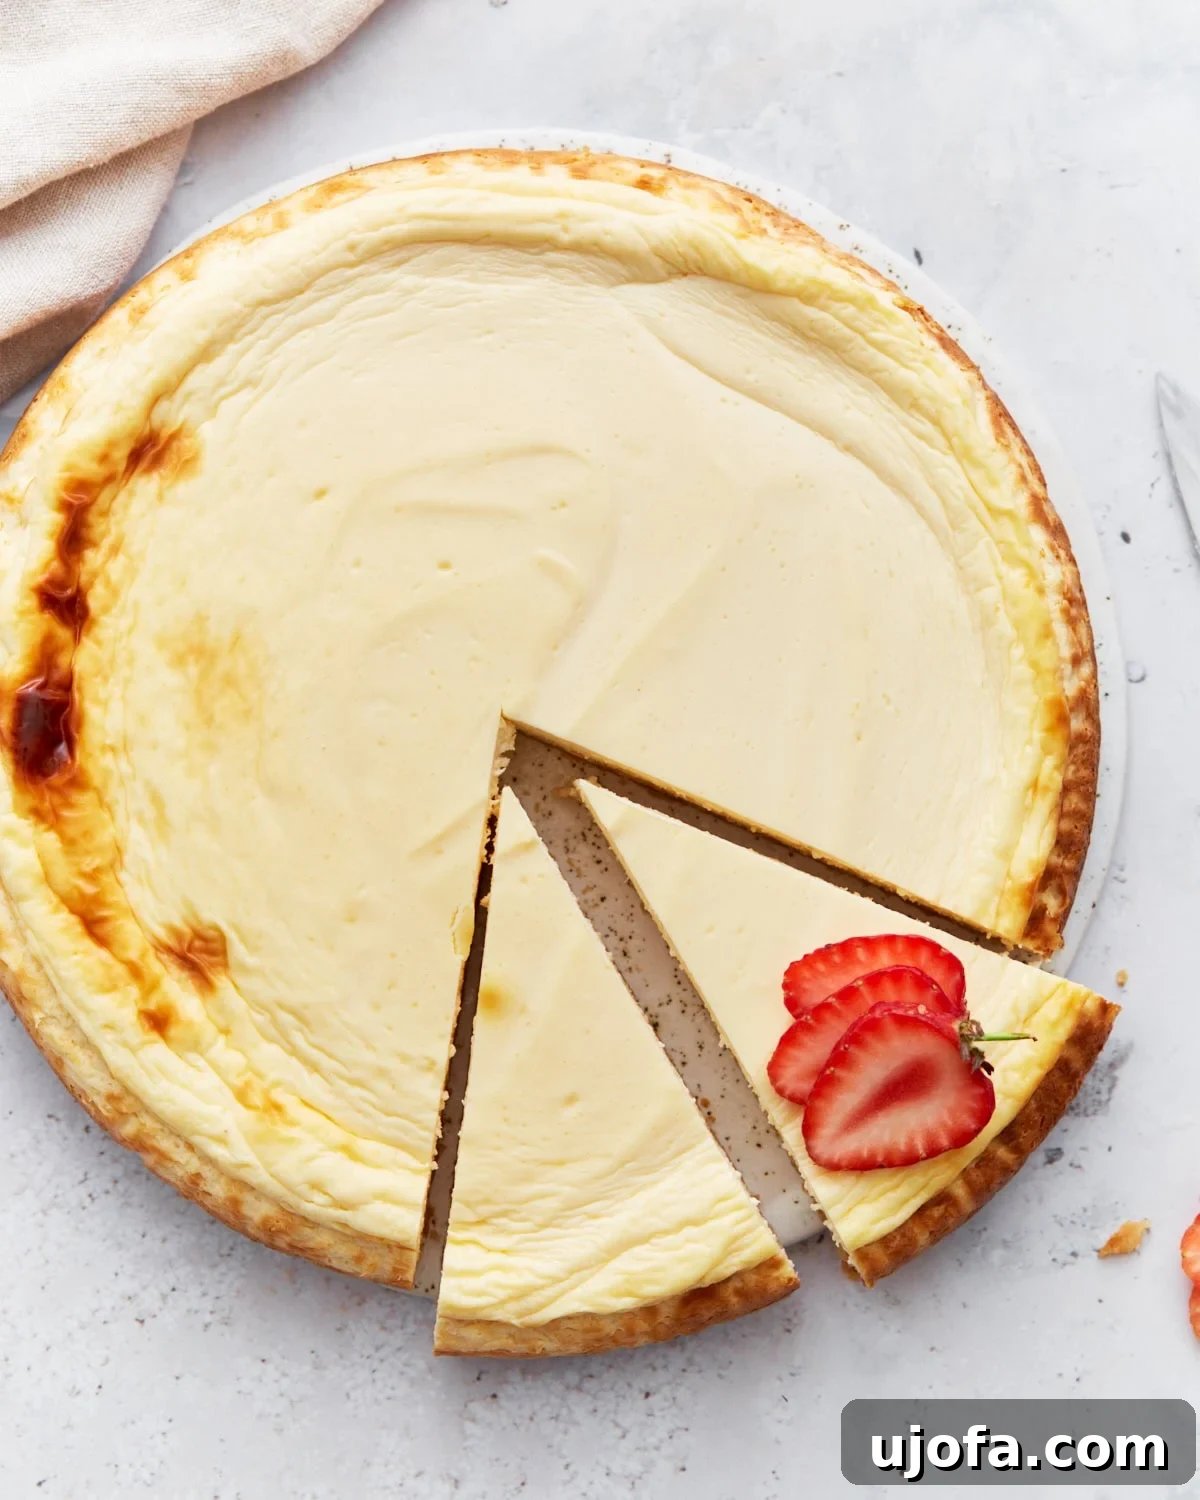
For everyone committed to a low-carb lifestyle, the thought of enjoying a classic, decadent dessert often feels like a distant dream. But what if you didn’t have to miss out on those beloved sweet moments? Prepare to be delighted by this incredible **Keto Cheesecake** recipe, meticulously crafted to satisfy your deepest sweet tooth cravings without a single gram of added sugar or unnecessary carbs. This isn’t just a dessert; it’s a culinary triumph – lusciously rich, velvety smooth, and delightfully sweet, all while adhering strictly to ketogenic principles. Built upon a delicate almond flour crust and utilizing just a handful of everyday pantry staples, this cheesecake seamlessly integrates into any low-carb or ketogenic diet plan. It’s surprisingly simple to prepare, making it the perfect showstopper for your next dinner party or a serene, indulgent solo treat. One bite, and you’ll understand why it’s so incredibly easy to fall in love with this guilt-free pleasure.
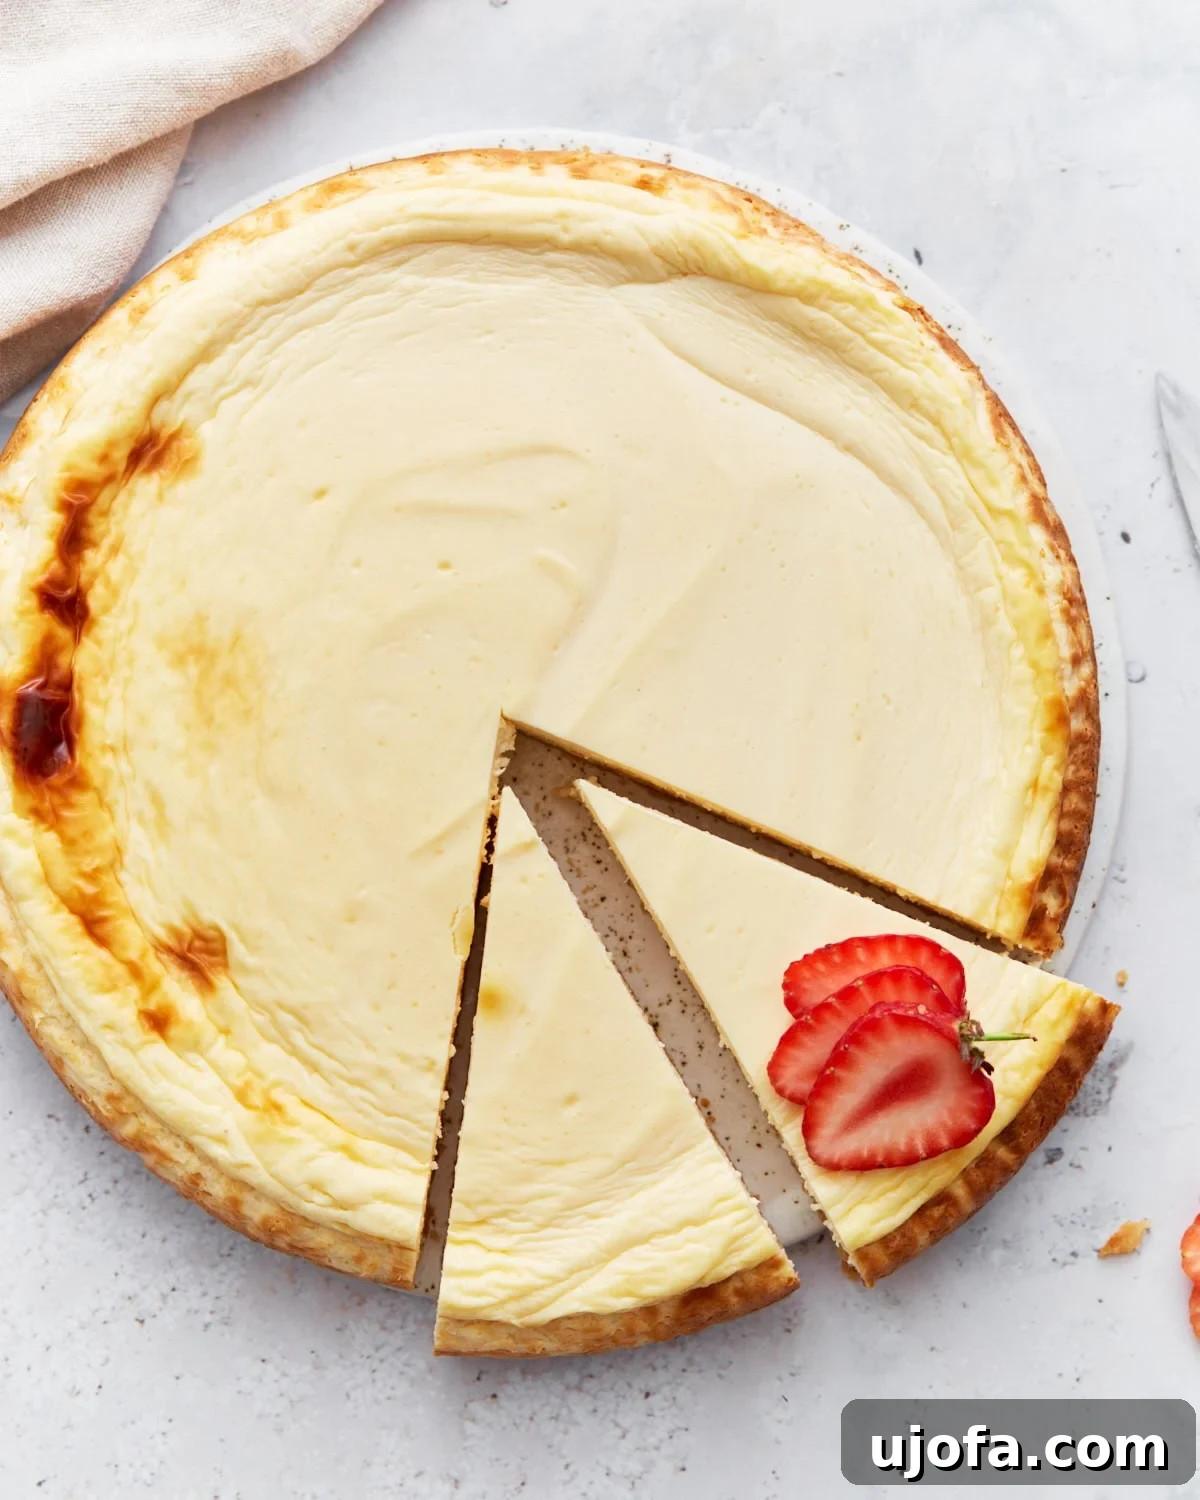
The Ultimate Easy Keto Cheesecake Recipe: Your Sugar-Free Indulgence
Our culinary philosophy revolves around transforming classic recipes to fit diverse dietary requirements without ever compromising on flavor or that satisfying texture. This **easy keto cheesecake recipe** stands as a testament to that dedication. We took our highly-rated gluten-free cheesecake as a starting point and carefully adapted the ingredients to create a dessert that is not only entirely ketogenic but also wonderfully gluten-free. The outcome is a cheesecake that perfectly embodies that signature rich, incredibly creamy texture with just the right subtle hint of tang. Remarkably, each generous slice contains only about 4g net carbs, making it an ideal choice for anyone monitoring their carbohydrate intake or seeking a genuinely healthier dessert alternative that doesn’t feel like a compromise.
The secret to its guilt-free sweetness lies in the thoughtful and effective substitution of traditional granulated sugar with erythritol. This widely recognized keto-friendly sweetener delivers excellent flavor without causing a spike in blood sugar, making it perfect for diabetics and those on a low-carb journey. Furthermore, we’ve replaced the conventional high-carb graham cracker crust with a delicate, subtly crunchy base made from almond flour. This innovative swap not only eliminates gluten but also adds a fantastic texture and contributes healthy fats to the dessert. Perhaps one of the most appealing aspects of this recipe for home bakers is its simplified process: there’s absolutely no need for a cumbersome water bath. This often-intimidating step is completely eliminated, translating to less fuss, less stress, and more time for you to simply enjoy the delightful aroma filling your kitchen as your perfect cheesecake bakes. This recipe is also incredibly convenient for meal prepping or entertaining, as it can be impeccably prepared ahead of time or even frozen for future indulgence – though we suspect it might not last long enough to make it to the freezer!
Why This Keto Cheesecake Is a Game-Changer for Low-Carb Desserts
Beyond being simply delicious, this **keto cheesecake** offers a multitude of benefits that solidify its place as a superior choice for health-conscious dessert lovers:
- Guilt-Free Sugar-Free Indulgence: Finally, you can satisfy your sweet cravings without worrying about sugar crashes or the negative health impacts of refined sugars. This cheesecake is an ideal solution for those actively managing blood sugar levels, battling sugar addiction, or simply striving to reduce their overall sugar intake while still enjoying life’s little pleasures.
- Optimized for Low-Carb Lifestyles: With an impressive ~4g net carbs per slice, this dessert aligns perfectly with strict ketogenic, general low-carb, and even diabetic-friendly dietary plans. It allows you to maintain ketosis or manage carb intake without feeling deprived.
- Naturally Gluten-Free: The use of an almond flour crust makes this cheesecake inherently gluten-free, providing a safe and delicious option for individuals with gluten sensitivities, celiac disease, or those choosing to avoid gluten for other health reasons.
- Achieves Authentic Rich and Creamy Texture: Replicating the classic, melt-in-your-mouth cheesecake texture without traditional sugar and wheat flour is a significant challenge. However, this recipe masterfully nails it, offering a velvety-smooth, luxurious experience that rivals any conventional cheesecake.
- Simple & No-Fuss Baking Process: The elimination of the often-dreaded water bath greatly simplifies the baking procedure, making this a highly accessible recipe even for novice bakers. Spend less time on complex techniques and more time enjoying the process and the results.
- Highly Versatile & Perfect for Make-Ahead: This cheesecake is a fantastic option for virtually any occasion – from casual weeknight desserts to elegant holiday gatherings. Its robust structure means it stores beautifully, making it an excellent candidate for preparing in advance, freeing up your time on busy event days.
Essential Keto & Gluten-Free Baking Tips for Cheesecake Perfection
Achieving a perfectly creamy, delightfully smooth, and crack-free **keto cheesecake** is far simpler than you might imagine, especially when you arm yourself with a few expert baking tips. These guidelines are absolutely crucial for ensuring your cheesecake turns out beautifully, consistently, and without any common pitfalls:
- Embrace Room Temperature Ingredients: The Golden Rule: This tip is paramount for any cheesecake recipe, and especially for a keto version. Ensure that your cream cheese and eggs are brought to full room temperature before you begin mixing. Cold ingredients are notoriously difficult to blend smoothly, often leading to stubborn lumps in your batter. Room temperature ingredients, on the other hand, emulsify effortlessly, creating a wonderfully smooth, cohesive, and airy filling that bakes evenly and contributes directly to that signature silky texture we all crave in a perfect cheesecake.
- Avoid Overmixing the Batter: Gentle is Best: Once your ingredients are combined, resist the natural urge to keep mixing. Excessive mixing introduces too much air into the batter, which can cause the cheesecake to puff up dramatically during baking. While this might look promising, it often leads to a significant and unsightly crack across the surface as the cheesecake cools and deflates. Mix just until the ingredients are thoroughly smooth and uniformly combined, then stop.
- Slow and Gentle Cooling is Key: Preventing Cracks: To prevent those dreaded cracks from marring the beautiful surface of your cheesecake, a gradual and controlled cooling process is absolutely essential. After the baking time is complete, turn off your oven, crack the door open slightly (about 1-2 inches using a wooden spoon or oven mitt), and allow the cheesecake to cool slowly inside the oven for at least one full hour. This gentle, incremental temperature transition helps the cheesecake settle gracefully, minimizing the drastic temperature changes that are the primary culprits behind cracking.
- Choose the Right Sweetener: Powdered for Smoothness: For a truly smooth, luscious, and grit-free cheesecake filling, you must always opt for powdered keto sweeteners. Erythritol, allulose, or monk fruit-erythritol blends in powdered form are your best allies here. Granulated keto sweeteners often fail to dissolve completely in the batter, which can result in a slightly grainy or gritty texture that detracts from the overall experience of your finished cheesecake. Powdered versions guarantee a seamlessly smooth finish every time.
- Chill, Chill, Chill: Patience for Perfection: This is arguably the most critical step for achieving optimal cheesecake consistency, flavor development, and structural integrity. While a minimum of 4 hours of chilling in the refrigerator is recommended, we wholeheartedly advise leaving your cheesecake to chill overnight. The extended resting period allows the cheesecake to fully set, firm up beautifully, and develop its most optimal flavor and texture profile. Do not rush this step – the wait is unequivocally worth it for a truly perfect slice.
- Preventing a Leaky Springform Pan: Extra Precaution: Even though this specific recipe does not require a water bath, ensuring a well-sealed springform pan is always a smart practice. To be extra cautious and prevent any potential butter leakage from the crust during baking, we recommend wrapping the outside bottom of your springform pan with a layer of heavy-duty aluminum foil before you add the crust mixture. This simple step provides peace of mind.
Keto Cheesecake
Sabine Venier
12 servings
15 mins
1 hr
1 hr 15 mins
Share by Email
Print Recipe
This keto cheesecake is exactly what you need to curb any sweet tooth cravings. It’s rich, creamy, and sweet but completely sugar-free. I made this with an almond flour crust and just a handful of pantry staples to fit into any low-carb diet. It’s incredibly easy to make for hosting guests or as a solo treat, and even easier to love.
Equipment
- 1 9-inch springform pan
- Mixing bowls (medium and large)
- Electric mixer (handheld or stand mixer recommended)
- Rubber spatula
- Parchment paper
Ingredients
For the Crust
- 1½ cups almond flour (fine blanched)
- ¼ cup melted unsalted butter
- 2 tbsp powdered erythritol (or preferred powdered keto sweetener like monk fruit-erythritol blends or powdered allulose)
- Pinch of salt
For the Filling
- 24 oz. cream cheese (3 blocks, full-fat), softened to room temperature
- ¾ cup powdered erythritol (or preferred powdered keto sweetener)
- 3 large eggs, at room temperature
- 1 tsp pure vanilla extract (ensure sugar-free)
- ½ cup full-fat sour cream, at room temperature
- 1 tbsp fresh lemon juice
(Please note: Unit conversion from US Customary to Metric should be done manually if required, as dynamic conversion is not available in this static HTML.)
Recipe Video
Instructions
- Step 1: Prepare the Pan & Preheat Oven: Begin by preheating your oven to 325°F (163°C). Take your 9-inch springform pan, line the bottom with a circular piece of parchment paper, and lightly grease the sides. This ensures your cheesecake releases perfectly without sticking.
- Step 2: Mix the Crust Ingredients: In a medium-sized mixing bowl, combine the 1½ cups of almond flour, ¼ cup of melted butter, 2 tablespoons of powdered erythritol, and a pinch of salt. Stir these ingredients thoroughly with a spoon or spatula until a crumbly, yet cohesive, dough forms that holds together when pressed.
- Step 3: Form and Pre-bake the Crust: Transfer the almond flour mixture into the bottom of your prepared springform pan. Use the back of a spoon or your clean fingertips to firmly and evenly press the mixture across the entire base. This creates a compact and stable foundation. Bake this crust in the preheated oven for 10 minutes. Once baked, remove it and set it aside to cool slightly while you prepare the creamy filling.
- Step 4: Cream Cheese & Sweetener: In a large mixing bowl (ideally using an electric hand mixer or stand mixer), combine the 24 oz (3 blocks) of softened cream cheese with ¾ cup of powdered erythritol. Beat these ingredients together on medium speed for 1-2 minutes until the mixture is completely smooth, creamy, and free of any lumps. Remember to scrape down the sides of the bowl frequently to ensure even mixing.
- Step 5: Incorporate Eggs Gradually: Add the 3 large eggs to the cream cheese mixture, introducing them one at a time. After each egg, mix gently on low speed just until it is fully incorporated into the batter. This gradual method helps maintain the smooth texture of the filling and prevents overmixing, which can introduce too much air and potentially lead to cracks during cooling. Scrape the bowl once more after adding all eggs.
- Step 6: Add Remaining Flavorful Ingredients: To complete the cheesecake filling, gently mix in 1 teaspoon of pure vanilla extract, ½ cup of full-fat sour cream, and 1 tablespoon of fresh lemon juice. Continue mixing on low speed until all the ingredients are fully combined, yielding a wonderfully silky and homogenous batter. This combination adds crucial depth, creaminess, and a delightful tang that perfectly balances the sweetness.
- Step 7: Fill & Bake the Cheesecake: Carefully pour the entire smooth cheesecake filling over the pre-baked and slightly cooled almond flour crust in the springform pan. Use a rubber spatula to gently spread and smooth the top of the filling, ensuring an even layer from edge to edge. Place the cheesecake in your preheated oven and bake for 45-50 minutes. The cheesecake is ready when the edges are set and appear lightly golden, but the very center still has a slight, delicate jiggle when the pan is gently shaken.
- Step 8: Gradual Cooling Process: This is a critical step for preventing cracks. Once baked, turn off the oven and immediately prop the oven door open about 1-2 inches (using a wooden spoon or an oven mitt). Allow the cheesecake to cool slowly inside the oven for 1 full hour. This gradual decrease in temperature helps the cheesecake to contract gently. After this initial cooling, remove it from the oven and let it cool completely at room temperature for another 1-2 hours.
- Step 9: Chill for Optimal Setting: Once your cheesecake has cooled to room temperature, cover it loosely with plastic wrap and transfer it to the refrigerator. It needs to chill for a minimum of 4 hours to fully set and firm up. However, for the absolute best texture, easiest slicing, and most developed flavor, we strongly recommend chilling it overnight. Patience truly pays off here!
- Step 10: Slice, Serve, & Savor! Once thoroughly chilled and set, your magnificent keto cheesecake is ready to be enjoyed. Carefully unclip and remove the sides of the springform pan. For clean, picture-perfect slices, use a sharp knife warmed under hot water and wiped dry between each cut. Serve your delicious **sugar-free dessert** plain, or topped with your favorite keto-friendly garnishes. Enjoy every rich, creamy, and satisfying bite!
Notes
- Sweetener Choice is Crucial: As emphasized, using powdered keto sweeteners (erythritol, allulose, monk fruit blends) is non-negotiable for achieving a silky-smooth texture without any grittiness.
- Crustless Option: For those who prefer a completely crustless keto cheesecake or wish to minimize additional carbs, simply pour the prepared filling directly into a well-greased 9-inch springform pan and bake as directed. The result is equally delicious and satisfying.
- Sour Cream Alternative: If you find yourself without sour cream or simply prefer an alternative, full-fat plain Greek yogurt can be used as a fantastic and equally effective substitute. It will contribute similar creaminess and a pleasant tang to the cheesecake filling.
- Lemon Zest for Brightness: For an extra burst of fresh, aromatic flavor, consider finely grating 1 teaspoon of lemon zest and adding it to the cheesecake filling along with the lemon juice. It brightens the overall taste profile beautifully.
- Flavor Variations: Don’t hesitate to get creative and experiment with flavors! You can easily add a tablespoon of unsweetened cocoa powder for a rich chocolate keto cheesecake, or a few drops of peppermint extract for a festive, seasonal touch. A swirl of sugar-free berry compote before baking also works wonders.
Nutrition Information (per serving)
Calories: 347 kcal
Carbohydrates: 21 g
Protein: 8 g
Fat: 33 g
Saturated Fat: 16 g
Polyunsaturated Fat: 1 g
Monounsaturated Fat: 7 g
Trans Fat: 0.2 g
Cholesterol: 114 mg
Sodium: 230 mg
Potassium: 105 mg
Fiber: 1 g
Sugar: 3 g
Vitamin A: 999 IU
Vitamin C: 1 mg
Calcium: 101 mg
Iron: 1 mg
Nutrition information is automatically calculated and should only be used as an approximation. Individual results may vary significantly based on specific brands of ingredients used and precise portion sizes.
Additional Recipe Information
Baking, Dessert
American
Mention @mamaknowsglutenfree or tag #mamaknowsglutenfree! We love to see your delicious results.
Visual Guide: How to Make Keto Cheesecake Step-by-Step
Follow these detailed steps, complete with visual aids, to ensure your **sugar-free cheesecake** comes out perfectly every time. From preparing your pan to that final moment of delicious indulgence, we’ve got you covered with clear instructions and helpful photos.
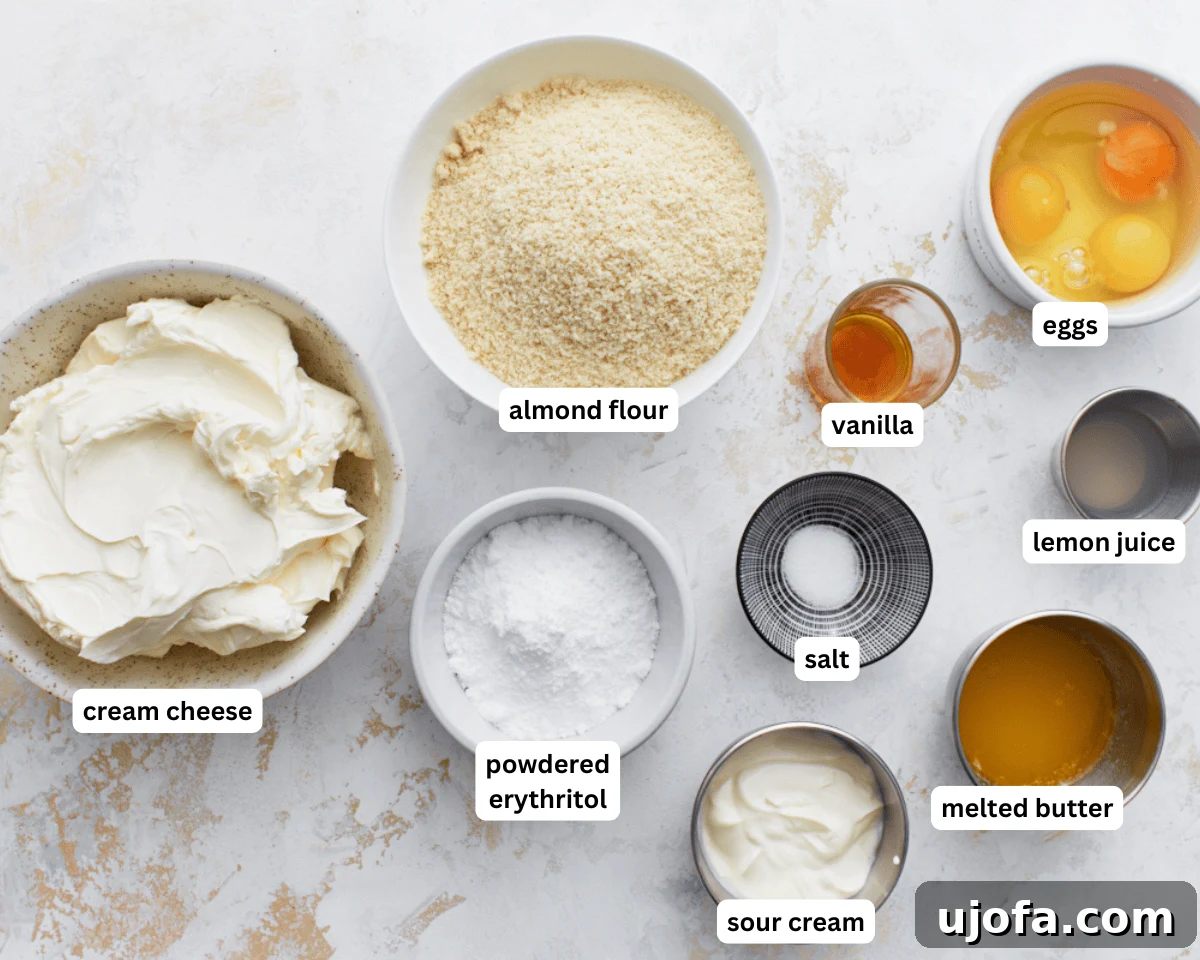
Step 1: Gather Your Ingredients and Prep the Pan. Begin your baking journey by ensuring all your ingredients are precisely measured and brought to room temperature, which is crucial for a smooth and successful baking process. Preheat your oven to 325°F (163°C). Take your 9-inch springform pan, line its bottom with a pre-cut circle of parchment paper, and then lightly grease the inner sides of the pan. This meticulous preparation prevents sticking and ensures a pristine, effortless release of your beautiful cheesecake later.
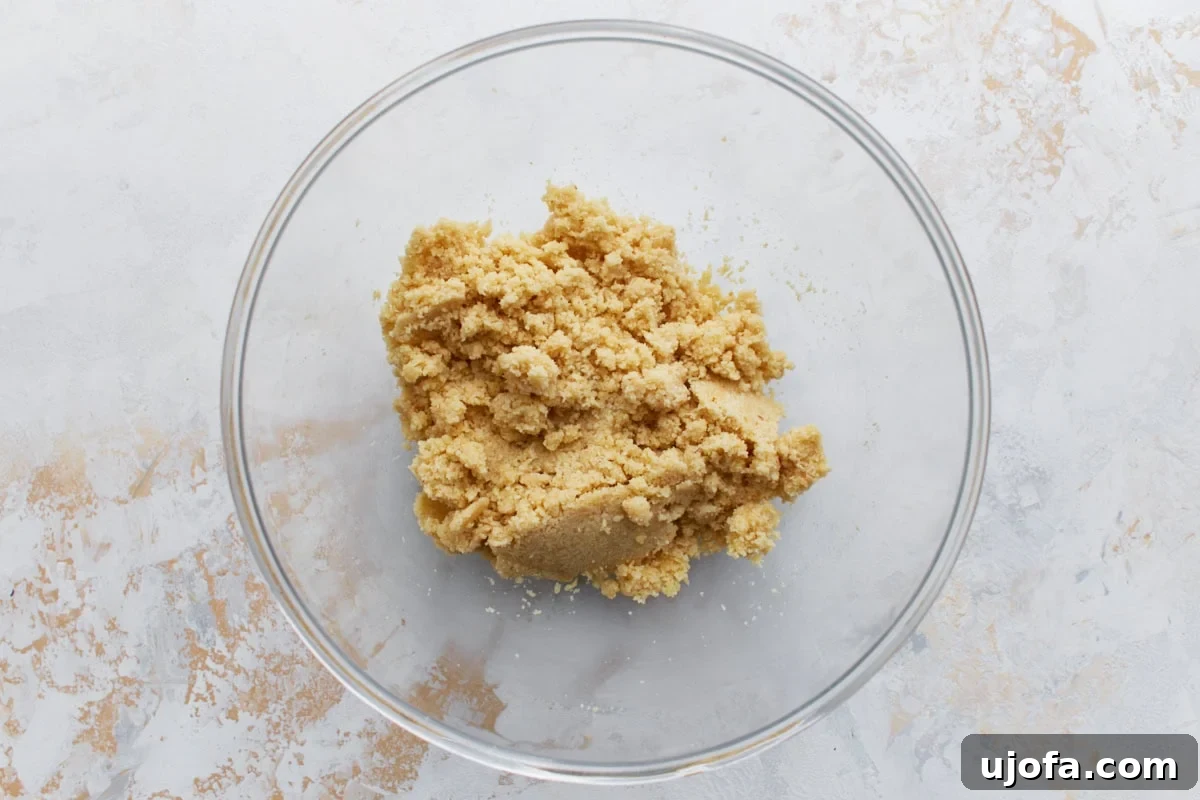
Step 2: Craft the Almond Flour Crust. In a medium mixing bowl, combine 1½ cups of fine blanched almond flour with ¼ cup of melted unsalted butter, 2 tablespoons of powdered erythritol (or your preferred keto-friendly powdered sweetener), and a small pinch of salt. Stir these ingredients thoroughly with a sturdy spoon or a rubber spatula until they transform into a crumbly yet cohesive mixture that, when squeezed gently, holds together like a damp sandcastle.
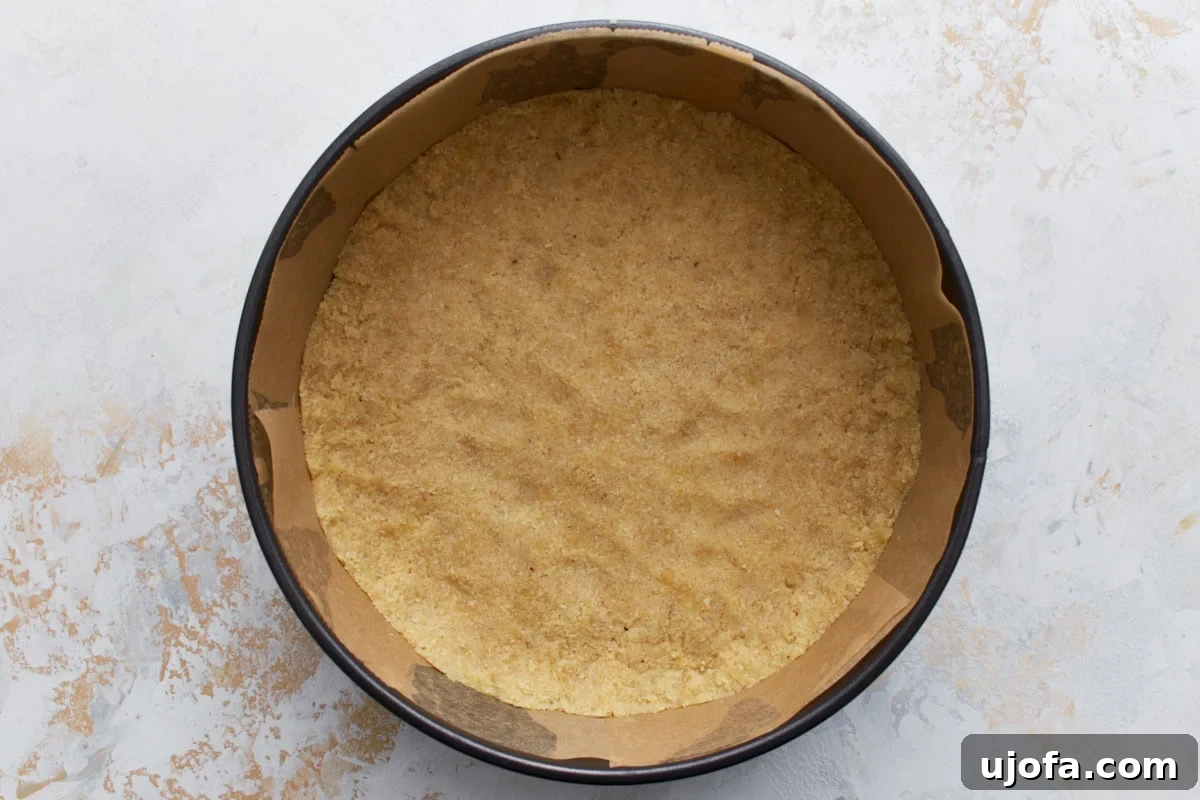
Step 3: Press the Crust into the Pan. Gently transfer the prepared almond flour mixture into the bottom of your parchment-lined springform pan. Using the back of a spoon or your clean fingertips, firmly and evenly press the mixture across the entire base of the pan. Pay special attention to creating a smooth, flat, and compact layer. This meticulous step creates a solid and flavorful foundation for your creamy cheesecake filling.
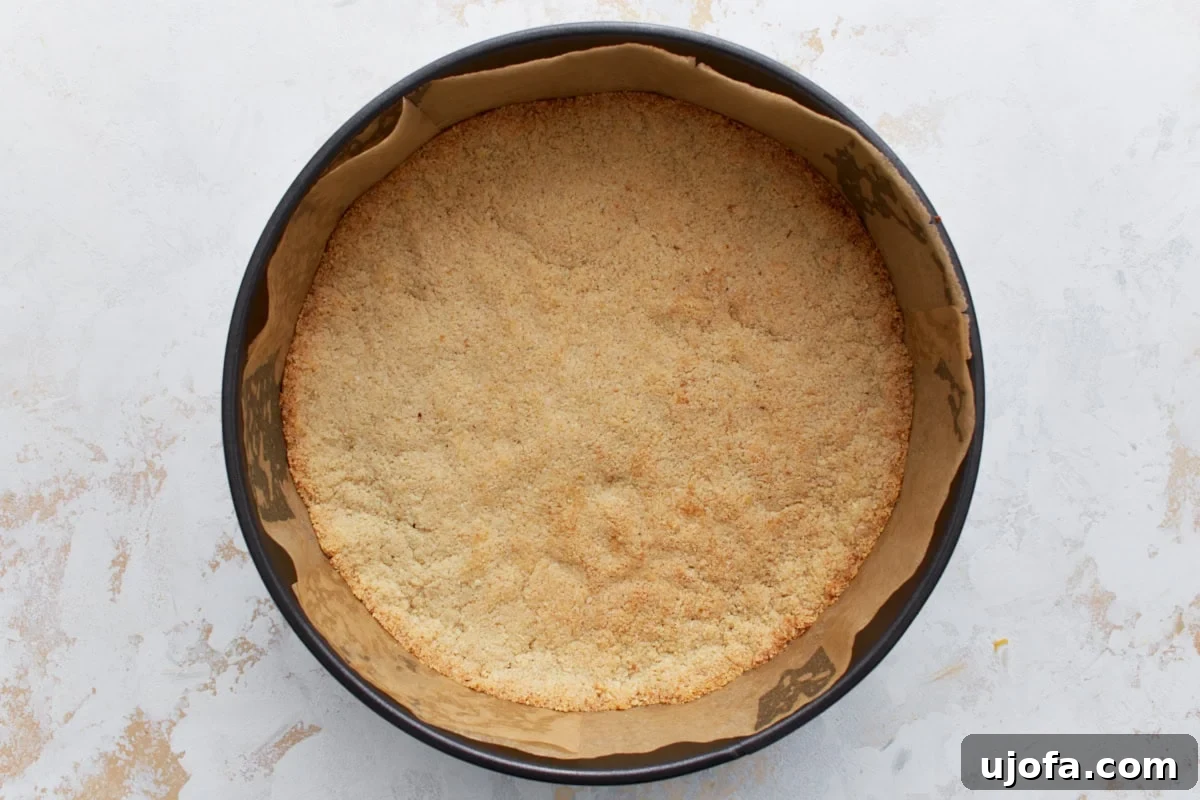
Step 4: Bake the Crust to Golden Perfection. Carefully place the springform pan containing the pressed crust into your preheated oven. Bake for exactly 10 minutes. This essential pre-baking step helps to set the crust, imparting a delightful crispness and preventing it from becoming soggy once the wet cheesecake filling is added. Once baked, remove the pan from the oven and set it aside on a wire rack to cool slightly while you move on to preparing the sumptuous cheesecake filling.
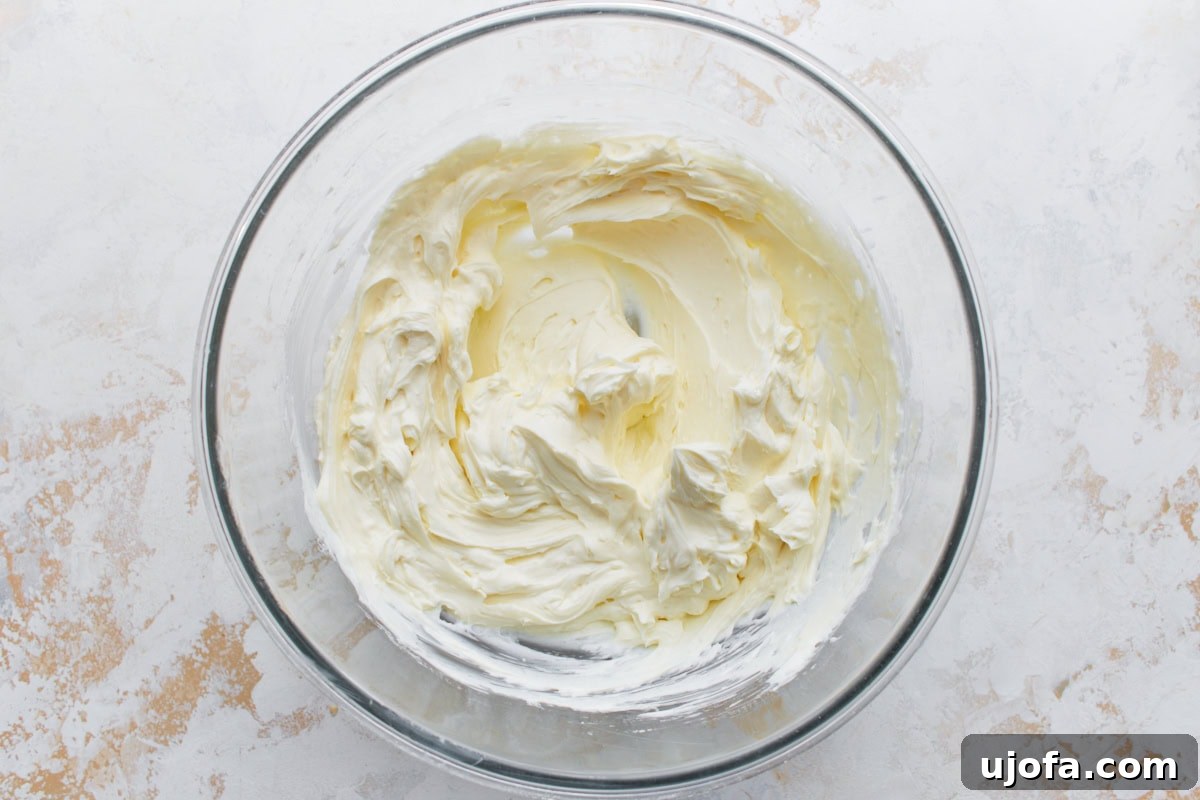
Step 5: Beat Cream Cheese and Sweetener. In a large mixing bowl, ideally utilizing an electric hand mixer or a stand mixer fitted with the paddle attachment, combine 24 oz (3 blocks) of softened cream cheese with ¾ cup of powdered erythritol. Beat these ingredients together on medium speed for approximately 1-2 minutes. The goal is to achieve an incredibly smooth, airy, and creamy mixture completely devoid of any lumps. Remember to frequently scrape down the sides and bottom of the bowl to ensure all ingredients are thoroughly incorporated.
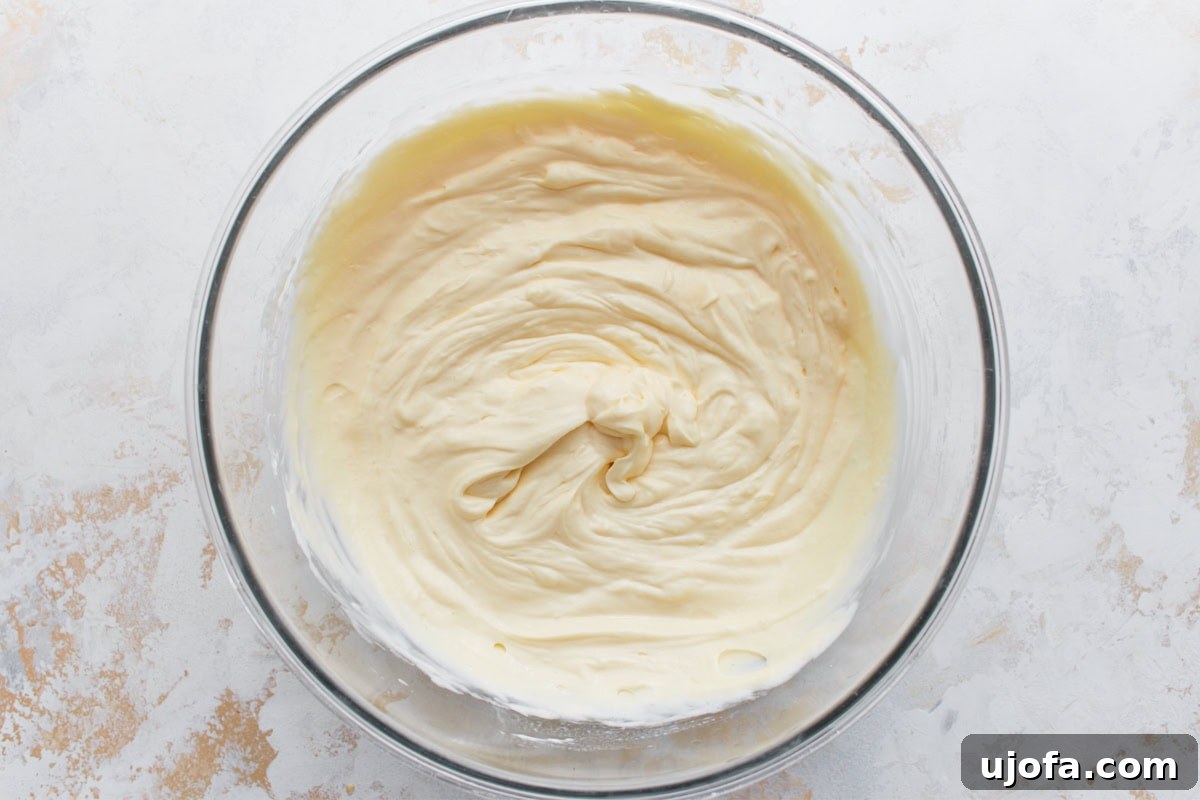
Step 6: Incorporate Eggs One by One. Now, add the 3 large eggs to the cream cheese mixture, but do so very carefully and one at a time. After adding each individual egg, mix gently on low speed just until it is fully incorporated into the batter. This precise method is key to maintaining the smooth and luxurious texture of the filling and, crucially, prevents overmixing, which can introduce too much air and lead to the formation of cracks during the cooling process. Give the bowl one final scrape after all eggs are mixed in.
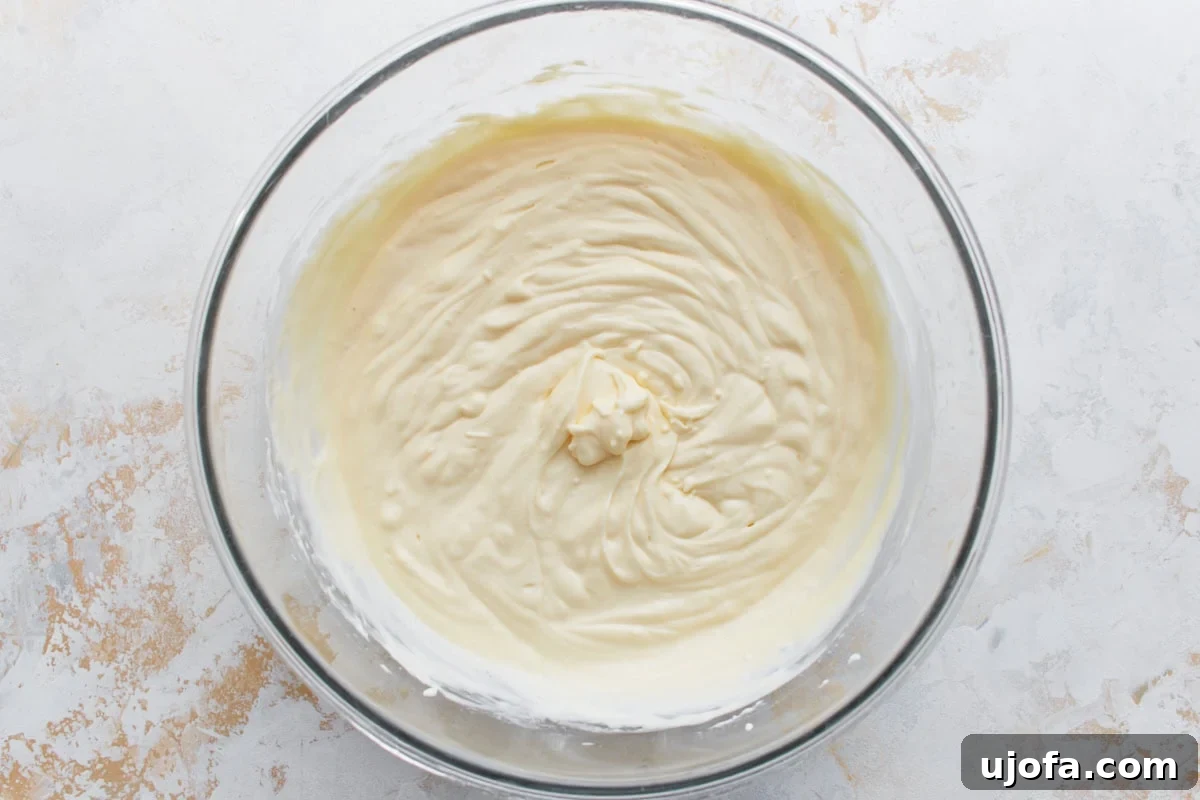
Step 7: Add Remaining Flavorful Ingredients. To truly complete the complex flavor profile of your cheesecake filling, gently mix in 1 teaspoon of pure vanilla extract, ½ cup of full-fat sour cream, and 1 tablespoon of fresh lemon juice. Continue mixing on low speed until all these incredible ingredients are fully combined, resulting in a wonderfully silky, homogenous, and aromatic batter. This masterful combination adds essential depth, a luxurious creaminess, and a subtle tang that perfectly balances the sweetness of the erythritol.
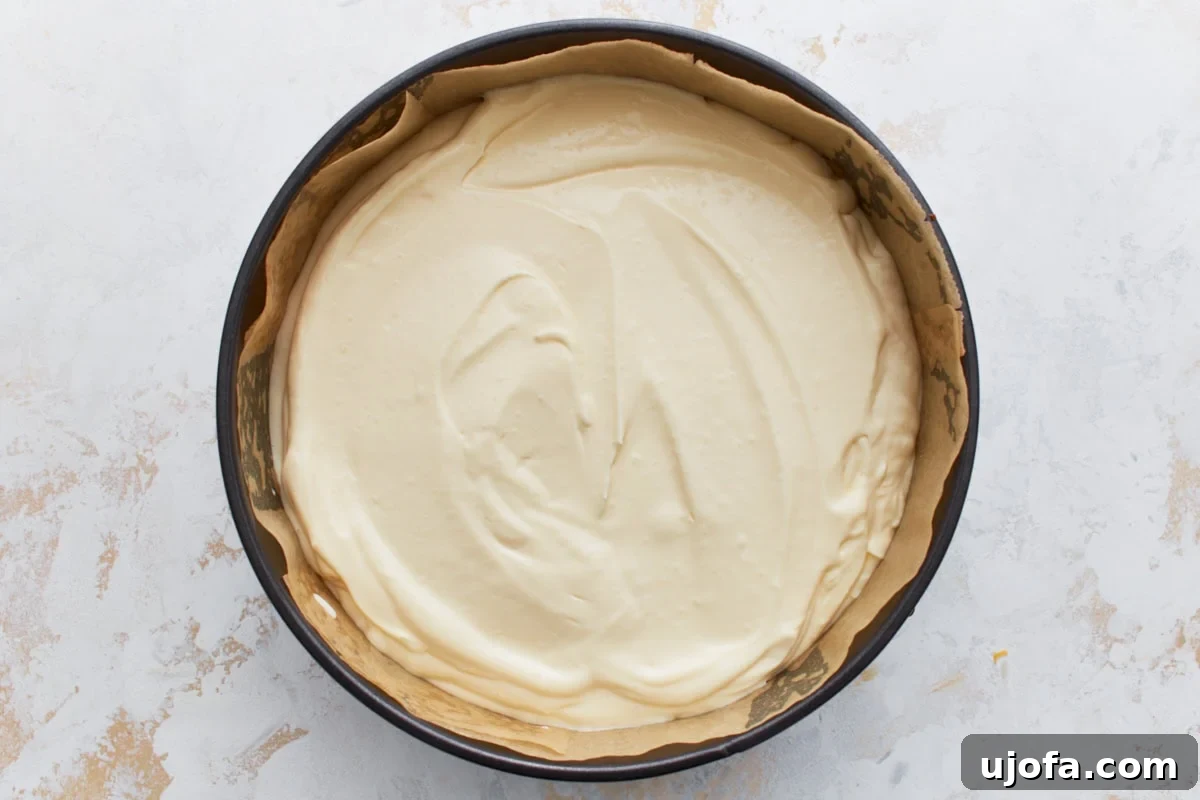
Step 8: Fill the Pan and Prepare for Baking. With your luscious filling ready, carefully pour the entire smooth cheesecake mixture over the pre-baked and slightly cooled almond flour crust in the springform pan. Use a rubber spatula to gently spread and smooth the top of the filling, ensuring an even layer from edge to edge. A perfectly smooth surface at this stage will contribute significantly to a beautiful, crack-free finish for your baked cheesecake. Your masterpiece is now ready for the oven!
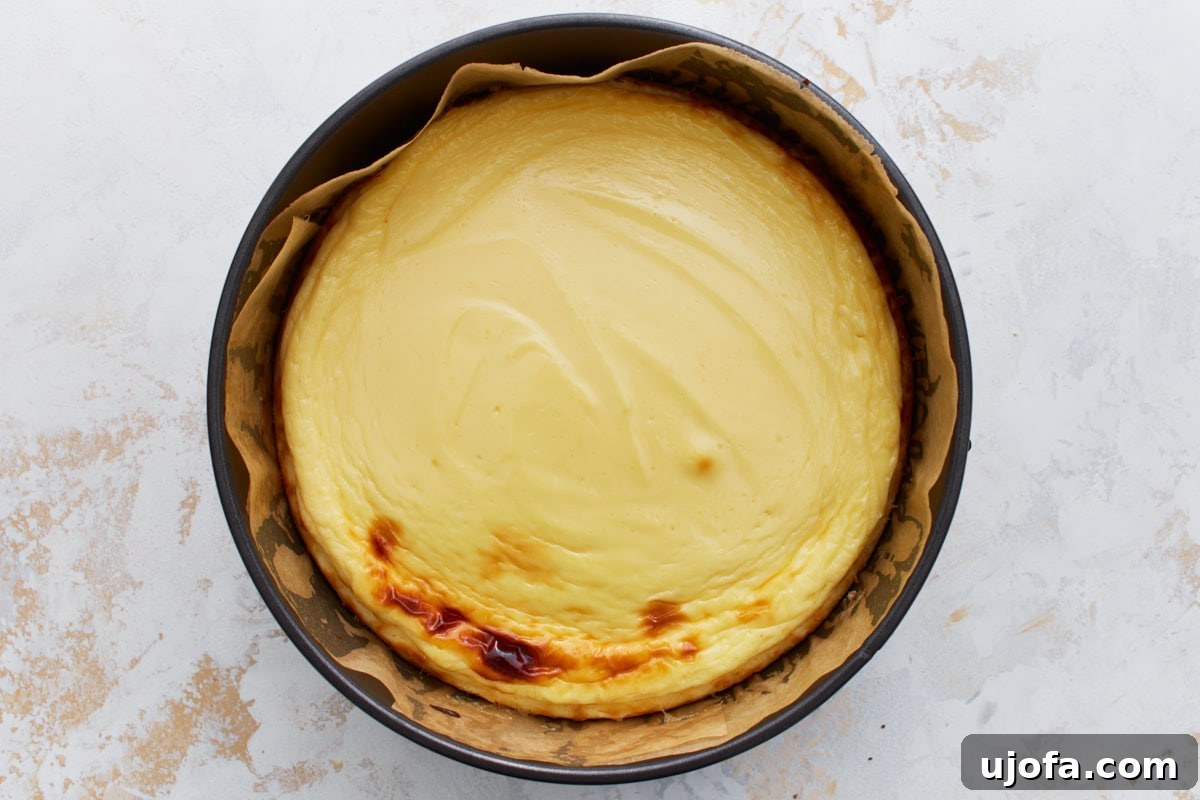
Step 9: Bake to Perfection. Place the filled springform pan with your keto cheesecake into your preheated oven and bake for 45-50 minutes. You’ll know your cheesecake is perfectly ready when its edges appear beautifully set and lightly golden, while the very center of the cheesecake (a diameter of about 2-3 inches) still exhibits a slight, delicate jiggle when you gently shake the pan. This slight jiggle is the hallmark of perfect doneness; rest assured, it will continue to cook and firm up beautifully as it cools.
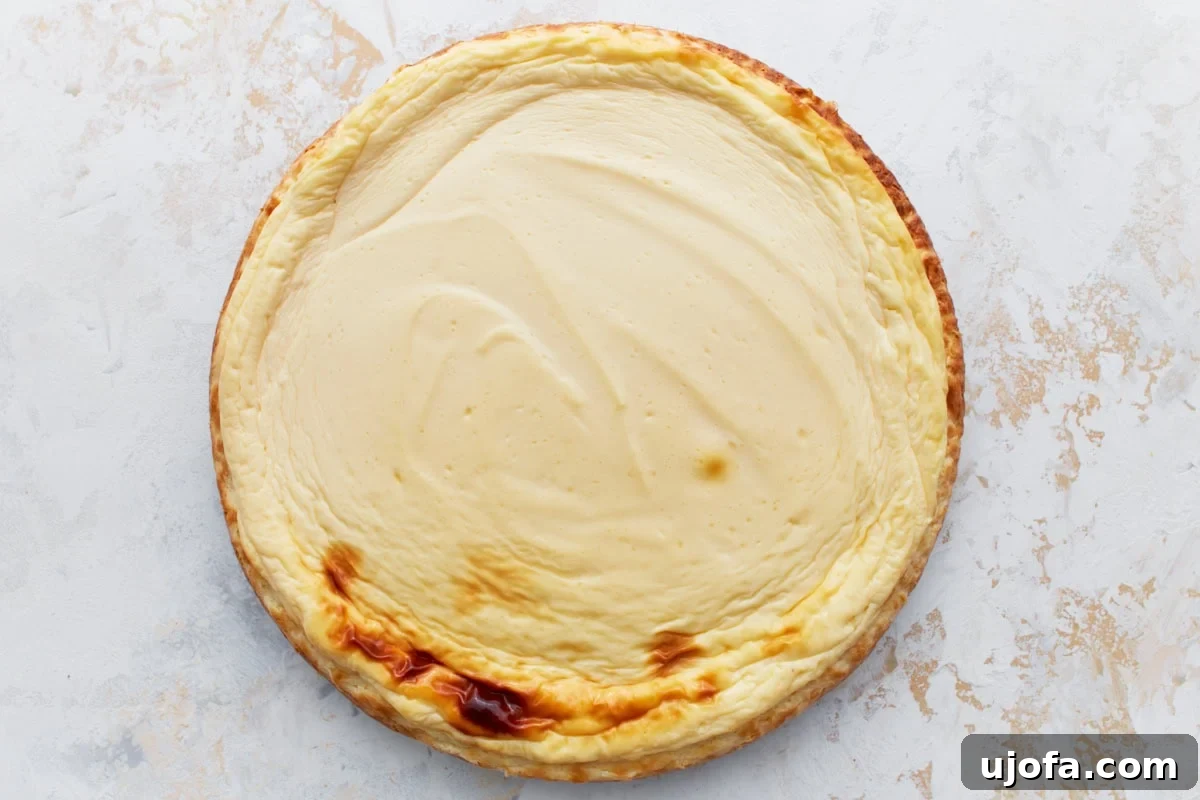
Step 10: Gradual Cooling: The Secret to a Crack-Free Cheesecake. This step is paramount for preventing those unsightly cracks that can sometimes appear on cheesecakes. Once your cheesecake is baked, immediately turn off the oven and prop the oven door open about 1-2 inches using a wooden spoon or an oven mitt. Allow the cheesecake to cool slowly and gradually inside the oven for one full hour. This gentle, incremental decrease in temperature helps the cheesecake to contract without stress. After this initial cooling period, remove it from the oven and let it cool completely at room temperature for another 1-2 hours.
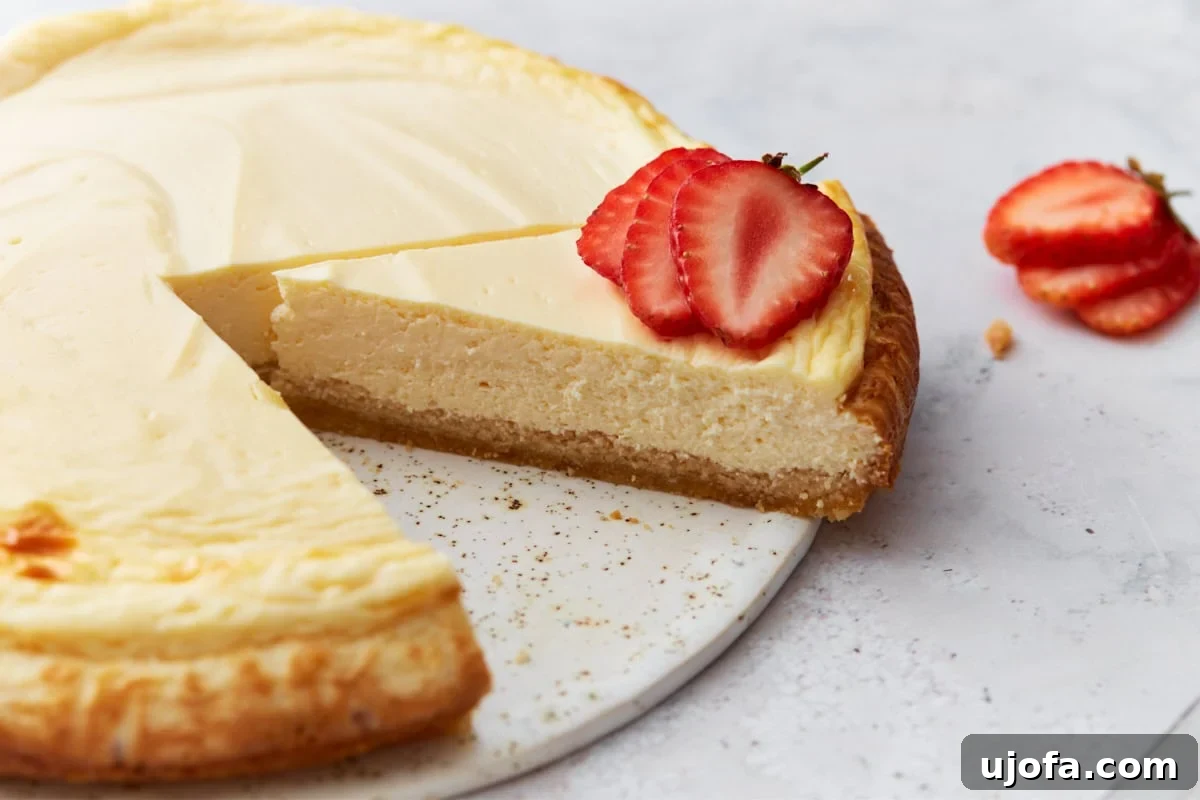
Step 11: Chill for Optimal Setting. Once your cheesecake has thoroughly cooled to room temperature, loosely cover it with plastic wrap and carefully transfer it to the refrigerator. This crucial chilling period is essential for the cheesecake to fully set and firm up. It needs to chill for a minimum of 4 hours, but for the absolute best texture, easiest and cleanest slicing, and most developed, robust flavor, we strongly recommend chilling it overnight. True culinary patience truly pays off here!
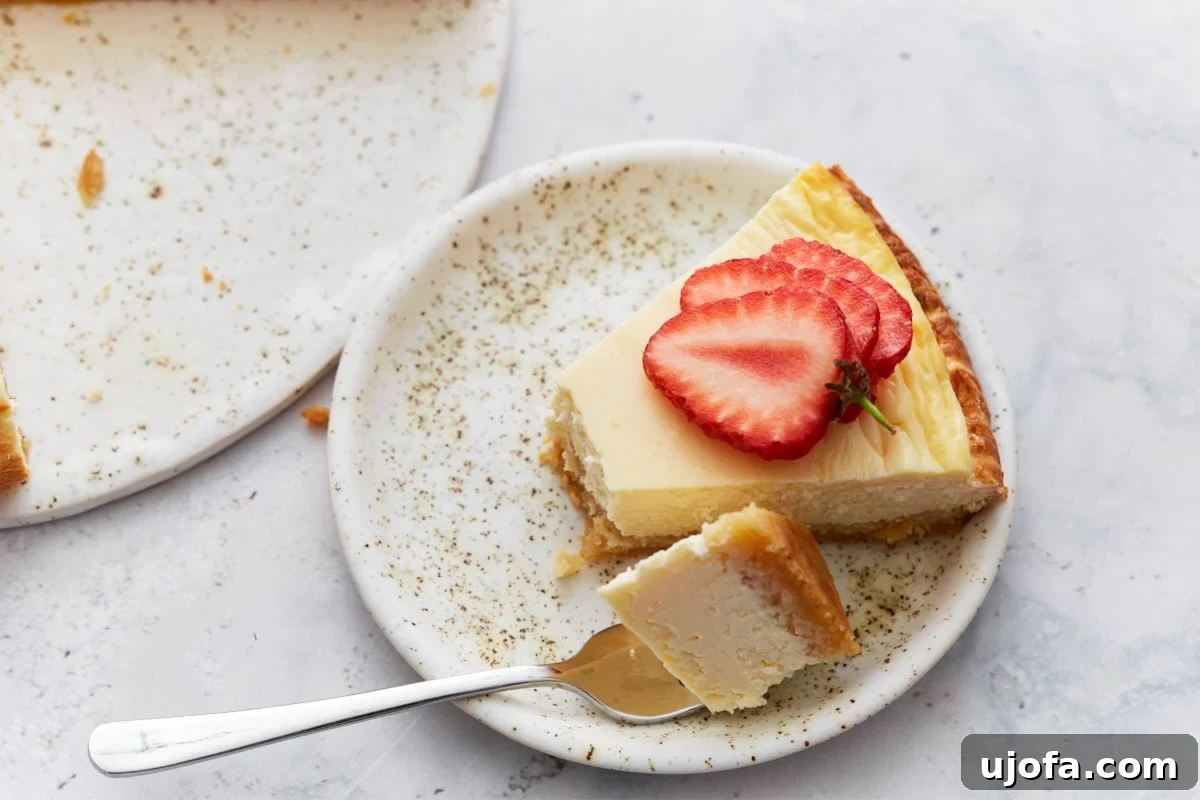
Step 12: Slice, Serve, and Savor! Once thoroughly chilled and beautifully set, your magnificent **keto cheesecake** is finally ready to be enjoyed. Carefully unclip and remove the sides of the springform pan. For the cleanest, most picture-perfect slices, use a sharp knife that has been warmed under hot water and meticulously wiped dry between each cut. This technique helps prevent sticking and tearing. Serve your utterly delicious **sugar-free dessert** plain to appreciate its pure flavor, or crown it with your favorite keto-friendly garnishes. Now, indulge in every rich, creamy, and satisfying bite of your homemade masterpiece!
Elevate Your Keto Cheesecake: Perfect Serving Suggestions
While this **keto cheesecake** is undeniably a masterpiece on its own, its simple elegance also makes it a perfect canvas for a variety of delicious, low-carb toppings. These additions can elevate your dessert experience, adding layers of flavor, texture, and visual appeal. Here are some of our favorite ways to serve it, whether for a casual treat or a special occasion:
- Fresh Berries for a Pop of Color and Flavor: A vibrant scattering of fresh raspberries, blueberries, or thinly sliced strawberries adds a delightful burst of natural sweetness, antioxidants, and a beautiful contrast of color. Berries are perfectly keto-friendly in moderation and make for an elegant garnish.
- Homemade Unsweetened Whipped Cream: A generous dollop of homemade whipped cream, prepared with heavy cream and just a touch of powdered keto sweetener, introduces an extra layer of luxurious richness and a pleasing lightness that complements the dense cheesecake beautifully.
- Decadent Sugar-Free Chocolate Drizzle: For the true chocolate aficionados, a sophisticated drizzle of melted sugar-free dark chocolate (ensure it’s sweetened with keto-approved sweeteners like erythritol or stevia) provides a deeply decadent and satisfying finish that feels utterly indulgent.
- Bright Lemon Zest or Zesty Fruit Curd: A delicate sprinkle of fresh lemon zest instantly brightens the cheesecake’s flavor profile with a wonderful citrus aroma. For those desiring a more intense citrus kick, a homemade sugar-free lemon or lime curd (meticulously made with keto sweeteners) can be a truly delightful and tangy addition.
- Nut Butter Swirl for Extra Richness: For an interesting texture and a boost of healthy fats, consider gently swirling a tablespoon of smooth, sugar-free almond butter, peanut butter, or even pecan butter into individual slices just before serving. This adds a nutty depth that is simply irresistible.
- Velvety Keto Caramel Sauce: A luscious drizzle of homemade sugar-free caramel sauce can introduce a wonderfully rich, buttery, and deeply sweet note to your cheesecake, all without contributing unwanted carbs or sugars.
Whether you’re enjoying a quiet moment with a simple slice or presenting it as the grand finale for a celebratory meal, this versatile and elegant **sugar-free cheesecake** is guaranteed to impress and satisfy every single time.
Storing Your Keto Cheesecake for Lasting Freshness and Enjoyment
One of the many convenient advantages of mastering this **easy keto cheesecake recipe** is its excellent shelf life, allowing you to savor delicious slices for several days or even weeks! Proper storage techniques are crucial for maintaining its signature creamy texture, delicate flavor, and overall fresh taste. Follow these guidelines to ensure your cheesecake remains as delightful as the day it was baked:
- Refrigerator Storage for Short-Term Freshness: Any leftover cheesecake should be transferred promptly to an airtight container and stored in the refrigerator. This will effectively keep it fresh, moist, and delicious for up to 5 days. For maximum convenience, we highly recommend pre-slicing the entire cheesecake into individual portions before refrigerating. This ingenious trick makes it utterly effortless to grab a quick, perfectly satisfying low-carb treat whenever a craving strikes, all without disturbing or compromising the rest of the beautifully set cake.
- Freezer Storage for Extended Enjoyment: For much longer-term storage, this **keto cheesecake** freezes exceptionally well, allowing you to enjoy it for up to 2 months. To properly prepare it for freezing, first ensure the cheesecake is completely chilled and fully set from its refrigeration period. Then, carefully wrap each individual slice tightly in plastic wrap, ensuring maximum coverage to prevent air exposure. Follow this with a second, protective layer of heavy-duty aluminum foil. This double-layer protection is vital for preventing freezer burn, maintaining the cake’s delicate moisture, and preserving its exquisite flavor. Remember to label each wrapped slice with the date of freezing for best practice.
- Thawing Frozen Cheesecake: Gentle is Best: When you’re ready to indulge in a frozen slice of your delectable keto cheesecake, simply transfer it from the freezer to the refrigerator and allow it to thaw slowly overnight. This gradual thawing process is essential; it ensures the cheesecake retains its perfectly creamy texture without becoming watery, grainy, or losing its structural integrity. Avoid thawing at room temperature for best results.
Frequently Asked Questions (FAQs) About Keto Cheesecake
Here are some of the most common questions we receive about making and enjoying this delicious **low-carb cheesecake**. We hope these answers help you achieve perfect results and confident baking!
- Can I use a different keto sweetener in this recipe?
Absolutely, you can! Powdered erythritol, allulose, or monk fruit-erythritol blends are all excellent and popular choices for keto baking. The paramount key is to always use a powdered form of the sweetener, as granulated versions can stubbornly refuse to dissolve completely, leading to a noticeably gritty texture in your final cheesecake. Also, be mindful that different sweeteners possess varying sweetness levels, so you might need to slightly adjust the amount to perfectly match your personal taste preferences.
- My cheesecake developed cracks on the surface! What typically goes wrong?
Cheesecake cracks are a common occurrence and are most frequently caused by sudden or drastic temperature changes during the baking and cooling process. To minimize this risk, ensure all your ingredients (especially cream cheese and eggs) are at room temperature before mixing, avoid overmixing the batter (which incorporates too much air), and most importantly, allow the cheesecake to cool very slowly. This means turning off the oven, propping the door open slightly, letting it cool inside the oven for an hour, and then continuing to cool at room temperature before refrigerating. Overbaking can also contribute to cracks, so always watch for that characteristic slight jiggle in the center.
- Is it possible to make this cheesecake ahead of time for an event?
Yes, absolutely! Cheesecake is an ideal make-ahead dessert, which makes it perfect for dinner parties, holidays, or any special occasion. In fact, preparing it a day or two before you plan to serve it is highly recommended, as the extended chilling period significantly improves both its texture (making it firmer and easier to slice) and allows the flavors to meld and deepen for an even more exquisite taste. Plan to make it at least 24 hours in advance for optimal results.
- Is this specific keto cheesecake recipe suitable for individuals with diabetes?
Given that this recipe is completely sugar-free and specifically designed to be low in net carbohydrates, it can certainly be a much more suitable dessert option for many individuals who are managing diabetes. However, every person’s dietary needs and blood sugar responses are unique. Therefore, it is always imperative to consult with your healthcare provider or a registered dietitian for personalized dietary advice that aligns with your specific health requirements.
- How do I accurately know when the cheesecake is fully baked and ready to come out of the oven?
The visual cues are key: the edges of the cheesecake should appear perfectly set and a light golden color. Crucially, the very center of the cheesecake (an area about 2-3 inches in diameter) should still exhibit a slight, delicate jiggle when you gently shake the pan. This characteristic jiggle is the definitive indicator of perfect doneness; it signifies that the cheesecake is cooked through but will continue to cook and firmly set as it undergoes the slow cooling and subsequent chilling process. Avoid baking until the center is completely firm, as this will lead to a dry texture and potential cracking.
- Can I enhance the flavor of this keto cheesecake with additional toppings or mix-ins?
Absolutely! This cheesecake is incredibly versatile and welcomes creative additions to make it even more flavorful and visually appealing. Fantastic keto-friendly toppings include a medley of fresh berries (such as strawberries, raspberries, or blueberries), a luxurious dollop of unsweetened homemade whipped cream, a elegant drizzle of sugar-free chocolate sauce, a vibrant sprinkle of fresh lemon zest, or even a swirl of keto-friendly fruit compote. Feel free to experiment with flavor extracts in the filling like almond or coconut for unique twists!
More Delicious Low-Carb Recipes to Explore and Enjoy
If you thoroughly enjoyed making and savoring this incredible **keto cheesecake**, you’ll be thrilled to discover even more of our favorite low-carb and gluten-free recipes. These culinary creations are designed to prove that healthy eating can be incredibly delicious, satisfying, and full of variety. We invite you to expand your keto culinary repertoire with these fantastic and easy-to-make options:
- Keto Ice Cream: Indulge in lusciously creamy, perfectly sugar-free frozen delights without any of the carb guilt. It’s the perfect cool treat for any season.
- Keto Jalapeño Poppers: Discover a spicy, cheesy, and utterly addictive appetizer that’s ideal for entertaining guests or simply enjoying as a savory, low-carb snack.
- Cloud Bread: Explore the magic of this incredibly light, airy, and versatile bread alternative. It’s perfect for crafting sandwiches, serving as a delicate side, or even as a base for sweet or savory toppings.
- Keto Brownies: Sink your teeth into rich, fudgy, and utterly satisfying chocolate brownies that are completely guilt-free. These are a chocolate lover’s dream come true on a keto diet.
- Almond Flour Crackers: Master the art of making crispy, savory, and incredibly satisfying crackers. They’re perfect for dipping into your favorite keto-friendly spreads or pairing elegantly with cheese for a delightful low-carb snack.
Exploring these diverse recipes will empower you to effortlessly maintain your low-carb lifestyle without ever having to sacrifice flavor, variety, or the joy of delicious food. Happy and healthy cooking!