
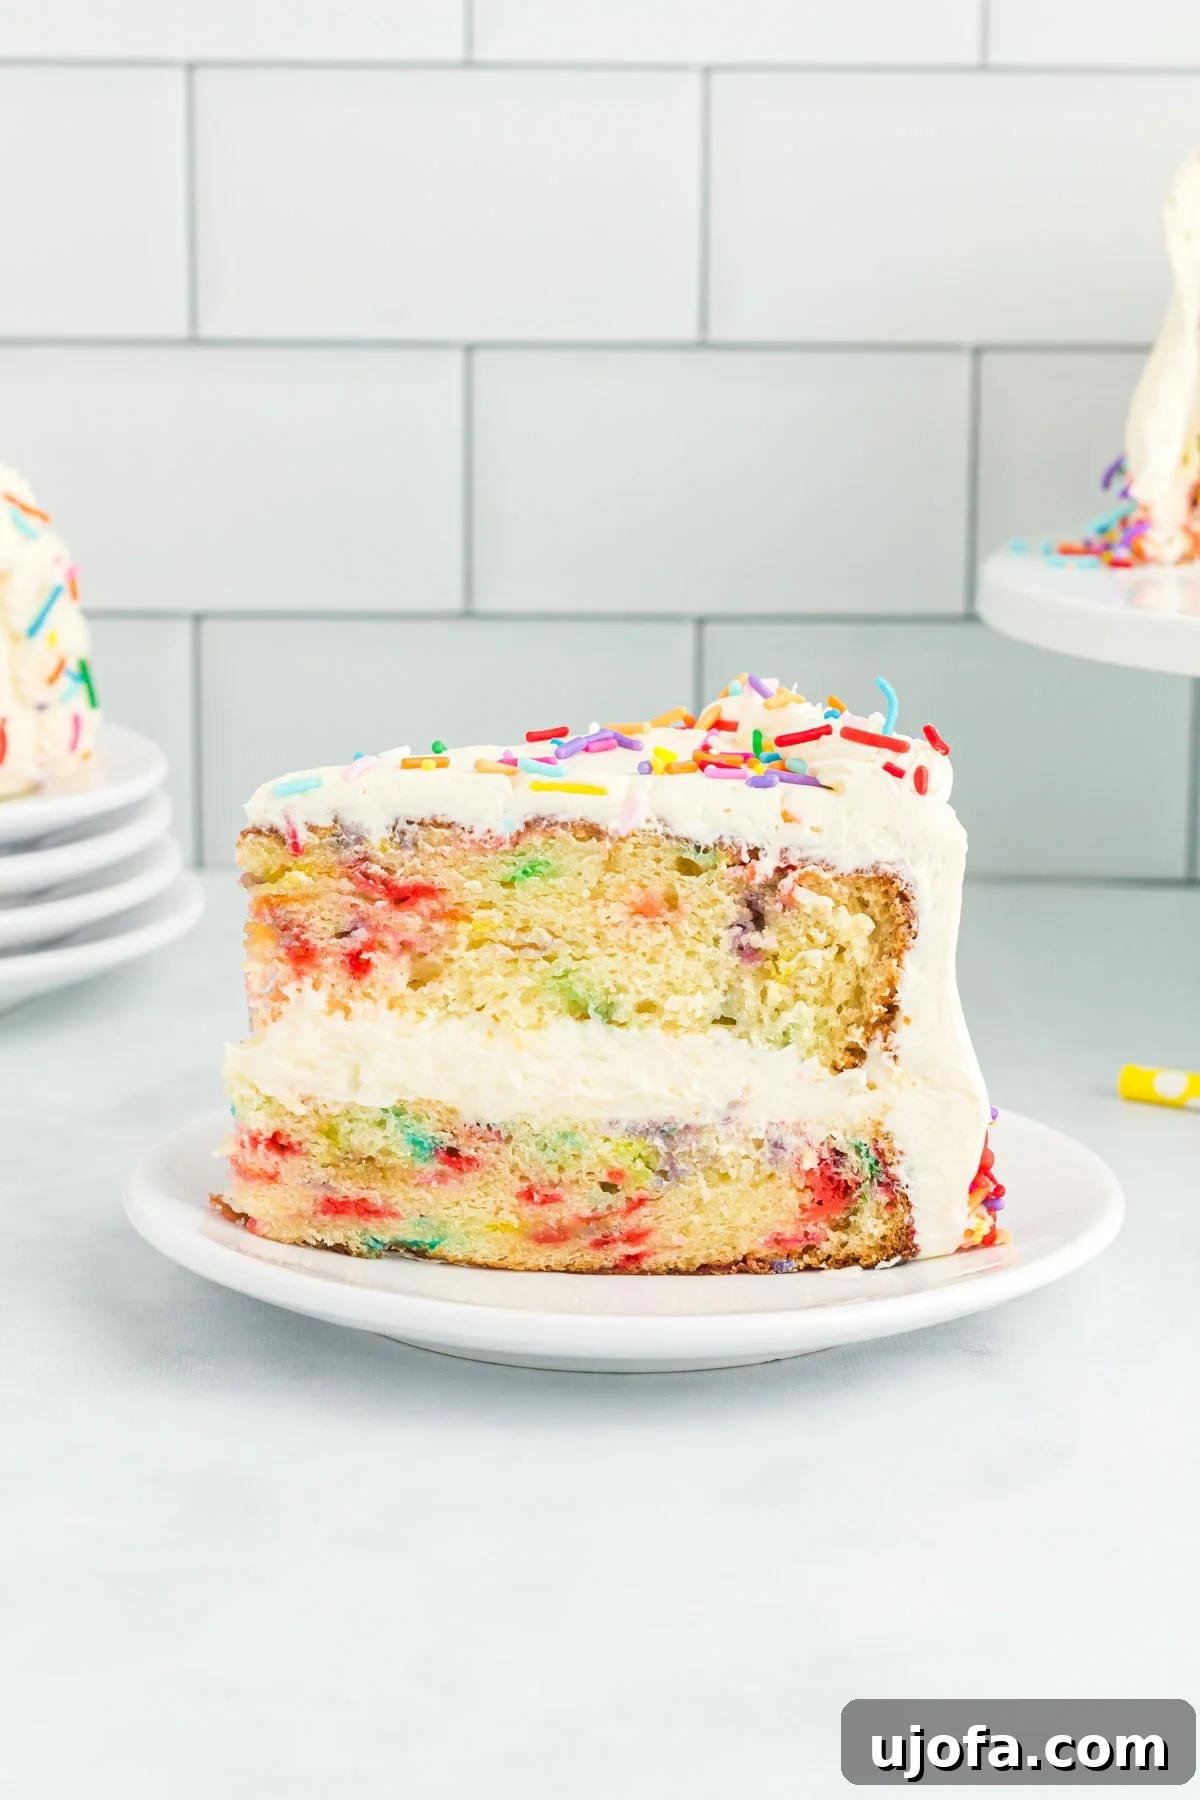
The Ultimate Gluten-Free Funfetti Cake: A Celebration Masterpiece
Every celebration deserves a show-stopping cake, and this gluten-free funfetti cake is precisely that. It’s a confectionary dream come true for anyone craving the joy of a classic funfetti treat, meticulously crafted to be soft, incredibly moist, and wonderfully vibrant with a shower of colorful sprinkles. This recipe takes you back to childhood birthdays, delivering that nostalgic taste and texture you remember, but entirely free from gluten. From the moment you begin mixing the thick, easy-to-handle batter to the first delightful bite, you’ll be impressed by its light, fluffy texture and the rich, authentic vanilla flavor that shines through. Whether it’s for birthdays, festive parties, or simply to add a burst of color and fun to your day, this gluten-free funfetti cake is the perfect choice to make any occasion feel extra special.
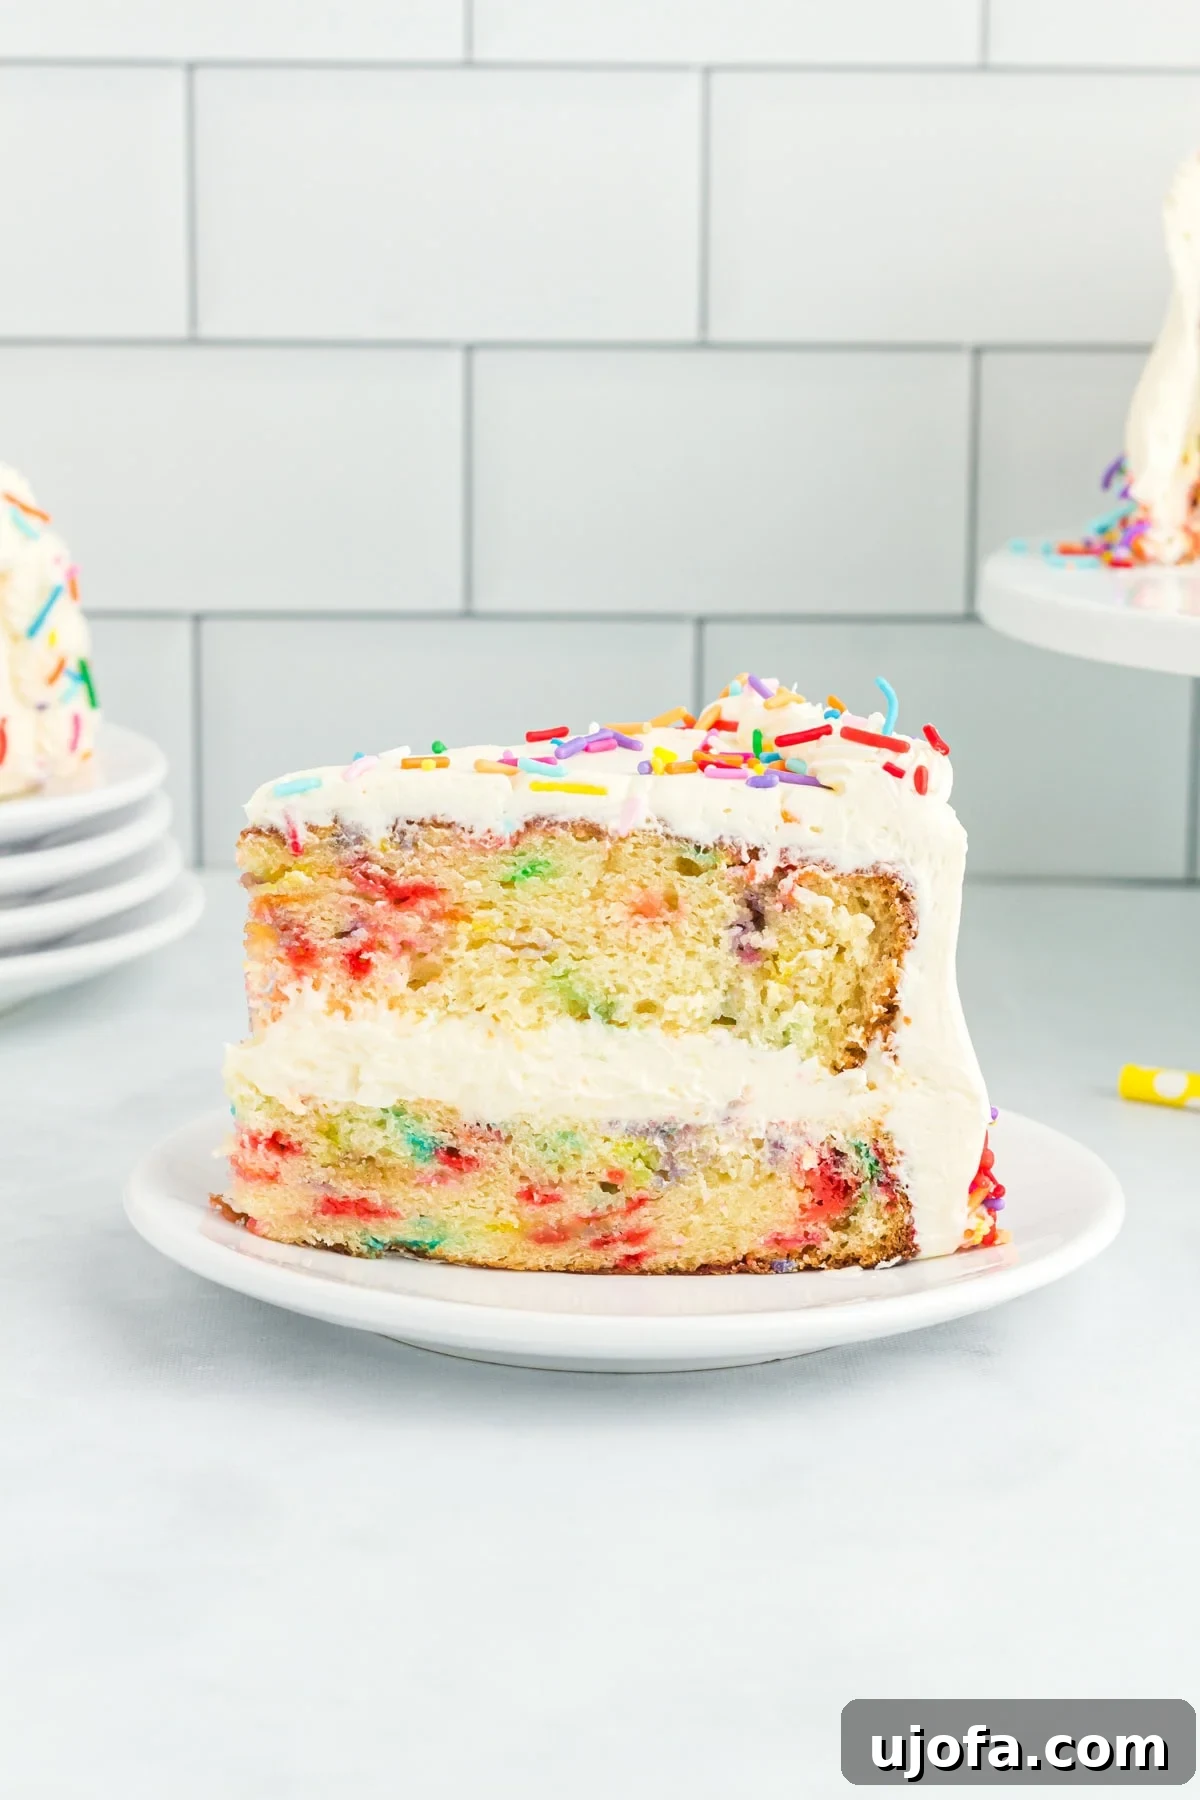
For many, funfetti cake holds a special place in their heart – a symbol of childhood birthdays and joyous gatherings, always soft, perfectly sweet, and abundantly colorful with its signature sprinkles. After transitioning to a gluten-free lifestyle, the quest for a funfetti cake that truly lived up to those cherished memories became a significant culinary challenge. So many gluten-free versions fall short, often ending up dry, crumbly, or lacking that distinctive celebratory flair. This meticulously developed recipe finally puts an end to that struggle. It mirrors the delightful softness and moisture of the classic, boasting a texture as light and fluffy as our beloved gluten-free birthday cake recipe, but with thoughtful enhancements tailored to the funfetti experience. Key adjustments include the strategic use of buttermilk for an unparalleled richness and a tender crumb, a balanced blend of butter and oil to ensure maximum moisture, and a generous quantity of vibrant sprinkles folded directly into the batter. This is the truly fun, wonderfully festive gluten-free funfetti cake that every party deserves, bringing back all the joy without any of the gluten-related concerns.
Gluten-Free Funfetti Cake
Print Recipe
This gluten-free funfetti cake is a true showstopper, delivering everything a celebration cake should: a soft, moist crumb and an abundance of colorful sprinkles. It perfectly replicates the classic funfetti experience, but without the gluten. The batter is thick and manageable, baking into a light, fluffy cake where rich vanilla flavor shines in every mouthful. Scroll down for step-by-step photos that guide you through the process.
Equipment
- 2 8 or 9-inch round cake pans
- Mixing bowls (medium and large)
- Electric mixer (stand or hand-held)
- Whisk
- Rubber spatula
- Parchment paper
- Wire rack
Ingredients
For the Gluten-Free Funfetti Cake:
- 2 cups (280 grams) all-purpose gluten-free flour blend (we recommend Cup4Cup for best results)
- 2 tablespoons cornstarch
- 2 teaspoons baking powder
- 1 teaspoon xanthan gum (only if your chosen gluten-free flour blend does not already include it)
- ½ teaspoon baking soda
- ½ teaspoon salt
- 1 ¾ cup (350 grams) granulated sugar
- ½ cup (115 grams) unsalted butter, softened to almost melting but not fully liquid (for dairy-free, use Smart Balance butter sticks)
- ⅓ cup vegetable oil
- 4 large eggs, at room temperature
- 1 tablespoon vanilla extract
- 1 cup buttermilk, at room temperature (for dairy-free, use unsweetened almond milk)
- ½ cup sprinkles (ensure they are long, oval jimmie-style sprinkles, not hard nonpareils)
For the Buttercream Frosting:
- 6 cups (720 grams) powdered sugar, sifted if clumpy
- 1 ½ cups (340 grams) unsalted butter, softened (for dairy-free, use Smart Balance butter sticks)
- 2 to 4 tablespoons milk (for dairy-free, use unsweetened almond milk)
- 2 teaspoons vanilla extract
Instructions
- Prepare Pans: Preheat your oven to 350 degrees F (175°C). Prepare two 8-inch or 9-inch round cake pans by generously spraying them with non-stick baking spray. Line the bottoms of the pans with parchment paper circles to prevent sticking and ensure easy cake removal. Set the prepared pans aside.
- Combine Dry Ingredients: In a medium-sized mixing bowl, thoroughly whisk together the gluten-free flour, cornstarch, baking powder, xanthan gum (if your flour blend doesn’t already contain it), baking soda, and salt. Make sure all dry ingredients are well combined to ensure even leavening. Set this bowl aside.
- Cream Butter and Sugar: In a large mixing bowl, using an electric mixer, beat the granulated sugar and softened unsalted butter together on high speed for a full 3 minutes. This step is crucial; the mixture should become noticeably light, fluffy, and pale in color. These airy bubbles are key to a soft, tender cake crumb.
- Add Wet Ingredients: To the creamed butter and sugar, add the vegetable oil, all 4 room-temperature large eggs, and the vanilla extract. Continue to beat on high speed for another minute until the mixture is light and well-emulsified. Scrape down the sides of the bowl as needed to ensure everything is incorporated.
- Alternate Dry and Wet: Gradually add half of the whisked dry ingredients into the wet mixture. Beat on low speed just until they are combined. Avoid overmixing. Then, pour in half of the room-temperature buttermilk and beat on low speed again until just incorporated.
- Complete Batter: Repeat step 5: add the remaining dry ingredients and beat on low until just combined, followed by the remaining buttermilk, beating until the batter is smooth. The goal is to mix thoroughly but gently to prevent developing the gluten-free flour too much.
- Fold in Sprinkles: Using a rubber spatula, gently stir (do not beat) the ½ cup of sprinkles into the cake batter until they are evenly distributed. Be careful not to overmix, as this can cause the sprinkle colors to bleed.
- Fill and Bake: Divide the thick cake batter evenly between your two prepared cake pans. The batter will be quite thick, similar to a rich pudding, so use your spatula to smooth out the tops in the pans for even layers. Bake for 35 to 37 minutes, or until a wooden toothpick inserted into the center of a cake comes out clean.
- Cool Cakes: Once baked, remove the cakes from the oven and let them cool in their pans on a wire rack for 10 minutes. This allows them to firm up slightly. After 10 minutes, carefully invert the cakes out of the pans onto the wire rack to cool completely. Ensure they are fully cooled before frosting.
- Prepare Buttercream: To make the luscious buttercream frosting, combine all buttercream ingredients (powdered sugar, softened unsalted butter, milk, and vanilla extract) in a large bowl. Start with 2 tablespoons of milk. Beat on high speed for 5 minutes until the frosting is light, fluffy, and creamy. Add additional milk, 1 tablespoon at a time, until you reach your desired frosting consistency.
- Assemble and Decorate: Once the cake layers are completely cool, you may wish to level the tops by carefully trimming any domed crusty layers with a serrated knife for perfectly flat layers. Layer and decorate the cakes with your freshly made buttercream frosting. Add extra sprinkles on top and around the sides for a truly festive finish.
- Storage: Any leftover cake can be wrapped tightly in food-safe plastic wrap and stored in the fridge for up to 4 days, maintaining its freshness and moist texture.
Notes
- Certified Gluten-Free: Always ensure all your ingredients are certified gluten-free and free from any cross-contamination warnings, especially for those with celiac disease or severe gluten sensitivities.
- Flour Blend Matters: For the most consistent and best results in gluten-free baking, stick with a high-quality all-purpose gluten-free flour blend. Brands like Cup4Cup often yield excellent textures for cakes.
- Xanthan Gum is Key: Don’t omit the xanthan gum, especially if your chosen gluten-free flour blend doesn’t already contain it. Adding 1 teaspoon helps to bind the ingredients and create that desirable fluffy, cohesive texture that’s often missed in gluten-free cakes.
- Leveling Cakes: For a professional-looking layered cake, a helpful tip is to trim off the slightly “crusty” or domed top layer of each cake before applying frosting and stacking them together. This ensures flat, even layers.
- Choosing Sprinkles: When selecting sprinkles to mix into your batter, always opt for the long, oval-shaped sprinkles, commonly known as jimmies. Avoid using the hard, ball-style nonpareils, as their texture can be unpleasant to bite into, and their colors tend to bleed significantly into the cake batter during baking.
- Grease Your Pans Well: To guarantee that your beautiful cake layers release easily from the pans, generously grease them with non-stick baking spray and don’t forget the parchment paper circles on the bottom. This double layer of protection is essential.
Nutrition
Serving: 1 serving
Calories: 812 kcal
Carbohydrates: 113 g
Protein: 5 g
Fat: 40 g
Saturated Fat: 22 g
Polyunsaturated Fat: 5 g
Monounsaturated Fat: 10 g
Trans Fat: 1 g
Cholesterol: 138 mg
Sodium: 269 mg
Potassium: 65 mg
Fiber: 2 g
Sugar: 96 g
Vitamin A: 1062 IU
Calcium: 97 mg
Iron: 1 mg
Nutrition information is automatically calculated and should only be used as an approximation.
Additional Info
Tried this recipe? Mention @mamaknowsglutenfree or tag #mamaknowsglutenfree!
How to Make Gluten-Free Funfetti Cake Step by Step
Creating this delightful gluten-free funfetti cake is a straightforward process when you follow these steps carefully. Each stage is designed to ensure a perfectly baked, moist, and festive cake that’s sure to impress.
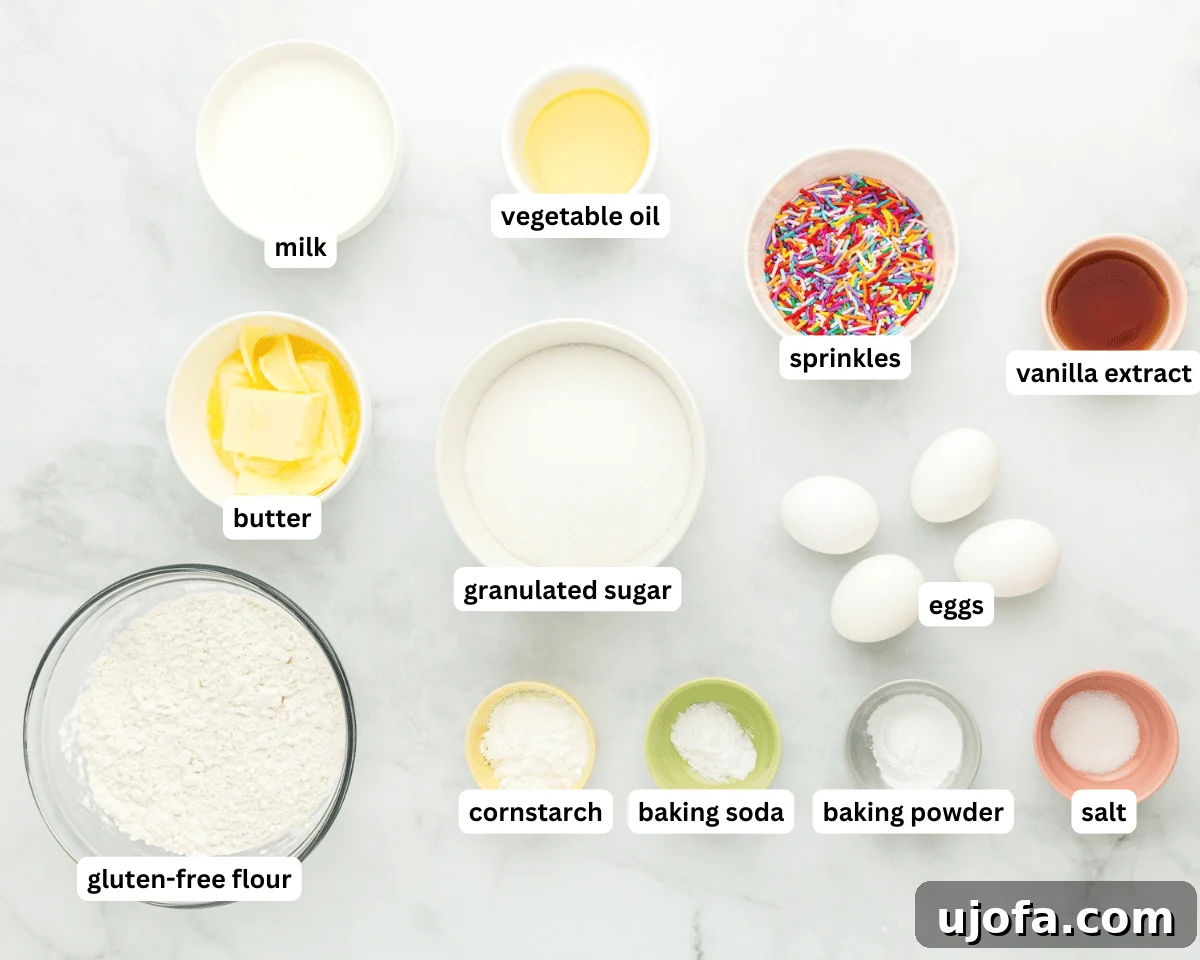
1. Gather the Ingredients: Start by assembling all your ingredients on your countertop. This ensures you have everything at hand and at the correct temperature (room temperature for eggs, butter, and buttermilk is crucial for smooth batter). Preheat your oven to 350°F (175°C). Next, prepare two 8-inch or 9-inch round cake pans by spraying them generously with non-stick baking spray and lining the bottoms with parchment paper circles. This preparation step is vital for easy release of your tender cake layers after baking.
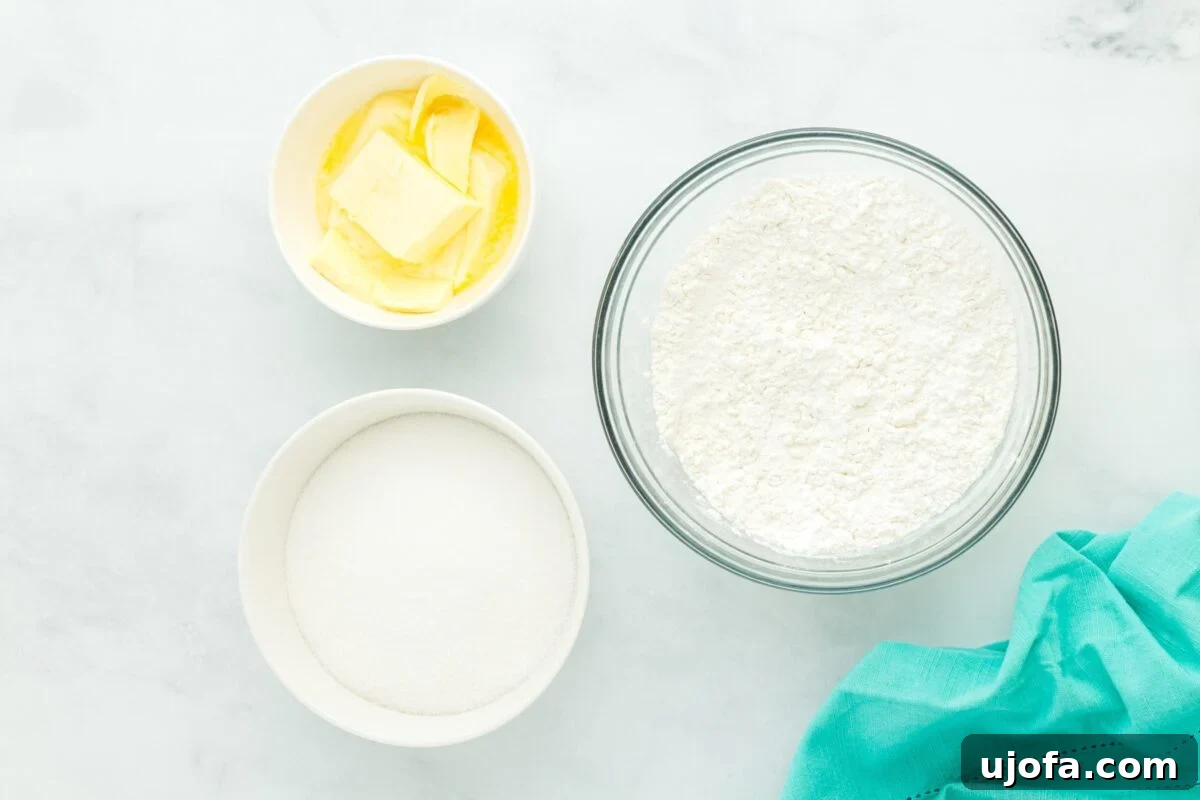
2. Mix the Dry Ingredients: In a medium bowl, combine your dry ingredients: 2 cups (280g) of your chosen gluten-free flour blend (we recommend Cup4Cup for its excellent texture), 2 tablespoons of cornstarch, 2 teaspoons of baking powder, ½ teaspoon of baking soda, ½ teaspoon of salt, and 1 teaspoon of xanthan gum (add this only if your flour blend does not already contain it). Whisk these thoroughly until completely homogenous. Proper distribution of leavening agents is key for an even rise.
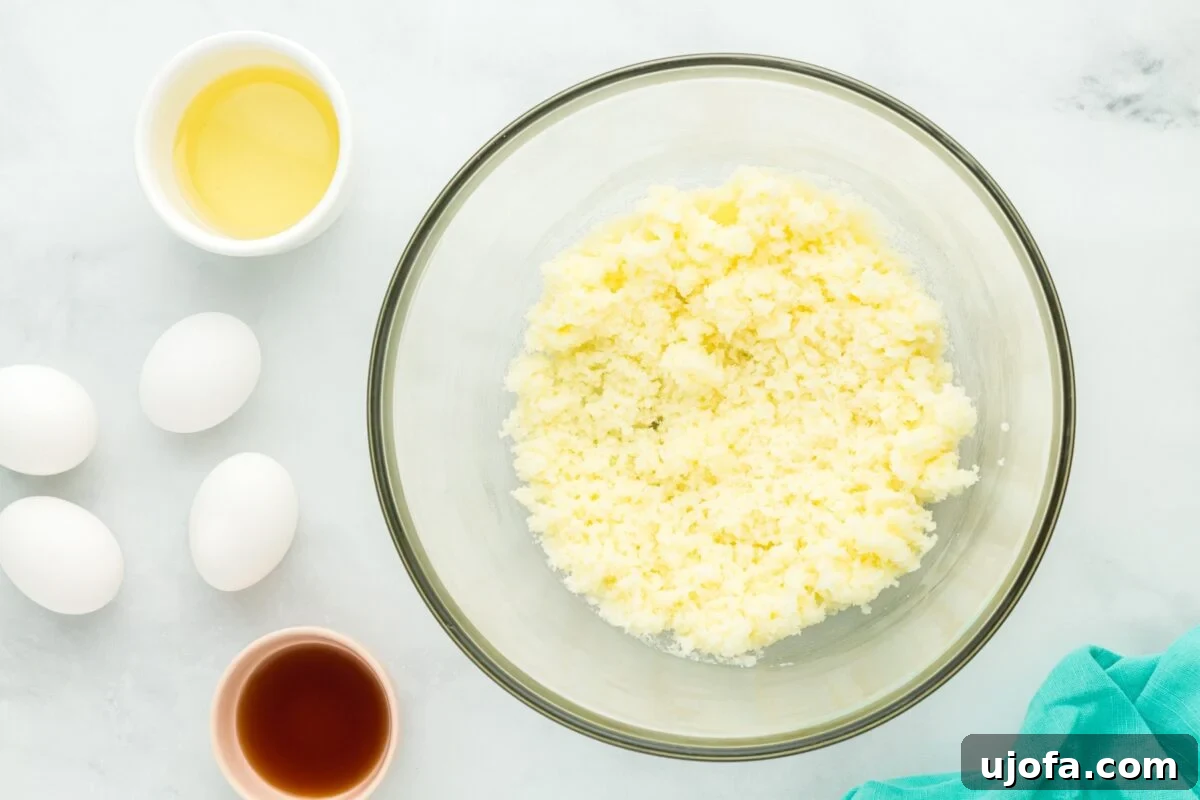
3. Cream the Butter and Sugar: In a large mixing bowl, using an electric mixer (either stand or hand-held), beat ½ cup (115g) of softened unsalted butter with 1¾ cups (350g) of granulated sugar. Beat on high speed for precisely 3 minutes. Do not shorten this time! This vigorous creaming incorporates air into the mixture, resulting in a light and fluffy base that gives the cake its soft, tender crumb. The mixture should appear pale and voluminous.
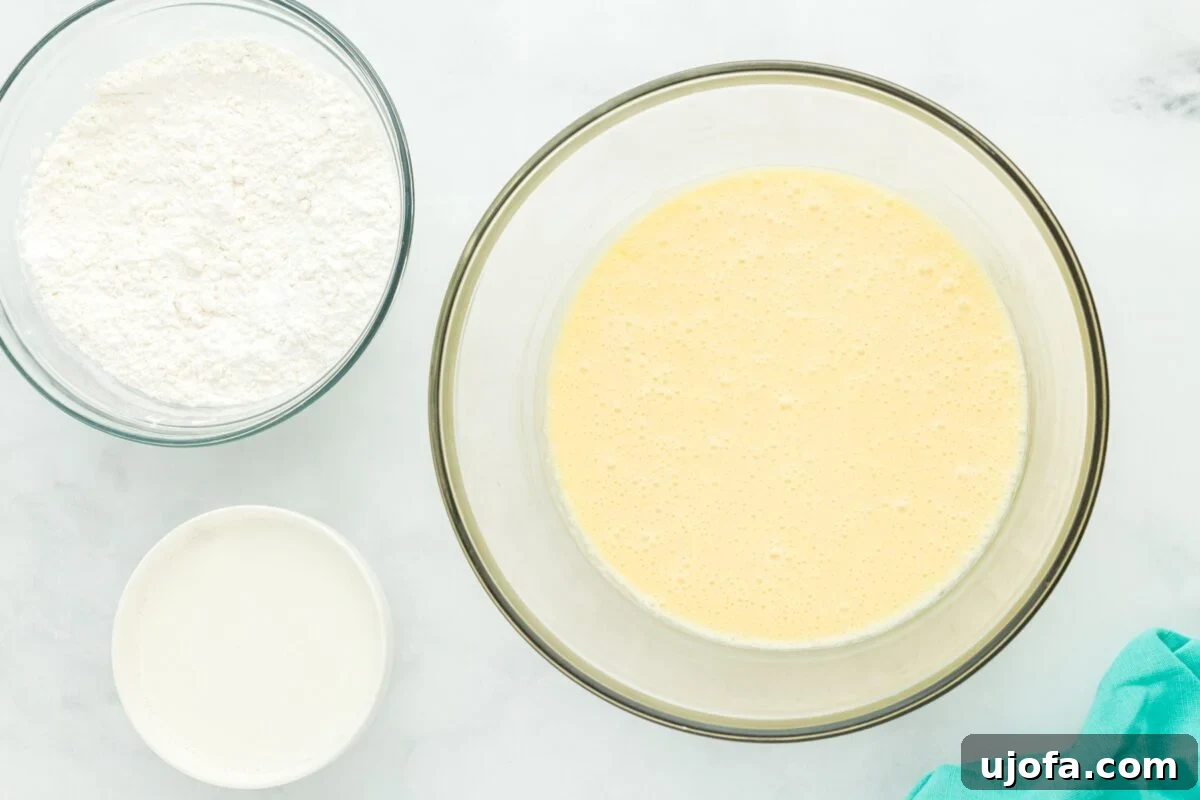
4. Add Remaining Wet Ingredients: To the creamed butter and sugar mixture, incorporate ⅓ cup of vegetable oil, 4 large room-temperature eggs, and 1 tablespoon of vanilla extract. Beat these ingredients together on high speed for another minute until the mixture is fully combined, fluffy, and visibly lighter. The addition of oil, alongside butter, contributes to the cake’s superior moisture and tender texture.
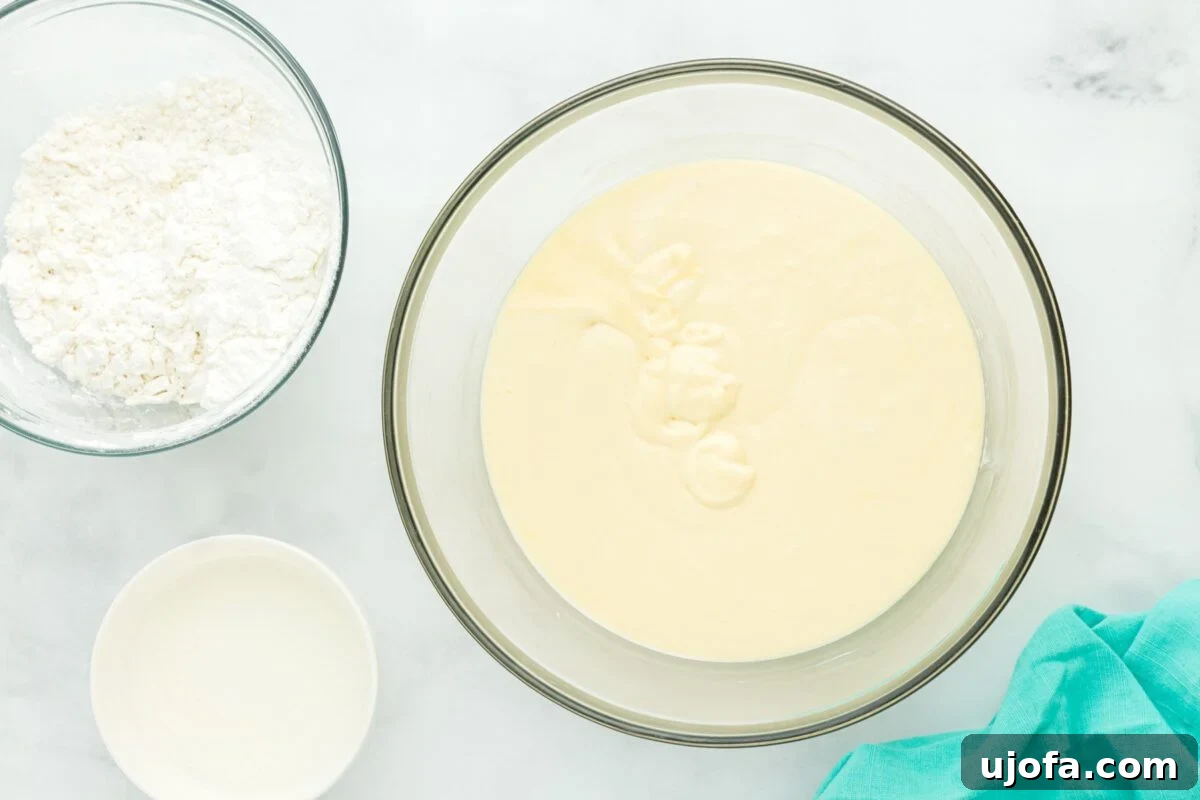
5. Alternate Dry Ingredients and Buttermilk: Begin by adding half of the prepared dry ingredient mixture to the wet ingredients. Mix on low speed just until combined, ensuring no dry streaks remain. Follow this by adding ½ cup of the 1 cup of room-temperature buttermilk, mixing again on low speed until just incorporated. Repeat this process with the remaining dry ingredients and the remaining ½ cup of buttermilk. This alternating method helps to create a smooth, emulsified batter and prevents overmixing.
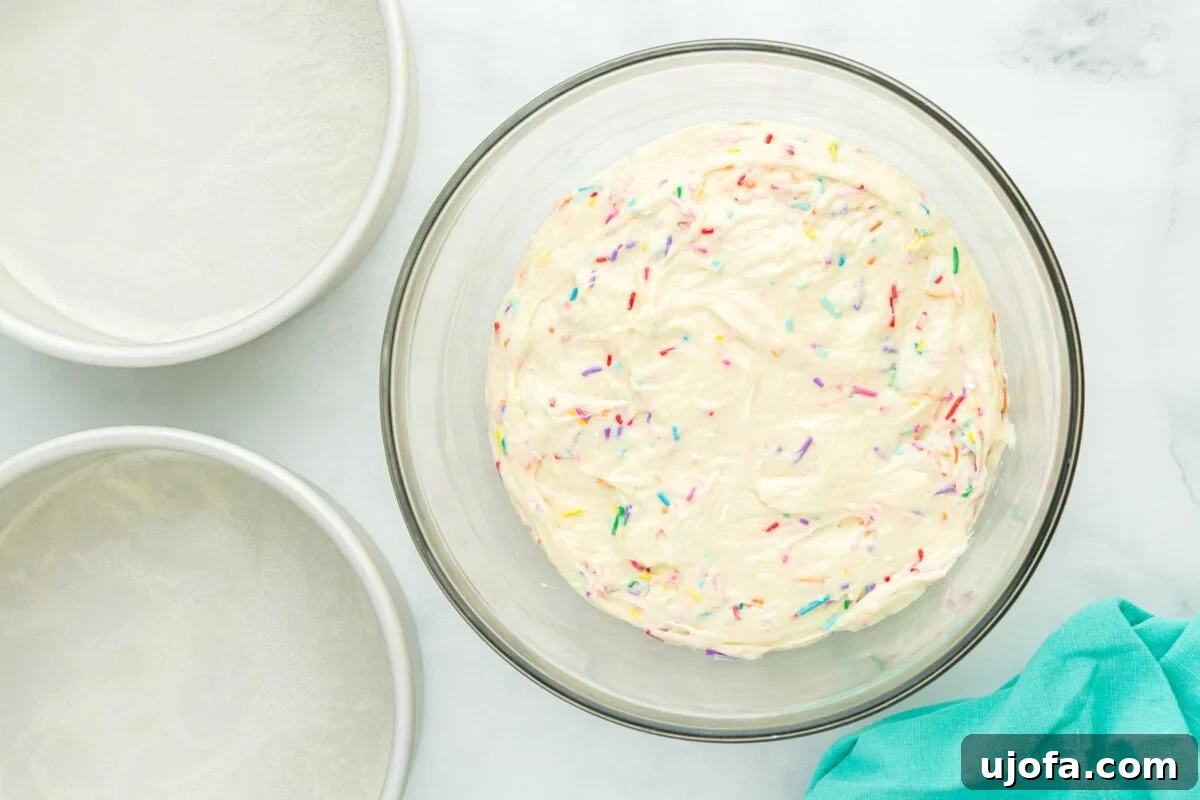
6. Add the Sprinkles: With your spatula, gently fold in ½ cup of sprinkles. It’s important to stir them in carefully rather than beating, to prevent their vibrant colors from bleeding into the batter. Opt for jimmie-style sprinkles for the best results, as nonpareils can be too hard and often bleed color.
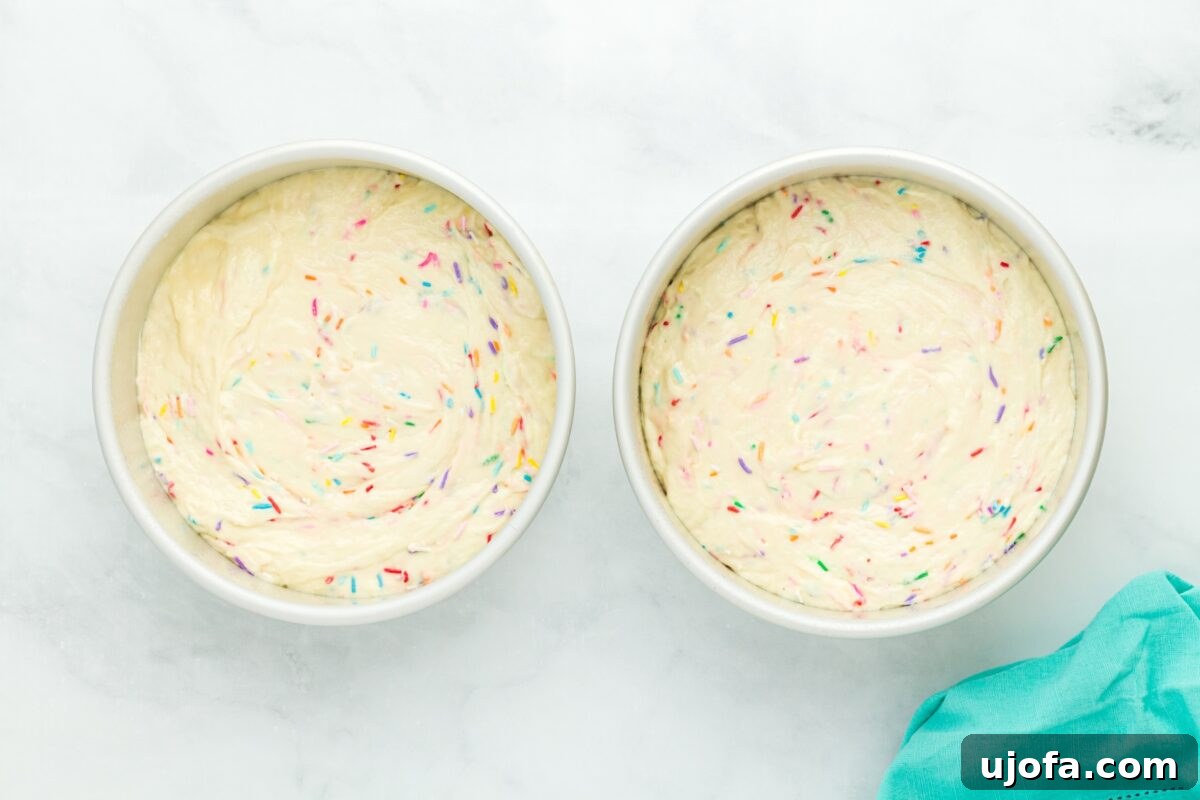
7. Fill the Pans: Divide the thick, pudding-like batter evenly between your two prepared cake pans. Use your spatula to gently smooth the tops of the batter in each pan. This ensures that your cake layers bake up flat and even, making them easier to stack and frost.
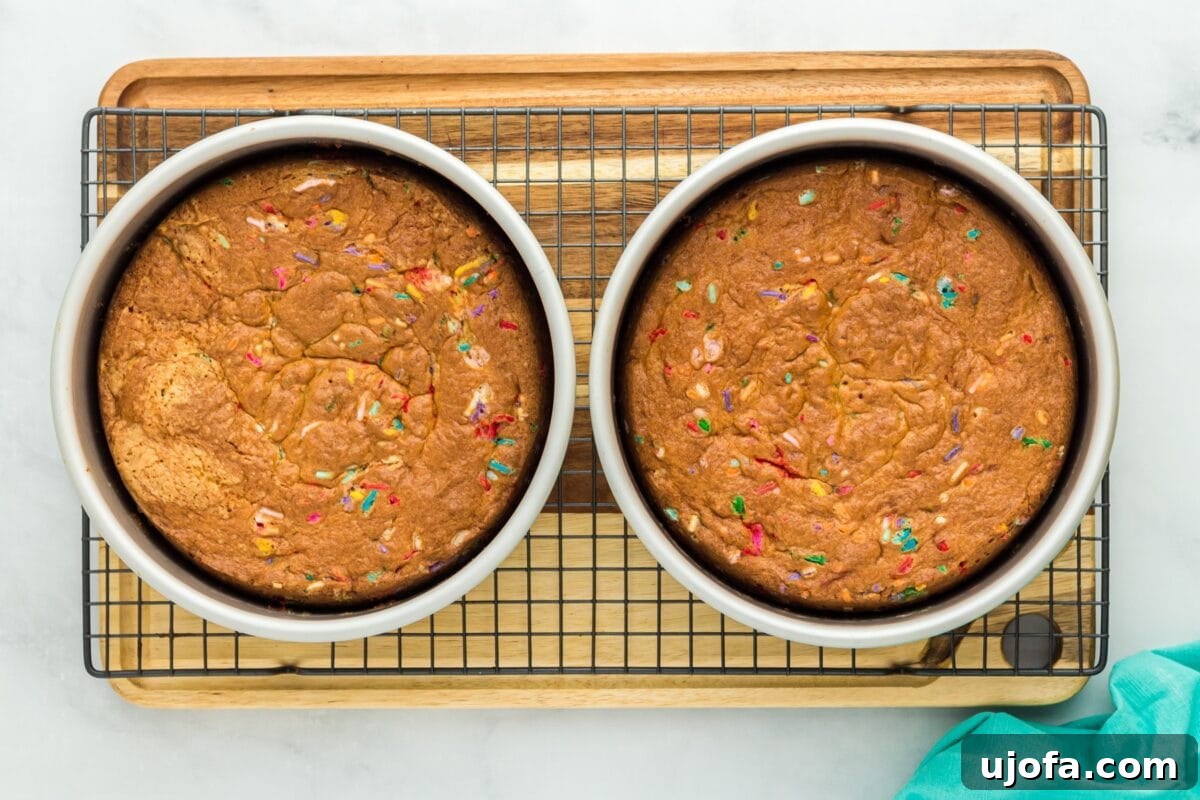
8. Bake the Cakes: Place the cake pans into your preheated oven and bake for 35–37 minutes. Baking time can vary slightly depending on your oven, so keep an eye on them. The cakes are done when a toothpick inserted into the center comes out clean, indicating no wet batter remains. Avoid overbaking, as this can lead to a dry cake.
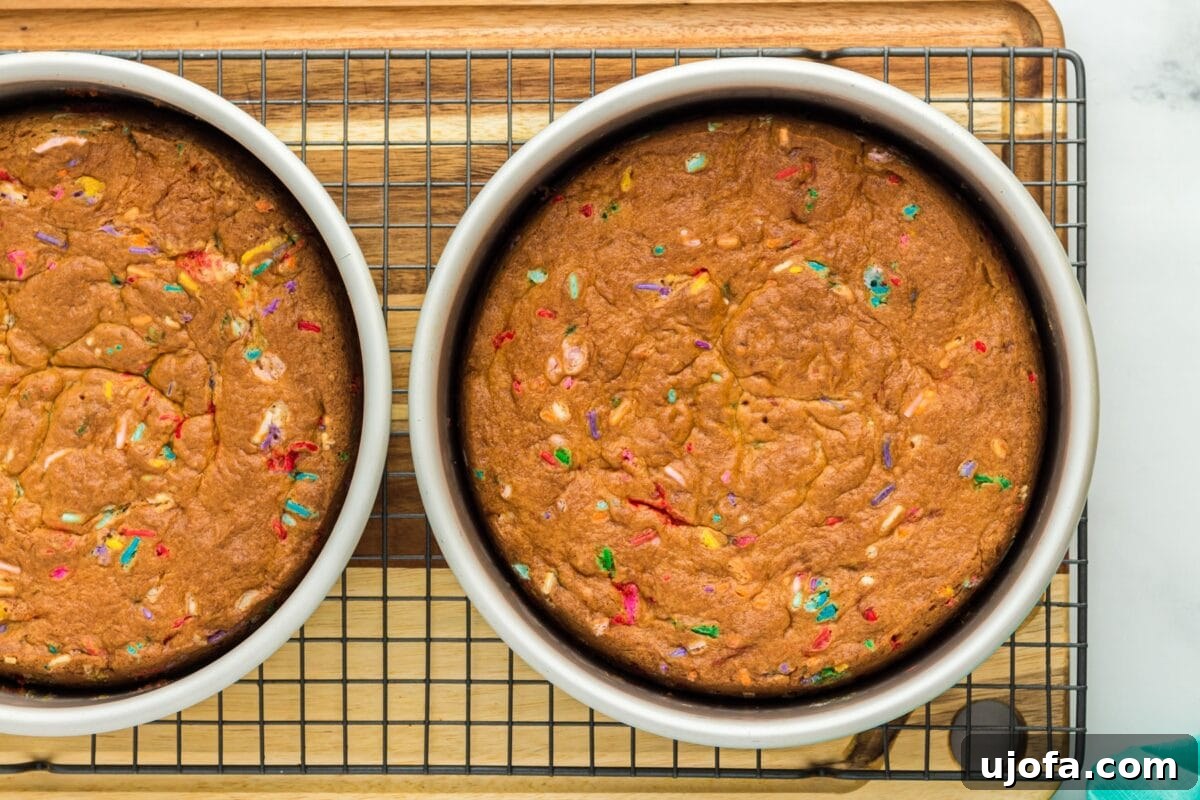
9. Cool the Cakes: Once baked, remove the cakes from the oven and allow them to cool in their pans on a wire rack for 10 minutes. This brief resting period helps the cakes to set and makes them less fragile. After 10 minutes, carefully invert the cakes onto the wire rack to cool completely. Ensure they are fully cooled before proceeding with frosting, or your frosting will melt.
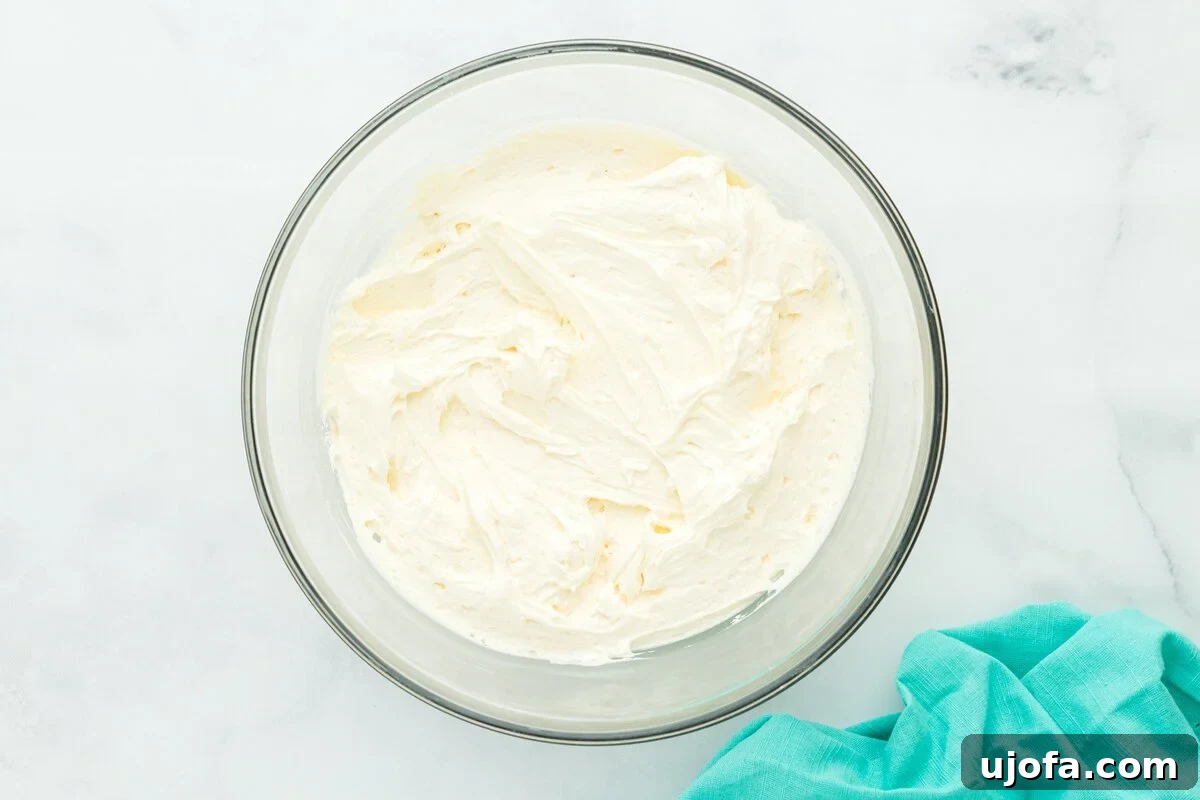
10. Make the Buttercream Frosting: While your cakes are cooling, prepare the rich vanilla buttercream. In a large bowl, combine 1½ cups (340g) of softened unsalted butter, 6 cups (720g) of powdered sugar (sifted for best results), 2 teaspoons of vanilla extract, and start with 2 tablespoons of milk. Beat on high speed for 5 minutes until the frosting is incredibly light, fluffy, and smooth. If needed, add more milk, one tablespoon at a time, until you achieve your desired creamy consistency.
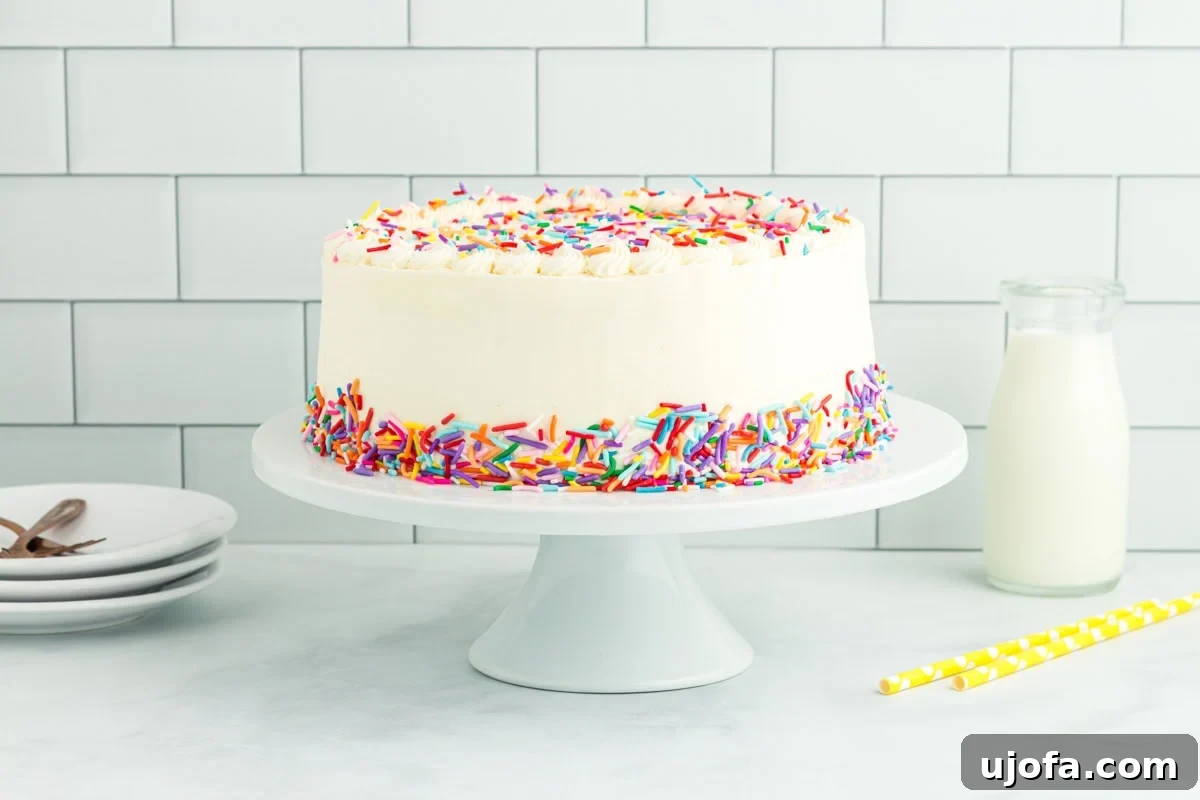
11. Assemble and Frost: Once the cake layers are completely cooled, you can trim the tops if they have domed slightly to create perfectly flat layers. Place one cake layer on your serving plate or cake stand, spread an even layer of buttercream, then top with the second cake layer. Cover the entire cake with the remaining buttercream, creating smooth sides and a beautiful top. Finish by generously decorating with extra rainbow sprinkles around the base and on top for that iconic funfetti look.
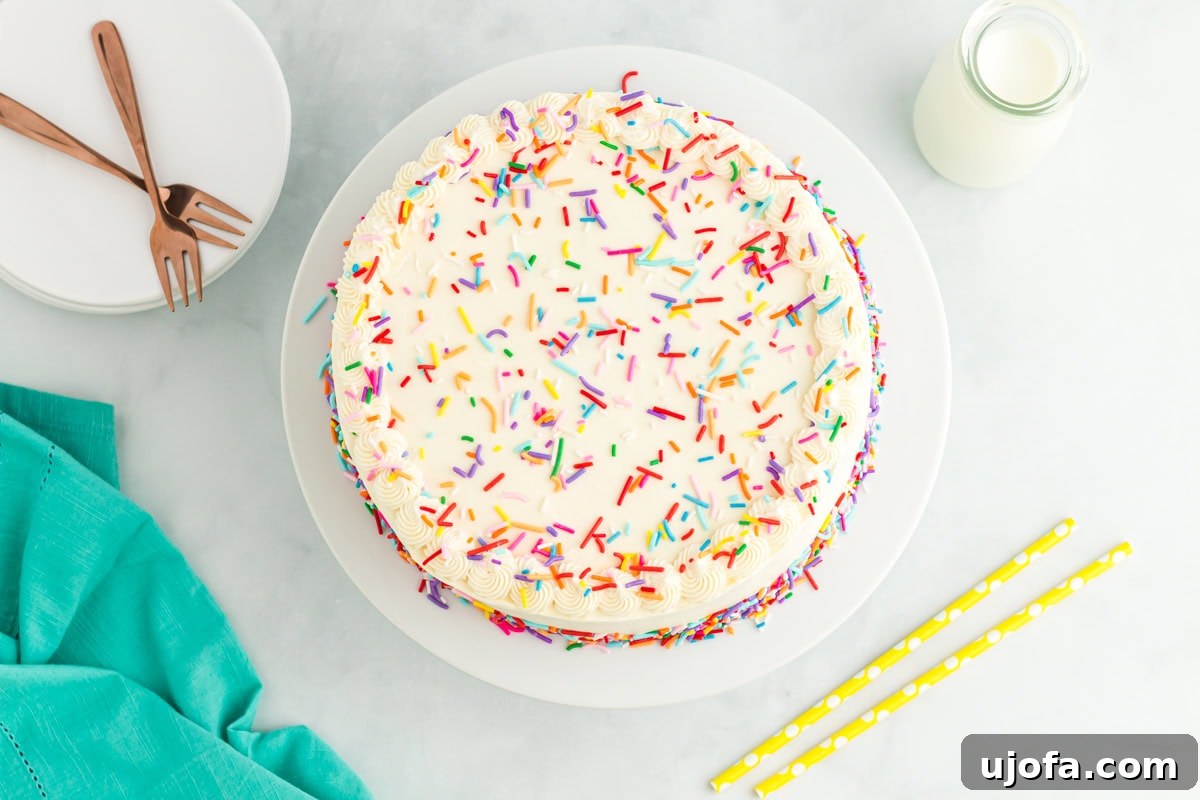
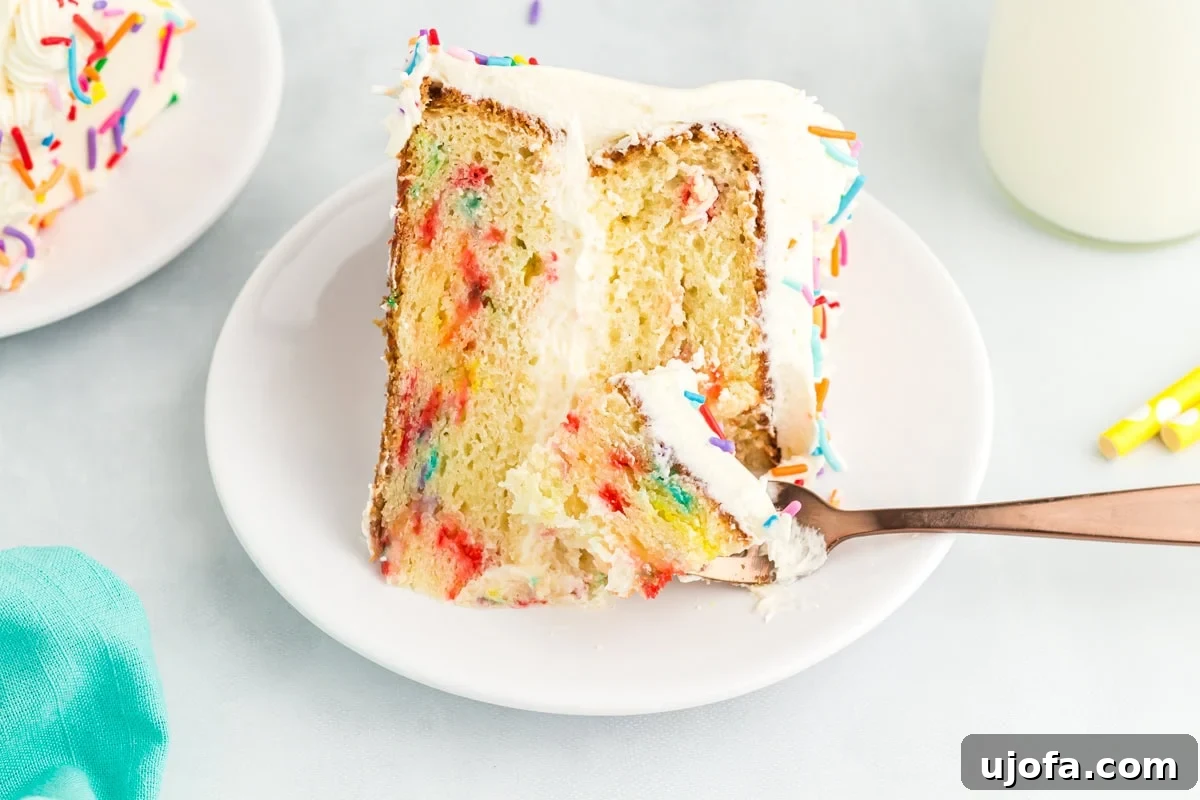
12. Serve and Enjoy: Your masterpiece is complete! Carefully slice into your vibrant, delicious gluten-free funfetti cake. Serve it immediately to delighted guests and enjoy every festive, vanilla-infused bite. This cake is guaranteed to be a hit at any gathering, proving that gluten-free baking can be just as joyful and indulgent.
Essential Gluten-Free Baking Tips for Success
Baking gluten-free requires a slightly different approach than traditional baking, but with a few key tips, you can achieve consistently excellent results. These insights will help you master this funfetti cake and apply to many other gluten-free recipes:
- Precision is Paramount: Weigh Your Ingredients! I cannot stress this enough: weighing your ingredients, especially flour, truly makes a monumental difference in gluten-free baking. Unlike regular flour, gluten-free flours absorb liquids differently and can vary in density. Measuring by volume (cups) can lead to inconsistencies – too much flour results in a dry, dense, and crumbly cake, while too little can cause structural issues like a sunken middle. Investing in a simple kitchen scale and measuring your flour (and other dry ingredients) by grams eliminates guesswork and ensures repeatable, perfect results every single time.
- Master the Mixing: Don’t Rush the Aeration. The mixing process, particularly creaming butter and sugar, is critical for the cake’s final texture. I always insist on beating the butter and sugar for the full 3 minutes on high speed. This might feel like a long time, but it’s during this stage that tiny air pockets are incorporated, which are essential for creating a light, airy, and fluffy cake crumb. The mixture should transform into a pale yellow, fluffy cloud. Similarly, when adding eggs, beat them in thoroughly until the batter is smooth, visibly lighter, and well-emulsified. This extra bit of effort ensures sufficient aeration and contributes significantly to that soft, bakery-style texture we all crave.
- Understanding Batter Consistency: This gluten-free funfetti cake batter should be quite thick, with a consistency similar to a thick pudding or soft cookie dough. When you spread it into your cake pans, take care to smooth it out evenly across the surface. This attention to detail prevents uneven baking and ensures you get beautiful, flat layers that are easy to stack and frost. If your cake doesn’t bake up perfectly, here are some common issues and their potential causes:
- Dry Cake: Often indicates too much flour (due to improper measuring) or simply overbaking. Use a timer and check for doneness with a toothpick.
- Dense or Gummy Texture: Can be caused by using expired baking powder or baking soda, or forgetting to add xanthan gum (if your flour blend requires it). Overmixing the batter can also lead to a denser crumb by overworking the starches in GF flour.
- Sunken Center: Typically points to too much liquid in the recipe, not enough leavening, or underbaking. Ensure accurate measurements and bake until a toothpick comes out clean.
- Lumpy Top: This can happen if the flour measurements were incorrect or if the wet ingredients (butter, sugar, eggs) weren’t beaten long enough to incorporate enough air at the beginning.
- Room Temperature Ingredients: Always use room temperature butter, eggs, and buttermilk. Room temperature ingredients emulsify more easily, creating a smoother batter and a more uniform, fine crumb. Cold ingredients can cause the batter to curdle and affect the cake’s texture.
- Avoid Opening the Oven: Resist the urge to open the oven door during the first 20-25 minutes of baking. A sudden drop in temperature can cause the cake to sink, especially in gluten-free baking where structure can be more delicate.
- Quality Sprinkles: As mentioned in the notes, stick to jimmie-style sprinkles. Nonpareils are not only hard but notorious for bleeding color, turning your beautiful funfetti cake into a muddy mess. High-quality jimmies retain their vibrant color and add the perfect texture.
Serving Suggestions for Your Festive Funfetti Cake
This vibrant gluten-free funfetti cake is inherently festive, making it an ideal centerpiece for a wide array of celebrations. It’s a fantastic choice for birthdays of all ages, joyful baby showers, holiday gatherings, or simply whenever you desire a slice of something bright and fun. The classic vanilla flavor pairs beautifully with a simple scoop of premium vanilla ice cream, or for a dairy-free option, a generous swirl of light and airy dairy-free whipped topping. Its versatility extends to customization, too! You can easily adapt the sprinkle colors to match any theme or season—think soft pastels for a spring garden party, bold primary colors for a child’s birthday, or traditional red and green jimmies to add cheer to your holiday table. This funfetti cake truly embodies the spirit of celebration, transforming any ordinary day into a delightful, memorable occasion.
Storage Instructions and Make-Ahead Tips
Proper storage is essential to keep your delicious gluten-free funfetti cake fresh and moist. Follow these guidelines for maximum enjoyment:
- Short-Term Storage (Frosted Cake): Any leftover frosted cake should be wrapped tightly in food-safe plastic wrap to prevent it from drying out. Store it in an airtight container in the refrigerator for up to 4 days. Bringing slices to room temperature for about 15-20 minutes before serving will enhance its flavor and texture.
- Long-Term Storage (Unfrosted Cake Layers): If you’re planning ahead, the unfrosted cake layers freeze exceptionally well. Once completely cooled, wrap each individual cake layer tightly in several layers of plastic wrap, then place them in an airtight freezer bag or container. They can be stored in the freezer for up to 2 months. To thaw, simply unwrap them and let them come to room temperature on a wire rack for several hours or overnight before frosting.
- Make-Ahead Buttercream Frosting: The vanilla buttercream frosting can also be prepared in advance. Store it in an airtight container in the refrigerator for up to 1 week. When you’re ready to use it, remove it from the fridge and let it come to room temperature (this might take a few hours). Then, re-whip it with your electric mixer on medium-high speed for a few minutes until it regains its light and fluffy consistency, adding a splash of milk if it seems too stiff.
More Delicious Gluten-Free Cakes to Try
If you loved this funfetti cake, you’ll be thrilled to explore more incredible gluten-free cake recipes. Each one is crafted to deliver exceptional taste and texture, ensuring your gluten-free baking adventures are always a success:
- Gluten-Free Red Velvet Cake
- Gluten-Free Angel Food Cake
- Easy Gluten-Free Chocolate Cake
- Gluten-Free Carrot Cake
- Gluten-Free Kentucky Butter Pound Cake