
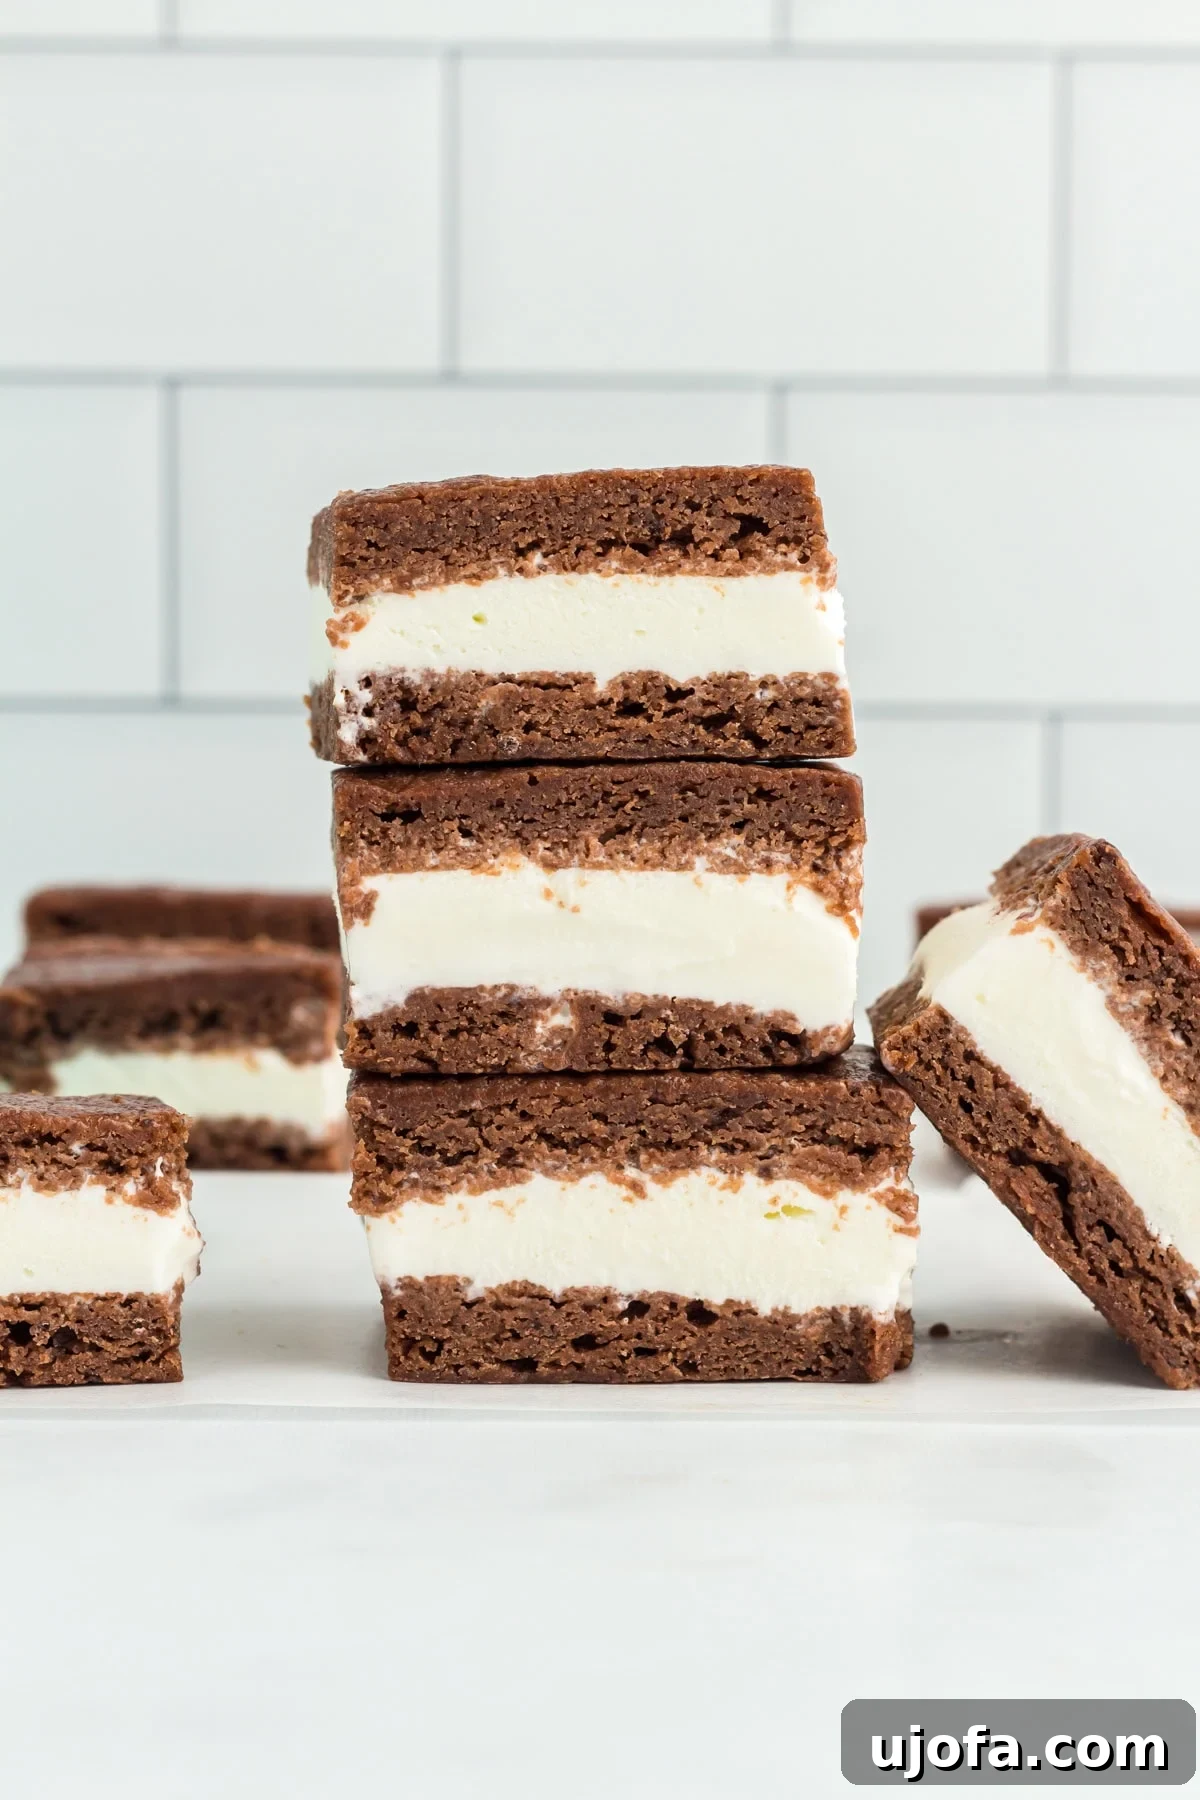
When the sun is shining and temperatures soar, there’s nothing quite like reaching for a perfectly chilled ice cream sandwich. It’s more than just a treat; it’s a bite of pure nostalgia, bringing back cherished memories of carefree summer days. But for those navigating a gluten-free diet, finding a safe and satisfying option in stores can often feel like an impossible quest. That’s precisely why we’ve crafted this incredible recipe for Gluten-Free Ice Cream Sandwiches, designed to bring all the joy and deliciousness of this classic dessert right into your kitchen, completely free from gluten.
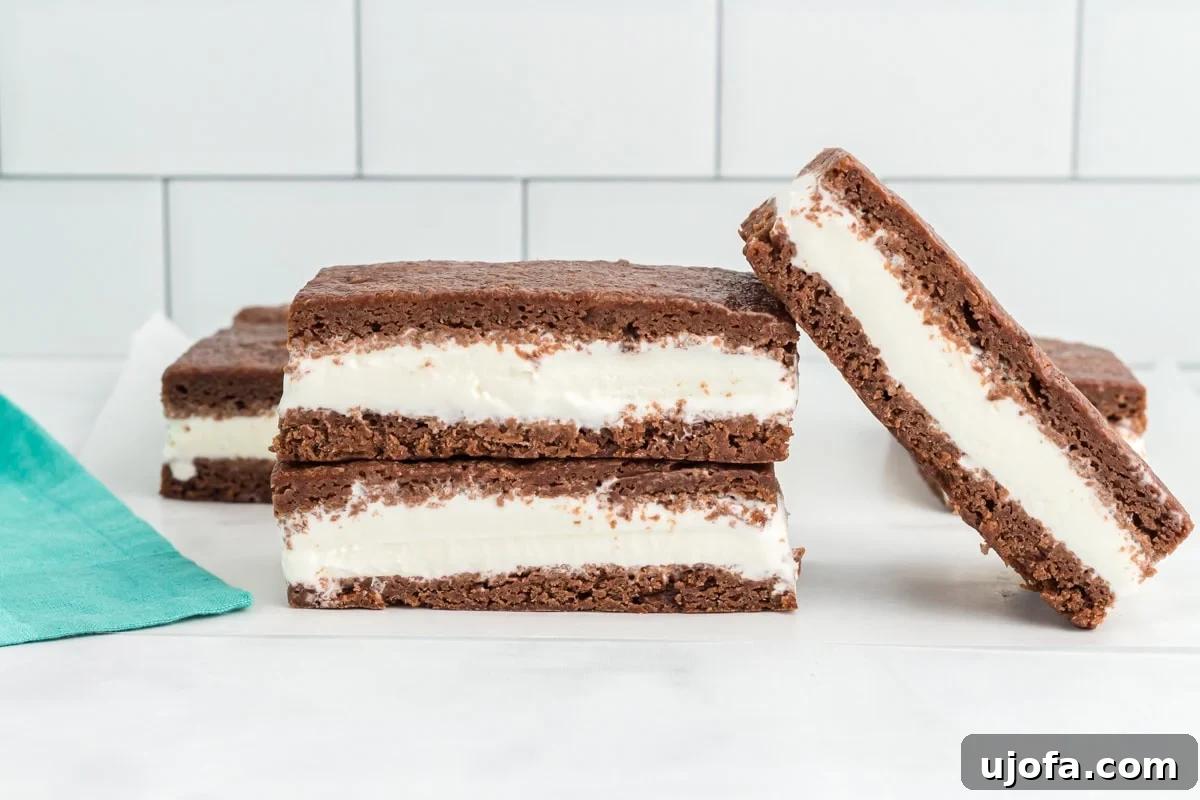
Imagine soft, chewy, brownie-like chocolate cookies hugging a generous layer of creamy, dreamy vanilla ice cream. This isn’t just a gluten-free substitute; it’s a gourmet experience that truly holds its own against any traditional ice cream sandwich. Our unique cookie recipe ensures the perfect texture: soft enough to bite into without crumbling, even when frozen solid. This treat captures everything you crave in a frozen dessert – comforting familiarity, absolute satisfaction, and complete peace of mind for gluten-free eaters. It’s the ultimate homemade gluten-free indulgence for any occasion.
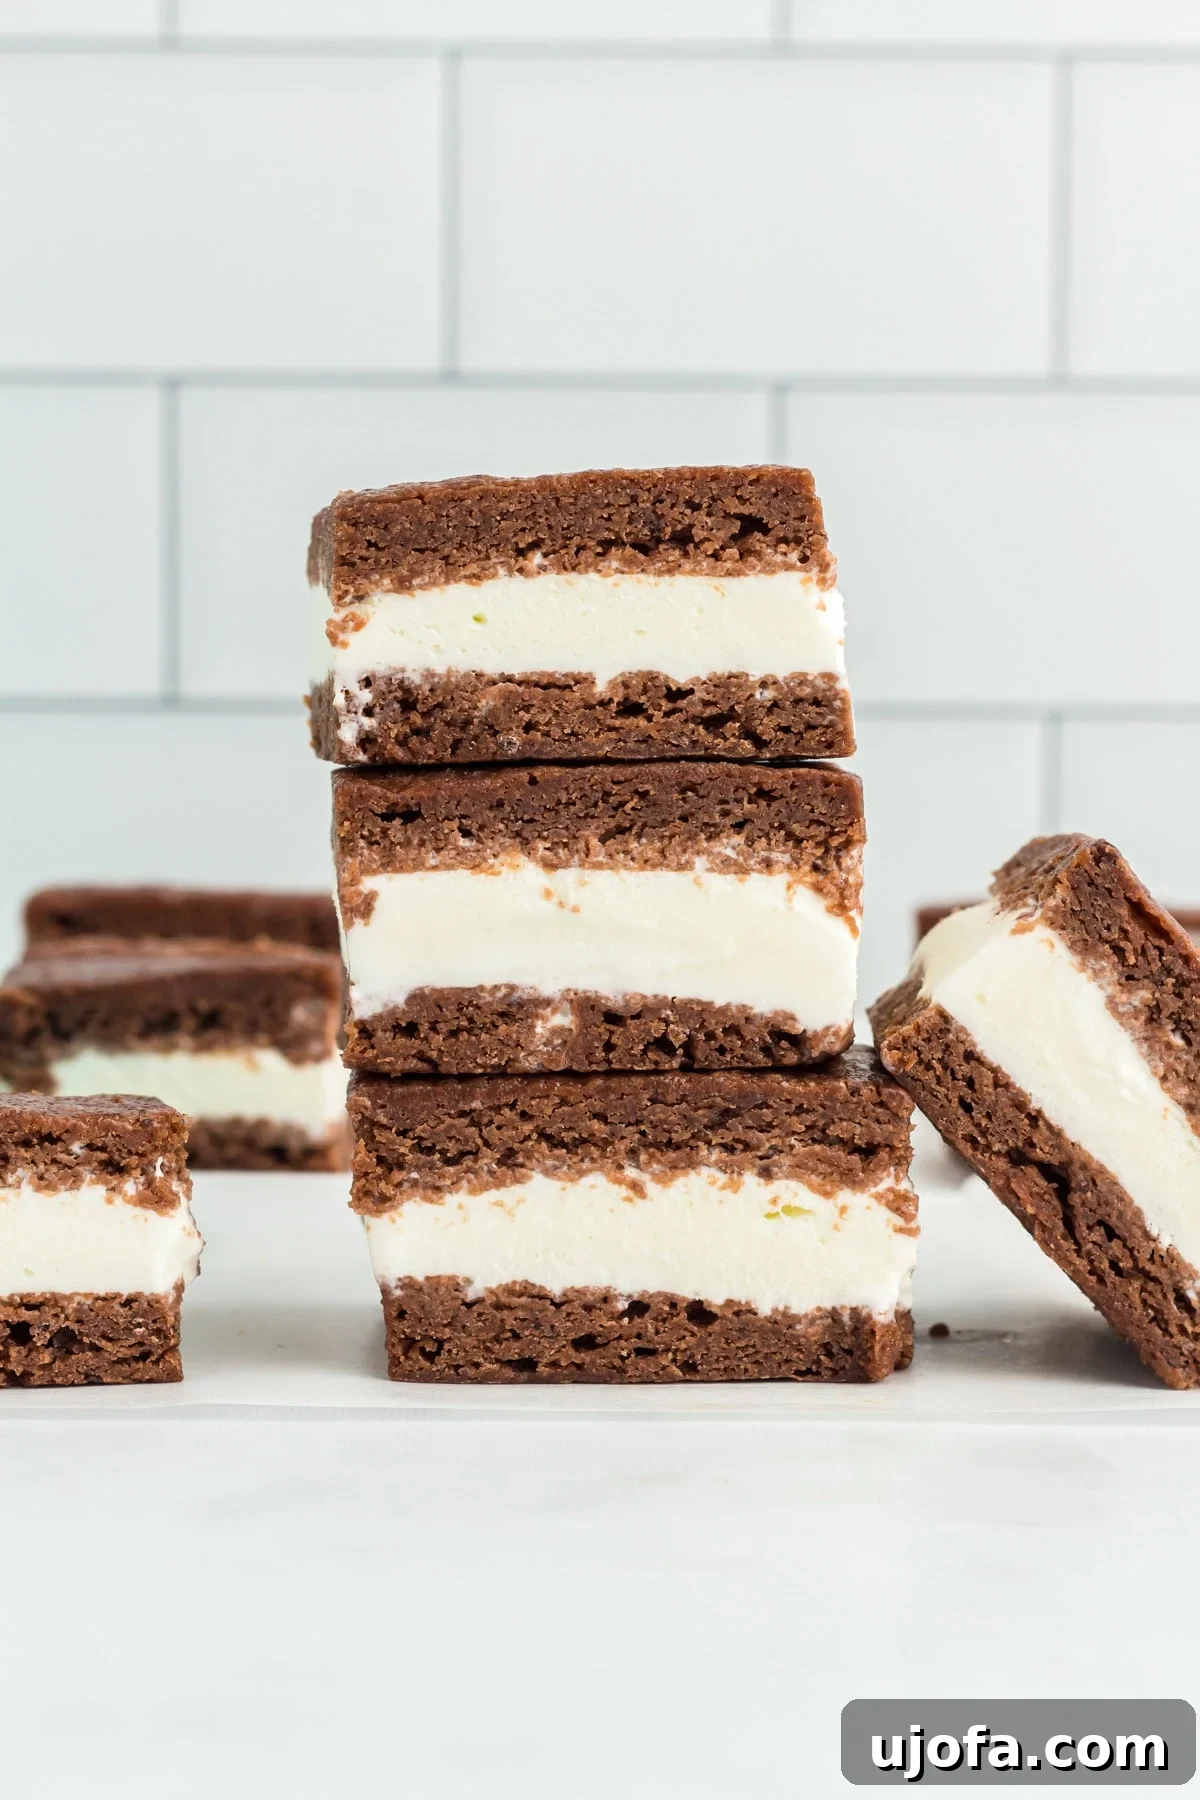
I fondly remember the sheer delight of ice cream sandwiches as a child, and that love has never faded. The struggle to find high-quality, safe gluten-free alternatives at the grocery store was the driving force behind perfecting my own homemade version. The secret to these outstanding gluten-free ice cream bars lies in the incredibly rich, chocolatey cookies, which retain their delightful chewiness even straight from the freezer. This means no more rigid, brittle cookies that are impossible to enjoy without them shattering!
These homemade gluten-free ice cream sandwiches are truly the quintessential summer treat, offering endless possibilities for customization. The best part? You’re not limited to vanilla; feel free to experiment with any ice cream flavor your heart desires, from classic chocolate to adventurous mint chip or even dairy-free options. They are incredibly fun to make, surprisingly easy to store, and always a guaranteed hit, whether you’re serving them to guests at a backyard barbecue or indulging in a special weeknight dessert for the family. Prepare to fall in love with this deliciously simple, yet profoundly satisfying, gluten-free creation that promises to become a new family favorite.
Gluten-Free Ice Cream Sandwiches
Cheryl Johnson
12 servings
10 mins
17 mins
9 hrs
9 hrs 27 mins
Share by Email
Print Recipe
These homemade gluten-free ice cream sandwiches feature soft, chewy brownie-like chocolate cookies layered with creamy vanilla ice cream. They are a nostalgic, satisfying, and completely safe frozen dessert for gluten-free diets. Follow our detailed step-by-step photos below the recipe card for perfect results.
Ingredients
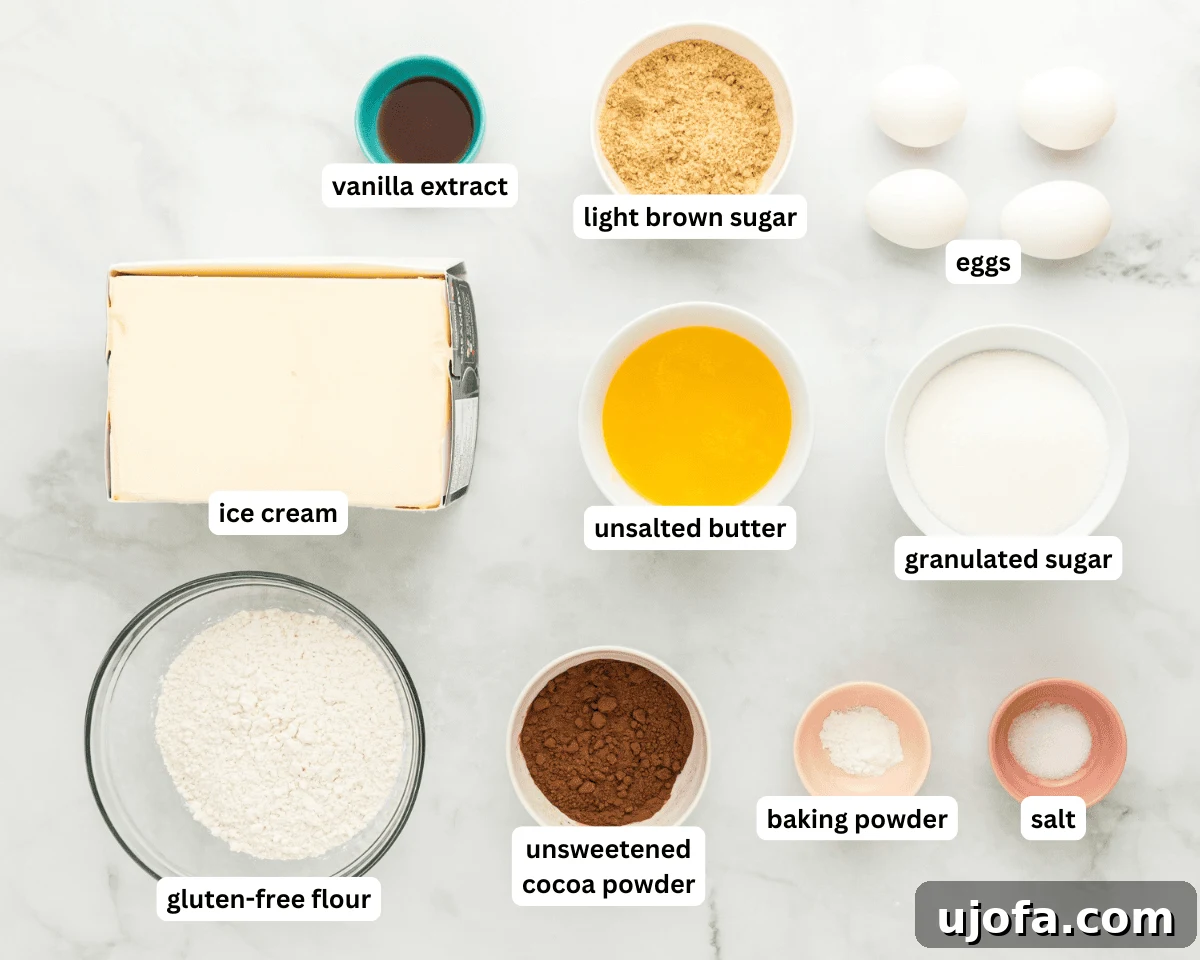
- 1¾ cups all purpose gluten free flour (Cup4Cup), (245 grams )
- ⅓ cup unsweetened cocoa powder, (30 grams) sifted
- 1 tsp xanthan gum, (only if your flour blend doesn’t already include it)
- ½ tsp baking powder
- ½ tsp salt
- 1 cup unsalted butter, (227 grams) melted but not hot)
- 1½ cups granulated sugar, (300 grams)
- ½ cup light brown sugar, (100 grams) packed
- 4 large eggs
- 1 tbsp vanilla extract
- 1½ quarts vanilla ice cream
Instructions
-
Preheat your oven to a precise 350°F (175°C). Ensuring your oven is at the correct temperature from the start is crucial for the even baking and perfect texture of your cookie base, preventing any raw spots or overbaking.
-
Prepare a large 18” x 13” baking sheet, ideally one with at least a 1” rim, by carefully lining it with parchment paper. Allow the parchment to extend slightly over the sides of the pan; this thoughtful detail will make it significantly easier to lift the delicate, baked cookie base out once it’s chilled and ready for assembly. Lightly spray the parchment paper with a non-stick baking spray to prevent any sticking, then set the prepared pan aside.
-
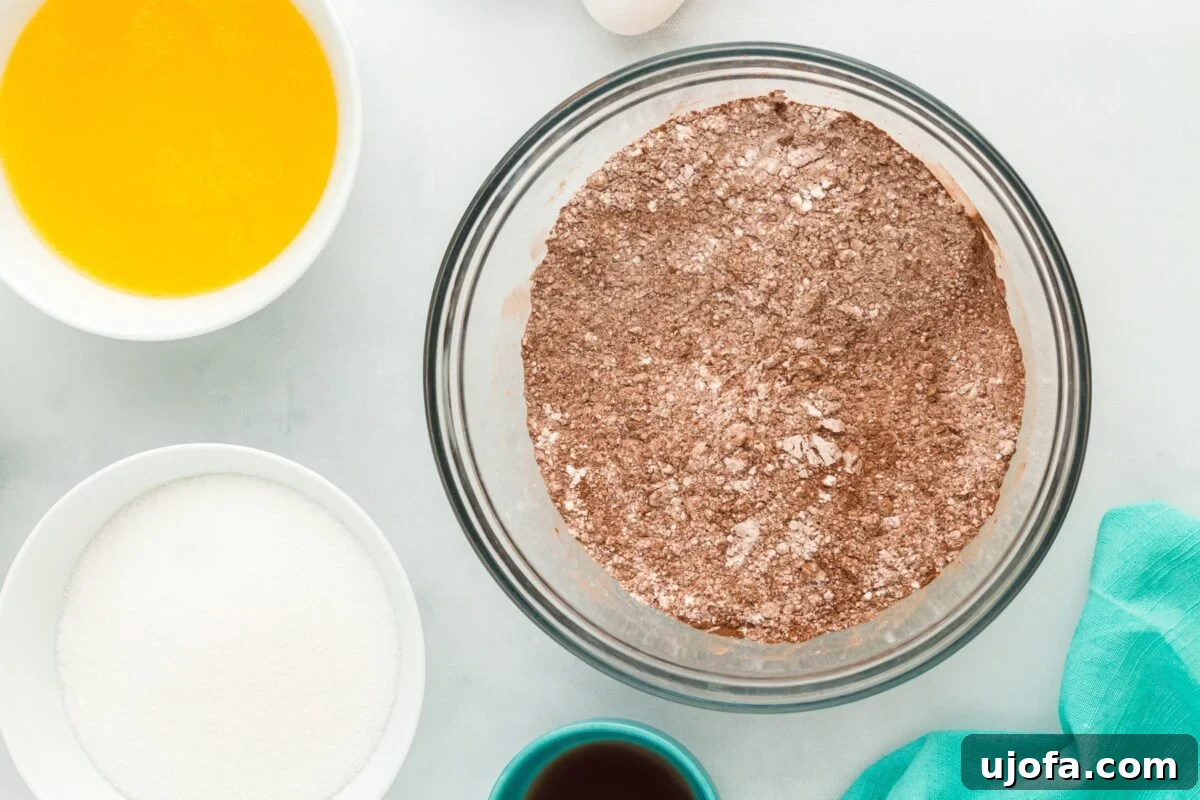
In a medium-sized mixing bowl, thoroughly whisk together all the dry ingredients. This includes 1¾ cups of your preferred all-purpose gluten-free flour (a blend like Cup4Cup works exceptionally well for this recipe), ⅓ cup of sifted unsweetened cocoa powder, 1 teaspoon of xanthan gum (only add this if your chosen gluten-free flour blend does not already contain it, as it’s essential for structure), ½ teaspoon of baking powder, and ½ teaspoon of salt. Sifting the cocoa powder is a crucial step here to prevent lumps and ensure a smooth, consistent chocolate flavor throughout your cookie base. Set this bowl aside for later.
-
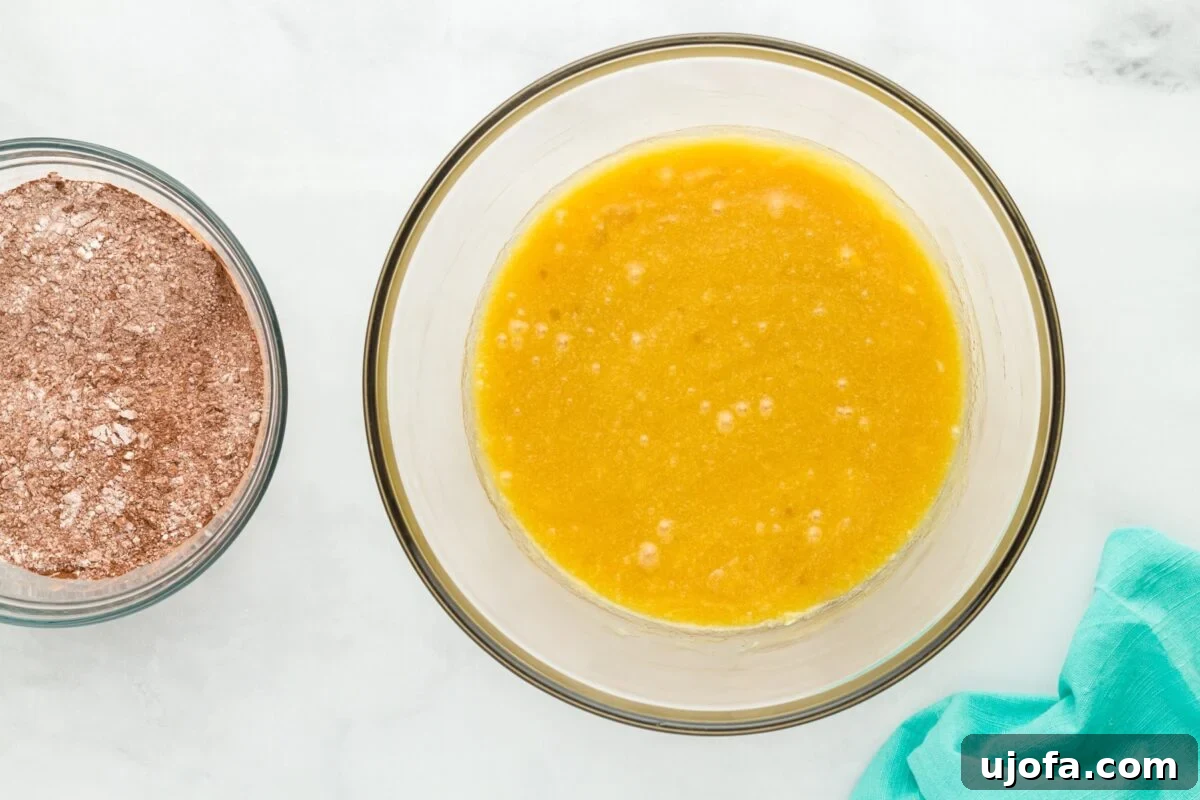
In a separate, larger mixing bowl, combine the wet ingredients. Whisk together 1 cup of unsalted butter that has been melted but is no longer hot (warm butter can cause your eggs to curdle, so ensure it’s cool to the touch before adding), 1½ cups of granulated sugar, ½ cup of packed light brown sugar, 4 large eggs, and 1 tablespoon of pure vanilla extract. Continue whisking diligently until all these ingredients are fully and smoothly combined, creating a glossy, rich base for your brownie-like cookies.
-
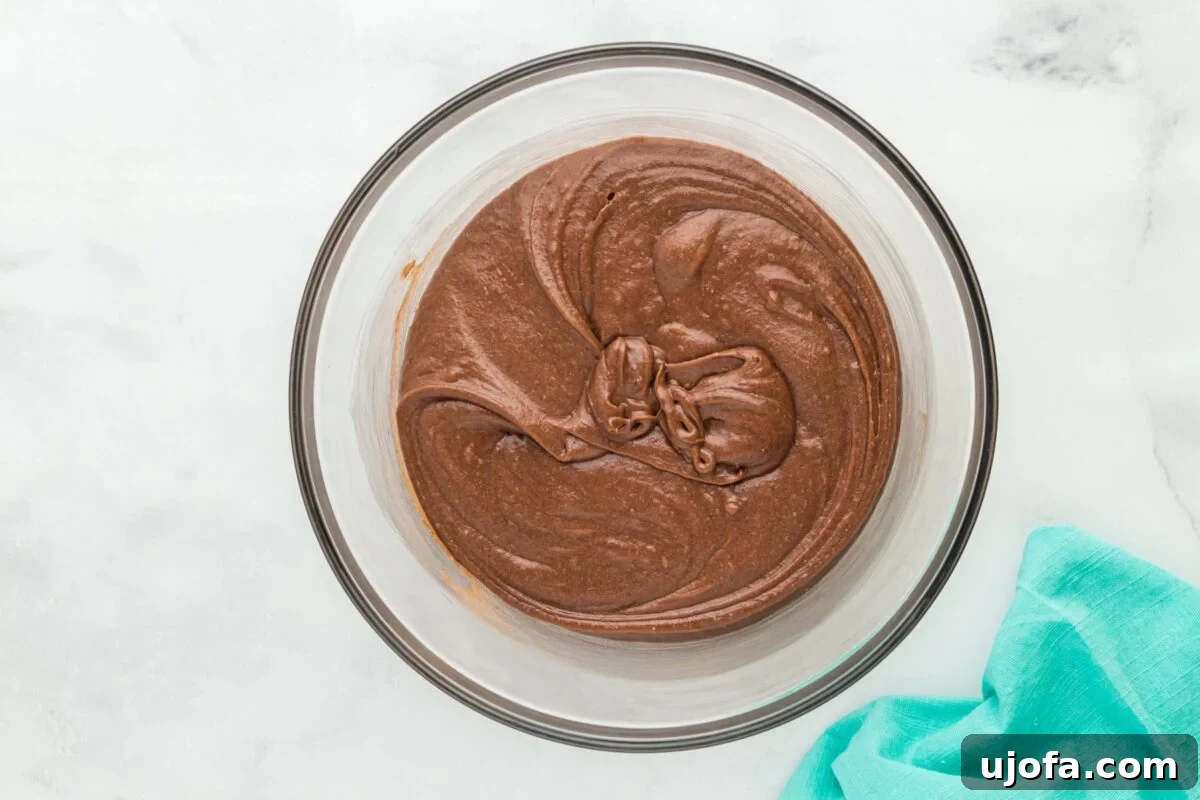
Gradually add the thoroughly whisked dry ingredients into the wet ingredients mixture. Continue to whisk gently until the batter is fully combined, resulting in a thick, uniform chocolate batter. Be careful not to overmix; simply combine until no streaks of dry flour remain, which helps in achieving that desirable fudgy texture.
-
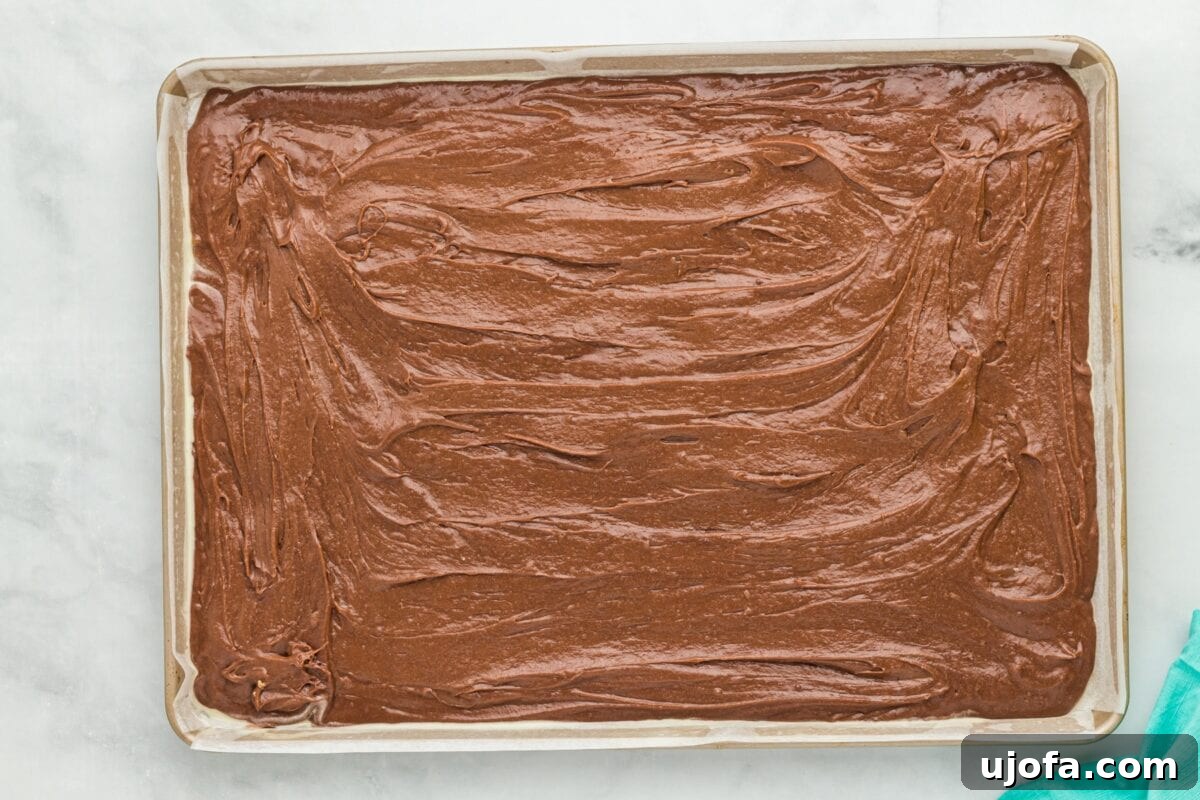
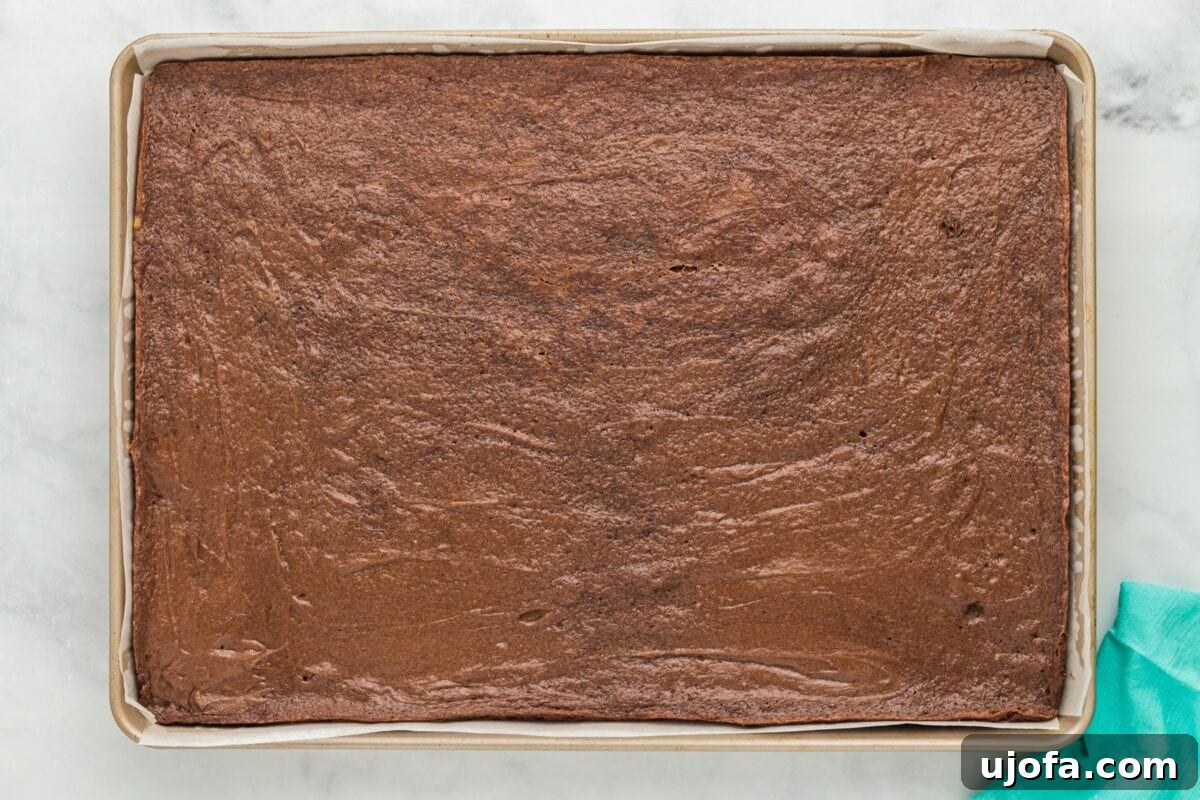
Carefully spread the prepared chocolate batter evenly onto the parchment-lined baking sheet. Use an offset spatula or the back of a spoon to ensure an even and consistent layer, reaching into all corners of the pan. An even thickness is absolutely key for uniform baking and creating perfectly shaped ice cream sandwiches later.
-
Bake the cookie base for approximately 17 to 19 minutes. It’s essential not to underbake this layer; an underbaked cookie will be too fragile and likely break apart when you attempt to assemble the ice cream sandwiches. The cookie base should appear set and cooked through, resembling a rich, baked brownie – soft but no longer raw in the center. A toothpick inserted into the center should come out with moist crumbs, not wet batter.
-
Once baked, remove the baking sheet from the oven and allow the cookie base to cool completely at room temperature. This step is vital for the cookie to firm up and gain structural integrity before moving on to the next crucial stage of assembly.
-
After the cookie base has completely cooled, transfer the entire baking sheet, with the cookie still nestled on it, into the freezer for at least one hour. This pre-freezing step is absolutely crucial for the successful assembly of your ice cream sandwiches. A firm, thoroughly chilled cookie base will be much more stable and manageable when spreading the ice cream, preventing cracks or breakage.
-
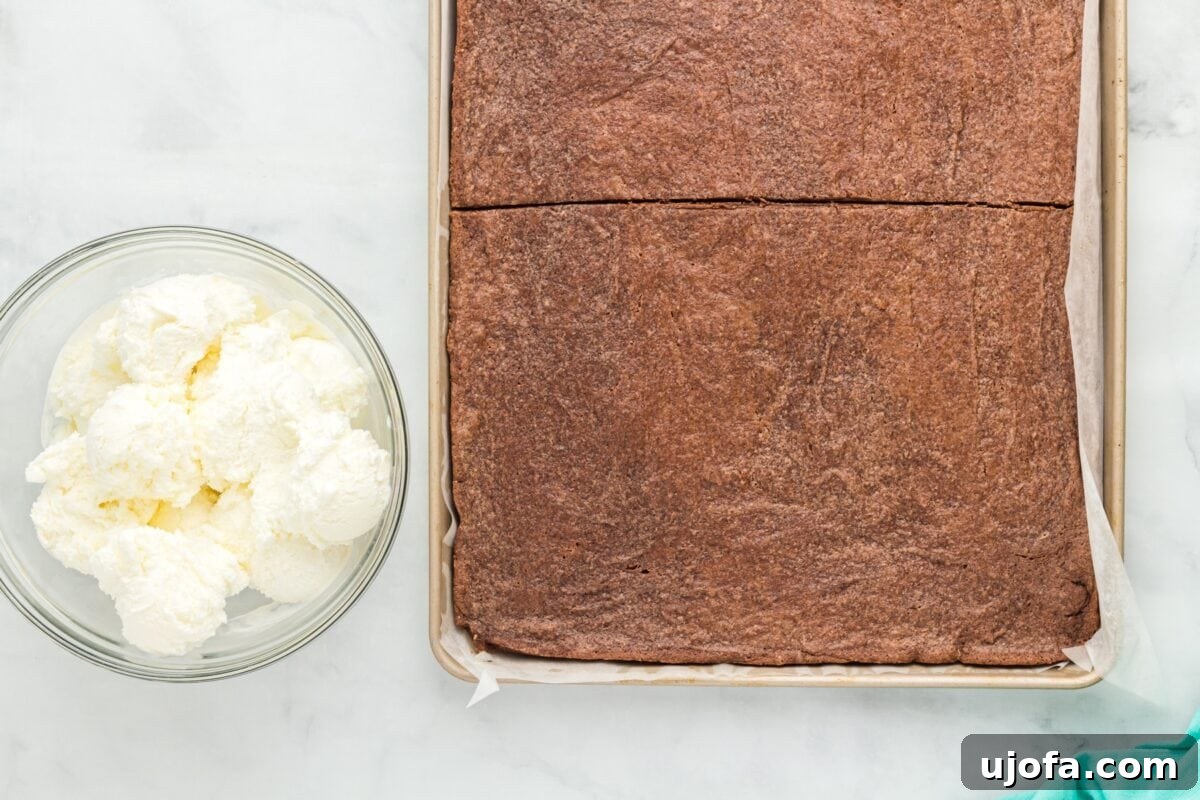
While your cookie base is chilling in the freezer, take your 1½ quarts of vanilla ice cream (or your chosen flavor) out of the freezer and let it sit at room temperature for approximately 15 minutes. The goal here is for the ice cream to soften just enough to be easily spreadable without becoming melted and runny. It should still be frozen enough to hold its shape once layered, preventing it from leaking out the sides of your assembled sandwiches.
-
Carefully lift the chilled cookie base from the baking sheet using the parchment paper edges. Place it onto a large piece of food-safe plastic wrap on a clean, flat surface. Using a sharp knife, cut the large cookie base precisely in half, creating two equal rectangles.
-
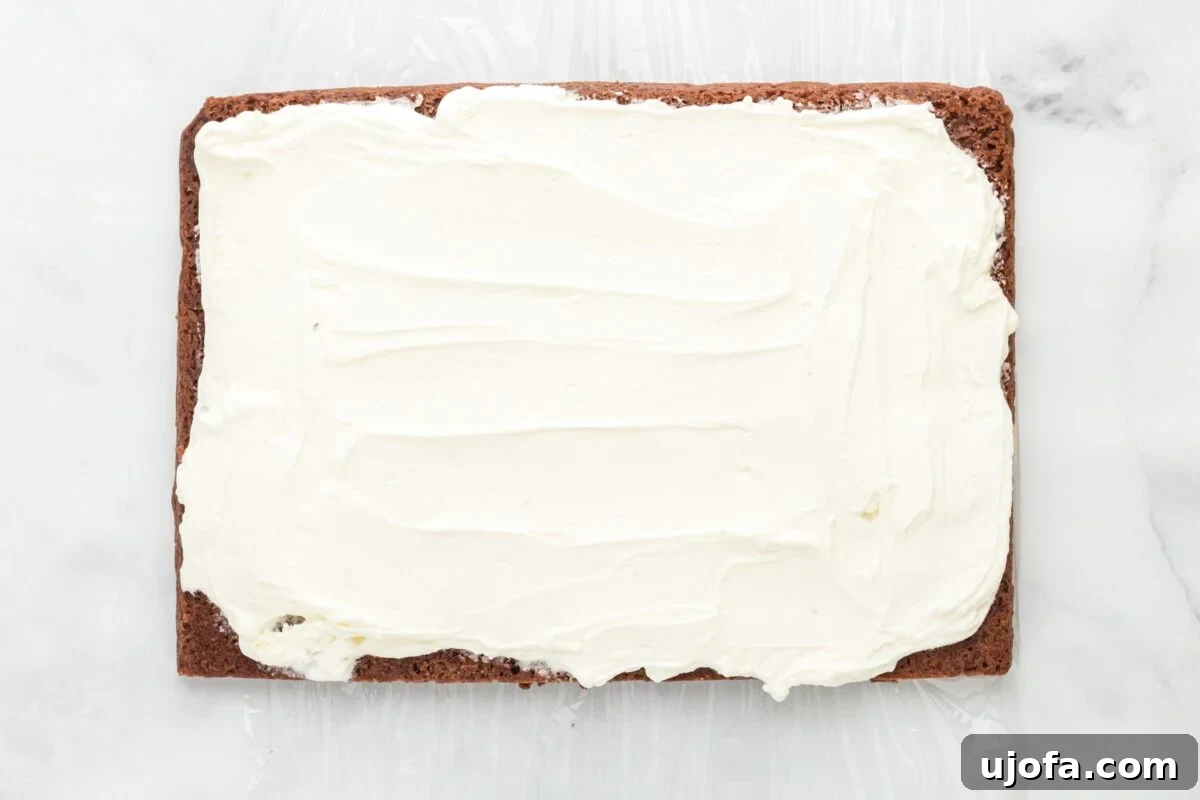
Evenly spread the softened vanilla ice cream over one half of the frozen cookie base. Distribute it right to the edges using an offset spatula, aiming for a consistent, generous layer of creamy goodness. This ensures a delightful bite in every part of the sandwich.
-
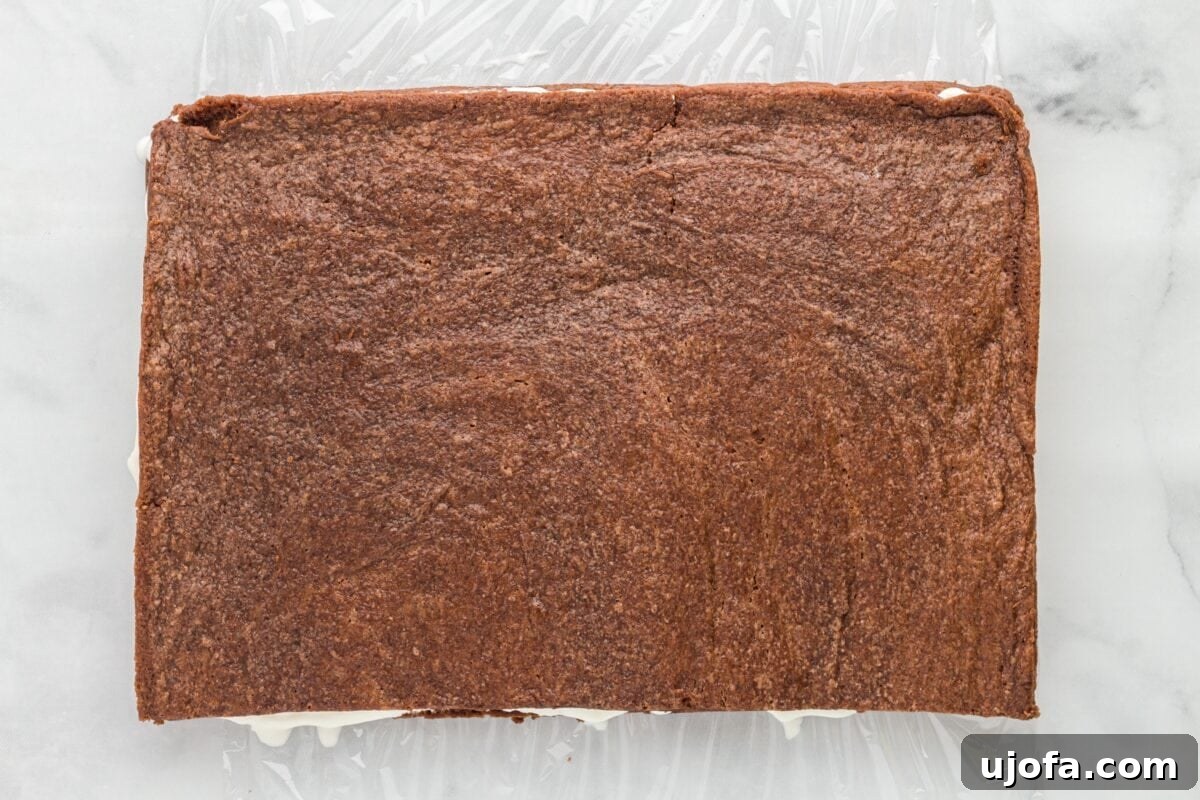
Gently lift the other half of the cookie base and carefully place it directly on top of the ice cream layer. Press down very lightly and evenly to ensure it adheres to the ice cream and forms a cohesive block, creating a perfect sandwich. Be gentle to avoid squishing the ice cream out the sides.
-
Wrap the entire assembled ice cream sandwich block tightly in the food-safe plastic wrap. Ensure it’s fully sealed, removing as much air as possible, to prevent any freezer burn. Then, return it to the freezer for at least 8 hours, though preferably overnight. This long chill time is essential for the ice cream to re-solidify completely and for the cookies to fully meld with the ice cream, making the sandwiches easy to cut and enjoy.
-
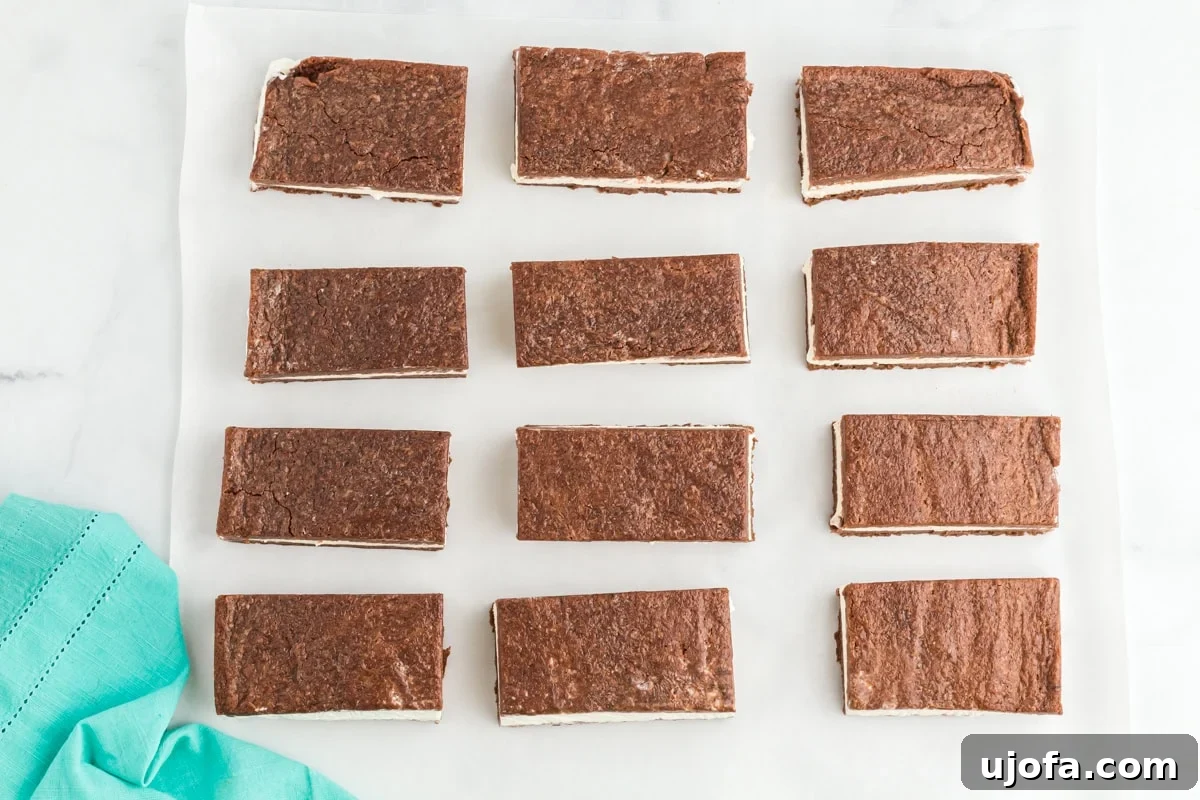
Once the large ice cream sandwich block is frozen solid, unwrap it. Using a very sharp knife (or a knife dipped in hot water for cleaner cuts), slice the large block into individual rectangles or squares. The size is entirely up to your preference – whether you prefer classic rectangles or more bite-sized squares. Serve immediately on a hot day, or re-wrap individual sandwiches for future enjoyment.
Notes
- Don’t skip chilling the cookie base before layering the ice cream. This is a critical step for structural integrity, ensuring your cookie halves are firm and won’t break, crack, or become mushy under the pressure of spreading the softened ice cream. A well-chilled cookie base makes assembly much easier and guarantees a professional-looking final product.
- Customization is key for endless flavor possibilities! These gluten-free ice cream sandwiches are incredibly versatile. Feel free to use different ice cream flavors beyond classic vanilla to create unique and exciting variations. Experiment with rich chocolate, refreshing mint chip, fruity strawberry, or even a dairy-free alternative like coconut or almond milk ice cream to cater to diverse tastes and dietary needs.
- Always double-check your ingredients for gluten certification. When preparing any gluten-free recipe, it’s vital to verify that all components, including less obvious items like baking powder, vanilla extract, and especially gluten-free flour blends, are certified gluten-free. Pay close attention to cross-contamination warnings on packaging as well, to ensure your delicious homemade treat remains safe for everyone.
- Achieving the perfect fudgy texture: The secret to these chewy, brownie-like cookies lies in not overmixing the batter once the wet and dry ingredients are combined. Overmixing can sometimes develop too much gluten (even in gluten-free flour blends) or incorporate excessive air, which can lead to a more cakey instead of the desired fudgy and dense cookie texture. Mix just until combined.
Nutrition
Calories: 600kcal
Carbohydrates: 76g
Protein: 8g
Fat: 31g
Saturated Fat: 18g
Polyunsaturated Fat: 2g
Monounsaturated Fat: 8g
Trans Fat: 1g
Cholesterol: 147mg
Sodium: 243mg
Potassium: 312mg
Fiber: 4g
Sugar: 60g
Vitamin A: 1050IU
Vitamin C: 1mg
Calcium: 197mg
Iron: 1mg
Nutrition information is automatically calculated and should be used as an approximation. Individual results may vary based on specific ingredients used and preparation methods.
Additional Info
Tried this recipe?
Mention @mamaknowsglutenfree or tag #mamaknowsglutenfree!
How to Make Gluten-Free Ice Cream Sandwiches: A Detailed Step-by-Step Guide
Creating these delightful gluten-free ice cream sandwiches is an enjoyable and straightforward process, especially when you follow these detailed steps. Each stage is designed to ensure you achieve that perfect chewy cookie and creamy filling combination, resulting in a homemade frozen dessert that everyone will love.
Essential Gluten-Free Baking Tips for Success
Baking gluten-free doesn’t have to be complicated, and with these expert tips, you’ll master these delightful ice cream sandwiches and achieve perfect results every time. These insights will help ensure your cookies are moist, chewy, and the overall dessert is a triumph.
- Sift Your Cocoa Powder for Uniform Texture: This might seem like a small extra step, but sifting the cocoa powder before incorporating it into your dry ingredients is absolutely crucial. Cocoa powder has a tendency to clump easily, and these clumps can lead to an uneven texture or unpleasant bitter pockets in your final cookie layer. A quick sift ensures a smooth, consistent, and perfectly integrated chocolate flavor throughout your brownie-like cookie base.
- Be Generous with Non-Stick Aid and Parchment Paper: Gluten-free batters, especially rich ones like this, have a tendency to stick more stubbornly to pans than traditional wheat-based recipes. To avoid frustration and preserve the integrity of your delicate cookie base, be generous with non-stick spray on your parchment paper. Even better, ensure your parchment paper extends well over the edges of your baking pan. This clever trick allows you to easily lift the entire cookie sheet out of the pan without damaging its structure, making the assembly process much smoother.
- Hand Mix for the Best Fudgy Texture: While electric stand mixers are incredibly convenient for many baking tasks, I’ve found that for this specific gluten-free ice cream sandwich recipe, a gentle hand stir with a sturdy spatula yields the absolute best results. A stand mixer can sometimes incorporate too much air into gluten-free batters, which can alter the desired fudgy and dense texture of these brownie-like cookies. A quick, thorough mix by hand ensures that perfect chewy consistency that makes these sandwiches so irresistible.
- The Hot Knife Trick for Clean Slices: When it comes to slicing your perfectly frozen ice cream sandwiches, a sharp knife dipped in hot water is a game-changer. This simple yet effective trick allows the warm blade to glide effortlessly through both the dense cookie layers and the frozen ice cream without tearing or dragging. For pristine, picture-perfect slices that look as good as they taste, remember to wipe the blade clean between each cut.
- Choose a Quality Gluten-Free Flour Blend: The success of your gluten-free baking often hinges on the quality and composition of your all-purpose gluten-free flour blend. Blends like Cup4Cup are specifically formulated to mimic the characteristics of wheat flour, providing excellent structure and a pleasing texture. If your chosen blend does not already include xanthan gum, remember to add the specified amount; it’s a vital ingredient in gluten-free baking for providing elasticity and preventing crumbling.
Creative Serving Suggestions & Delicious Customizations
These homemade gluten-free ice cream sandwiches are incredibly versatile and perfect for almost any occasion, making them a fantastic addition to your dessert repertoire. They shine as a refreshing dessert for casual summer parties, lively barbecues, or simply as a delightful, easy-to-grab treat on a warm evening. But why stop at vanilla ice cream when there’s a world of flavor to explore?
Feel free to unleash your creativity by customizing your sandwiches with different ice cream flavors. Explore the richness of chocolate, the refreshing coolness of mint chip, the fruity burst of strawberry, or even more adventurous options like bold coffee or sweet and salty caramel. For those with specific dietary needs, this recipe adapts beautifully to keto ice cream, unique avocado ice cream, or various dairy-free varieties. This flexibility ensures they can be an inclusive dessert everyone can enjoy, regardless of dietary restrictions.
For an extra touch of fun and flair, consider drizzling the finished sandwiches with melted chocolate or a luscious caramel sauce just before serving. You could also roll the edges in your favorite toppings before the final freeze. Think colorful sprinkles for a festive touch, finely crushed nuts (like pecans or walnuts) for added texture, or mini chocolate chips for an extra cocoa boost. These treats are easy to make ahead, making them ideal for birthday parties, school events, or any kid-friendly dessert spread where delicious and safe gluten-free options are a must. They’re sure to be a crowd-pleaser!
Storage Instructions for Optimal Freshness
Proper storage is paramount to keeping your delicious gluten-free ice cream sandwiches fresh and enjoyable for an extended period. Once they are sliced into individual servings, it’s best practice to wrap each sandwich individually in food-safe plastic wrap. This crucial tight seal helps to prevent dreaded freezer burn, ensures the cookies remain delightfully soft, and keeps the ice cream creamy and rich.
After wrapping, meticulously place the individually wrapped sandwiches in an airtight container or a heavy-duty freezer bag. Store them in the back of your freezer, where temperatures tend to be most consistent and stable, for up to 3 months. This method ensures their quality and flavor are preserved. When you’re ready to indulge in one, simply retrieve it from the freezer and allow it to sit at room temperature for just 1-2 minutes. This brief resting period slightly softens both the cookie and the ice cream, enhancing the overall texture and making each bite even more enjoyable and easy to savor.
More Gluten-Free Summer Desserts You’ll Love
If you’re looking for even more delicious and refreshing gluten-free treats to enjoy this summer, be sure to explore these fantastic recipes that are perfect for warm weather and entertaining:
- Gluten-Free Ice Cream Cake
- Ambrosia Salad
- Gluten-Free Key Lime Pie
- Gluten-Free Lemon Bars
- Gluten-Free Lemon Cake