
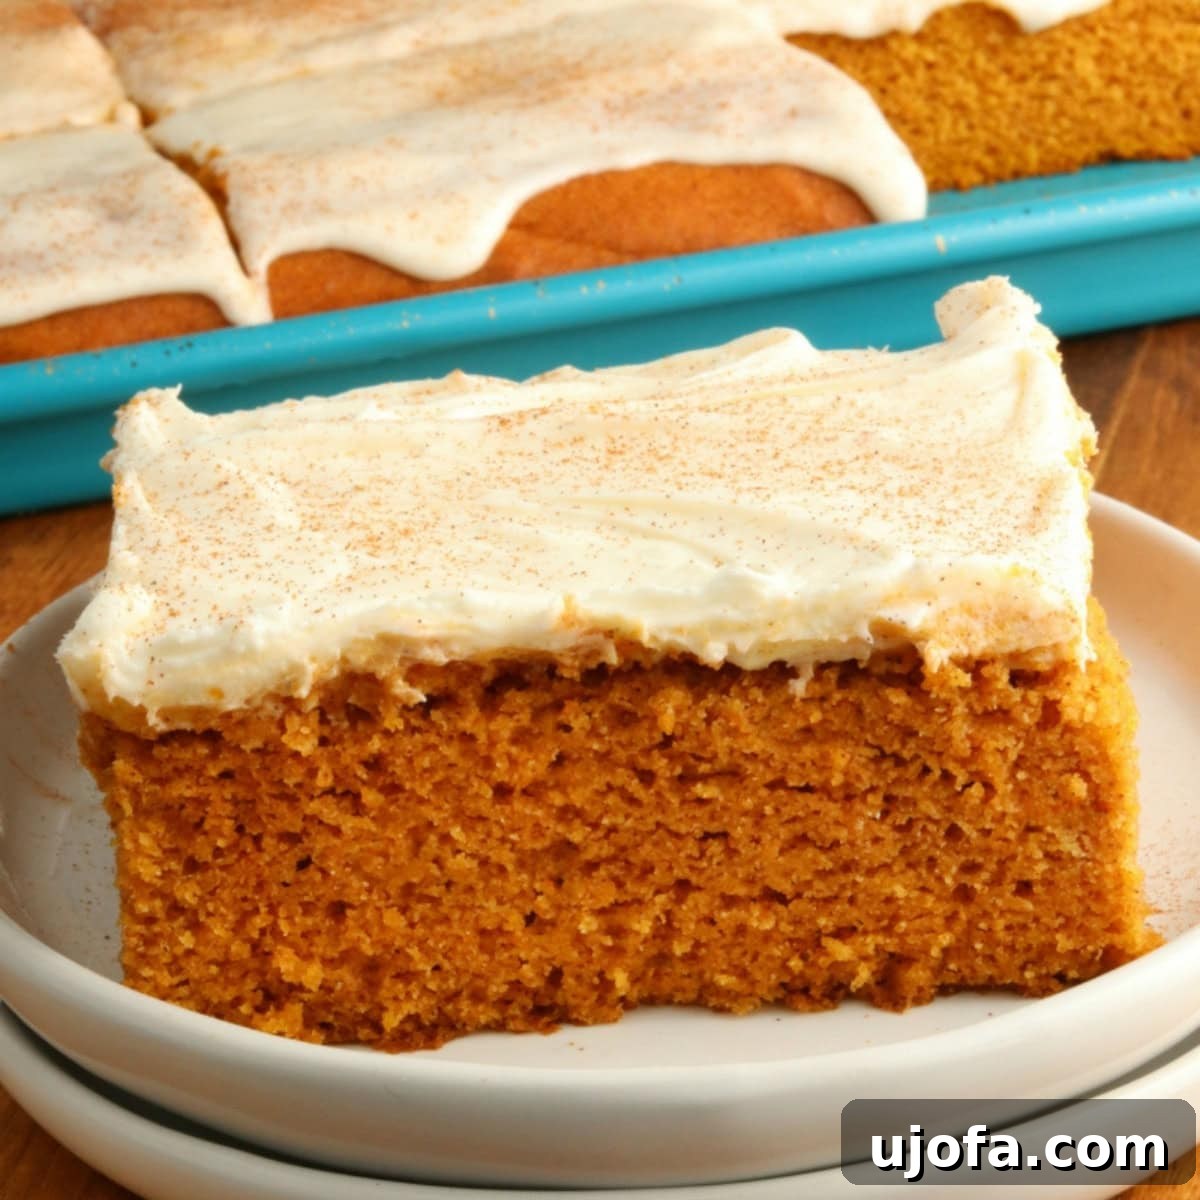
As the leaves begin to turn and a crispness fills the air, there’s nothing quite like the comforting aroma of pumpkin spice wafting from your kitchen. And when it comes to fall baking, these gluten-free pumpkin bars with their luscious cream cheese frosting are an absolute triumph. They are incredibly easy to prepare, yielding a perfectly moist, light, and fluffy texture that perfectly captures the quintessential flavors of autumn. The rich, warm notes of pumpkin and a delicate blend of spices are beautifully complemented by a sweet and tangy cream cheese frosting, making every bite an unforgettable experience. What’s even better is the inclusion of a dairy-free frosting option, ensuring that everyone in your family, regardless of dietary needs, can indulge in these delightful handheld treats throughout the holiday season and beyond.
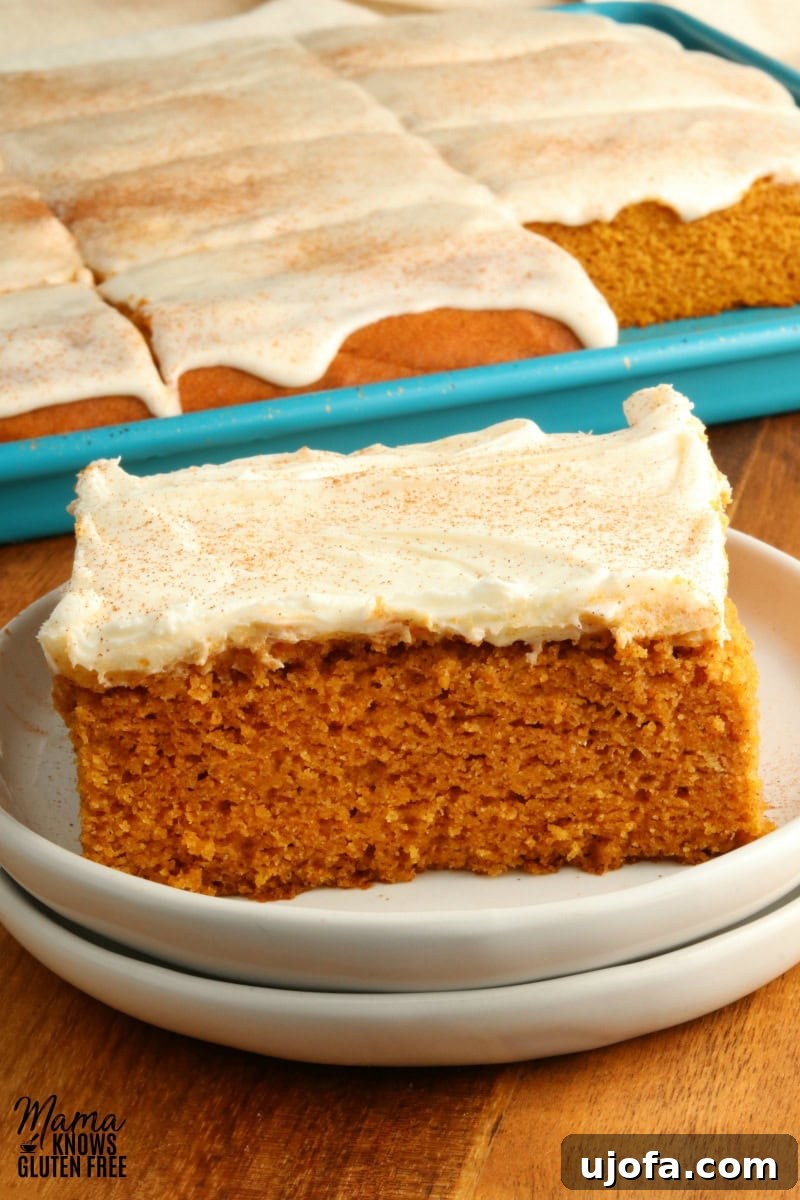
Homemade Gluten-Free Pumpkin Bars: Your Ultimate Fall Treat
If you’ve ever enjoyed the comforting flavors of gluten-free pumpkin bread or savored a slice of gluten-free pumpkin cake, then prepare to fall in love with these exceptional gluten-free pumpkin bars. This recipe takes everything you adore about classic pumpkin desserts and transforms it into an easy-to-manage bar form, perfect for potlucks, family gatherings, or simply a cozy evening at home. What sets these bars apart is the careful balance of ingredients – a blend of both granulated and brown sugars contributes to their deep flavor and supremely moist texture, while a generous helping of authentic pumpkin pie spice and extra cinnamon infuses them with that unmistakable, warm, and inviting fall essence.
The foundation of these delicious bars is, of course, canned pumpkin puree, which provides natural sweetness and incredible moisture. Paired with a hint of vanilla extract, these flavors truly sing. But no pumpkin bar would be complete without a luxurious topping, and our rich, creamy cream cheese frosting provides the perfect tangy counterpoint to the spiced pumpkin base. It’s a classic combination that has stood the test of time for good reason, creating a harmonious balance that delights the palate. For my family, these gluten-free pumpkin bars are more than just a dessert; they’re a cherished holiday tradition. I often find myself making a double batch for Thanksgiving because they disappear so quickly – a testament to their irresistible appeal! They are a fantastic way to celebrate the season and share a little bit of homemade joy.
Essential Ingredients for Perfect Gluten-Free Pumpkin Bars
Creating truly exceptional gluten-free pumpkin bars begins with selecting the right ingredients. Each component plays a crucial role in achieving that perfect balance of flavor, moisture, and texture that makes these bars a beloved fall dessert. Here’s a closer look at what you’ll need and why it matters:
- Pumpkin Puree: This is the heart of our pumpkin bars. It’s absolutely vital to use pure canned pumpkin, not pumpkin pie filling! Canned pumpkin is simply cooked, mashed pumpkin, free from added sugars or spices. Pumpkin pie filling, on the other hand, is pre-sweetened and seasoned, which would throw off the flavor profile and sweetness level of our recipe. Always double-check the label to ensure you’re grabbing the right one!
- Baking Soda & Baking Powder: These leavening agents are the secret to the bars’ wonderfully light and fluffy rise. Baking soda reacts with acidic ingredients (like pumpkin) to create carbon dioxide bubbles, while baking powder provides an additional lift, ensuring a tender crumb. Together, they prevent the bars from becoming dense.
- Salt: A small but mighty ingredient, a pinch of salt is essential. It doesn’t just add its own flavor; it brightens and enhances all the other ingredients, especially the warm pumpkin spice notes, making them more vibrant and delicious.
- Seasonings: To infuse these GF pumpkin bars with that quintessential warm, cozy, and inviting fall flavor, we rely on a combination of spices. Pre-made pumpkin pie spice is a convenient blend typically consisting of ground cinnamon, ginger, nutmeg, allspice, and cloves. We also add an extra boost of ground cinnamon to truly elevate the aromatic profile, giving the bars a richer, deeper spice character that evokes autumn.
- Vanilla Extract: Pure vanilla extract is a flavor enhancer that adds a layer of complexity and depth to both the pumpkin bars themselves and their rich cream cheese frosting. It rounds out the sweetness and spice, creating a more harmonious overall taste.
- Sugar: Our recipe calls for a dynamic duo of sugars: granulated sugar and brown sugar. Granulated sugar provides foundational sweetness, while brown sugar adds a lovely molasses note, contributing to a richer flavor and, importantly, extra moisture, resulting in a wonderfully soft and chewy bar. This combination ensures a perfect balance of sweetness and a desirable tender texture.
- Eggs: Eggs are critical binders in this recipe, holding all the ingredients together and providing essential moisture. They also contribute to the structure and richness of the bars, helping to create a stable yet tender crumb. Using large eggs is generally recommended for consistent baking results.
- Gluten-Free All-Purpose Flour with Xanthan Gum: The choice of gluten-free flour is paramount for success. I consistently achieve excellent results with Pillsbury gluten-free flour, which is a rice-based cup-for-cup blend that already includes xanthan gum. Xanthan gum is a crucial ingredient in gluten-free baking, mimicking the elasticity and binding properties that gluten provides in traditional flours. It helps prevent crumbling and gives the bars a desirable chewiness. It’s important to note that not all gluten-free flour blends are created equal. Different brands may have varying ratios of flours (rice, potato, tapioca, cornstarch, etc.) and different amounts of xanthan gum (or none at all). While I can’t guarantee results with other flours, if you do choose a different brand, selecting one that explicitly states it contains xanthan gum or adding it separately is highly recommended for best results.
- Vegetable Oil: This ingredient is key to making these pumpkin bars unbelievably moist and soft, giving them a rich, almost brownie-like decadence. Vegetable oil creates a very tender crumb and ensures the bars stay moist for days. For a slightly lighter option, you can substitute half of the vegetable oil with unsweetened apple sauce (e.g., ½ cup apple sauce and ½ cup oil instead of a full cup of oil), which will still provide moisture while reducing some fat.
Ingredients for the Creamy Cream Cheese Frosting
The crowning glory of these pumpkin bars is undoubtedly the rich and tangy cream cheese frosting. Here’s what you’ll need for this decadent topping:
- Cream Cheese: For a smooth, lump-free frosting, ensure your cream cheese is thoroughly softened to room temperature. This allows it to blend seamlessly with the other ingredients, creating a velvety texture. For those seeking a dairy-free alternative, I’ve had great success with Kite Hill dairy-free cream cheese, which provides a similar tang and richness.
- Butter: Softened butter combines with the cream cheese to form the most decadent and spreadable frosting. Just like with the cream cheese, proper softening is crucial for an even consistency. For a dairy-free option, Smart Balance butter has proven to be an excellent substitute, delivering that buttery richness without dairy.
- Powdered Sugar: Also known as confectioners’ sugar, this finely milled sugar is what makes the frosting silky smooth and perfectly sweet. Always sift your powdered sugar if it seems lumpy to avoid a grainy frosting. When using dairy-free cream cheese, which can sometimes be softer than traditional cream cheese, you might find yourself needing to add an extra cup (or even two) of powdered sugar to achieve the desired thickness and stability. Start with the amount recommended in the recipe and adjust as needed, adding a little at a time until you reach your preferred consistency.
- Vanilla Extract: A touch of pure vanilla extract in the frosting enhances its overall flavor, complementing the tanginess of the cream cheese and adding a warm, inviting aroma.
Expert Tips and Suggestions for Baking Perfect Gluten-Free Pumpkin Bars
Achieving bakery-quality gluten-free pumpkin bars is easily within reach with a few helpful tips and tricks. These suggestions will guide you through the process, ensuring your bars turn out perfectly moist, flavorful, and beautifully frosted every time.
- Accurate Flour Measurement is Key: When working with gluten-free flours, precise measurement is absolutely crucial. I always advocate for the “spoon & level” method. To do this, use a large spoon to gently scoop the gluten-free flour into your measuring cup until it’s overflowing. Then, take the back of a straight edge (like a butter knife) and level off the excess flour, ensuring it’s flush with the top of the cup. Never scoop the flour directly out of the bag with your measuring cup, as this compacts the flour, leading you to use significantly more than the recipe calls for, which can result in dry, dense bars.
- Choosing the Right Baking Pan: These gluten-free pumpkin bars are optimally baked in a 10 × 15-inch baking pan, often referred to as a jelly roll pan. This size yields bars with the perfect thickness – not too thin, not too cakey. I personally find an OXO jelly roll pan to be excellent for this purpose. If you don’t have a 10×15-inch pan, a 9 x 13-inch pan can be used, but be aware that your bars will be noticeably thicker, potentially requiring a slightly longer baking time and a different final texture. Keep an eye on them!
- Prepare Your Pan Properly: To ensure your delicious pumpkin bars release effortlessly from the pan, proper preparation is essential. I always grease my baking pan thoroughly with a gluten-free coconut oil cooking spray before adding the batter. Alternatively, lining the pan with parchment paper, leaving an overhang on the sides, works wonderfully. The parchment paper acts as a sling, making it incredibly easy to lift the entire batch of cooled bars out of the pan before cutting and frosting.
- Patience is a Virtue: Cool Completely Before Frosting: This is a non-negotiable step for beautiful frosting! It’s absolutely crucial to allow the bars to cool completely to room temperature before applying the cream cheese frosting or attempting to cut them. If you try to frost warm bars, the frosting will melt and slide off, creating a messy situation. For best results, I often bake the bars the night before and let them cool uncovered on a wire rack overnight, ensuring they are perfectly chilled and ready for frosting the next day.
- Personalize with Mix-ins: While delightful on their own, these pumpkin bars are also a fantastic canvas for your favorite additions. Feel free to stir in mix-ins like chocolate chips (dairy-free chocolate chips are a great option for those with dairy sensitivities, as many members of my family are dairy-free!), chopped nuts (pecans or walnuts work beautifully), or even dried cranberries for a burst of tartness. Add them to the batter just before pouring into the pan.
- An Alternative to Frosting: If you’re looking for a simpler presentation or prefer a less rich treat, you can absolutely skip the cream cheese frosting. Instead, once the bars have cooled, simply dust the top generously with a fine layer of powdered sugar for an elegant and understated finish.
- Time-Saving Shortcut: We all have those busy days! When time is of the essence, and you need a quick solution for the frosting, I’ve found that Pillsbury canned cream cheese frosting can be a lifesaver. It’s conveniently gluten-free and often dairy-free (though always, always check the label to confirm, as formulations can change!). Consider this our little secret for when you need a delicious dessert in a flash.
Can I Use Different Types of Gluten-Free Flour in This Recipe?
The world of gluten-free baking can be complex, and flour blends are often at the heart of it. This particular recipe for gluten-free pumpkin bars has been developed and tested specifically with a reliable all-purpose gluten-free flour blend that includes xanthan gum, such as Pillsbury gluten-free flour. This type of blend (typically a mix of rice flour, potato starch, tapioca starch, etc.) provides a consistent structure and texture that works perfectly with the moisture and fat content in this recipe.
However, if you’re considering using other single-source gluten-free flours like almond flour, coconut flour, or oat flour, it’s important to understand that they behave very differently from all-purpose blends.
- Almond Flour: This flour is high in protein and fat, and low in carbohydrates. It absorbs liquids differently and can result in a denser, sometimes crumbly, product if not properly adjusted. It often requires more binder (like eggs or extra xanthan gum) and less liquid.
- Coconut Flour: Known for its extremely high absorbency, coconut flour soaks up liquids like a sponge. Substituting it directly for an all-purpose blend would likely lead to an incredibly dry, dense, and crumbly bar. It typically requires significantly more liquid and eggs, and much less flour by volume.
- Oat Flour: While oat flour can work well in some gluten-free recipes, it can also lead to a drier texture if not enough moisture is added. It also absorbs liquid differently than rice-based blends. For those with celiac disease or severe gluten sensitivity, ensure you use certified gluten-free oat flour to avoid cross-contamination.
Because of these significant differences in absorption, protein content, and starch composition, I have not tested this specific gluten-free pumpkin bar recipe with almond, coconut, or oat flour. I cannot guarantee the same delicious, moist, and fluffy results if you choose to deviate from the recommended all-purpose gluten-free blend that includes xanthan gum. If you decide to experiment, be prepared to make significant adjustments to the liquid and fat content, as well as potentially adding extra binders, which can fundamentally change the outcome of the bars. For a reliable and successful bake, sticking to a proven gluten-free all-purpose blend with xanthan gum is your best bet.
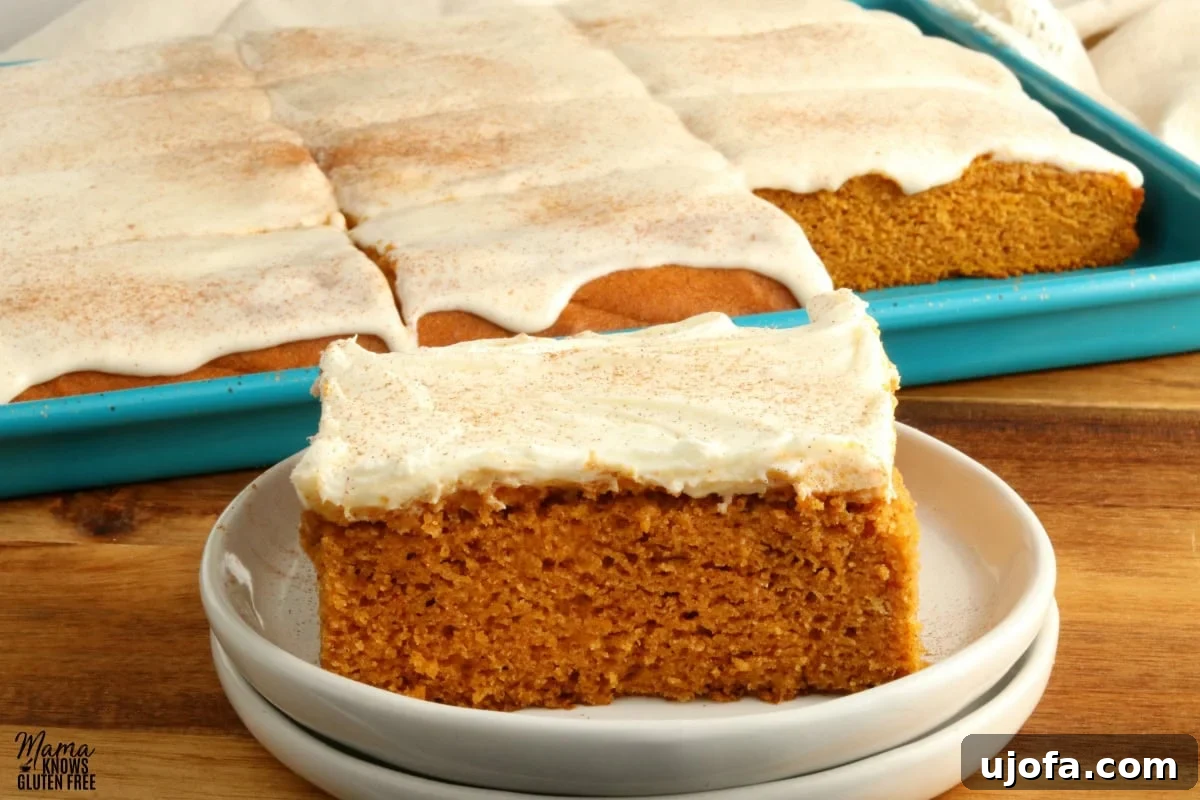
Can I Make These Gluten-Free Pumpkin Bars Ahead of Time?
Absolutely! These delightful gluten-free pumpkin bars are an excellent make-ahead dessert, which makes them perfect for holiday preparations or busy weeknights when you want a homemade treat without the last-minute rush. Preparing them in advance allows the flavors to meld and develop even further, often resulting in an even more delicious outcome.
I frequently bake the bars themselves the night before I plan to serve them. The key is to cool them completely after baking, then wrap the unfrosted bars tightly with plastic wrap. You can then store them at room temperature until you are ready to frost and serve. This method ensures that the bars retain their moisture and prevents the frosting from becoming soft or messy if applied too early. Frosting just before serving ensures the cream cheese frosting remains fresh, firm, and visually appealing. This strategy allows you to spread out your baking tasks, making holiday entertaining or weekly meal prep much more manageable and stress-free.
Freezing Gluten-Free Pumpkin Bars for Later Enjoyment
Yes, you can absolutely freeze these gluten-free pumpkin bars! Freezing is a fantastic way to extend their shelf life and enjoy these seasonal treats long after fall has passed. This is particularly helpful if you’ve made a large batch or want to have a quick dessert on hand for unexpected guests or future cravings.
To freeze the bars effectively and maintain their quality, follow these steps:
- Cool Completely: Ensure the pumpkin bars are completely cooled to room temperature after baking. Attempting to freeze warm bars will create condensation, leading to ice crystals and potentially soggy bars once thawed.
- Unfrosted is Best: For optimal results, freeze the bars unfrosted. Cream cheese frosting can sometimes alter in texture after freezing and thawing, potentially becoming a bit watery or separating. It’s much better to frost them fresh after thawing.
- Wrap Tightly: Once cooled, wrap individual bars or small portions tightly with aluminum foil or several layers of plastic wrap. The goal is to prevent freezer burn and protect them from absorbing freezer odors.
- Additional Protection: For an extra layer of protection, place the wrapped bars into a heavy-duty freezer bag or an airtight freezer-safe container. This minimizes air exposure and helps preserve their freshness.
- Freezer Duration: Properly wrapped and stored, these gluten-free pumpkin bars can be frozen for up to three months without significant loss of quality.
- Thawing Instructions: When you’re ready to enjoy them, the best way to defrost the bars is to transfer them from the freezer to the refrigerator overnight. This slow thawing process helps maintain their texture. If you’re in a hurry, they can also be left to thaw at room temperature for a few hours. Once thawed, you can then prepare and apply the cream cheese frosting as usual.
Having a stash of these delicious gluten-free pumpkin bars in your freezer means you’re always just a short thaw away from a delightful, spiced autumn treat!
Storage Instructions for Maximum Freshness
Proper storage is crucial for maintaining the delicious taste and soft, moist texture of your gluten-free pumpkin bars. How you store them depends on whether they are frosted or unfrosted.
- Frosted Bars: If your bars are already topped with the cream cheese frosting, they should be stored in an airtight container in the refrigerator. The cream cheese in the frosting requires refrigeration to prevent spoilage and maintain its fresh taste and texture. When stored correctly, frosted bars will remain delightfully soft and fresh for up to 3 days. Be sure to use a container that minimizes air exposure to prevent them from drying out.
- Unfrosted Bars: For unfrosted bars, you have a bit more flexibility. I prefer to store unfrosted bars at room temperature, wrapped tightly in plastic wrap. This method often keeps them incredibly moist and tender. They will stay fresh for several days at room temperature. Storing them unfrosted also gives you the option to frost them just before serving, which ensures the frosting is at its peak freshness and consistency.
Always ensure your cream cheese (and butter, if making homemade frosting) is fresh and not nearing its expiration date, as this significantly impacts the overall shelf life of your frosted bars. By following these simple storage guidelines, you can ensure every bite of your gluten-free pumpkin bars is as delicious as the first!
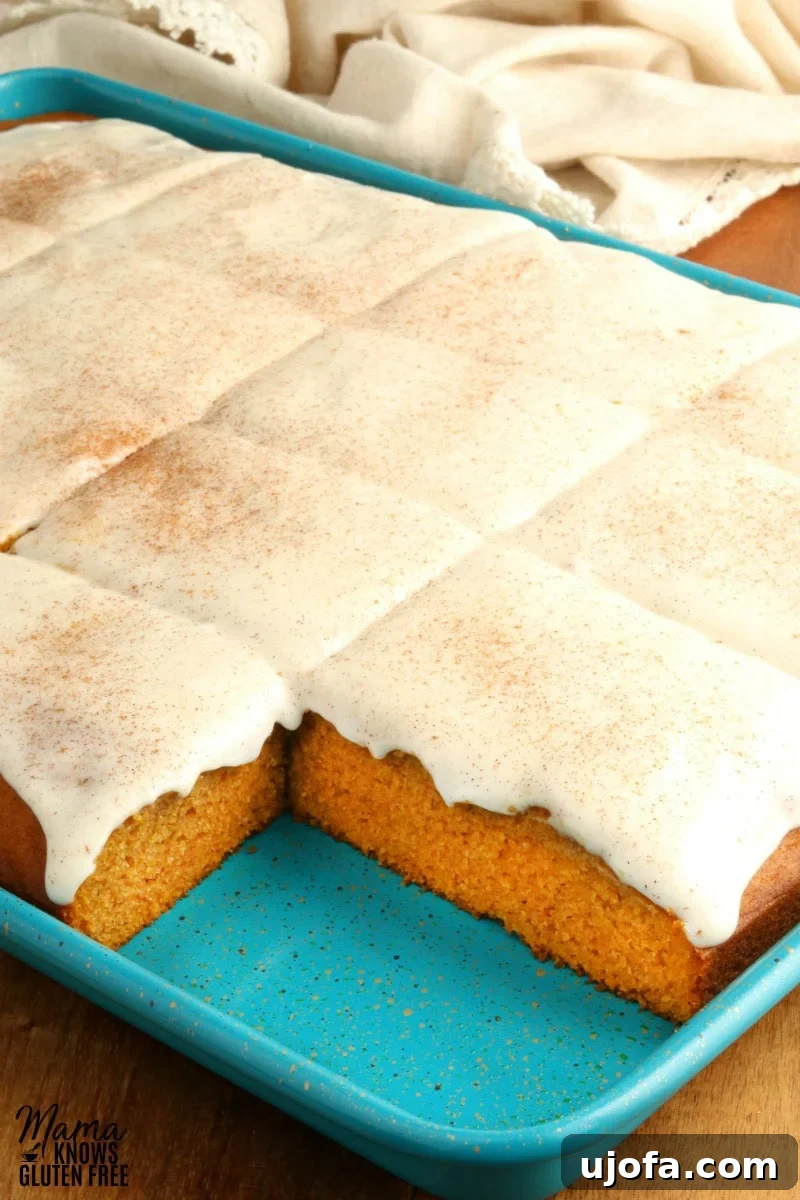
More Gluten-Free Pumpkin Recipes to Satisfy Your Cravings!
If you’ve fallen in love with these gluten-free pumpkin bars, you’re in for a treat! The versatility of pumpkin in gluten-free baking is truly amazing. Explore these other fantastic recipes to keep the fall flavors going strong:
- Easy Gluten-Free Pumpkin Pie: A holiday classic made accessible for everyone.
- Crustless Pumpkin Pie: All the flavor, none of the fuss of a crust!
- Gluten-Free Pumpkin Muffins: Perfect for breakfast, brunch, or a quick snack.
- Gluten-Free Pumpkin Bread Cookies: A delightful fusion of bread and cookie, with a dairy-free option.
- Gluten-Free Pumpkin Pancakes: Start your day with a stack of fluffy, spiced goodness.
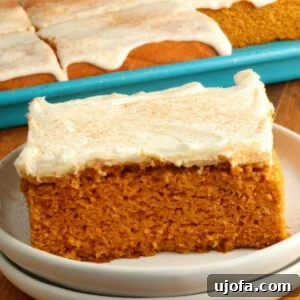
Gluten-Free Pumpkin Bars With Cream Cheese Frosting
By: Audrey Roberts
Servings: 24 bars
Prep time: 25 mins | Cook time: 25 mins | Total time: 50 mins
These easy gluten-free pumpkin bars are light, fluffy, and perfectly spiced with a tangy cream cheese frosting! Includes a dairy-free option. They are the ideal fall dessert for any occasion.
Ingredients
Pumpkin Bars
- 15 oz canned pumpkin (15-ounce can. Not pumpkin pie filling!)
- 2 teaspoons baking powder
- 1 teaspoon baking soda
- ½ teaspoon salt
- 1 teaspoon ground cinnamon
- 1 tablespoon pumpkin pie spice
- 1 teaspoon pure vanilla extract
- ¾ cup granulated sugar
- ½ cup brown sugar, packed
- 3 large eggs
- 2 cups all-purpose gluten-free flour with xanthan gum (I like Pillsbury gluten-free flour. Not all gluten-free flours are created equal. You may experience different baking results depending on the gluten-free flour blend you choose.)
- 1 cup vegetable oil (You can also use ½ cup apple sauce and ½ cup of oil in place of the whole cup of oil.)
Cream Cheese Frosting
- 8 oz cream cheese, softened (For dairy-free, I use Kite Hill dairy-free cream cheese.)
- ½ cup butter, softened (For dairy-free, I use Smart Balance.)
- 1 teaspoon pure vanilla extract
- 3 cups powdered sugar (You may need to add another cup or two of powdered sugar depending on which brand of dairy-free cream cheese you use because it is often much softer.)
Instructions
Pumpkin Bars
- Preheat the oven to 350°F (177°C) and grease a 10 x 15-inch baking pan with gluten-free cooking spray. Alternatively, line the pan with parchment paper, leaving an overhang to easily lift the bars later.
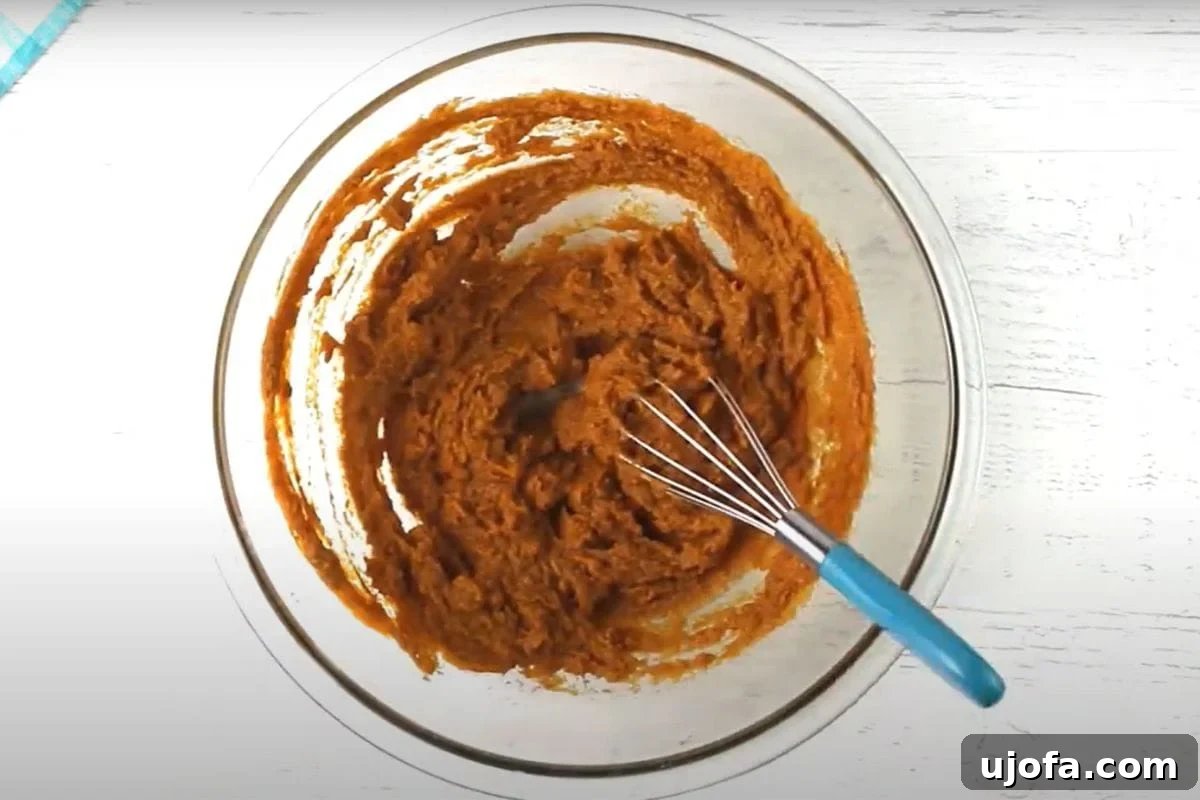
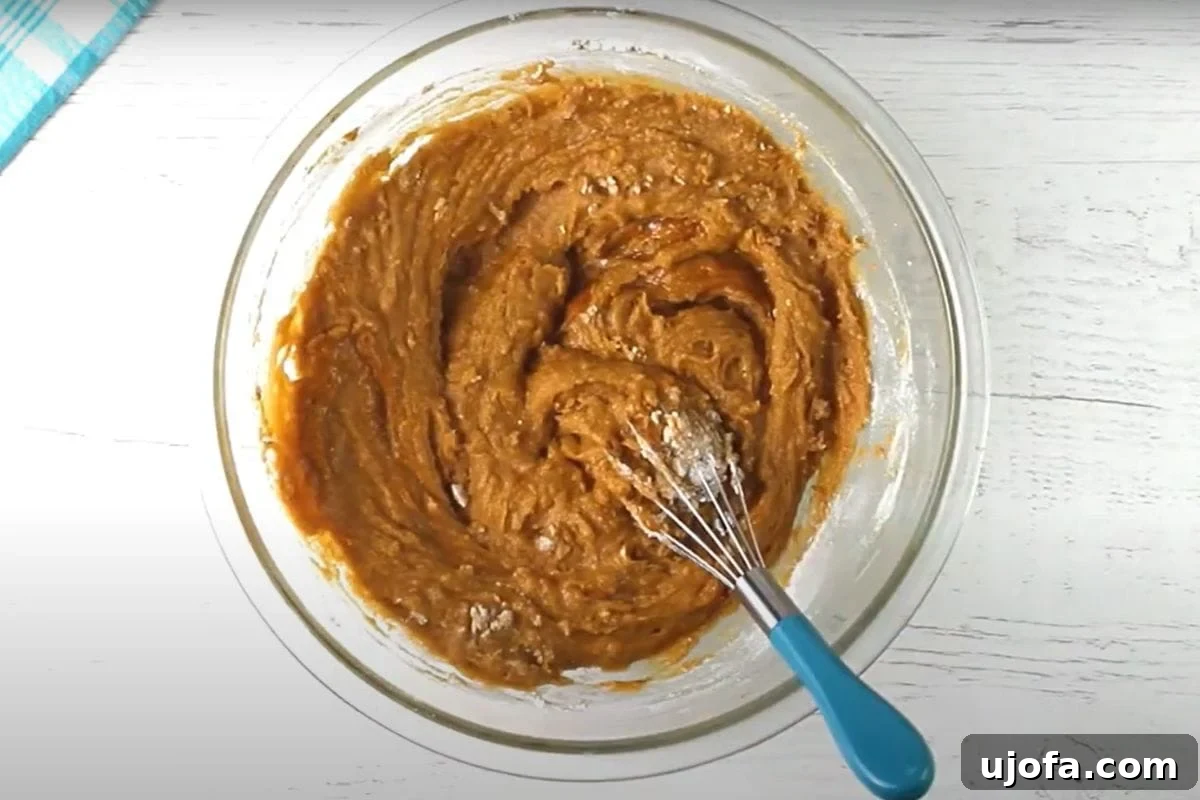
- In a large mixing bowl, combine the canned pumpkin puree, baking powder, baking soda, salt, ground cinnamon, pumpkin pie spice, and pure vanilla extract. Mix thoroughly until all ingredients are fully incorporated and the mixture is smooth.
- Add the granulated sugar and packed brown sugar to the pumpkin mixture. Continue to mix until the sugars are completely dissolved and well combined, creating a uniform batter.
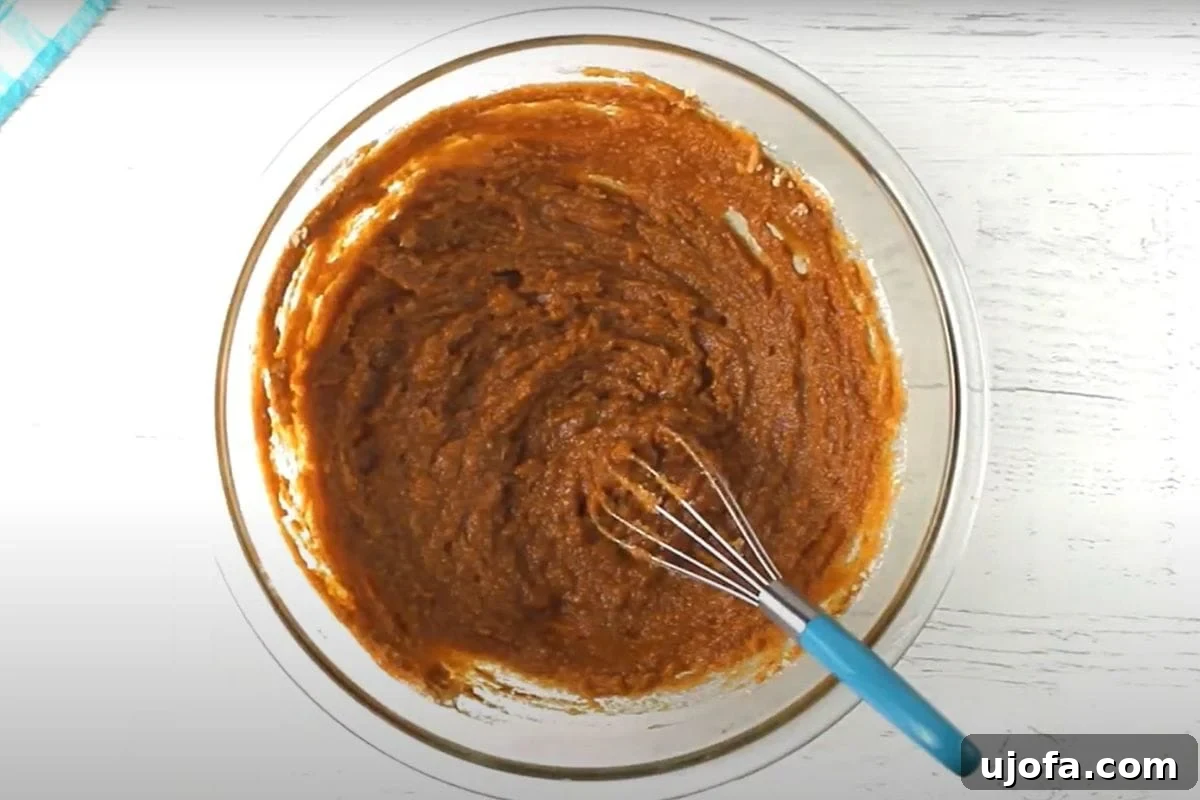
- Next, crack in the 3 large eggs. Mix just until the eggs are fully incorporated into the batter, being careful not to overmix at this stage.
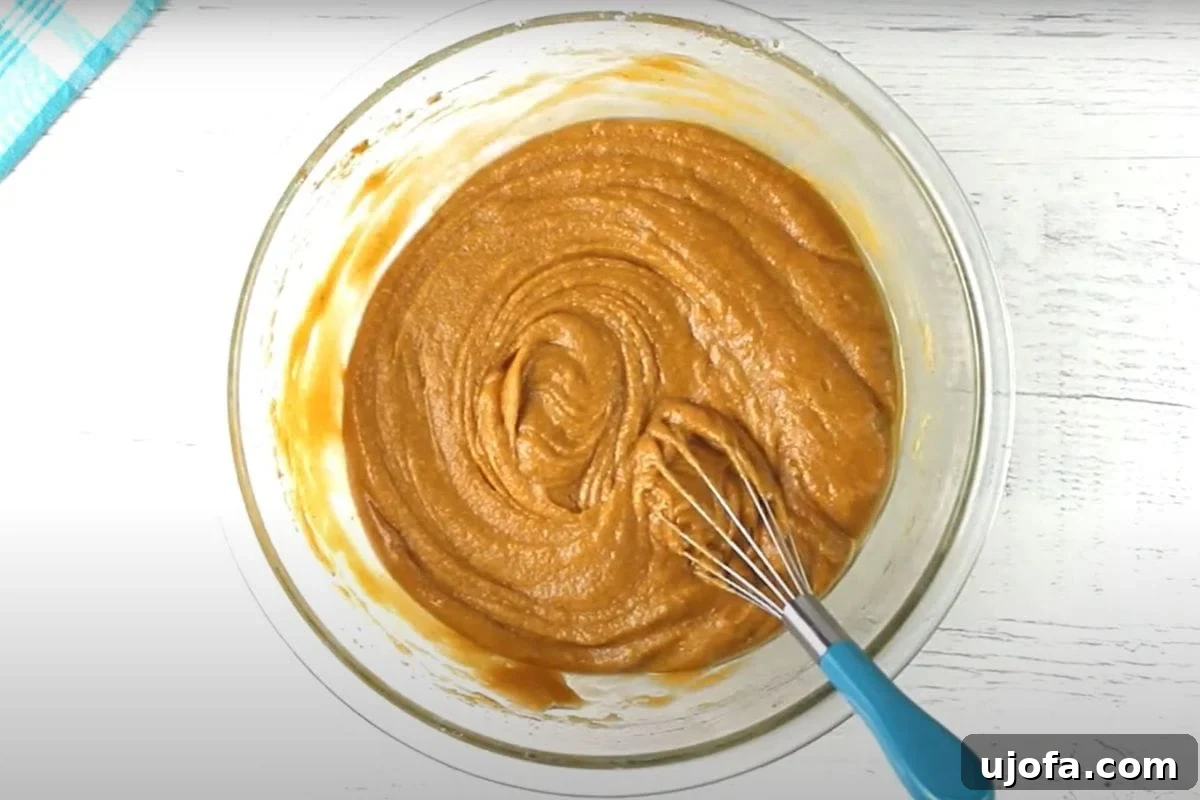
- Gradually add the 2 cups of gluten-free all-purpose flour (with xanthan gum) to the bowl. Mix on low speed or by hand until the flour is just combined and no dry streaks remain. Avoid overmixing, which can lead to tough bars.
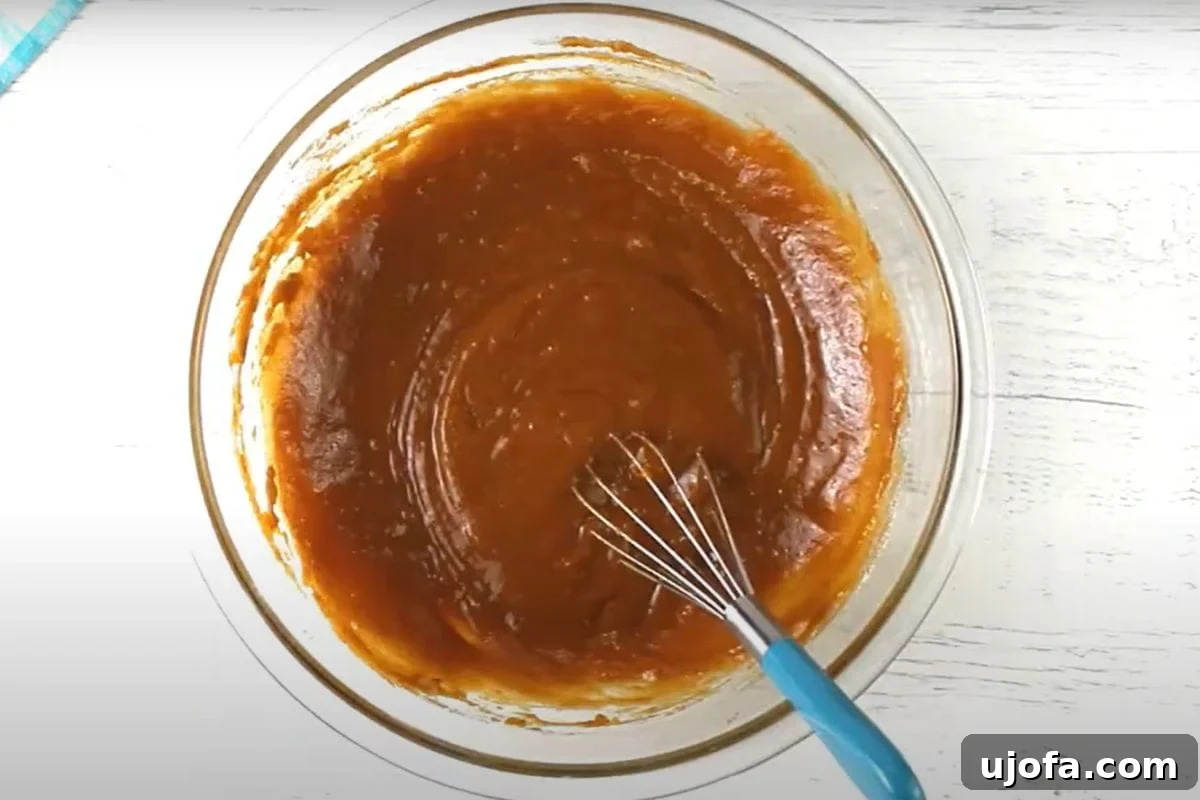
- Finally, pour in the 1 cup of vegetable oil. Mix until the oil is fully blended into the batter, resulting in a smooth and shiny consistency. (If using the alternative, add ½ cup apple sauce and ½ cup vegetable oil and mix until well blended).
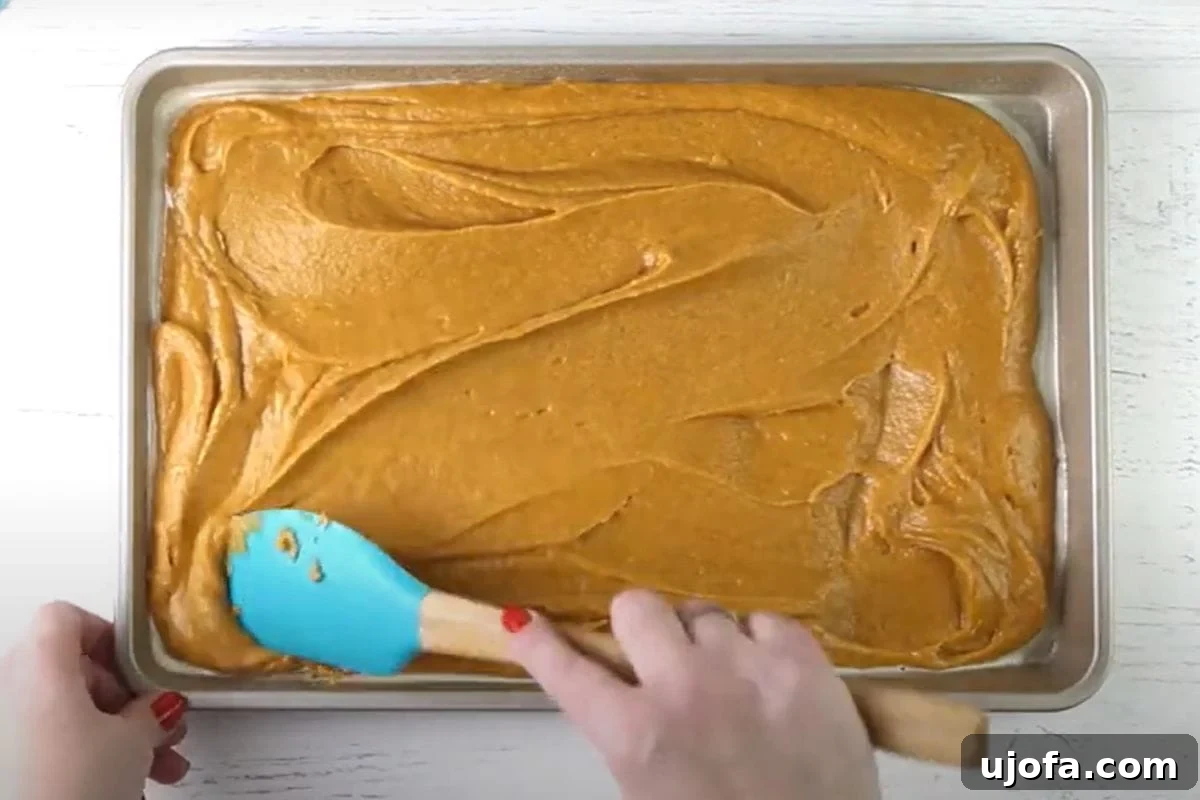
- Pour the prepared batter evenly into your greased 15 x 10-inch. or 9 x 13-inch baking pan. Spread it out with a spatula to ensure it reaches all corners. Bake for 25-30 minutes, or until a wooden skewer inserted into the center comes out clean. Once baked, remove from the oven and allow the bars to cool completely on a wire rack before proceeding to frost or cut them.
- Store any leftover unfrosted bars wrapped in plastic wrap at room temperature, or if frosted, cover with plastic wrap or place in an airtight container and refrigerate for up to 3 days.
Cream Cheese Frosting
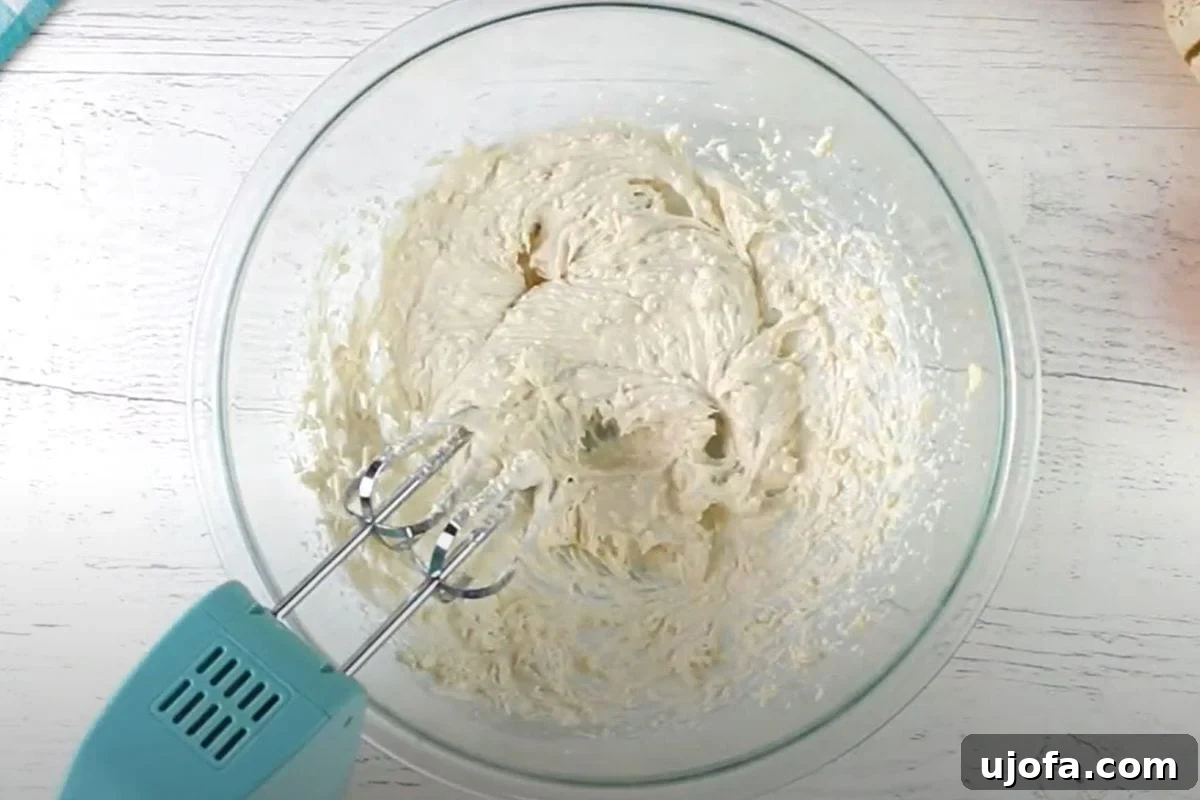
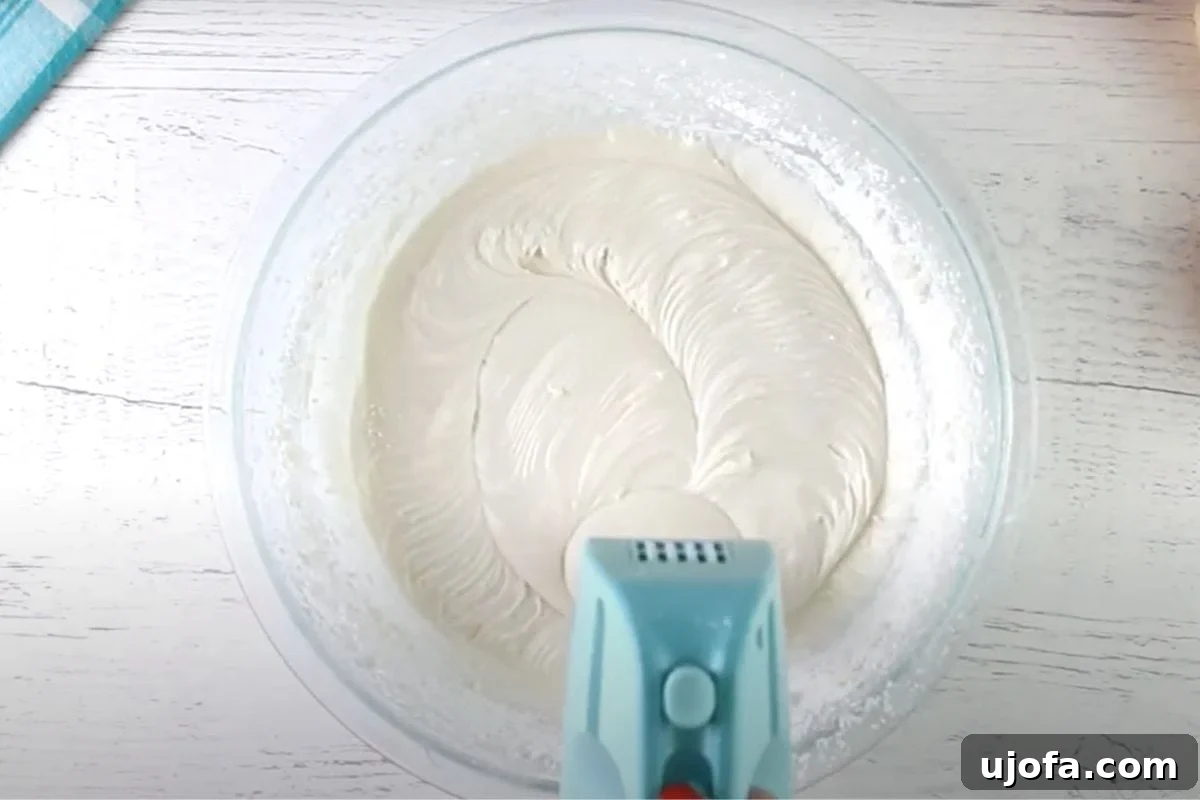
- In a separate large bowl, using an electric mixer, beat together the 8 ounces of softened cream cheese, ½ cup of softened butter, and 1 teaspoon of pure vanilla extract until the mixture is smooth, creamy, and free of lumps.
- Gradually add the 3 cups of powdered sugar, beating on low speed until combined, then increase speed to medium and beat until the frosting is fully smooth, light, and fluffy. If you’re using dairy-free cream cheese, it might be softer, so don’t hesitate to add an additional cup or two of powdered sugar until you reach a thick, spreadable consistency that holds its shape. This will be the crowning glory for your pumpkin bars!
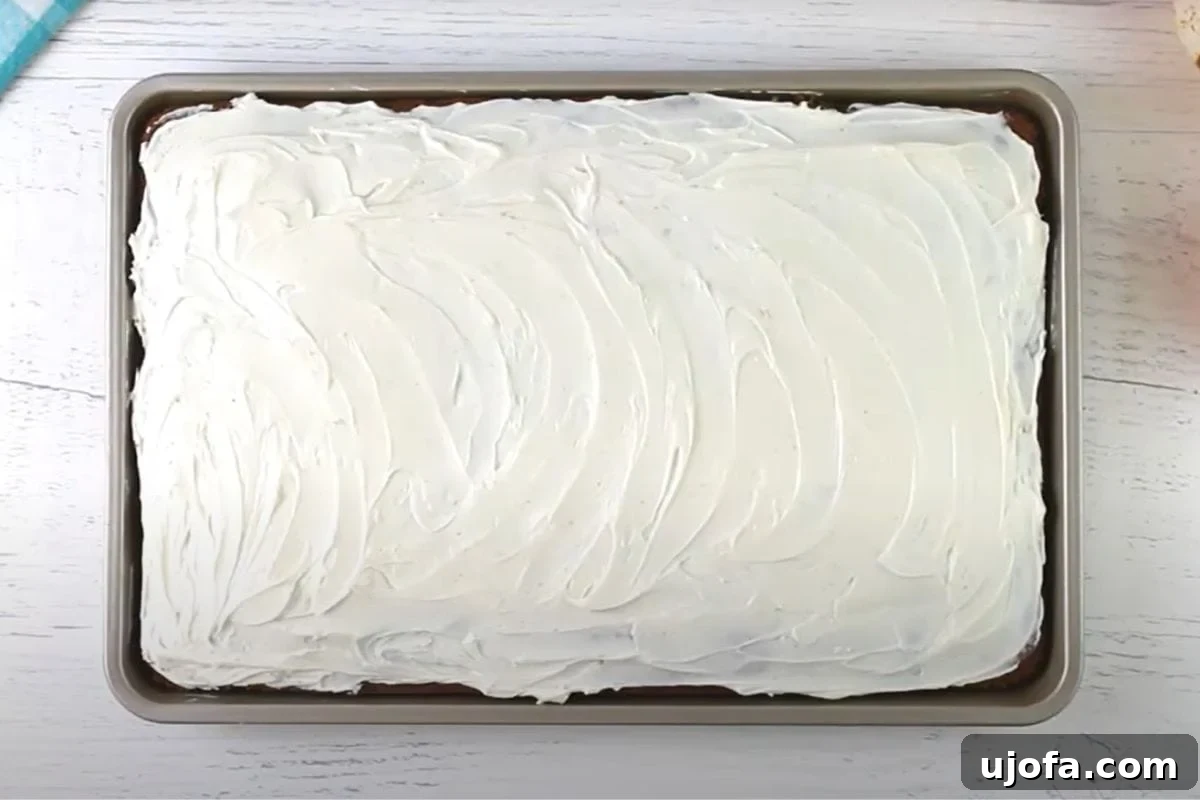
- Once the pumpkin bars are entirely cooled, spread the prepared cream cheese frosting generously over the entire surface. Use an offset spatula to create an even, smooth layer or decorative swirls. Once frosted, slice the bars into desired portions, and they are ready to be enjoyed! These bars are best stored in the refrigerator after frosting.
Notes
- Gluten-Free Flour: I prefer Pillsbury gluten-free flour. Please note that not all gluten-free flours are created equal. You may experience different baking results depending on the gluten-free flour blend you choose. Ensure your chosen blend contains xanthan gum, or add it separately if not included.
- Measuring Flour: Always use the “spoon & level” method to measure your flour to avoid adding too much, which can lead to dry bars.
- Dairy-Free Option: For the frosting, use dairy-free cream cheese (like Kite Hill) and dairy-free butter (like Smart Balance). As a convenient shortcut, Pillsbury canned cream cheese frosting is often gluten-free and dairy-free (always check labels!).
- Storage: Store unfrosted bars wrapped in plastic wrap at room temperature for several days. Store frosted bars in an airtight container in the refrigerator for up to 3 days.
- Freezing: For best results, freeze bars unfrosted. Once cooled, wrap tightly with foil or plastic wrap and place in a plastic freezer bag. Defrost overnight in the refrigerator before frosting.
- Mama’s Golden Rule: Always check your labels for gluten-free certification and allergens!
Nutrition
Serving: 1 bar | Calories: 256 kcal | Carbohydrates: 33g | Protein: 2g | Fat: 14g | Saturated Fat: 10g | Cholesterol: 31mg | Sodium: 138mg | Potassium: 49mg | Fiber: 1g | Sugar: 26g | Vitamin A: 154IU | Vitamin C: 1mg | Calcium: 32mg | Iron: 1mg
Nutrition information is automatically calculated, so should only be used as an approximation.
Additional Info
Course: Dessert
Cuisine: American
How To Make Gluten-Free Pumpkin Bars: A Visual Step-by-Step Guide
Follow these easy, visual steps to create your own batch of irresistible gluten-free pumpkin bars. Each stage is designed to guide you toward baking perfection, ensuring a moist, flavorful, and beautifully frosted dessert.
With these detailed steps, you’re well on your way to creating a truly memorable gluten-free dessert that will impress family and friends. Happy baking!