
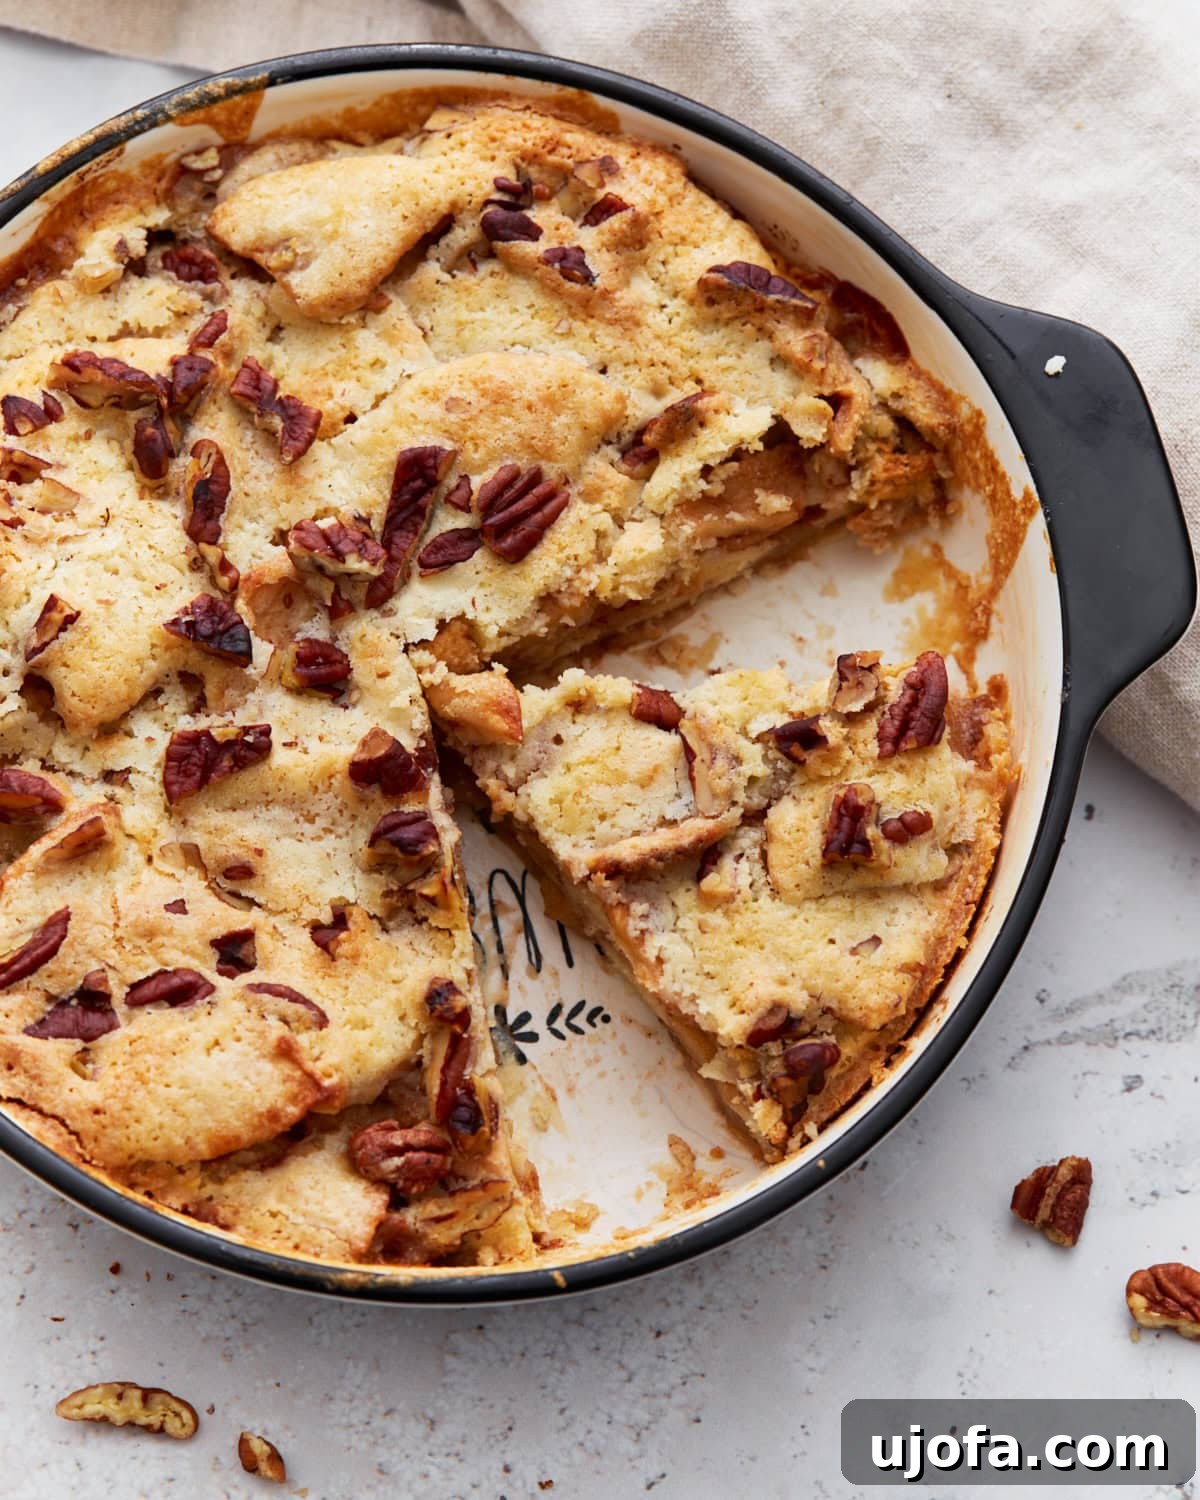
Craving the warm, comforting flavors of a classic apple pie but don’t have the time or desire to fuss with a homemade crust? Look no further! This sensational **Crustless Apple Pie** recipe is your new go-to for an effortlessly delicious dessert. It captures all the beloved elements of traditional apple pie – sweet, tender, cinnamon-spiced apples – encased in a wonderfully soft and buttery topping, all without the need for rolling out a single sheet of dough. It’s perfect for busy weeknights, last-minute gatherings, or whenever a cozy, fruit-filled treat calls your name. Plus, for those following a gluten-free diet, this recipe easily fits the bill, making it a crowd-pleaser for everyone.
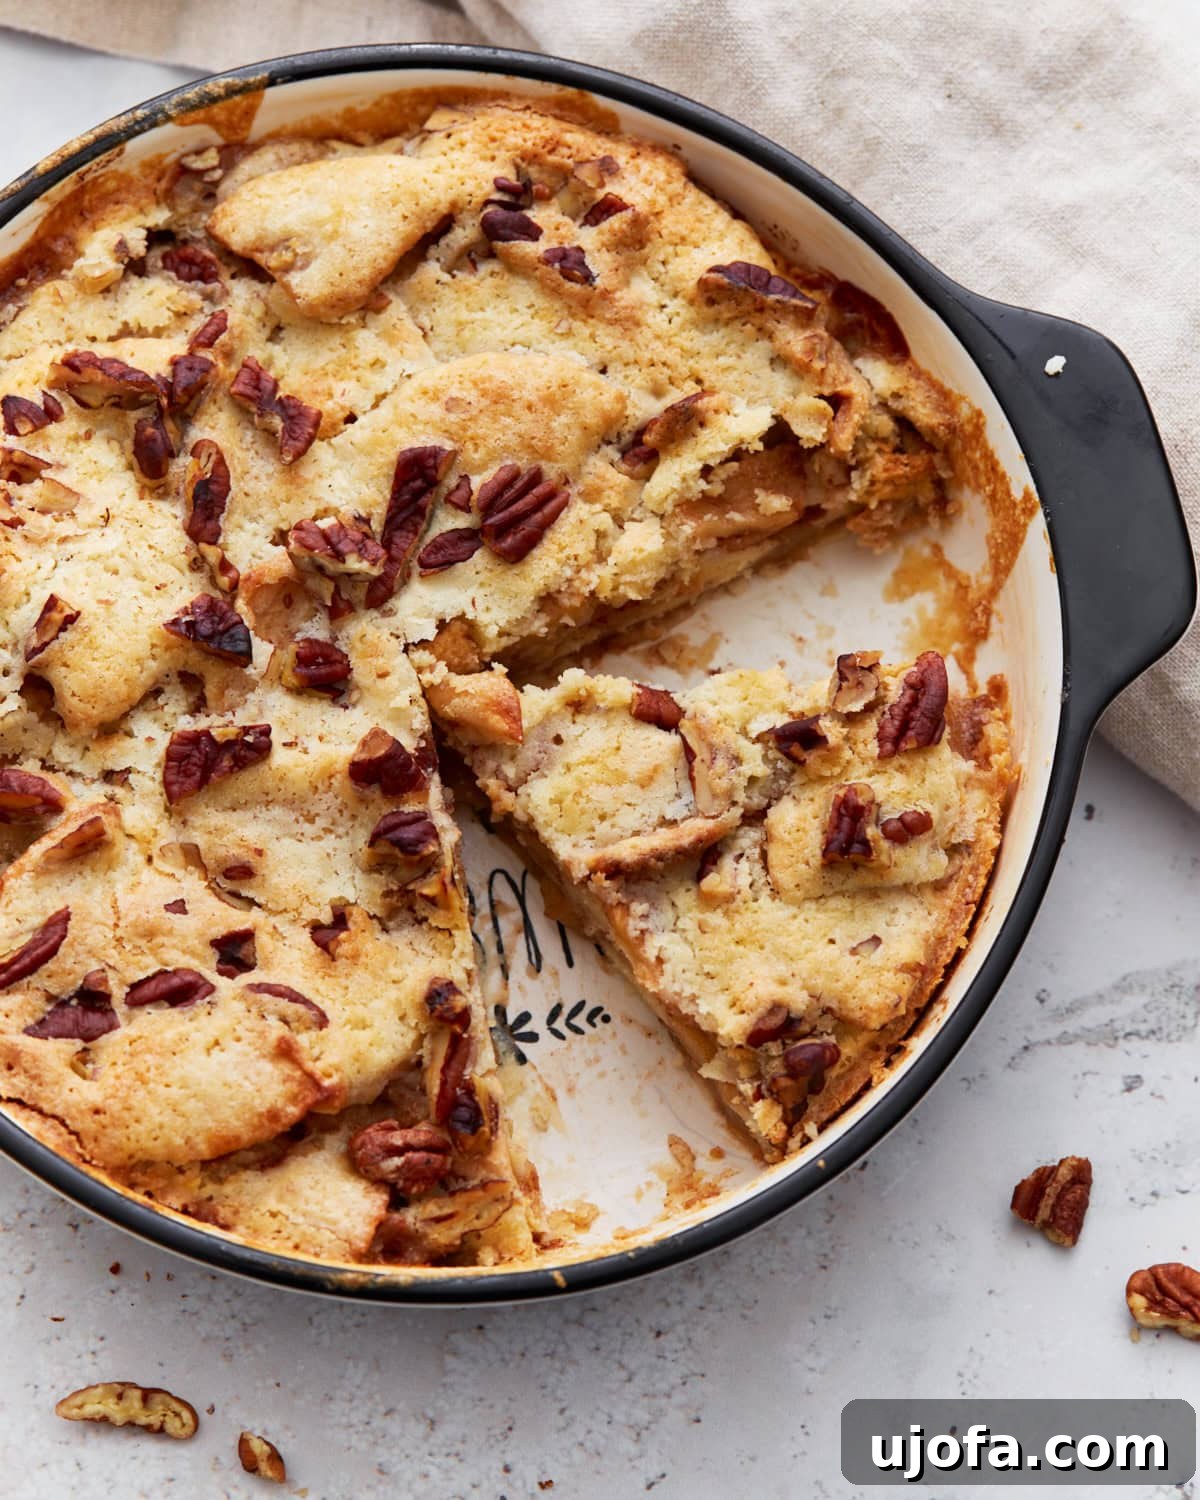
Why Choose a Crustless Apple Pie? Simple Indulgence, Minus the Fuss
While a perfectly flaky pie crust has its undeniable charm, sometimes you just want to get straight to the good stuff – the luscious apple filling! This crustless version offers numerous advantages, making it an ideal choice for both seasoned bakers and novices alike. Firstly, it’s a huge time-saver. Forget the lengthy process of chilling dough, meticulously rolling it out, or fussing with crimping edges. This recipe comes together quickly, allowing you to enjoy a warm, homemade dessert with minimal effort and maximum satisfaction.
Beyond convenience, this particular recipe shines for its adaptability. It’s inherently gluten-free, provided you use a suitable all-purpose gluten-free flour blend, opening up delicious possibilities for those with dietary restrictions without compromising on taste or texture. The result is a delightful cross between a classic apple pie and a comforting apple cobbler, offering the best of both worlds with its soft, cake-like topping that beautifully complements the tender baked apples underneath. The texture is sublime – a perfect balance of tender fruit and a slightly crisp, buttery topping that melts in your mouth.
Imagine the irresistible aroma filling your kitchen as this cinnamon-spiced apple creation bakes to golden perfection. It’s the quintessential fall dessert, evoking cozy evenings and festive gatherings, but honestly, its appeal knows no season. Whether you’re preparing for a holiday feast, a casual potluck, or simply want a sweet ending to a weeknight meal, this recipe is a reliable winner. It relies on everyday pantry staples and a few fresh apples, proving that extraordinary flavor doesn’t require extraordinary ingredients or complicated techniques. You can even make it ahead of time, a fantastic benefit for busy schedules, and easily reheat individual slices, perhaps with a generous scoop of vanilla ice cream, for a treat that feels both decadent and incredibly easy.
Crustless Apple Pie Recipe
By: Sabine Venier
Servings: 6 servings
Prep Time: 15 mins
Cook Time: 45 mins
Total Time: 1 hr
This crustless apple pie is your perfect solution when you’re craving a warm, cinnamon-spiced dessert made with simple, everyday ingredients. Enjoy soft, buttery baked apples without the need for a traditional pie crust – a quick and delicious treat every time.
Step-by-step photos illustrating the process can be found further down the page, directly below this recipe card.
Equipment
- 1 8-inch Pie Dish or a similar oven-safe baking dish
- Large mixing bowls
- Whisk or spoon
Ingredients
- 3 cups apples, such as Honeycrisp, Fuji, or Granny Smith, peeled, cored, and thinly sliced
- 1 tbsp granulated sugar (for apples)
- 1 tbsp fresh lemon juice
- 1 tsp ground cinnamon
- ¼ tsp ground nutmeg
- ½ cup unsalted butter, melted
- ½ cup granulated sugar (for batter)
- ½ cup gluten-free all-purpose flour blend
- ¼ cup cornstarch, or substitute with arrowroot or tapioca starch
- 1 large egg
- ½ tsp salt
- ¼ cup chopped pecans, optional (for topping)
Instructions
- Preheat your oven to 350°F (175°C). Lightly grease an 8-inch pie dish or a comparable oven-safe baking dish to prevent sticking and ensure easy removal.
- In a large mixing bowl, gently toss the thinly sliced apples with 1 tablespoon of granulated sugar, 1 tablespoon of fresh lemon juice, 1 teaspoon of ground cinnamon, and ¼ teaspoon of ground nutmeg. Ensure all the apple slices are thoroughly and evenly coated with this aromatic spice mixture. Set this bowl aside to allow the flavors to meld beautifully.
- In a separate large mixing bowl, combine the ½ cup of melted unsalted butter, ½ cup of granulated sugar, ½ cup of your preferred gluten-free all-purpose flour blend, ¼ cup of cornstarch (or its suggested alternatives like arrowroot or tapioca starch), 1 large egg, and ½ teaspoon of salt. Stir these ingredients thoroughly with a whisk or spoon until a smooth, uniform, and lump-free batter forms. Be careful not to overmix the batter.
- Carefully transfer the seasoned apple mixture into the prepared pie dish. Use a spatula to spread the apples out evenly across the bottom of the dish, creating a consistent layer. This step ensures that every slice of your pie will have a balanced amount of apple goodness.
- Evenly spoon the prepared batter over the apple layer in the dish. Use a spatula or the back of a spoon to gently spread the batter from edge to edge, ensuring that most of the apples are covered. If you are adding pecans, sprinkle the ¼ cup of chopped pecans evenly over the top of the batter. These will toast beautifully during baking, adding a delightful crunch and nutty flavor.
- Place your assembled pie in the preheated oven and bake for approximately 40 to 45 minutes. The pie is ready when the apples are tender when pierced with a fork and the topping has achieved a gorgeous golden-brown hue. Keep a close eye on the browning; if the topping starts to get too dark before the apples are fully cooked, simply cover the dish loosely with a piece of aluminum foil after about 25-30 minutes of baking. This prevents scorching while allowing the apples to finish cooking.
- Once baked, remove the pie from the oven and allow it to cool on a wire rack for at least 10 to 15 minutes before serving. This crucial resting period allows the delicious apple juices and the buttery topping to thicken and set slightly, ensuring a more cohesive and less watery dessert. For those who prefer neat, clean-cut slices, let the pie cool completely at room temperature, then cover it and refrigerate overnight. Individual refrigerated slices can be easily reheated in the microwave for about 30 seconds until warm. Serve this delightful pie warm, either on its own to truly savor the apple and spice flavors, or with a scoop of creamy vanilla ice cream, or a generous dollop of freshly whipped cream.
Notes
- No nuts? No problem! If you have nut allergies or simply prefer to omit them, feel free to leave out the pecans entirely. For a delightful textural crunch, you can optionally swap them with a sprinkle of rolled oats on top of the batter before baking.
- Adjusting sweetness: If your chosen apples are inherently on the sweeter side (like Fuji or Gala), you might consider adjusting the sugar content in the recipe. You can either reduce the granulated sugar in the batter to ⅓ cup, or even skip the single tablespoon of sugar that is tossed with the apples in step 2. Taste your apples before deciding to ensure the perfect sweetness level for your preference.
- Spice it up: For an extra layer of warm flavor, consider adding a tiny pinch of ground ginger or cardamom to your apple mixture along with the cinnamon and nutmeg. These spices pair beautifully with apples.
- Even slicing: For the most visually appealing, clean-cut slices, it’s highly recommended to allow the pie to cool completely at room temperature and then refrigerate it for several hours, or even overnight, before slicing. The chilled pie will hold its shape much better.
Nutrition
Serving Size: 1 serving
Calories: 339 kcal
Carbohydrates: 41g
Protein: 3g
Fat: 20g
Saturated Fat: 10g
Polyunsaturated Fat: 2g
Monounsaturated Fat: 6g
Trans Fat: 1g
Cholesterol: 72mg
Sodium: 209mg
Potassium: 106mg
Fiber: 3g
Sugar: 26g
Vitamin A: 555 IU
Vitamin C: 4mg
Calcium: 27mg
Iron: 1mg
Please note: Nutrition information is automatically calculated and should be used as an approximation only.
Additional Info
Course: Baking, Dessert
Cuisine: American
Tried this recipe? Share your creations! Mention @mamaknowsglutenfree or tag #mamaknowsglutenfree on Instagram!
Pin this recipe for later!
Share this recipe by email!
Print this recipe!
How to Make Crustless Apple Pie: A Visual Step-by-Step Guide
Follow these simple steps, complete with visual cues, to create your perfect crustless apple pie. This guide ensures an easy and enjoyable baking experience, yielding a dessert that looks as good as it tastes!
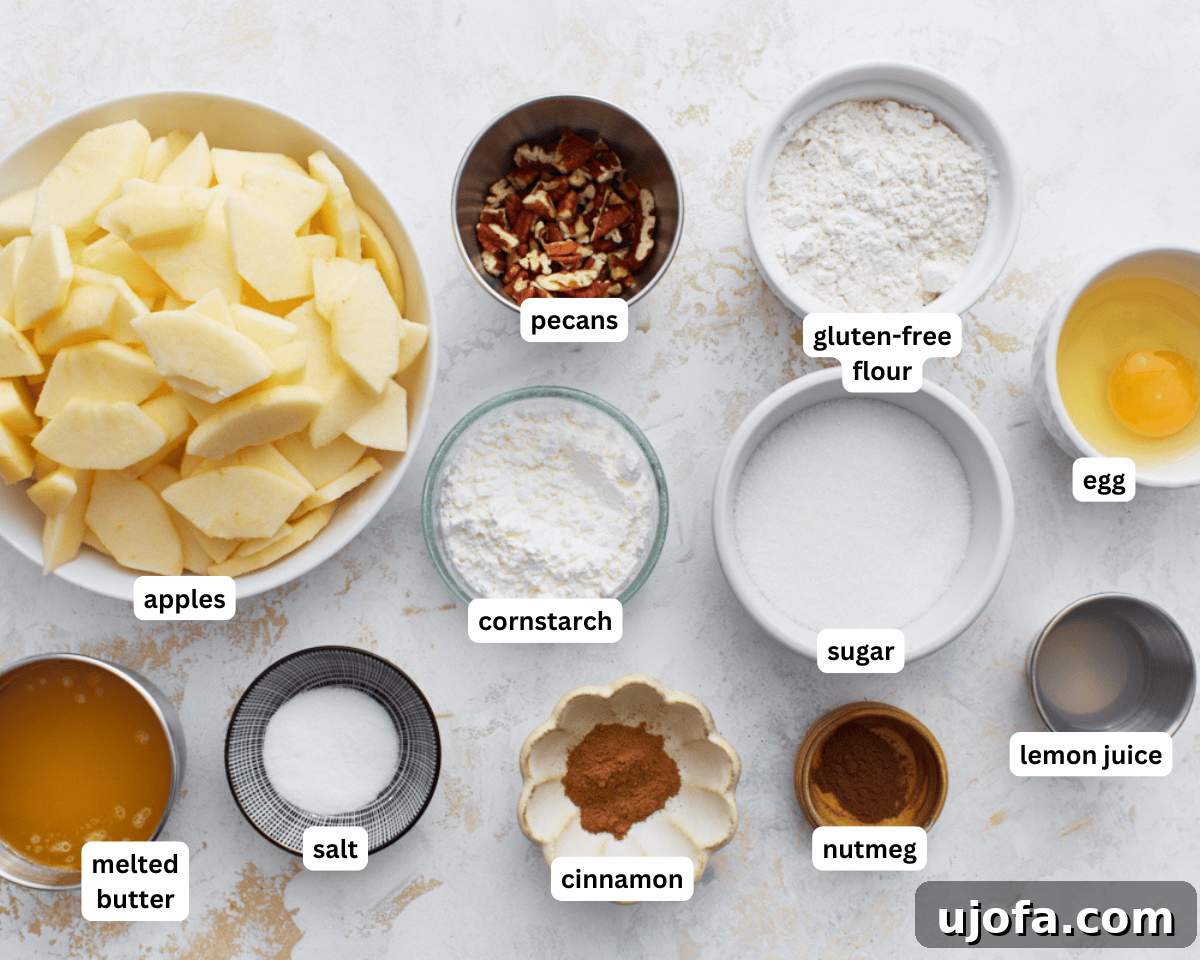
Step 1: Gather and Prepare. The first step to any successful baking project is to gather all your ingredients and equipment. This practice, known as “mise en place,” makes the entire baking process smoother and helps prevent any last-minute scrambling. Once everything is at hand, preheat your oven to 350°F (175°C). Then, lightly grease an 8-inch pie dish or a similar oven-safe baking dish. A quick spray with non-stick cooking spray or a thin layer of butter applied with a pastry brush works perfectly to ensure your pie doesn’t stick.
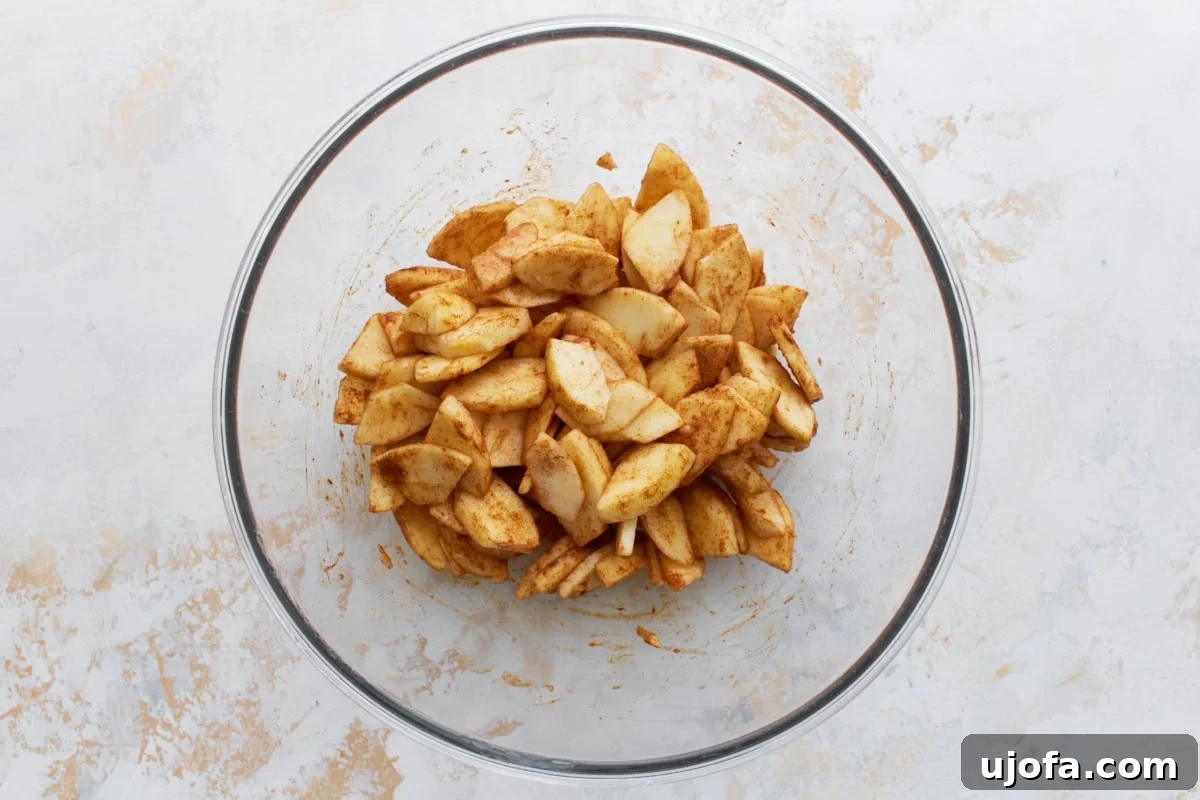
Step 2: Season the Apples. In a spacious mixing bowl, combine your 3 cups of thinly sliced apples with 1 tablespoon of granulated sugar, 1 tablespoon of fresh lemon juice, 1 teaspoon of ground cinnamon, and ¼ teaspoon of ground nutmeg. Gently toss the apple slices until they are thoroughly and evenly coated with this aromatic spice mixture. The lemon juice not only adds a bright, zesty tang that complements the apples but also helps prevent them from browning too quickly. Let this mixture sit briefly while you prepare the topping, allowing the flavors to infuse deeply into the fruit.
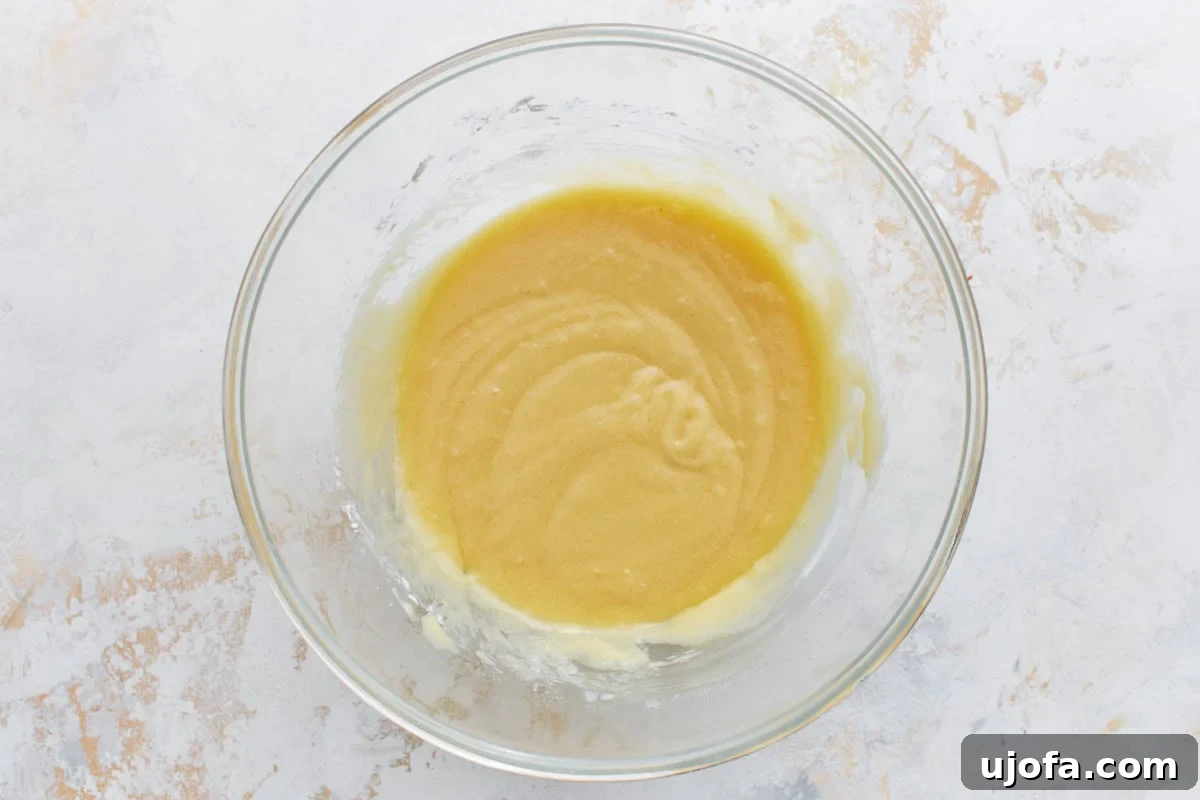
Step 3: Prepare the Buttery Topping. In a separate large bowl, combine the ½ cup of melted unsalted butter, ½ cup of granulated sugar, ½ cup of your chosen gluten-free all-purpose flour blend, ¼ cup of cornstarch (or an alternative like arrowroot or tapioca starch for thickening), 1 large egg, and ½ teaspoon of salt. Whisk these ingredients together thoroughly until you achieve a smooth, lump-free batter. The batter should be thick enough to hold its shape but still pourable, making it easy to spread over the apples. This rich, buttery topping is what will create that lovely golden crustless layer during baking.
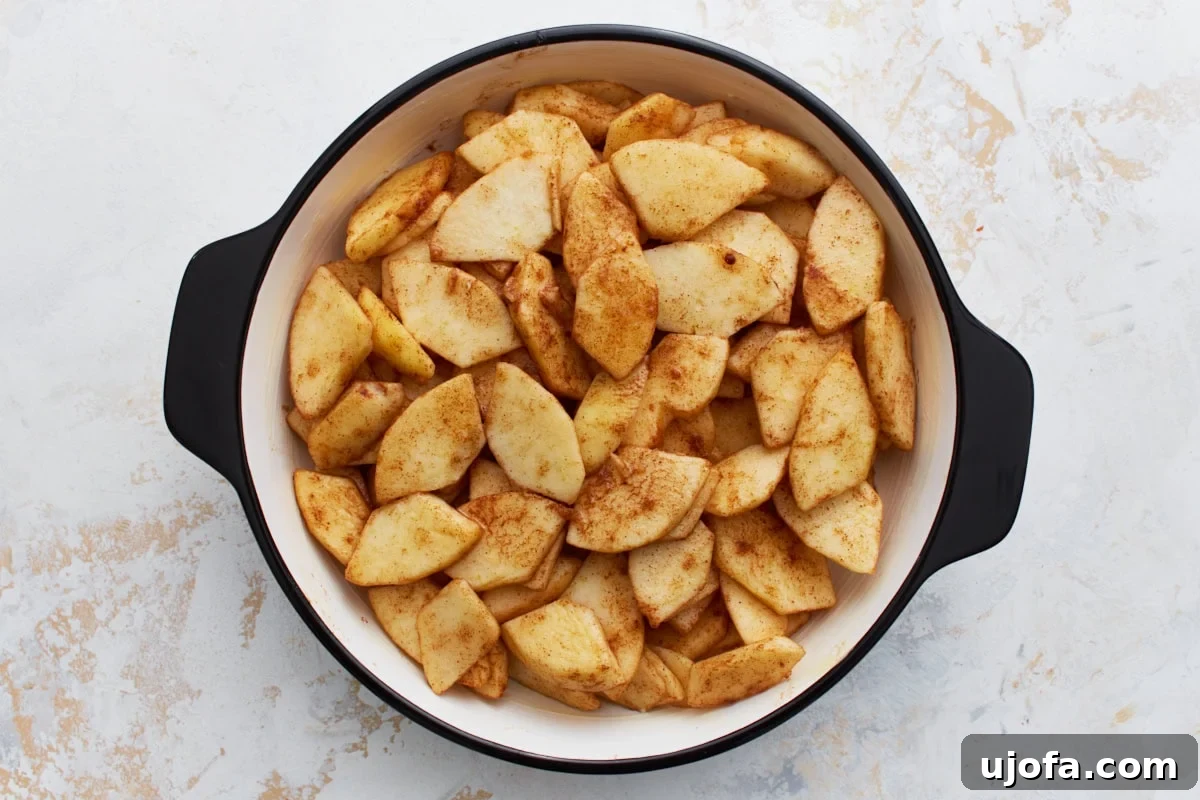
Step 4: Layer the Apples. Carefully pour the beautifully seasoned apple mixture into your prepared pie dish. Take a moment to spread the apples evenly across the bottom, creating a uniform layer. This ensures that each and every slice of your finished pie will have a balanced amount of apple goodness, leading to a consistently delicious experience with every bite.
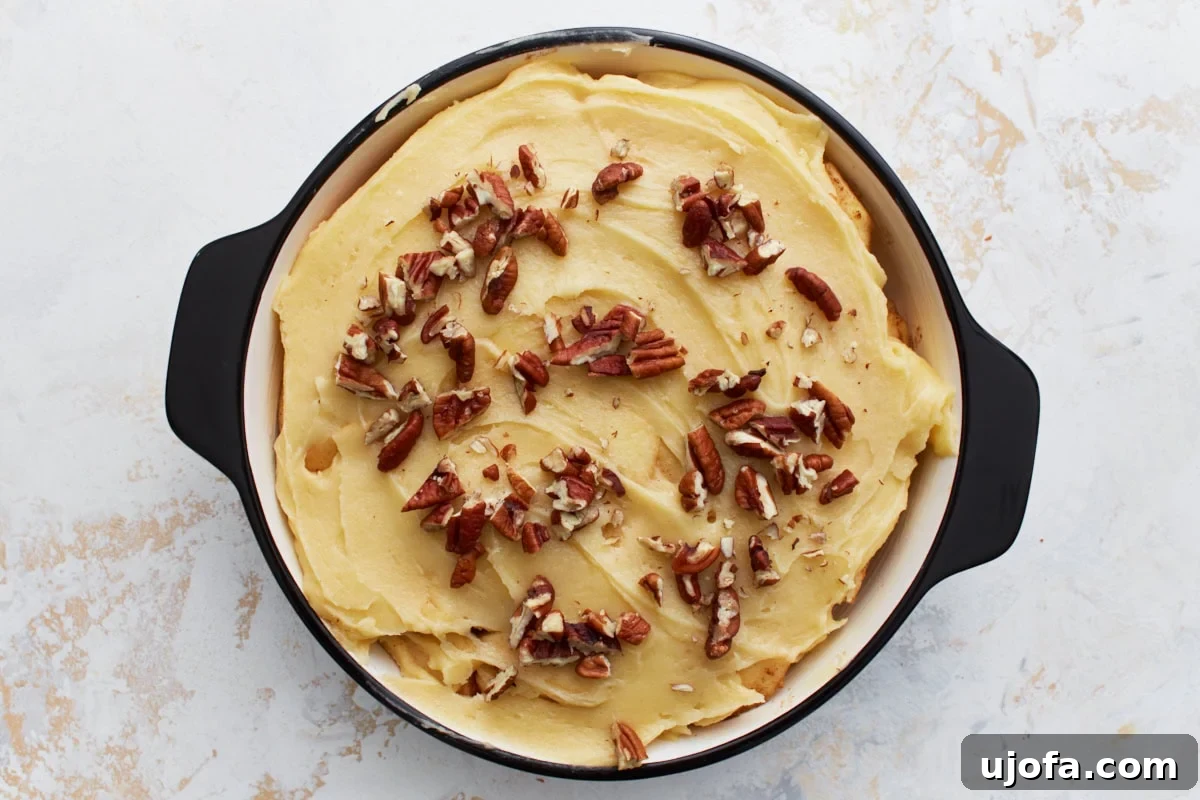
Step 5: Assemble and Top. Now for the crowning glory of your crustless pie! Spoon the prepared batter evenly over the apple layer in the dish. Using a spatula or the back of a spoon, gently spread the batter to cover most of the apples. Don’t worry if a few apple pieces peek through; it adds to the rustic, homemade charm of the dessert. If you’re adding pecans for an extra layer of flavor and texture, sprinkle the ¼ cup of chopped pecans evenly over the top of the batter. These will toast beautifully in the oven, adding a lovely crunch and nutty aroma.
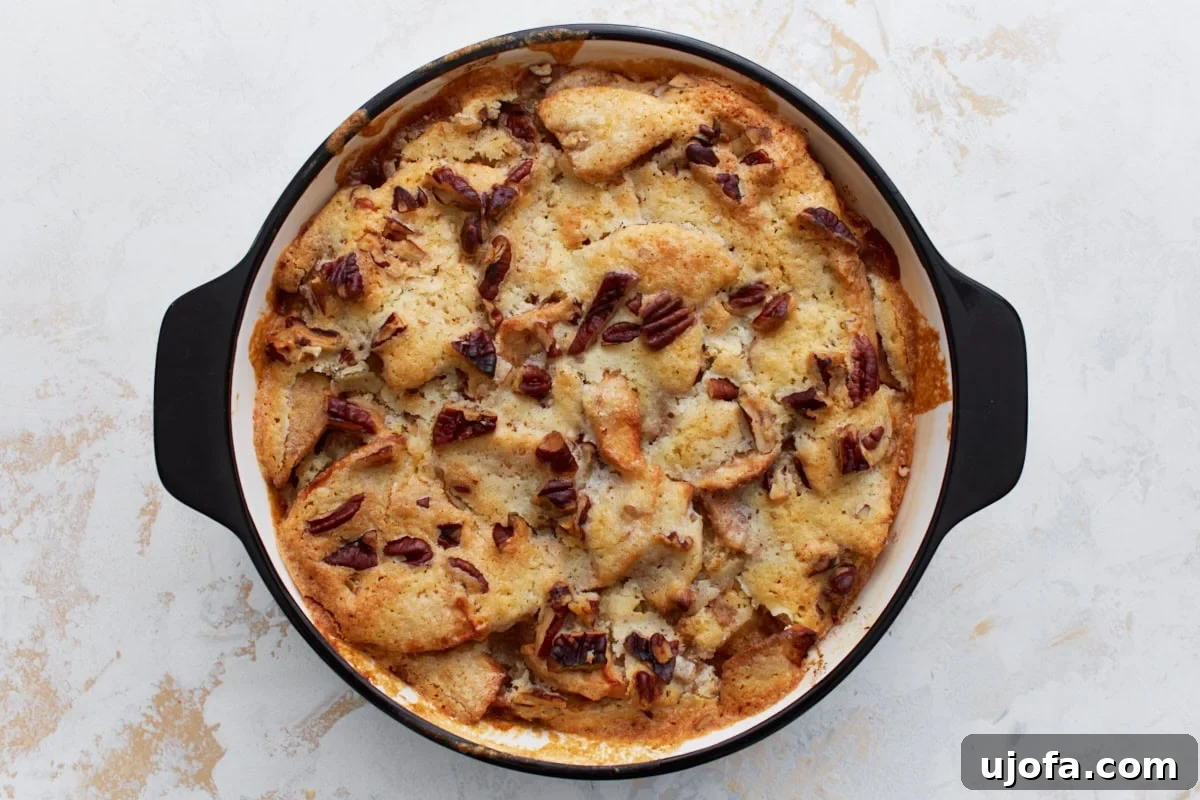
Step 6: Bake to Perfection. Place your assembled pie in the preheated oven and bake for approximately 40 to 45 minutes. You’ll know it’s ready when the apples are fork-tender (test by gently inserting a knife into the apple layer) and the topping has transformed into a gorgeous, irresistible golden-brown hue. It’s important to keep an eye on the browning; if you notice the topping becoming too dark before the apples are thoroughly cooked through, simply cover the dish loosely with a piece of aluminum foil after about 25-30 minutes of baking. This acts as a shield, preventing scorching while allowing the apples to continue cooking until perfectly tender.
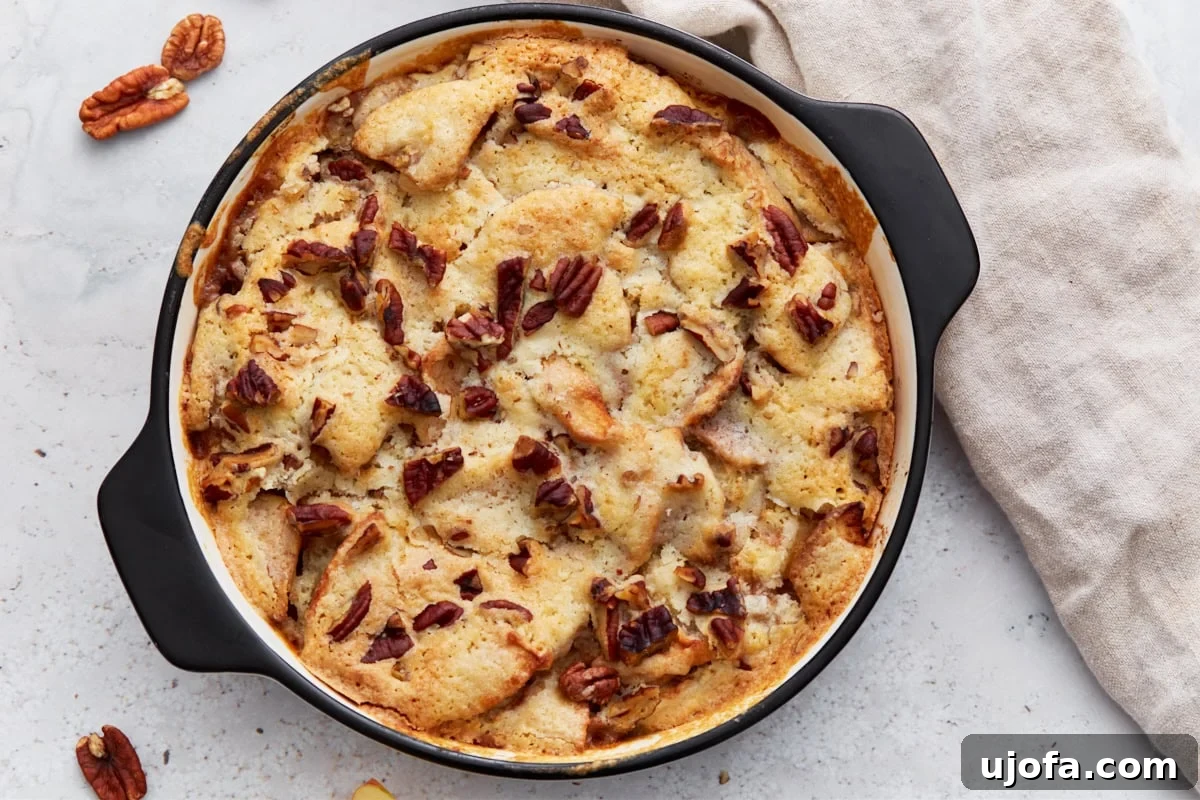
Step 7: Cool and Set. This step is often overlooked but is absolutely crucial for achieving the best texture and structure in your crustless apple pie. Once the pie is out of the oven, resist the urge to cut into it immediately. Instead, let it cool on a wire rack for at least 10 to 15 minutes. This resting time allows the warm apple juices to thicken and settle, and the buttery topping to firm up slightly, giving you a more cohesive and less watery dessert. For impeccably clean slices, which are often desired for entertaining, allow the pie to cool completely at room temperature, then cover and refrigerate it overnight. This firming up will make slicing a breeze the next day. Individual refrigerated slices can be easily reheated in the microwave for about 30 seconds to restore that lovely warmth before serving.
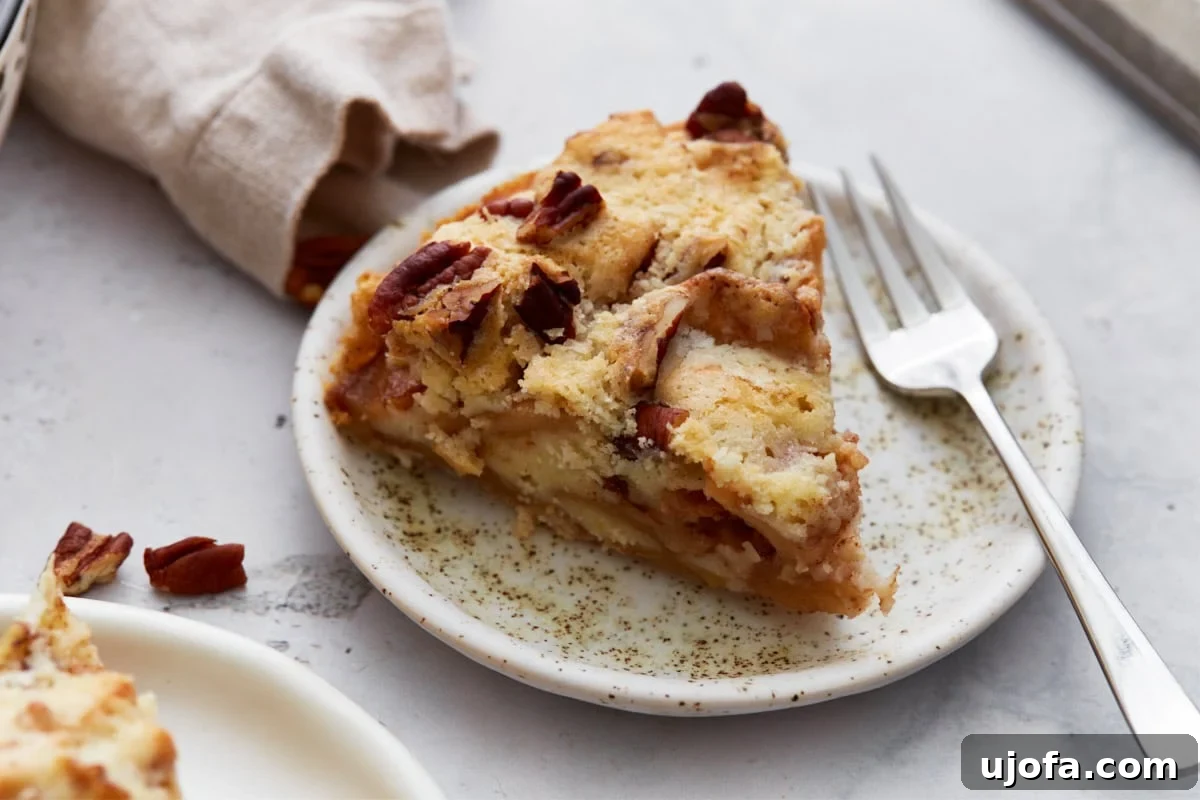
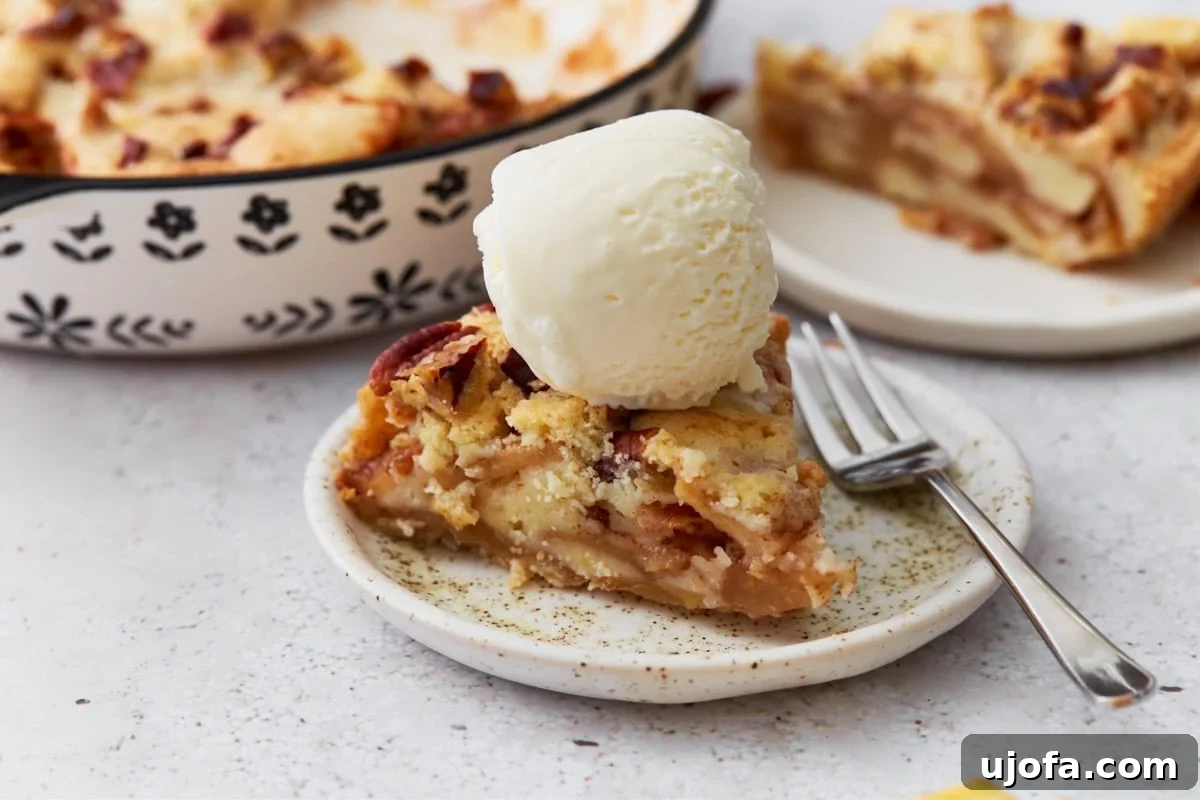
Step 8: Serve and Savor. Your magnificent crustless apple pie is now ready to be enjoyed! Serve it warm to fully appreciate its comforting aroma and tender texture. It’s truly delightful on its own, showcasing the natural sweetness of the apples and the spiced buttery topping. However, for an extra touch of indulgence, pair it with a generous scoop of creamy vanilla bean ice cream (or a dairy-free alternative), a dollop of freshly whipped cream, or even a luscious drizzle of homemade caramel sauce. Enjoy every sweet, spiced bite, knowing you’ve created a wonderful dessert with such ease!
Tips for Success: Achieving the Perfect Crustless Apple Pie
Mastering this simple dessert is easy with a few insider tips. These suggestions will help ensure your crustless apple pie turns out perfectly delicious every time, from fruit selection to baking techniques.
- Choosing the Right Apples: The type of apple you use can significantly impact the final texture and flavor of your pie. While Honeycrisp and Granny Smith are excellent choices for their superb balance of sweetness and tartness, and their ability to hold their shape during baking, other varieties like Pink Lady, Gala, Braeburn, or even a mix of two types work wonderfully. The key is to select firm apples that won’t turn to mush during baking. Avoid mealy or overly soft apples for the best results.
- To Peel or Not to Peel?: I typically peel the apples for a consistently soft and smooth texture in the final dessert, which I find enhances the overall experience. However, if you’re aiming for a more rustic appearance, want to save time, or simply prefer the added fiber, leaving the skins on is perfectly acceptable. The skins soften considerably during baking and add a slight, pleasant chewiness.
- Make Ahead Magic: This pie truly shines the day after it’s baked! Baking it the night before and refrigerating it overnight allows the flavors to deepen and meld even further, and the filling to set completely. This crucial step makes for incredibly clean and easy slicing, which is perfect when you’re entertaining or preparing for a busy day.
- Preventing Over-Browning: Oven temperatures can vary significantly, and sometimes the topping browns faster than the apples cook through. If you notice your pie top becoming too dark after about 25-30 minutes of baking, simply cover the dish loosely with a piece of aluminum foil. This acts as a protective shield, preventing further browning while allowing the apples to continue cooking until tender and fully done. Always check around the 30-minute mark to ensure even baking and adjust as needed.
- Gluten-Free Flour Blend: When using a gluten-free all-purpose flour blend, ensure it contains xanthan gum, or add ¼ teaspoon of xanthan gum per cup of flour if it doesn’t. Xanthan gum is vital for providing structure and preventing a crumbly, dry texture in gluten-free baking. Different GF blends can also absorb liquids differently, so you might need a tiny splash more melted butter or milk if the batter seems excessively dry.
- Dairy-Free Adaptation: For those needing a dairy-free version, simply swap the unsalted butter with a high-quality dairy-free butter alternative. Ensure it melts well and has a similar fat content for the best possible results, maintaining the richness and texture of the original.
Serving Suggestions: Elevate Your Apple Pie Experience
This versatile crustless apple pie is delightful in countless ways, whether served warm, at room temperature, or even slightly chilled. For me, nothing quite beats a warm slice, fresh from the oven or gently reheated. It’s a guaranteed hit for any occasion, from an intimate family dinner to a festive holiday gathering, or just a comforting treat after a long day. Here are some ideas to make your serving experience even more special and memorable:
- Classic Indulgence: A generous scoop of creamy vanilla bean ice cream is always a perennial favorite. For a dairy-free option, a scoop of almond milk ice cream melts beautifully into the warm apples. A dollop of homemade whipped cream or coconut whipped cream also adds a touch of luxurious lightness that perfectly complements the pie’s rich flavors.
- Sweet & Saucy: Elevate each slice with a drizzle of warm caramel sauce, a rich butterscotch sauce, or even a simple honey glaze. These additions provide an extra layer of sweetness and a velvety texture that enhances the overall dessert.
- Aromatic Accents: A light dusting of extra cinnamon, a sprinkle of smoked paprika for a hint of unexpected warmth, or a few toasted nuts (if not already included in the recipe) can further enhance the aromatic and textural profile of your pie.
- Breakfast Delight: Surprisingly, this pie makes a fantastic breakfast or brunch item! Enjoy a slice with your morning cup of hot coffee, a comforting tea, or even a glass of milk. It’s less heavy than a traditional pie, making it a perfectly acceptable and utterly delicious morning delight.
Storage Instructions: Keeping Your Pie Delicious
Proper storage is key to ensuring you can enjoy your delicious crustless apple pie for days to come, maintaining its delightful flavor and texture. Once the pie has cooled completely to room temperature, cover it tightly with plastic wrap or transfer it to an airtight container. It can then be stored safely in the refrigerator for up to 3 days. For the absolute cleanest slices, which are often preferred for presentation, I highly recommend refrigerating the entire pie overnight before attempting to cut it. The filling will firm up perfectly, allowing for beautifully neat and intact portions.
When you’re ready to enjoy a leftover slice, simply reheat it in the microwave for about 30 seconds, or until it’s warmed through to your liking. If you prefer using an oven for reheating, you can warm individual slices or the whole remaining pie at 300°F (150°C) for 10-15 minutes, or until heated to your desired temperature. It’s important to note that I generally do not recommend freezing this particular recipe. The delicate texture of the apples and the topping can become undesirable after thawing, potentially leading to a soggy or mushy result. For the best quality and enjoyment, stick to refrigeration.
More Delightful Crustless Recipes to Explore
If you’ve fallen in love with the ease and deliciousness of this crustless apple pie, you’re in for a treat! The world of crustless desserts and savory dishes is vast and wonderfully convenient, offering all the flavor without the fuss of traditional pastry. It’s a fantastic way to enjoy your favorite ingredients with a lighter touch. Here are some other fantastic recipes that skillfully skip the crust, perfect for expanding your repertoire:
- Crustless Pecan Pie
- Crustless Cheesecake
- Crustless Pumpkin Pie
- Crustless Spinach Quiche
- Crustless Pizza