
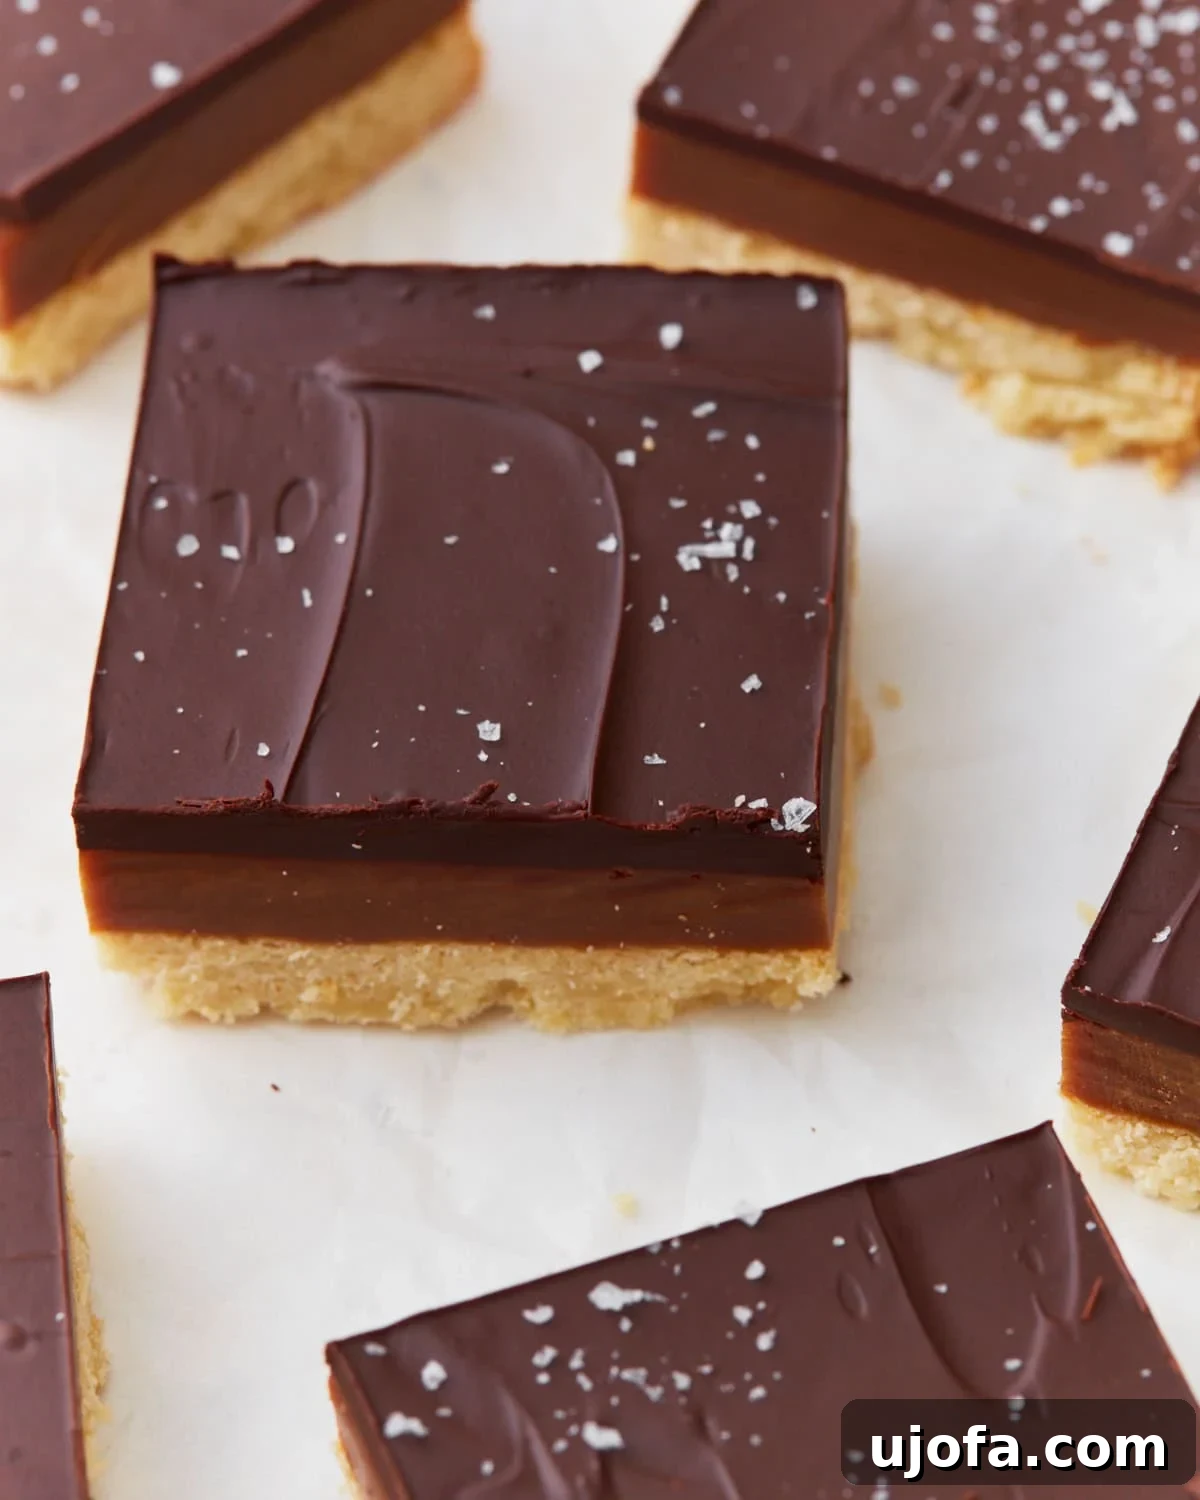
Indulgent Gluten-Free Millionaire Shortbread: A Decadent Homemade Delight
Prepare to be captivated by the sheer luxury of homemade **Gluten-Free Millionaire Shortbread**. This isn’t just a dessert; it’s an experience, a symphony of rich textures and unforgettable flavors that will have you reaching for more. Imagine biting into a crisp, buttery shortbread base, followed by a luscious layer of golden caramel, all crowned with a glossy, snap-worthy chocolate ganache. For many, it evokes the nostalgic joy of a classic Twix bar, but elevated to gourmet status, proving that gluten-free treats can be every bit as exquisite and satisfying.
As someone who adores buttery, crumbly desserts and previously cherished classic Twix bars, transitioning to a gluten-free lifestyle meant finding ways to recreate those beloved tastes. This journey led me to perfect my gluten-free shortbread cookies, a regular staple in my kitchen, and it was only a matter of time before I adapted the ultimate indulgence: Millionaire Shortbread. This recipe embodies that perfect balance of familiar comfort and sophisticated indulgence.
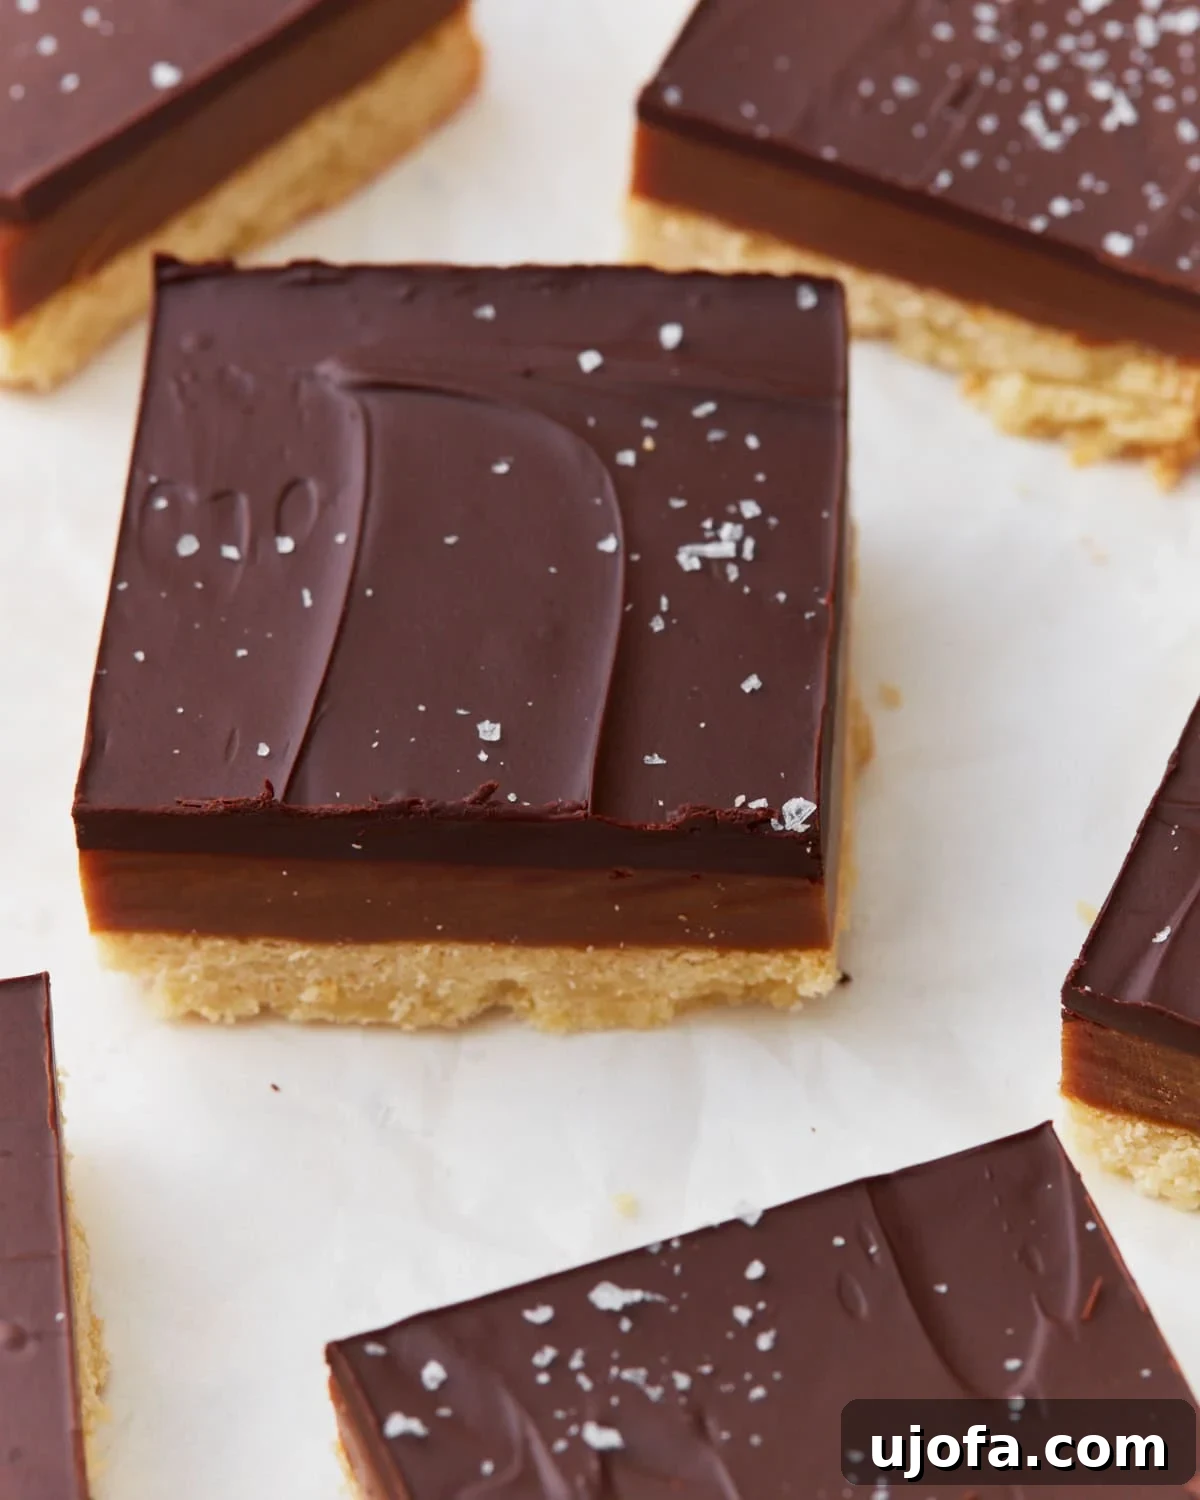
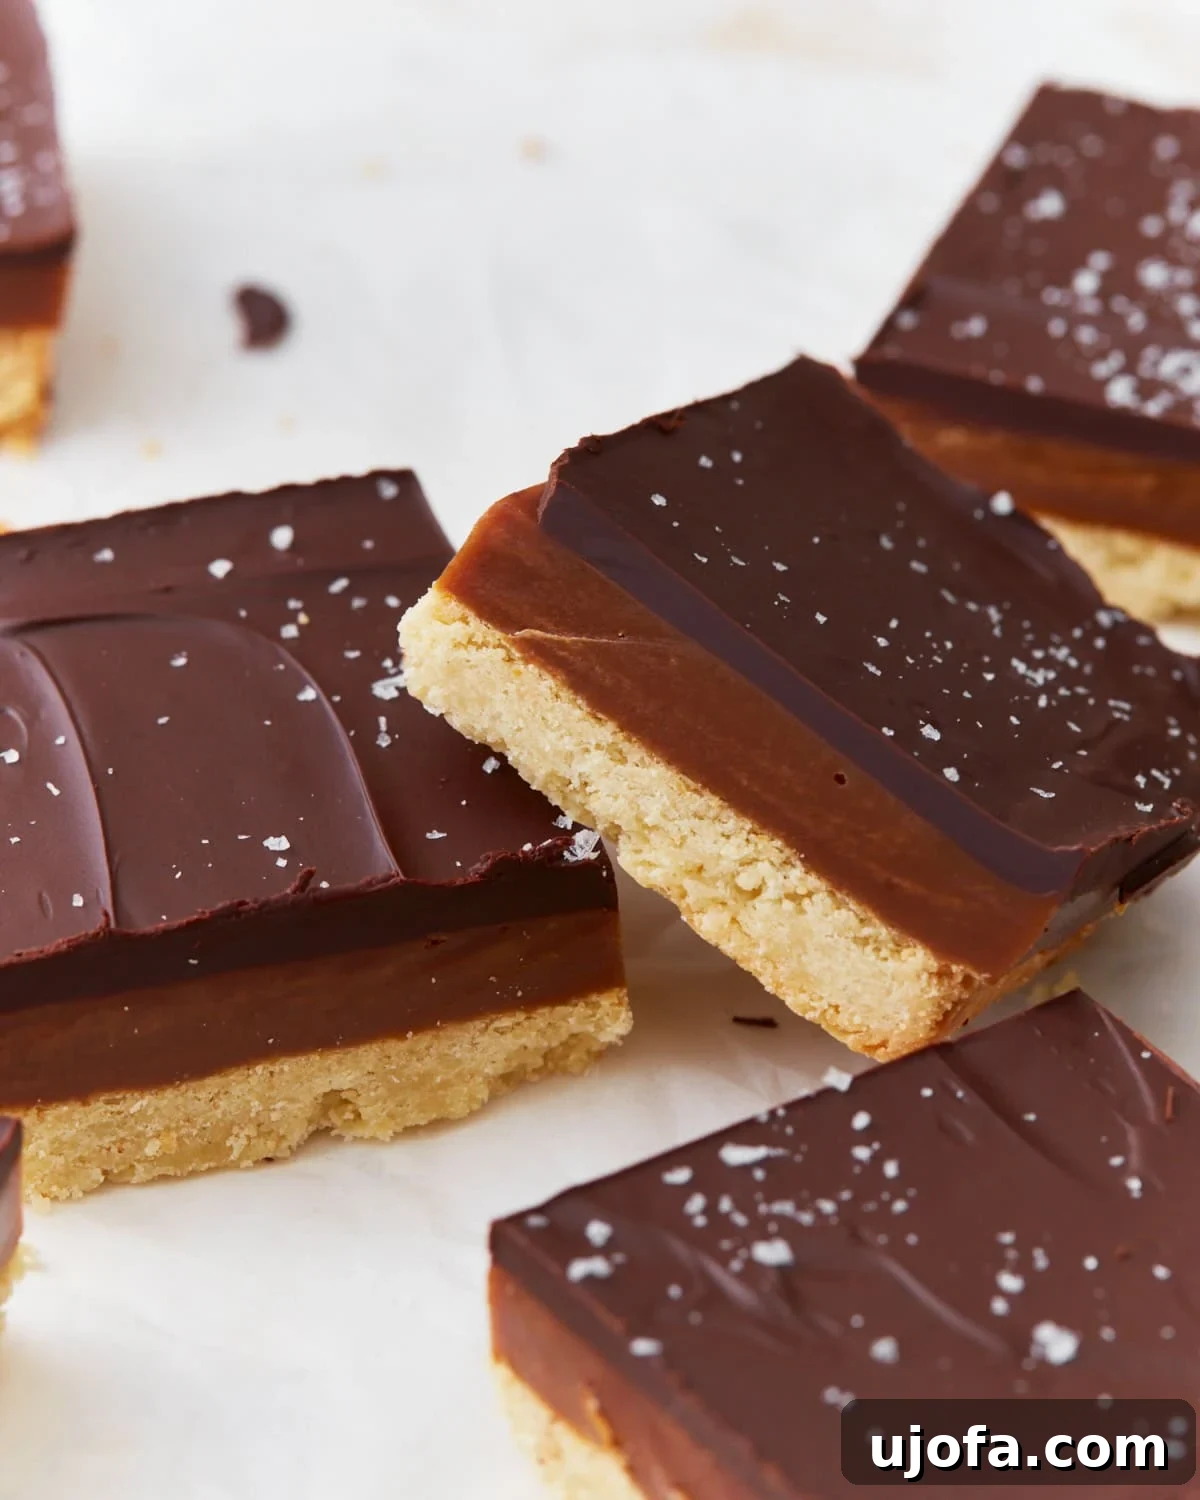
The beauty of this Millionaire Shortbread lies in its distinct, yet harmonious, layers. A robust and buttery gluten-free shortbread forms the foundation, offering a delightful snap with every bite. This is generously topped with a thick, smooth, and perfectly sweet caramel, cooked to a golden perfection. The grand finale is a velvety dark chocolate ganache, creating a truly luxurious dessert that more than lives up to its “Millionaire” name.
The Allure of Millionaire Shortbread: A Classic Reimagined
Millionaire Shortbread, also known as Caramel Shortbread or Caramel Slice, has long been a beloved classic in bakeries and homes worldwide. Its origins are often attributed to Scotland, where shortbread itself is a culinary icon. The addition of gooey caramel and a crisp chocolate topping transforms a simple cookie into a truly opulent treat. The beauty of this dessert lies not just in its taste, but in its visual appeal, with each distinct layer promising a different texture and flavor sensation.
For those navigating a gluten-free diet, finding desserts that don’t compromise on taste or texture can be a challenge. This recipe ensures that no one has to miss out on the pure joy of Millionaire Shortbread. By using a high-quality gluten-free all-purpose flour blend, we achieve a shortbread base that is tender, buttery, and holds up beautifully under the rich caramel and chocolate layers. This isn’t just a gluten-free substitute; it’s a stellar dessert in its own right, designed to impress even the most discerning palate.
Crafting these bars is a meditative process, a rewarding endeavor that culminates in an exquisite confection. From pressing the crumbly shortbread into the pan to carefully spreading the molten caramel and drizzling the silky chocolate, each step contributes to the anticipation of that first perfect bite. And once you taste it, you’ll understand why it’s so hard to stop at just one.
Gluten-Free Millionaire Shortbread
Sabine Venier
9 bars
20 mins
25 mins
1 hr 30 mins
2 hrs 15 mins
Share by Email
Print Recipe
Gluten-free millionaire shortbread is every bit as rich and indulgent as it sounds, and I can’t get enough of it. For me, it’s like creating a homemade Twix bar—only better. I love the way the buttery gluten-free shortbread melts in my mouth, the caramel adds a deep sweetness, and the chocolate ganache ties it all together. Making these is just as satisfying as eating them, and trust me, I never stop at just one.
Want to save this recipe? Just enter your email to get it sent to your inbox! Plus, you’ll get new recipes from us every week!
Equipment
-
1 8×8 or 9×9 baking dish
Ingredients
Shortbread Base
- 2 cups gluten-free all-purpose flour
- 1/3 cup sugar
- 1/2 teaspoon salt
- 1 cup unsalted butter, melted
Caramel Layer
- 1 14 oz can sweetened condensed milk
- 1/2 cup unsalted butter, chopped into pieces
- 1 cup dark brown sugar, packed
- 1/4 cup golden syrup
- 1 teaspoon vanilla extract
- 1 teaspoon salt
Chocolate Layer
- 7 oz dark chocolate chips, 65-75% cocoa content recommended
- 1 tablespoon unsalted butter
Instructions
-
Preheat your oven to 350°F (175°C). Line a 9×9-inch (23×23 cm) baking pan with parchment paper, allowing some overhang on the sides for easy removal later.
-
In a medium mixing bowl, combine the gluten-free all-purpose flour, sugar, and salt for the shortbread base. Mix these dry ingredients thoroughly until well combined.
-
Pour in the melted unsalted butter and mix until a cohesive dough forms. The mixture should be crumbly but hold together when pressed.
-
Press the dough evenly into the prepared baking pan. Use the back of a spoon or your fingers to ensure it’s a compact and level layer. Bake for 20–25 minutes, or until the edges are lightly golden. Remove from the oven and allow it to cool completely on a wire rack before proceeding.
-
For the caramel layer, combine the sweetened condensed milk, chopped unsalted butter, dark brown sugar, and golden syrup in a medium saucepan. Cook this mixture over medium heat, stirring constantly, to prevent burning. Continue cooking until the mixture thickens and turns a rich golden-brown color, which typically takes about 8–10 minutes. If you have a candy thermometer, cook until it reaches 225°F (107°C). Ensure all sugar crystals have dissolved for a smooth caramel.
-
Remove the caramel from the heat and stir in the vanilla extract and salt. Immediately pour the hot caramel evenly over the cooled shortbread base in the pan. Spread it carefully to create a smooth layer. Refrigerate the pan for at least 30 minutes, or until the caramel has set firm.
-
To create the chocolate layer, melt the dark chocolate chips and 1 tablespoon of unsalted butter together. You can do this in a microwave-safe bowl, heating in 30-second intervals and stirring until smooth, or by using a double boiler. Stir until the ganache is completely smooth and free of any lumps.
-
Retrieve the chilled pan from the refrigerator. Pour the melted chocolate evenly over the set caramel layer, spreading it gently with a spatula to cover the entire surface.
-
Return the pan to the refrigerator for at least 1 hour, or until the chocolate layer is completely set and firm to the touch.
-
Once fully set, remove the millionaire shortbread from the refrigerator. Lift it out of the pan using the parchment paper overhang. For clean cuts, run a large, sharp knife under hot water for a few seconds, then wipe it completely dry before slicing. Press down gently to cut into desired-sized squares, cleaning the knife between each cut for the best results.
-
Optionally, sprinkle with flaky sea salt, crushed nuts, or coconut flakes immediately after pouring the chocolate layer, or just before serving. Enjoy your homemade gluten-free millionaire shortbread!
Expert Tips for Perfect Millionaire Shortbread
- Flour Choice: For consistent results, I recommend using a high-quality gluten-free all-purpose flour blend. My personal favorite for all baking is Pillsbury gluten-free flour. Different blends absorb moisture differently, so sticking to a tried-and-true option is key.
- Accurate Flour Measurement: Always measure your gluten-free flour using the “spoon and sweep” method. Lightly spoon the flour into your measuring cup until it overflows, then use a straight edge (like a knife) to level off the excess. Do NOT scoop the flour directly with your measuring cup, as this compacts the flour and can lead to a dense, tough shortbread base instead of a light, crumbly one.
- Perfect Caramel Consistency: Cooking the caramel requires patience and constant stirring to prevent it from burning and ensure a smooth texture. If you have a candy thermometer, aim for 225°F (107°C) for the perfect soft-set caramel. If you don’t have a thermometer, simply stir continuously for about 8-10 minutes until it thickens significantly and achieves a rich golden-brown hue. If the caramel appears grainy, it usually means it hasn’t cooked long enough or the sugar hasn’t fully dissolved. Keep stirring until it’s smooth.
- Clean Cuts: To get those beautifully defined layers without cracking the chocolate, a simple trick is to warm your sharp knife under hot water for a few seconds. Wipe the blade dry completely before making each cut. This slight warmth helps the knife glide through the chocolate smoothly.
- Customizing Your Topping: Before the chocolate layer sets, consider adding extra flair! A sprinkle of flaky sea salt enhances the flavors beautifully. You could also add crushed nuts (like pecans or almonds), toasted coconut flakes, or even a drizzle of white chocolate for a decorative touch.
Nutrition
Calories: 795kcal
Carbohydrates: 96g
Protein: 9g
Fat: 44g
Saturated Fat: 29g
Polyunsaturated Fat: 2g
Monounsaturated Fat: 10g
Trans Fat: 1g
Cholesterol: 101mg
Sodium: 482mg
Potassium: 358mg
Fiber: 4g
Sugar: 73g
Vitamin A: 1113IU
Vitamin C: 1mg
Calcium: 249mg
Iron: 2mg
Nutrition information is automatically calculated, so should only be used as an approximation.
Additional Info
Dessert
American
Tried this recipe?
Mention @mamaknowsglutenfree or tag #mamaknowsglutenfree!
How to Make Gluten-Free Millionaire Shortbread: A Step-by-Step Guide
Creating this three-layered masterpiece is easier than you might think, especially when you follow these clear, step-by-step instructions. Each stage is crucial for building the perfect texture and flavor profile.
1. Prepare Your Ingredients and Pan
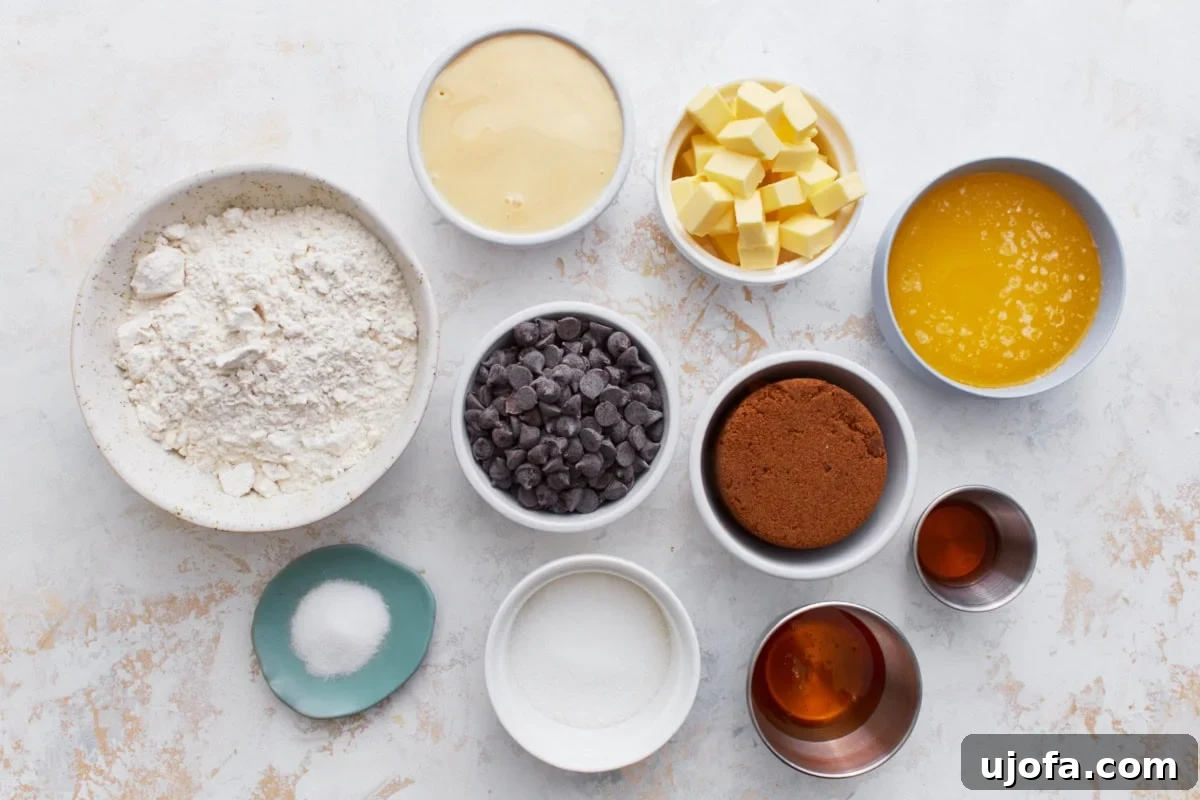
Begin by gathering all your required ingredients. This simple step saves time and ensures you have everything on hand. Preheat your oven to 350°F (175°C). Line a 9×9-inch (23×23 cm) baking pan with parchment paper, leaving a slight overhang on two opposite sides. This “sling” will make it incredibly easy to lift the entire shortbread out of the pan once it’s chilled and set.
2. Craft the Buttery Shortbread Base
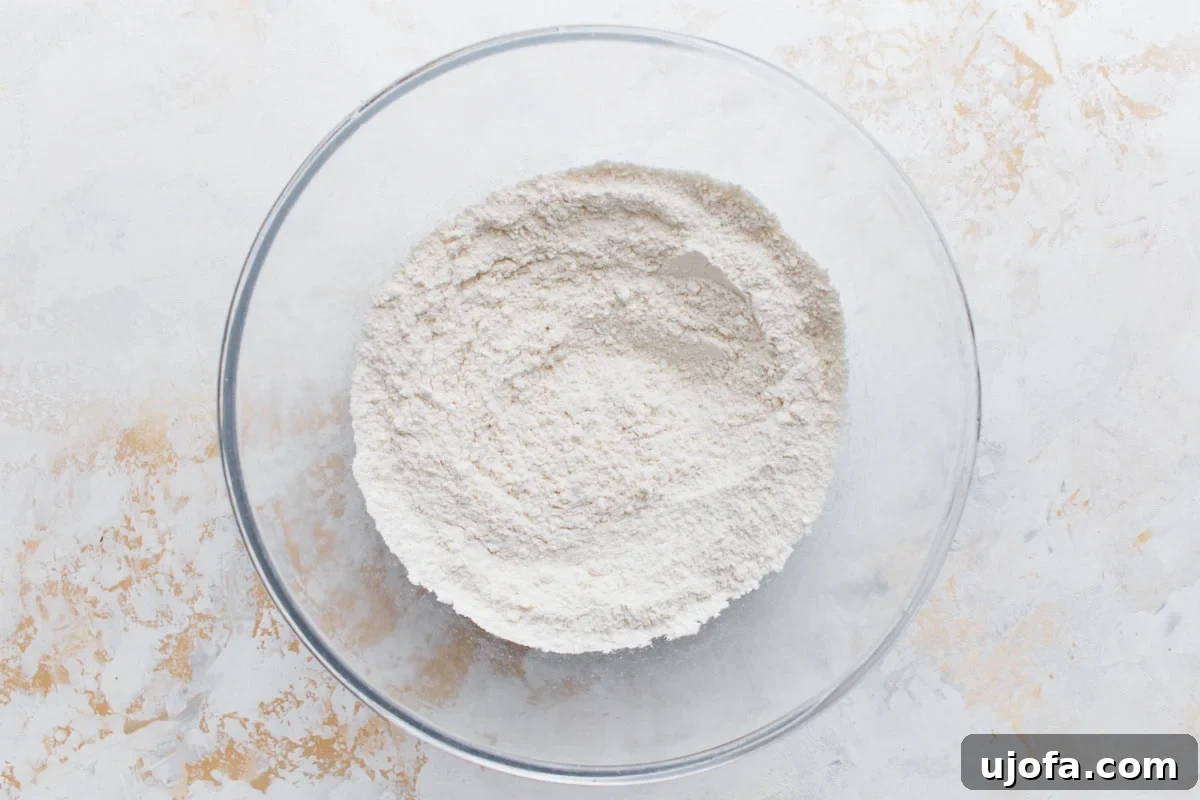
In a medium mixing bowl, combine 2 cups of your chosen gluten-free all-purpose flour, ⅓ cup of sugar, and ½ teaspoon of salt. Whisk these dry ingredients thoroughly. The quality of your gluten-free flour blend will greatly impact the final texture of the shortbread, so choose a reliable brand. If your blend doesn’t contain xanthan gum, you might consider adding ¼ teaspoon to ensure the shortbread holds its shape well.
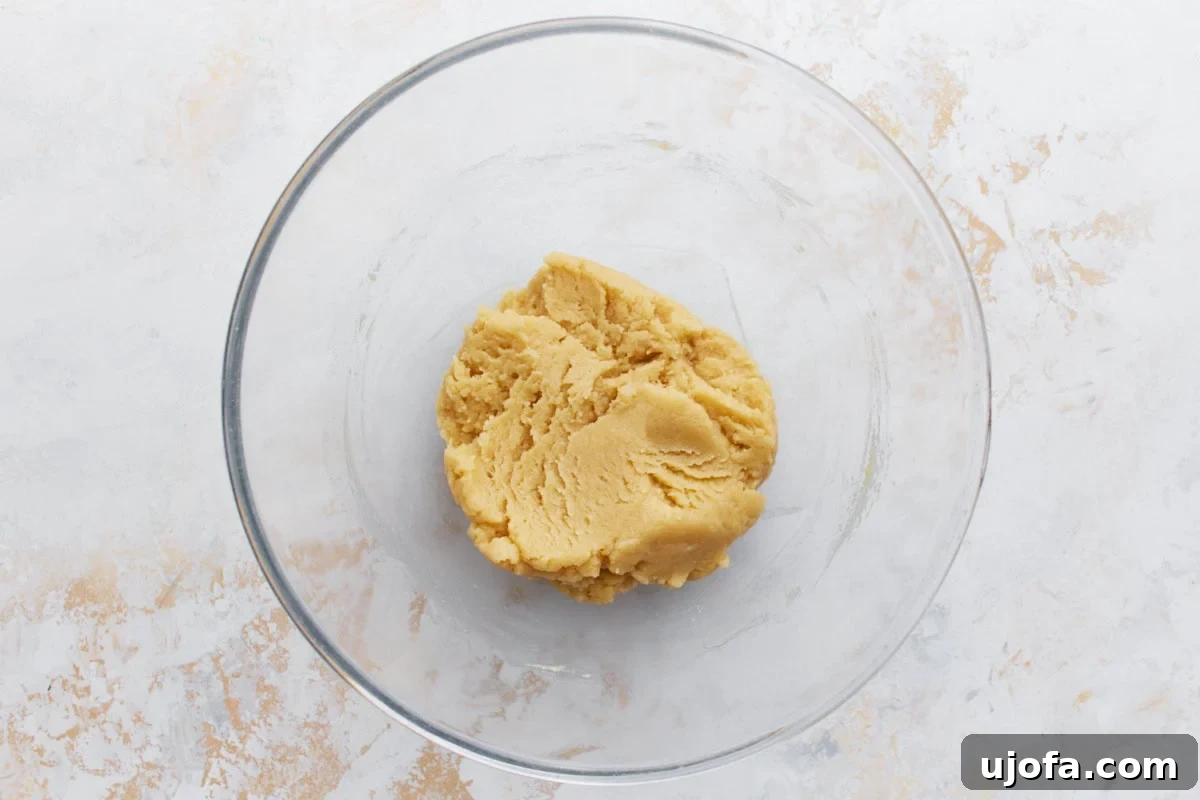
Next, pour in 1 cup of melted unsalted butter. Mix with a spatula or by hand until a consistent dough forms. The mixture will be soft and pliable. Avoid overmixing, as this can lead to a tougher shortbread.
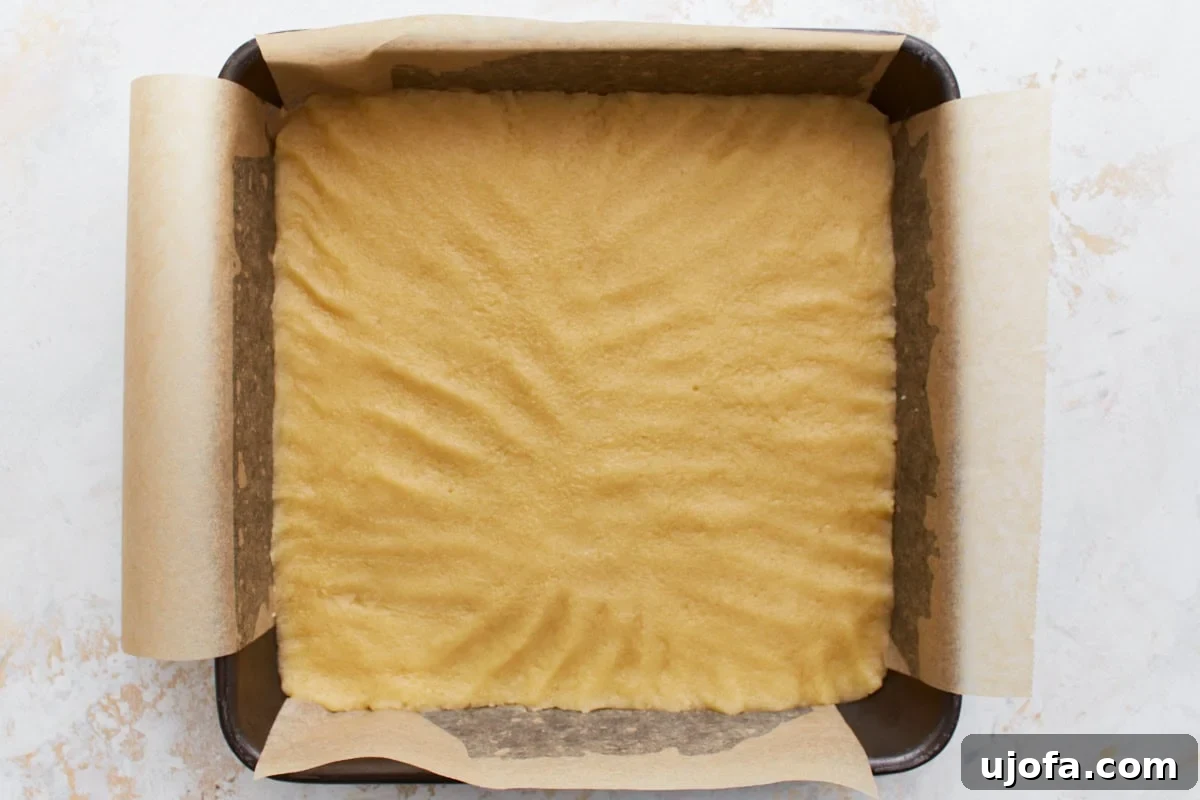
Press the shortbread dough evenly into the parchment-lined pan. A flat-bottomed glass or the palm of your hand works well to create a smooth, compact layer. Ensure the thickness is uniform across the entire pan for even baking.
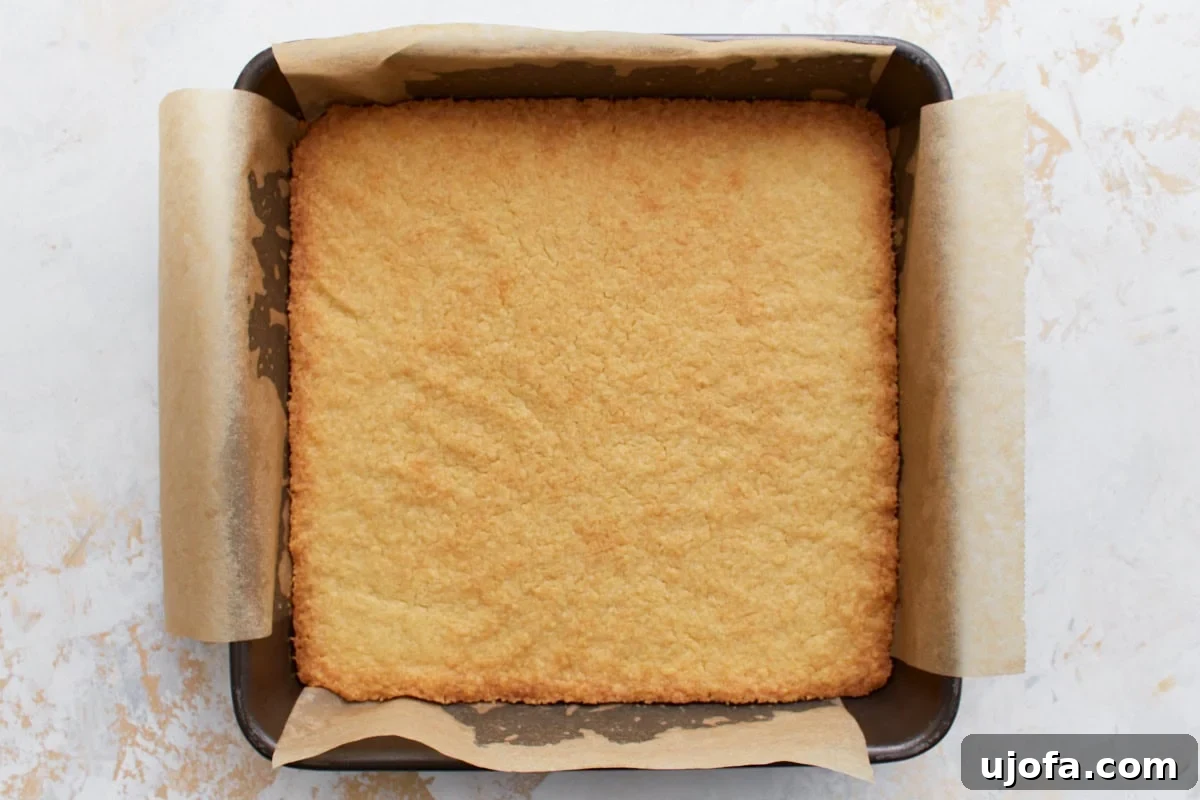
Bake the shortbread for 20-25 minutes. Keep an eye on it; you’re looking for a beautiful light golden-brown color, especially around the edges. Once baked, remove the pan from the oven and set it aside to cool completely. It’s crucial that the shortbread is fully cooled before adding the caramel, otherwise, the caramel layer might melt or seep into the base.
3. Master the Gooey Caramel Layer
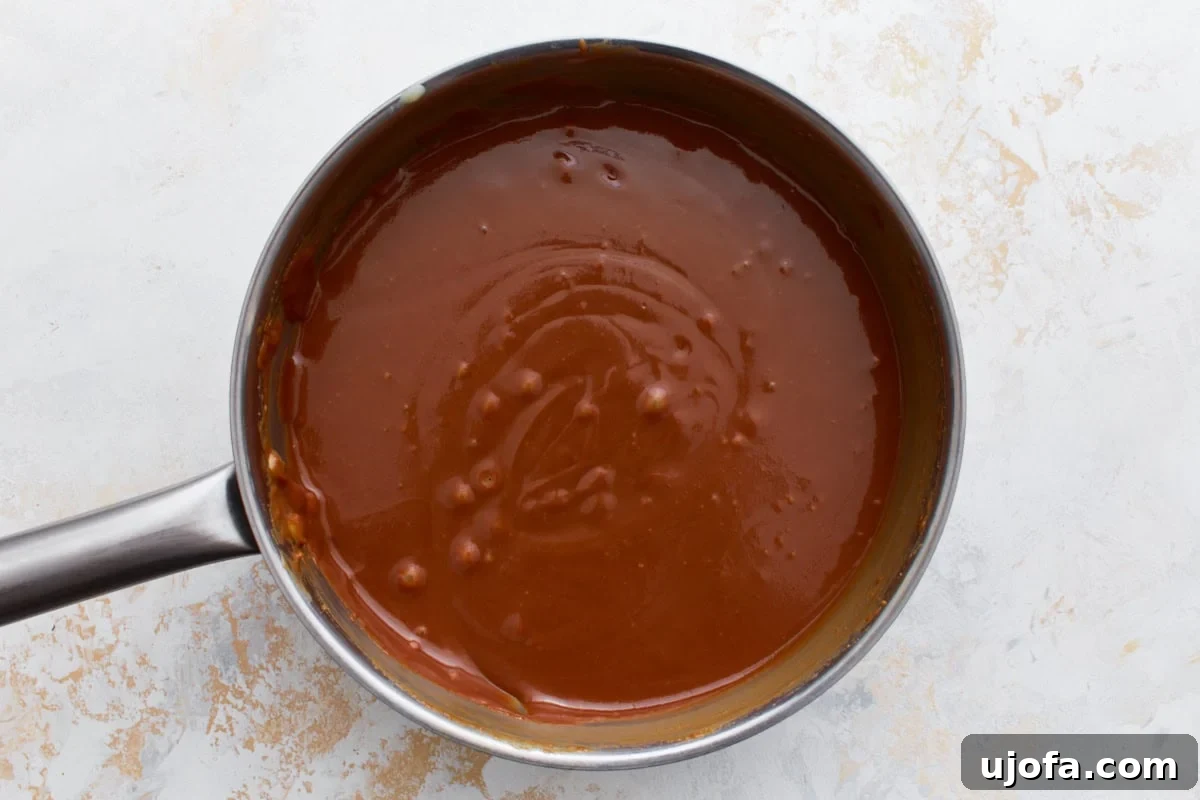
Now for the star of the show: the rich, chewy caramel. In a medium saucepan, combine one 14 oz can of sweetened condensed milk, ½ cup of chopped unsalted butter, 1 cup of packed dark brown sugar, and ¼ cup of golden syrup. Golden syrup adds a unique depth of flavor and smooth texture to the caramel; if unavailable, light corn syrup can be a decent substitute, though it may alter the flavor slightly.
Cook this mixture over medium heat, stirring constantly with a whisk or wooden spoon. Continuous stirring is vital to prevent the caramel from sticking to the bottom of the pan and burning, and to ensure even cooking. The mixture will begin to thicken and darken, transforming into a beautiful golden-brown. If you have a candy thermometer, cook until the caramel reaches 225°F (107°C). Without a thermometer, this process typically takes 8-10 minutes. The caramel should be smooth, with no discernible sugar crystals remaining.
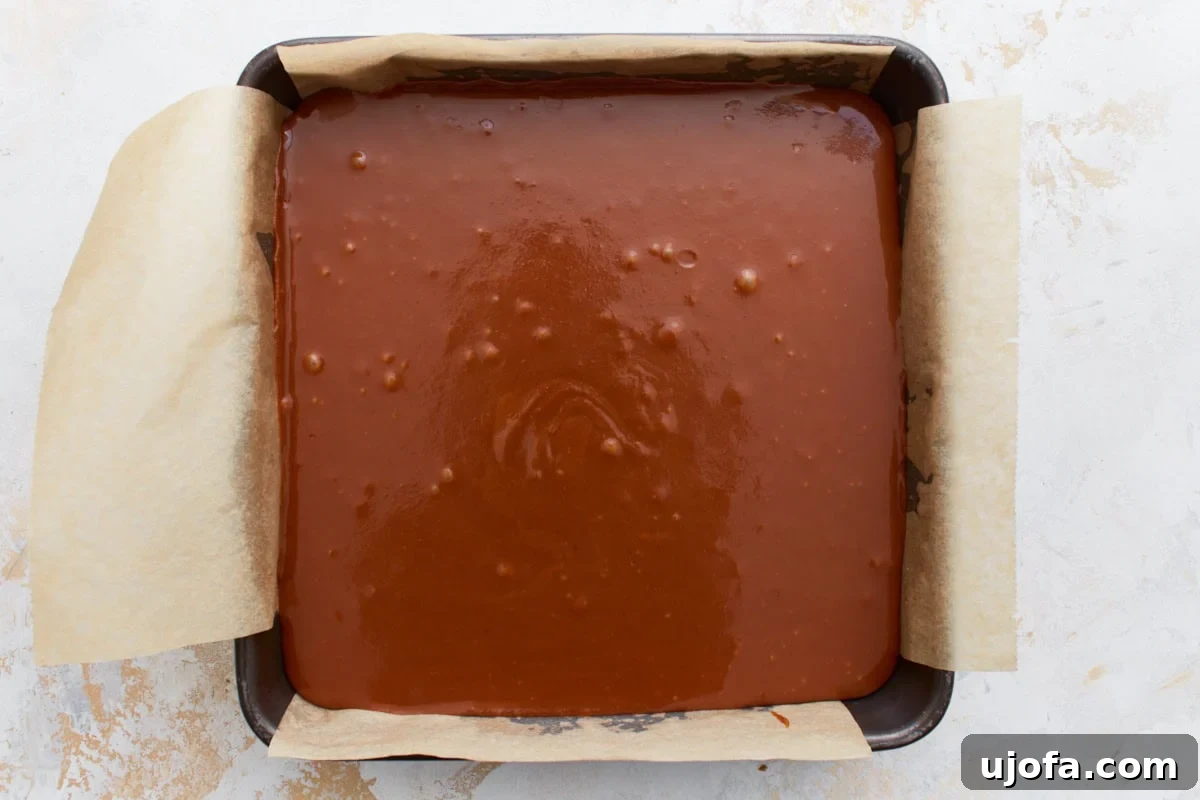
Once the caramel reaches the desired consistency, remove it from the heat. Stir in 1 teaspoon of vanilla extract and 1 teaspoon of salt. The salt helps to balance the sweetness of the caramel, enhancing its rich flavor. Immediately pour the hot caramel evenly over the completely cooled shortbread base in the pan. Use an offset spatula to spread it smoothly. Transfer the pan to the refrigerator and chill for at least 30 minutes to allow the caramel to set firmly.
4. Finish with a Silky Chocolate Ganache
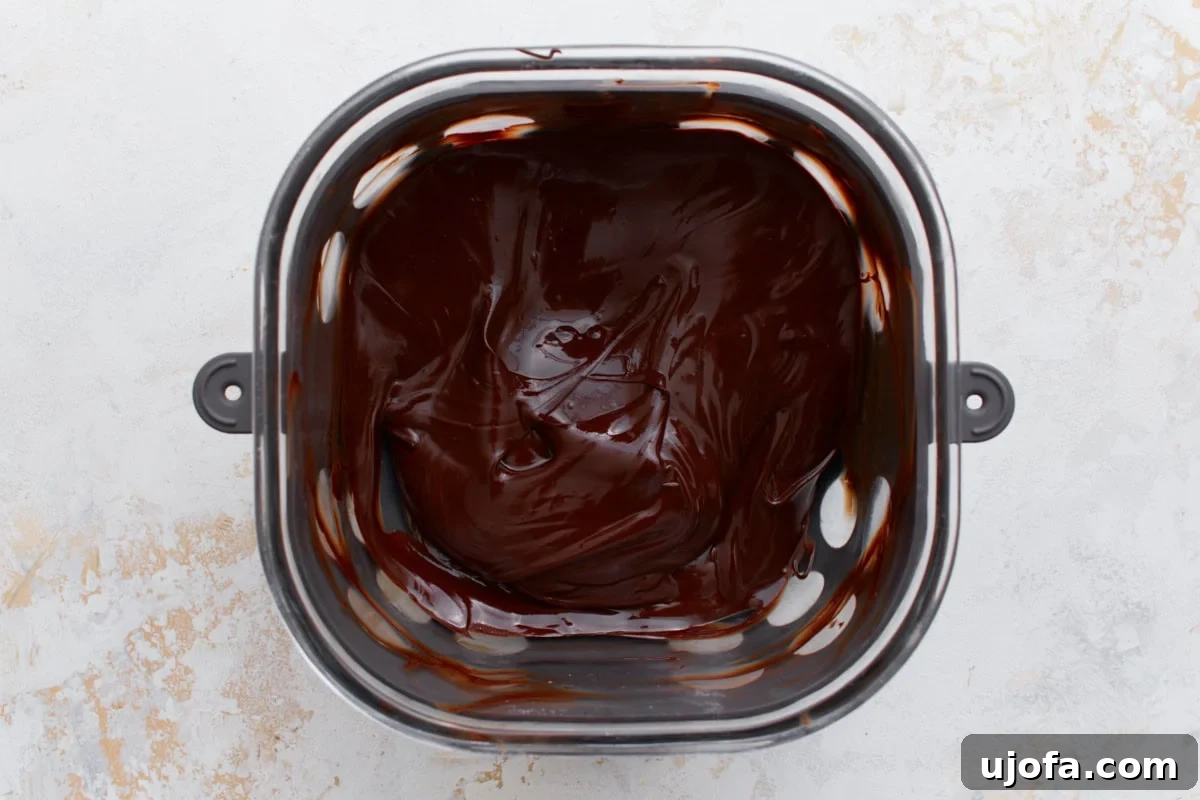
For the decadent top layer, melt 7 oz of dark chocolate chips (65-75% cocoa content is ideal for a rich flavor that isn’t overly sweet) and 1 tablespoon of unsalted butter. You can melt these in a microwave-safe bowl, heating in 30-second intervals and stirring after each, until smooth. Alternatively, use a double boiler over simmering water, stirring constantly until fully melted and glossy. The butter adds a beautiful shine and helps prevent the chocolate from cracking excessively when cut.
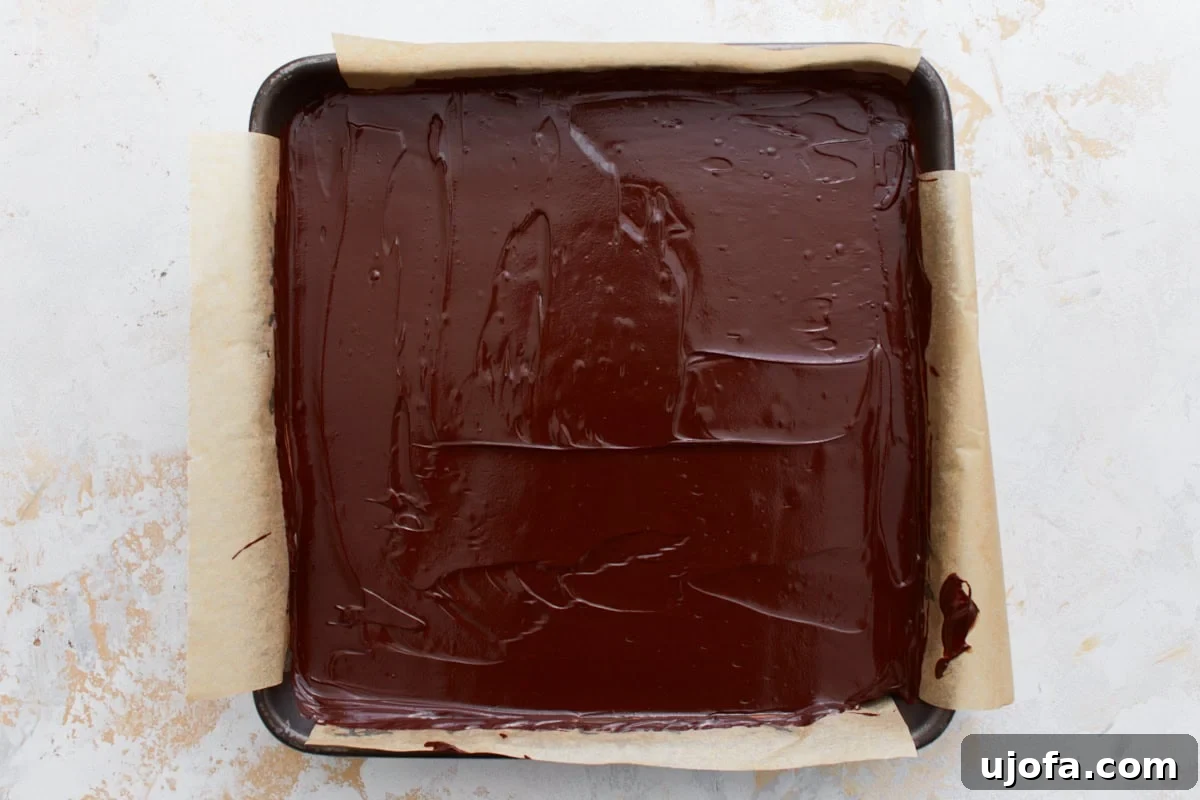
Retrieve the chilled pan with the set caramel layer from the refrigerator. Pour the melted chocolate evenly over the caramel, spreading it gently with an offset spatula or the back of a spoon to create a uniform, smooth surface. For an extra touch of elegance and flavor, consider sprinkling flaky sea salt over the wet chocolate layer right after spreading it. The salt beautifully contrasts the sweetness.
Return the pan to the refrigerator for at least 1 hour, or until the chocolate layer is completely firm and set. This chilling time is essential for easy and clean slicing.
5. Slice and Serve Your Masterpiece
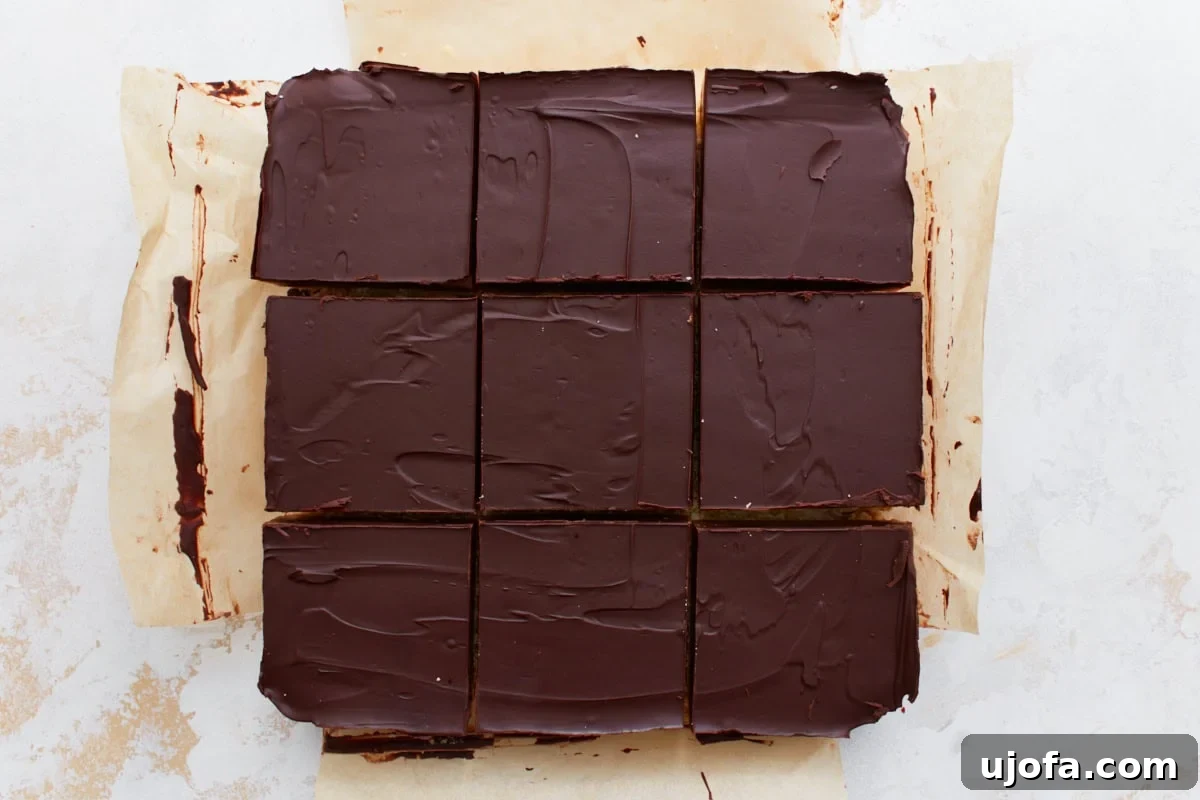
Once the millionaire shortbread is completely set, remove the pan from the refrigerator. Using the parchment paper overhang, carefully lift the entire slab onto a cutting board. The key to perfectly neat squares is a warm, sharp knife. Run a large, sharp knife under hot water for a few seconds, then wipe it completely dry. Press down gently and firmly to cut through all three layers, cleaning the knife between each cut to prevent smearing.
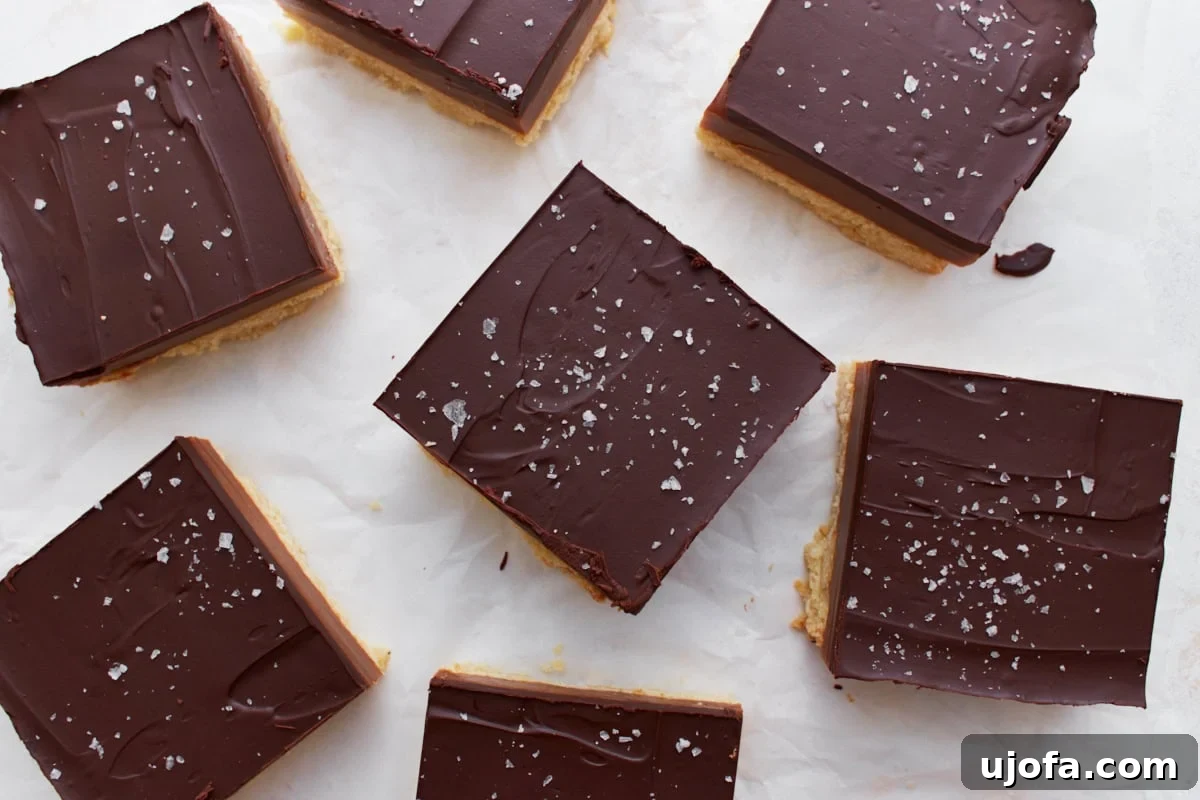
Arrange your perfectly cut squares on a serving platter. A final sprinkle of flaky sea salt can elevate the presentation and taste. These beautiful bars are perfect for special occasions, gifting, or simply indulging your sweet tooth. Enjoy the rich, layered goodness of your homemade gluten-free millionaire shortbread!
Storage Instructions
To keep your delicious gluten-free millionaire shortbread fresh and ensure its layers remain distinct and firm, proper storage is essential.
- Refrigeration: Store any leftover millionaire shortbread in an airtight container in the refrigerator for up to one week. This helps maintain the integrity of the caramel and chocolate layers.
- Freezing for Longer Shelf Life: For longer storage, you can freeze these delectable bars. Place them in a single layer on a baking sheet and freeze until firm (about 1-2 hours). Once firm, transfer the individual pieces to an airtight, freezer-safe container or a heavy-duty freezer bag, separating layers with parchment paper to prevent sticking. They can be frozen for up to two months. When ready to enjoy, simply thaw them in the refrigerator for a few hours or at room temperature until softened to your desired texture.
Explore More Gluten-Free Dessert Bars
If you’ve enjoyed crafting and savoring this gluten-free millionaire shortbread, you’re in for a treat! The world of gluten-free dessert bars is vast and full of delightful options. Here are some more of my favorite recipes that bring indulgence without compromise:
- Gluten-Free Tiramisu: A classic Italian dessert, reimagined for gluten-free diets, featuring rich coffee-soaked layers and creamy mascarpone.
- Easy Gluten-Free Brownies: Fudgy, chocolatey, and utterly irresistible brownies that are surprisingly simple to make.
- Gluten-Free Lemon Bars: Bright, zesty lemon curd atop a buttery shortbread crust, a perfect balance of sweet and tart.
- Coconut Flour Brownies: A unique twist on brownies, using coconut flour for a lighter texture and subtle coconut flavor.
Each of these recipes promises to be a fantastic addition to your gluten-free baking repertoire, proving that dietary restrictions don’t have to mean sacrificing flavor or fun. Happy baking!