
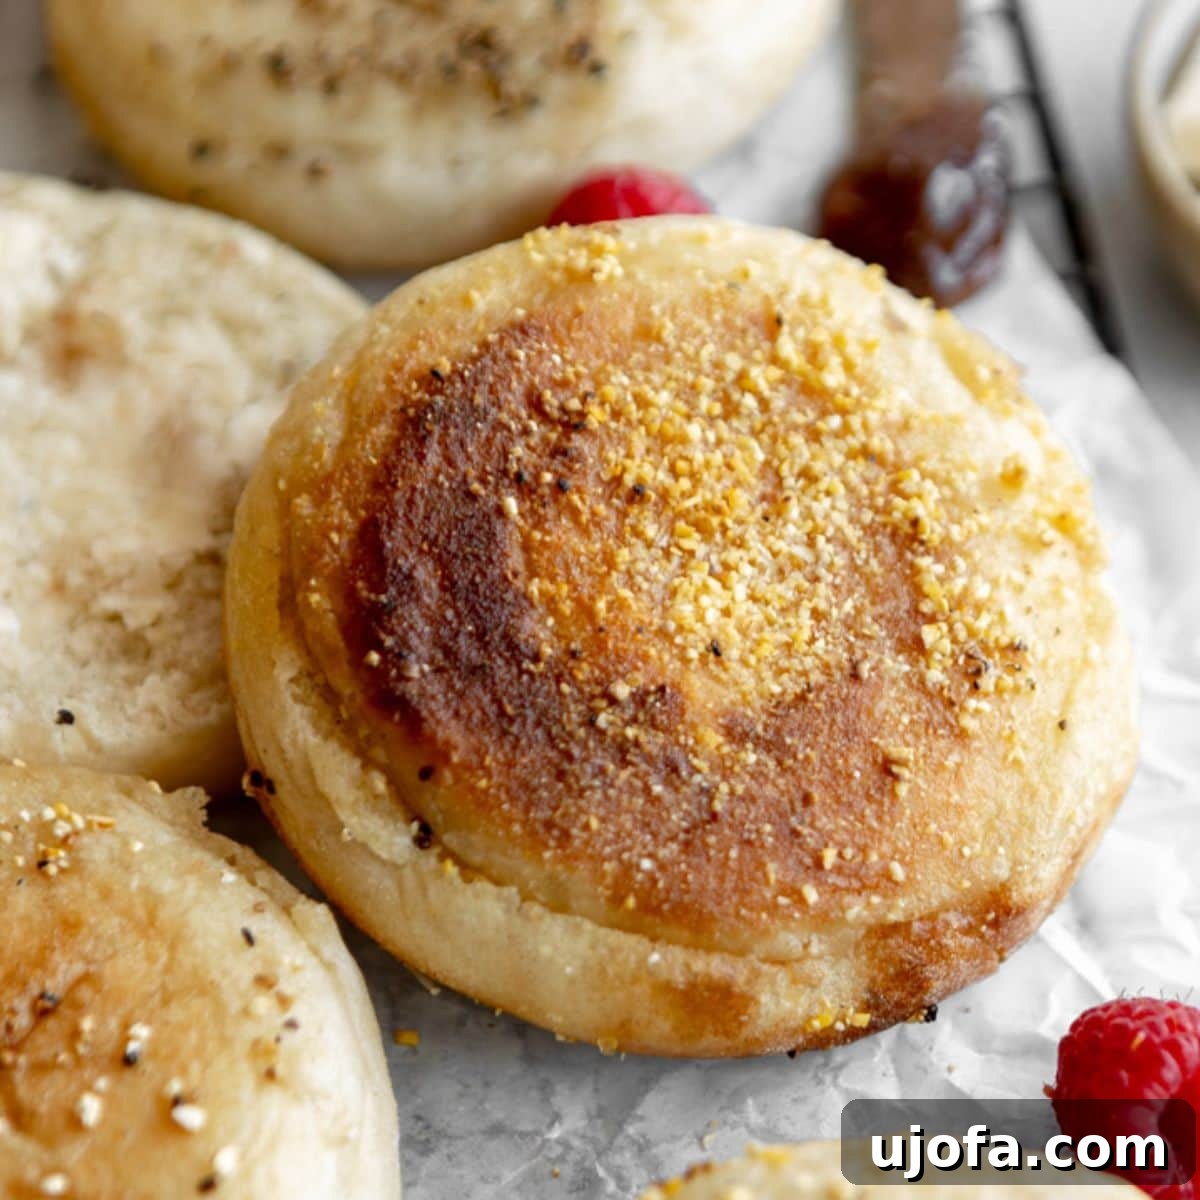
There’s nothing quite like the soft, chewy interior and wonderfully craggy texture of a freshly baked English muffin. For those navigating a gluten-free lifestyle, the joy of this breakfast staple might seem out of reach. But fear not! Our easy-to-follow recipe brings the magic of homemade gluten-free English muffins right to your kitchen, promising perfect “nooks and crannies” every time. Imagine them slathered with a pat of melting butter, generously spread with your favorite jam, or serving as the ideal foundation for a hearty breakfast sandwich. With simple ingredients and clear instructions, you can master this beloved classic and enjoy a batch of delicious, wholesome muffins that rival any bakery offering.
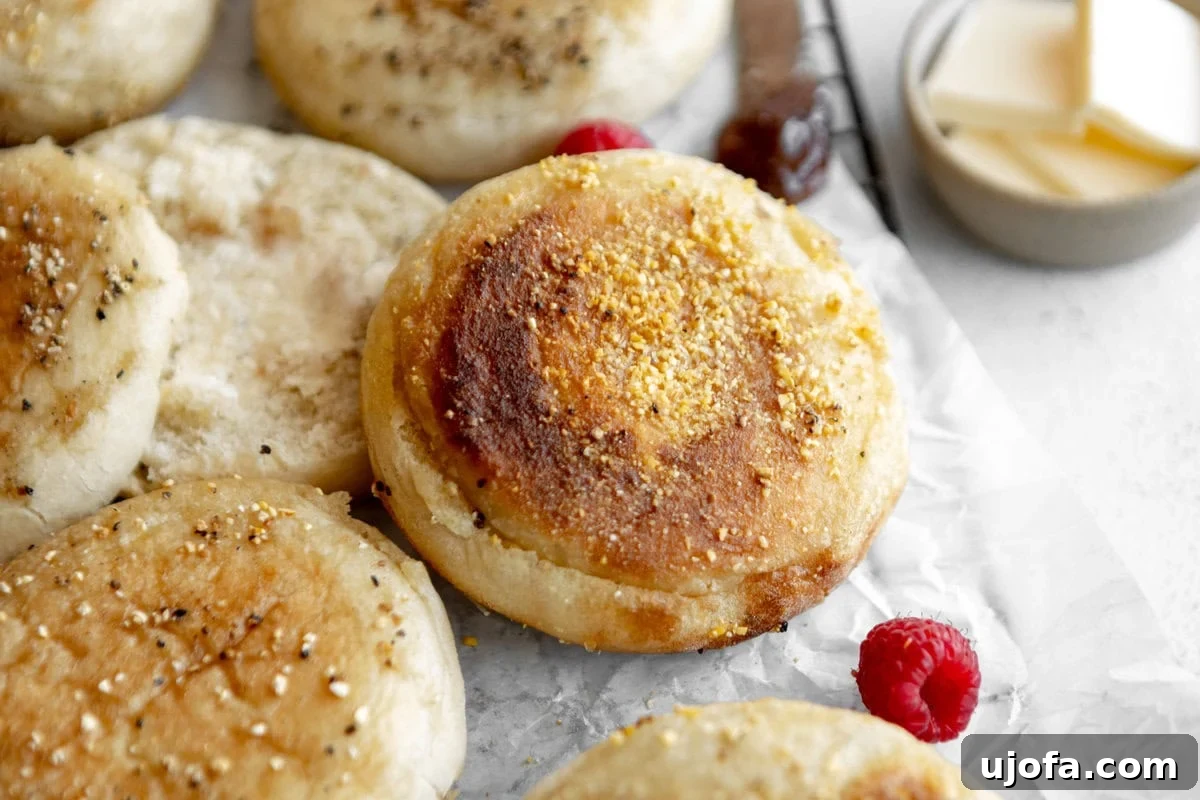
The Ultimate Gluten-Free English Muffin Recipe
Crafting these delectable gluten-free English muffins at home is a truly rewarding experience. We leverage instant yeast to ensure a consistent, fluffy rise, and the exterior is lovingly rolled in gluten-free cornmeal, imparting that signature crispness and delightful crunch. Whether your preference is a simple spread of butter and jam, or a more substantial assembly with a fried egg and a slice of melty cheese, these versatile muffins are destined to become a breakfast hero, particularly on those bustling mornings. Our recipe is designed with simplicity in mind, utilizing everyday ingredients and straightforward instructions, so you can effortlessly whip up a batch to kickstart your week with a taste of homemade goodness.
Why Homemade Gluten-Free English Muffins?
Opting for homemade English muffins, especially gluten-free ones, offers numerous advantages over store-bought alternatives. Firstly, you have complete control over the ingredients, ensuring no hidden allergens or undesirable additives. For those with celiac disease or gluten sensitivity, this peace of mind is invaluable. Secondly, the taste and texture of freshly made muffins are simply unparalleled. The characteristic “nooks and crannies,” crucial for trapping butter and jam, are often more pronounced in homemade versions. Beyond dietary needs, the process of baking is incredibly therapeutic, filling your home with an irresistible aroma that promises a warm, comforting start to any day.
The Science Behind the Perfect Crumb: Achieving Those Signature Nooks and Crannies
The hallmark of a great English muffin is its internal structure – those wonderful nooks and crannies that soak up butter and jam so perfectly. For gluten-free baking, achieving this can be a bit more challenging but is entirely possible with the right technique and ingredients. The instant yeast in this recipe plays a vital role by producing carbon dioxide gas, which creates air pockets within the dough as it rises. Tapioca flour, specifically, contributes to the elasticity that gluten typically provides, allowing these pockets to expand and hold their shape during cooking. The careful balance of ingredients and the two-stage rising process (room temperature followed by chilling) are key to developing a robust, yet airy structure, ensuring every bite is a delightful exploration of texture.
Ingredients for Gluten-Free English Muffins
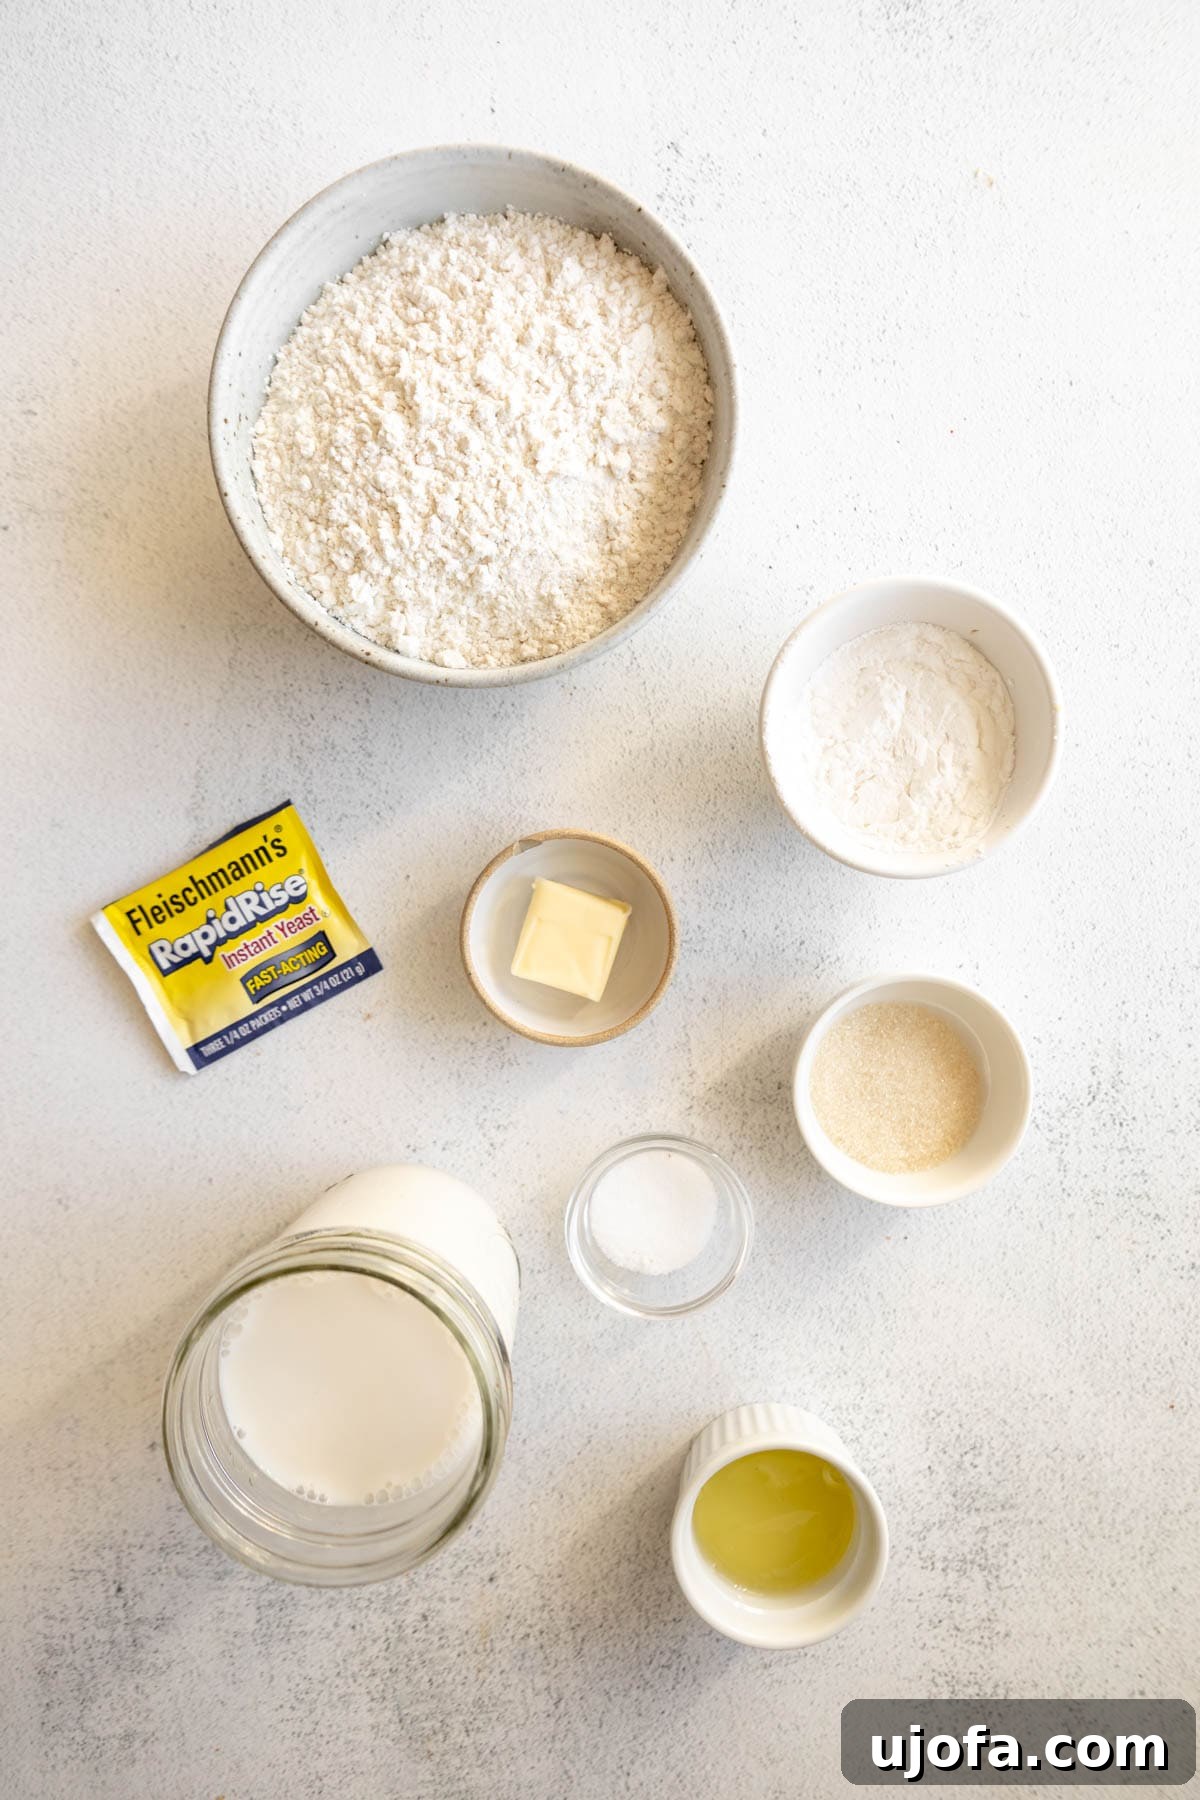
Every ingredient in this recipe plays a crucial role in achieving the perfect gluten-free English muffin. Here’s a closer look at what you’ll need and why each component is essential:
- Gluten-Free All-Purpose Flour with Xanthan Gum: This is the foundation of our muffins. The inclusion of xanthan gum is vital in gluten-free baking as it acts as a binder, mimicking the elasticity and structure that gluten would typically provide. We highly recommend specific brands like Pillsbury Gluten-Free or Better Batter gluten-free flour, as not all gluten-free flour blends are formulated for successful yeast baking. Using a blend specifically designed for yeast-leavened goods will yield the best results for rise and texture.
- Tapioca Flour: Also known as tapioca starch, this ingredient is key for enhancing the dough’s elasticity. It helps create that desirable soft and chewy texture characteristic of traditional English muffins, preventing them from becoming too dense or crumbly.
- Granulated Sugar: Beyond adding a subtle hint of sweetness to the muffins, sugar serves as food for the instant yeast. This fermentation process is essential for activating the yeast, promoting a vigorous rise, and contributing to the overall fluffy texture of the baked muffins.
- Instant Yeast: The leavening agent that makes our muffins light and airy. Instant yeast is convenient because it can be mixed directly with dry ingredients without prior activation, saving time and simplifying the process.
- Salt: A fundamental flavor enhancer. Salt balances the sweetness from the sugar, deepens the overall taste, and also helps control the yeast activity, ensuring a steady and even rise.
- Milk: Adds essential moisture and richness to the dough, contributing to a tender crumb. For those with dairy sensitivities or preferences, any of your favorite dairy-free milk alternatives (such as almond, soy, or oat milk) can be substituted effectively. Ensure it’s warmed to the correct temperature.
- Egg White: Provides crucial structure and protein to the muffins. The egg white helps to bind the ingredients, contributes to a stable dough, and promotes a lovely golden-brown crust during the cooking process.
- Unsalted Butter: Incorporates additional richness and a delicate flavor into the muffins, making them incredibly tender and moreish. If you require a dairy-free option, Smart Balance butter or your preferred dairy-free butter substitute works wonderfully.
- Gluten-Free Cornmeal: This ingredient is essential for coating the muffins. It serves two main purposes: preventing the dough from sticking to the pan during cooking and adding a unique, wonderfully crunchy texture to the exterior, which is a classic feature of English muffins.
- Vegetable Oil: Used for greasing the pan during frying. It ensures the muffins don’t stick and contributes to achieving a beautiful, even browning on their surfaces.
Essential Tips for Gluten-Free English Muffin Success
Baking gluten-free can sometimes present unique challenges, but with these expert tips, your English muffins will turn out perfectly every time. Paying attention to these details will ensure a delightful texture and consistent results.
- Choose Your Gluten-Free Flour Wisely: Not all gluten-free flour blends are created equal, especially when it comes to yeast baking. The performance can vary significantly from brand to brand. Some blends may result in a denser texture or a lack of proper rise. For this specific recipe, we highly recommend Pillsbury gluten-free flour due to its consistent performance in yeast-leavened goods. If you use a different brand, be prepared for potential variations in results.
- Master the “Spoon & Level” Method for Flour Measurement: Accurate flour measurement is paramount in gluten-free baking. The most effective technique is the “spoon & level” method. Instead of scooping directly from the bag with your measuring cup (which can compact the flour and lead to too much being used), use a spoon to lightly scoop the flour into your measuring cup. Once the cup is full, use the flat edge of a knife to level off the top. This ensures you’re using the precise amount of flour needed for the recipe.
- Control the Cooking Heat: When cooking your English muffins on the griddle or in a cast iron pan, maintaining medium-low heat is crucial. This allows for even browning and ensures the muffins cook through without burning on the outside before the inside is done. Resist the urge to flip them too frequently; let each side develop a beautiful golden crust.
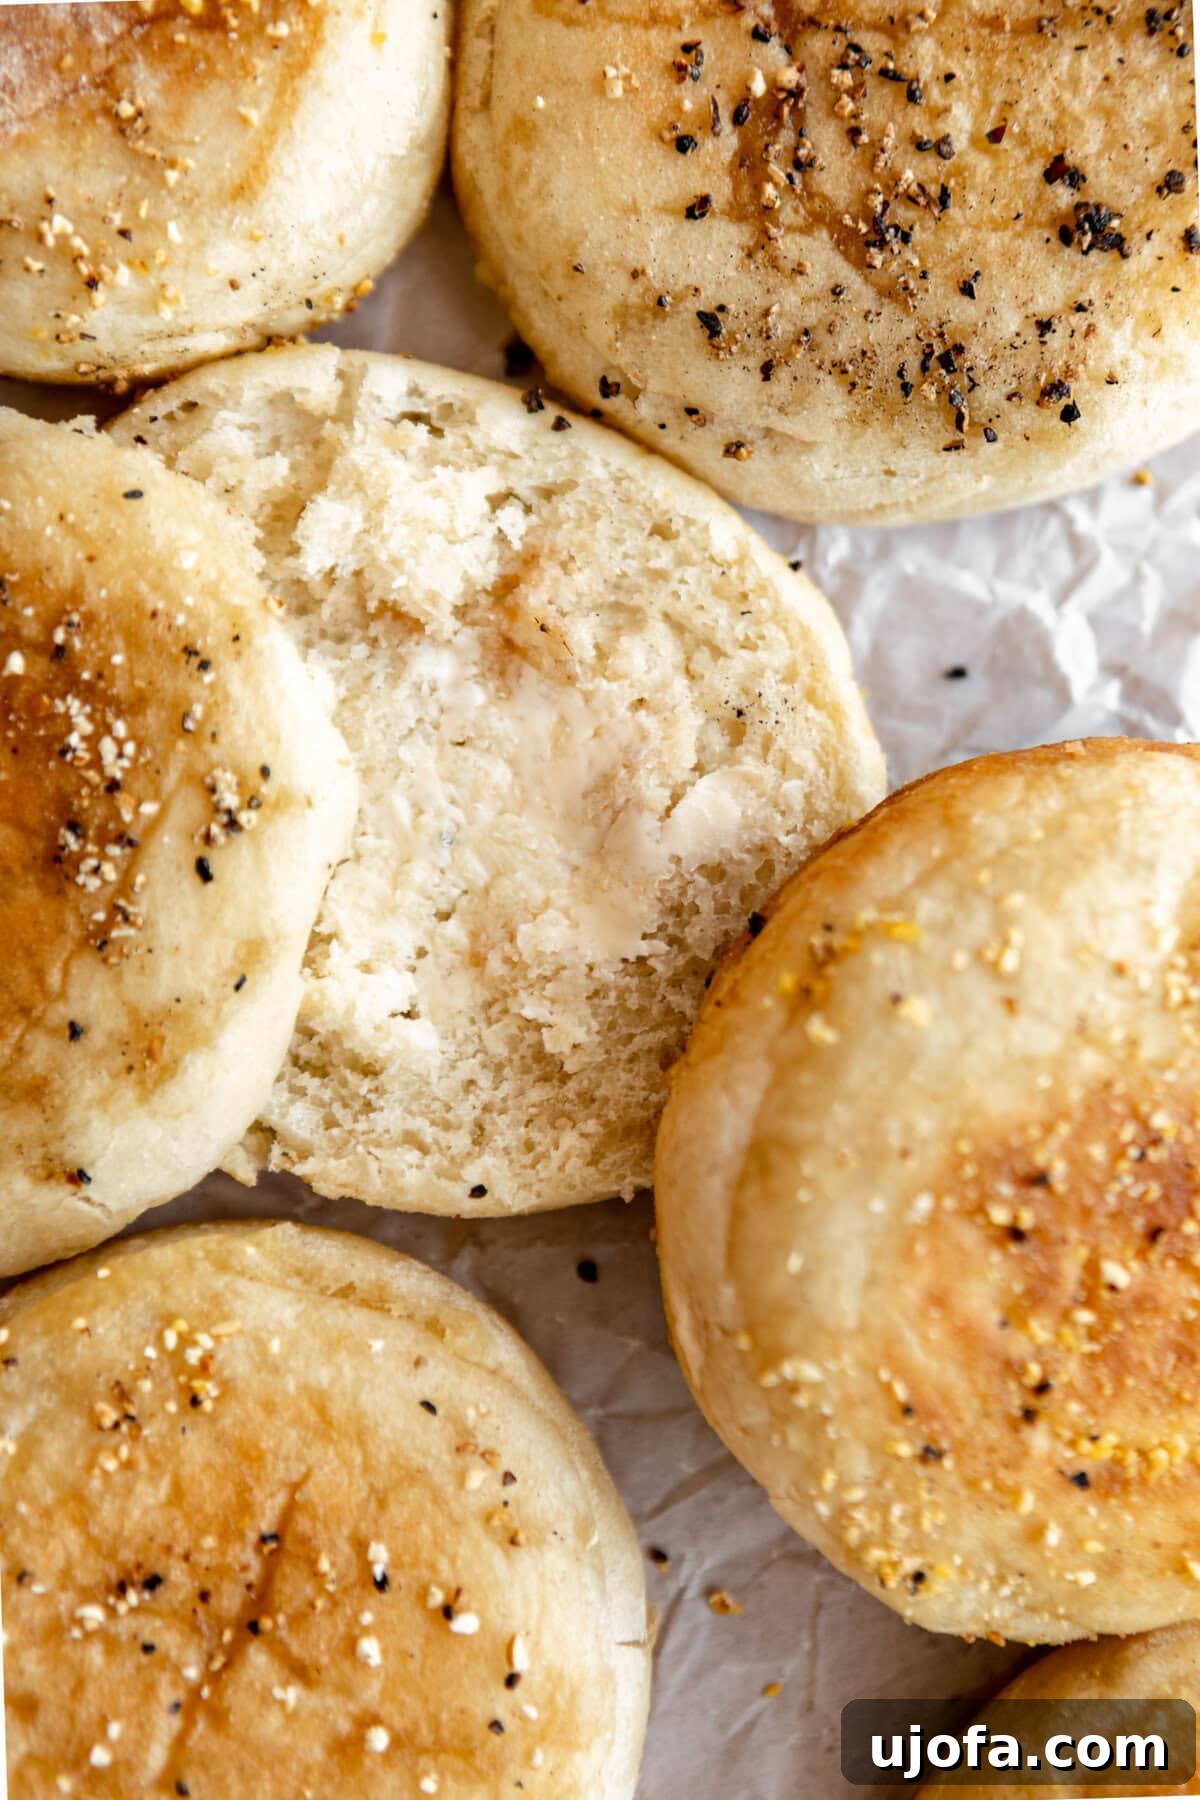
- Achieve the Perfect Craggy Texture with Fork Splitting: For that iconic, uneven, and highly desirable craggy interior texture (perfect for soaking up butter!), always “fork-split” your English muffins. Instead of slicing them neatly with a knife, use the tines of a fork to poke holes all the way around the circumference of the muffin, then gently pull the halves apart. This method preserves the intricate internal structure. Additionally, allow the muffins to cool significantly before attempting to fork-split them, as they are more fragile when hot.
- Don’t Skimp on Chilling Time: The chilling period for the dough is not optional. Gluten-free dough can be softer and less structured than traditional wheat dough. Chilling helps to firm up the dough, making it much easier to handle, shape, and ensuring it holds its round form during cooking without the need for rings.
Do I Need Rings To Make English Muffins?
Absolutely not! While metal English muffin rings are traditionally used to achieve perfectly uniform round shapes, they are not a necessity for this recipe. The key is proper dough chilling. So long as you allow the dough to chill sufficiently in the refrigerator as instructed, it will firm up enough to hold its shape beautifully on its own during cooking. If you desire a perfectly circular form, you can improvise by using round cookie cutters or even the lids of mason jars to help contain the dough as it cooks, but it’s certainly not essential for delicious results.
Can I Cook These On A Griddle?
Yes, absolutely! These gluten-free English muffins are perfectly suited for cooking on a griddle. Whether you use a flat-top electric griddle or a stovetop griddle pan, the process is largely the same as using a cast iron pan. Just ensure your griddle is preheated to medium-low heat and lightly oiled to prevent sticking and promote even browning. The consistent heat of a griddle can actually be ideal for cooking multiple muffins at once, making batch cooking even more efficient.
What Does It Mean To Fork-Split English Muffins?
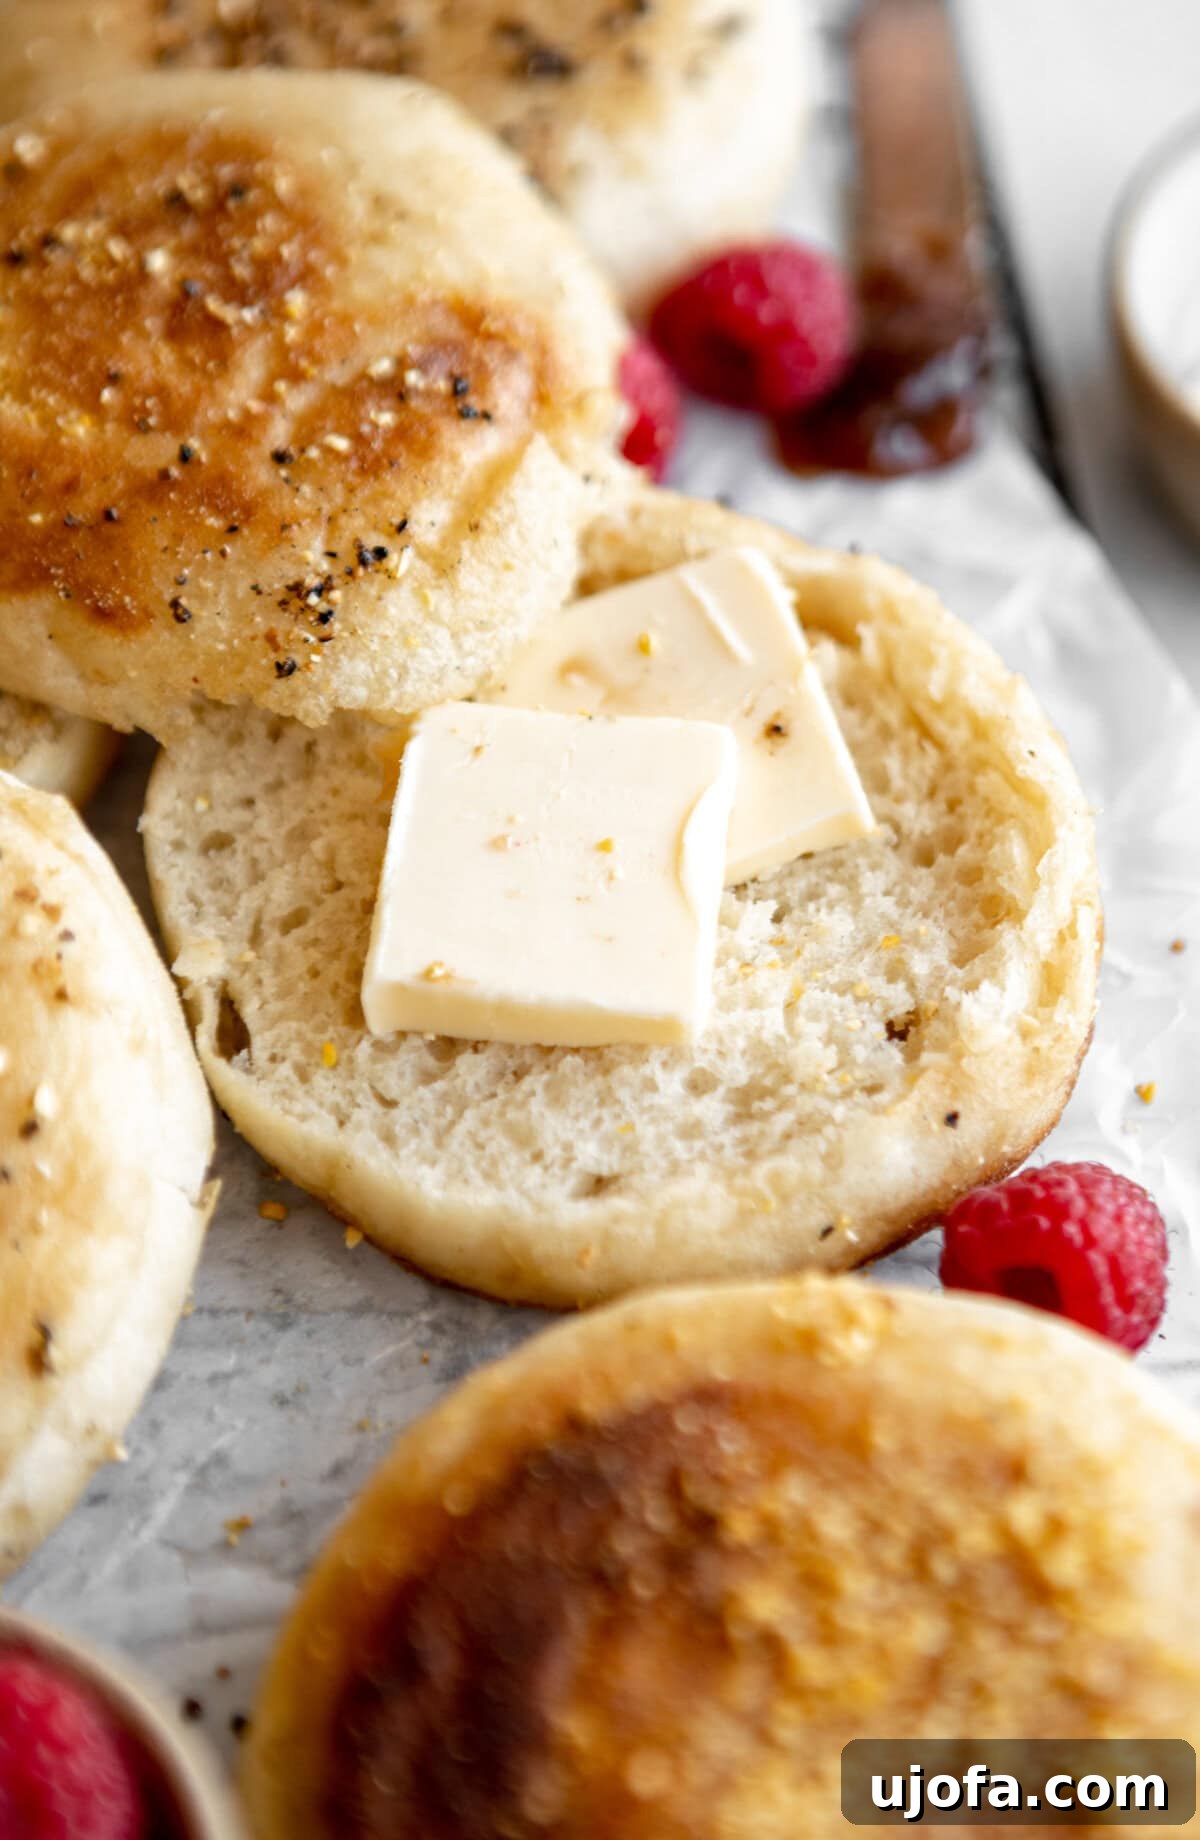
Fork splitting is a time-honored technique for preparing English muffins for consumption. Instead of using a conventional knife to slice the muffin in half, you employ the tines of a fork. This involves gently poking holes all the way around the circumference of the muffin, then pulling the two halves apart. The beauty of this method lies in how it preserves the irregular, craggy, and porous texture of the muffin’s interior – those famous “nooks and crannies.” A knife tends to compress the crumb and create a smooth surface, while fork splitting maintains that uneven, open structure, which is ideal for soaking up butter, jams, or whatever delicious toppings you choose.
Storage and Reheating Instructions
Proper storage is key to maintaining the freshness and delicious texture of your homemade gluten-free English muffins. Once cooled completely, these muffins will keep well in an airtight container at room temperature for up to 2 days. For longer-term enjoyment, English muffins are excellent for freezing. Tightly wrap each individual muffin or a stack of them in plastic wrap, then place them in a freezer-safe bag or container. They will remain fresh in the freezer for up to 3 months. When you’re ready to enjoy them, simply thaw at room temperature, then toast to restore their crispy exterior and soft interior. You can also lightly toast them directly from frozen, though they may take a bit longer to warm through.
Creative Serving Suggestions
While classic butter and jam are always a win, gluten-free English muffins are incredibly versatile and can elevate countless meals. For breakfast, consider a savory delight with scrambled eggs, bacon, and avocado slices, or a sweet treat with honey, banana slices, and a sprinkle of cinnamon. They make an excellent base for Eggs Benedict, or even mini pizzas for a quick lunch. For a unique twist, try topping them with cream cheese and smoked salmon, or a dollop of Greek yogurt with fresh berries. Don’t forget their potential as a side for soups and salads, or even as a base for open-faced sandwiches. The possibilities are endless!
Troubleshooting Common Gluten-Free Muffin Issues
Even with a great recipe, gluten-free baking can sometimes throw a curveball. Here are some common issues and how to troubleshoot them:
- Dense or Gummy Texture: This often happens from too much flour or not enough liquid. Ensure you’re using the “spoon & level” method for flour measurement. Also, make sure your milk is warm enough to properly activate the yeast. Overmixing can also develop any present gluten structure too much (even in GF flours, some starches can become gummy), so mix just until combined.
- Muffins Don’t Rise: This is typically a yeast issue. Double-check that your instant yeast is fresh and active (not expired). Also, ensure your milk is at the correct temperature (around 110°F); milk that’s too hot will kill the yeast, and too cold won’t activate it. Insufficient proofing time can also be a culprit, so be patient during the rising stages.
- Burnt Exterior, Raw Interior: Your cooking heat is likely too high. English muffins need to cook slowly over medium-low heat to ensure they cook through evenly without burning the outside. If you’re frying them on a stovetop, and they still aren’t cooked through, the final bake in the oven is crucial to finish the cooking process.
- Sticky Dough: Gluten-free doughs tend to be stickier than wheat-based doughs. Don’t be afraid to lightly flour your hands when shaping the dough balls. A good chilling period in the refrigerator will also firm up the dough significantly, making it much easier to handle.
Gluten-Free English Muffins Recipe Card
This easy gluten-free English muffin recipe yields crispy, yet craggy rounds that are delicious any way you enjoy the breakfast staple.
- Servings: 6 English muffins
- Prep Time: 30 minutes
- Cook Time: 15 minutes
- Rise Time: 2 hours
- Total Time: 2 hours 45 minutes
- Cuisine: American
- Course: Breakfast
Ingredients
- 2¾ cups gluten-free all-purpose flour with xanthan gum (We recommend Pillsbury gluten-free. Not all brands of gluten-free flour are recommended for yeast baking.)
- ¼ cup tapioca flour
- 1 tablespoon granulated sugar
- 2¼ teaspoons instant yeast
- 1½ teaspoons salt
- 1½ cups milk, warm (For a dairy-free option, use your favorite dairy-free milk.)
- 1 large egg white, room temperature
- 1 tablespoon unsalted butter, melted (For a dairy-free option, use Smart Balance butter.)
- ¼ cup gluten-free cornmeal, for dusting
- 2 tablespoons vegetable oil, for frying
Instructions
- In the bowl of a stand mixer fitted with the paddle attachment, combine the gluten-free all-purpose flour, tapioca flour, sugar, instant yeast, and salt. Set aside.
- Warm the milk to about 110°F using the microwave or a saucepan set over low heat.
- With the mixer running on low speed, pour in the warm milk, egg white, and melted butter. Scrape down the sides of the bowl as needed to ensure all ingredients are well incorporated. Let the mixer run for about 5 minutes until a smooth, somewhat sticky dough forms.
- Cover the dough tightly with plastic wrap or a clean kitchen towel and let it rise in a warm spot at room temperature for 60 minutes. After this initial rise, transfer the covered dough to the refrigerator and let it chill for an additional 30 minutes. The dough will seem pretty shapeless at first, so chilling is an important step to help it firm up and become more manageable.
- After the rising and chilling periods, turn the dough out onto a lightly floured surface (using gluten-free flour). Divide the dough into 6 equal pieces and gently roll each piece into a ball. If the dough is still a bit sticky, lightly flour your hands. Arrange the dough balls on a parchment-lined baking sheet and let them rise for an additional 30 minutes at room temperature.
- While the muffins are on their second rise, preheat your oven to 350°F (175°C).
- Once risen, gently dust each dough ball generously with gluten-free cornmeal on both sides, then lightly press down on each one to flatten it into a muffin shape, about ½ to ¾ inch thick.
- Grease a large cast iron pan or griddle with the vegetable oil and place it over medium-low heat. Once hot, carefully place the cornmeal-dusted muffins into the pan, ensuring not to overcrowd it (you may need to cook in batches). Fry on each side for 3 to 5 minutes, or until they are beautifully golden brown and have puffed up.
- After frying, transfer the pan (if oven-safe) directly to the preheated oven. Alternatively, carefully transfer the browned muffins to a baking sheet. Bake for 5 minutes to ensure they cook through completely in the center.
- Remove from the oven and let cool slightly on a wire rack. For the best, most authentic craggy texture, use a fork to poke holes around the sides of each muffin, then gently pull them apart instead of slicing with a knife. Enjoy warm!
Recipe Notes
- Not all gluten-free flours are recommended for yeast baking. You may experience different baking results depending on the gluten-free flour blend you choose. I like Pillsbury gluten-free flour for this recipe.
- The best way to measure gluten-free flour is the “spoon & level” method. Using a spoon, scoop the flour into the measuring cup. After you’ve spooned the flour into the measuring cup, use the back of a knife to level off the top of the measuring cup. Avoid scooping the flour out of the bag with your measuring cup!
- Cook the muffins over medium-low heat to achieve even browning, and don’t flip too often.
- For best results on texture, use a fork to poke holes in the sides all the way around instead of slicing with a knife. Also, allow the muffins to cool before trying to fork-split them.
- To store: Gluten-free English muffins can be stored in an airtight container at room temperature for up to 2 days.
- To freeze: Tightly wrap the gluten-free English muffins in plastic wrap and place them in a freezer bag for up to 3 months.
- Mama says, “Make sure to always check your labels!” This is especially important for cornmeal, as some brands may have cross-contamination.
Nutrition Information (Approximate per English Muffin)
Serving Size: 1 English muffin
- Calories: 344 kcal
- Carbohydrates: 56g
- Protein: 11g
- Fat: 11g
- Saturated Fat: 3g
- Polyunsaturated Fat: 3g
- Monounsaturated Fat: 3g
- Trans Fat: 0.1g
- Cholesterol: 12mg
- Sodium: 617mg
- Potassium: 166mg
- Fiber: 7g
- Sugar: 7g
- Vitamin A: 157 IU
- Vitamin C: 0.01mg
- Calcium: 115mg
- Iron: 2mg
Nutrition information is automatically calculated and should only be used as an approximation. Individual results may vary based on specific ingredients and preparation methods.
More Delicious Gluten-Free Breakfast Recipes to Try!
If you loved making these English muffins, you’ll surely enjoy exploring more gluten-free breakfast delights. Here are some other fantastic recipes to expand your repertoire and keep your mornings delicious and gluten-free:
- Fluffy Gluten-Free Buttermilk Biscuits
- Easy Gluten-Free Cinnamon Rolls
- Crispy Gluten-Free Waffles
- Simple Gluten-Free Pancakes